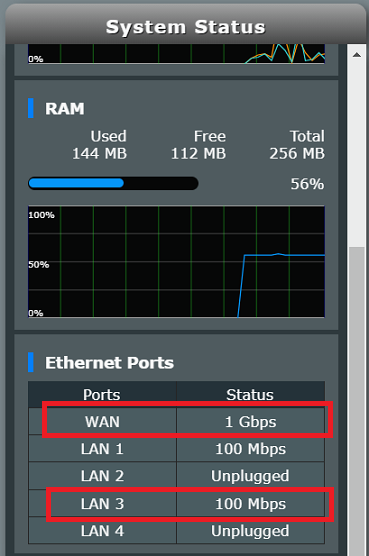
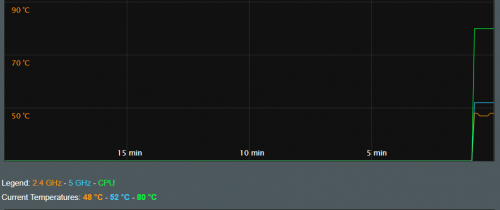
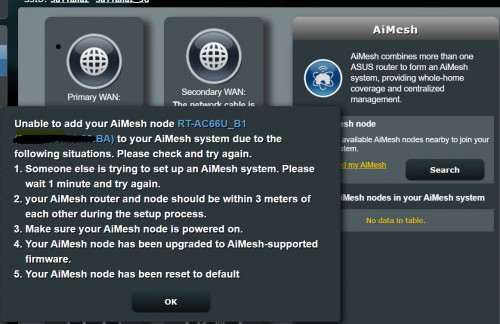
There are 7 steps for the whole migration process.Warnings and Irregularities:1. LAN 1 will turn to WAN and WAN is be LAN 4. (Funny but true)

2. Power and Internet LED light are now opposite. Internet LED is now Power. Power LED is now Internet.
3. After router is switched on, power LED will light-up. Now it is now green (instead of orange in DLink factory firmware)

4. Next, WiFi LED light-up. Now it is orange (instead of green in DLink factory firmware)

Funny but true.
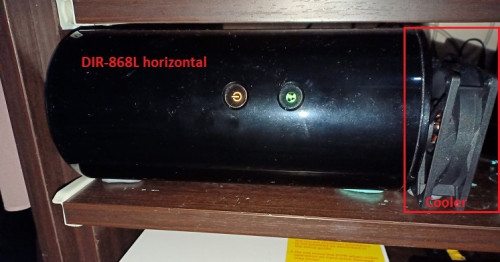
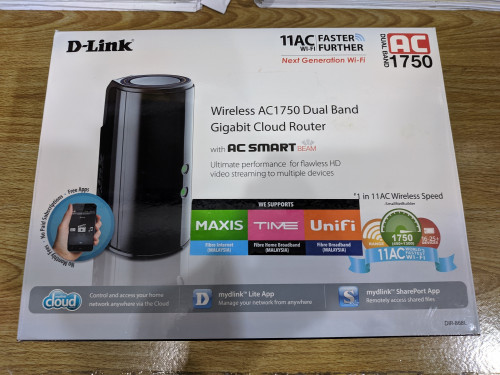
Credits:• This guide was developed from various online resources and my personal experience on D-Link DIR-868L A1 routers.
• Credits are due to all contributions.
• My contributions are adding improvements and clarity for the whole process.
• A kind individual with online name Ah_Cleo from
https://forums.hardwarezone.com.sg shared the following files:
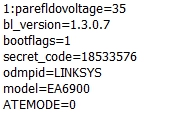
a. DIR868LA1_FW104b01.bin
No need if you have FW1.03SHC firmwareb. 25974factory-to-ddwrt.bin
c. CFE_868L_melin384.bin
d. FW_RT_AC66U_B1_300438410007.trx
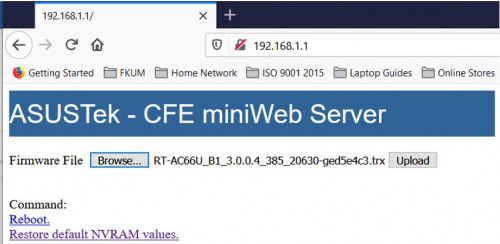
!!!Please do not use. Caused problems!!!e. RT-AC66U_B1_3.0.0.4_385_20630-ged5e4c3.trx
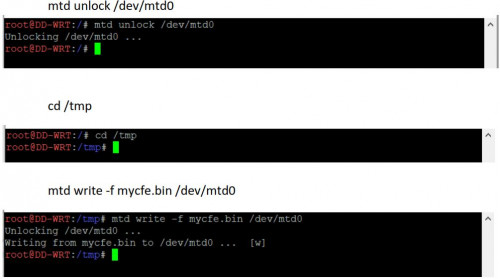
Use this insteadf. mtd-write
g. Putty
h. WinSCP
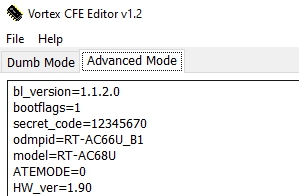
i. CFEedit
• Please download from the following Google drive link (Hopefully the link is active indefinitely):
https://drive.google.com/file/d/1NYeLnFZjLQ...iew?usp=sharingStep 1: Downgrade DIR-868L factory firmware to FW1.03SHC• First, you need to downgrade from your existing firmware (e.g. FW1.22SHC) to FW1.03SHC.
• Second you need to download files listed in Credits section above.
• Download FW1.03SHC firmware from D-Link Singapore website
https://www.dlink.com.sg/dir-868l/#firmware.
• Unplug all cables (incl. power cable) from the router.
• Connect the router to the PC using one of the 4 switch ports. Best to use port 2 or 3.
• Set computer IP address to 192.168.0.3 and use 255.255.255.0 as the Subnet mask.
• Power-on the router while pushing a paperclip to the hidden reset button located at the bottom of the device for a few seconds.
• When the Power LED starts blinking, release the reset button.
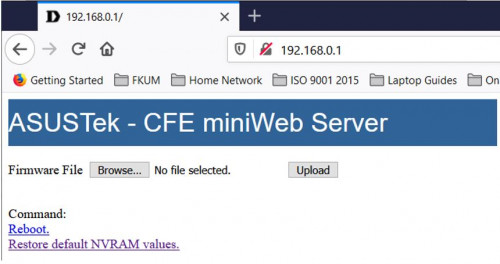
• Use Mozilla FireFox browser and navigate to
http://192.168.0.1.
• The following web page will be displayed.
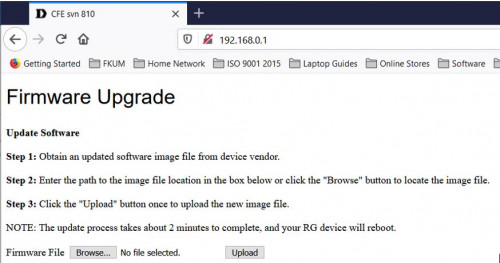
• Next browse for the FW1.03SHC firmware
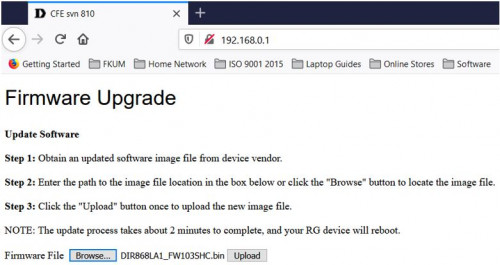
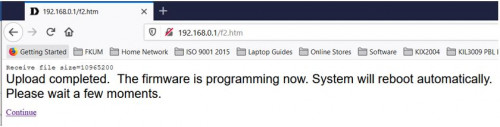
• Click Upload button to upload the FW1.03SHC firmware.
• When completed the router should continue to reboot.
• The router should now be running FW1.03SHC firmware and accessible on the default address. (http://192.168.0.1). Default user is admin and no password i.e. blank
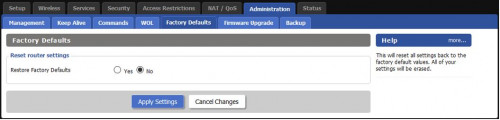
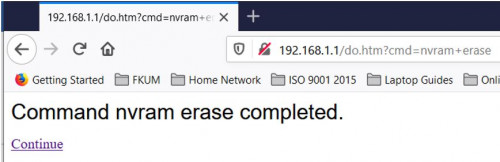
• Next, click to Tools menu, then system menu and click on Restore Factory Defaults button

• The router will reboot again.
• After the reboot, the router is ready to be migrated to DD-WRT firmware.
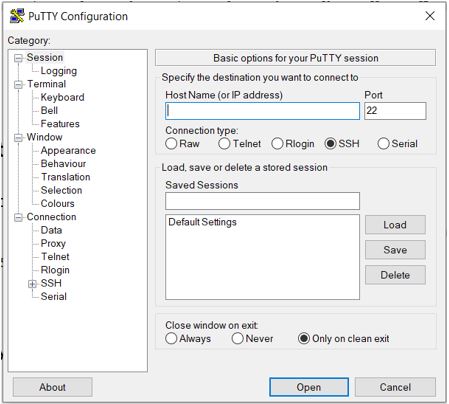
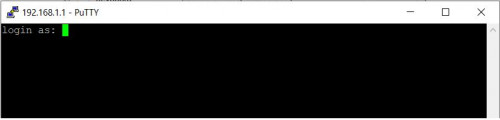
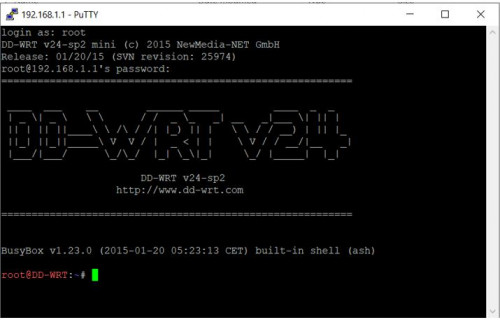
Step 2: Migrate to DD-WRT firmware and enabling SSHd• Login to router again.
• Next, click to Tools menu then Firmware menu and click on Browse button

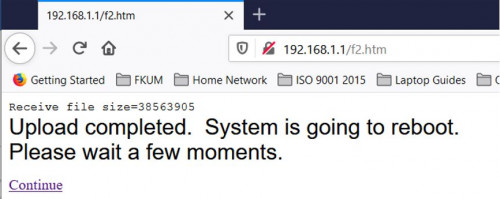
• Use browse button to find 25974 factory-to-ddwrt.bin file and click Upload button to flash the firmware
• This will take about 3 - 5 minutes for the router to be stable.
• Router should be running DD-WRT firmware.
• By default the router IP address should be 192.168.1.1.
• However, if you cannot access the DD-WRT router page, it is likely that the IP address is still at 192.168.0.1.
• You should be able to access it using previous IP address and go to Administration tab.
• Reset Factory Defaults - Yes
• Click Apply Settings button
• Reboot router
• Change PC IP address to 192.168.1.3 and leave sub netmask as 255.255.255.0 still.
• On the Firefox browser, change to 192.168.1.1 and you will be asked to change username and password.
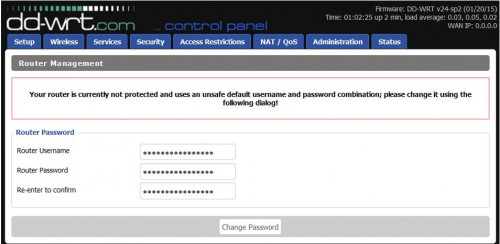
• Enter username: root and password as admin. Please do not change the username. You can change the password if you like.
• Next go to Services tab
• Click Enable button for SSHd
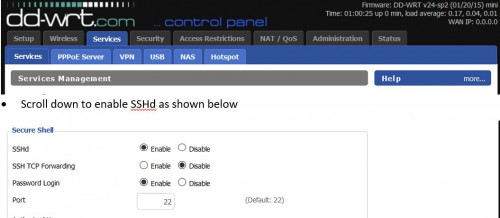
• Click on Save Button and Reboot the router
• Now the router is ready for Step 3.
This post has been edited by misk94: Feb 1 2021, 12:18 PM 

 Dec 29 2020, 11:12 PM, updated 5y ago

 Quote
Quote


 .
.


 0.1618sec
 0.71
0.71
 6 queries
 GZIP Disabled