QUOTE(gadgets2us @ May 9 2011, 03:56 PM)
Thanks in advance bro

For tweeter you need:
1. Flathead screw driver (supplied: in your boot)
2. 8mm hex socket and suitable wrench
3. Small spectacle flathead screwdriver (0.5-1mm)
4. Wire tape
5. A pair of tweeter (usually comes with all the wiring)
6. Doubletape or superglue (to stick the tweeter onto the panel)
7. Clean cloth to cover dash surface during installation
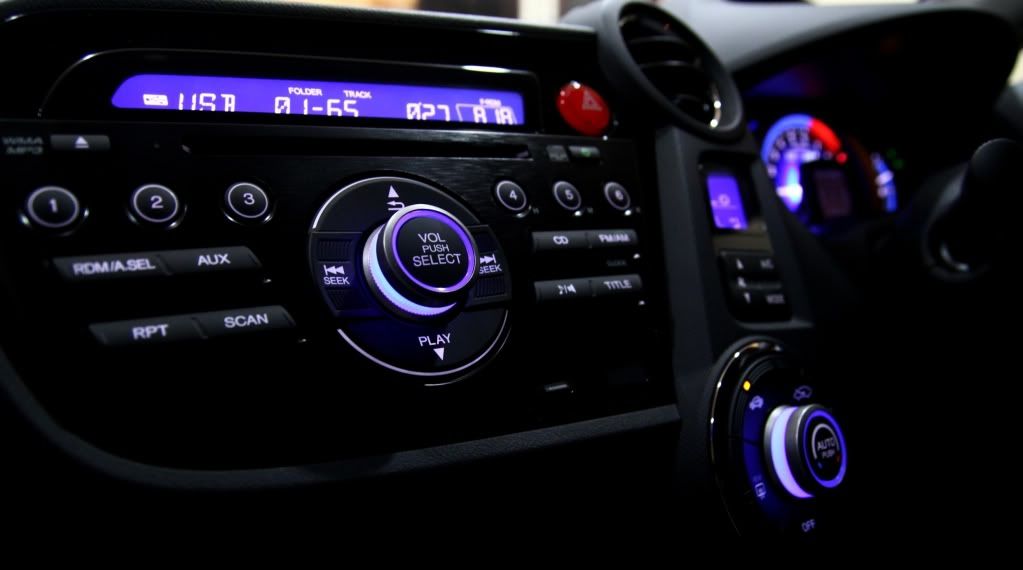
First, to dimantle the HU, pikkashoe have shared the step by step instruction (thanks pikkashoe)
http://www.insightcentral.net/forums/modif...tock-radio.htmlTo dismantle the tweeter panel:
Using the flathead screwdriver, slot in the tip into the opening and pry open gently. You may need to twist the screwdriver all the way until the clip of the panel release.
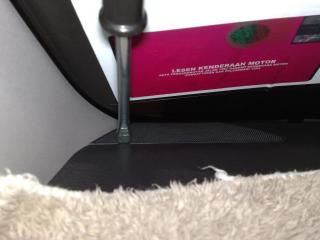

Gently pull out the tweeter panel towards u. Attached here is my panel with the tweeter already in place.

Depending on the type and size of tweeter use, u can either attach them onto the panel using doubletape or few drops of super glue.
Insert the wiring from the panel hole towards the bottom of dash. Re-route the wire properly behind glovebox toward the HU slot.
Tap the audio signal based on this diagram:
2010 Honda Insight Car Stereo Wiring Diagram
Car Radio Battery Constant 12v+ Wire: Pink
Car Radio Accessory Switched 12v+ Wire: Violet
Car Radio Ground Wire: Black
Car Radio Illumination Wire: Gray
Car Stereo Dimmer Wire: White
Car Stereo Power Antenna Trigger Wire: N/A
Car Stereo Amp Turn-On Trigger Wire: N/A
Car Stereo Amplifier Location: N/A
Car Audio Front Tweeter Size: N/A
Car Audio Front Tweeter Depth: N/A
Car Audio Front Tweeter Location: N/A
Car Audio Front Speakers Size: 6 1/2″ Speakers
Car Audio Front Speakers Depth: 3 1/2″
Car Audio Front Speakers Location: N/A
Left Front Speaker Positive Wire (+): Light Blue
Left Front Speaker Negative Wire (-): Gray
Right Front Speaker Positive Wire (+): Blue
Right Front Speaker Negative Wire (-): Red
Car Audio Rear Speakers Size: 6 1/2″ Speakers
Car Audio Rear Speakers Depth: 3 1/3″
Car Audio Rear Speakers Location: N/A
Car Subwoofer Rear Speakers Size: N/A
Car Subwoofer Rear Speakers Depth: N/A
Car Subwoofer Rear Speakers Location: N/A
Left Rear Speaker Positive Wire (+): Gray
Left Rear Speaker Negative Wire (-): Brown
Right Rear Speaker Positive Wire (+): Blue
Right Rear Speaker Negative Wire (-): Orange
For the left tweeter, tap the audio signal from Light blue (+) and Gray (-) from the original harness.
Repeat the same procedures for the right tweeter. All the panel below steering column are removable and only attached by tabs and 1 screw tab if im not mistaken. Its important to properly route the tweeter wiring for the right tweeter to prevent it from dangling the steering shaft.
Right tweeter will tap audio from Blue (+) and Red (-) from the original harness.
To tap the audio signal, depending on your skill, u can split the wire (not recommended) or undo the pin from the connector (harder but neat). Tape the wires properly. Make sure no loose contact or worst, short circuit.
Put everything back in place and u are now can hear shattered glass sound better than before.
For improve bass effect, u can use something like this:

This type of active sub equipped with built in amp with gain, phase and frequency setting. Most of them now have wired remote bass control so u can increase or decrease bass level without the need to set your gain, again and again (coz different media source usually have different bass level).
U have to undo the font driver seat, get the harness all sorted out through the gear console panel (side) and tap the audio signal accordingly as the color code above using sub speaker/ high level input, from rear left and right (4 wires) behind the HU (same step as the tweeter above). Power for the active sub can be tapped either direct from battery or like me, easily tap from interior power socket. 120W limit for power socket should be enough to cover the sub consumption. Tune your gain, phase and frequency right.
All done. Get the HU back in place, reset everything. The difference in sound quality is night and day.
This post has been edited by watonk: May 10 2011, 03:24 AM 

 May 9 2011, 10:31 PM


 Quote
Quote


 ny other free gifts

 0.0314sec
 0.83
0.83
 6 queries
 GZIP Disabled