It seems when it comes to parts whatever you pay in MYR is pretty near equal to what we pay in AU$, I source plenty of stuff from China to avoid the local profiteering but they do have a somewhat unfair advantage of subsidised freight.
My query was aimed at where the leeway was in fitting the belt but really I should check my own one, a bit of a shame there isn't much clearance to fit a square drive into it.
I put a set of iridium plugs into Daisy shortly after purchase, it looked good when I checked last week during its long awaited first service/oil change.
I'm a believer in using diesel oil but do rely on them having a spark ignition rating as well. You'll get away with the 20W in your lovely warm equilateral climate, and I would too in my mere tropical climate but low W numbers make sense to use.
[attachmentid=4257177]
I'd forgotten about Avatar using it, it's also a film that doesn't bear watching more than once. Unobtainium is a term I've used sometimes since I was young and employable.
The last time I use Iridium plugs lasted like forever in my old Mitshi 4G92p. But since I'm having a Kampro, I took the heat transfer into account. In view of COIL ON PLUG setup, provided a Fiber valve cover which makes a perfect combination of disaster. I'd rather stick to copper to prevent my coil packs get gelled. You may wanna consider my suggestion and revert back to copper core. It's not going to be pretty when you seek for the coil packsin your country, coz it aint easy even in the almighty GaGa own home land.
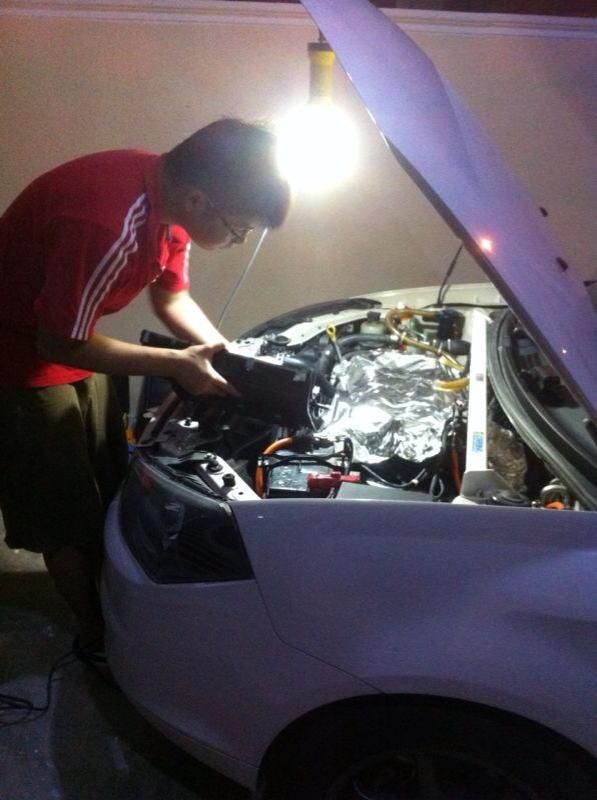
Wanted to share another or my amazing journey of DIY. 1st I need to thank a few person that has helped or offer to help me during the hard times.
@Mahihi thanks for willing to go Proton Part center on labour day to try and get me the parts.
@kenjilew thank you for the assistance through the phone and whatsapp. Sorry that I needed to disturb you in such an inconvenient time.
@davidke20 A huge thank to him seriously for waiting outside the spare parts shop this morning before he go to work to help me get my parts and risk being late to work. FYI, he's driving from KL to work here in Seremban.
@V12Kompresor Wanted to help me get parts in Teluk Intan and post them back...Hahahaha
My mechanic friend since college days, Royston, who drove to my house purposely after work at about 9:30pm with his wife and son in the car and try help me to take the broken coil out from the cylinder head.
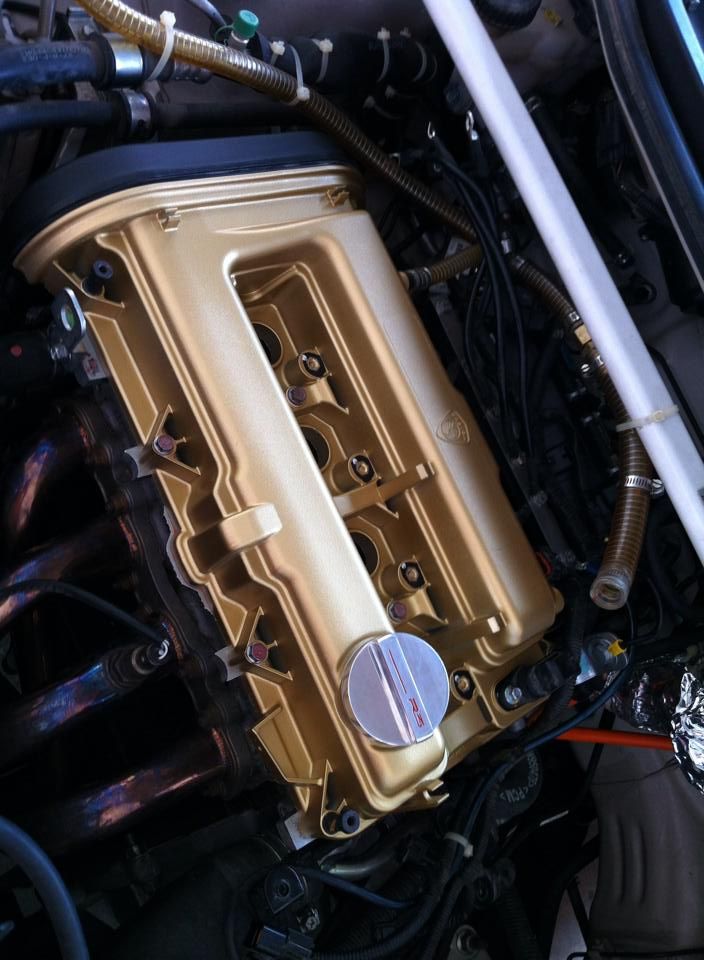
As with any other saga owner, I faces the same problems which is a leaking cam cover gasket at low mileage. It's either the gasket quality was not good or it was my driving habit so I'm not sure but this can happen to any cars so seeing the leak was really and eye sore to me more than a problem so I decided to do a DIY cam cover gasket replacement and choose the night before labour day to start my work so that I can split the work up in 2 days time and can do things at a much detail and precise pace and I also planned to use this opportunity to add some Hnnnggghhh into the engine bay by painting the cam covers to "uncle look"
This picture is after all the COP was out and after cleaning the cylinder head and covering it with some foil to avoid dust or insect from failing into the cyclinder head. While I try to clean the cam covers.
So the dismantling job begins, I didn't took any pictures of the dismantling even until the cam cover was off due to the fact that my hands were occupied and was full of dirt and oil. Then I bump into a road block during dismantling the COP. cylinder 1 and 4 was easy to remove but cylinder 2 and 3 was refusing to come out no matter how much force my 2 arms give them. So I know this 2 fellow is going to give me some headache...continue to pull and pull then POP!! the top part of the coil came out BUT the whole lower part was stuck tightly in the spark plug metal tube. The same thing happens to no.3 so I call up Gorilla to seek for his advice...after the the short instruction given I tried to pop in back the top coil and continue to pull and gain FAIL!! same goes to no.3 I then use some flat screw driver to try and pry the bottom part up with another hand pulling it up but this causes the dust cover to tear and I panic...seriously who wouldn't when you see things that are not suppose to happen, happened...
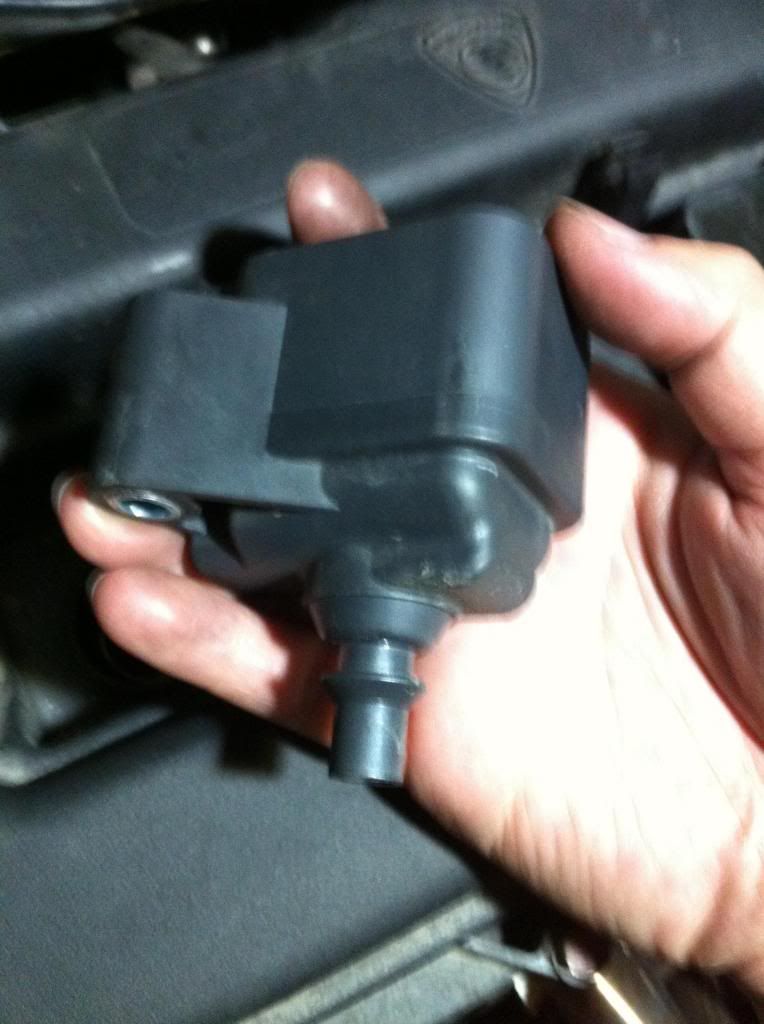
This is what happen....only the top came out the whole bottom part is stuck inside the metal tube. When this happens you know it's rough road ahead but just be patient and it can be sorted out. Don't worry if your top coil came out only. It is still ok and not damage.
Rubber dust cover broken off totally.....most people would have stop at this point but I marched on as Gorilla said he has faith in me that I can do it.
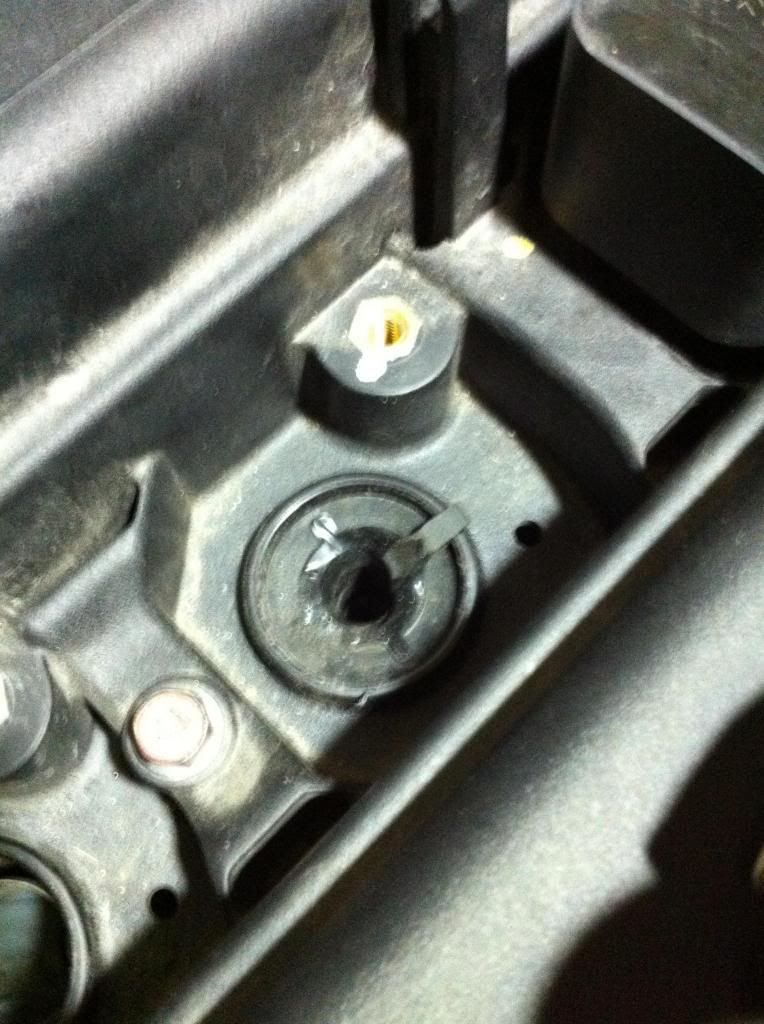

Then I give a call to Royston and he came over after a dinner with his family. He use a test pen and a flat driver to try and pry the bottom half of the coil up but it proves difficult and the rubber boot was starting to tear on no.2 so we tried some luck on no.3 see if that fellow will give up but no success so I told him nevermind, I will remove the cam covers then try removing them afterwards. This proved successful but the damage is there already...the rubber part for cylinder 2 and 3 was damage and broken. You can see from the below 2 pictures and clearly no.2 coil tube suffers the most damage as it was the HARDEST to remove. No.3 was still a bit ok. But due to my own concern I started to make some calls and SMS and ask for help if I can get 2 new ignition coil.
From No. 3 cylinder
From No. 2 cylinder
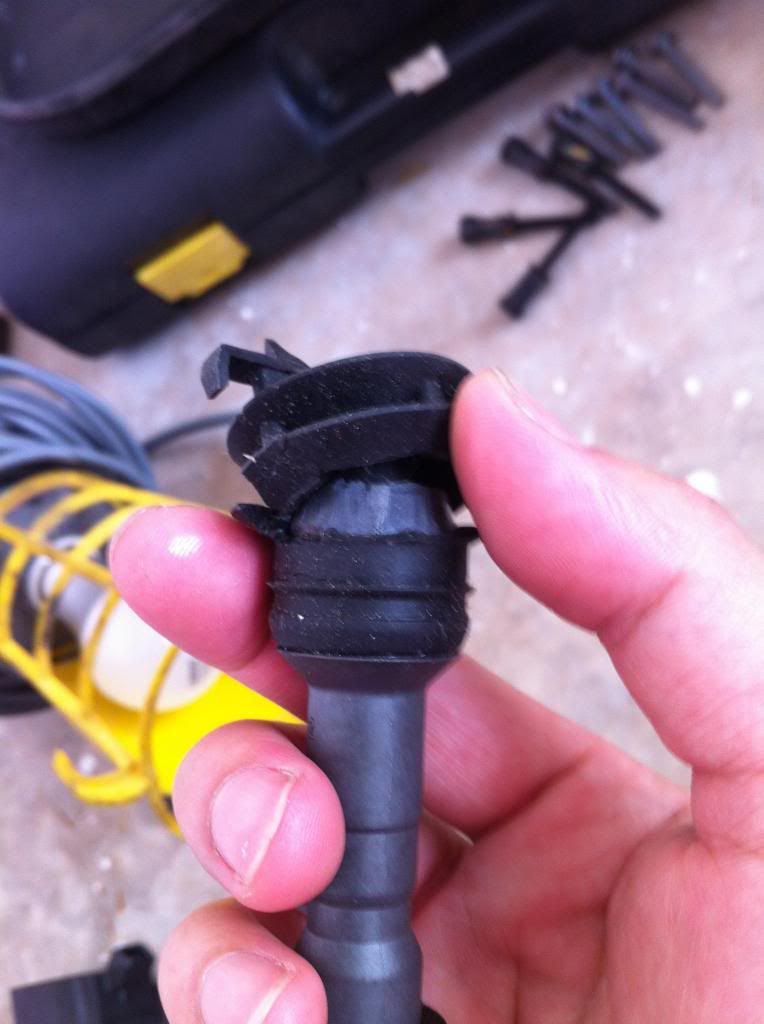
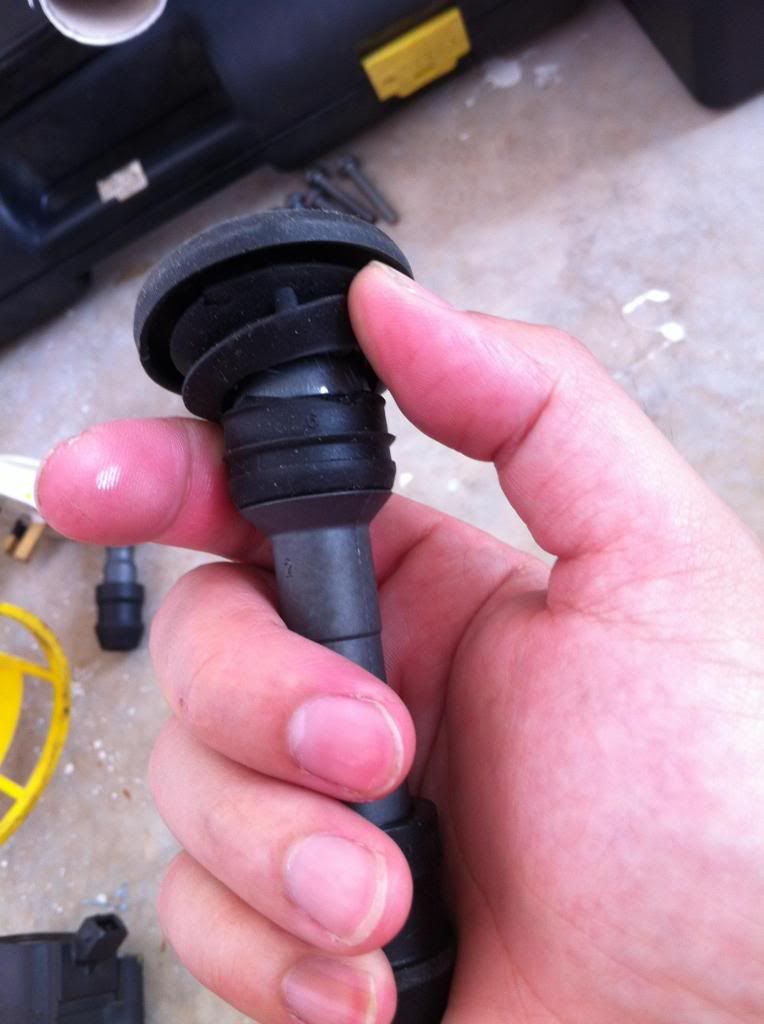
This is how the ignition coil spring looks like and according to Gorilla there's 2 version of it. 1 with a copper center core, and in the picture is without any copper core just pure spring. You can remove the spring by taking out the top coil. You can replace this spring with performance type gold spring or replace the whole coil tube with TM Works which is in my plan in the future.

On that same night, I cleaned and wash the cam covers 2-3 times with degreaser and dish washer....then I use some degreaser to clean up the cylinder head area where the old gasket sits and take the chance to clean up the cam pulleys and the surrounding areas with some old rags. Sorry no picture because I 1 man show, hands are super dirty and sweating like a cow.
After the cam covers was cleaned and blown dry, I started to tape off some areas of the cam covers that I didn't wanted to paint over. It was already pass midnight and I haven't taken my dinner that my wife had packed for me and I felt so bad that I was not able to spent some time with my little girl as she was sitting at the front door just gazing at his daddy working on the car. Being a father, I stop my worked, washed my hands and went to eat dinner and hug and played with my little girl a while and not long she was falling asleep. After putting her to sleep and my wife also went to bed with my daughter. I continue out to work. I took off my exhaust manifold and polish off the carbon from the exhaust port with fine sand paper and sucking away the dust with a vacuum on the other hand. Did some inspection on the port matching between the cylinder head and exhaust manifold. I finish off at about 3am and I called it a day because tomorrow I will need to wake up early to finish the job and spend time with my family....Family is always 1st.
Woke up 6am in the morning, and started to unwrap the cam covers...took out all the paints and tools burrow a empty box from my daughter's toy box. Use it as a base to rest my cam covers on them to prep them for spraying. The cam covers was painted in a heat resistance white base coat. IINM it was 2-3 layers then I proceed to paint the covers in Premium Gold from Anchor can spray....the colour turn out much better than I expected it was not gloss...and matte which makes it looks much much awesome.
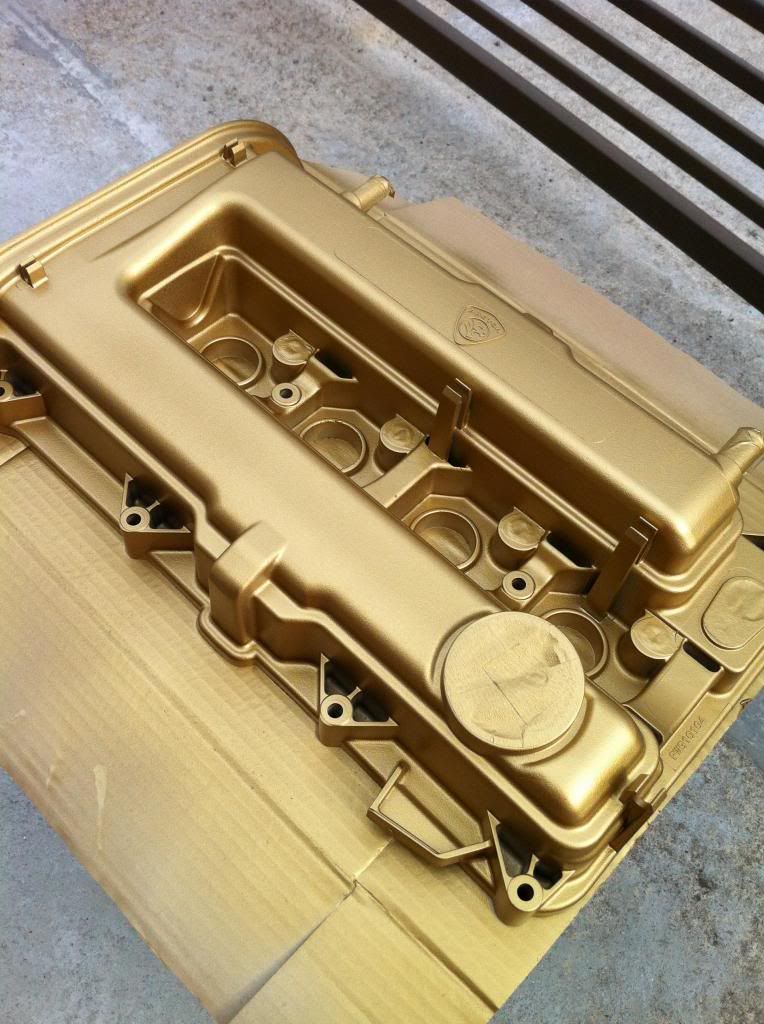
After baking it in the sun for 3hours...I start to remove all those masked areas.

After that I put in the new cam cover gasket and apply high temp gasket maker sealant (700 F) all around the cam covers to make sure it seals tightly. Then the cam covers were fitted back and I wash the cam pulley covers to clean them up a bit. Do note that on edges area you can apply more sealer. Also I found an interesting thing....Our cam cover is made by UMW....


 Dec 13 2014, 02:58 AM

 I must say you are right, it's a rare breed for such length. However, the tensioner pulley is adjustable during belt change, hence I believe there will be certain tolerance for a slightly shorter/longer belt to fit in, but I wouldn't know whether the said number will cost you a cow to fit in the bear.
  By the way, the belt only cost me RM50, your AU$15, is that reasonable?
 Quote
Quote
 On the side note, huai nobody try to guess how much the damage is?


 every morning once tekan remote then whole street can listen alamak...


 0.0403sec
 1.21
1.21
 7 queries
 GZIP Disabled