

 Mar 5 2009, 12:03 AM

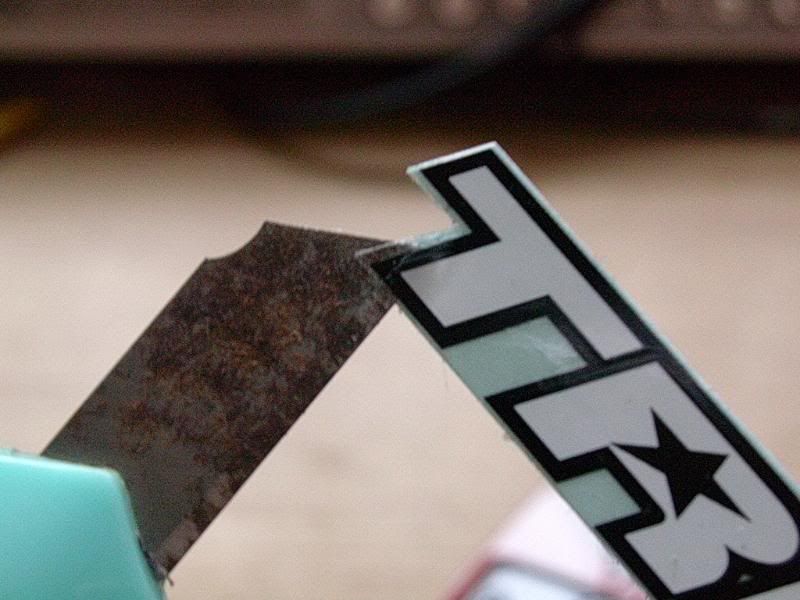
F) Stickers and Decals:
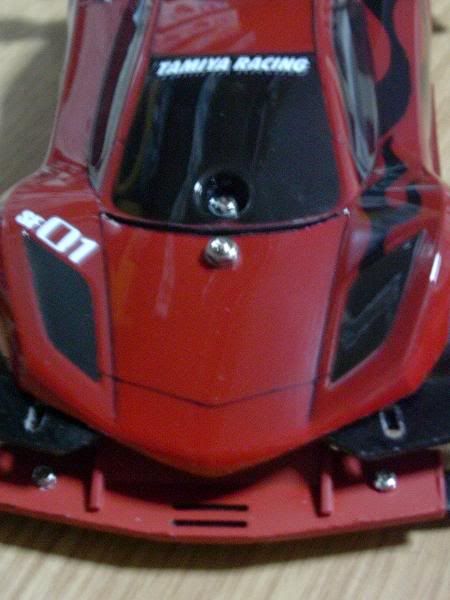
I highly recommend stickers used for R/C since they are highly durable and will not peel off as easily as dress-up stickers. Except for the headlights and taillights, leave the normal stickers that comes with the kit back in the box, they are usually too thick and are made of paper.
Cut out the stickers you need using penknife, cutting away the excess stickers. Next put it on the body and see how you want to position it.
With a penknife holding onto the 1 corner of the sticker (so that you will not leave fingerprint under the sticker), apply the sticker onto the body.
Water slide decals are good too if you want that "painted on" look. I took mine from my Gundam kits though water slide decals that comes with the static display models would be a better choice.
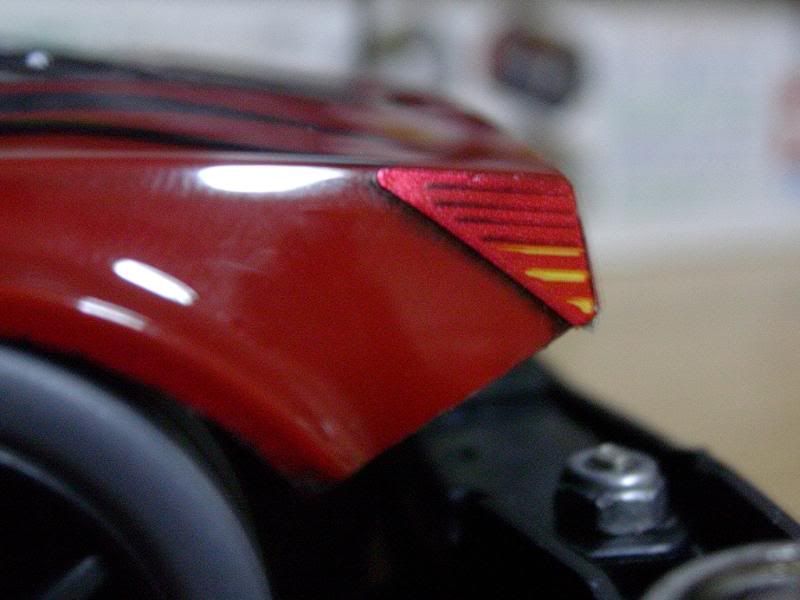
G) Panel lining:
Yes you read that right
 . Even though we are not building a Gundam, panel lining at the right places of your car gives the car volume when viewed and highlights the details as well.
Take the Gundam marker and gently draw on to the grooves on the body, particularly the windscreen and doors. Also in my example, I did a light lining on the taillight. Before the ink dries gently rub off the ink with your fingers/tissue/cotton bud. Do 1 area at a time. This means inking 1 windscreen and rubbing the ink off before inking the next windscreen.
Examples:
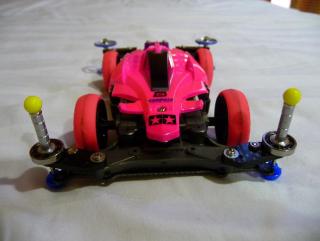
H) Mounting the Body:
The normal mount that comes with a MS PRO kit is VERY HEAVY and sits too high on the chasis. I did a mod by using only the front "hook", removing the excess studs. Use a 4mm screw (can be found on Super-1 kits) to secure the front "hook" and the cover. The rear mount I used comes from Manta Ray Mk III. The rear mount is specially designed to sit nicely onto the chassis so the cover will not wobble.
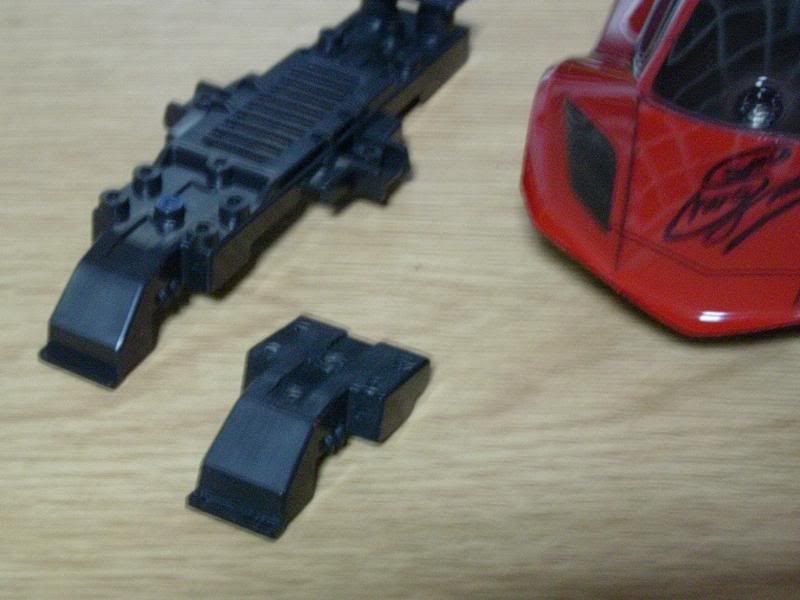
If the cover comes into contact with the wheels, use a small pair of scissors or a curved scissors to trim away the wheel guard on the body. A spacing of 1mm between the cover and the tyres would suffice.
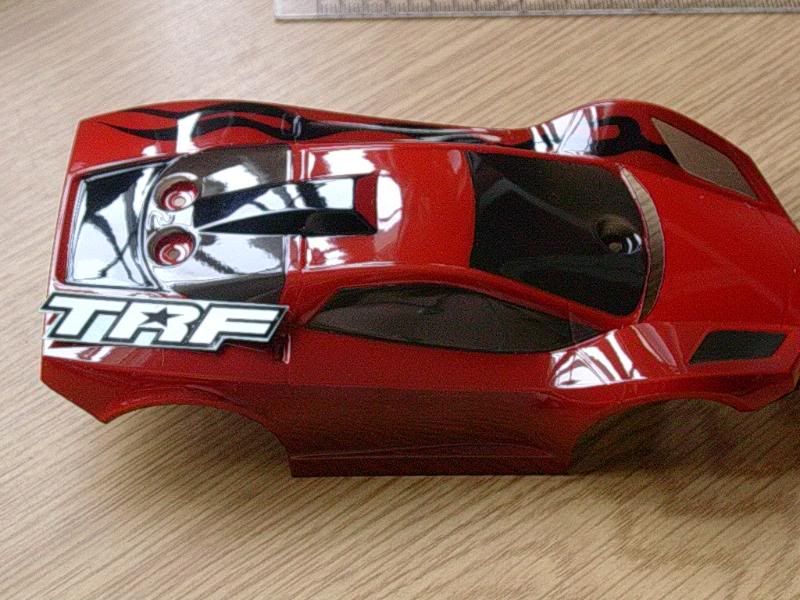
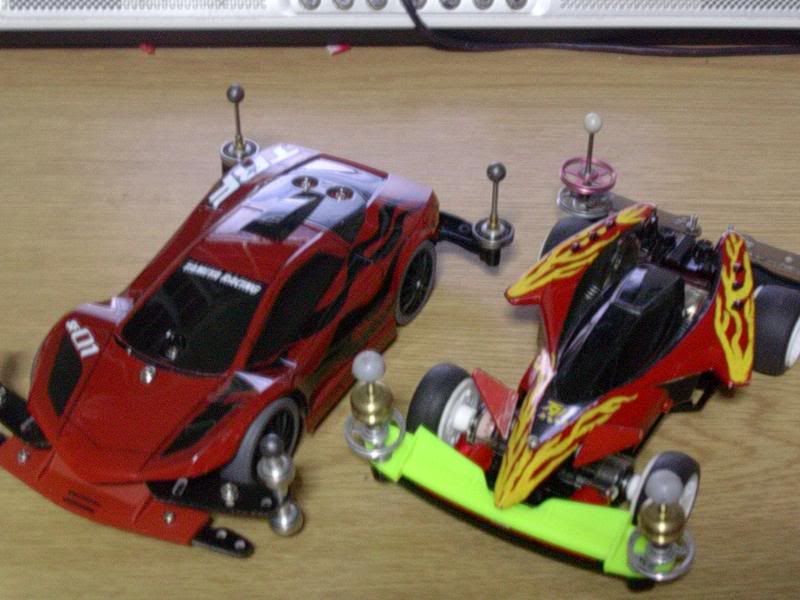
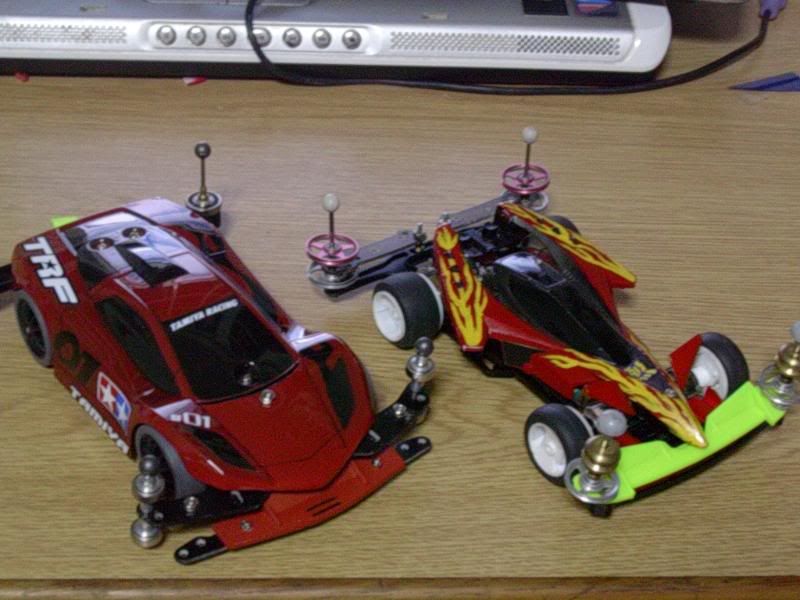
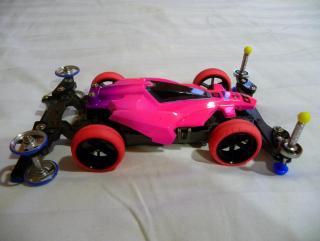
I)Results:
Enjoy the pics

This post has been edited by 13lack.12ose: Mar 5 2009, 01:31 PM
 Quote
Quote


 0.0174sec
 0.27
0.27
 6 queries
 GZIP Disabled