ok
just changed the screws for my mud flaps
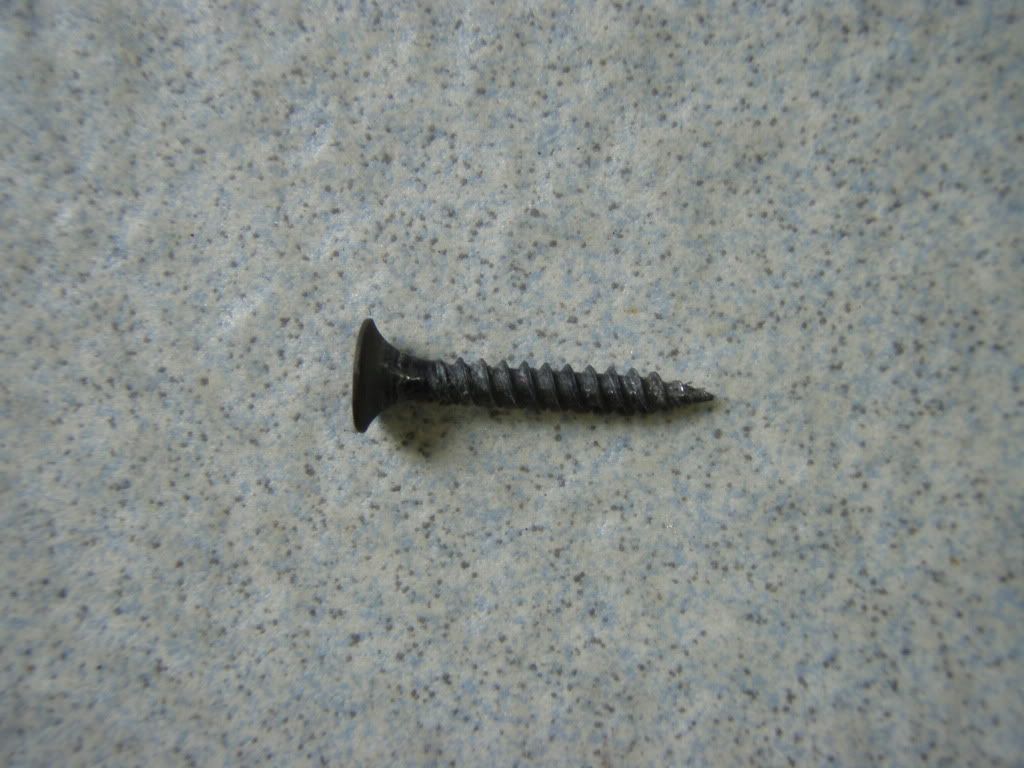
the accessory shops use counter sink screws
heres an example
» Click to show Spoiler - click again to hide... «
» Click to show Spoiler - click again to hide... «
these screws eventually tear through the plastic as the head is tapered
not to mention they rust
mine were only about 6 months old and they were rusting already
its no surprise tho as they are made from steel and the wheel wells are one of the worst places an unprotected steel part could be
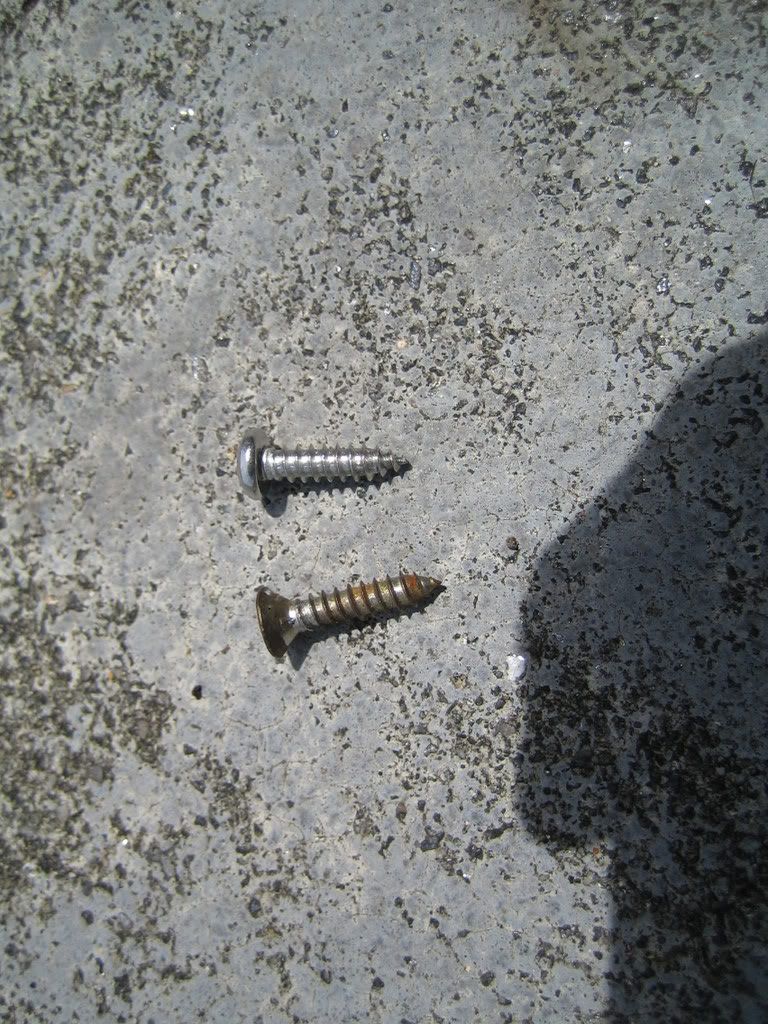
so what i did was i went down to my local everlast nuts & bolts outlet and got me a bunch of "stainless steel pan head self tapping screws"
(which can be seen above in the 2nd picture on the right of the silver counter sink screw)
they were 20cents a piece...but they wont rust...i needed 18 pieces so thats rm3.60...not too steep rite?

for the size, i took out one of the screws from the front as a sample
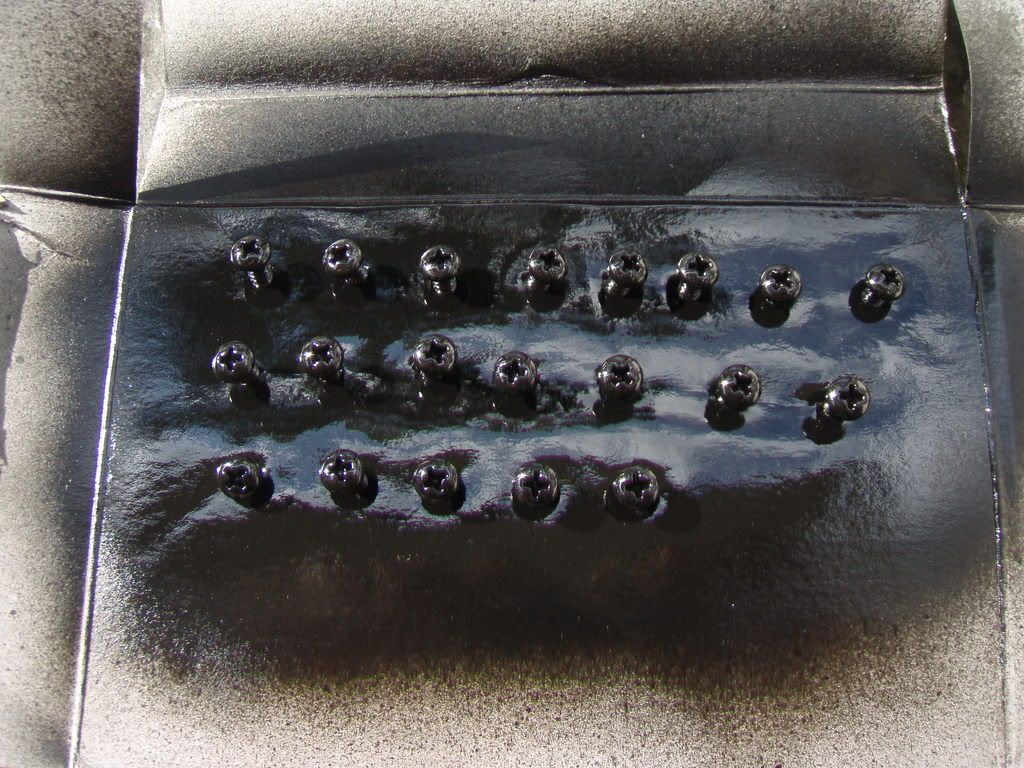
once i got the ss screws, i then sprayed them with a couple of coats of flat black and another couple of coats of clear lacquer...(atleast they wil be less obvious on the black mud flaps now)
» Click to show Spoiler - click again to hide... «
for the front wheels you can just turn the wheel full lock and change all the screws
for the inside most screw (there are five in all for the front) you'll have to use a stubby screwdriver
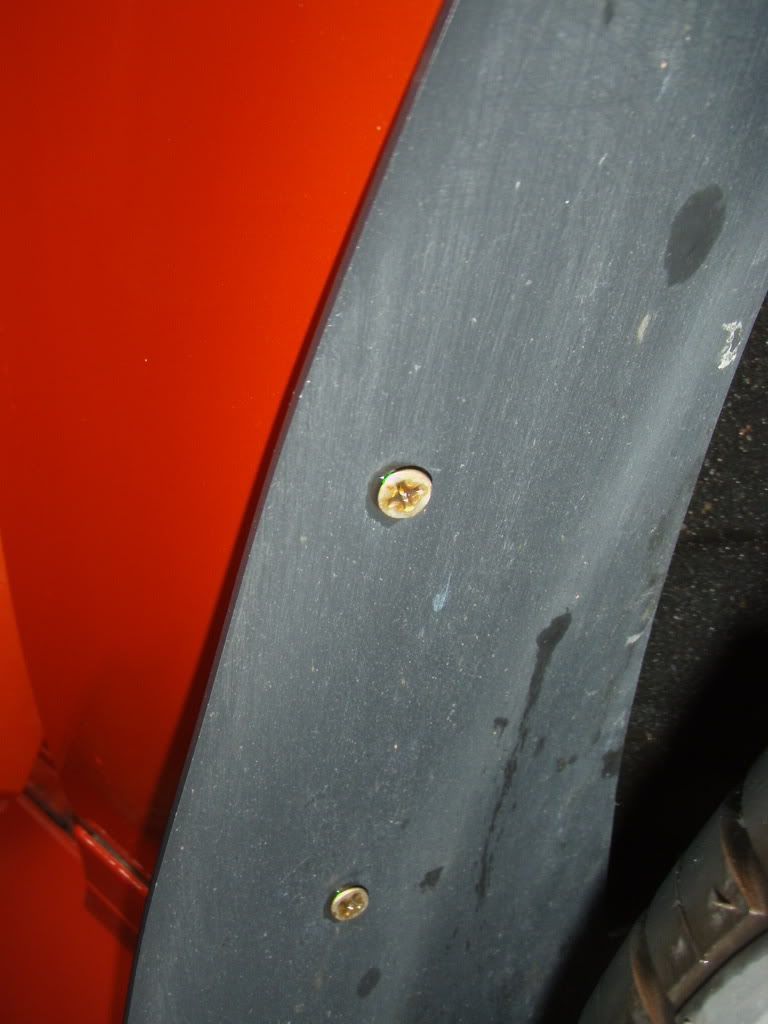
they used silver screws for my front and the black screws (shown in d 1st pic) for the back flaps
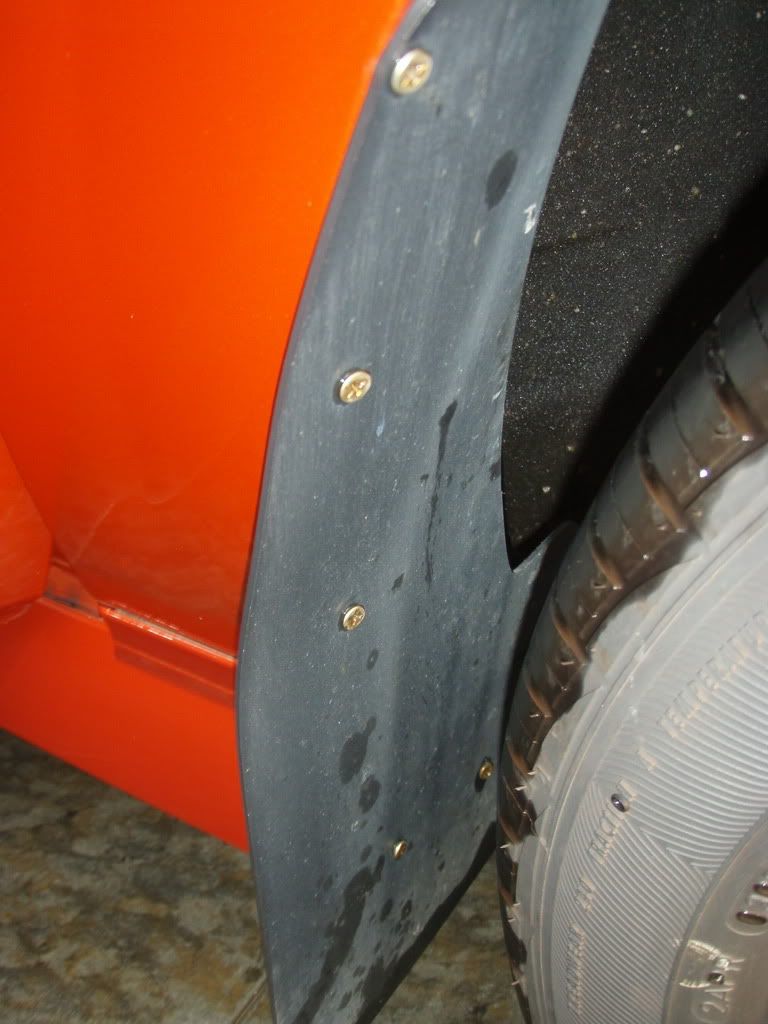
this is what it looks like with the shop installed screws (note the rust)
» Click to show Spoiler - click again to hide... «
» Click to show Spoiler - click again to hide... «
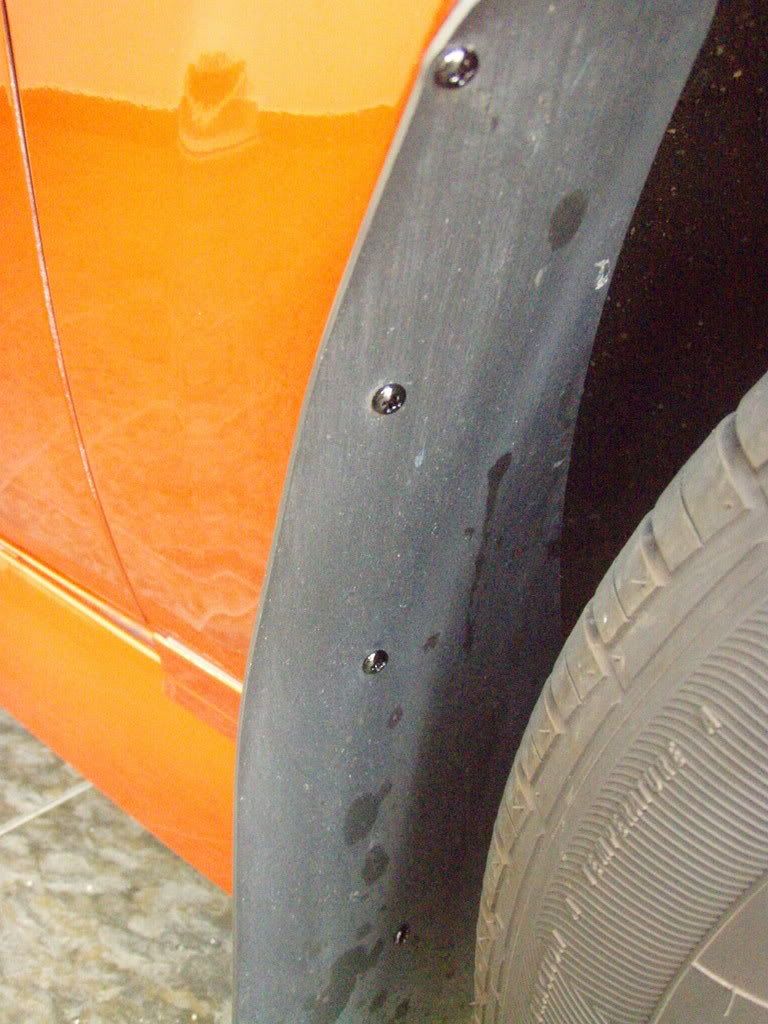
and this is what it looks like after i have changed the screws
» Click to show Spoiler - click again to hide... «
» Click to show Spoiler - click again to hide... «
for the back wheel flaps, they only used 3 screws
this is because there are 2 plugs (i think for anchoring the bumper) on the inner edge of the bumper where the flaps will run on
they did not put a screw on the inside (to create an L shape) like they do for the front wheels
this is because they would have to remove the wheel to do this and they could not be bothered
the result is that the flaps on the back are anchored to the bumper with 3 screws in a straight line
this allows the flap to,...well,....flap

hahaha
over time it will work itself lose and possibly tear off from the screws
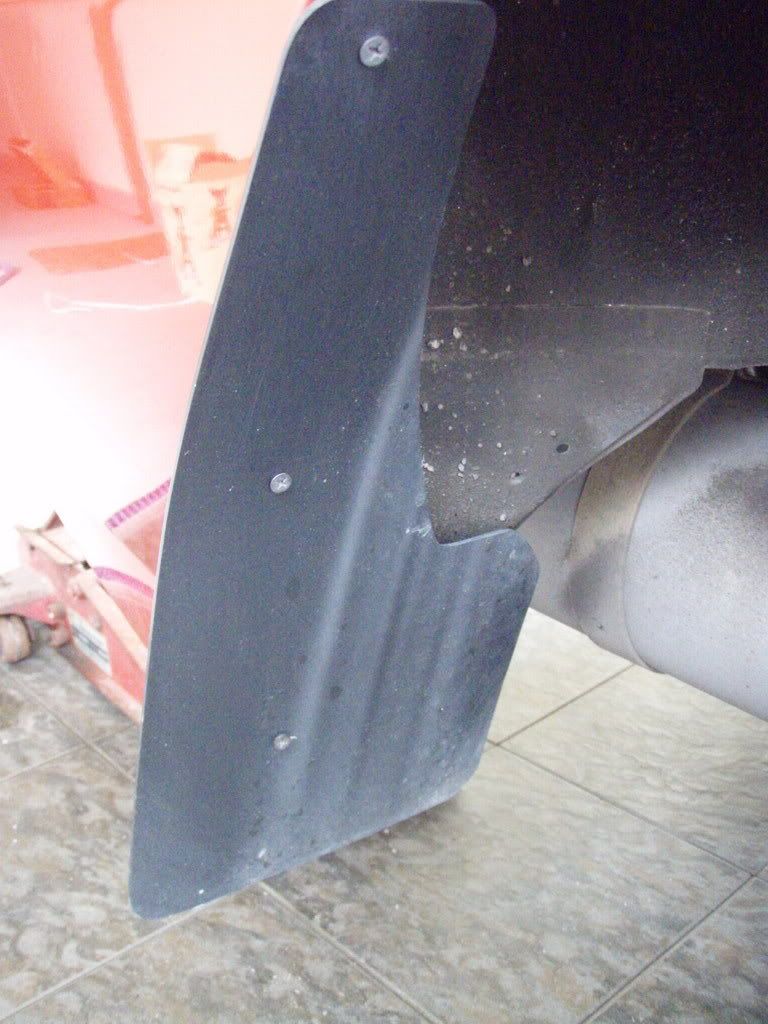
heres a pic of the original setup
» Click to show Spoiler - click again to hide... «
what i did was remove the back tyres and replace their 3 original screws
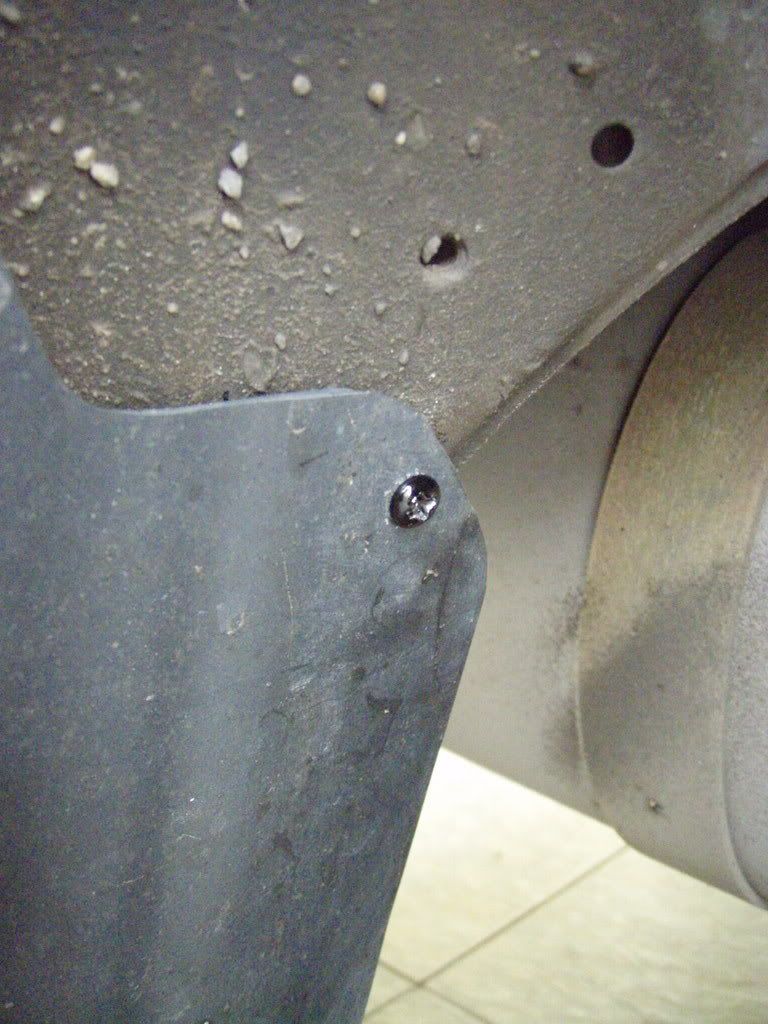
and then i drilled another one on the inside to secure it in the 2nd dimension (basically to create an L shape like the front)
the part that it is screwing into is metal...and the angle is kinda weird...so what i did was use a 2mm drill bit to get through the flap plastic
then i used the black screw seen in picture no.1 (which has a very sharp point) to make the hole through the metal backing (i used a power screwdriver to do this)
(i tried using the drill bit but the angle kept making it run off target)
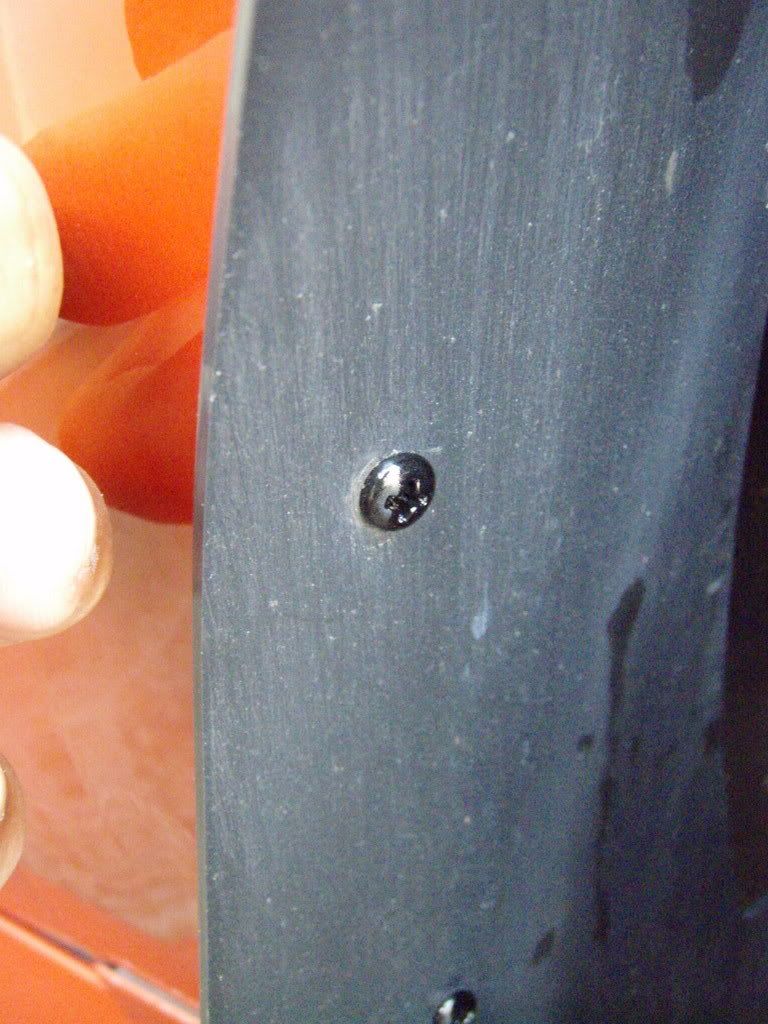
this is what the 4th screw looks like after its installed
» Click to show Spoiler - click again to hide... «
with this extra screw the back flaps become secure and sturdy

just a note...all the screws were screwed in manually with a hand screwdriver and not a power screwdriver so as not to accidentally slip and thus damage the paint since it has only had a day to dry and thus wouldnt be so hard yet
This post has been edited by neosaint99: Nov 2 2007, 10:31 PM 

 Oct 24 2007, 11:18 PM


 Quote
Quote

 ), then u would prolly do well to upgrade the brakes


 0.0298sec
 0.37
0.37
 7 queries
 GZIP Disabled