

Title: Dismantling, Hacking, Cleaning


This post has been edited by My Maison: Feb 20 2022, 08:09 PM
Seeking ways to design & renovate your house?, Happy Learning Together!
|
|
 Feb 20 2022, 07:04 PM Feb 20 2022, 07:04 PM
Show posts by this member only | IPv6 | Post
#221
|
 
Junior Member
319 posts Joined: Jun 2018 |
Topic: Toilet Renovation
Title: Dismantling, Hacking, Cleaning This post has been edited by My Maison: Feb 20 2022, 08:09 PM |
|
|
|
|
|
Feb 20 2022, 07:05 PM
Show posts by this member only | IPv6 | Post
#222
|
|
Junior Member
319 posts Joined: Jun 2018 |
Topic: Toilet Renovation
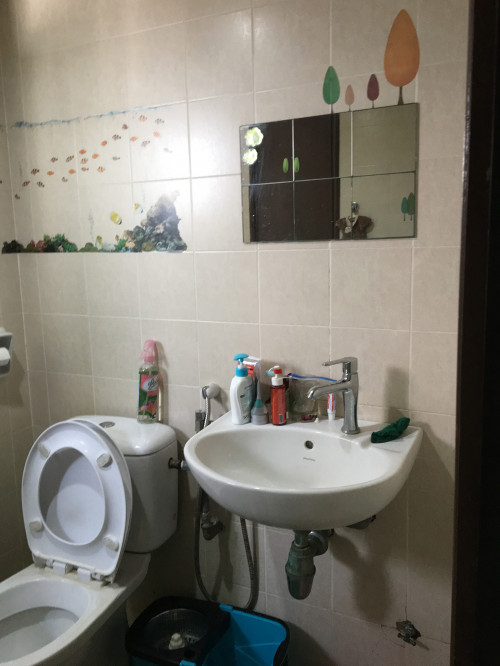
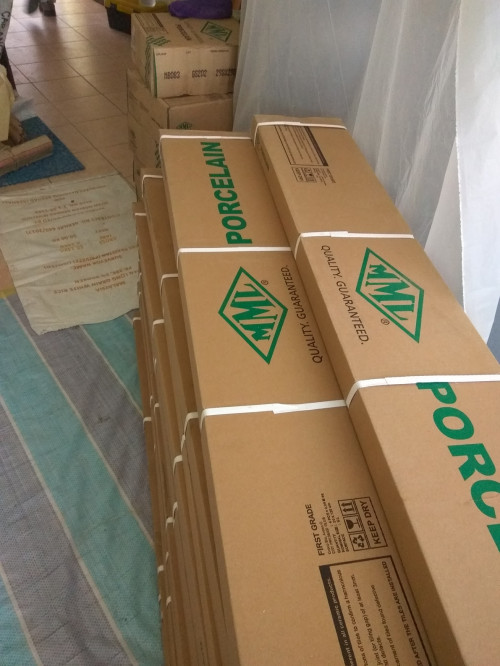
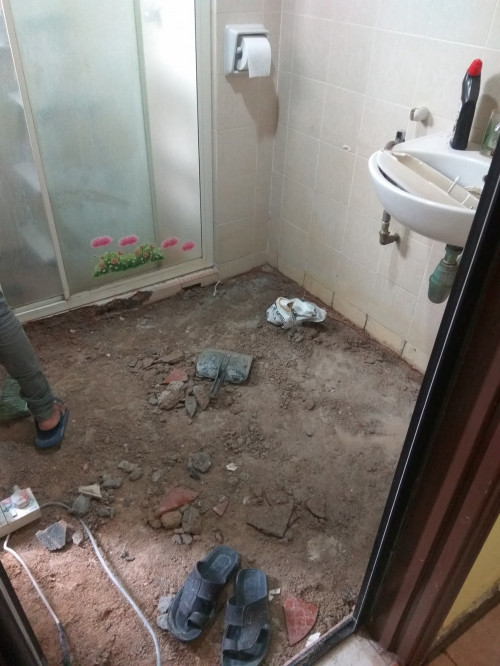
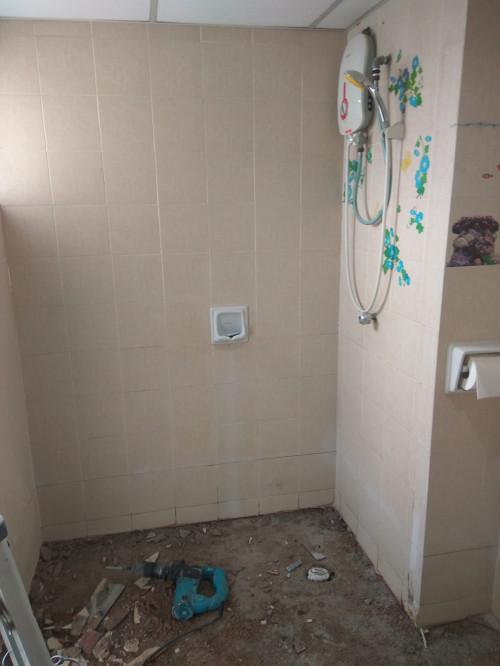
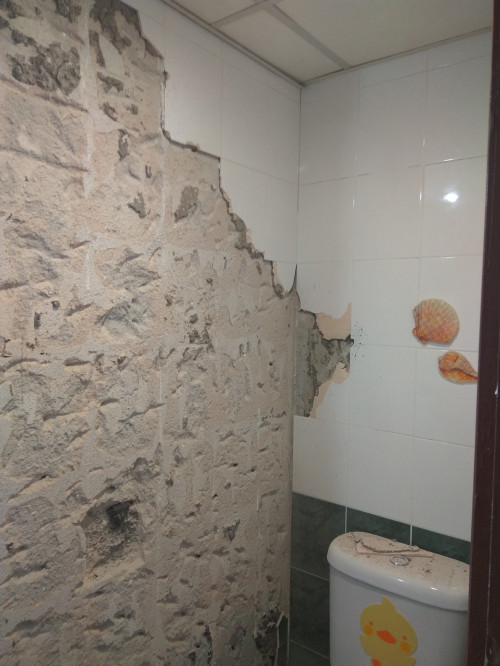
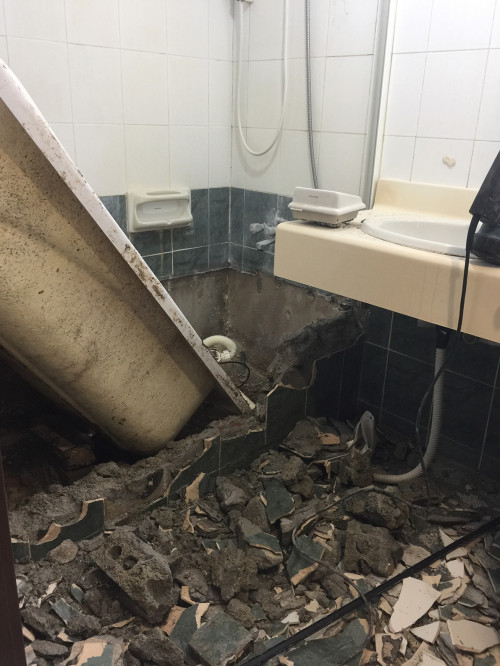
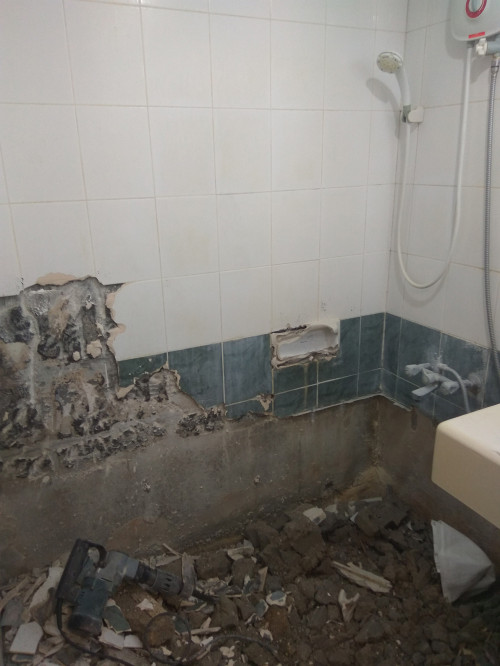
Title: Dismantling, Hacking, Cleaning Hi everyone, let's talk about toilet work for today sharing. When we move into a new house, what is the most critical issue that might happen? One of it will be the water issue. Whenever we go for home defect checking, we will definitely put more attention in our toilet, as if water leaks happen, it can cause a lot of trouble to you, and even to your neighbors below your unit. So, water leaks usually happen when waterproofing work in not done properly. So, ensure that waterproofing work is done perfectly before any finishing/ tiling work is fixed on it. Let's scroll back to the beginning of the renovation work in your toilet, if you would like to have yourself a better toilet design. First and foremost, remove all your existing toilet fixtures, such as toilet bowl, basin, shower screen, shower head, water heater etc. Next, hacking work is done to remove all your tiles. With all the unwanted tiles being removed, its time to clean up the area, remove all your debris completely. pack them into bags and bags. Ensure that all the debris are completely thrown away before your renew work start. Let's see and enjoy our photos shared with you, to know how is our work being done. Hope you really enjoy and learn something new today!!  |
|
|
Feb 21 2022, 08:27 AM
|

Senior Member
6,724 posts Joined: Aug 2008 |
Hi, do you suggest painting or wallpaper to refresh a room? However the house is not empty/new. So the renovation has to go on while people are still living inside. Which one would be more convenient?
|
|
|
Feb 22 2022, 12:41 AM
Show posts by this member only | IPv6 | Post
#224
|
|
Junior Member
319 posts Joined: Jun 2018 |
QUOTE(miyakochan89 @ Feb 21 2022, 09:27 AM) Hi, do you suggest painting or wallpaper to refresh a room? However the house is not empty/new. So the renovation has to go on while people are still living inside. Which one would be more convenient? For me, i will go for painting work. Few reasons here to consider,  1. Not easily out of trend, can always repainted with new colour whenever you want 2. Many styles to play with paint, eg: a. one plain wall with selected colour, simple and nice b. play with two different tones of colour, dark and light colour c. play with gradient d. split the ratio to one third/ two third/ half, can using two choices of colour to design e. paint with geometry pattern f. paint with shapes/ lines 3. everyone can make it easily. There is no right or wrong in this scenario. But for me, i will go for paints. Its my own preference anyway, still subjected to your choices anyway. |
|
|
Feb 23 2022, 12:50 AM
Show posts by this member only | IPv6 | Post
#225
|
|
Junior Member
319 posts Joined: Jun 2018 |
Topic: Toilet Renovation
Title: Cementing & Waterproofing  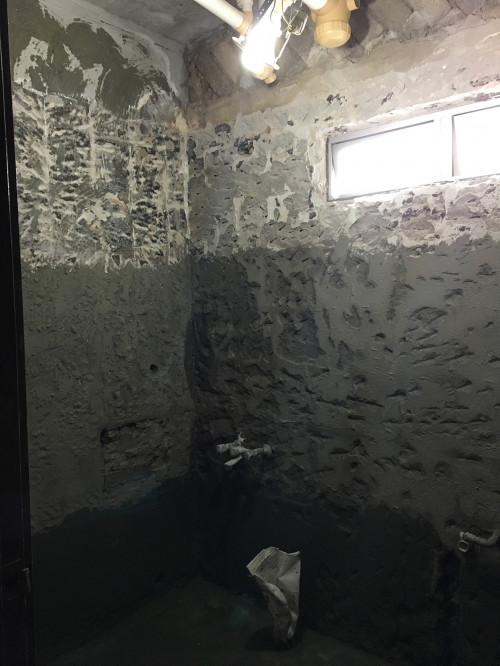 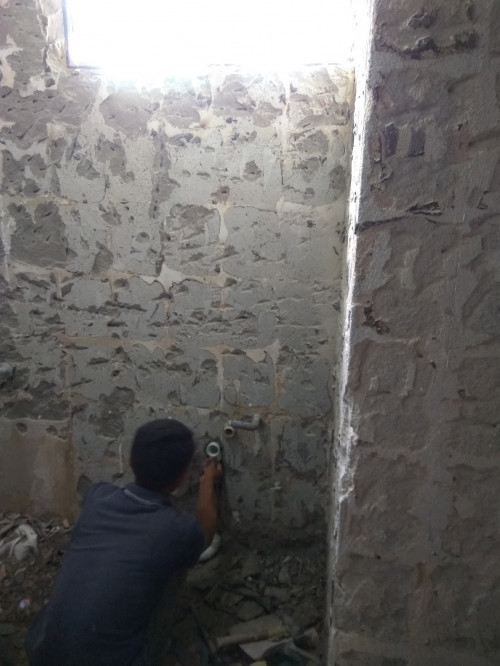 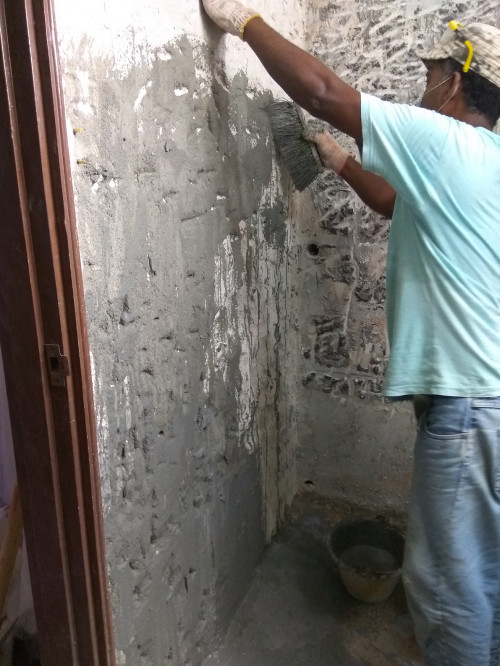  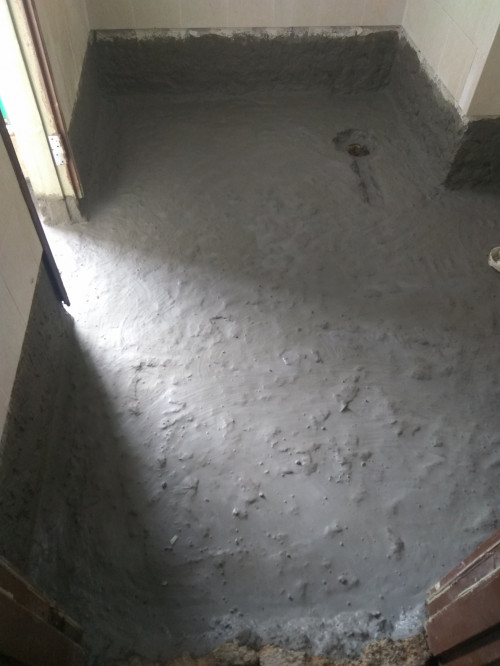 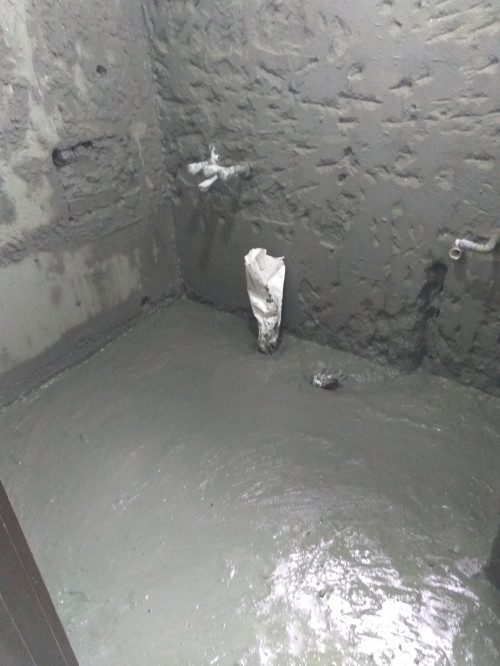  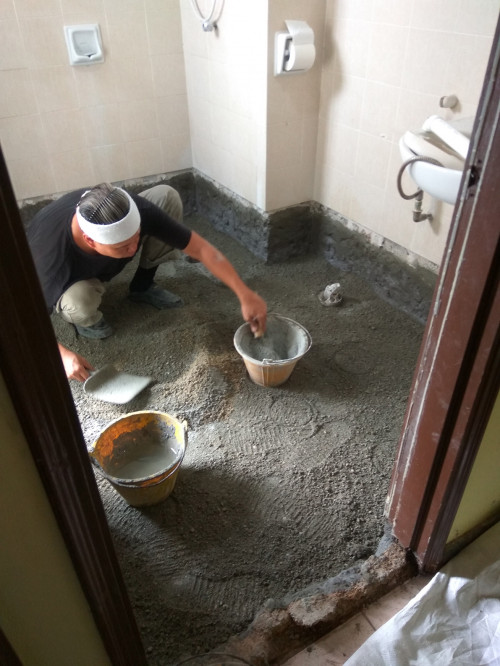 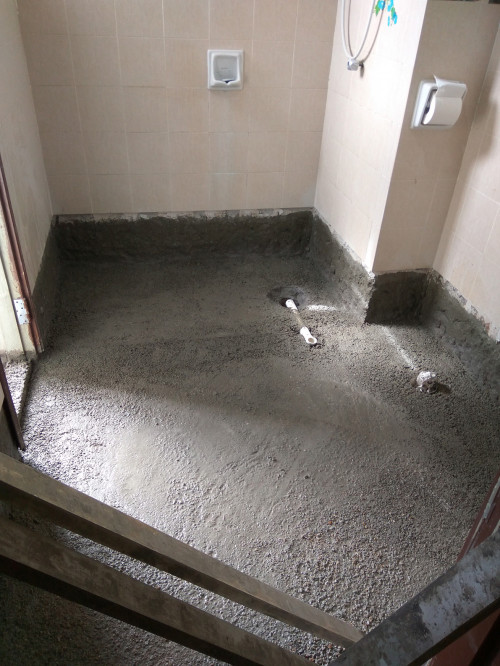 |
|
|
Feb 23 2022, 12:50 AM
Show posts by this member only | IPv6 | Post
#226
|
|
Junior Member
319 posts Joined: Jun 2018 |
Topic: Toilet Renovation
Title: Cementing & Waterproofing After all of the debris being cleared up, you may now proceed with the next steps, make your plumbing work done and cementing your floor. While the works before this might cause a lot of holes here and there, you have to fill up all of the gaps first with cement. Ensure all of your pipeline is done correctly before any concrete casting work is done. Start to cement your floor slab for the first layer. After the flooring plastering is dried for the 24 hours and it is done, apply your first coat of waterproofing. This is very important as without a proper waterproofing, when leaks happen, it can cause you even more as you have to hack all your tiles up again to find the water source. Apply your second screed layer and waterproofing again for double protection. Let them dry for few hours again. Before proceed to the final steps which is to install your tiles, you have to make a small test first, know as water-pond test. This practice is done by filling up the bathroom area with water left overnight above the waterproofing. After the test, you will know whether there is any leakage happen or not. If yes, your waterproofing has to be redo again. After all the inspection works being done, you can now install the bathroom tiles. Hope you enjoy our sharing today. Appreciate your support towards our effort in our work!! |
|
|
|
|
|
Feb 26 2022, 01:55 PM
Show posts by this member only | IPv6 | Post
#227
|
|
Junior Member
319 posts Joined: Jun 2018 |
Topic: Toilet Renovation
Title: Tiling 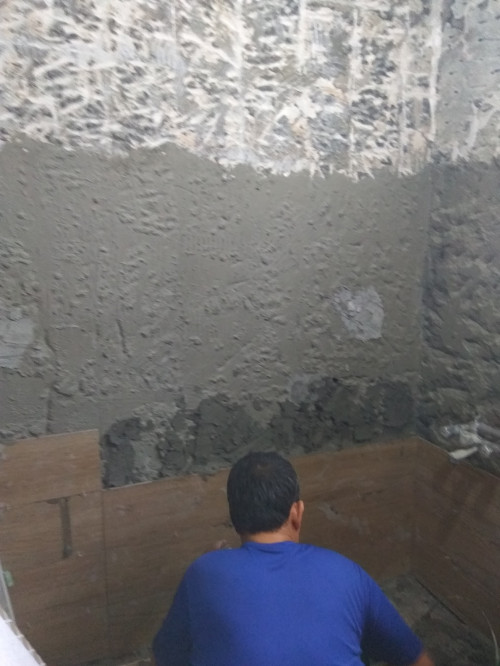 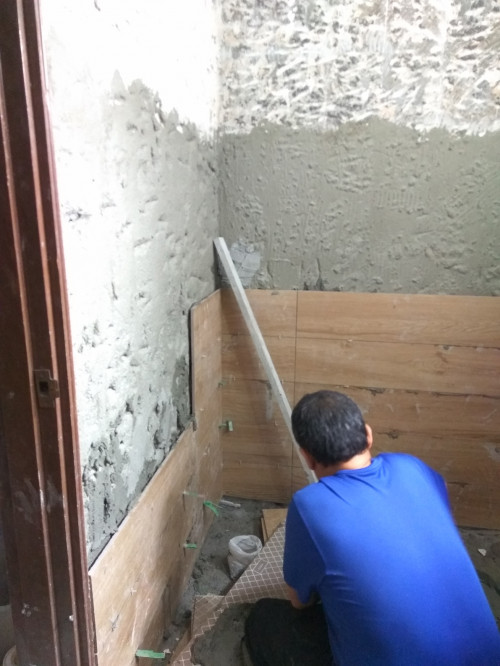      |
|
|
Feb 26 2022, 01:55 PM
Show posts by this member only | IPv6 | Post
#228
|
|
Junior Member
319 posts Joined: Jun 2018 |
Topic: Toilet Renovation
Title: Tiling As we completed all of the protection works, we can now lay our tiles on it. Tiling work is also significant as it determines the entire workmanship and appearance. Even the pattern, sizes of tiles can decide how many cutting waste will be produced, which somehow affect your overall cost. We always make assumption of additional 10 percent of the overall square footage for cutting waste. Ensure that the adhesives or thin-set mortar used as the bonding agents for the tiles are proportionately mixed. Place the first tile and press on it gently. Use a spacer in between while you lay your next tile side by side. Going step by step until we reach to the completion. You may refer to our previous work in the post shared before on how we lay our tiles. However something to take care in the bathroom will be the floor gradient. We know that water is always the most critical things in the bathroom. Without a proper gradient, your water will never flow effectively to the floor traps. Thus, we need a proper workmanship from the workers. Yes, back to the tiling works, we apply the grout to seal up the gaps between tiles. Wipe off any extra sealant after some time. Some precautionary steps to be taken as well, do not lay your tiles too near to each other in which this can cause popping out of tiles to happen. Use a hammer to tap the tiles slightly, be careful to prevent breakage. Lastly, dun stand on the tiles which has not set or harden with the mortar together. Hope you likes our works. Enjoy |
|
|
Feb 27 2022, 05:01 PM
Show posts by this member only | IPv6 | Post
#229
|
|
Junior Member
319 posts Joined: Jun 2018 |
Topic: Toilet Renovation Title: Ceiling Installation & Completion of Work 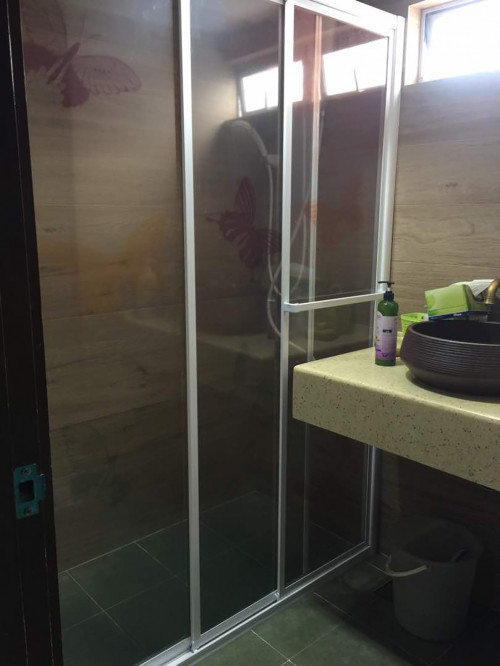 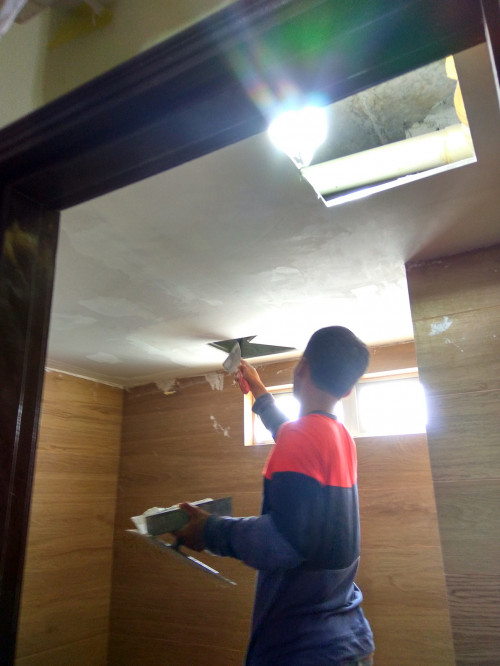  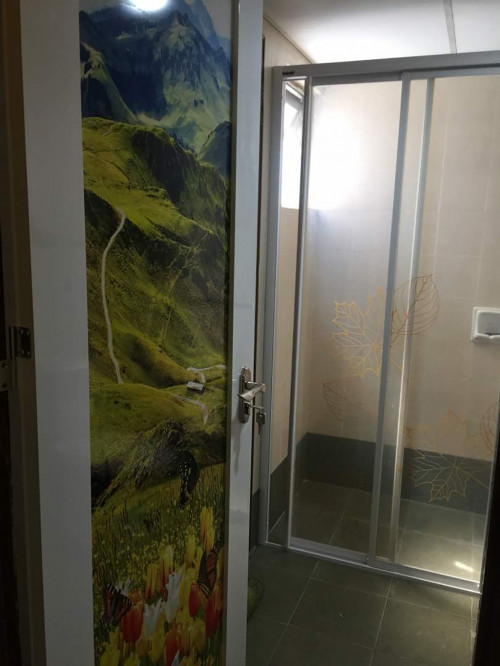 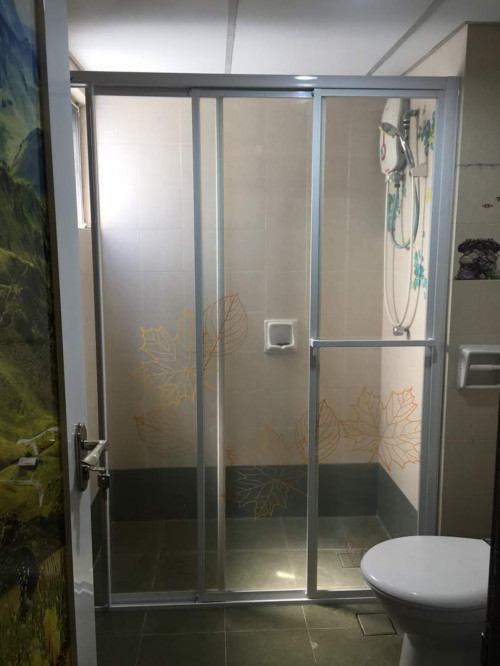 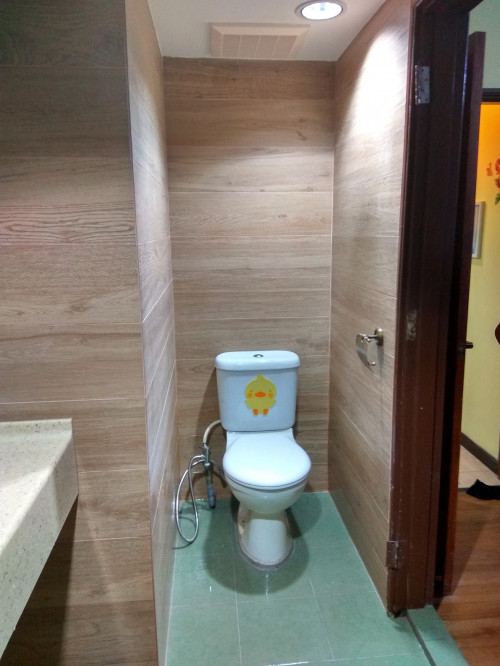 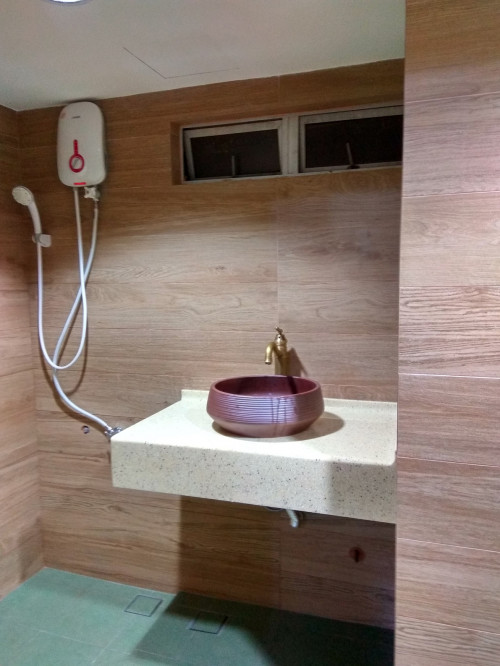 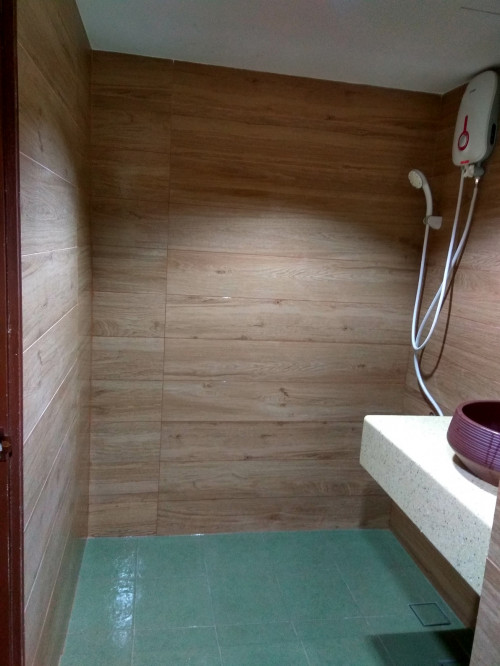 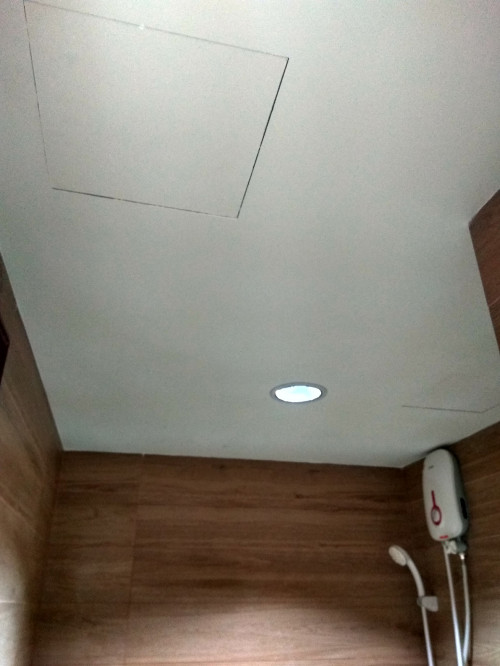 This post has been edited by My Maison: Feb 27 2022, 05:04 PM Michaelbyz23 liked this post
|
|
|
Feb 27 2022, 05:04 PM
Show posts by this member only | IPv6 | Post
#230
|
|
Junior Member
319 posts Joined: Jun 2018 |
Topic: Toilet Renovation
Title: Ceiling Installation & Completion of Work With all of the tiles setting out completed, you may now proceed with the next steps, installation of ceiling board, doors etc. As usual, according to your bathroom layout, we set the grids first, before putting up the work frame for plaster ceiling. Some of you might be curious is there any specific plaster ceiling needed for wet areas like bathroom, however normal gypsum ceiling is good enough for bathroom. Let me introduce to you some of the other ceiling material if you would like to know more about it. Firstly, gypsum ceiling is a readymade sheet made of "plaster of Paris" - a quick-setting gypsum plaster made of fine white powder. It is hardened when moistured and is allowed to dry. It comes with many sizes , is not expensive, and it keeps away the moisture, mold etc, which is a common and useful material suit to bathroom. Secondly, going into advance, you may also consider aluminium composite panel (ACP) as your ceiling material. It has two aluminium sheets holding a thermoplastic core in between. It can give nice appearance, which is quite advance. Sometimes, even external building metal roofing used this kind of material as well. Metallic and rigd appearance, good to use and consider!!! Next one, the acrylic material. It is a fiber material made from resin. It comes with variety of design, thickness and size. It can be transparent, solid colours, or even with patterns. It is supported with L-shape aluminium strips. It is quite interesting and advanced as compared to normal plaster ceiling. You may also consider as well!! Hope you like some of our sharing today. Thanks and enjoy our site photos shared with you ya! |
|
|
Mar 3 2022, 01:24 AM
Show posts by this member only | IPv6 | Post
#231
|
|
Junior Member
319 posts Joined: Jun 2018 |
Topic: Defect Checking Title: Site Preparation       Michaelbyz23 liked this post
|
|
|
Mar 3 2022, 01:24 AM
Show posts by this member only | IPv6 | Post
#232
|
|
Junior Member
319 posts Joined: Jun 2018 |
Topic: Defect Checking
Title: Site Preparation Hi everyone, welcome back to today's sharing session. We are going to share about some of the tips while you are doing home defect checking for your first ever house you bought. Do you know that defect checking is very important as you can request for a new one if there is any breaks / works which are not properly done by your developer. This is also very important for us, as before every project started, we have to ensure that all things are in good condition, or if there is any defect present since beginning, the fault will not imposed to the contractor etc. Today, let's talk about some of the things you might need to check once you receive your house key, and ensure that everything are okay before awarding the work to the contractor. Firstly, get yourself a charger, check every single electrical point and make sure that all of them are functioning. Next, check all the water pressure in your house, whether everything is in good condition etc, example your water closet, tap, shower and more. Besides, take a look to your door hinges, door frame, door handle etc. Check for the alignment of your door, whether it is professionally done or not. If not, you may request for a new one. Furthermore, bring yourself a checklist as well, check whether the finishing provided for you is exactly the same as what stated. For example, if it is stated as laminate flooring, then it should be laminate finishing but not other material. If it is written full height tiles, then it should not be only half. Be cautious about this. Check whether there is any hollowness in your floors, tiles, wall and more. If yes, please raise up the issue. Do check also the evenness of the wall. Something I would like to mentioned here is that if you are going to renovate that particular place, and you plan to dismantle it, you should not waste your time in requesting renewal of that particular area, since you already planned to dismantle everything right. Be cautious with what you plan to do, and don't waste your time and resource on something not beneficial for you. Check for the switches, whether it is loose or not even with the wall. Check whether there is any leakage, check for floor gradient in toilet, check for stains, check for aircond hood and hob, and many many more. Hope you learn something from today's sharing. There are actually many many more defects to be checked. Hope to share with you again in future With all of the defect checking being made, you may now pass your house to your contractor for further renovation work. Take a picture and if there is anything happen , you know who can you find for. With this, contractor can now making site protection and prevention before any extension or renovation start. This post has been edited by My Maison: Mar 6 2022, 10:41 PM |
|
|
Mar 6 2022, 10:39 PM
Show posts by this member only | IPv6 | Post
#233
|
|
Junior Member
319 posts Joined: Jun 2018 |
Topic: House Wiring Work
Title: Conceal Wiring  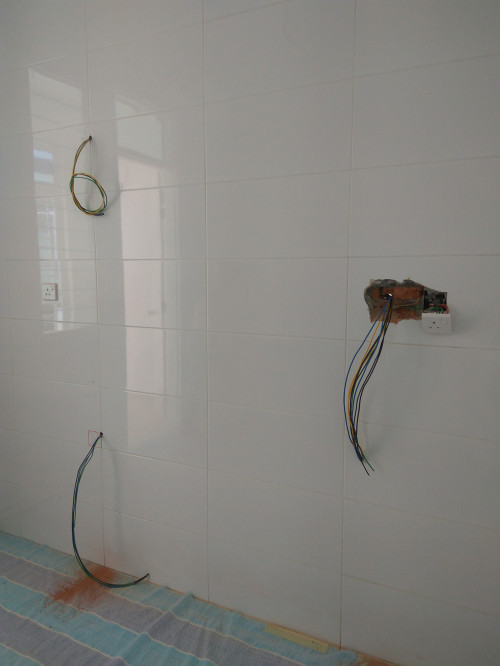 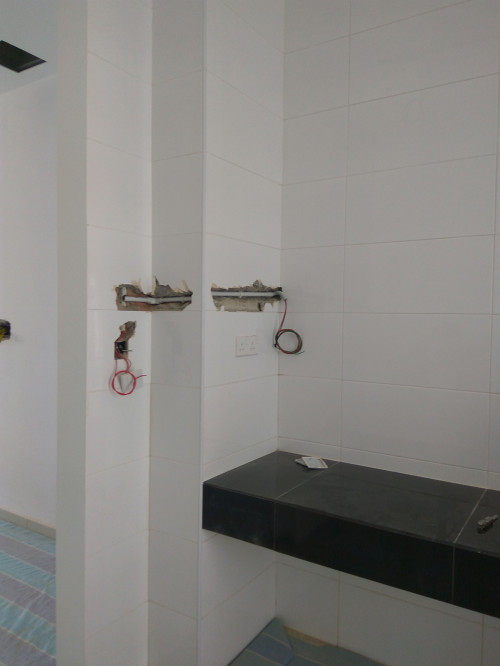  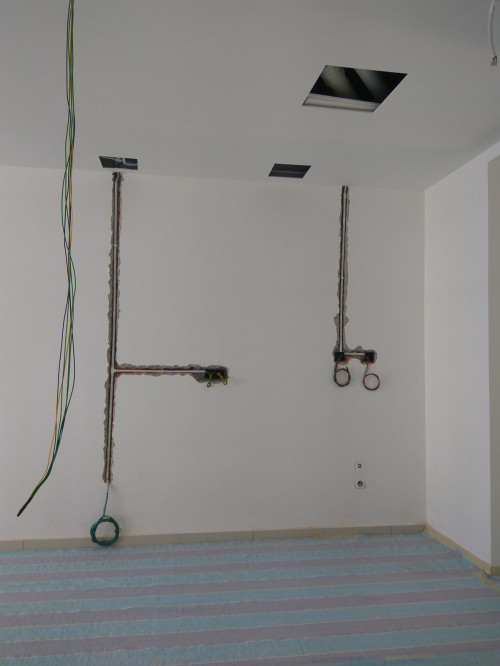 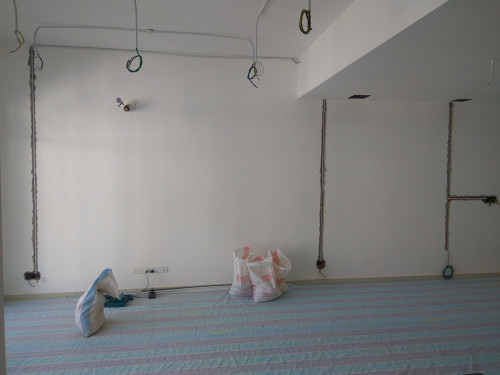  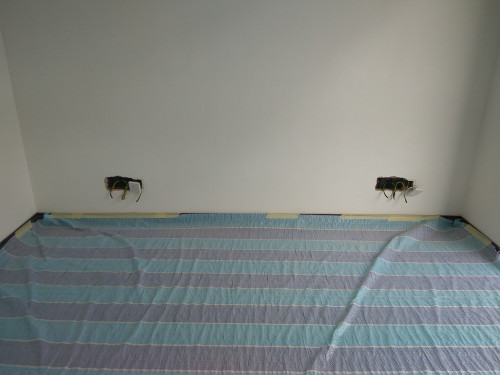 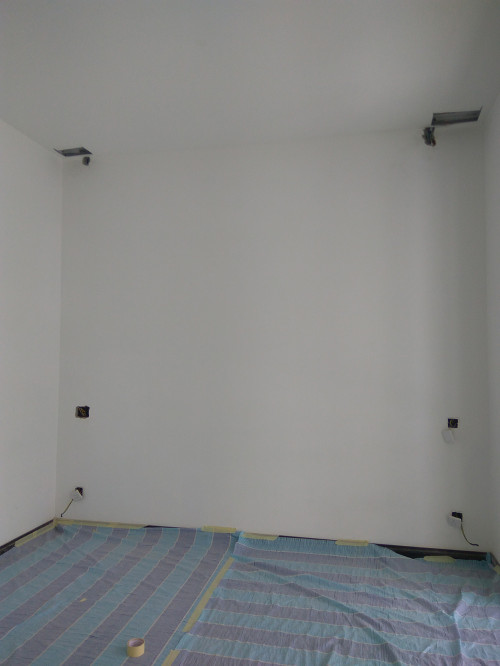 This post has been edited by My Maison: Mar 6 2022, 10:40 PM |
|
|
|
|
|
Mar 6 2022, 10:39 PM
Show posts by this member only | IPv6 | Post
#234
|
|
Junior Member
319 posts Joined: Jun 2018 |
Topic: House Wiring Work
Title: Conceal Wiring Hi everyone, today, lets talk about wiring again. Do you know that sometimes, too much of wiring trunking can actually affect the aesthetic of your house design. So, i suggest most of you to consider the usage of conceal wiring. To me, if the points are like hidden in some cabinets, its okay. I realized that a lot of houses' living room or somewhere in the middle, there are a lot of switches/ socket overcrowding in these areas. Try to make this area as simple as possible. Try to make the numbers of switches an even number, be consistent. The colour of switches should also matches the colour of the walls. If your wall is dark in colour, choose a darker switches/ sockets, and it looks literally hidden . As usual, count the amount of sockets and switches according to your needs. Don't over allocate it, and don't underestimate it as well. Hope you enjoy our sharing today. Please have a look to our photos shared with you. Thanks!  This post has been edited by My Maison: Mar 6 2022, 10:40 PM |
|
|
Mar 8 2022, 11:43 PM
Show posts by this member only | IPv6 | Post
#235
|
|
Junior Member
319 posts Joined: Jun 2018 |
Topic: Eco Majestic Condominium
Title: How to make your ceiling looks higher? 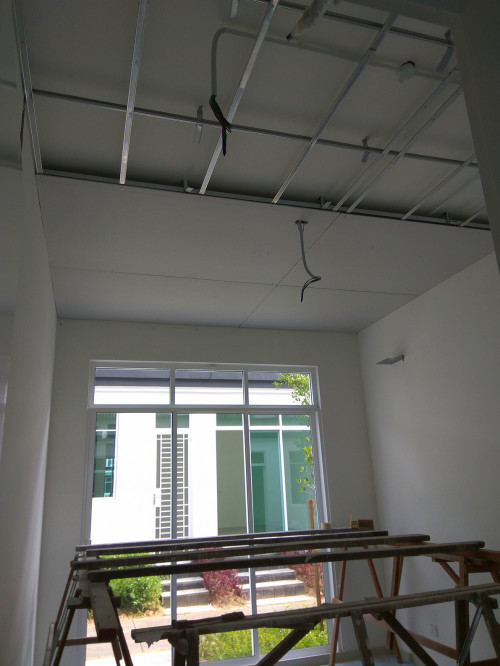 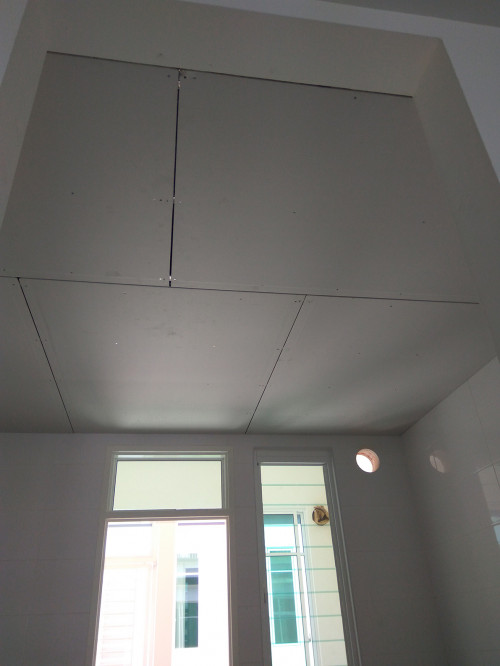  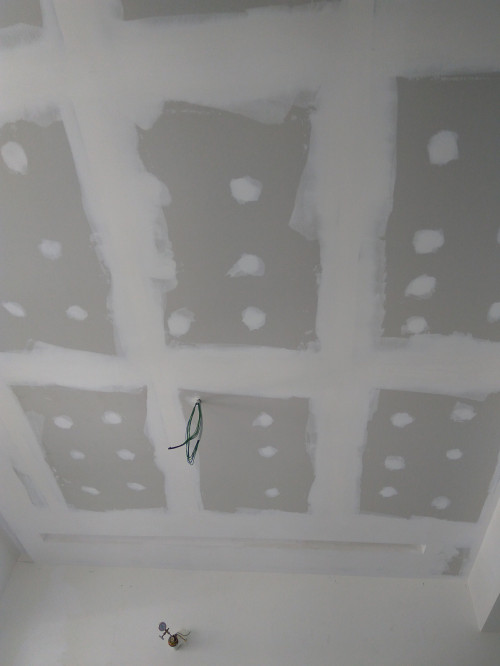 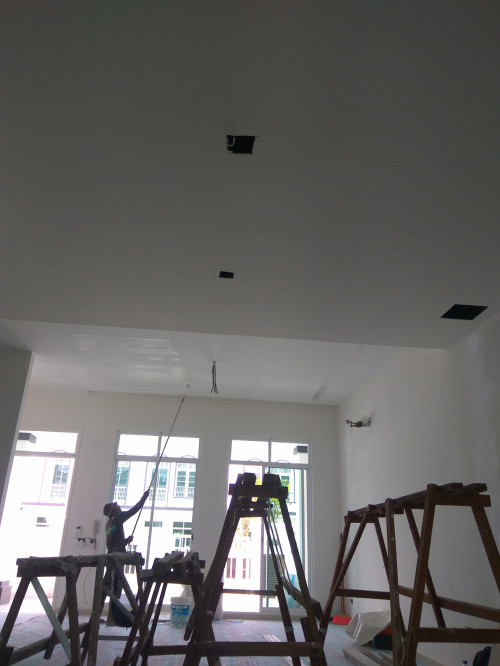 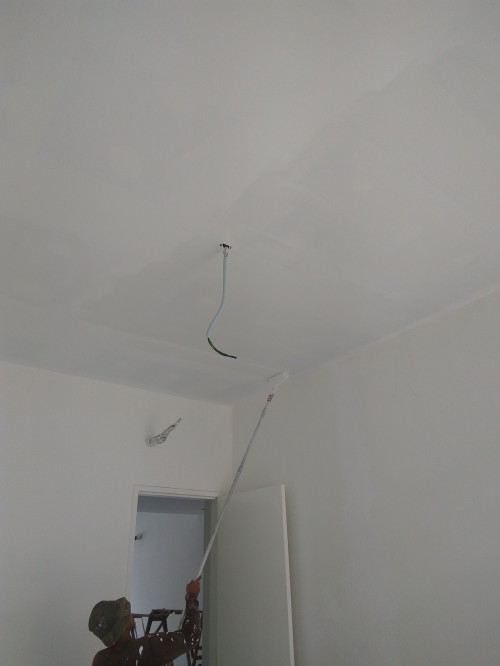 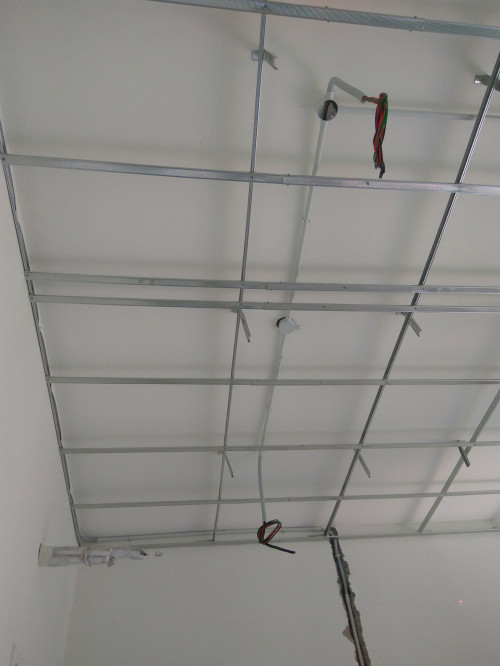 |
|
|
Mar 8 2022, 11:43 PM
Show posts by this member only | IPv6 | Post
#236
|
|
Junior Member
319 posts Joined: Jun 2018 |
Topic: Eco Majestic Condominium
Title: How to make your ceiling looks higher? Hi everyone, I am here again. Today, sine we are sharing some of our works regarding to the ceiling, why don't we share about the problems of having a low ceiling, and how we are going to solve this issue? Firstly, we choose to paint the ceiling with high-gloss paint. By doing so, when lights strikes and bounces in the area, they somehow makes the space bigger. The next tips are some illusion technique to be used, such as the usage of flush-mounted chandelier / light, low furnitures etc. When you leave ample space in between top and bottom, this can somehow extend the space, making your ceiling higher when you see more walls in between. Next, try to extend. Extend your cabinet up to the ceiling. Emphasize also long horizontal planes such as installing long displayed shelves. This can distract someone's eye from focusing the low ceiling. One of the tips is also apply wainscoting on your wall. With those framing, it somehow framed your wall. Try to catch the proportion so that it creates better views. Last but not the least, use more white. Try to apply same colour tones for both ceiling and wall. With generous amount of white space between the top shelf and the ceiling, it looks more neat and clean in overall. Opt for a single colour, from floor to ceiling, when your ceiling is too low. Installing yourself a long drape also helps in creating the illusion of tall walls. Conceal the top of drape with ceiling pelmet, and the entire space will looks better. These are some of the tips for you to read. Hope you enjoy. Please spend some time in viewing our works as well. Thankss!!!  |
|
|
Mar 13 2022, 06:11 AM
Show posts by this member only | IPv6 | Post
#237
|
|
Junior Member
319 posts Joined: Jun 2018 |
Topic: Eco Majestic Condominium
Title: Usage of Lights in A Space 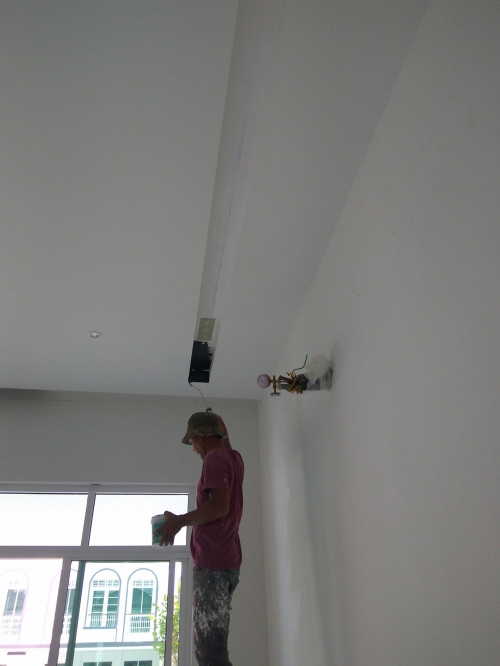 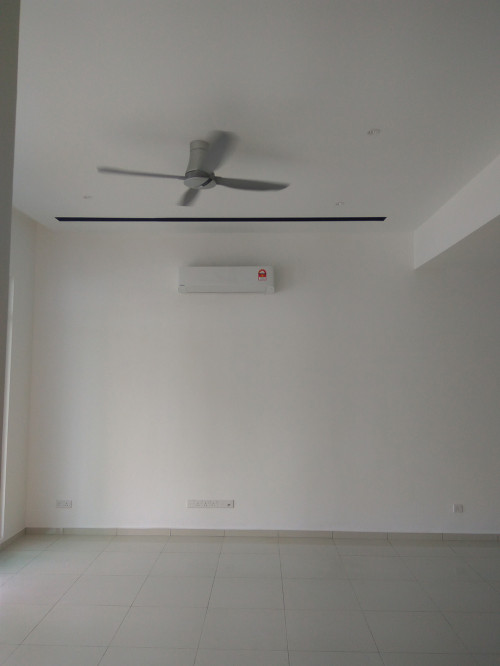 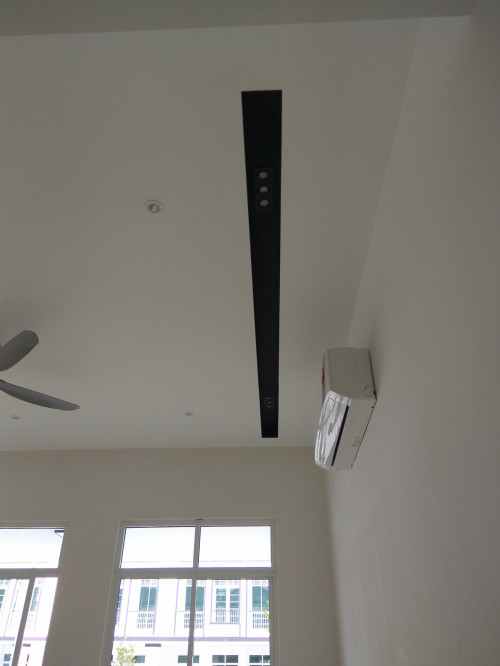 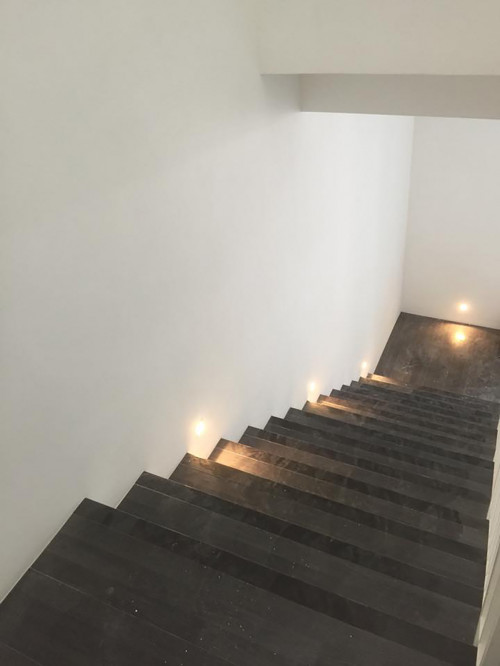 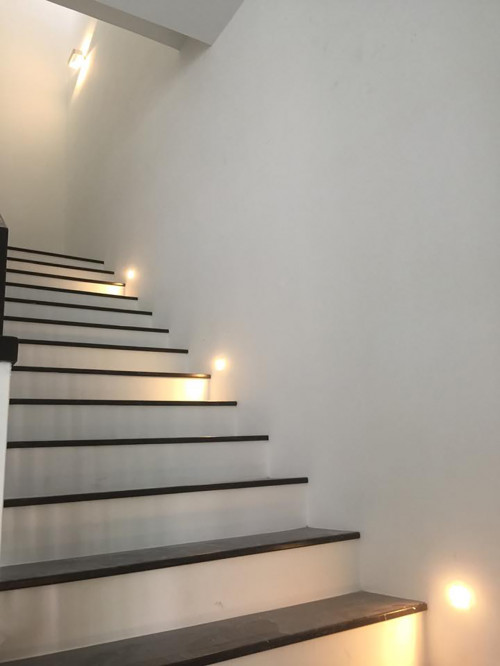 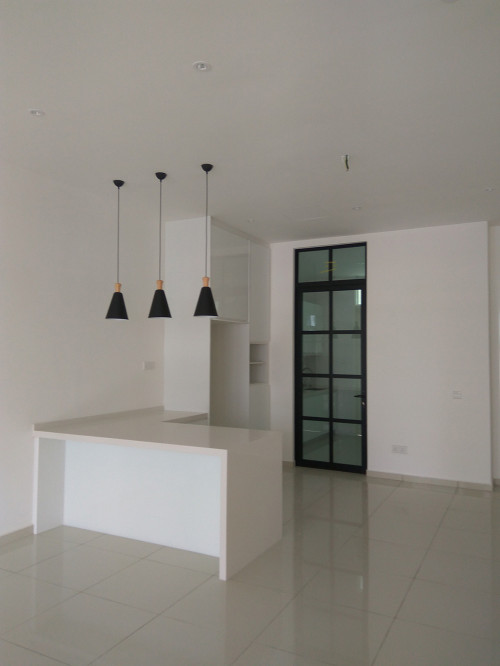 |
|
|
Mar 13 2022, 06:12 AM
Show posts by this member only | IPv6 | Post
#238
|
|
Junior Member
319 posts Joined: Jun 2018 |
Topic: Eco Majestic Condominium
Title: Usage of Lights in A Space Hi everyone, welcome back to the sharing session today. Let's talk about the usage of different lighting in creating different mood for the space. Firstly, why is light source so important? It makes a space more lively, and with the combination between lights and carpentry work, it makes the carpentry work even more "pop out". So, what are the usage of lighting? The lighting source helps in brightening up the dark/blind spot. For example in your kitchen, we normally only install downlight on your ceiling. Sometimes, you will actually block the direct lights from top while you are preparing/cutting your ingredients. So, this is how your light strip designed around the cabinet works. This LED light strip can lighten up your preparation area in another way, while preventing you from cutting your fingers etc. Even your cupboard/your cabinet can have LED strip light placed inside. They can work with sensory system. When you open it or move your hand over the sensory area, the light will lights up, and after you are done, the light turns off again as they detect no more hands around. It works when you need them while off when you are not using it. The softlight can actually making the carpentry work even more good looking. Lights can be present in alot of form. It can be a decorative wall light/ hanging light. It makes the space more classy with the lights striking out and target to specific area. Nowadays, we also use alot of track lighting / non-main light while designing. It looks more classy and can be easily turn on/off easily. However, with different types of lighting, the most important thing you have to really consider is selecting the most suitable/convenient lighting temperature for that area. Try to be more consistent with the temperature, as without a proper combination, the entire space can looks very weird.. That's all for today's sharing, hope you enjoy our works shared with you.! |
|
|
Mar 18 2022, 12:27 AM
Show posts by this member only | IPv6 | Post
#239
|
|
Junior Member
319 posts Joined: Jun 2018 |
Topic: Kuchai Avenue A
Title: Think Before Renovate  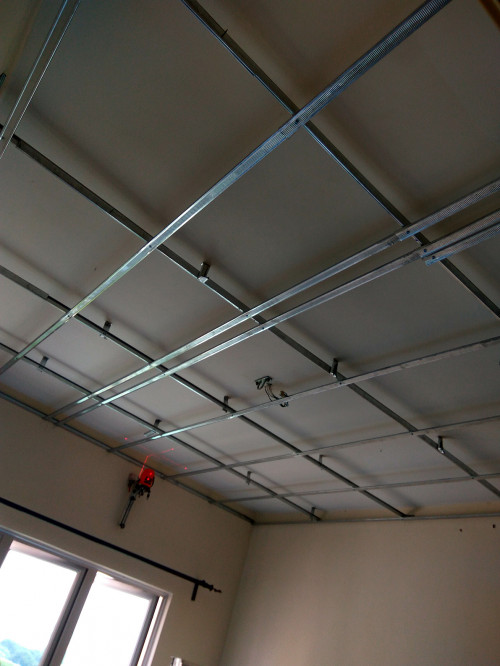 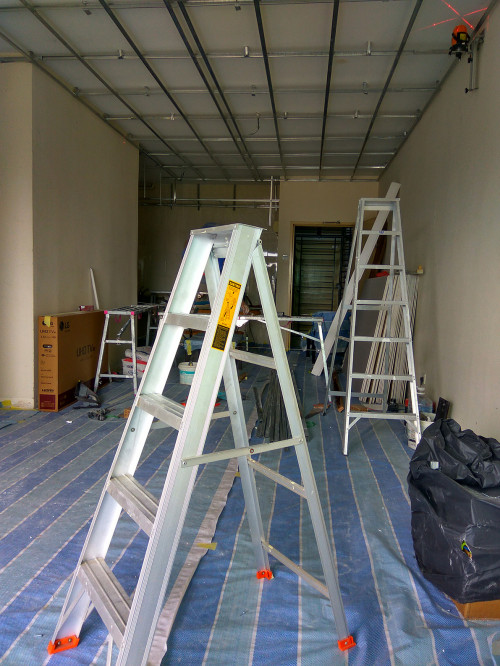 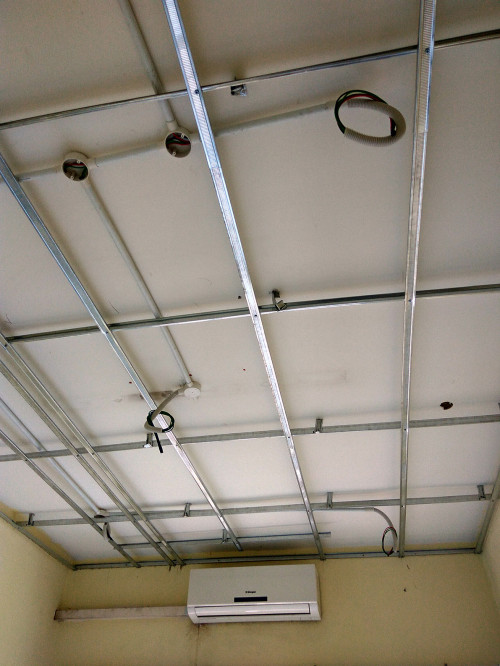  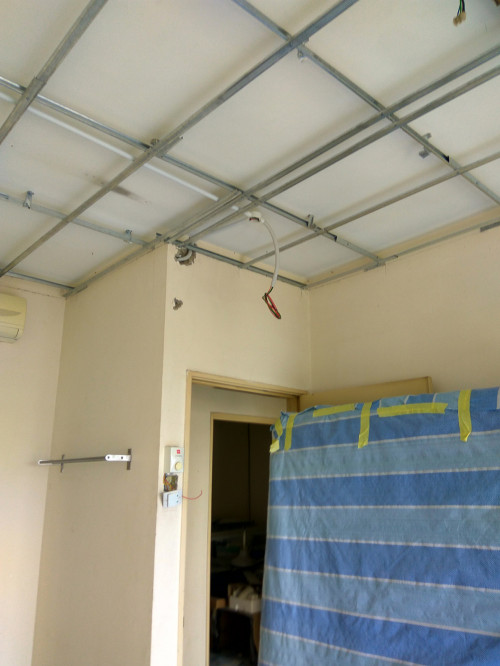 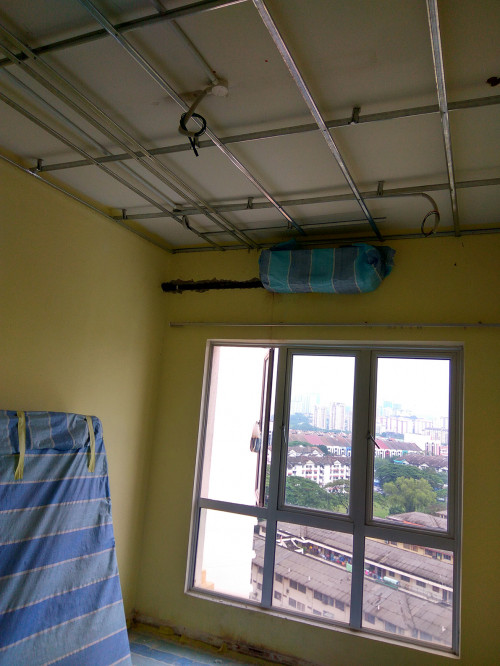 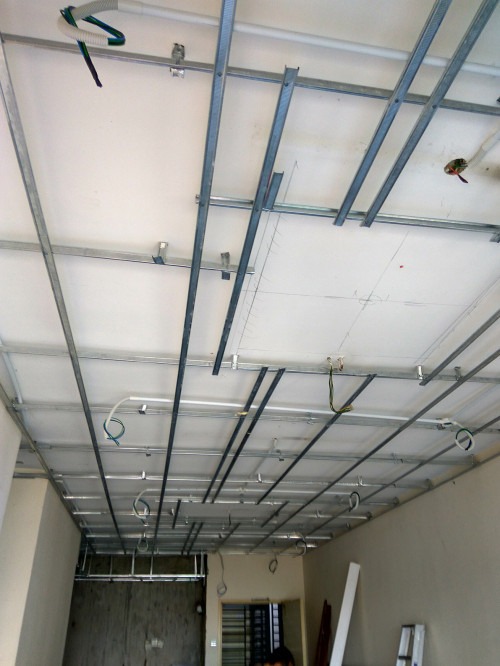 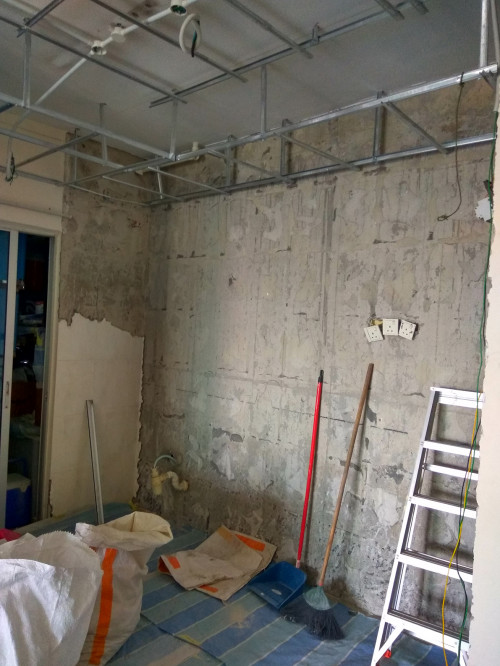 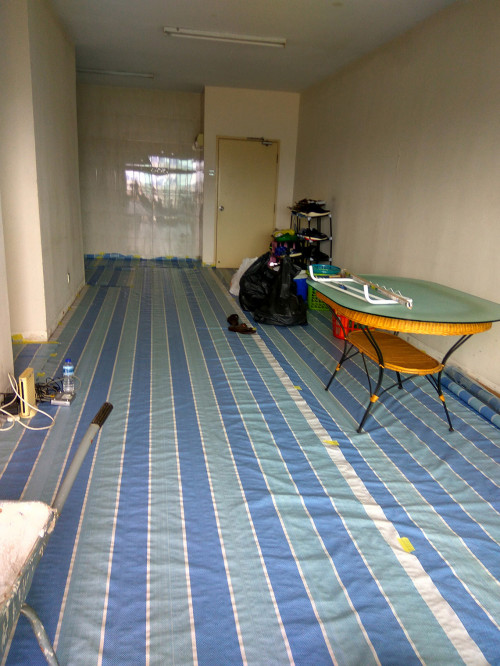 |
|
|
Mar 18 2022, 12:27 AM
Show posts by this member only | IPv6 | Post
#240
|
|
Junior Member
319 posts Joined: Jun 2018 |
Topic: Kuchai Avenue A
Title: Think Before Renovate Hi, everyone, welcome back to our sharing platform again. Lets talk about some tips for you to consider while you start renovate your houses etc. Please enjoy our works shared with you while listening to all of these tips. First, what should you do before anything started? You should really know well on your budget parameter. Try to control your budget within limits, and even you exceed the limit, try not to over too much. This is because the money you spent on your house can actually affect how happy you will be, how worth you think you had spent. Since we are talking about plaster ceiling. I will talk more about ceiling and lighting. I believe that some of you might think that is it I can save more money by not installing ceiling. So, is it really true? When you have no ceiling, your choices of lighting might be limited. However, when you buy a new house, the way the lighting point is designed is good enough to be use. You can just buy yourself some surface mounted lights, and directly installed. Without fancy treatment, your lighting system in your house atmosphere are still presentable, as there is actually a lot of design input given by the ID with the minimum expenses provided. However, when there is no plaster ceiling, the fixed points have no room for design. It is not moveable, and it really depends on the workmanship if you would like to treat with the points without plaster ceiling. However, it really depends on what you really want it to be. Sometimes, plaster ceiling will not cost you a lot. You can actually consult your designer, contractor etc. A great discussion is needed to achieve mutual agreement, and better understanding on how the costing is made, is it by one lumpsum, or be item. With plaster ceiling also, you can have many different lighting to choose from, such as eyeball acting as small spotlight, downlight that actually wont reduce too much of your space headroom, and even hanging lights on top of kitchen island that can be one of the embellishment. When there is plaster ceiling installed, it sometimes can be soundproof. For example when you are living in a condo, you might heard some noise from units above, as your distance is just a piece of slab in between. So, do you think plaster ceiling is worth, functional while at the same time can be aesthetic? Conclusion: 1. Budget allocation 2. Practicality & efficiency, 3. Cost allocation for items 4. Design pattern 5. Listen to professionalism |
| Change to: |  0.0290sec 0.0290sec
 0.35 0.35
 6 queries 6 queries
 GZIP Disabled GZIP Disabled
Time is now: 1st December 2025 - 11:50 AM |
 Quote
Quote