Welcome Guest ( Log In | Register )

20 Pages « < 7 8 9 10 11 > » Bottom

Outline · [ Standard ] · Linear+

 Seeking ways to design & renovate your house?, Happy Learning Together!

views
     
TSMy Maison
post Dec 24 2021, 12:00 AM

Casual
***
Junior Member
319 posts

Joined: Jun 2018
QUOTE(iamsobloodysick @ Dec 22 2021, 10:44 PM)
Hi Maison, will a 3-strip timber flooring look better for a small house?
*
Hi, it depends. You may need to consider its advantage and disadvantage. What kind of mood you would like to create in your house, While you know what you intent to create, there comes the time you choose your material.
TSMy Maison
post Dec 26 2021, 01:12 AM

Casual
***
Junior Member
319 posts

Joined: Jun 2018

Project: Midfield Condominium

Topic : Wall Finish

user posted image

user posted image

user posted image

user posted image

user posted image

user posted image
TSMy Maison
post Dec 26 2021, 01:13 AM

Casual
***
Junior Member
319 posts

Joined: Jun 2018
Project: Midfield Condominium

Topic : Wall Finish

There are various of wall finish for you to choose from, from various of paints effect to the usage of wallpaper. I will share with you some of the example, so that you can have better idea when you decide to renovate your home.

When you first received your key from developer, the house will mainly used water-based paint, so called latex paint as the wall finish. This kind of paint will be more easily to peeled off as compared to oil-based paint. No right or wrong, you have to consider which types of paint to use for your home, both has their own advantages. Normally, we will go for easy wash paint which has no added lead and mercury, as they release less VOC in your house.

Talking about types of paint, firstly, you can go for texture paint as shown in our example, and for sure, there will be more pattern and color for you to choose from. Usage of wainscoting is also one of the wall finish that make your wall more textured. Besides, you may also go for simple plain colour emulsion paint, which is simple and clean. Sometimes, simple design can be very popular with just the representation of colour to pop out the mood. There is also paint known as Magnet Paint. This paint is added with tiny particle of iron dust, and it allows your wall to be magnetic.

Besides from the paint, you may also consider wallpaper as your wall finishing, There are various of wallpaper types, from paper base, pvc base to the foam based. Some of them can be glued, some are self adhesive sticker. Easy to applied, and can be even self DIY by you. Hope you enjoy our sharing today, and thanks for your views towards our works and post. Hope we answer your question.

TSMy Maison
post Dec 28 2021, 11:55 PM

Casual
***
Junior Member
319 posts

Joined: Jun 2018
Project: Midfield Condominium

Topic : Material Selection for Carpentry

user posted image

user posted image

user posted image

user posted image

user posted image

user posted image

user posted image

user posted image

TSMy Maison
post Dec 28 2021, 11:55 PM

Casual
***
Junior Member
319 posts

Joined: Jun 2018
Project: Midfield Condominium

Topic : Material Selection for Carpentry

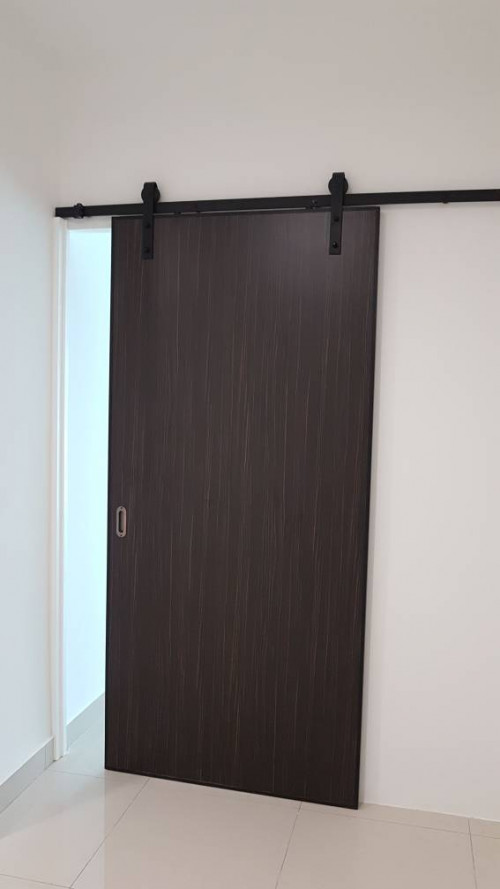
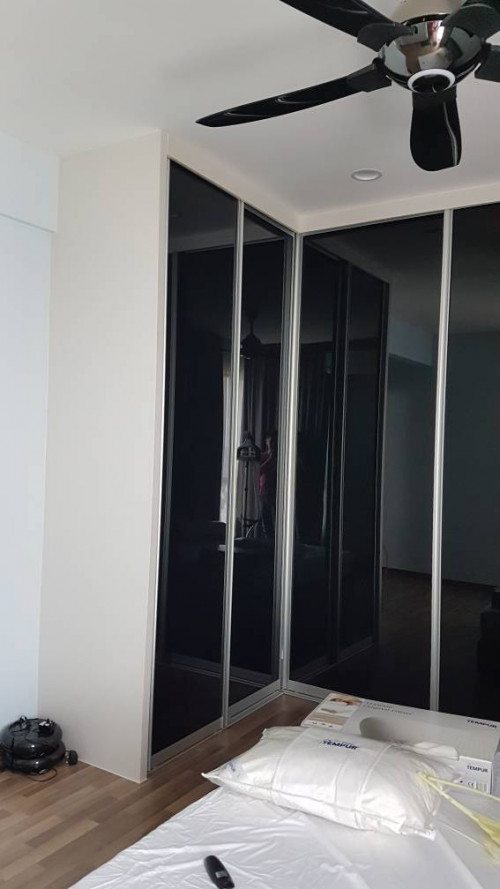
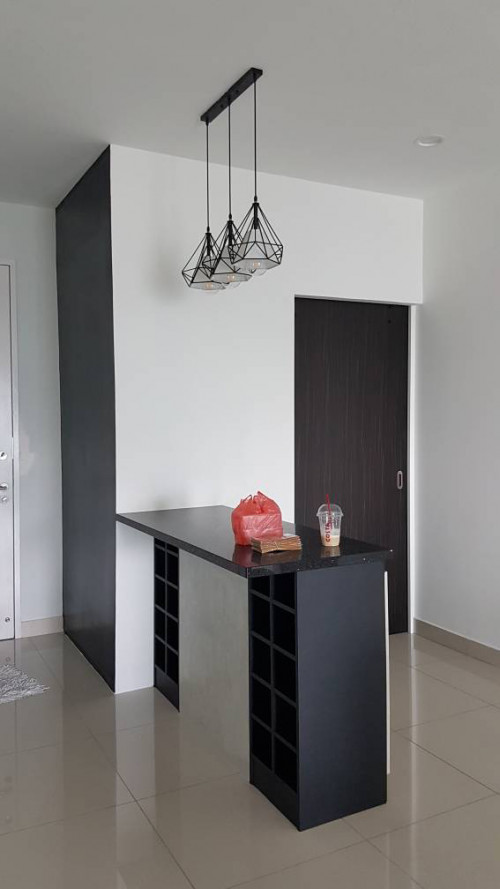
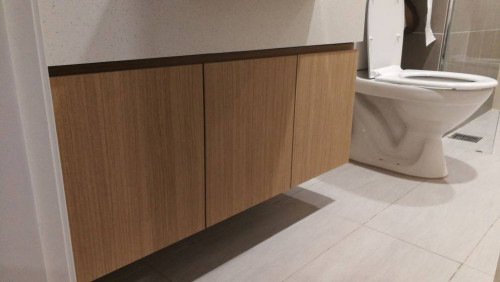
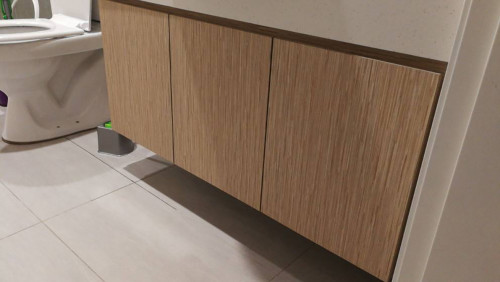
Carpentry is something very important while designing your home, as a good carpentry work determine the overall sense, looking of your house, and it really takes up a big part of your house. Not only in design, in terms of functionality, we as a users are looking for quality, long lasting material while at the same time, using the lowest budget searching for the best among the best material. Today, Im going to make comparison between two kinds of material that is very common in terms of materials, which is wood & aluminium.

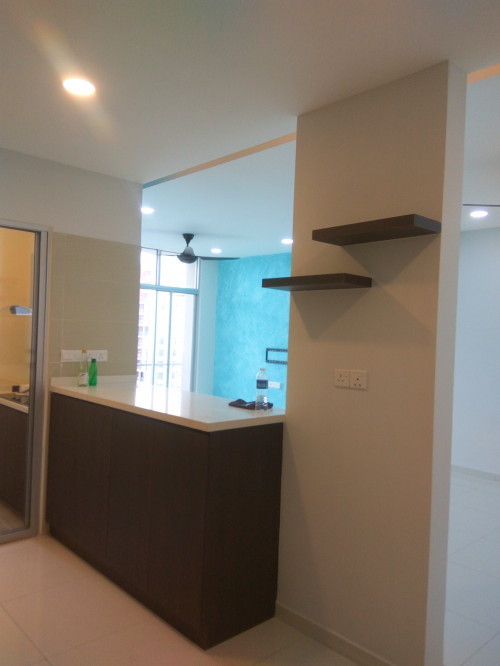
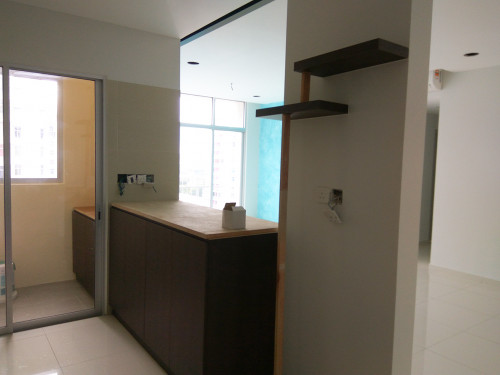
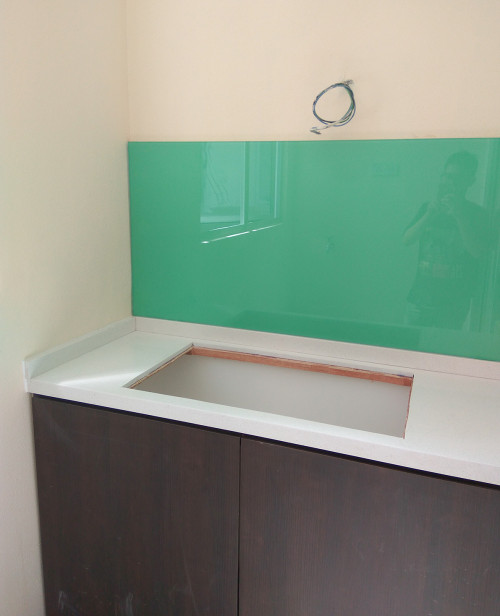
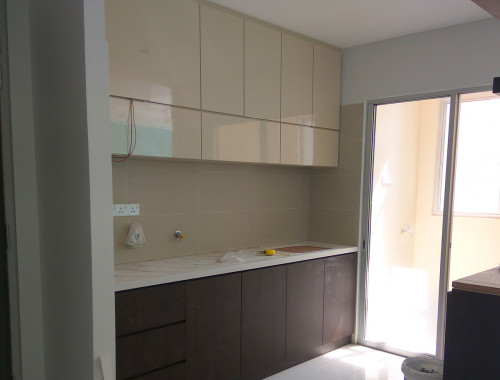
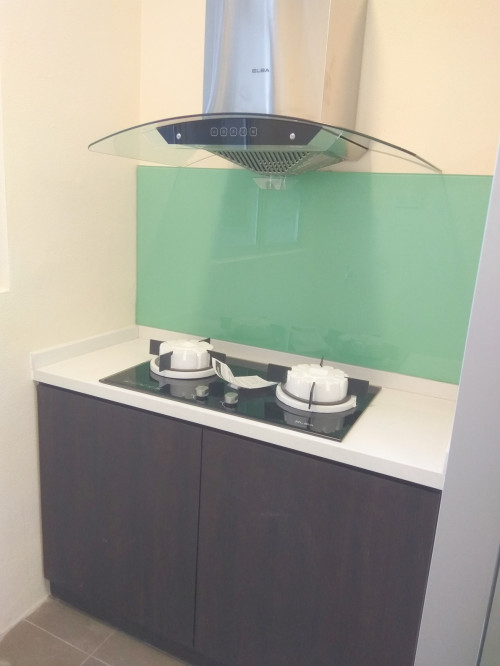
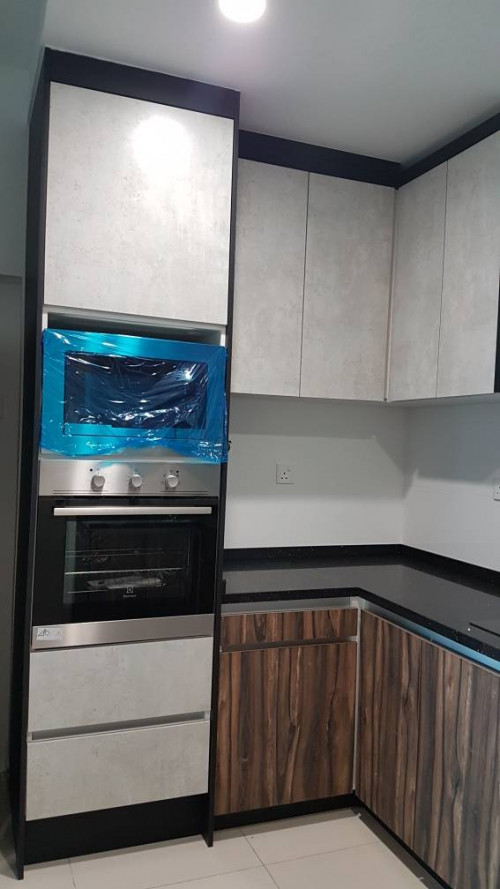
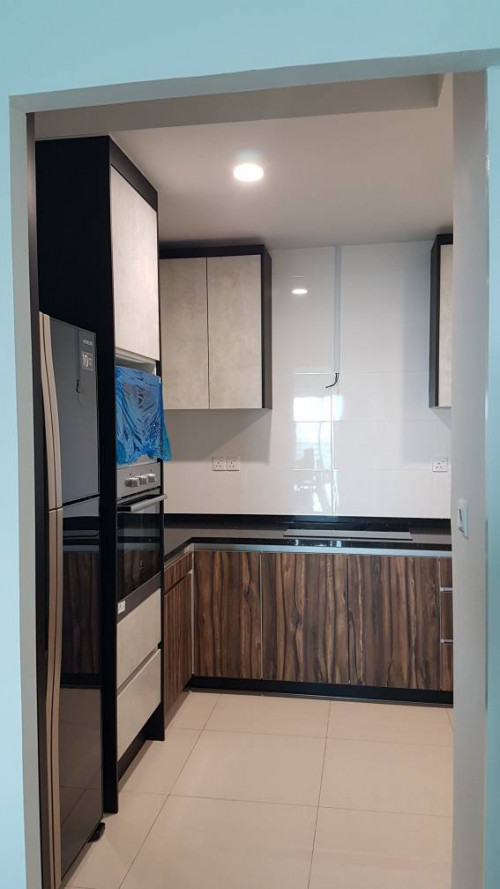
For the wood type kitchen cabinet, it has more colours, patterns and design. At the same time, it costs lesser. The disadvantages would be not resistant to water, thermites and insects, thus if your house area would flood easily, this might be an issue you need to consider with. In terms of aluminium cabinet, it would go in another way round. Aluminium material can withstand with water, dampness. It is also not affected by insects or even thermite, durable and not easily warped. As compared to wood, aluminium will be more expensive, more heavy and might create a little noise.

Some of the aluminium can have imitate wood grain on its surface. However, some supplier doesn't have, which make the choices of selection lesser as compared to wood kitchen cabinet. For designer, with wood texture, they would be more easily to create design for your house.

In details, there are still two kinds of wood for your selection, which is melamine and plywood. We might share more about this in future. Stay tuned.
console.gif console.gif
TSMy Maison
post Jan 1 2022, 10:42 PM

Casual
***
Junior Member
319 posts

Joined: Jun 2018
Project : Riverville Residence

Topic: 10 Major Steps on Renovation Work (Part 1)

user posted image

user posted image

user posted image

user posted image

user posted image

user posted image

user posted image

user posted image

user posted image

user posted image
TSMy Maison
post Jan 1 2022, 10:42 PM

Casual
***
Junior Member
319 posts

Joined: Jun 2018
Project : Riverville Residence

Topic: 10 Major Steps on Renovation Work (Part 1)

Hi, Happy New Year everyone! Hope that all of you are fine.
Let's keep on learning and continue equip yourself with some ideas on how to renovate your house. Today, I will be sharing some of the major steps ,which should be started first and followed by which steps next. Begin the process with Part 1: Wetwork, wiring & piping work.

Wetwork is all about the structure work, like extension, brickworks, destruction of old walls etc. This is the primary step among the entire process, and the work includes some piping work in between, to conceal from eyesight. This is also due to when you destruct your old walls, you might need to design your piping route again, to suit your new house layout and kitchen sink.

Next, after all the layout done, we move on to the wiring work. This include all of the lighting point, power point and air cond point installation. Before all of this work, we must confirm all of the points location, how many units, what is their height, what is the purpose, so that no mistake happen, and also easier for wireman to work on this. We should also confirm with the designer about the number of lights we proposed, so that the wire circuit can be pulled more accurately.

Above are the two steps all the entire work. We will move to ceiling work etc....... in next sharing. Thanks for your time and enjoy our great works ya!

Michaelbyz23
post Jan 1 2022, 11:19 PM

Sarawak Maju Makmur
*******
Senior Member
4,546 posts

Joined: Jun 2009
From: Selangor / Sarawak / New York


Very nice works!!
TSMy Maison
post Jan 3 2022, 12:12 AM

Casual
***
Junior Member
319 posts

Joined: Jun 2018
Project : Riverville Residence

Topic: 10 Major Steps on Renovation Work (Part 2)

user posted image

user posted image

user posted image

user posted image

user posted image

user posted image

user posted image

This post has been edited by My Maison: Jan 3 2022, 12:14 AM
TSMy Maison
post Jan 3 2022, 12:14 AM

Casual
***
Junior Member
319 posts

Joined: Jun 2018
Project : Riverville Residence

Topic: 10 Major Steps on Renovation Work (Part 2)

After all of this wiring and points done, its time for us to construct the ceiling in order to hide all of the wiring from exposing. But before this, we have to know what is our ceiling design, whether we need to includes light trough inside, L-box, curtain pelmet etc. or not. These are the things we need to consider with, and of course, we need to know how height our ceiling should be, whether it is comfortable to be designed in this way. You may decide yourself or discuss with your designer and your contractor.

With all of the consideration made, the ceiling works can now proceed.
Please enjoy our works in progress. Hope you learn something here. flex.gif

In coming post, we will be talking about how plasterboard can be used furthermore other from ceiling, and what should you do next thumbup.gif
TSMy Maison
post Jan 3 2022, 11:50 PM

Casual
***
Junior Member
319 posts

Joined: Jun 2018
Project : Riverville Residence

Topic: 10 Major Steps on Renovation Work (Part 3)

user posted image

user posted image

user posted image

user posted image

user posted image

user posted image

user posted image

user posted image

user posted image

user posted image
TSMy Maison
post Jan 3 2022, 11:52 PM

Casual
***
Junior Member
319 posts

Joined: Jun 2018
Project : Riverville Residence

Topic: 10 Major Steps on Renovation Work (Part 3)

Getting done with all of the ceiling work & wiring, we move on to the finishing work of the ceiling to give a smooth, neat and pleasant surface. By using suitable grade joint compound and mixed with water, we applied layers and layers of joint compound with paper or fiber joint tape to seal joints between sheets of plasterboard to create a seamless base for paint. Remember to let the compound to dry completely before applying the second coat on it. Some of the joint compound can dry very quickly, and you have to ensure that this kind of dry joint compound (leftover) should be "cleaned" immediately before dried out in the container, as it may forms lot of small hardened particles when being used again.

Do remember that some of the joint compound are sandable while some are not. We prefer sandable joint compound as non-sandable joint compound cannot be smoothen easily later by sander machine if the workmanship is poor. Apply your second coat of finishing coat after all works are done. You may also consider to construct partition wall if your intention is to split up the area into more spaces. The concept of construction remain the same as ceiling.

In today's part 3, we focus on repairing the holes, gaps to give a better finishing looks before any installation of lighting/ furniture start.

Hope you enjoy our works. Thanks.


TSMy Maison
post Jan 7 2022, 01:42 AM

Casual
***
Junior Member
319 posts

Joined: Jun 2018
Project : Riverville Residence

Topic: 10 Major Steps on Renovation Work (Part 4)

user posted image

user posted image

user posted image

user posted image

user posted image

user posted image

user posted image

user posted image

This post has been edited by My Maison: Jan 7 2022, 01:43 AM
TSMy Maison
post Jan 7 2022, 01:45 AM

Casual
***
Junior Member
319 posts

Joined: Jun 2018
Project : Riverville Residence

Topic: 10 Major Steps on Renovation Work (Part 4)

With all of the primary items done as mentioned before, we can now install our lights, fans, aircond in site. You might be curious how about the flooring?
Yes don't worry, the next step is dealing with flooring. The trend are getting used with flooring materials such as vinyl, laminate and spc flooring. Each of them has their own goods and bads, and some of them are glued on floor, which is quite irreversible while some are fixed by interlocking method. Normally for this kind of flooring, we would recommend you to proceed with this steps after all of the wetwork and installation of light etc. were completely done. This is because it reduces the risk of damage from happening, more tidy and more clean. However, if you choose to have floor tiles at your floor finishes, yes you may do it at the beginning of the entire process, which is during the wetwork, as it is not easily damaged and dirtied.

In the next sharing, we will then move on to the carpentry work, and I will share about some of our great works for your reference. Stay tuned.

sleyer
post Jan 7 2022, 09:52 PM

Enthusiast
*****
Senior Member
829 posts

Joined: Apr 2007
Hai ts. For terres house for network point how much u caj per point? If cable owner provide
iamsobloodysick
post Jan 7 2022, 10:49 PM

Look at all my stars!!
*******
Senior Member
2,006 posts

Joined: Mar 2005
From: Truly Malaise
Maison, have you heard of this practice where the gaps of the service hole in plaster ceiling is fully sealed up for better aesthetic and only cut away and resealed again after use. The guy I talked to is from China and he said there’s a plaster cream or something to seal up the gaps.

This post has been edited by iamsobloodysick: Jan 7 2022, 10:52 PM
TSMy Maison
post Jan 10 2022, 10:58 PM

Casual
***
Junior Member
319 posts

Joined: Jun 2018
QUOTE(sleyer @ Jan 7 2022, 10:52 PM)
Hai ts. For terres house for network point how much u caj per point? If cable owner provide
*
Hi, normally we cost around RM 300 per point, but if only labour hack and lay, its RM 180 per point

TSMy Maison
post Jan 10 2022, 10:59 PM

Casual
***
Junior Member
319 posts

Joined: Jun 2018
QUOTE(iamsobloodysick @ Jan 7 2022, 11:49 PM)
Maison, have you heard of this practice where the gaps of the service hole in plaster ceiling is fully sealed up for better aesthetic and only cut away and resealed again after use. The guy I talked to is from China and he said there’s a plaster cream or something to seal up the gaps.
*
This might be quite new for us as we didnt use this for our practise recently. Sorry about that.
TSMy Maison
post Jan 10 2022, 11:05 PM

Casual
***
Junior Member
319 posts

Joined: Jun 2018
Project : Riverville Residence

Topic: 10 Major Steps on Renovation Work (Part 5)


user posted image

user posted image

user posted image

user posted image

user posted image

user posted image

user posted image

user posted image

This post has been edited by My Maison: Jan 10 2022, 11:06 PM
TSMy Maison
post Jan 10 2022, 11:13 PM

Casual
***
Junior Member
319 posts

Joined: Jun 2018
Project : Riverville Residence

Topic: 10 Major Steps on Renovation Work (Part 5)

Welcome back to the part 5. After you have done with your flooring installation, either wood or tiles finishing, u may now proceed to the carpentry work. For your information, we would always seek for confirmation with carpentry from time to time, right after the ceiling is installed, the workers can now measure the height for the carpentry design purpose. This save alot of time and mistake from happening.
Normally , we wouldn't leave any gap in between the carpentry work with the upper leftover void, as these may leave alot of dust from accumulating. You might need to spend more money for box-up as well if measurement is not taken properly.

Normally, to ensure efficiency, we would immediately ask for carpentry work to enter as this stage takes lots of time. It would need roughly one to 1.5 month for a typical house to be fitted with carpentry work.
As some of them may need to be produced from the factory. So by following the steps as i shared earlier, u can exactly know in which stage, we should go for imeediately.
Hope you enjoy, thanks!

20 Pages « < 7 8 9 10 11 > » Top
 

Change to:
| Lo-Fi Version
0.0310sec    0.81    6 queries    GZIP Disabled
Time is now: 4th December 2025 - 07:33 PM