

 Jul 24 2021, 06:56 PM

Topic: Traditional Timber Formwork & Scaffolding
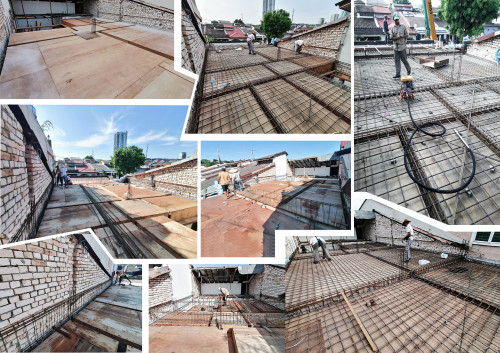
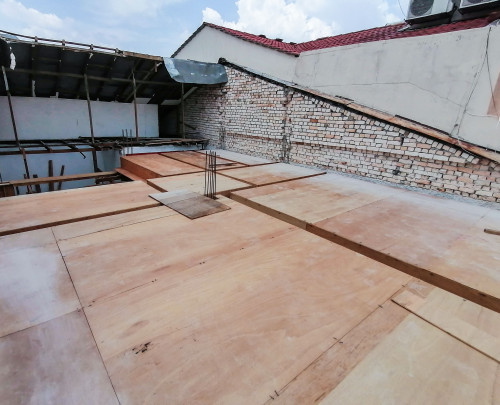
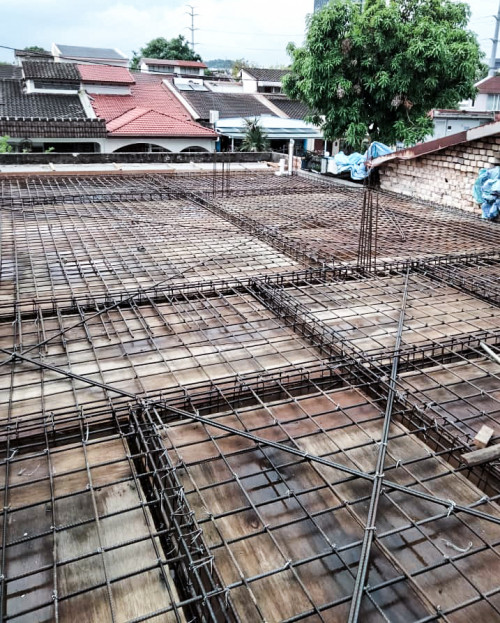
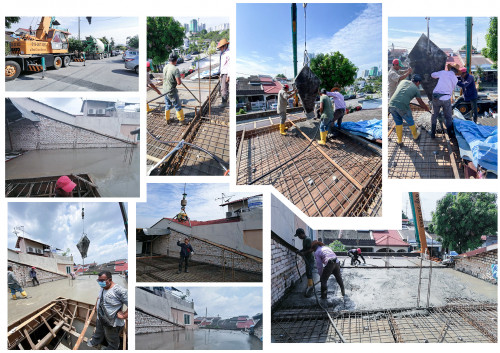
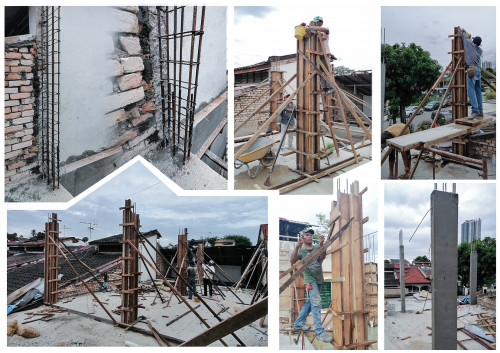
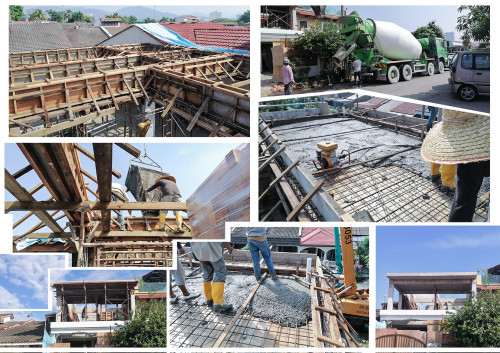
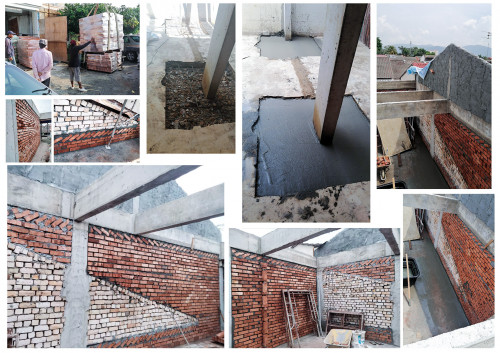
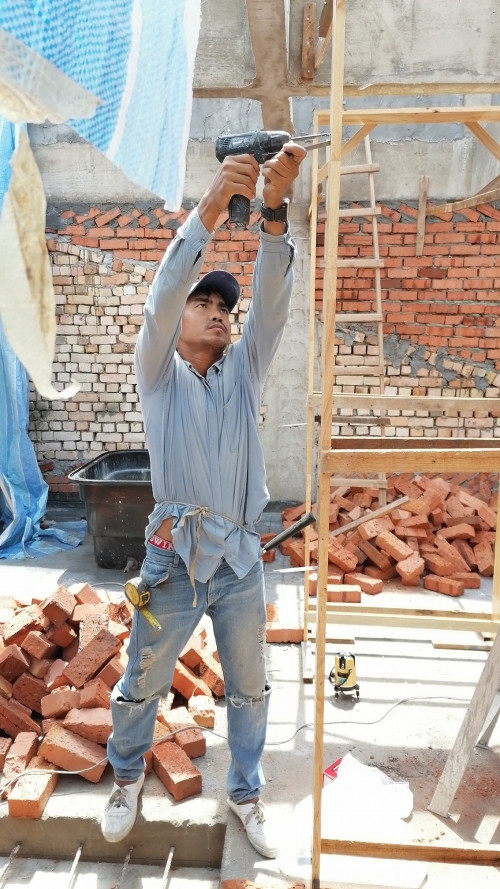
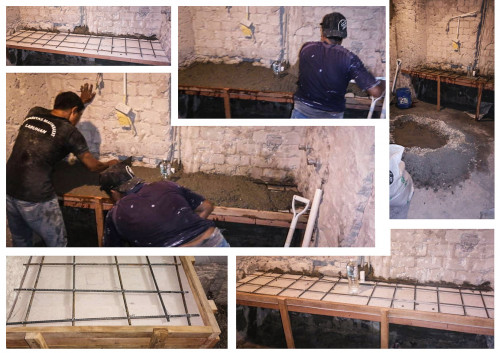
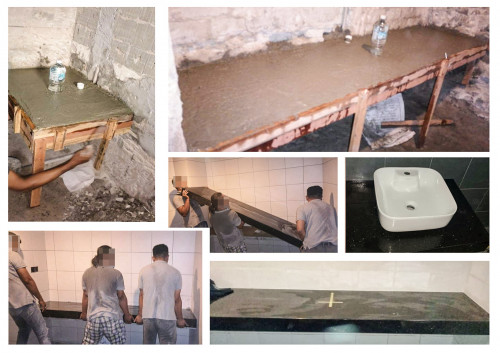
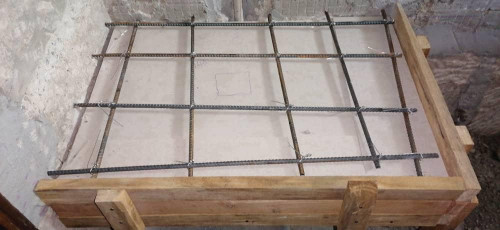
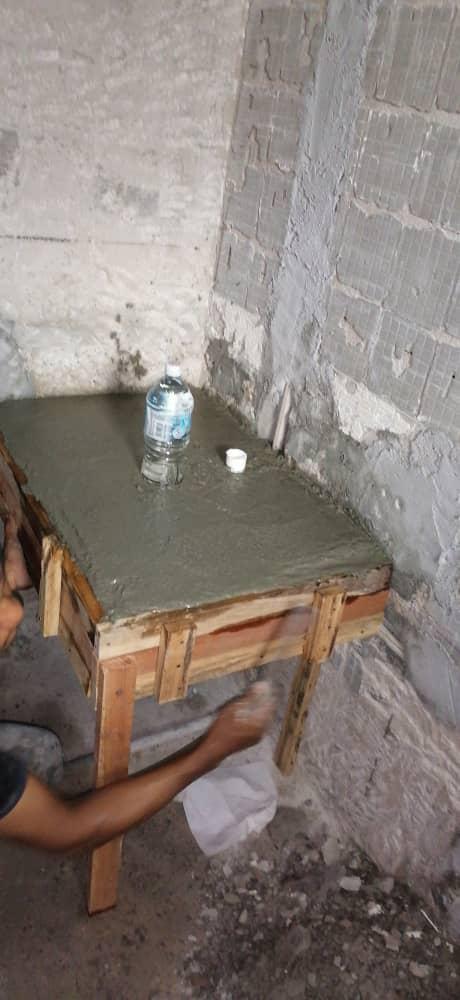
To construct the columns, firstly we need to prepare the timber formwork. It is easy to produce but has a relatively short lifespan. However, due to the low labour costs and flexibility, this method is extensively used.
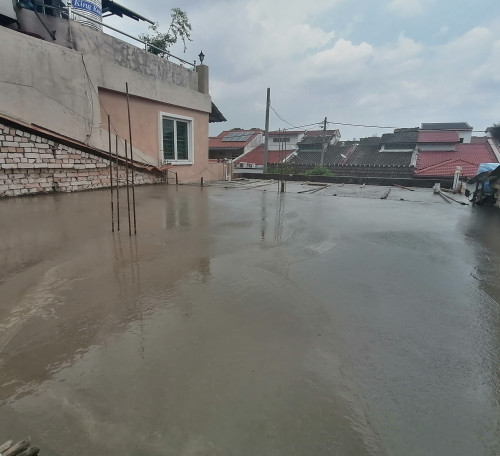
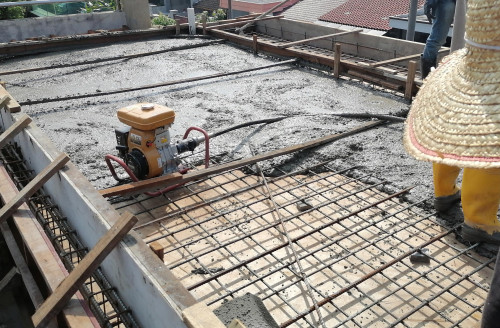
We ensure that each board is rigidly constructed, propped and braced both horizontally and vertically to retain its shape. Ensure that the formwork has no damage to the concrete. They should be resting on the firm base. From the diagrams above, it shows that the concrete has cast perfectly after removal of the formwork.
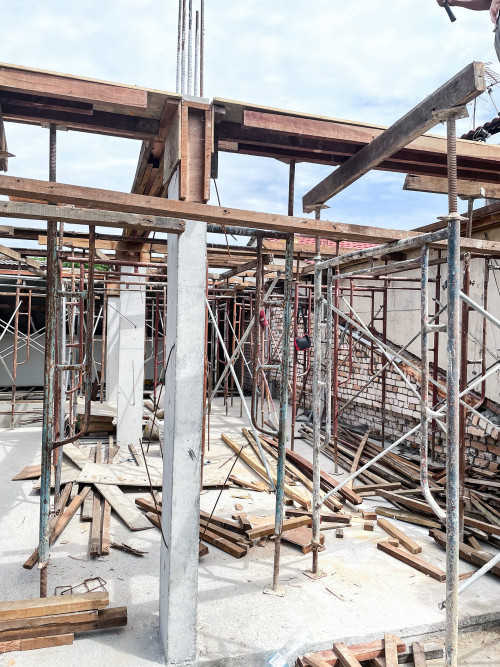
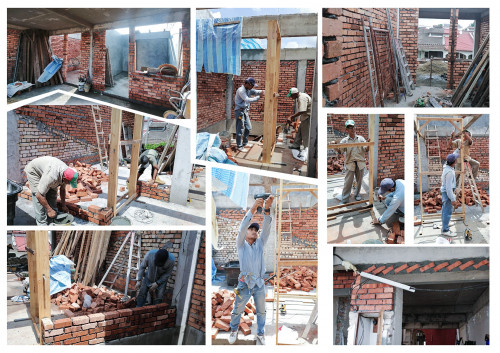
Next, to construct and support formwork in the level above, scaffolding is used as a temporary structure. It provides workers the platform around the building to work at heights. It is a movable platform as well, which is very important in construction work.

 Quote
Quote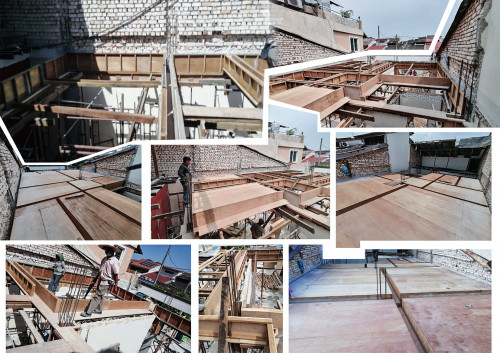


 0.0366sec
 0.33
0.33
 6 queries
 GZIP Disabled