

 Nov 17 2019, 08:16 AM
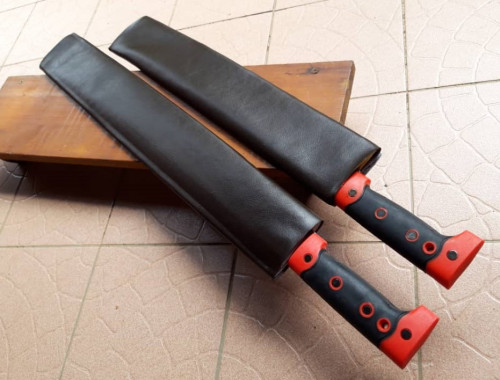
& another quick custom leather sheath's done!
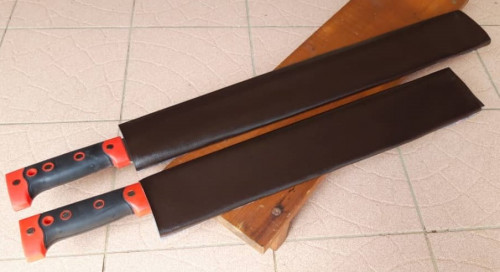
even faster than yesterdays.
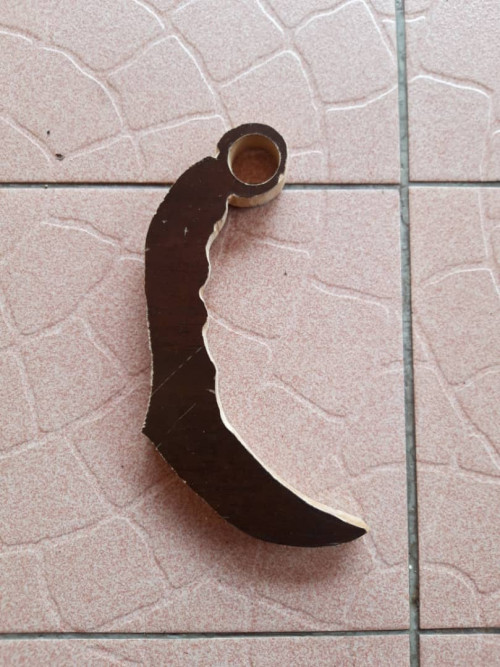
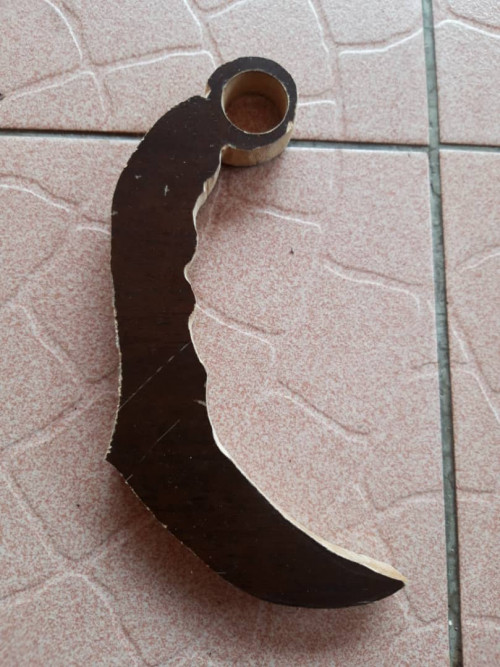
yesterday's took about 6 minutes to make the 'cocoon' inner layer from ah long poster. i use the posters coz its upcycling junk, is free, benefits the environment & the material makes a strong base casing to wrap the leather around. its tough, yet pliable.
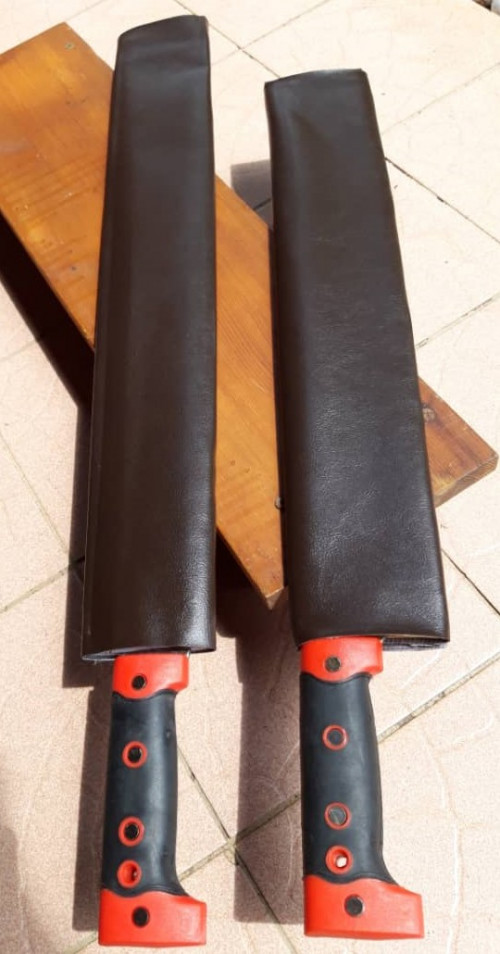
then, the leather or pleather - derived from discarded sofas dumped in neighborhoods - is tightly wrapped around the ah long poster casing.
i then mark off the desired length after ensuring there's about 1.5 inch overlap & proceed to cut the leather.
i additionally cut a short strip to seal the bottom of the sheath. marking & cutting took 6 minutes.
all thats left now is to stick & seal the bottom part of the sheath with the cut strip first, then wrap the cut leather around the 'cocoon' tightly & stick the overlapping ends.
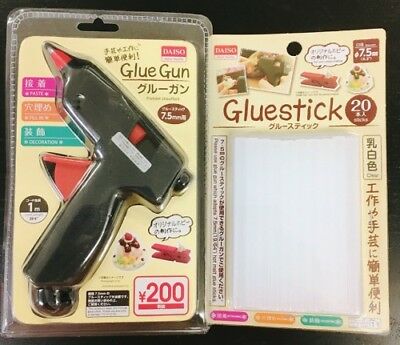
i use a glue gun + glue stick for this. both are easily found in daiso for rm 5 each. looks like this:
the entire sticking process took 7 minutes. so, all in, it took 19 minutes & your leather sheath is now complete!
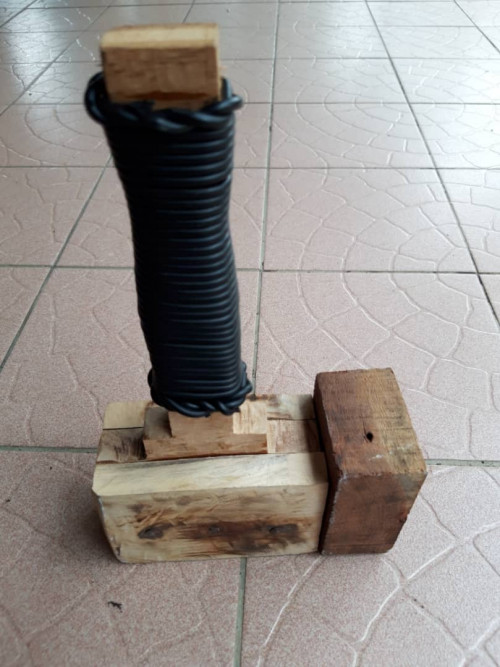
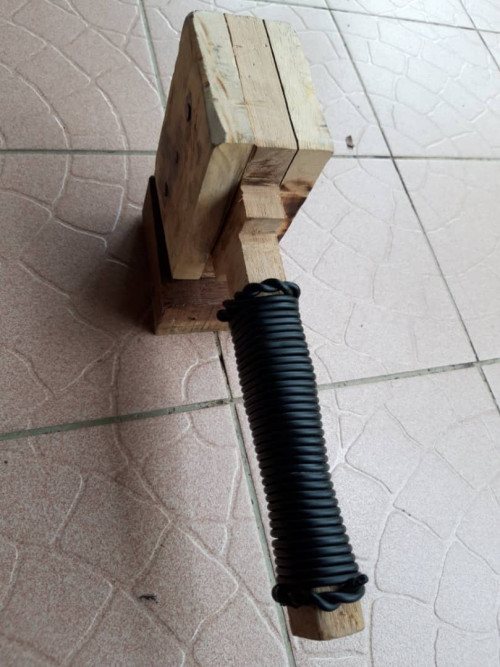
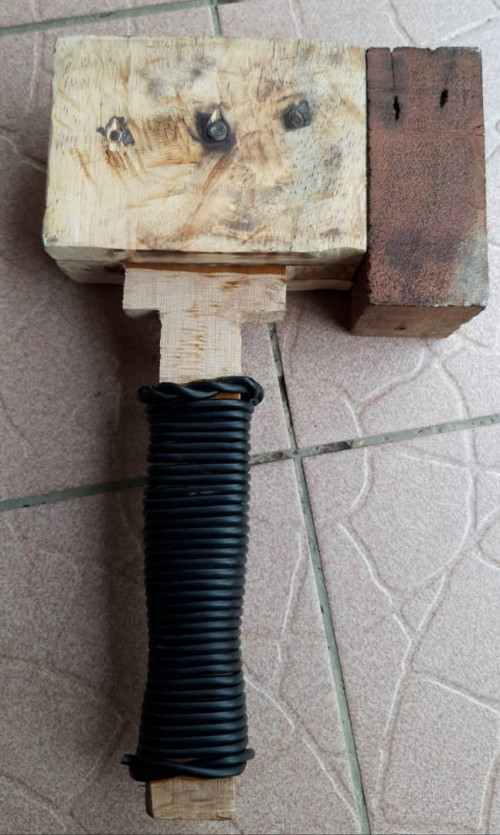
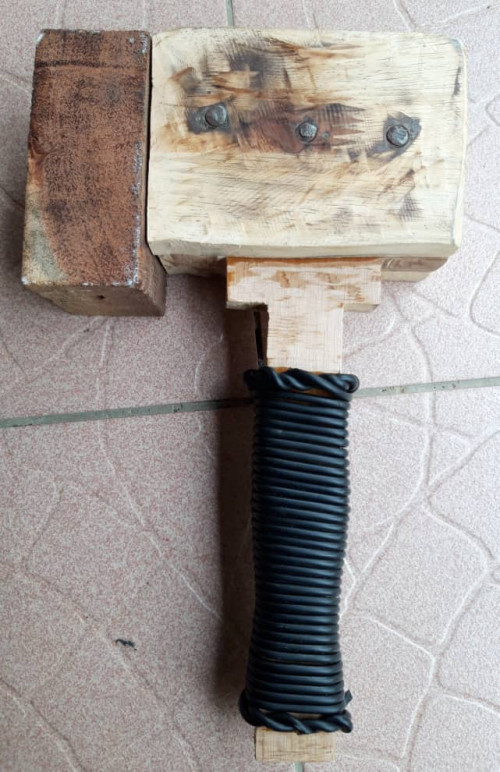
i usually like to leave the completed leather sheath with the knife inserted inside a vice wedged between wood for a whole night. this helps mould the shape & better form fits the sheath to the knife through extended compression. no vice? just place a piece of wood on top of the sheath & place heavy things on top of the wood - same effect. it will 'roti canai' the sheath.
i brush the sheath with oil the next day & dry under bright sun for a whole day. this helps dry, stiffen & seal the leather further. polish with a final application of oil to add another moisture repelling layer & you now have a shiny, but tough light leather sheath!
 Quote
Quote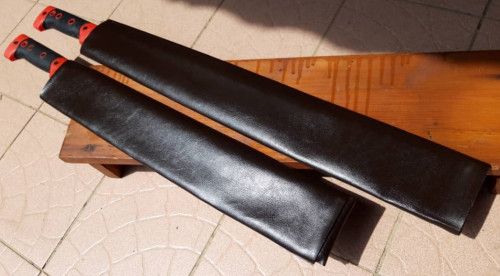


 0.0239sec
 0.36
0.36
 7 queries
 GZIP Disabled