

thx bro...updates coming in a few days...
[Worklog] Project:Black Fire, 56k beware, WaterCooling Pics Up, 31 Dec 2007
[Worklog] Project:Black Fire, 56k beware, WaterCooling Pics Up, 31 Dec 2007
|
|
 Dec 12 2006, 06:11 PM Dec 12 2006, 06:11 PM
|
 
Senior Member
1,823 posts Joined: Mar 2006 From: Kuala Lumpur |
thx bro...updates coming in a few days...
|
|
|
|
|
|
Dec 12 2006, 08:06 PM
|

Senior Member
905 posts Joined: Aug 2006 |
OMG...this is one interesting project...you sure have a heck of alot of patience and good planning buddy...
|
|
|
Dec 12 2006, 09:35 PM
|

Senior Member
2,603 posts Joined: Sep 2006 |
may i know where did u get the Lian Li HDD Extension kit?
& how much did u paid it for? maybe wanna get one for myself  |
|
|
Dec 12 2006, 11:42 PM
|

Senior Member
950 posts Joined: Sep 2004 |
Aboy....updates updates.......
|
|
|
Dec 13 2006, 04:28 PM
|
|
Senior Member
1,823 posts Joined: Mar 2006 From: Kuala Lumpur |
@BurgerRI
thx bro... @E-J@1 http://www.performance-pcs.com/catalog/ind...roducts_id=4329 http://www.performance-pcs.com/catalog/ind...oducts_id=20581 this is where i got it... @tatayoung hehe wait lah brother, got no orbital sander so have to sand by hand... stupid lah, now my hand very painfull This post has been edited by lolhalol: Dec 13 2006, 04:30 PM |
|
|
Dec 16 2006, 01:29 PM
|
|
Senior Member
1,823 posts Joined: Mar 2006 From: Kuala Lumpur |
no body wants to lend a modding brother an orbital sander? my hand very pain and still only 30% of the sanding is done....
|
|
|
|
|
|
Jan 8 2007, 08:23 PM
|

Senior Member
1,052 posts Joined: Apr 2006 From: cosying with my softies |
if only i haf the money n knowledge to do all those. nice liquidcooling there!
|
|
|
Jan 9 2007, 12:38 AM
|

Senior Member
4,496 posts Joined: Apr 2005 From: KL |
will there be update on the front panel as it looks incomplete.....
|
|
|
Jan 10 2007, 11:06 PM
|
|
Senior Member
1,823 posts Joined: Mar 2006 From: Kuala Lumpur |
yes of cousre ...right now exams so cant do anything.... im afraid this is going to be like sherrens mod...almost a year....hopefully not... but i got some new ideas coming very very soon.
|
|
|
Jan 27 2007, 12:17 PM
|
|
Senior Member
1,823 posts Joined: Mar 2006 From: Kuala Lumpur |
ok, guys finaly this mod is up and going again. im updating from my friends acrylic and sticker cutter shop. no pictures coiz of his reasons and mine, but i promise u an update on the acrylic tomorow or monday the least.
Added on January 28, 2007, 2:56 pmok guys finnally back modding took the measurements for cutting the acrylic.  poped into the hardware shop for some anti rust primer and some more paint.  ok as i mentioned i wnet to my firends plastic shop , well aftrer bout 3 hours of cutting, i got the pieces i want. also i poped into a near by motorcycle shop for some counter sunk nuts. and bolts. 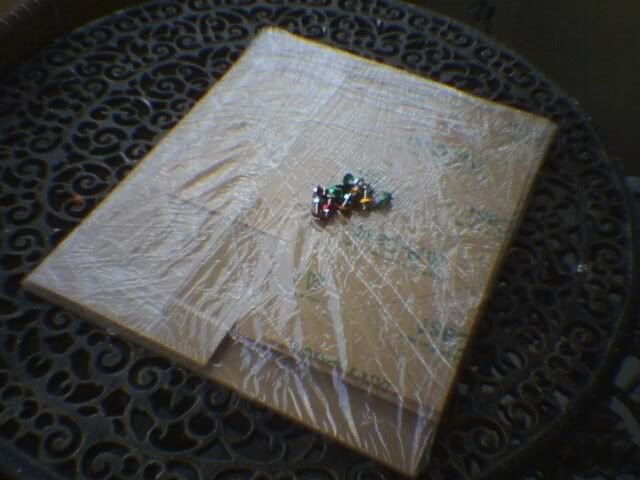 the acrylic and the bolts ., 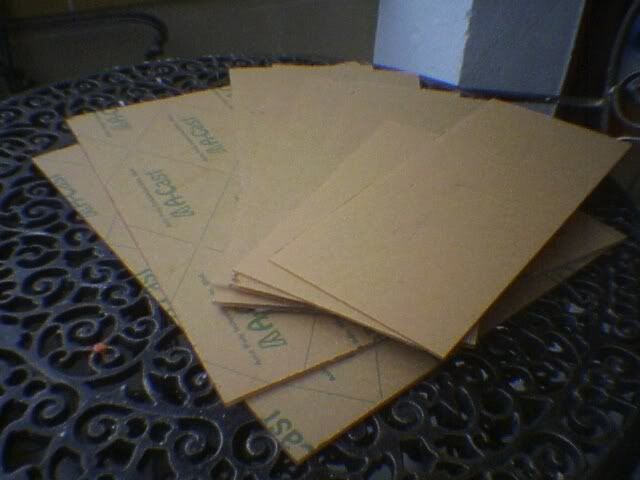 the acylic  the bolts.  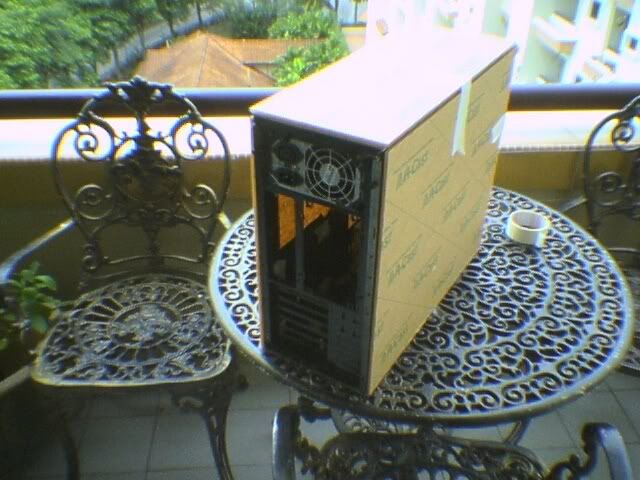 preety good fit imo... all perfect, as u can see the case will lok like a lianli a10 or a p180 depending on wat u wanna call it, also there will be a back panel as welll. 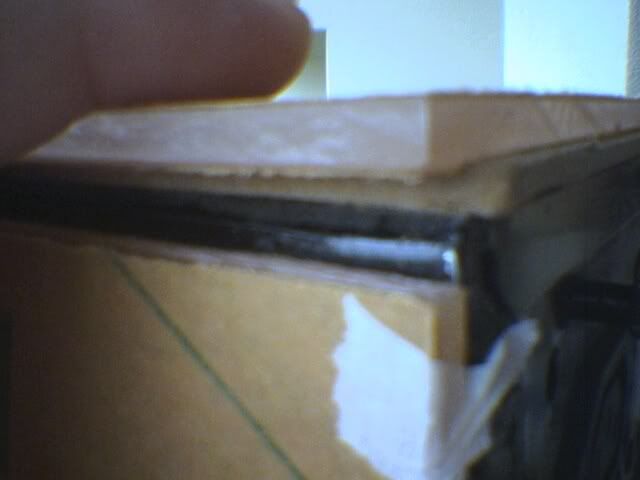 here the sound dampening thingi is getting in the way, but no worries, it wil be taken care of. thats all this time, sorry for such short update... waiting fo rmy fame stencils to be cut by my friend, using a advertise ment cutter, for precision... anyway i purchased a dremel and will be arriving by tuesday.... This post has been edited by lolhalol: Jan 28 2007, 02:56 PM |
|
|
Jan 28 2007, 09:34 PM
|

Senior Member
1,298 posts Joined: May 2005 From: Penang Island |
 so thick ar the arcylic, 3mm enough d lo ,alot noise on ur pics so hard to see so thick ar the arcylic, 3mm enough d lo ,alot noise on ur pics so hard to see  This post has been edited by sherren: Jan 28 2007, 11:12 PM |
|
|
Jan 28 2007, 11:39 PM
|

Senior Member
861 posts Joined: Oct 2005 |
QUOTE(sherren @ Jan 28 2007, 09:34 PM) so thick ar the arcylic, 3mm enough d lo ,alot noise on ur pics so hard to see  |
|
|
Jan 29 2007, 02:37 PM
|
|
Senior Member
1,823 posts Joined: Mar 2006 From: Kuala Lumpur |
@ sherren yea lah i got the cam but lazy to use lah.... coz i took those pic while i was about to go out for a weeding , more like a last minute thing.... neway the inside acrylic is 3mm, those on the insid eof the casing, the outside one is 5mm, need to be thick coz need to support alot of weight, and 5mm is beter coz they dun break so easy if i use the bolts... @LanEVOchris u mean me? or shereen |
|
|
|
|
|
Jan 29 2007, 02:48 PM
|

Senior Member
1,597 posts Joined: Nov 2005 |
lolhalol,
if its not too much trouble can you measure the inside diameter of the bulgin switch, where the screws threads are..thx |
|
|
Jan 30 2007, 03:44 PM
|

Senior Member
732 posts Joined: Nov 2004 From: where to where... |
wah..that casing is sandwiched with acrylic...huhu.. gud job bro..
|
|
|
Jan 31 2007, 03:12 PM
|
|
Senior Member
1,823 posts Joined: Mar 2006 From: Kuala Lumpur |
updates...ok since there have been numerues requests for beter quality pictures, i have decided to ditch my usual camera for my sony cybershot.
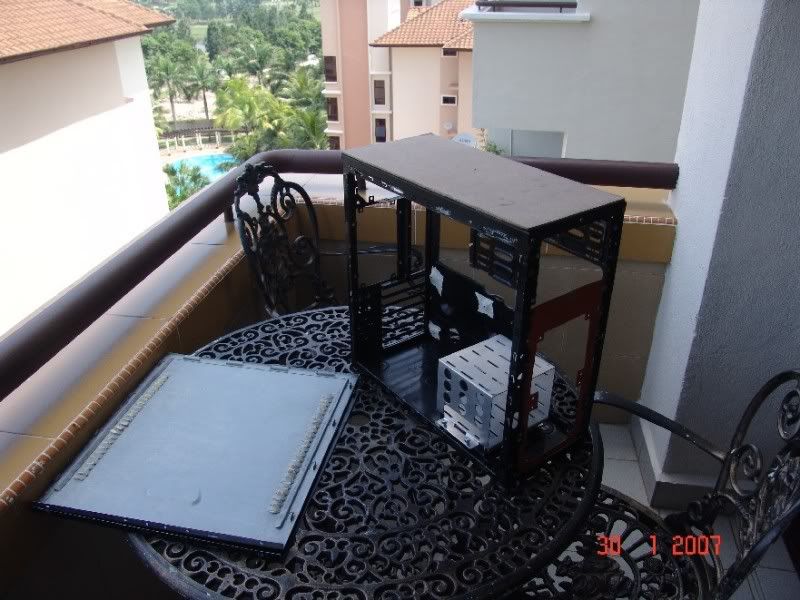 ok here you see the case as it was the last time i updated. first thing i need to do is to remove that sound dampening thing from the top panel.  removed. i definately don't wanna work with double sided tpe again i tell you,.. takes a long time to gt the residue off...  slowly removing the tape. slowly removing the tape. most of it off 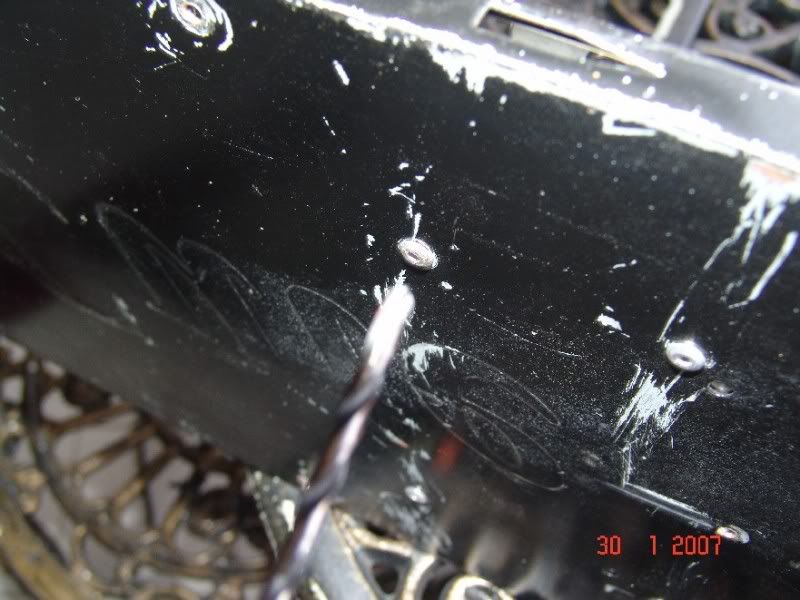 removing all the rivets from the case ... taking it apart so it will be easier to paint and measure the panels.  top panel off.  all the other panels off. This post has been edited by lolhalol: Jan 31 2007, 04:32 PM |
|
|
Jan 31 2007, 04:31 PM
|
|
Senior Member
1,823 posts Joined: Mar 2006 From: Kuala Lumpur |
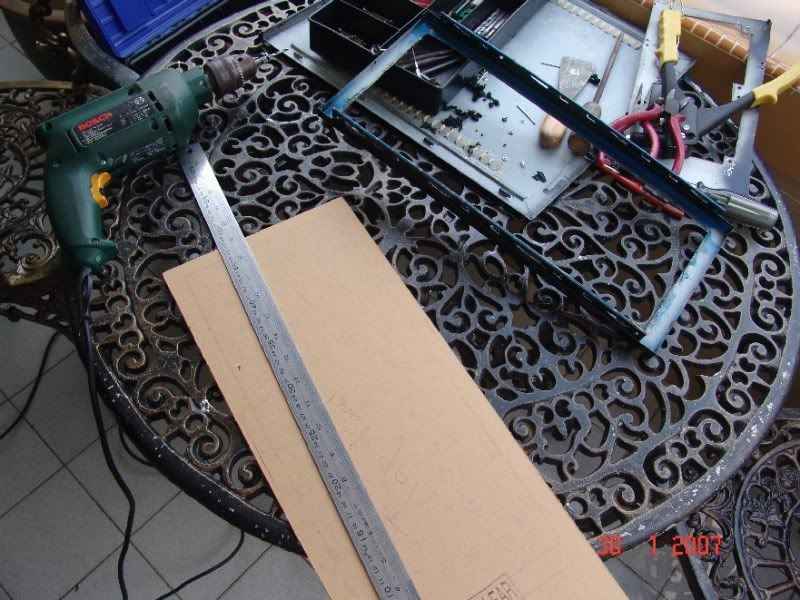 measuring the line sfor the top panel acrylic.  marked 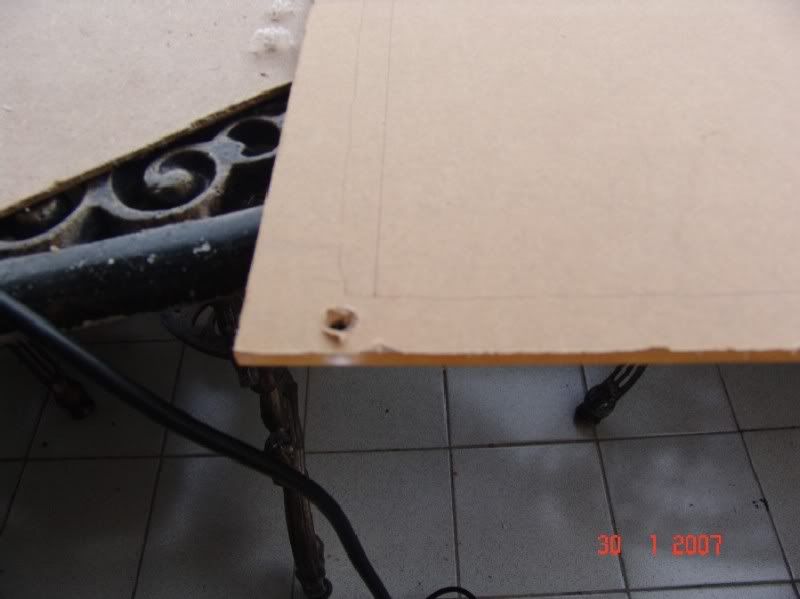 drilled the holes for the bolts. 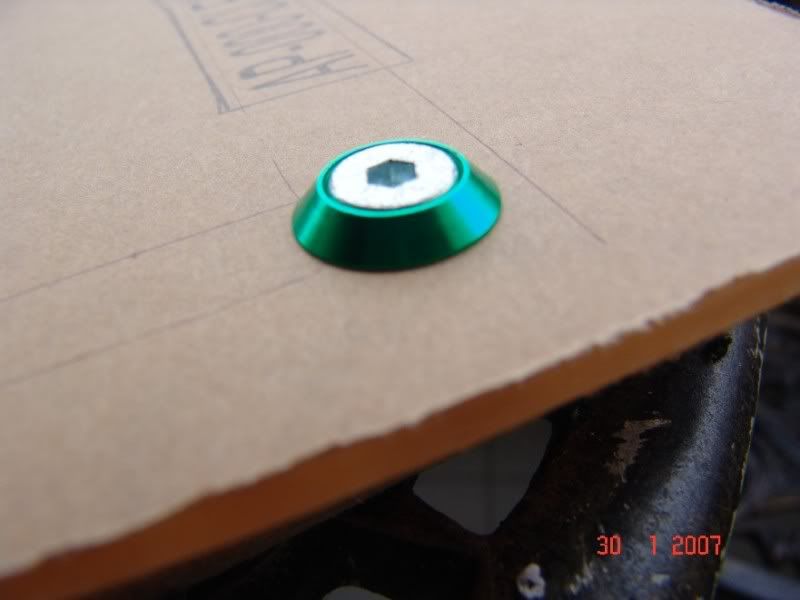 test fiteed, perfect fit. the coulour of the bolt is temporary untill i can source beter ones. these ones someof them have fitting problems. 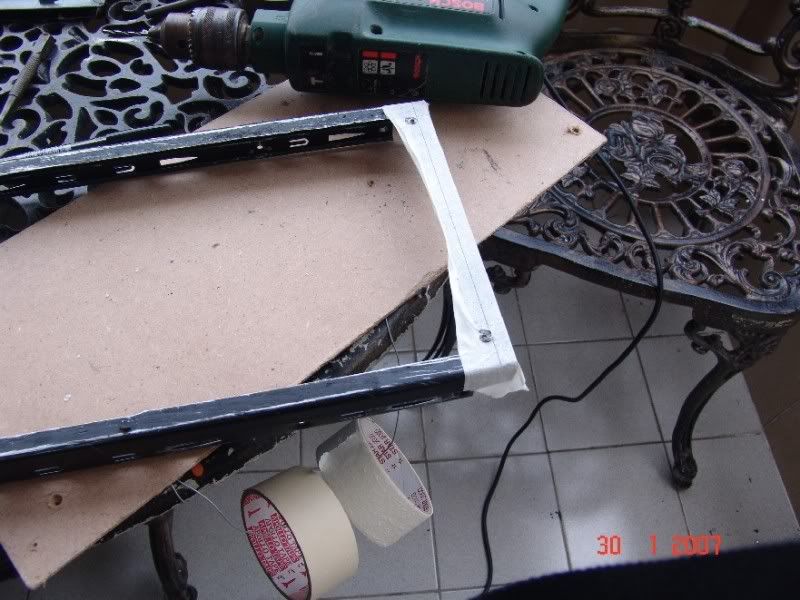 drilled the holes on the panel. its very very hard to get the holes perfectly right. dam drill bit was jumping a lot due to the bent panel. |
|
|
Jan 31 2007, 04:32 PM
|
|
Senior Member
1,823 posts Joined: Mar 2006 From: Kuala Lumpur |
some shots of it fitted and how it should look.
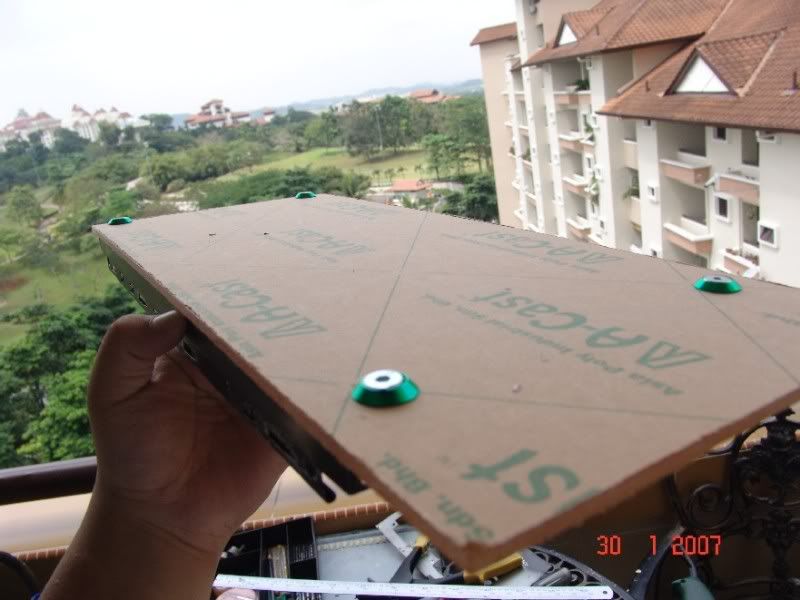  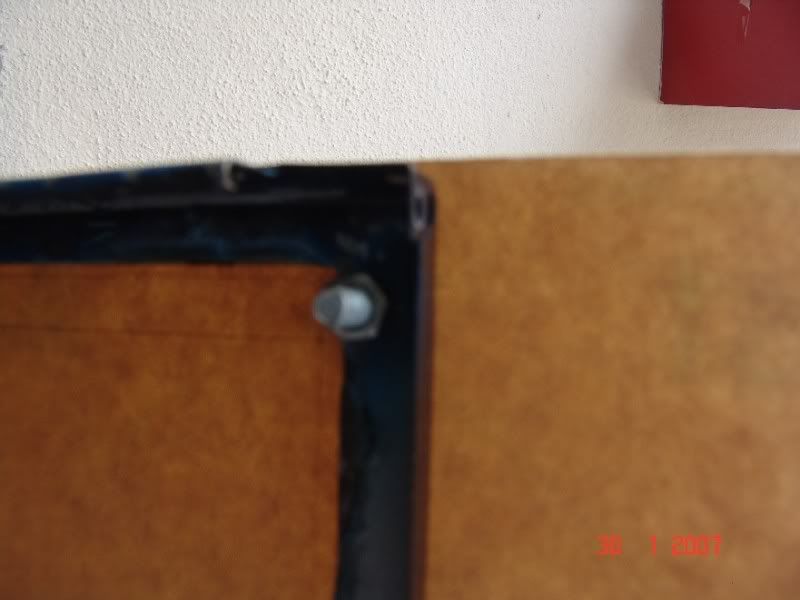 the bolt that secures it. well thats it for now, im really tired after a full day of testing hardware for my self. but i might do something later.. |
|
|
Jan 31 2007, 04:33 PM
|
|
Senior Member
1,823 posts Joined: Mar 2006 From: Kuala Lumpur |
ok decided to do some work,,
little though... 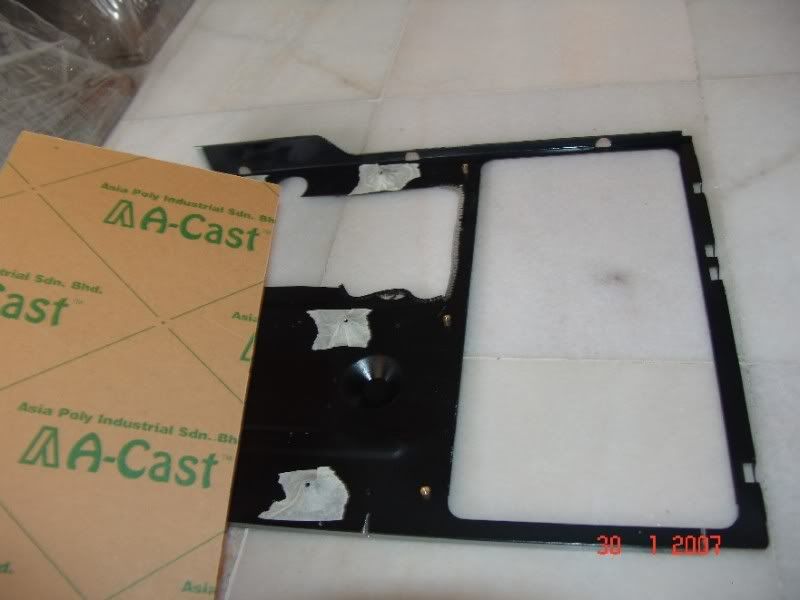 small piece of acylic wil cover the area beside the mobo tray 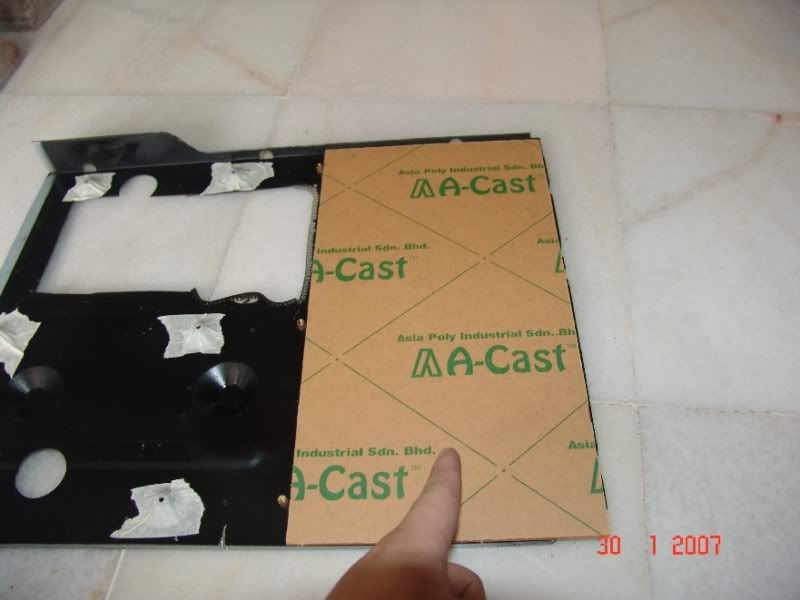 how it theoradically should look. 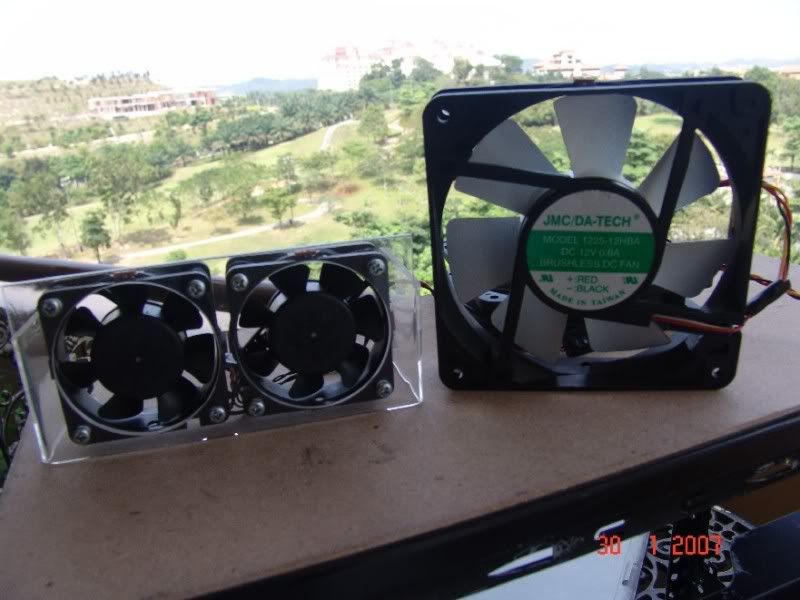 bought some fans for the mod too... 2 120mm fans and a dual 70mm ram cooler tailor made for ultra-d's. 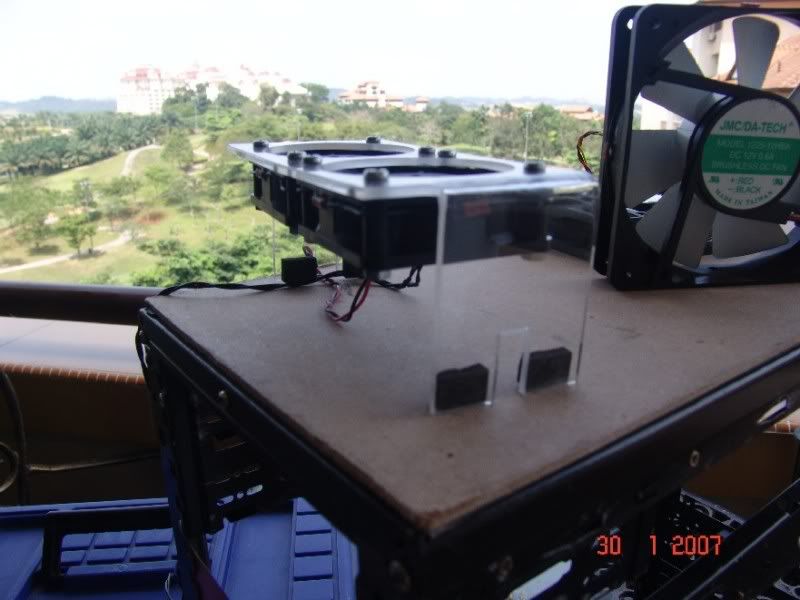 |
|
|
Jan 31 2007, 06:09 PM
|
|
Senior Member
1,597 posts Joined: Nov 2005 |
lolhalol,
nice mods man....u got some serious skills n sticktoitivity  |
| Change to: |  0.0210sec 0.0210sec
 1.64 1.64
 5 queries 5 queries
 GZIP Disabled GZIP Disabled
Time is now: 24th December 2025 - 06:15 PM |
 Quote
Quote