QUOTE(Elanges @ Jul 1 2014, 01:23 PM)
ok... thanks guys
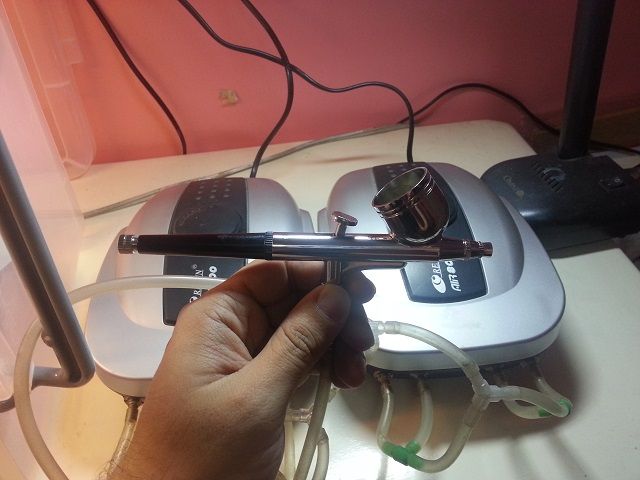
let say im painting the MG model, i should assemble all the inner frame , sanding clear all the marks then only proceed to paint? once i assemble and paint will the joints be stiff ?
1. strip everything off and paint each piece 1 by 1. Cons, it'll stiffen the joint and chip off the paint at contact area every time u move it around. In the case of old abs base joint, u'll run the risk of shattering due to chemical reaction between lacquer and abs.
2. set the pose that u want during test fitting, strip off the armor while leaving the joint untouched, paint everything to ur desire and reattach the armor. Cons, the pose is practically fix for life, if u move it around after the fact there will be some patches left unpainted and will look out of place
3. if u plan to play around with the pose every so often then dont paint the joint, only top coating it to remove the shine
plan ahead what u wan to do with ur model then only decide which course to take.


 Jun 21 2014, 08:57 PM


 Quote
Quote


 0.0361sec
 0.38
0.38
 6 queries
 GZIP Disabled