


my try.

This post has been edited by dgrebel: Jan 13 2008, 09:20 PM
Photography lessons and tips site, Share with all, inputs most welcome!!
|
|
 Jan 13 2008, 09:18 PM Jan 13 2008, 09:18 PM
|
 
Senior Member
2,475 posts Joined: Nov 2005 From: kopitiam |
my try. This post has been edited by dgrebel: Jan 13 2008, 09:20 PM |
|
|
|
|
|
Jan 13 2008, 09:25 PM
|

Senior Member
5,533 posts Joined: Jan 2003 From: Kuala Lumpur |
R a D ! c 4 L,
on the settings (second pic), what determines the value? as in how or what value should i set it? |
|
|
Jan 13 2008, 10:55 PM
|

Elite
4,744 posts Joined: Jan 2003 From: Kuala Lumpur |
QUOTE(goliath @ Jan 13 2008, 09:25 PM) R a D ! c 4 L, u mean the settings for the levels? It depends, really, there's 3 sliders. on the settings (second pic), what determines the value? as in how or what value should i set it?  The 1st slider(the left 1) determines the shadows, slide this to the right darkens the "blacks" in your photos. In some ways this enhance the contrast of your photos. But don't stop there. The 2nd slider(the middle slide) is for your mid tones, if you slide this to the right, it darkens the overall brightness of your photo. Vice versa if you slide it to the left. I only tweak this slider once I'm finished with the shadows and highlights slider. The 3rd slider(the one on your right) is where u boost the highlights, you can only go left to brighten the highlights(the "whites" in your image. Careful with this slider, too much of this will result in your picture being overblown; the white being too white. Mostly for me I do not want that to happen. So 1st of all, start with your highlights slider. Tweak it a little according to your liking, but do not overdo it. Then work on your shadows slider to increase the blacks and contrast. Then finally work on the midtones. Hope this helps.  p.s: Sometimes its good to let your imagination go wild. Try to experiment with the sliders, like what dgrebel did with this picture: Though the highlights are blown to a certain level but it adds up to the mood of the overall photo.  |
|
|
Jan 16 2008, 10:42 AM
|
|
Senior Member
2,475 posts Joined: Nov 2005 From: kopitiam |
can anyone help me how to get this effect? i've tried making blending and burning layers, toggle the saturations and render the light filters, and curves or whatnot, but i cant get exactly like this effect. how to go about?
 my best try for other portraitures,    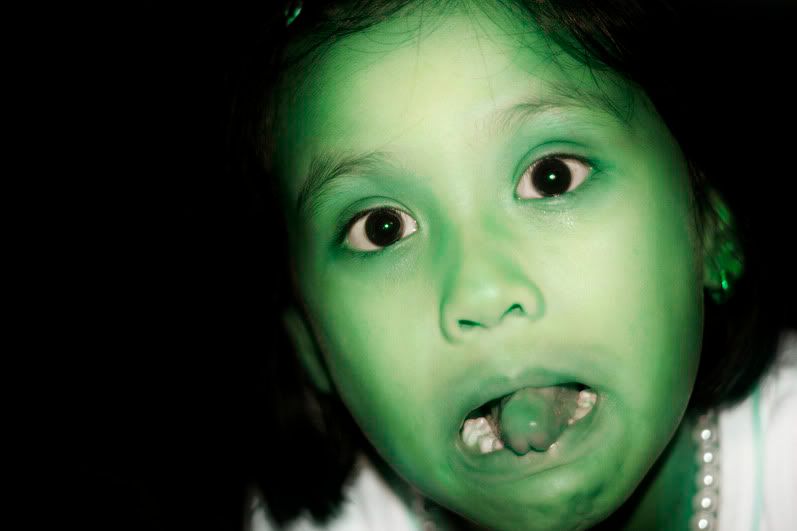   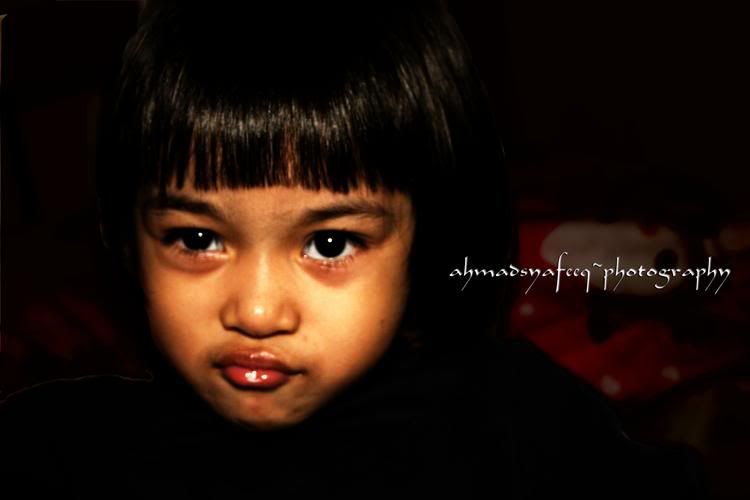 This post has been edited by dgrebel: Jan 16 2008, 10:44 AM |
|
|
Jan 24 2008, 06:09 AM
|
|
Senior Member
2,475 posts Joined: Nov 2005 From: kopitiam |
a simple tutorial on how to do this effect:
load a picture into photoshop, duplicate layer, mask it with hard light (at the layer blending options), go to filter and choose gaussian blur about 20% or more) for the duplicated layer and then set the opacity to about 85%, voila! tips: for the solid colour, play with curves or hue and saturations. » Click to show Spoiler - click again to hide... « |
|
|
Jan 26 2008, 02:40 PM
|
|
Newbie
4 posts Joined: Jan 2008 |
such am informative website
 QUOTE(xjukie @ Nov 8 2006, 07:18 PM) Found out this while googling, not sure already add by forumers or not http://www.digital-photography-school.com/blog |
|
|
|
|
|
Jan 30 2008, 12:40 AM
|
|
Elite
4,744 posts Joined: Jan 2003 From: Kuala Lumpur |
A simpel "what i know about color space a.k.a sRGB or AdobeRGB or blah blah blah"
Adobe RGB has a wider, or you can put it "hidden" color range. Colors may looked pale when u see it on monitor. Thus its meant for more advanced editing. But mess up the colors then you'll have to start over again, so careful tweaking is needed. Its the opposite for sRGB. Has so so color range, easy during editing but you wont get the most out of your photos. Colors are "richer" on the surface for sRGB, but you wont get the most out of it. I use Adobe RGB, then convert them with a ProPhotoRGB profile in Lightroom. Because ProPhotoRGB gives me the best almost accurate colors when i print them out. And if I want to post the photos online. I'll just convert the color profile to sRGB using photoshop once I edited everything. Things you must know when before you do editing. CALIBRATE your monitor. Spend a few hundred on calibrating hardwares like the Spider2express or newer versions. There's a good calibrating hardware like the Huey Pro too. Cost alot more than the Spider2express. Once you finished calibrating your computer, you get more accurate colors. Note that the internet uses sRGB, so if you post a photo online with a AdobeRGB as the color profile. Then you'll face risk of losing the colors. Here's an example: Sample A, Using AdobeRGB:  Sample B, Using sRGB:  So basicly: #1: if you want to get the most out of your photos. Use AdobeRGB. It may look pale on your screen, but after a few adjustments, the colors are superb. #2: Stick to sRGB if you rarely edit your photos, or you just do basic editing like levels and curves. #3: Invest in a calibrating hardware. It comes with its own software so you can do easy step by steps on monitor calibration. #4: Don't ask me about ProPhotoRGB. All i know that it has the widest color range known(for me). And the color quality of the print it produced is almost what i see on my monitor. #5: Remember, if you wanna post your photos online and you're using the AdobeRGB profile. You can change them via photoshop. Go to Edit > Convert to Profile > Under "destination space" > select sRGB IEC 61966-2.1. Then save your photos. Then post them. Hope this little info helps. Post initially posted at the Rebel's Thread. |
|
|
Jan 31 2008, 08:28 PM
|
|
Senior Member
2,475 posts Joined: Nov 2005 From: kopitiam |
QUOTE(sang_karim @ Jan 31 2008, 12:25 PM) err .. i'm kindda noob to this thread .. can i ask about tips in using slr camera here? i find out that mostly it's about tips using Photoshop to edit picture which is useful to me also ... just asking .. enjoy!http://web.canon.jp/imaging/enjoydslr/ |
|
|
Feb 3 2008, 08:56 AM
|

Senior Member
4,027 posts Joined: Oct 2004 |
Mal Langsdon, Reuters Head of Pictures Operations demonstrate how he shoot a photo of president Sarkozy at the Bastille Day parade with a nikkor 1200-1700mm lens on a Canon 1D Mark2
http://blogs.reuters.com/blog/2007/07/18/u...shing-the-beast |
|
|
Feb 7 2008, 08:34 AM
|

Senior Member
6,410 posts Joined: Jan 2003 From: MLK |
QUOTE(sang_karim @ Jan 31 2008, 10:34 PM) actually ..i'm just using D70s for my office event only ... just learn the basic things with dslr ... i'm having problem with shooting pictures in room .. in order to get the natural colour without using flash .. i have to use Shutter Speed 1/20s and below ... the lowest Appature i can goes is 3.8 if i'm not mistaken .. using normal lense which is 17-80 mm (i think, need to check it out later Learn to take teh picture using flash. Although if you only have the onboard flash your working distance is very limited to get good result. Too bright dial the flash compensation down and vice versa. Some people just totally hates flash which is totally wrong. ) ... the problem is when the subject is moving suddenly and the pictures not so good la ... i don't like to use flash coz don really know how to use it properly .. sumtimes the picture too bright and sumtimes not to bright ... is there any tips for this kind of situation or i just have to learn using the flash ?  Anyway here's a rather new site for tips. Comes with youtube video guide as well. Try it out. http://www.dslrtips.com/ |
|
|
Feb 14 2008, 07:51 AM
|
|
Senior Member
2,475 posts Joined: Nov 2005 From: kopitiam |
another way of doing the dave hill photo thing is using the Lucis Art plugin and blend it with hardlight with your original photo. u can try other blending modes as well..
|
|
|
Feb 26 2008, 02:37 AM
|

Forum Admin
44,415 posts Joined: Jan 2003 |
guys, quit spamming here k. kindly use a little time to understand the title of the thread please.
 Added on February 26, 2008, 2:40 amand stop posting tutorials here. we can have a new thread on tutorials, but this thread is strictly for links as per thread title. thank you. This post has been edited by goldfries: Feb 26 2008, 02:40 AM |
|
|
Mar 24 2008, 11:25 AM
|
|
Senior Member
2,475 posts Joined: Nov 2005 From: kopitiam |
|
|
|
|
|
|
Mar 31 2008, 05:44 PM
|

Elite
313 posts Joined: Jan 2003 From: Shah Alam |
im a total newbie and have a hard time looking for a step-by-step practical guide to photography, something i can read and try out with my camera at the same time.
i've gone thru alot of sites on the net, including the links on this thread, but can't remember coming across one that i wanted above. until i find this: http://www.bestphotolessons.com/ for example, check out the lesson 5 on depth of field. so im just curious whether there're any other similar tutorial sites/guides like this out there in the net? preferably one with pictures/photos as well..and nothing about post-processing in photoshop etc pls...not interested in that yet Added on March 31, 2008, 6:18 pmi need to spend more time working than surfing here is probably the best practical site i've found so far: http://www.morguefile.com/archive/classroom.php with vivid pictures and explanations coupled with some exercises. This post has been edited by calvinator: Mar 31 2008, 06:18 PM |
|
|
Apr 18 2008, 01:04 PM
|

Senior Member
857 posts Joined: Feb 2007 |
Hi do anyone have cleaning DSLR lens and body guild?
|
|
|
Apr 18 2008, 01:55 PM
|

Junior Member
167 posts Joined: Apr 2008 |
|
|
|
May 13 2008, 11:17 AM
|

Senior Member
665 posts Joined: Jan 2003 |
I would like to recommend a glossary for LYN Photography section on certain terms such as " bokeh, 'poison' " or other terms that is unique to LYN Photography section. Because I have no idea what they mean.
And they say learning DSLR operation is hard. |
|
|
May 17 2008, 11:50 PM
|

Senior Member
1,602 posts Joined: Aug 2005 From: KL/SG |
hey guys, i used a fren's D40X and shot in RAW. unfortunately i cant load da pics in Photoshop CS2 as it apparently doesnt have the RAW plugins.
I tried my best n hardest to d/l plugins at Adobe or Nikon website... but nothing seem to be able to work. Anybody has a way to open RAW files in CS2 w/o using the D40X softwares.... Many thanks in advance. |
|
|
May 29 2008, 02:36 PM
|
|
Forum Admin
44,415 posts Joined: Jan 2003 |
 i hope newbies can benefit from this article. |
|
|
May 29 2008, 02:55 PM
|

Senior Member
2,080 posts Joined: Aug 2007 From: Current: PJ, Hometown: PG |
QUOTE(xtracooljustin @ May 17 2008, 11:50 PM) hey guys, i used a fren's D40X and shot in RAW. unfortunately i cant load da pics in Photoshop CS2 as it apparently doesnt have the RAW plugins. u can use converter to convert them to tiff format and edit them...raw is similar to tiff file in format vice...I tried my best n hardest to d/l plugins at Adobe or Nikon website... but nothing seem to be able to work. Anybody has a way to open RAW files in CS2 w/o using the D40X softwares.... Many thanks in advance. |
| Change to: |  0.0285sec 0.0285sec
 1.22 1.22
 5 queries 5 queries
 GZIP Disabled GZIP Disabled
Time is now: 23rd December 2025 - 12:22 PM |
 Quote
Quote