YenS:
1) sandpaper> painting with acrylic paint> top coat > panel lining.
Top coat will dissolve the panel line paint, so at the end will make the panel line like "eat into" the paint
2) "my problem is that the paint kinda fills up the gaps for panel lines."
You can use the blade or knife to carve the panel line become deeper before you paint it
3) "and another thing is that the paint dries really fast, and i really dread the appearance of stroke lines."
Did you dilute your paint with water ?? You've to pour the paint out into another empty bottle & dilute it. Then you've to test brush the paint on a piece of white paper or other paper. If you feel it's not smooth while painting, then dilute the paint until you feel smooth to paint it
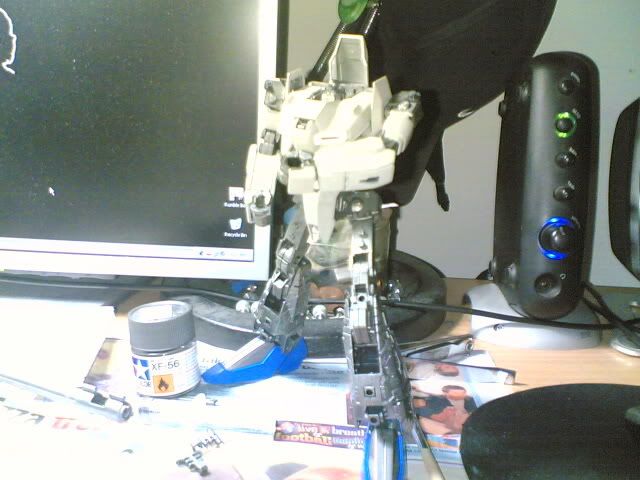
ok.. since this is a MG model so there's rarely gap that need to be puttied. the only place that i puttied is the head, to cover the seamline.
this is my method of painting:
1) cut the model from the sprue
2) trim the excessive plastic using nail clipper
3) sand the excessive surface using sandpaper (grade 400 then 600 and then 1000)
4) if the model is lower than MG, n there's a lot of seamlines, snap the pieces together using cement, make sure there's no gap between the pieces(try holding the snapped piece under any light source, n position it so that u can see if there's gap between them, there will be light passing through those gap. if it's perfect, no light shining through)
5) wait for the cement to dry and apply putty along the seamlines. wait for it to dry. usually left it for 1 whole day.
6) now take grade 400 sandpaper, sand the putty until it has smooth surface between 2 pieces, and gradually sand it with 600 and finally grade 1000 sandpaper.
7) if u have primer paint, use if u want to. let it dry.
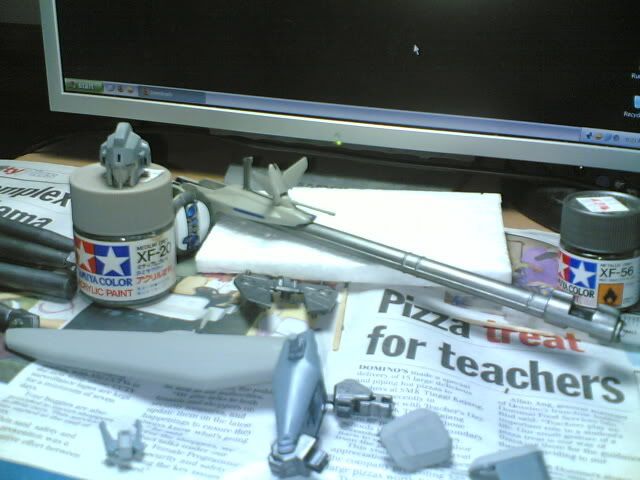
8) all this time i've been using spray cans and acrylic paint. spray can is straight forward. spray from 30cm for better result. for handbrush, use this combination for good result: a) good paint brush( tamiya's is a good choice, nylon brush is ok but is not as soft as animal's hair. good brush = horse's hair, very soft) b)use paint thinner instead of water( i use mr. hobby thinner, normal water produce more bubbles when mix with paint) c) ratio of paint+thinner= 2:1 (i'm not sure about others, but that's my mixture ratio)
9) properly stir the acrylic paint in the bottle(shake the bottle if u want to). then using syringe (i'm using it), take the paint n put it in another any tray or bottle n then mix it with thinner using the 2:1 ratio. mix it well then soak the brush and start painting. dun apply too thick. 1 way brush stroke for good result. let it dry n reapply the paint. repeat the process until u satisfy. if the color is not even (some spot is glossy n some are very flat) dun worry. if u screwed up the layer(if there's bubble and it dried up, the layer wont be smooth, so use grade 2000 sandpaper and reapply the paint).
tips: never paint in windy places, surely it will dried up very faster.
10) now since the color is very flat, u can use top coat to make it better. i use semi gloss top coat after i handbrushed the pieces. now u can have almost airbrushed quality paint for your model, except for the shading effect.
ok for the paint that filled up the panel lines, that happens becoz the paint is too thick.
my method of fixing it is by using razor blade or 'pisau lipat', carefully trace up the line, then using tooth pick, sharpen the edge n trace the line by applying pressure onto the line that u traced with the blade. works everytime. cheers

this is by far the most comprehensive how-to in this thread for handpainting. so far all my questions are answered by these two posts. thx whoami and mycomnet!
i shall try these procedures out. just got my 1/100 Legend yesterday. sadly i can only work on a few parts, cos i dont have grey paint. gonna get em this weekend. shucks, the arrival of this kit is gonna kill my finals which is like 2 weeks from now. urgh.


 Sep 5 2006, 11:14 PM

 Quote
Quote


 0.0223sec
 0.61
0.61
 7 queries
 GZIP Disabled