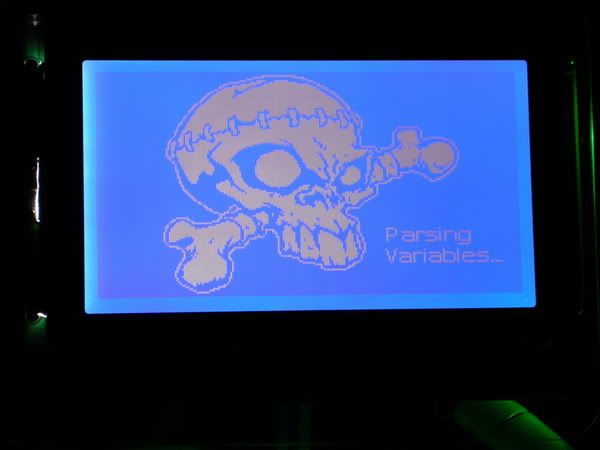
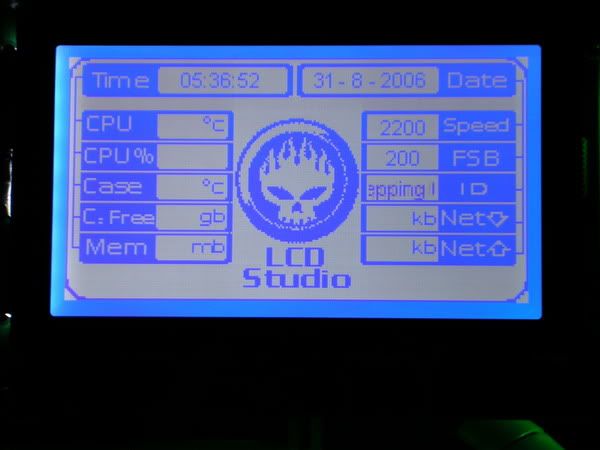
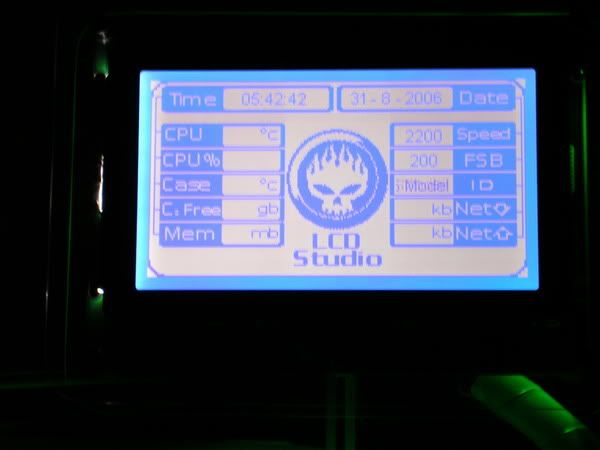
okay, basically, i've been working on graphical LCD, with the dimension of 240*128 pixels that is.
this is not mine, but a forummer here, i will COD with him maybe on friday in LYP.
The journeyi spent my sundays and monday to work on the exact one as this.......
the modding of the graphical LCD is the hardest because i have ever attempted it and neither do i have any experience in it. But i still got to make sure that it's really cool and it will be inherit great features as well.
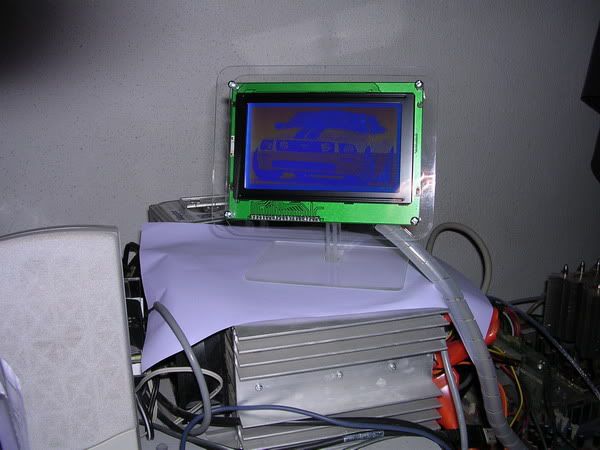
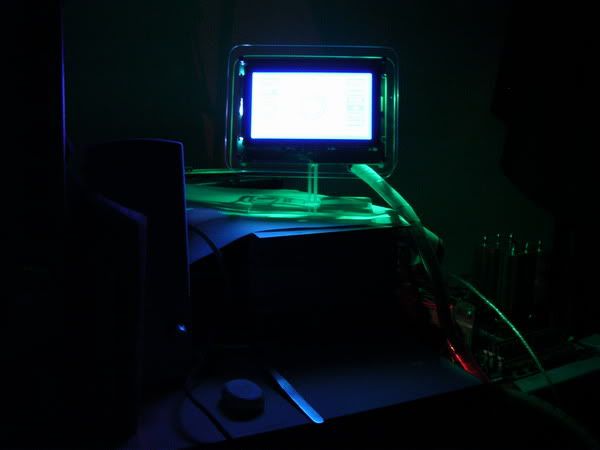
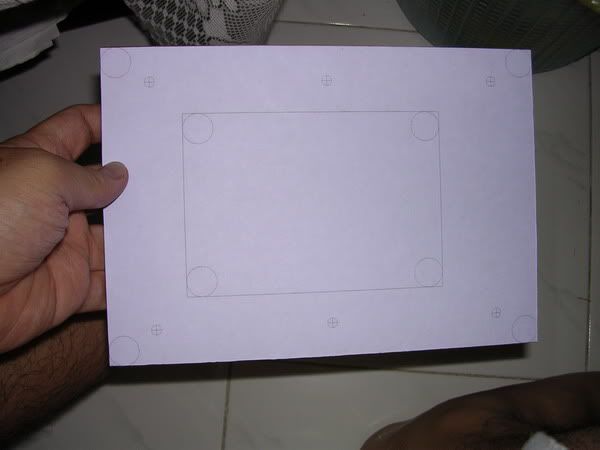
so i started off with how is it going to look at the first place....i got the idea from IMAC, the model which has got a half sphere as the rig and the LCD mounted on top.
the idea was fresh and good, but there are a lot of complications to it like :
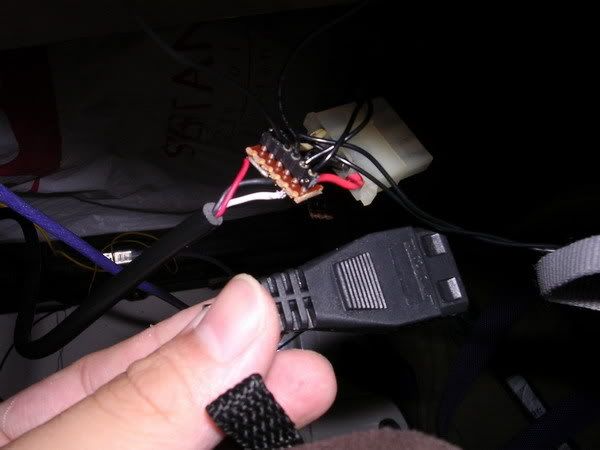
- make the wiring doesnt look messy
- mount the graphical LCD nicely without dust getting into the viewing glass
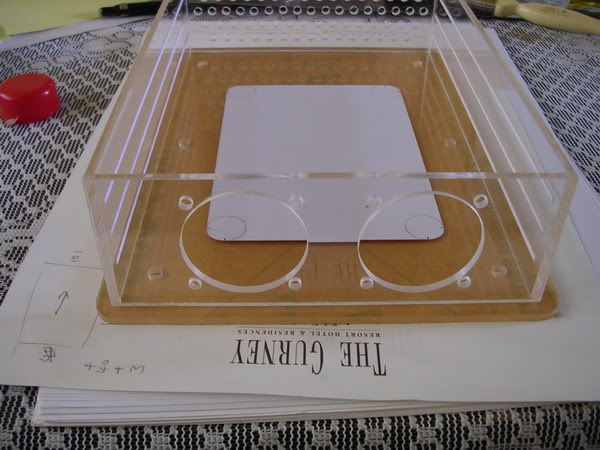
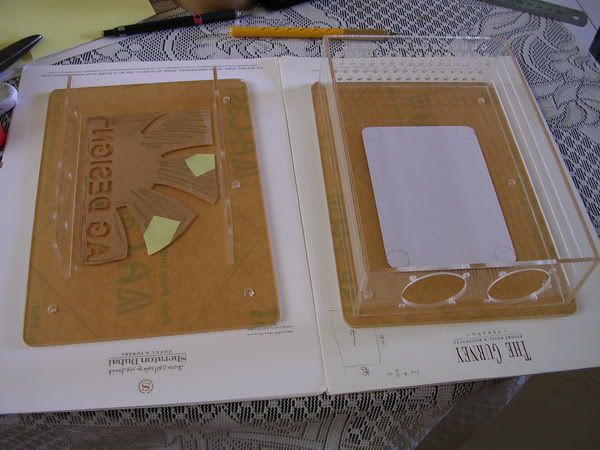
- not making any scratches on the acrylic during modding
- making all edges smoothly and rounded
- and many many more !
when i completed the first one, i was totally devastated to discover that there's problem with the display

......thus i scrapped the whole thing and i was got really upset and discouraged by it.

after i rest for half a day, i began to pick up my spirit to make a new one again......and take note that i spent at least 9 hours to make a new one, and it must be done with full concentration and dedication, or else it's screwed up !

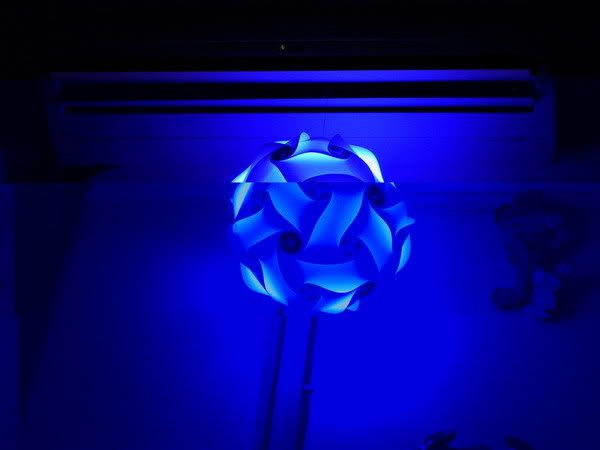
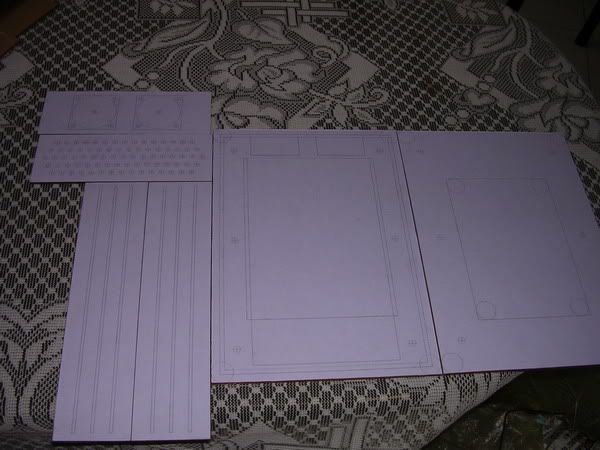
so, after so much struggle, i was able to present to you my idea and my design of the graphical LCD.

Hope that you guys will like it.

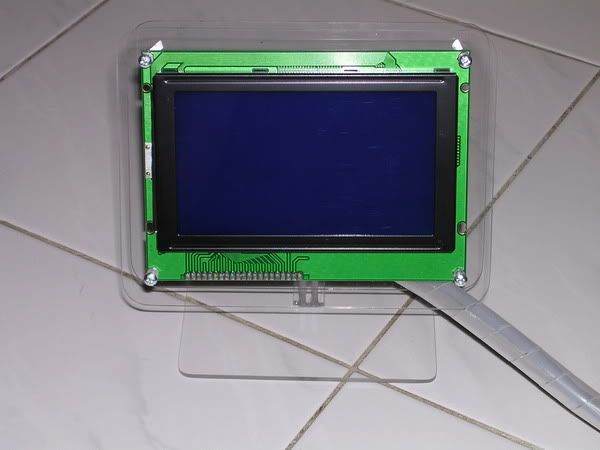
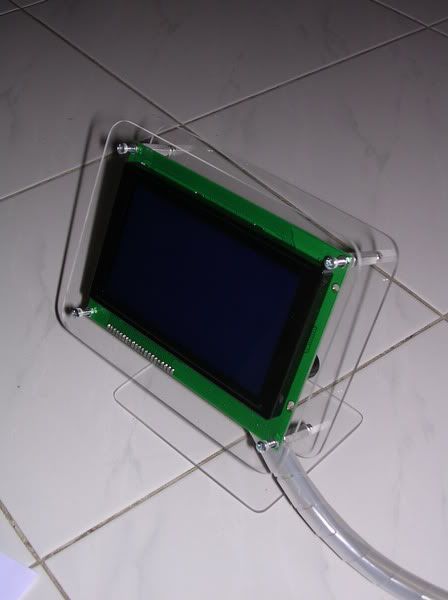
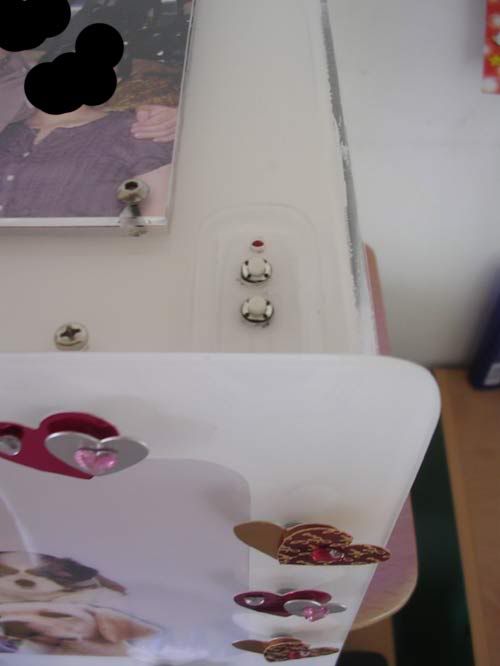
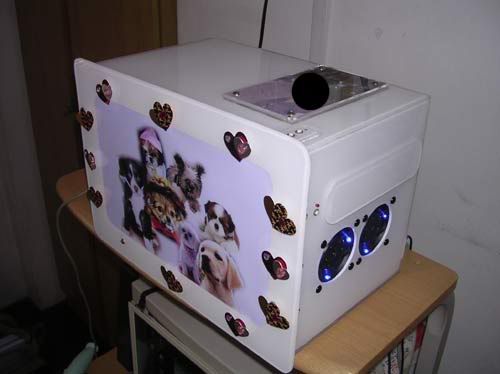
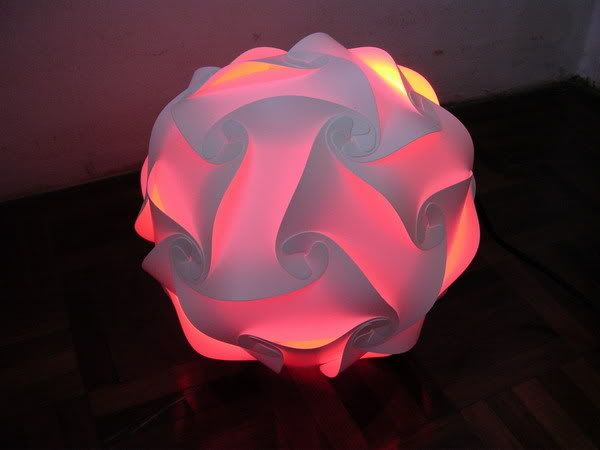
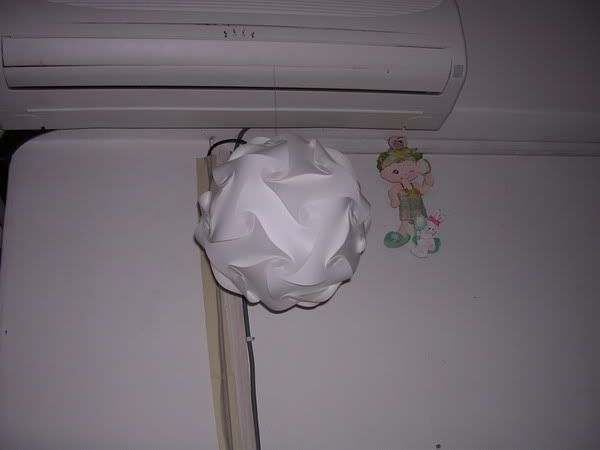
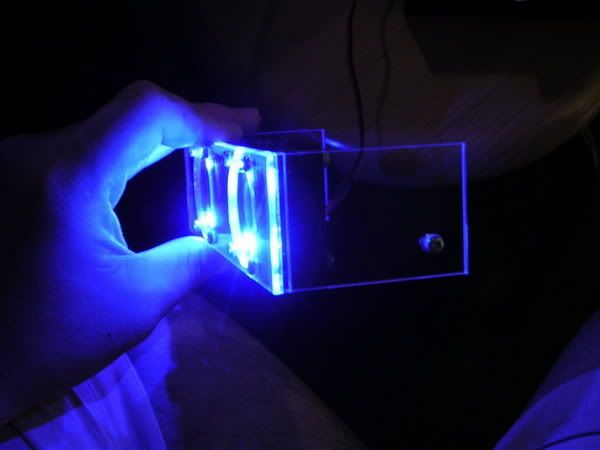
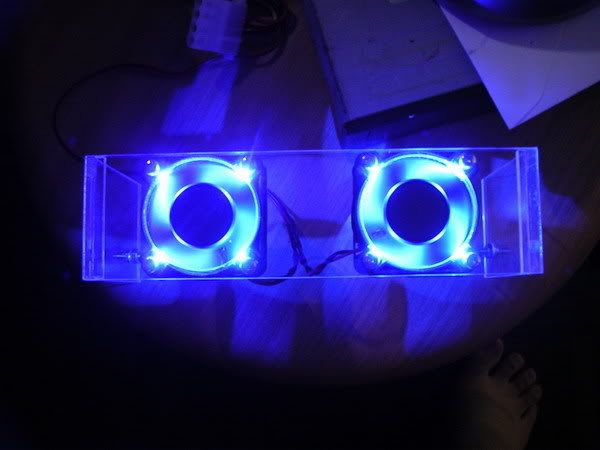
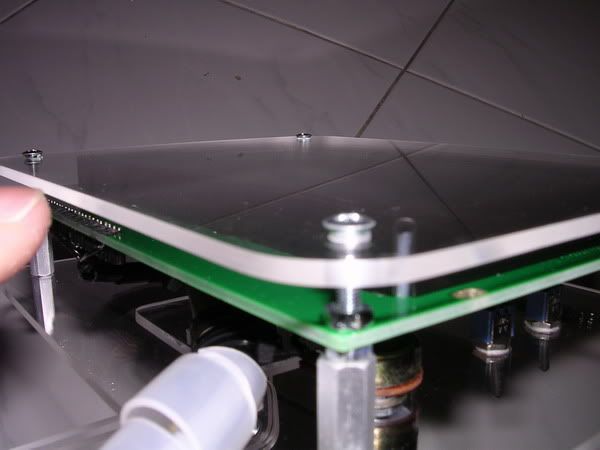
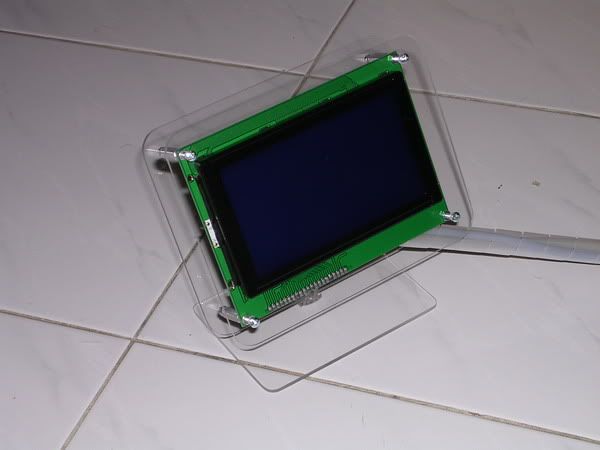
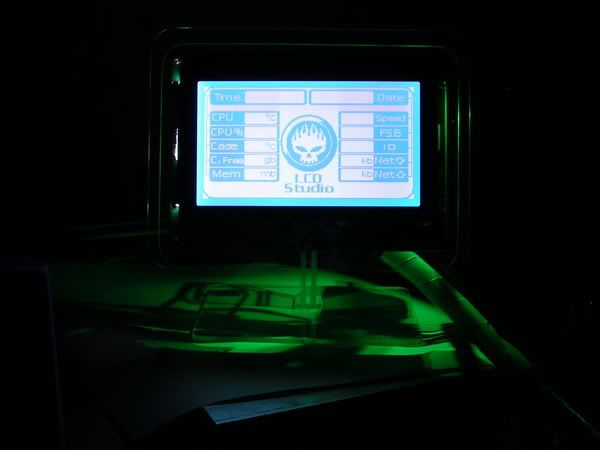
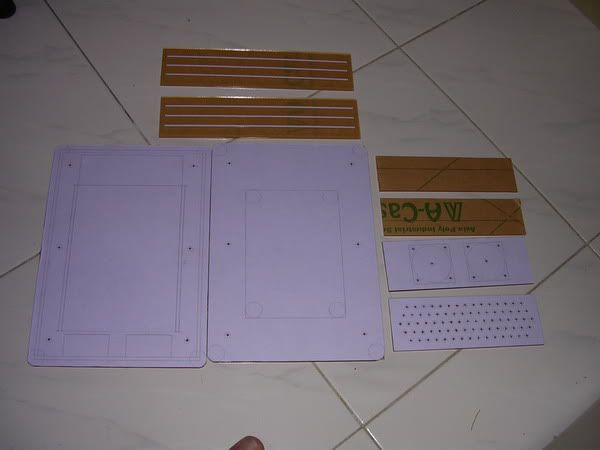
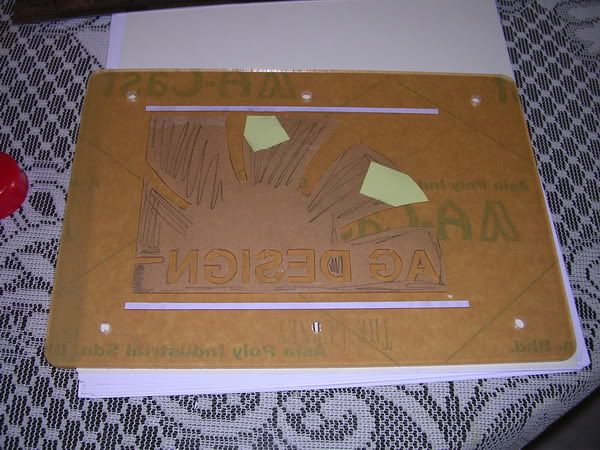
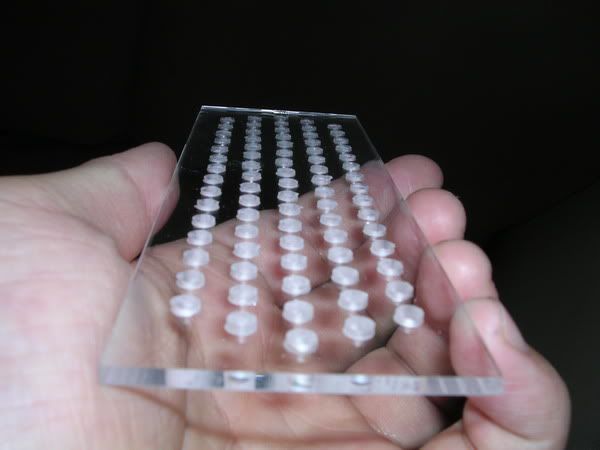
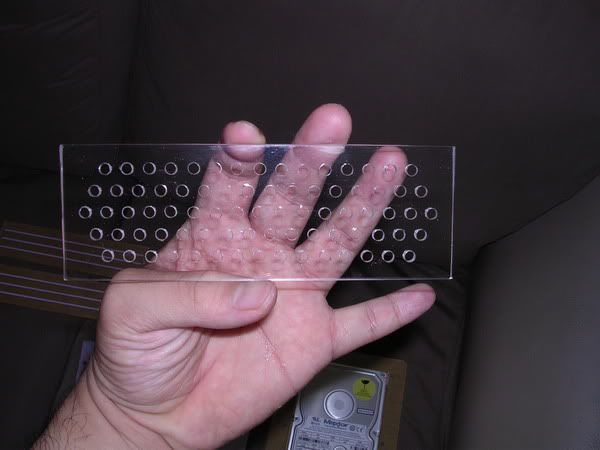
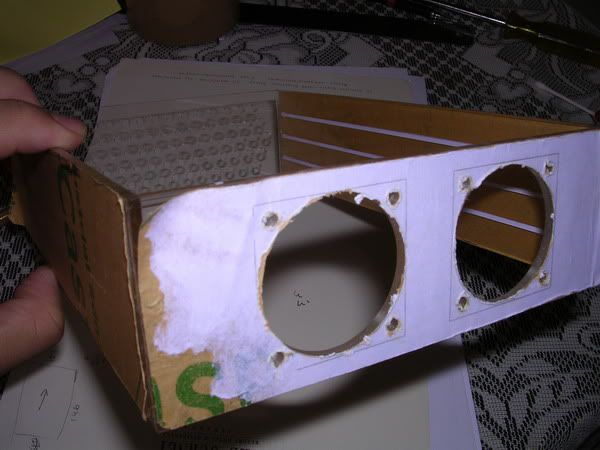
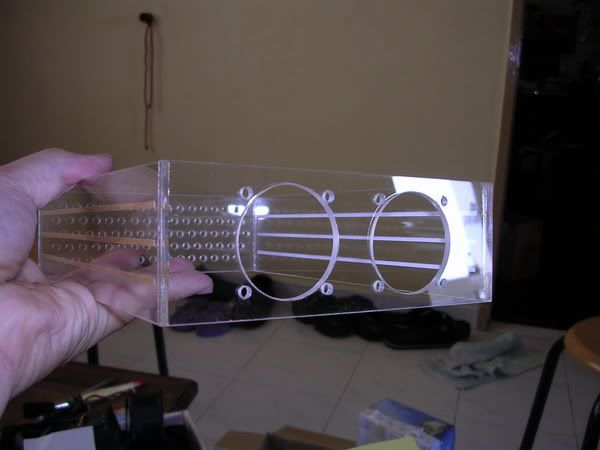
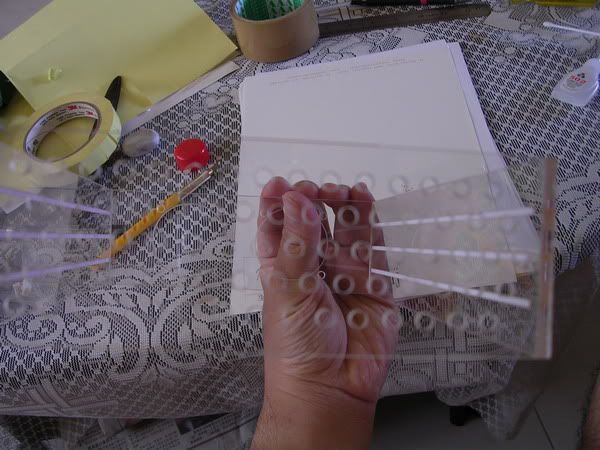
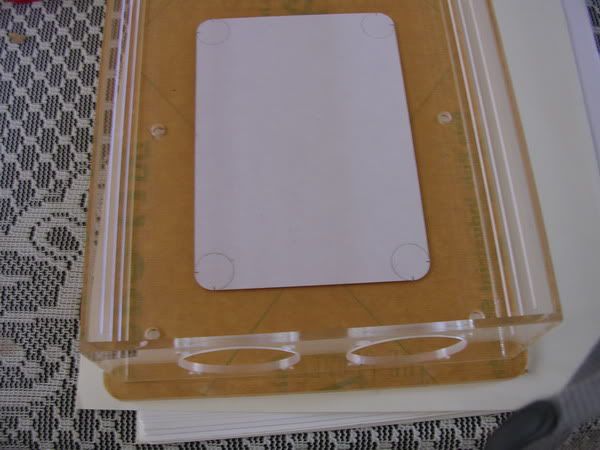
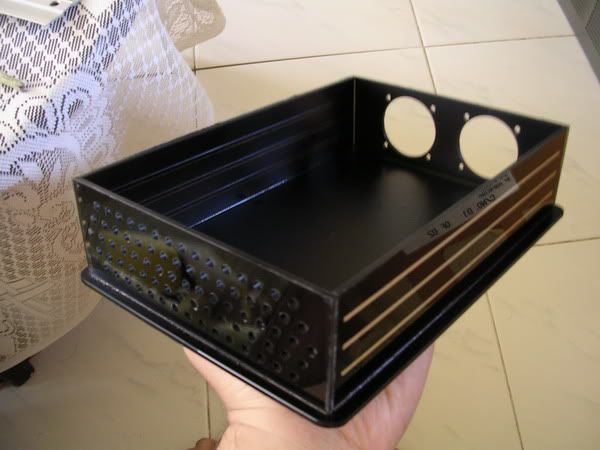
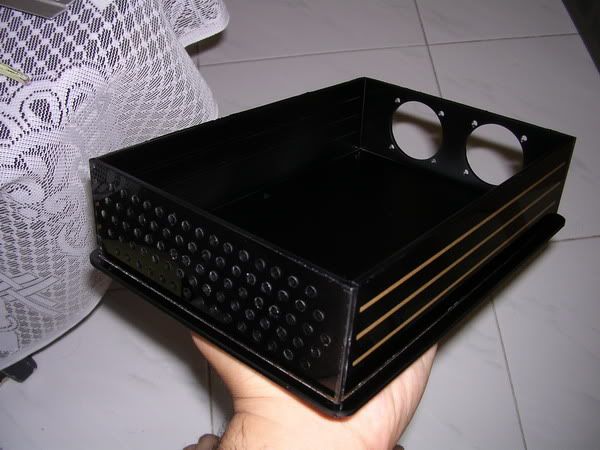
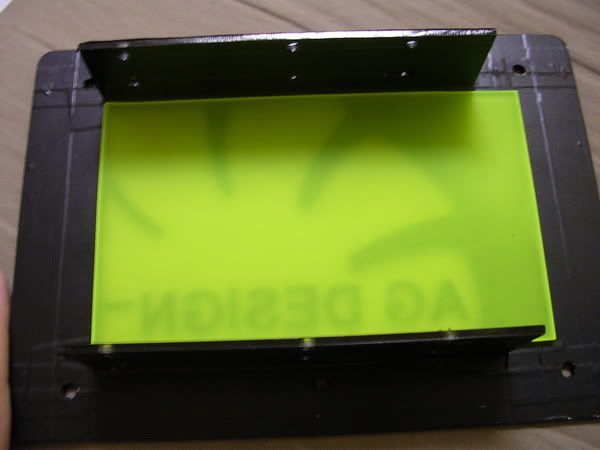
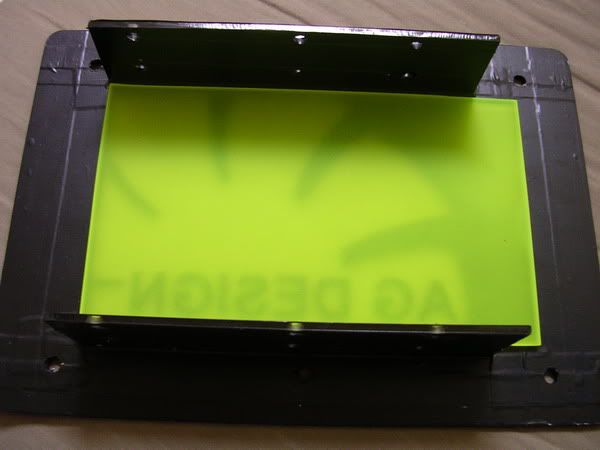
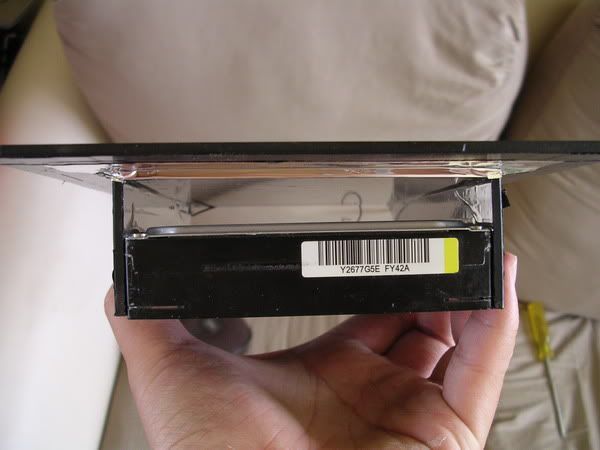
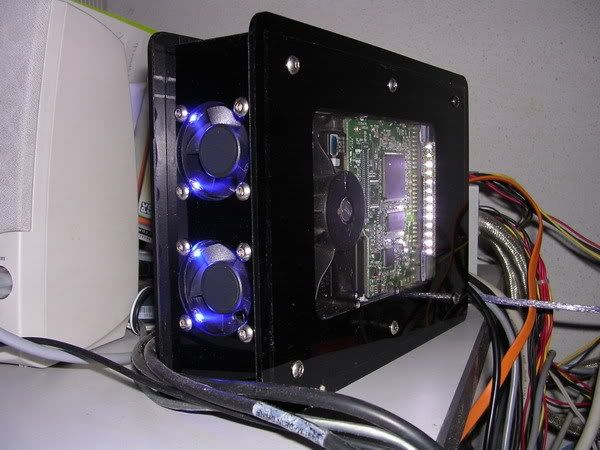
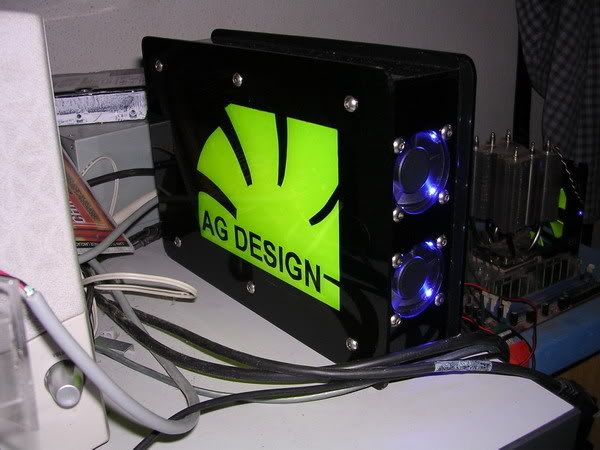
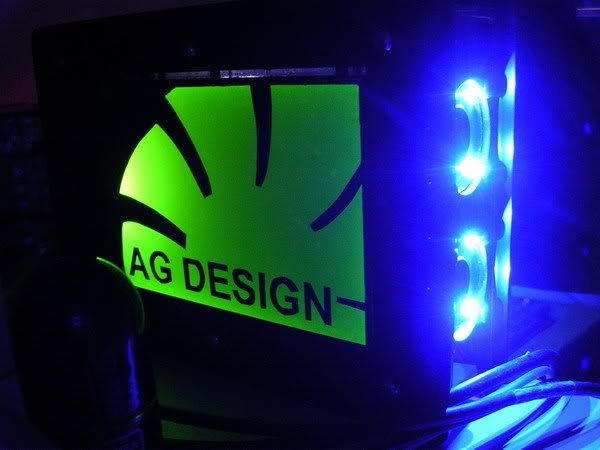
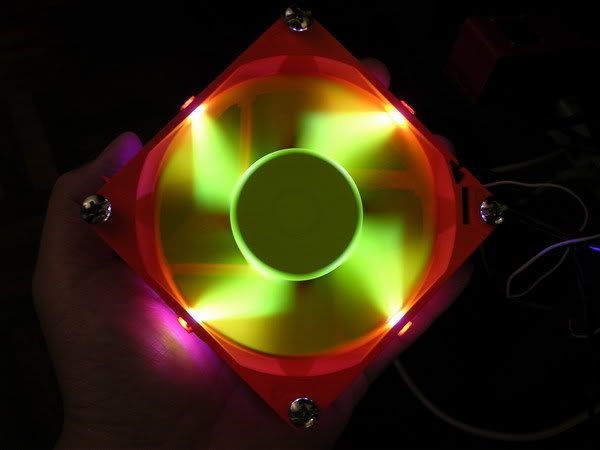
basically, this is the graphical LCD.
everything is built on 3mm acrylic and all the edges is rounded and smooth

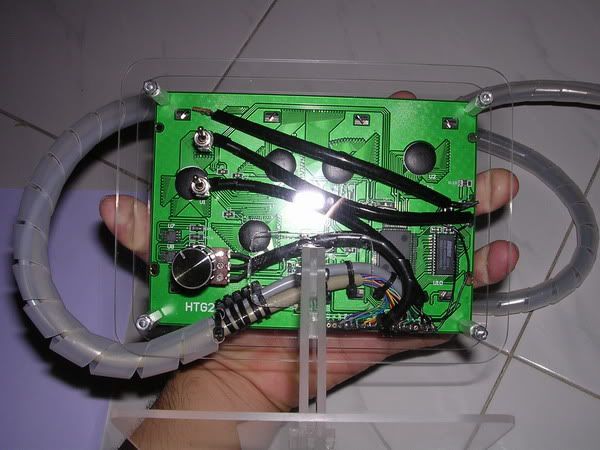
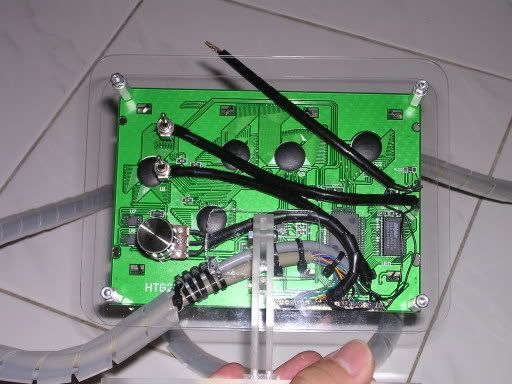
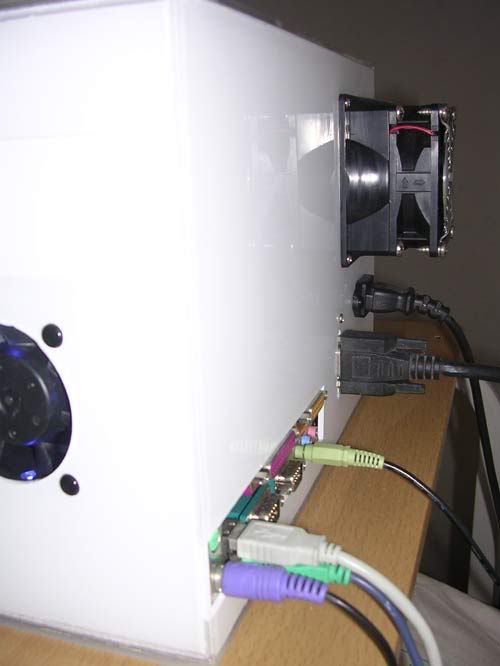
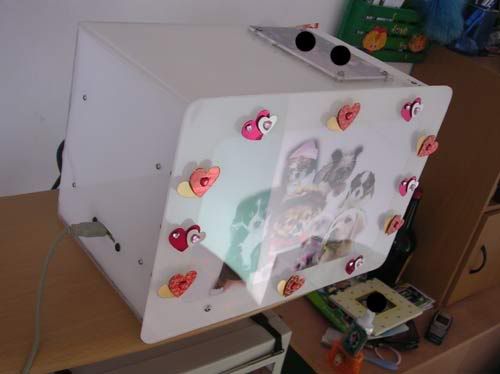
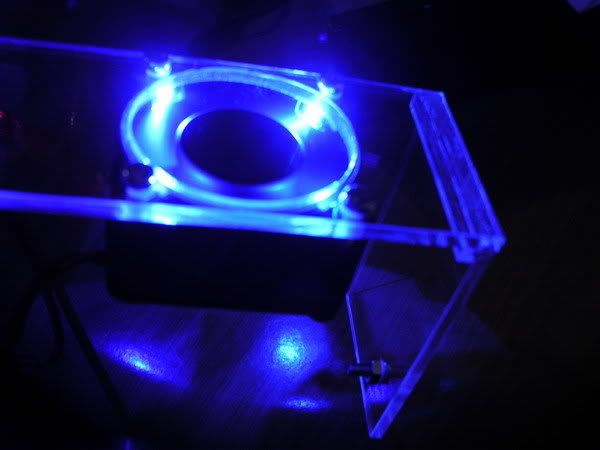
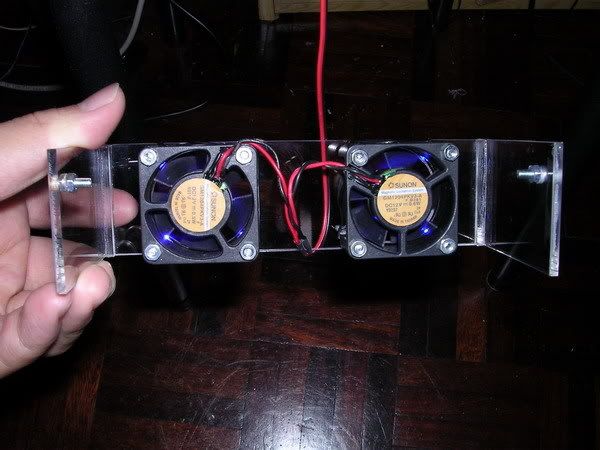
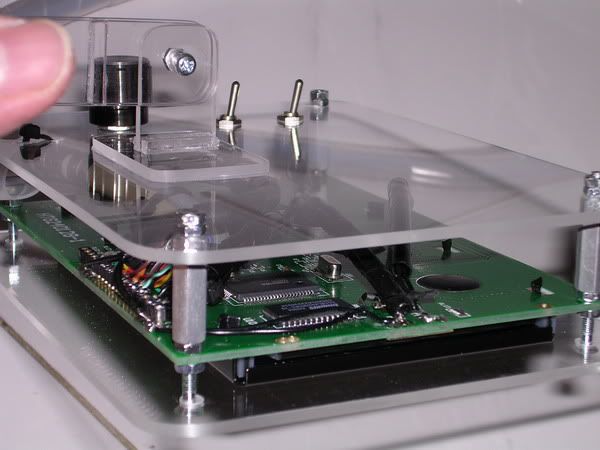
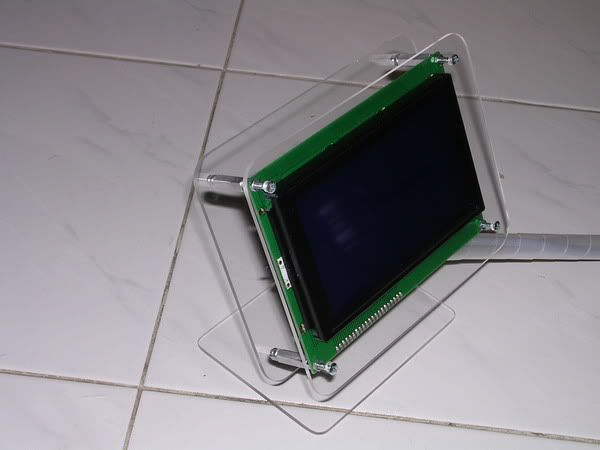
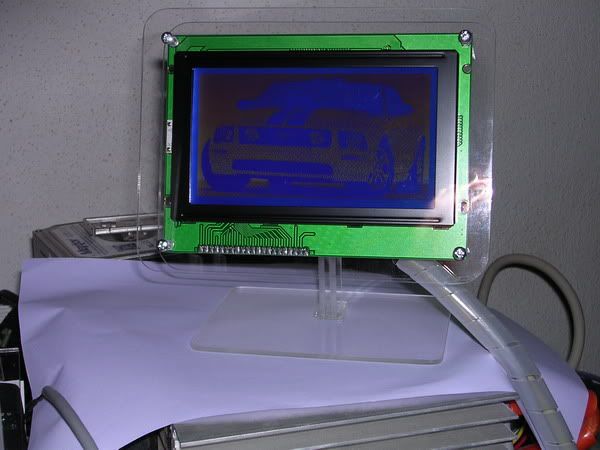
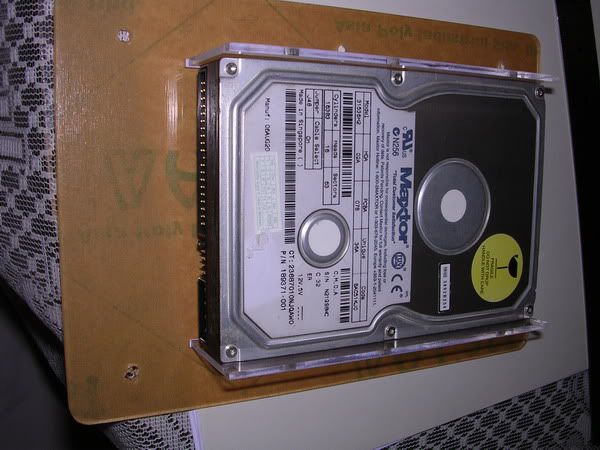
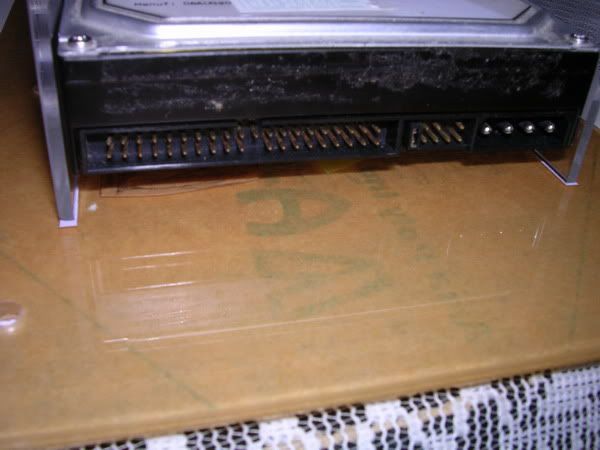
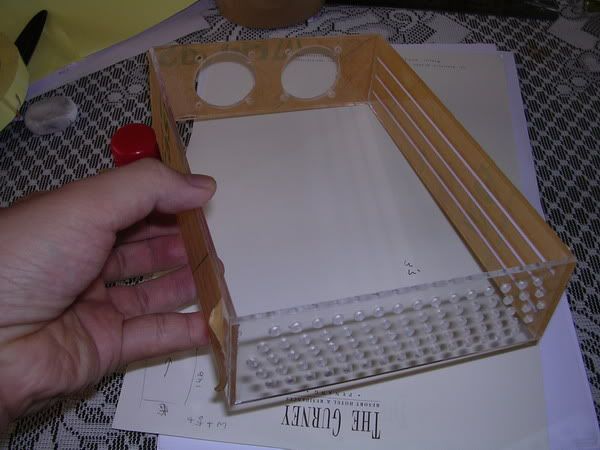
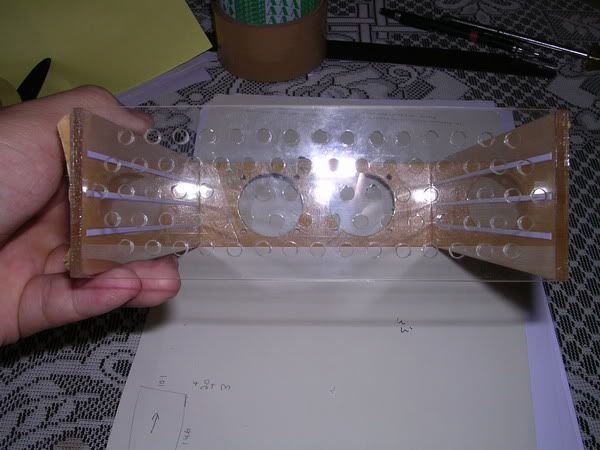
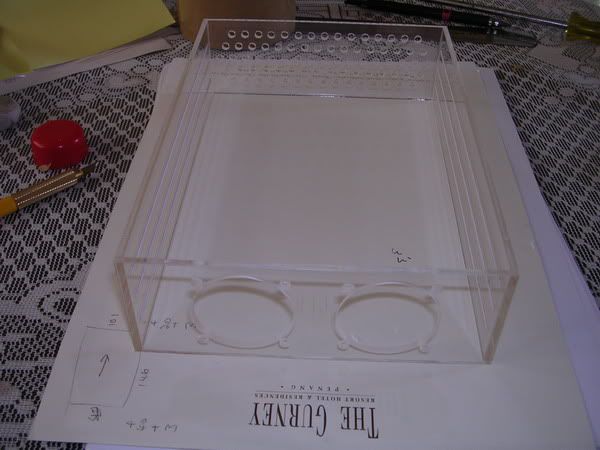
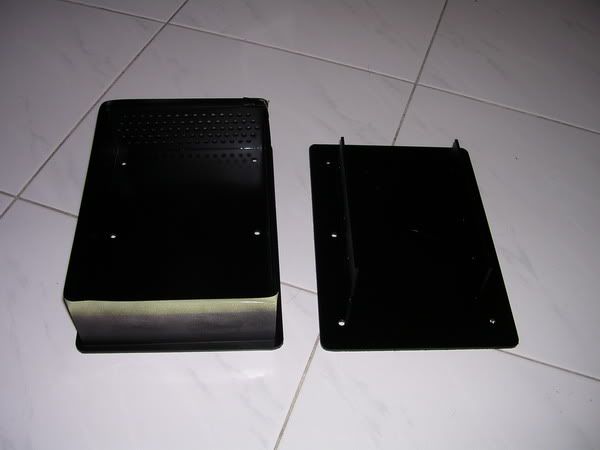
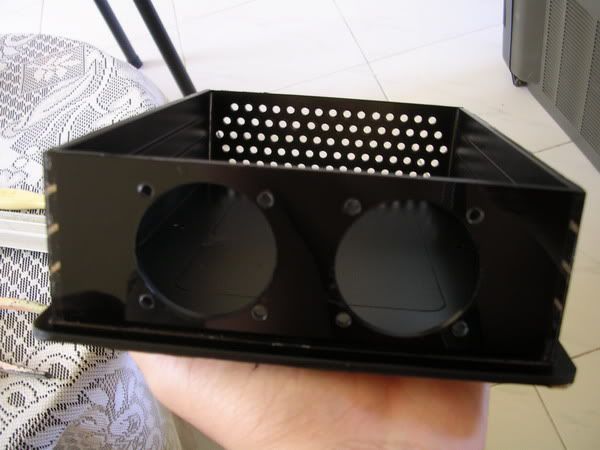
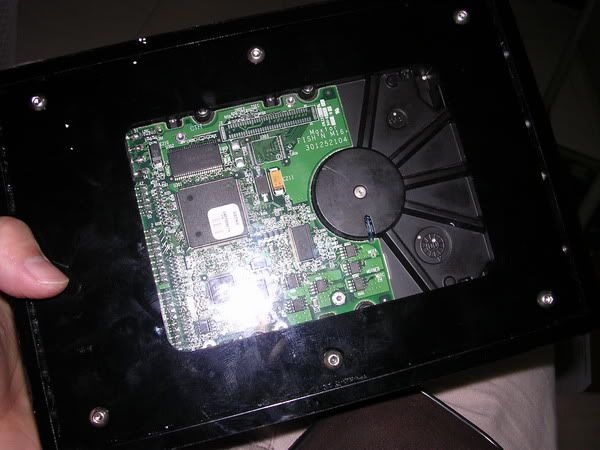
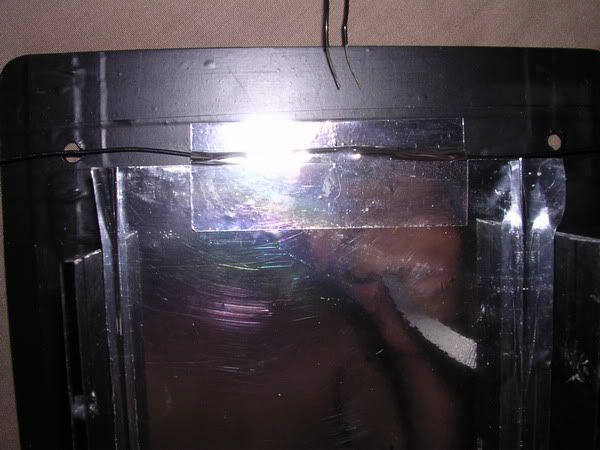
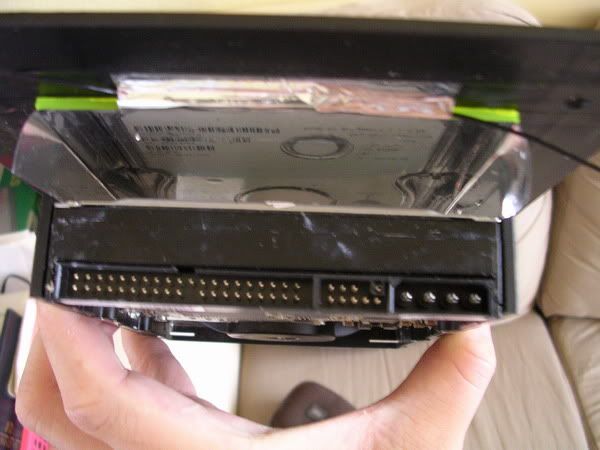
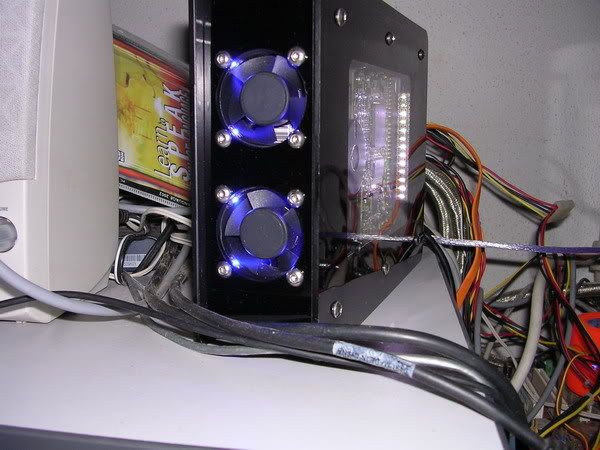
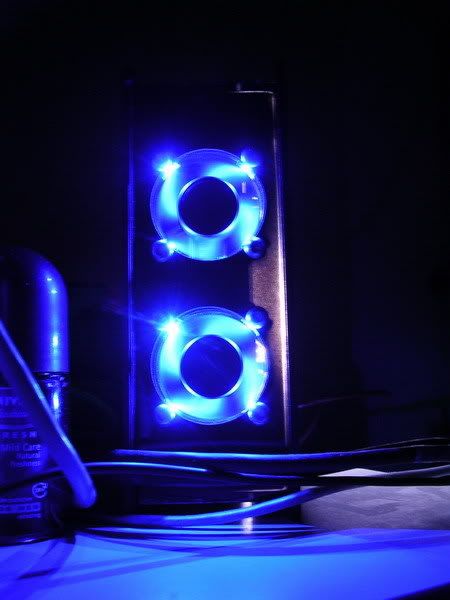
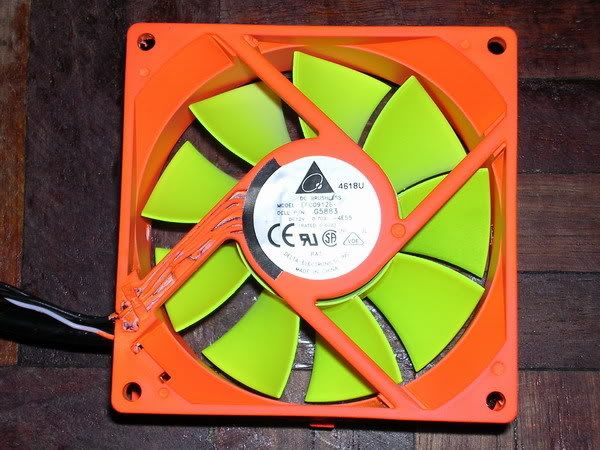
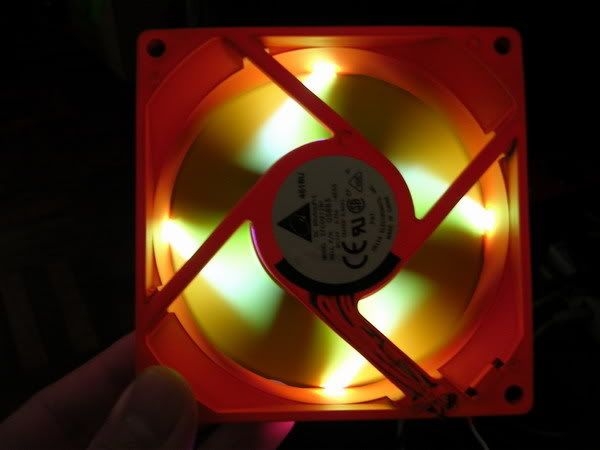
this is the rear part of the LCD,
as you can see in the picture, the black cable wrap is hiding some of the wires...
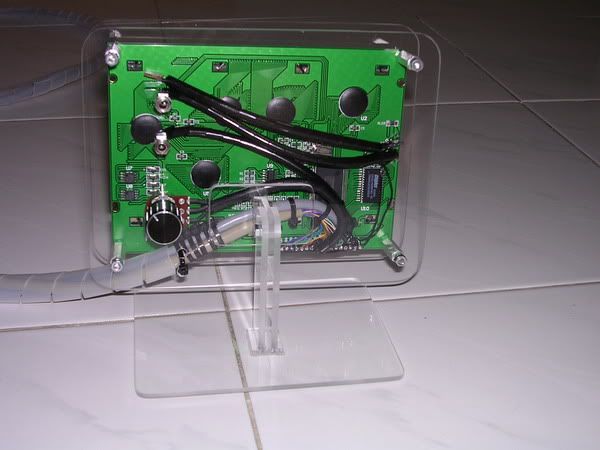
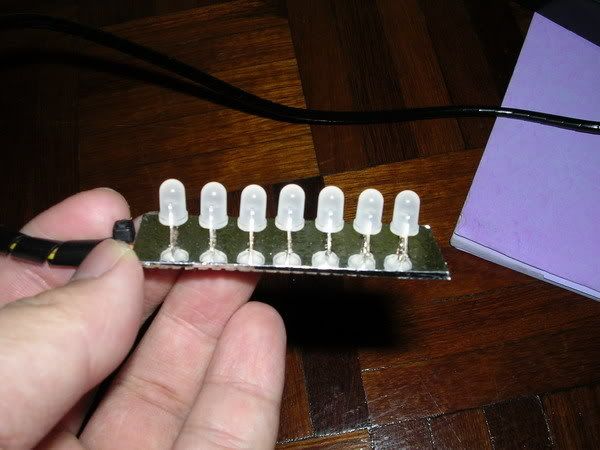
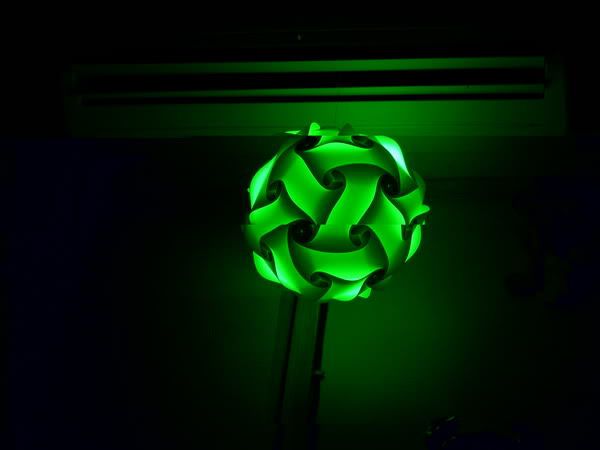
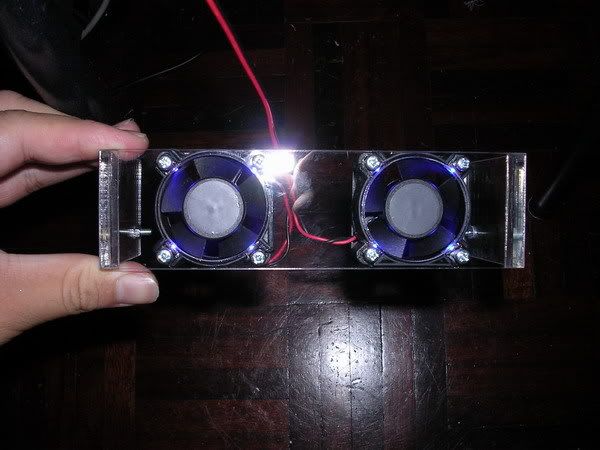
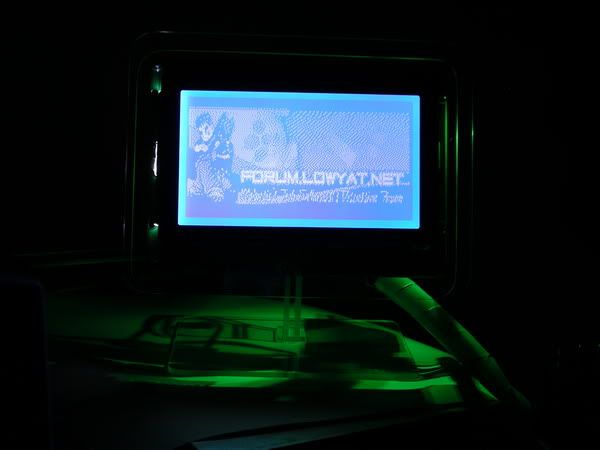
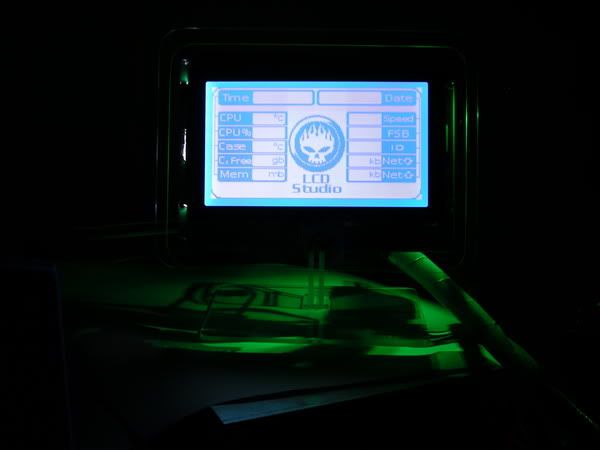
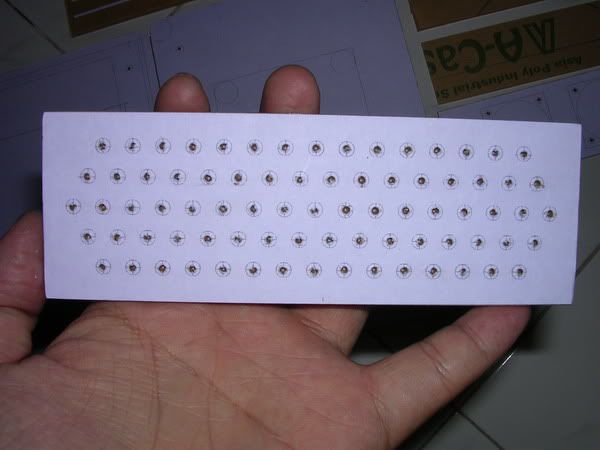
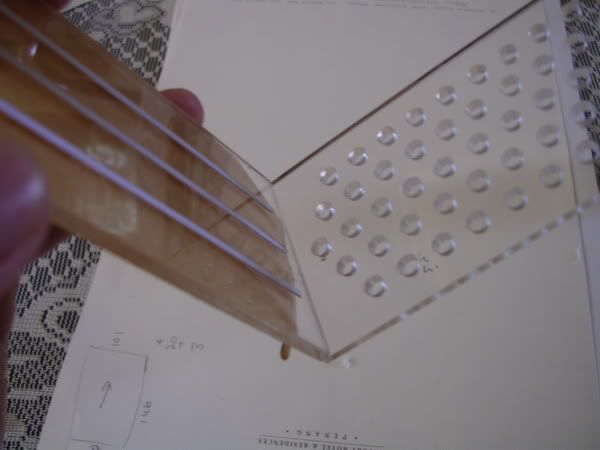
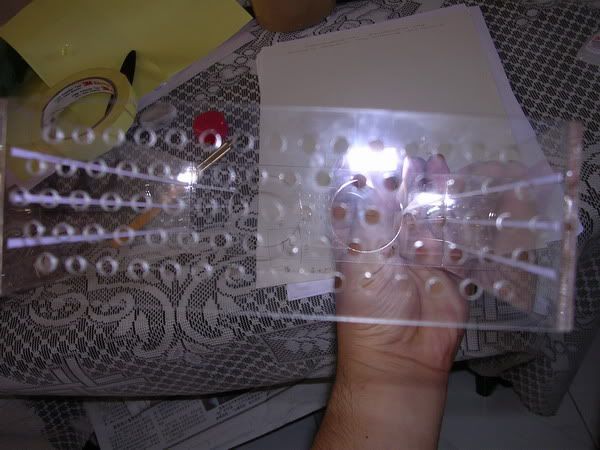
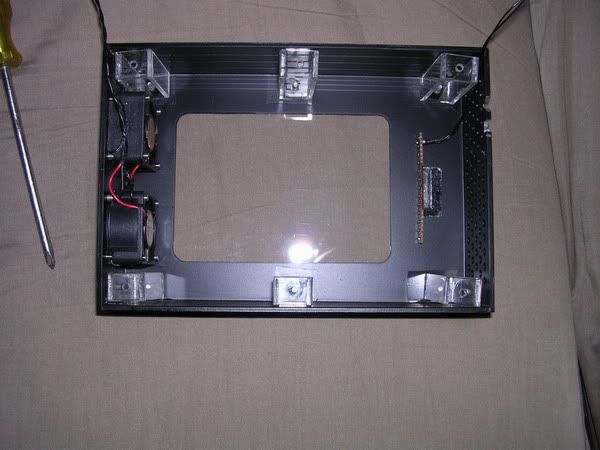
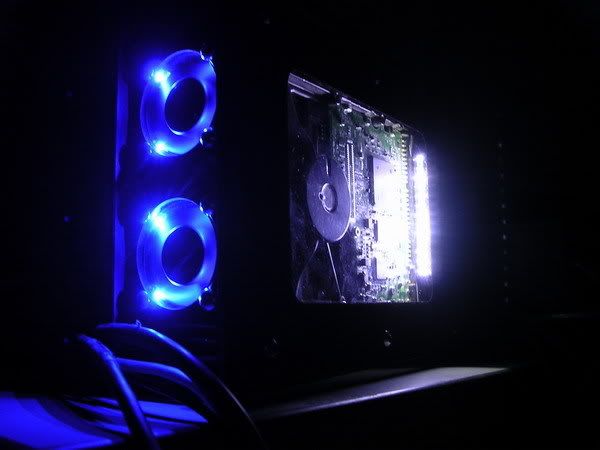
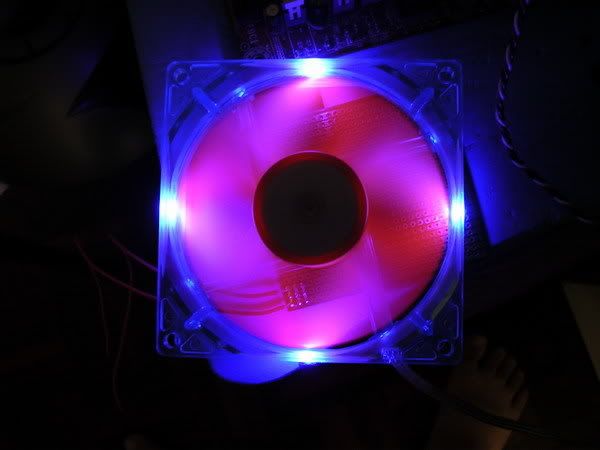
there's a small piece of circuit board(in brown) which holds the green SMD LEDs
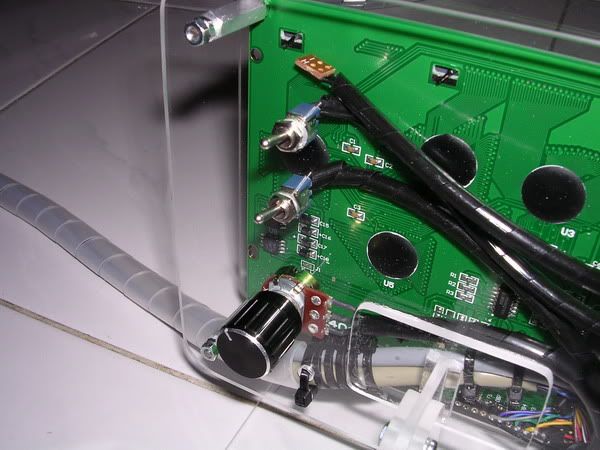
basically there are 2 switches and 1 knob.
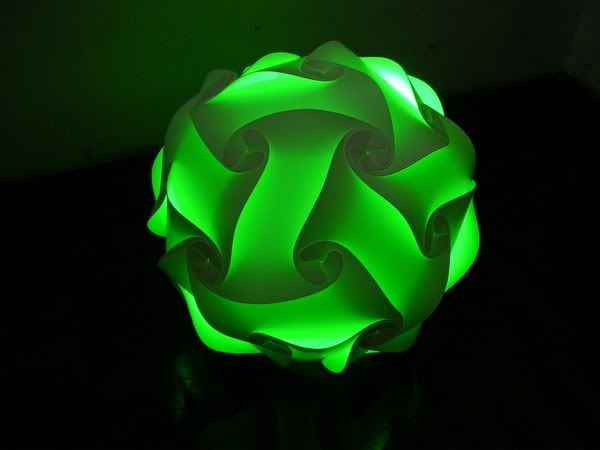
the first flip switch(on the top) is for the 2x green SMD LED while the second one is for the power for the whole LCD
and the knob is something like brightness control
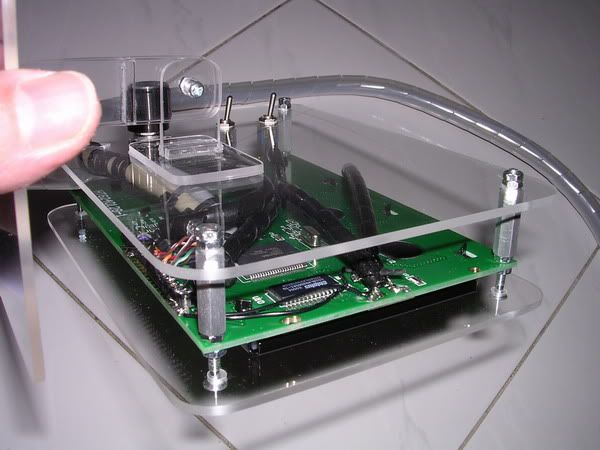
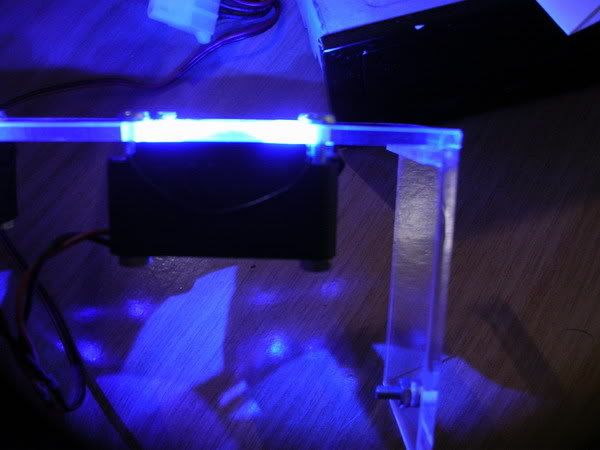
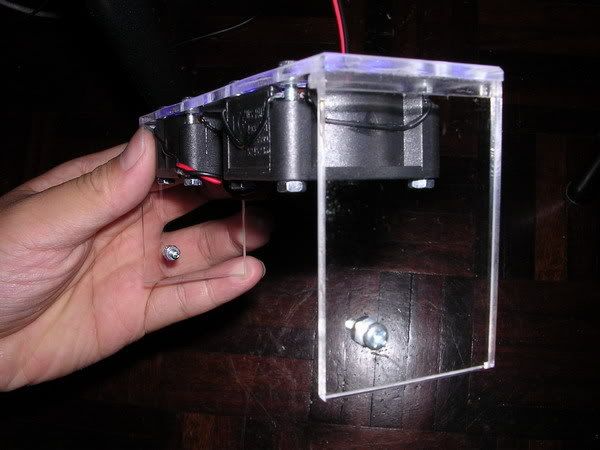
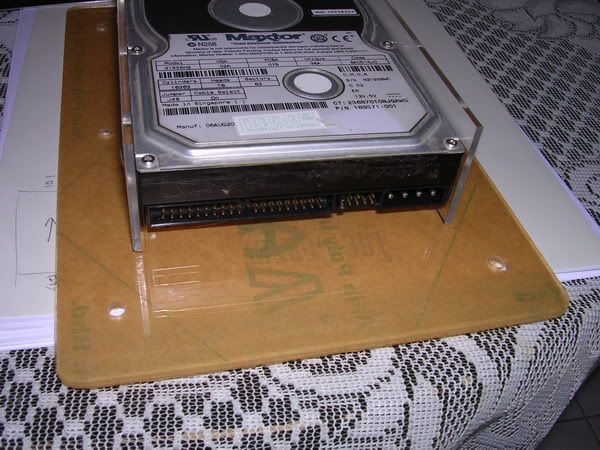
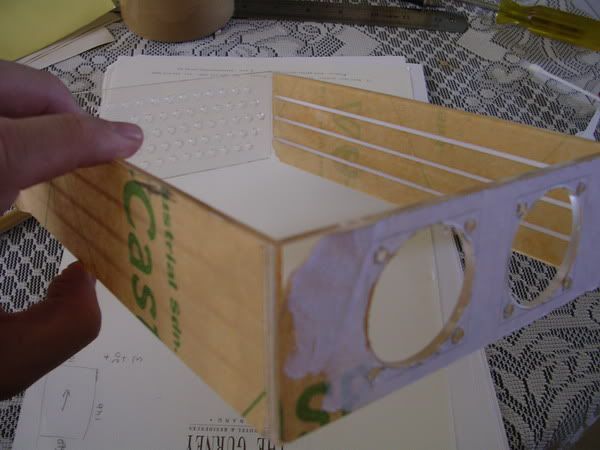
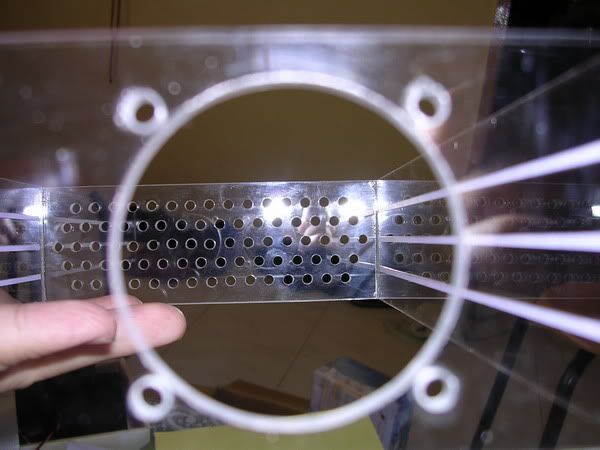
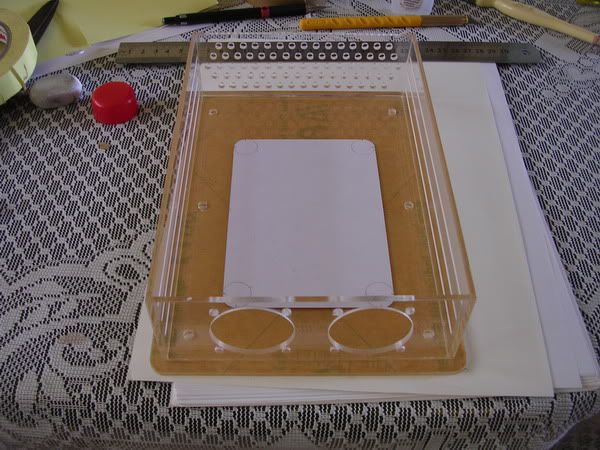
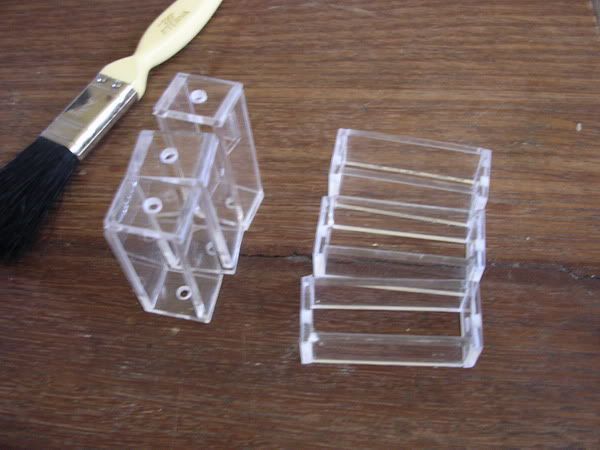
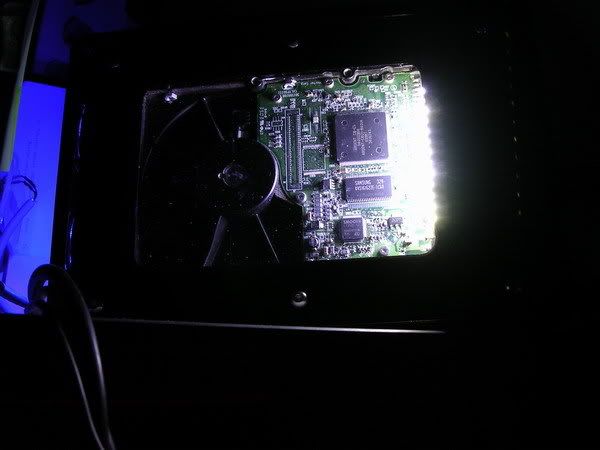
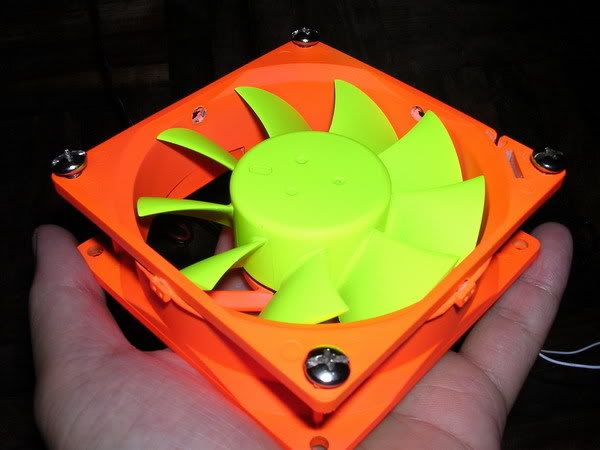
the mounts (the silver colour 'stick' in between the graphical LCD and the rear acrylic is to form a spacing between the two)

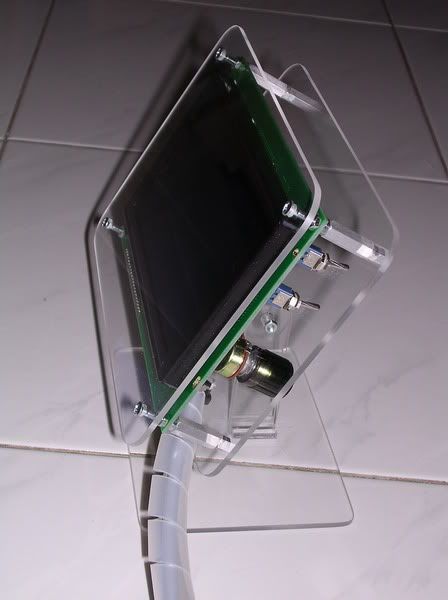
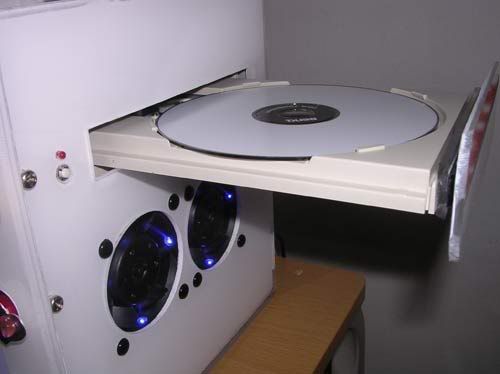
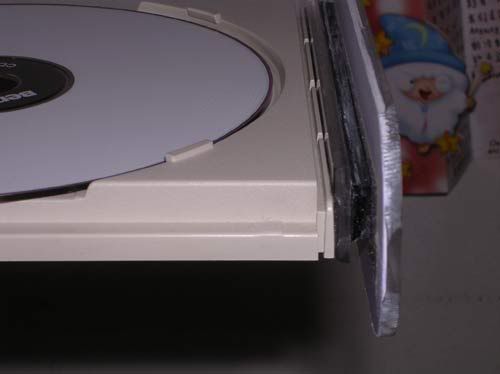
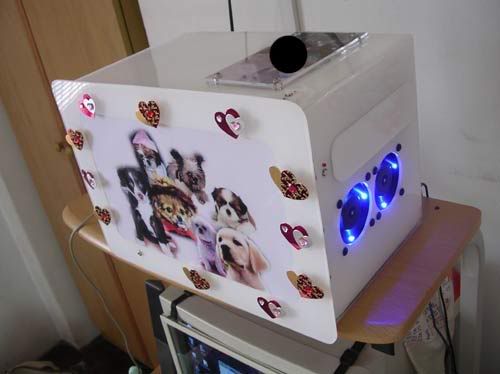
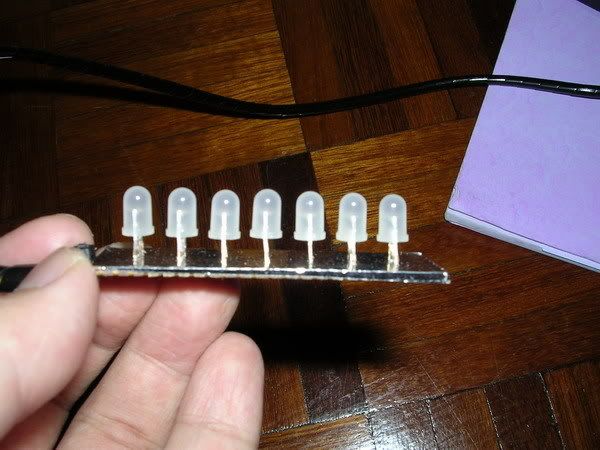
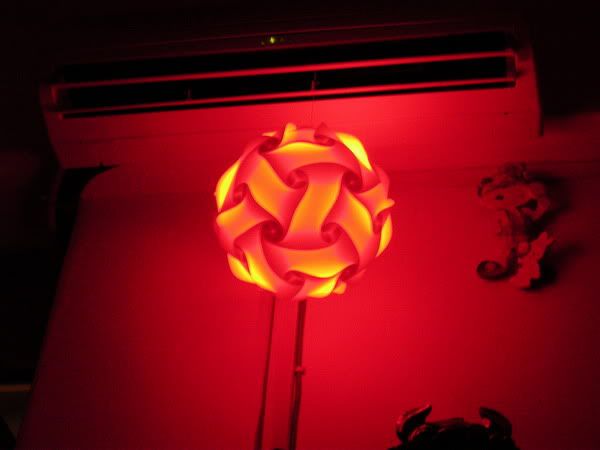
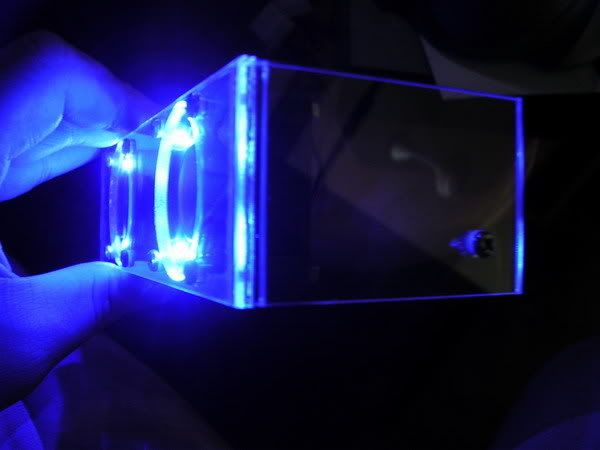
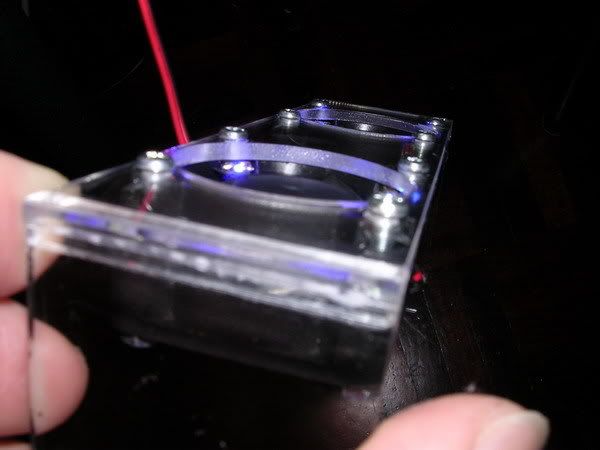
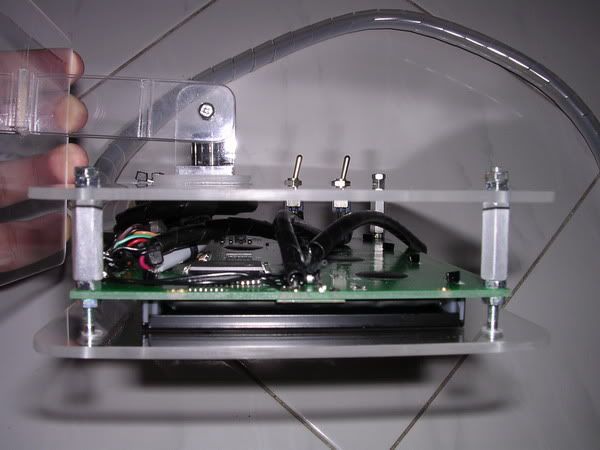
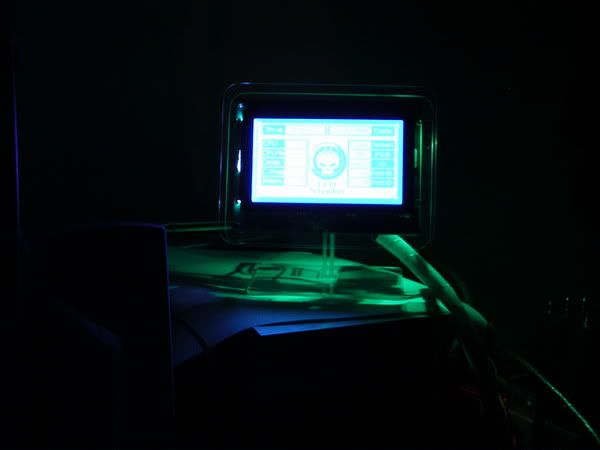
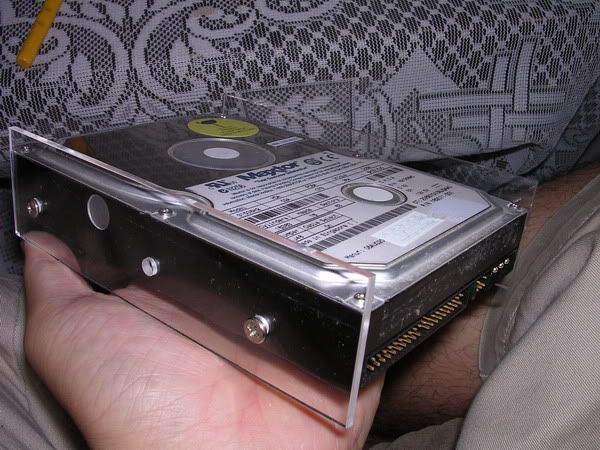
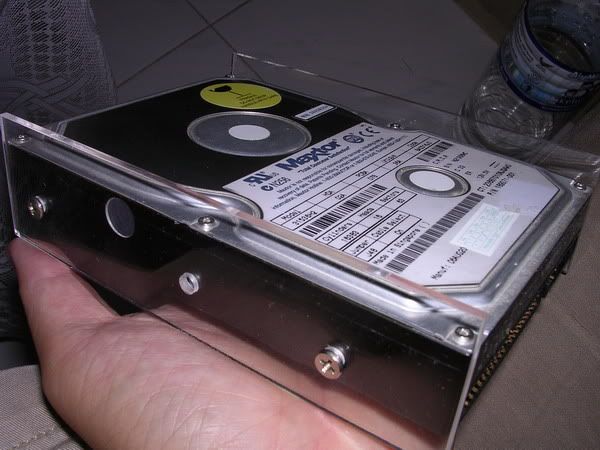
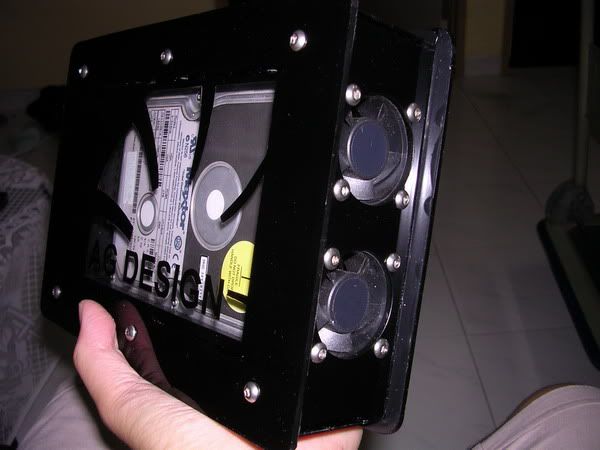
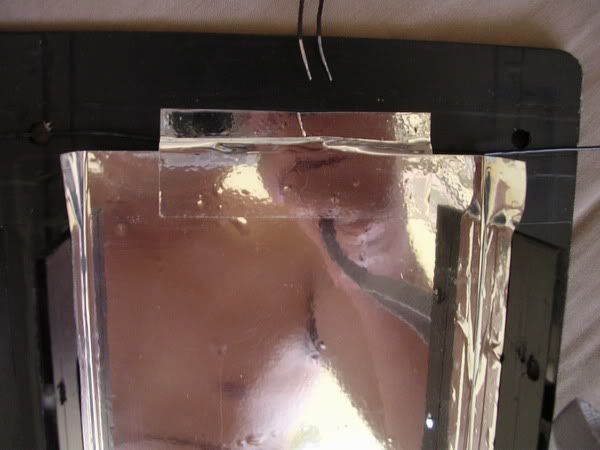
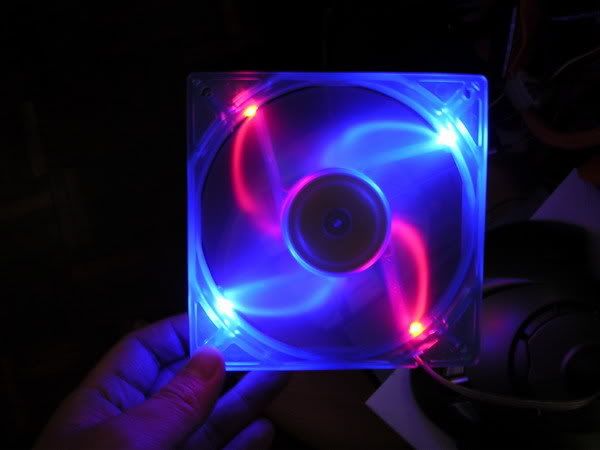
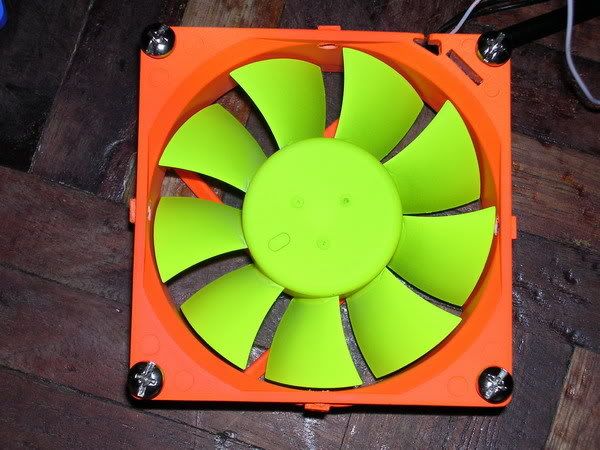
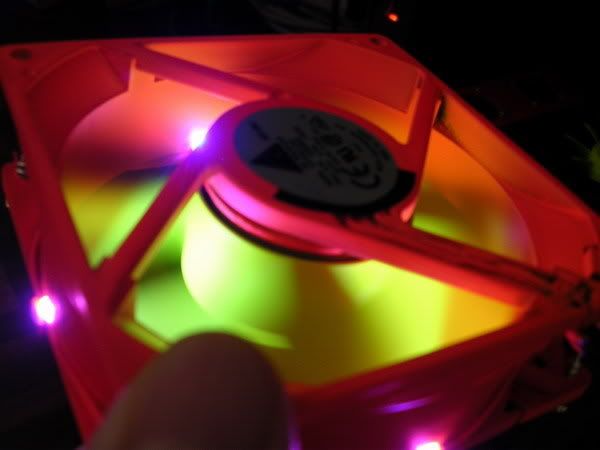
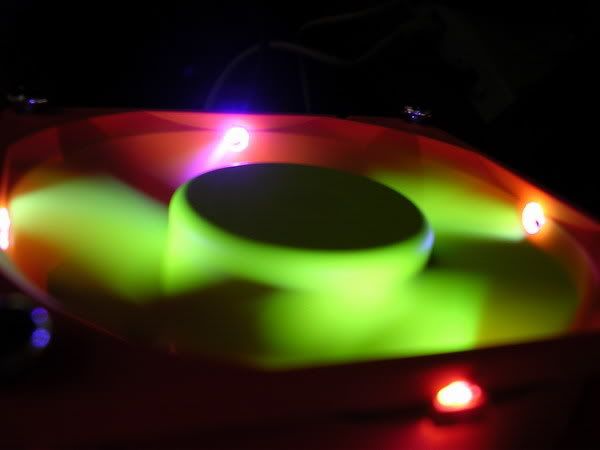
this is a side view of the graphical LCD........enjoy the pics !


 Aug 28 2006, 10:02 AM


 Quote
Quote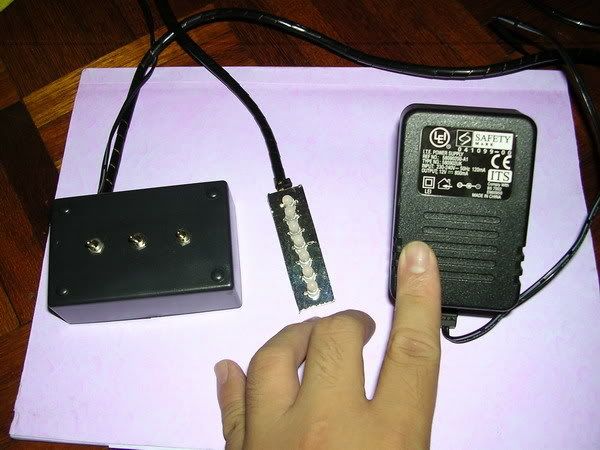


 0.0220sec
 1.15
1.15
 7 queries
 GZIP Disabled