Welcome Guest ( Log In | Register )

Bump Topic Topic Closed RSS Feed
12 Pages « < 5 6 7 8 9 > » Bottom

Outline · [ Standard ] · Linear+

 [Project] Balrog, Moving to watercooling world...

views
     
TSinfernoaswen
post Apr 15 2013, 11:12 AM

(╯°□°)╯︵ ┻━┻)
*******
Senior Member
3,782 posts

Joined: Aug 2010
From: subang jaya


QUOTE(supernothing @ Apr 15 2013, 12:40 AM)
that crimping tool is trash. you need to invest on a better crimp tool. crimping 16awg contactor to 18awg wire is do-able, i do it all the time. just need to make a few adjustment. need lots of patience, trial and error. good luck.
*
I see, ok thanks for the feedback...will get my new tool soon & play around with it biggrin.gif

QUOTE(Krauser @ Apr 15 2013, 12:48 AM)
but not all china tools brand not good,
u get what u pay biggrin.gif
anyway bro if u wan to buy a crimping tool i suggest this

» Click to show Spoiler - click again to hide... «

*
Thanks, will keep an eye out on that tool. It doesn't crush the pin wings on the insulator?
azilazwa
post Apr 15 2013, 11:32 AM

Enthusiast
*****
Senior Member
838 posts

Joined: May 2008
From: Setiu, Terengganu
» Click to show Spoiler - click again to hide... «


I havent flush my rad and res/pump yet. is there any specific type of vinegar to use for this process, or any normal (cooking type) vinegar can be use? Btw, ur project is going great! Cant wait to see ur wc loop working when it is complete.
supernothing
post Apr 15 2013, 12:25 PM

super ☆
******
Senior Member
1,343 posts

Joined: Jun 2006
From: Wangsa Maju/TTDI/Ampang


that big roll of led strip. boleh share sikit?
TSinfernoaswen
post Apr 15 2013, 03:04 PM

(╯°□°)╯︵ ┻━┻)
*******
Senior Member
3,782 posts

Joined: Aug 2010
From: subang jaya


QUOTE(azilazwa @ Apr 15 2013, 11:32 AM)
» Click to show Spoiler - click again to hide... «


I havent flush my rad and res/pump yet. is there any specific type of vinegar to use for this process, or any normal (cooking type) vinegar can be use? Btw, ur project is going great! Cant wait to see ur wc loop working when it is complete.
*
Not sure if can use ordinary vinegar or not, maybe can but based on what I read online...people recommend to use distilled white vinegar & my mum had that....so.... brows.gif

QUOTE(supernothing @ Apr 15 2013, 12:25 PM)
that big roll of led strip. boleh share sikit?
*
laugh.gif I am not sure how much I need, will need to see how much left after rig is done. I plan to put some strip as underlight also & maybe some at my desk biggrin.gif

Will see how things goes first icon_rolleyes.gif
qwe13
post Apr 15 2013, 04:52 PM

Enthusiast
*****
Senior Member
785 posts

Joined: Jun 2012
Distilled white vinegar eah... hmm.gif
does it smell like the usual vinegar..smells like %^#%^@ rclxub.gif
usop8290
post Apr 15 2013, 05:21 PM

Enthusiast
*****
Senior Member
998 posts

Joined: May 2009
From: Bangi & Kuala Terengganu


QUOTE(infernoaswen @ Apr 15 2013, 11:12 AM)
I see, ok thanks for the feedback...will get my new tool soon & play around with it biggrin.gif
Thanks, will keep an eye out on that tool. It doesn't crush the pin wings on the insulator?
*
go grab them at jalan pasar..bought mine @RM105..but make sure you bought the right one..got lots of similar looking tool but for different applications..or just bring along your pin and ask the shop for the right tool and test it on the spot tongue.gif
TSinfernoaswen
post Apr 15 2013, 05:44 PM

(╯°□°)╯︵ ┻━┻)
*******
Senior Member
3,782 posts

Joined: Aug 2010
From: subang jaya


QUOTE(qwe13 @ Apr 15 2013, 04:52 PM)
Distilled white vinegar eah... hmm.gif
does it smell like the usual vinegar..smells like %^#%^@  rclxub.gif
*
I dont have normal vinegar to compare to so I am not sure but for sure distilled white still smells like $%^&....need to flush few times to remove the smell laugh.gif

QUOTE(usop8290 @ Apr 15 2013, 05:21 PM)
go grab them at jalan pasar..bought mine @RM105..but make sure you bought the right one..got lots of similar looking tool but for different applications..or just bring along your pin and ask the shop for the right tool and test it on the spot  tongue.gif
*
I see, thanks for sharing...will head over there when I am free... nod.gif
TSinfernoaswen
post Apr 20 2013, 11:38 PM

(╯°□°)╯︵ ┻━┻)
*******
Senior Member
3,782 posts

Joined: Aug 2010
From: subang jaya


Didnt had any progress last week because my father accident 2weeks ago so I was staying up night in the hospital. Another bad news is that the rig is partially done, so I been playing games on it. Finished far cry 3 on it but today when I was listening songs the display suddently just went off. Now there isnt any display from the graphic card. I think my graphic card died so will need to test it & most likely send to RMA. This is farked up laugh.gif

I am almost done with it, just left to install the remaining fans & make custom cables but shit happens. I was hoping to finish this build by end of this month but...

Anyways thanks to HoNeYdEwBoY for the rams wub.gif I didnt know the ram led has a pulse effect. I thought it was just a normal constant led (didnt read reviews laugh.gif ). Remember previously I had 3mm led for the raystorm & I didnt like the blinking effect, but since the ram has a nice pulse effect to it, I think maybe adding that blinking led to raystorm might match. Will test it & see how it goes smile.gif

user posted image user posted image

So I started adding fans on top & the standard 3cm radiator screws doesnt fit so I had to custom make my own screws that is slightly longer.

user posted image user posted image

Started sleeving the fans too. Yes I am a perfectionist I guess, even fan cables I will sleeve even though its already black. Usually small touches like this can make a difference in a build.

user posted image user posted image

Its my first time creating custom cables so I had to experiment on which technique works best with which tools. I spent like around 1hour with 25pins for trial & error & finally manage to get the perfect technique that works best for me.

user posted image

This post has been edited by infernoaswen: Dec 31 2013, 01:53 AM
TSinfernoaswen
post Apr 26 2013, 12:18 AM

(╯°□°)╯︵ ┻━┻)
*******
Senior Member
3,782 posts

Joined: Aug 2010
From: subang jaya


Because of that I would like to create a short tutorial for you guys laugh.gif I said before I wanted to share my cable sleeving technique but I guess I'll pass that since you guys can watch lutr0 videos. His guide is probably the best out there & when I first started I followed his guide as well.

So basically to make custom cables you will need 3 important tools. First is a regular all in 1 tool for wires that you can buy from hardware shops. This is a must have tool, I use this to cut my wires, cut my M4 screws to custom sizes, strip the 18awg cables & even cable crimping. The second tool is used to entertain yourself during this long process tongue.gif Its an e-cig. The 3rd tool is obviously crimping ratchet. I am using a decent crimping ratchet which is why additional steps are required to get the perfect crimp. Maybe if you get those expensive ratchet life will be easier, I dont know because no way in hell I am going to spend more than RM100 to get a crimping ratchet, mine cost less than RM50. Btw I am selling the same ratchet (will revise the price later in my thread).

user posted image

First step is to strip the insulator.

user posted image

user posted image

You will need to estimate yourself, so there will be some trial & error involved.

user posted image

Because it can't be too long or if its too short then you wont be able to get a good crimp grip.

user posted image

Next is to placed that wire into this pin, but the pin wings are straight & I find it hard to crimp them because they will be shaking & the pin can easily fall off. So what I do is I bend the wings first to a curve shape & then only insert the wire, this will reduce the amount of movement & chances of the pin falling down is reduced.

user posted image

Just remember to place it properly in the ratchet or you will destroy your pin.

user posted image

user posted image

Do ignore my beautiful fingernails ya tongue.gif

user posted image

See, now its easier to place the wire into the pin. The way I estimate how much insulator to cut is the amount of copper wire should be sufficient that its able to enter in the "pin square house". Just barely, like a tiny mm only because you dont want too much in there or you will have a hard time connecting the male pins into it later.

user posted image

This post has been edited by infernoaswen: Dec 31 2013, 01:54 AM
TSinfernoaswen
post May 21 2013, 04:04 PM

(╯°□°)╯︵ ┻━┻)
*******
Senior Member
3,782 posts

Joined: Aug 2010
From: subang jaya


Anyway once you done placing the wire, carefully put the pin & wire into the ratchet & crimp it fully.

user posted image

This may look a good crimp to you, but its not. Because if you pull the pin from the wire, with sufficient force the pin will come out. No mater how hard you crimp it with the crimper, the grip is just not too strong.

user posted image

This is where the other tool will come in handy. As you can see, the crimping curve is much sharper, so I just need to crimp the pins again to give that "extra grip". You will know how much pressure to apply with trial & error. Too much & your pin will break, too little & the gripping strength wont be strong enough.

user posted image

Once that is done, I can pull the wire from the pins as hard as I want & it wont come out. Of course if you pull really hard it will come out though but it should be sufficient la for our usage.

This post has been edited by infernoaswen: Dec 31 2013, 01:55 AM
TSinfernoaswen
post May 31 2013, 10:06 PM

(╯°□°)╯︵ ┻━┻)
*******
Senior Member
3,782 posts

Joined: Aug 2010
From: subang jaya


Installed the corsair fans. I am thinking of replacing the corsair sticker to something else. Maybe rog logo stickers instead? Hmmm

user posted image

I have no issue with the clearance at the ram or cpu heatsink for corsair fans in push pull config but I will be having problems at the 8pin cable for the cpu.

user posted image

Not sure how I am going to put the fans over here, maybe I will need to modify the corsair fans, might need to cut the shroud with a dremel I guess.

user posted image

Shit ton of connectors for custom cables.

user posted image user posted image

I went with heatshrinkless style smile.gif

user posted image

My custom cable doesn't work directly from the psu due to different cable layout from the original psu cable layout. So I had to rearrange the cables back to the original layout. I was hoping the 24pin cable didnt need to follow original layout but apparently not. I think gpu cables & 8pin cables the layout doesn't matter as long as the wire colours are right. Will see how things goes.

user posted image user posted image

Double wire! We meet again...muahahaha

user posted image user posted image

This post has been edited by infernoaswen: Dec 31 2013, 01:56 AM
najmul
post Jun 1 2013, 11:02 PM

On my way
****
Senior Member
526 posts

Joined: Oct 2007


» Click to show Spoiler - click again to hide... «


looking at your pics make me want to buy a flow sensor drool.gif drool.gif btw, where you buy your acrylic panels?
TSinfernoaswen
post Jun 1 2013, 11:21 PM

(╯°□°)╯︵ ┻━┻)
*******
Senior Member
3,782 posts

Joined: Aug 2010
From: subang jaya


QUOTE(najmul @ Jun 1 2013, 11:02 PM)
» Click to show Spoiler - click again to hide... «


looking at your pics make me want to buy a flow sensor  drool.gif  drool.gif btw, where you buy your acrylic panels?
*
brows.gif but you will need something that will be able to read the flowsensor readings. I plan to get lamptron CW611 (when its available locally), that fan controller will be able to read my flows & also used it to control fan speeds biggrin.gif

Acrylic panel I got from a friend (his dad shop business got use acrylic panels), but if you want you can get from jalan landak (nearby jalan pasar). You can also order from nichlasteoh or shepred. They can cut to your requirements too biggrin.gif
TSinfernoaswen
post Jun 21 2013, 10:19 PM

(╯°□°)╯︵ ┻━┻)
*******
Senior Member
3,782 posts

Joined: Aug 2010
From: subang jaya


After rearranging the cables to original layout, it works. Readings all seems alright, 24pin custom cable success!

user posted image

Time for cable sewing smile.gif

user posted image

This gonna be a long process so bye bye, see you next month tongue.gif

user posted image

user posted image

user posted image

user posted image

24pin should be done by tomorrow, then will continue on 8pin & 2x 6pins laugh.gif So much work yet so little time. I have yet to diagnose the problem with my pc, I suspect need to RMA graphic card. Need to borrow my friend gpu to test rclxub.gif

This post has been edited by infernoaswen: Dec 31 2013, 01:57 AM
TSinfernoaswen
post Jun 23 2013, 01:06 AM

(╯°□°)╯︵ ┻━┻)
*******
Senior Member
3,782 posts

Joined: Aug 2010
From: subang jaya


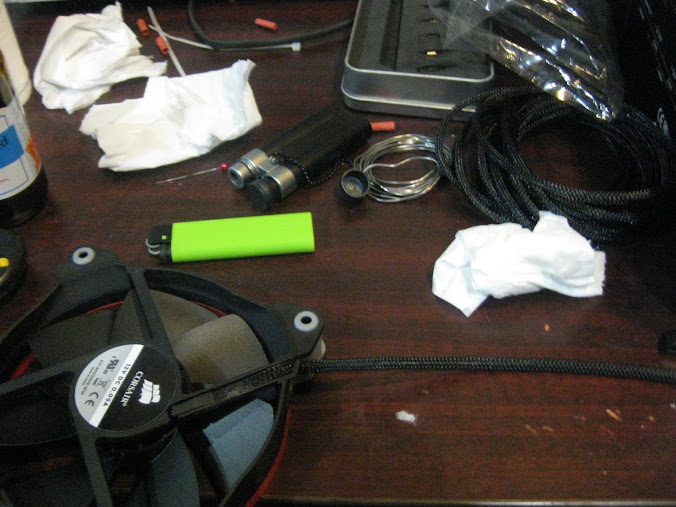
Not much progress anyways since sunday I was pretty free & couldn't do anything because I am out of black sleeving. Should be arriving monday though smile.gif 
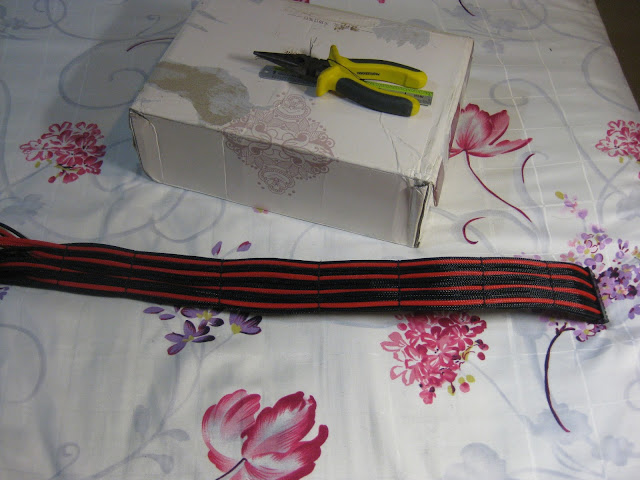
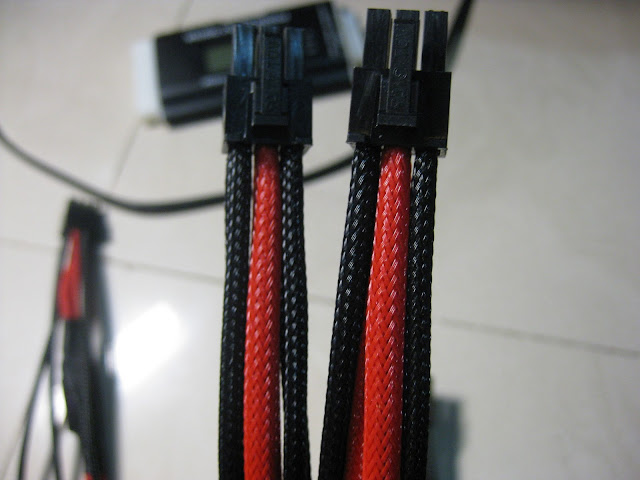
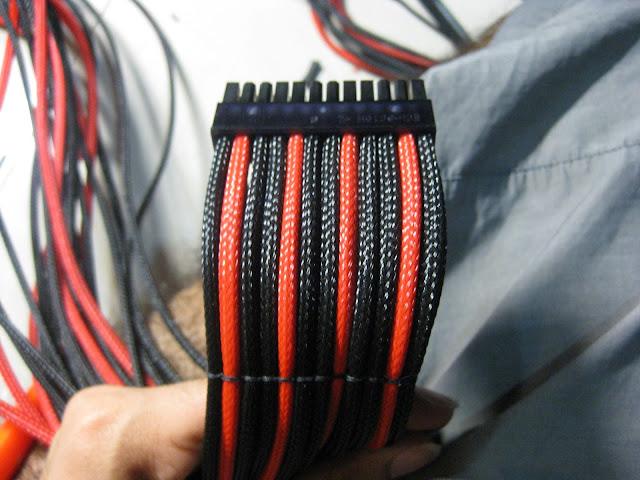
24pin cable done! cpu 8pin & graphics card custom cables are done too, just need black sleeving for the cpu cables & my D5 pump.

user posted image

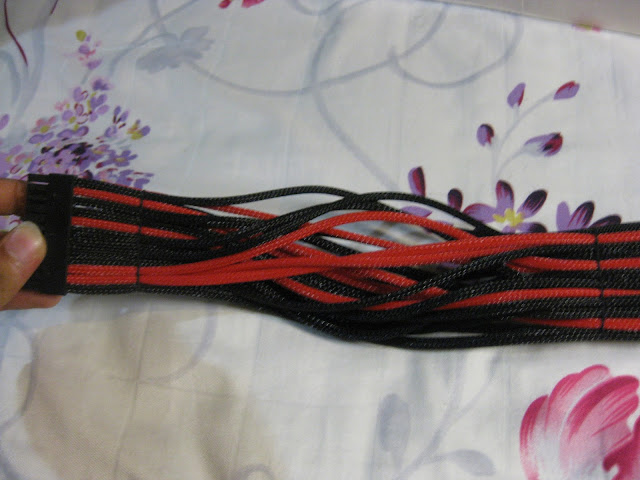
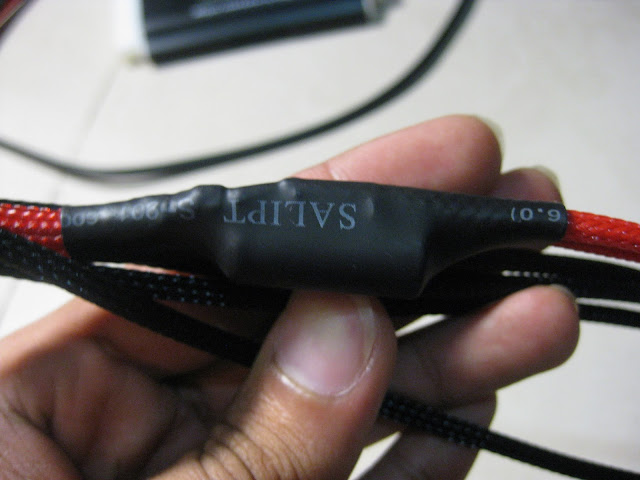
I couldn't stitch it all the way because of the layout of the wires. I just dont understand why psu manufacturer can't produce pin layout that is exactly the same as on the motherboard. I mean c'mon, if they can standardize pin layout on motherboard then why cant they do that for psu also? But then again I am not an electrical engineer so there must be a reason for it.

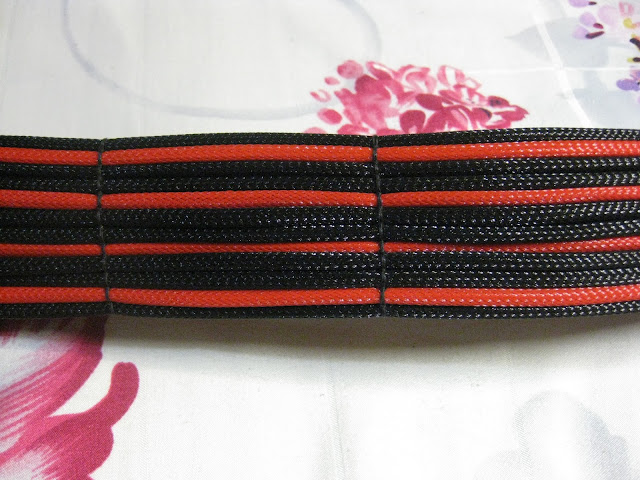
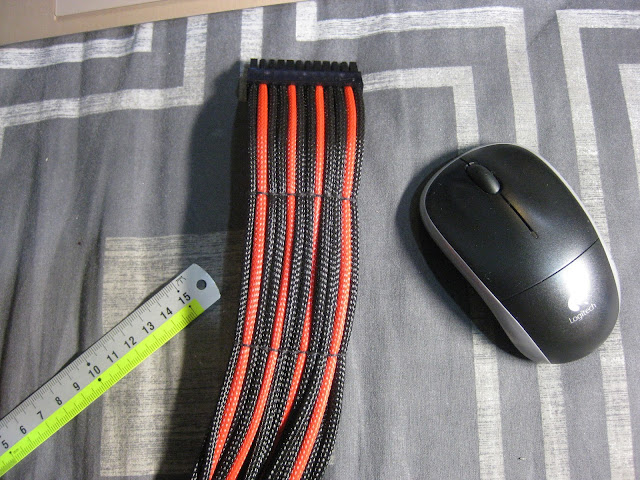
Not that bad anyways, this part will be under the psu cover so you will not even notice it. Also I learned that I need a thick long ruler & I will need to drill it to my table because to make extension cables I MUST get the wire measurement exactly the same for all the wires. Not even 0.5cm difference otherwise it will not turn out to be straight & nice in the end. So if I were to provide custom extension services to others, measurement is really important, but then again I am not sure if I have enough time to provide such service because its kinda time consuming to be honest. I think I will just sell the materials so you guys can buy from me & make it yourself smile.gif

user posted image user posted image

user posted image

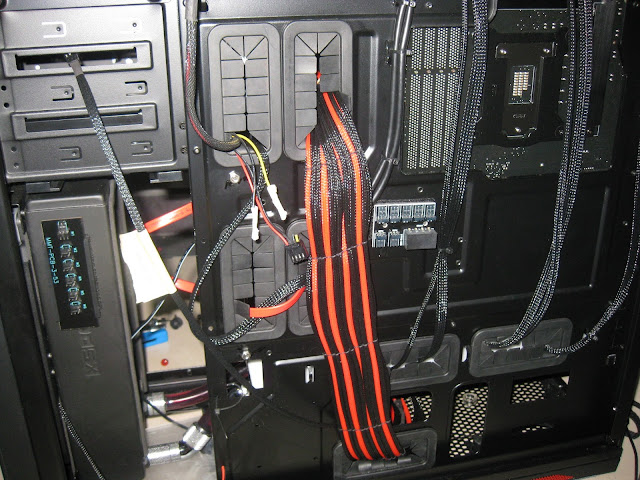
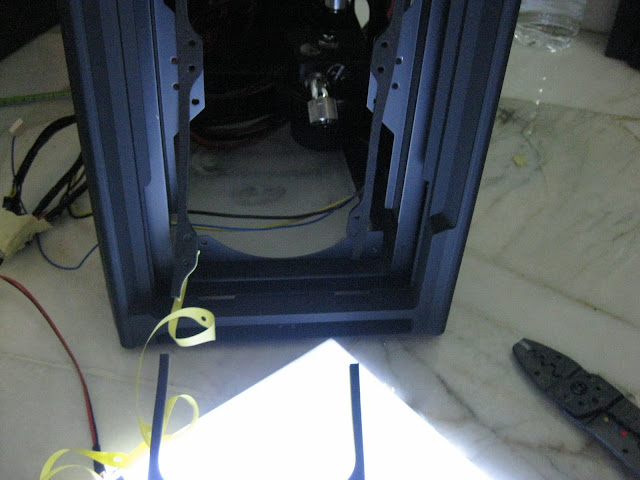
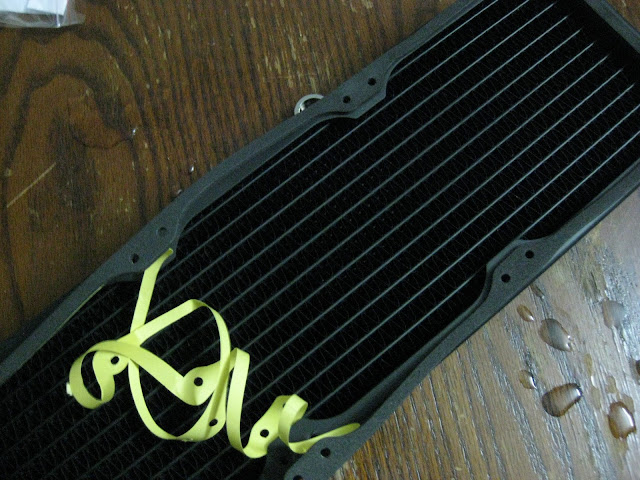
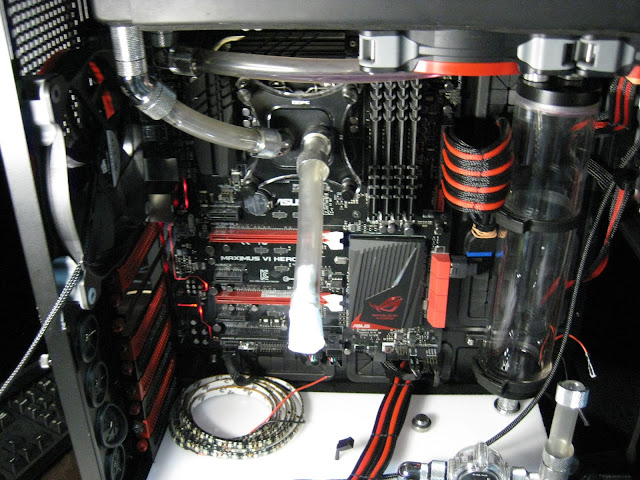
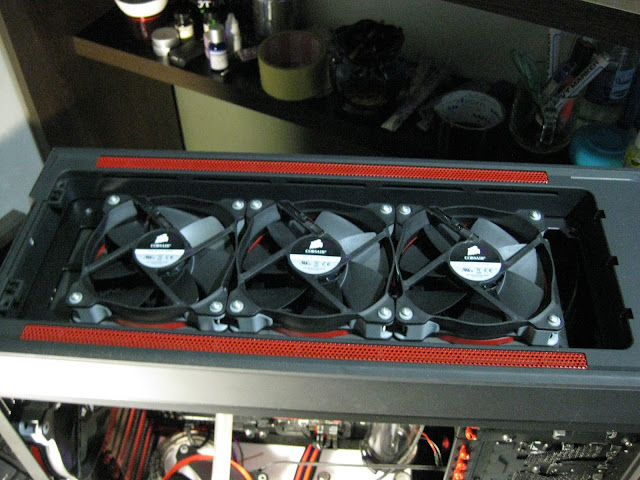
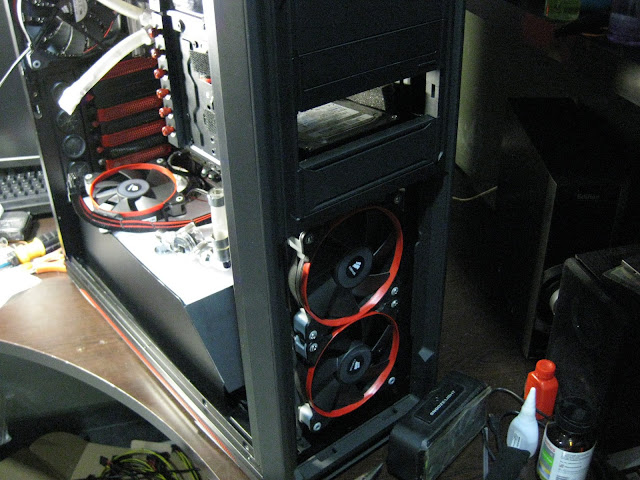
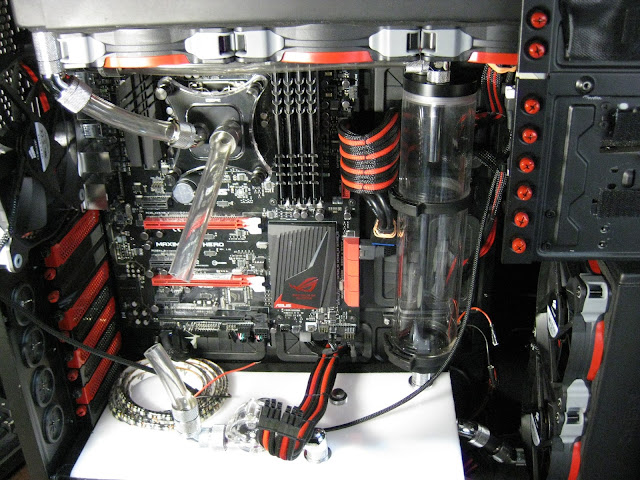
I dont even need to do any cable management here...its that easy LOL

user posted image

Here is a comparison on mdpc sleeving colour with colortrail. Top is mdpc, bottom is colortrail. Btw don't get me wrong with my previous post. Colortrail is no doubt a good sleeving with decent quality, its just that I think there is room for improvement for it the be perfect. I am just sharing my experience on using both type of sleeving because it might help anyone who is deciding. Both requires a different technique of measuring the sleeving so you will need to figure that out.

Support local product hehe, not many country have their own local sleeving you know. In the end all depends on your budget. Btw I am going to try some china sleeving too, its way way cheaper than colortrail & mdpc haha. Its all about trying things out & getting experience. Those who are interested to get in bulk do shoot me a PM smile.gif

cc: HoNeYdEwBoY

user posted image

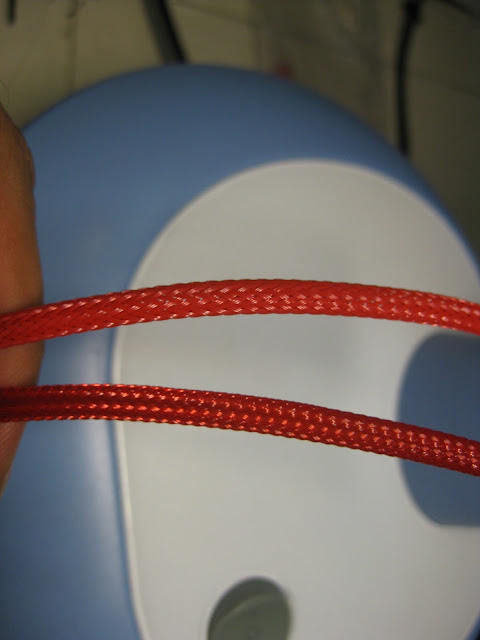
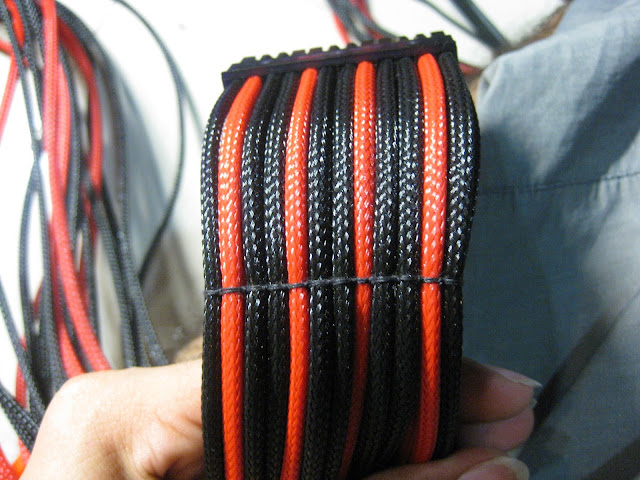
Here is the custom gpu cables.

user posted image user posted image

Notice the caps are still there? Yeah I pull it out from the original cable & soldered to this cable. Kinda time consuming but hey I don't go the nick crazymofo for no reason tongue.gif You can also argue I didn't need to stitch my 24pin all the way at the back since once the side panel are on I wouldn't even notice it, but then again don't forget I am crazy tongue.gif

user posted image

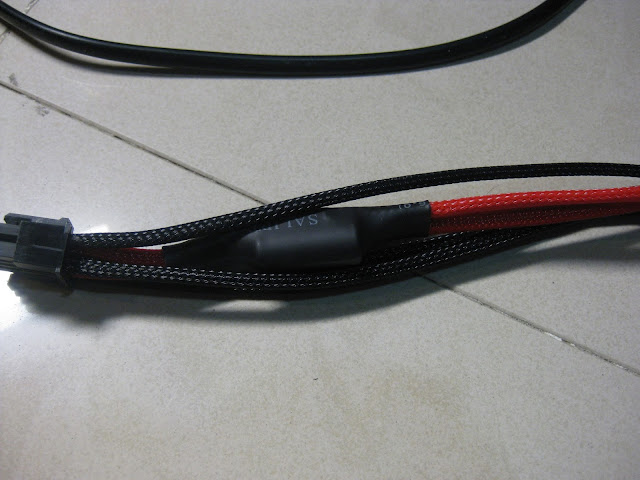
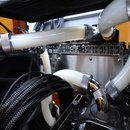
Anyways this part will be under the psu cover, so you wouldn't notice it anyways smile.gif

user posted image

This post has been edited by infernoaswen: Dec 31 2013, 02:08 AM
TSinfernoaswen
post Jun 23 2013, 01:10 AM

(╯°□°)╯︵ ┻━┻)
*******
Senior Member
3,782 posts

Joined: Aug 2010
From: subang jaya


Got some 22awg wires which I plan to make custom 3 pin cables. It turns out 22awg wire is kinda bigger so I might need to play around with it later if its suitable or not. Hopefully shouldn't be a problem because I saw lutro selling 22awg so I guess it could work.

user posted image user posted image

Because I only got gasket for 120mm sizes, I had to make my own gasket for the 140mm fan tongue.gif

user posted image user posted image

As usual, need to sleeving the fan cables...

user posted image user posted image

I got 11 corsair fans in here at the moment, that means I spent ~RM800 just for fans bwahahaha. Only if my mum knew about it...

user posted image user posted image

Oh & I am still waiting for Lamptron CW611, most likely by end of september it will arrive. No news on the GPU RMA yet, hopefully I can get it soon. Asus faster speed up the process...battlefield 4 is coming out soon sad.gif

user posted image

This post has been edited by infernoaswen: Dec 31 2013, 02:09 AM
pristine
post Jun 23 2013, 01:29 AM

junkie
*******
Senior Member
2,808 posts

Joined: Jan 2009
From: Subang Jaya


Good to know the saw worked for you.

Actually, even for metal it's a bit small. But it's the closest size to a fill port diameter and smaller is always better, can always file or sand off to get a perfect fit. thumbup.gif
TSinfernoaswen
post Jun 23 2013, 08:28 PM

(╯°□°)╯︵ ┻━┻)
*******
Senior Member
3,782 posts

Joined: Aug 2010
From: subang jaya


I had some minor problem with fitting the fan due to the cpu EPS cable. The cable was just slightly too thick. I could force the fan in there but there will be a slight flex to the motherboard & the connector so I didnt want to risk it. Decided to mod the corsair fan instead. Removed the rubbery material & cut of the lower plastic section

user posted image user posted image

Everything fits nicely now and I replaced the old tubing (not really old, just few weeks old). Now I am left with hooking up the leds to a 3pin connector & everything should be set. Just need to wait for gpu & fan controller.

user posted image user posted image

This post has been edited by infernoaswen: Dec 31 2013, 02:10 AM
Jinster
post Jun 23 2013, 11:04 PM

Saber <3 VioletEvergarden <3
*****
Senior Member
902 posts

Joined: Mar 2009


depending on ur side panel window~
but seems like if u just cover the top bays would look nicer..
at least can see the curves at the bottom
TSinfernoaswen
post Jun 23 2013, 11:28 PM

(╯°□°)╯︵ ┻━┻)
*******
Senior Member
3,782 posts

Joined: Aug 2010
From: subang jaya


QUOTE(Jinster @ Jun 23 2013, 11:04 PM)
depending on ur side panel window~
but seems like if u just cover the top bays would look nicer..
at least can see the curves at the bottom
*
yeap I am thinking the same thing too, at least the corsair fans will be visible which is sexy imo lol. I will try to make the top bay cover first..see how it goes. If doesn't look nice then I will make full cover haha.

Now need to figure out how to get the red & white led on the same panel to make the ROG logo glowing...plan to do something like the logo in this picture biggrin.gif

https://fbcdn-sphotos-g-a.akamaihd.net/hpho...396217666_o.jpg

12 Pages « < 5 6 7 8 9 > » Top
Topic ClosedOptions
 

Change to:
| Lo-Fi Version
0.0267sec    0.91    6 queries    GZIP Disabled
Time is now: 22nd December 2025 - 11:57 AM