Welcome Guest ( Log In | Register )

Bump Topic Topic Closed RSS Feed
5 Pages « < 2 3 4 5 >Bottom

Outline · [ Standard ] · Linear+

Model Kits Work In Progress and Mecha Modelling Gallery, No CHATTING! we just want to see pic

views
     
0300078
post Jul 11 2008, 03:51 PM

Regular
******
Senior Member
1,447 posts

Joined: Mar 2006


Deng my post of the second part just hilang into thin air! So i just brieftly type wat i did again loh!

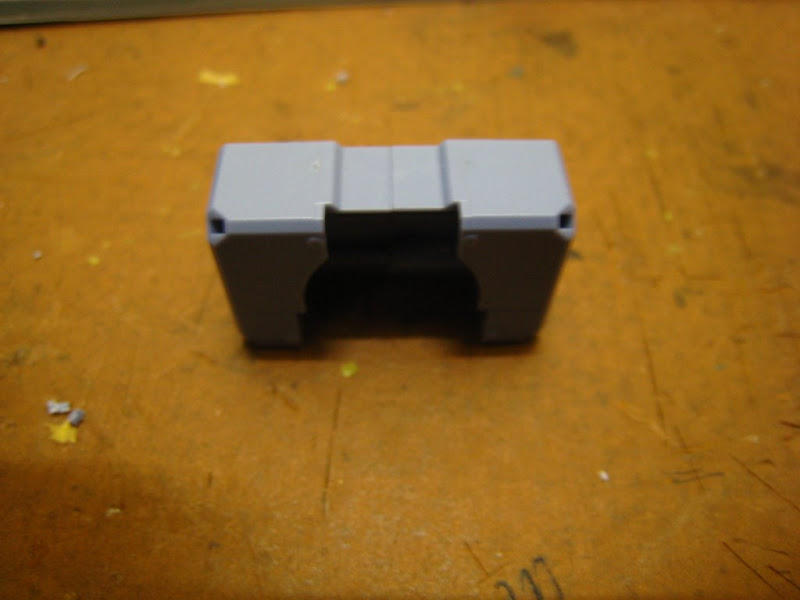
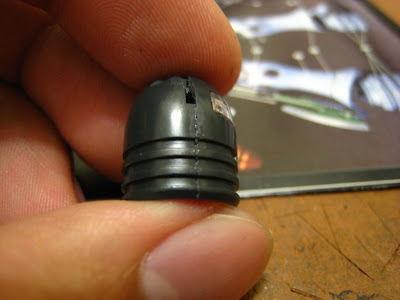
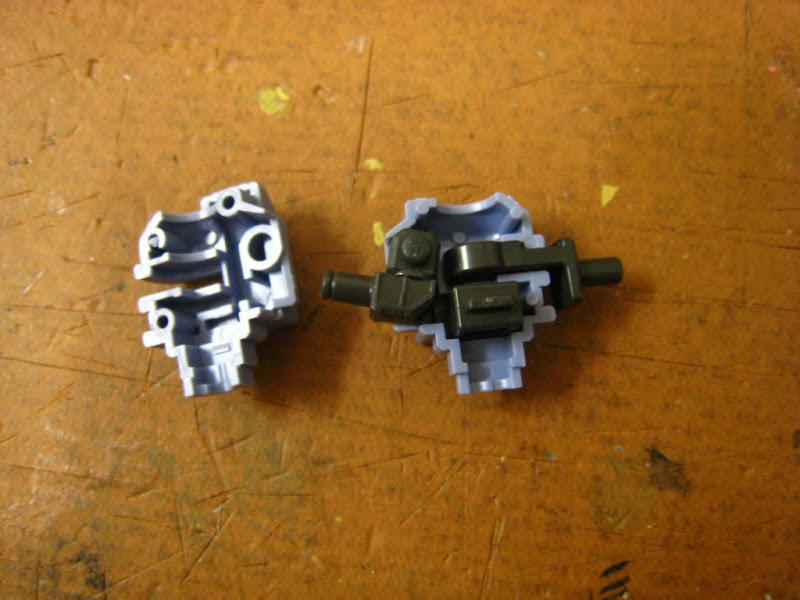
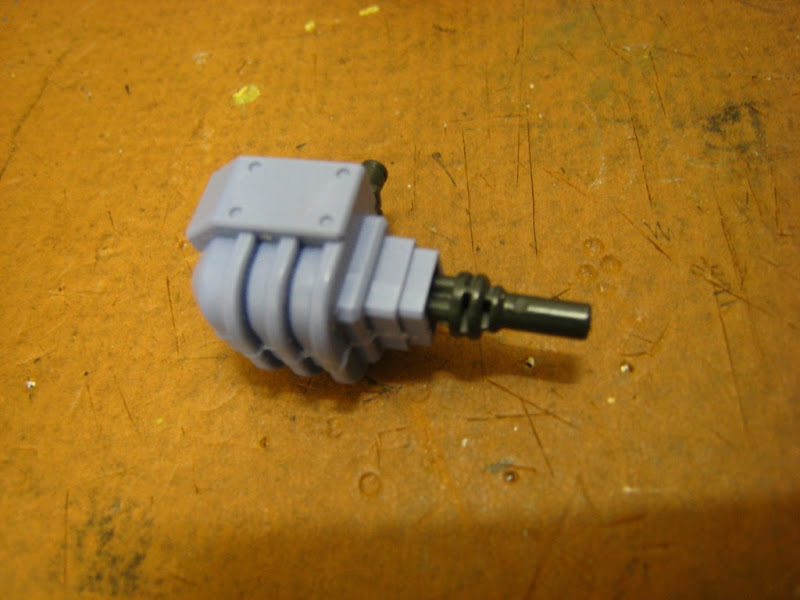
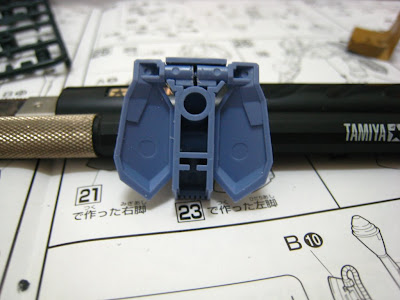
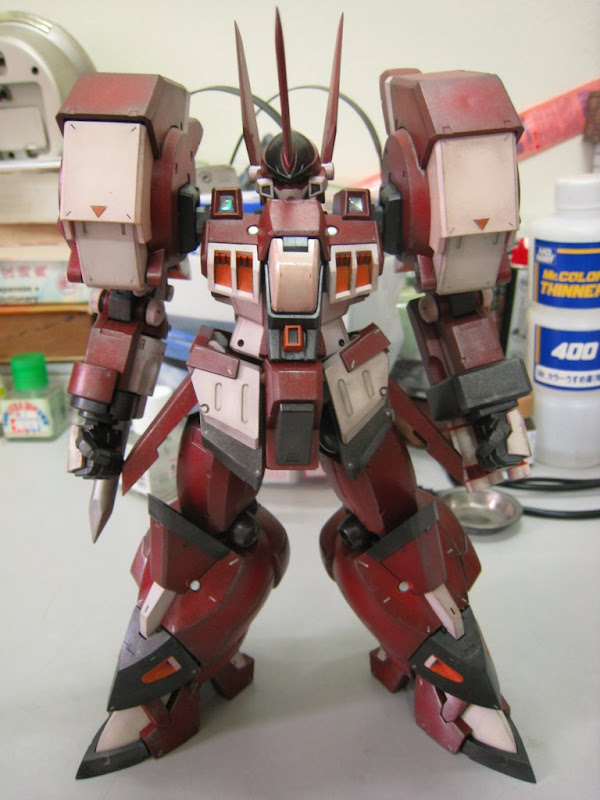
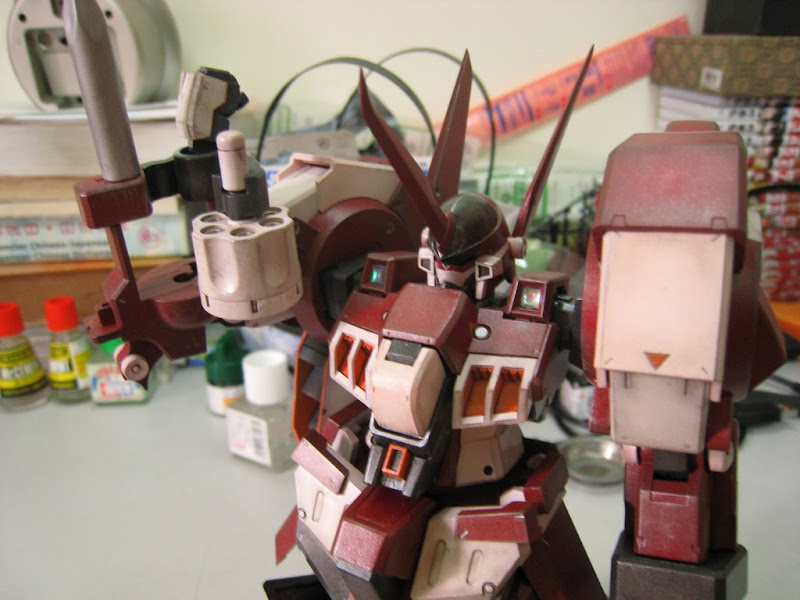
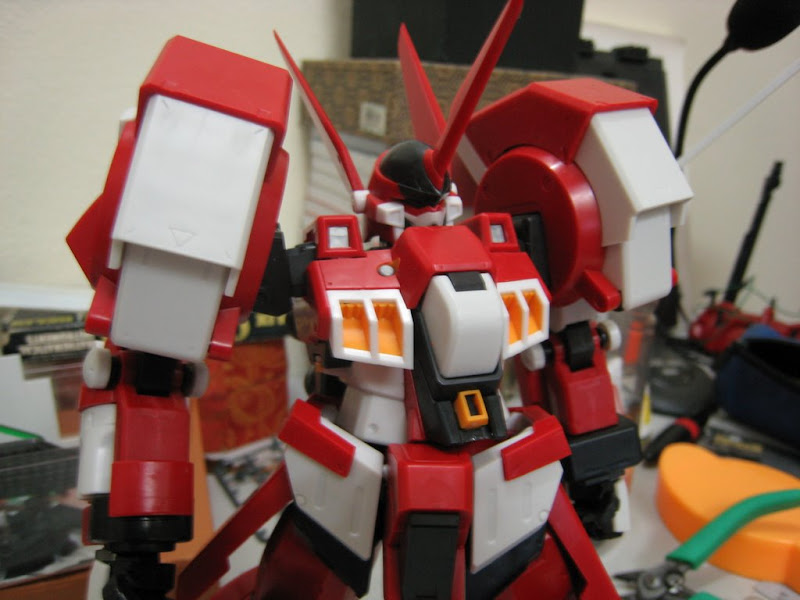
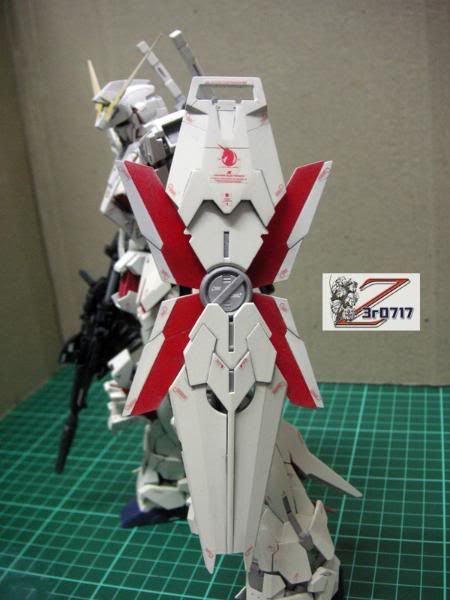
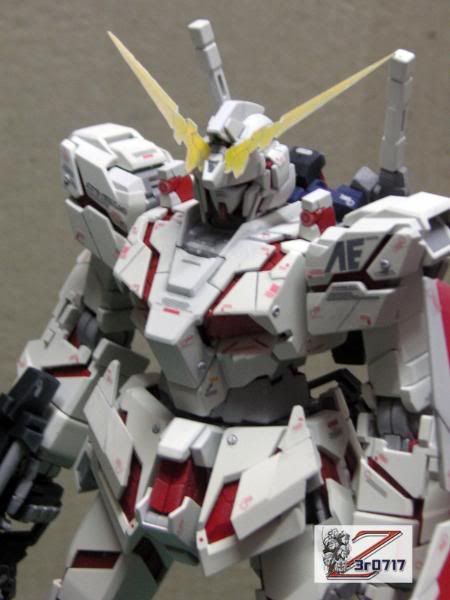
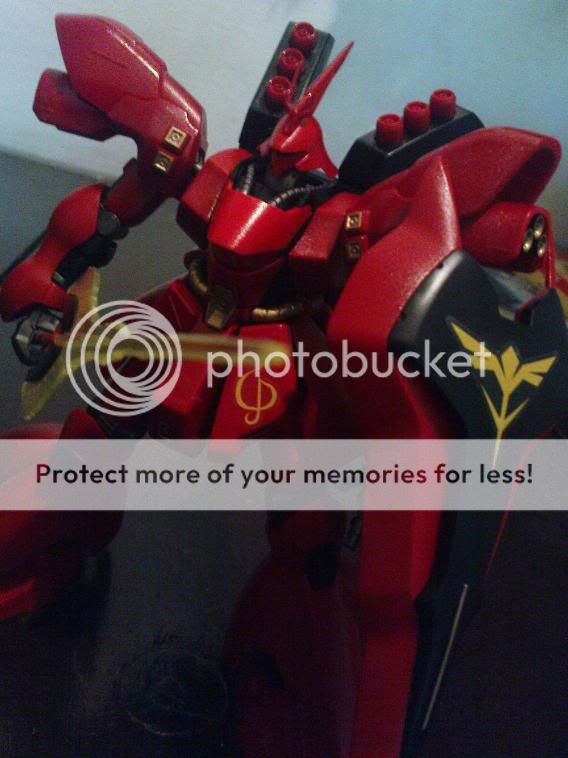
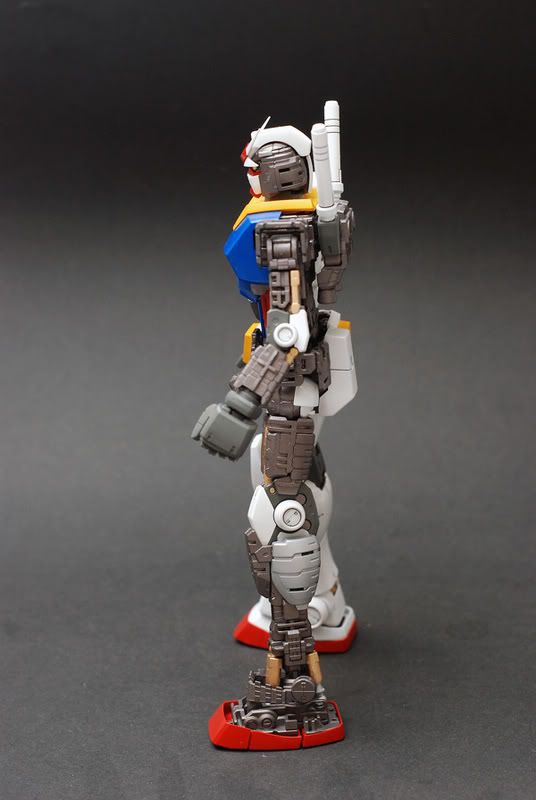
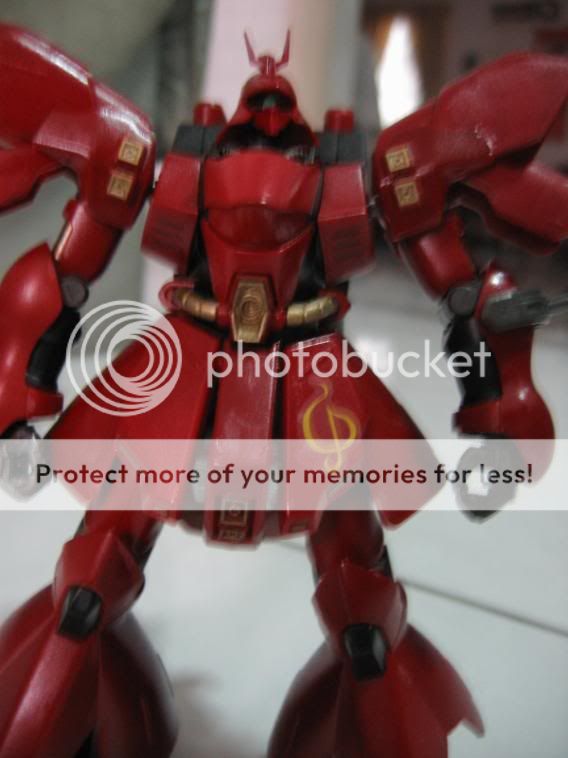
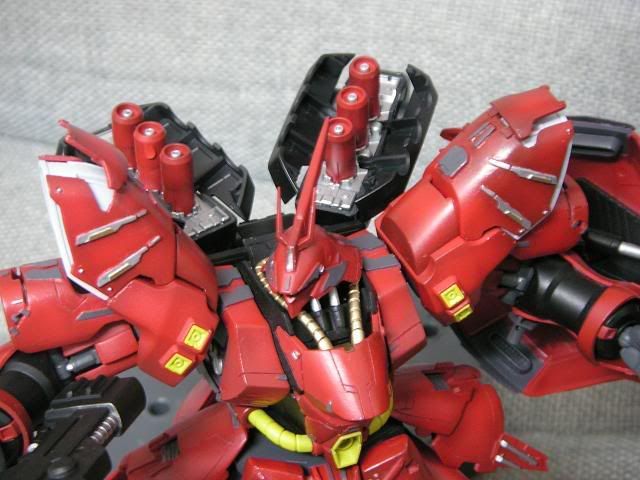
The backpack of Zudah is a combination of 3 parts (excluding the Jupiter Boaster), as we all know when combining 2 parts together there will always be seam line, but seam lines doesnt always need to be remove with Plastic Cement! We can modify it to make it look like a panel line.
» Click to show Spoiler - click again to hide... «


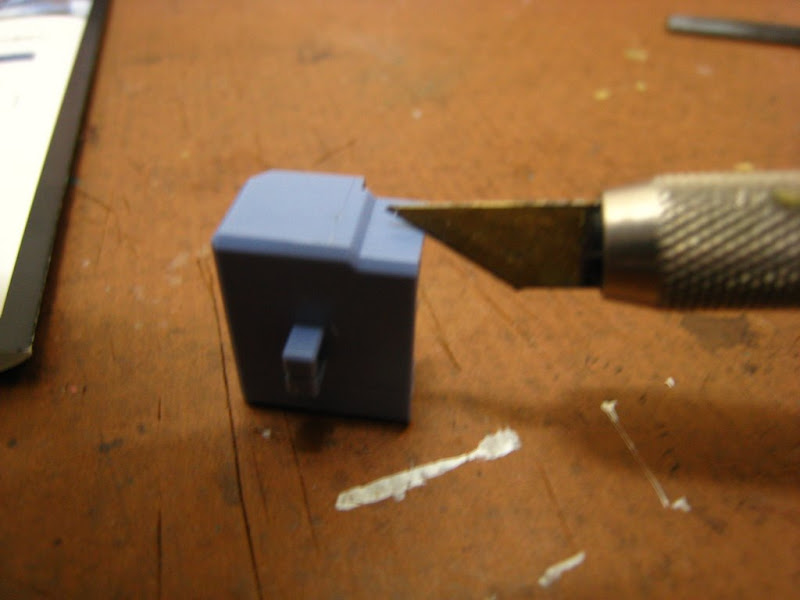
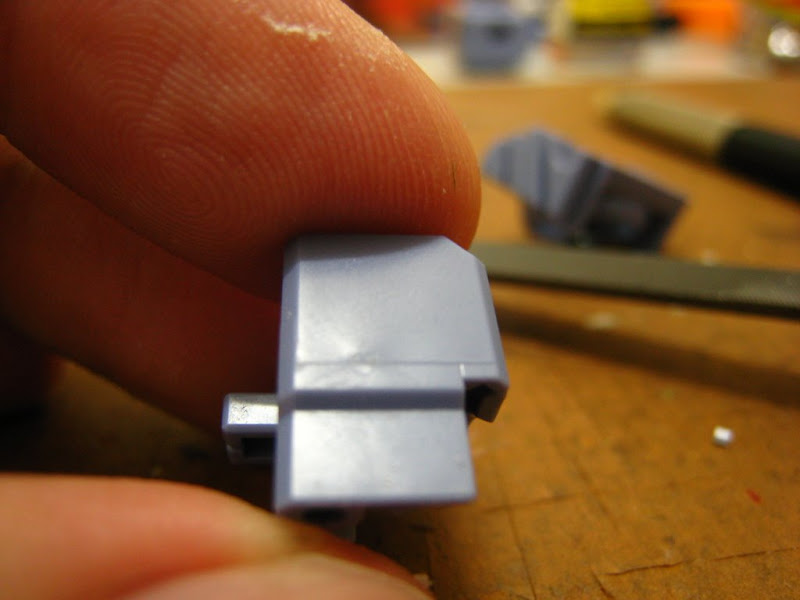
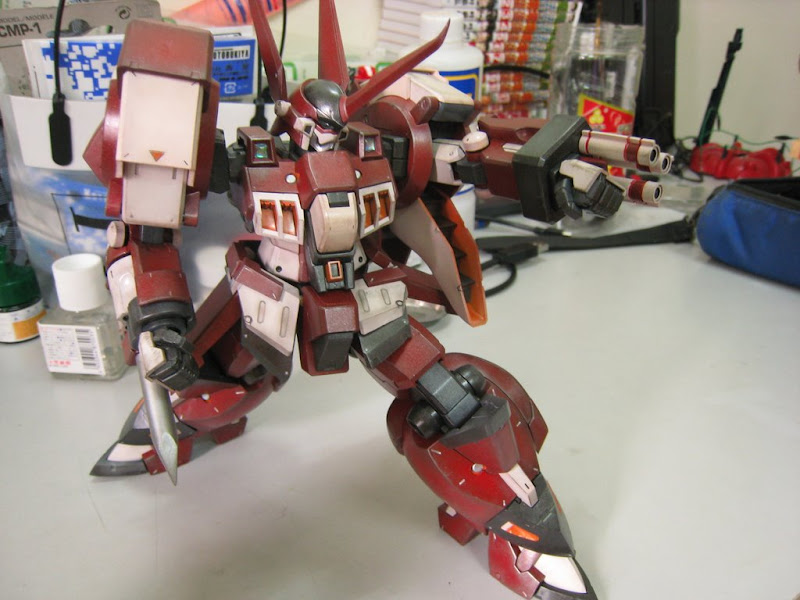
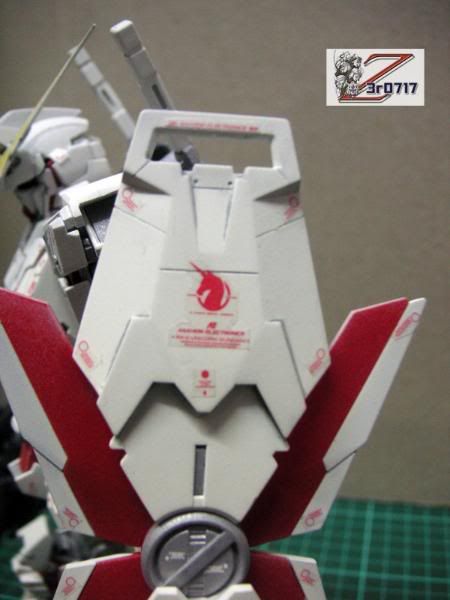
So wat i did is scratch the part when my Hobby knife is pointing gently (both side of the armor)
» Click to show Spoiler - click again to hide... «


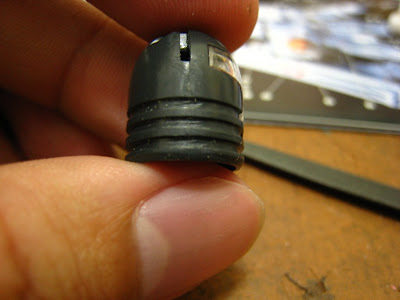
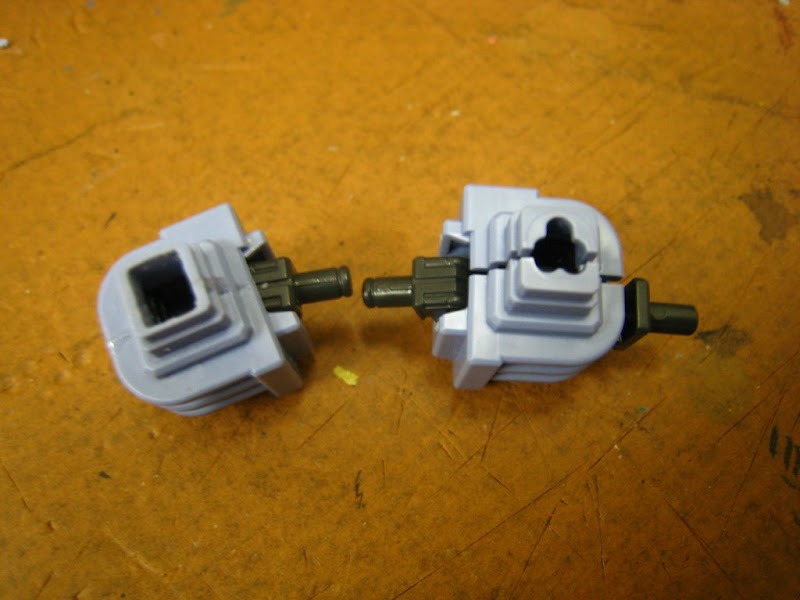
So the finish thing will be like below
» Click to show Spoiler - click again to hide... «

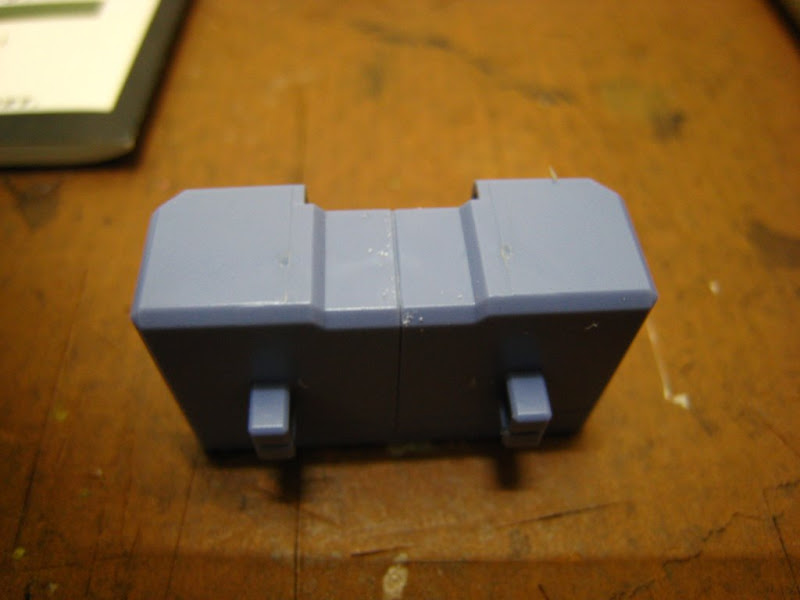
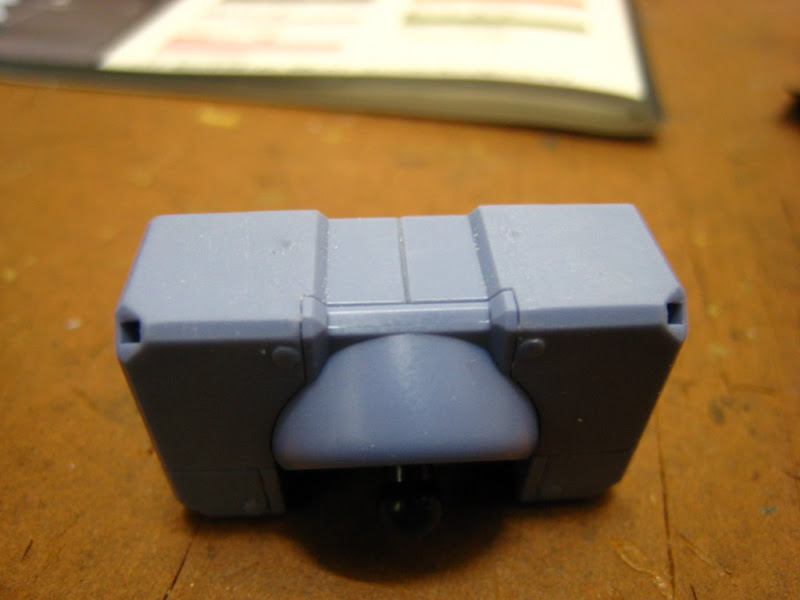
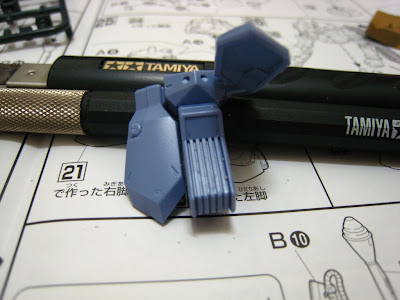
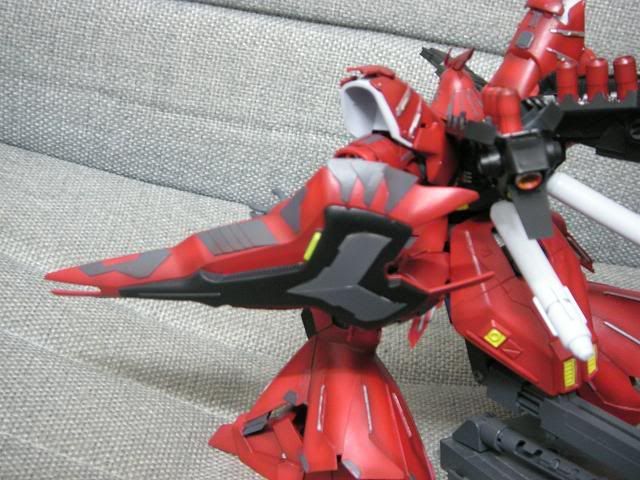
The gap is bigger now and wider too! It will look much better than the seam line gap! and if u look closer u will notice

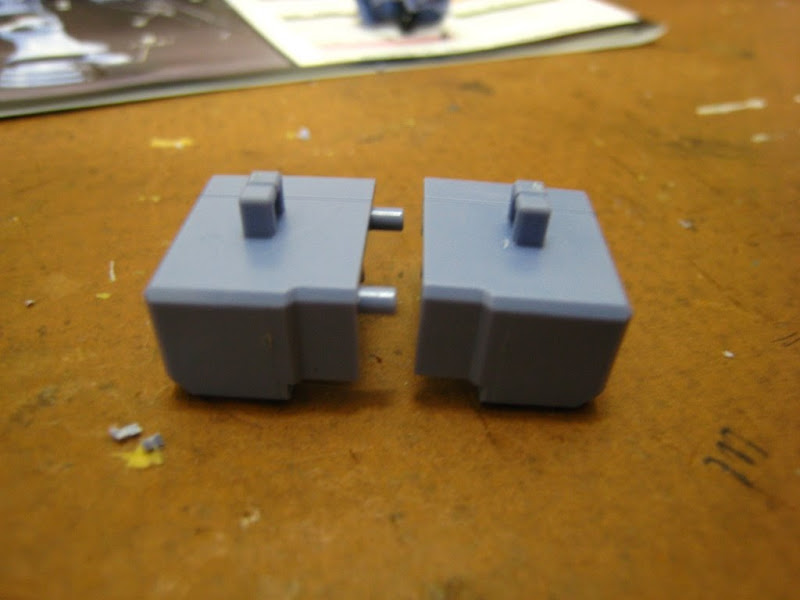
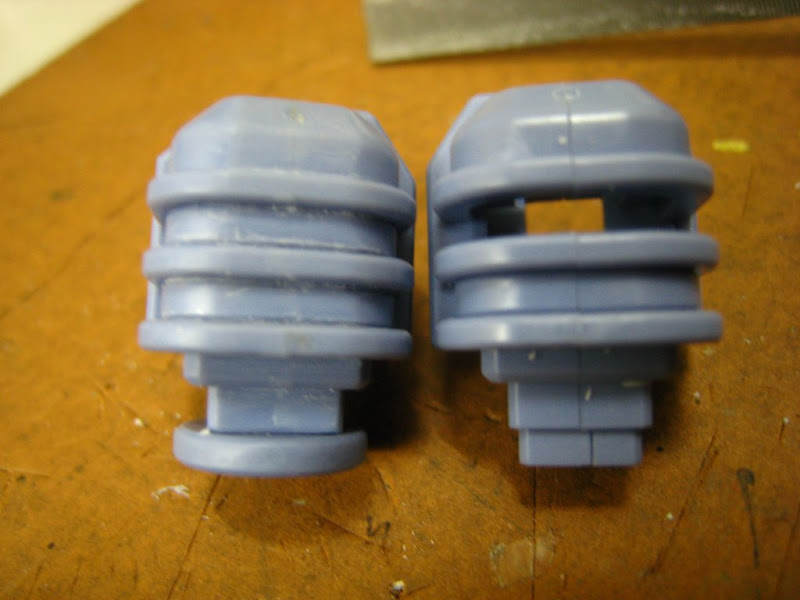
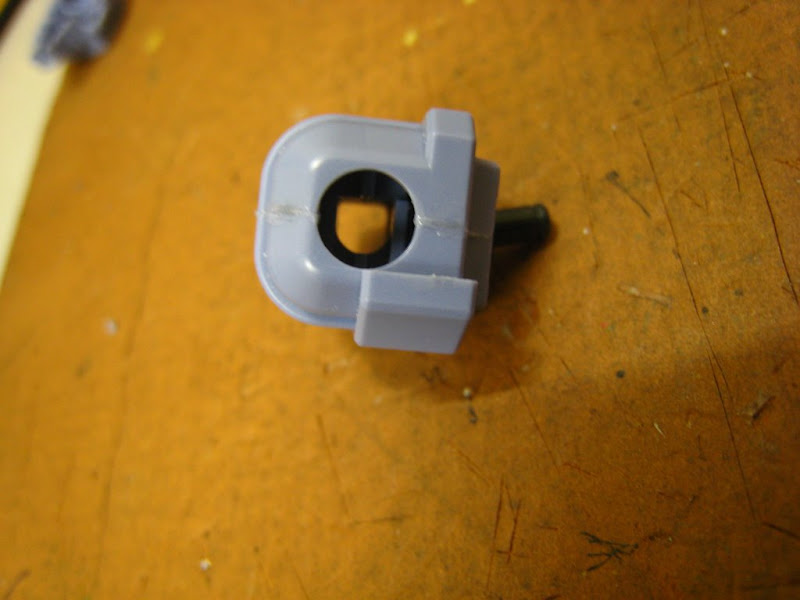
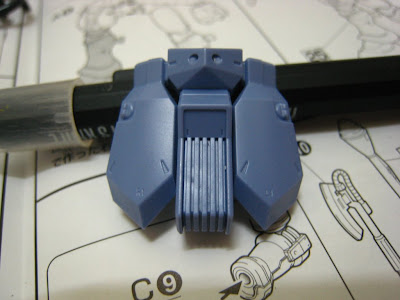
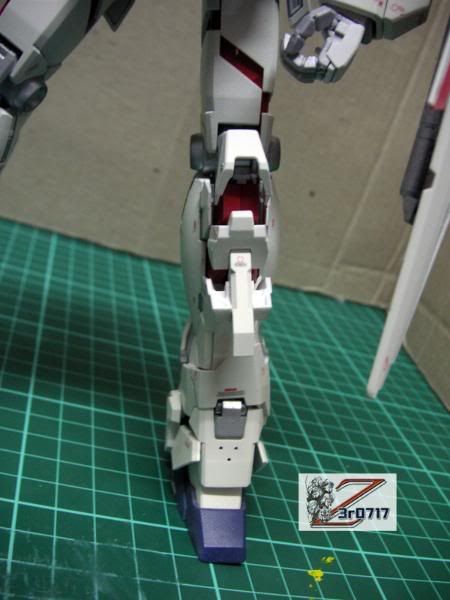
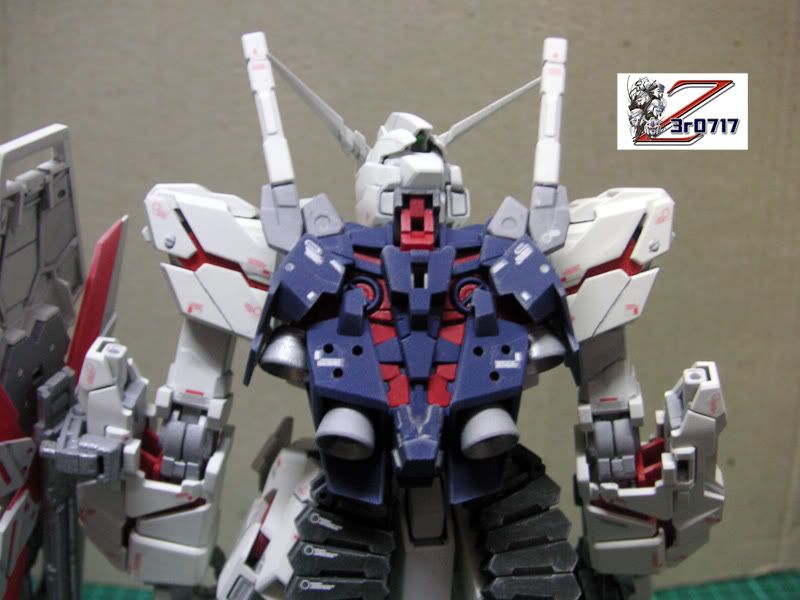
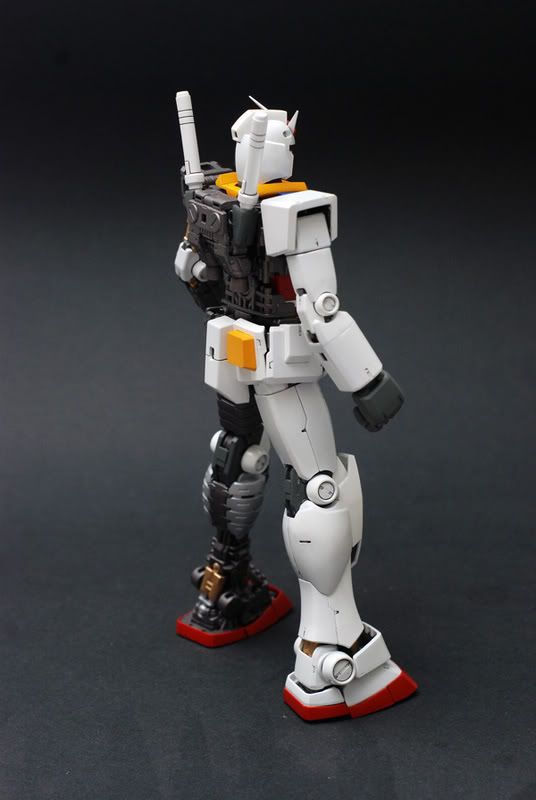
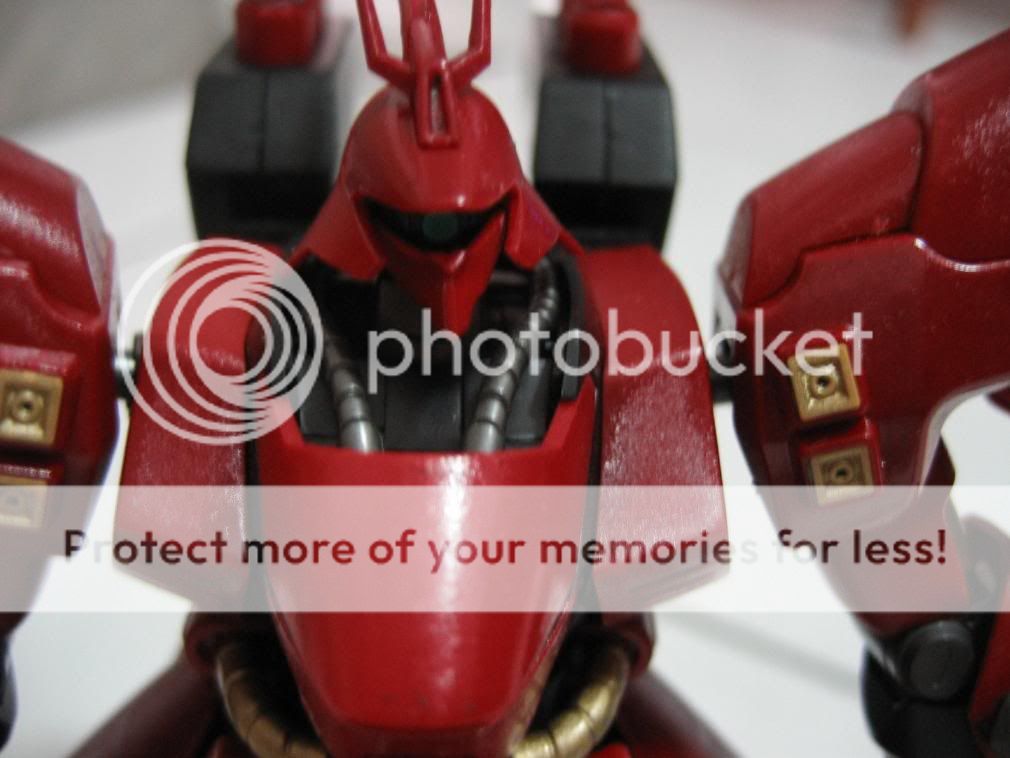
Beside Seam lines there are also some other lines than really make the armor part look ugly! This line are form becoz of the mold itself, when 2 mold join together the gap between will form a thin line of the plastic.
» Click to show Spoiler - click again to hide... «


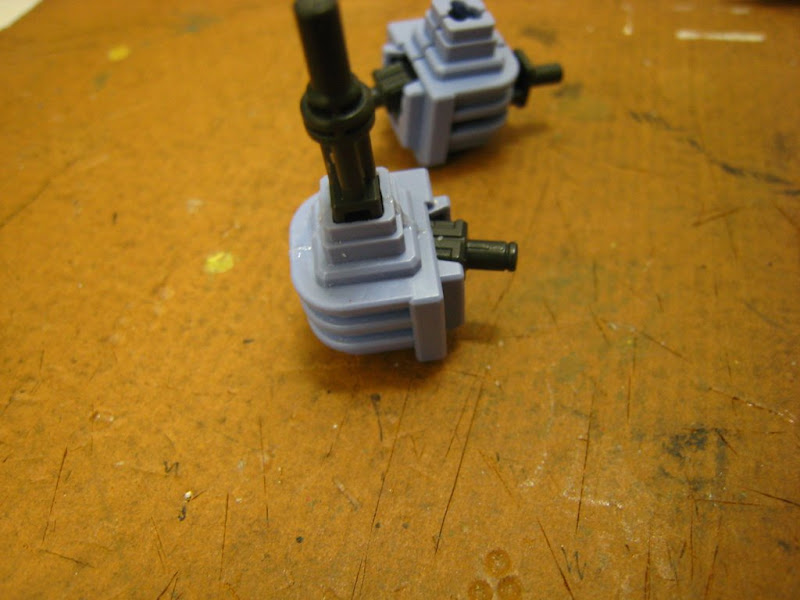
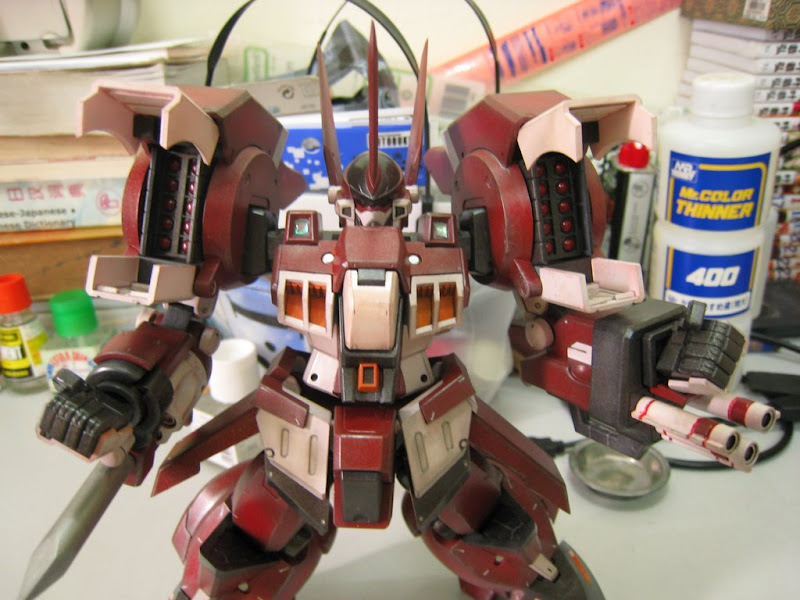
To settle this problem u need to sand them with sand paper or scratch it of with ur Hobby Knife! The result will be like the following
» Click to show Spoiler - click again to hide... «

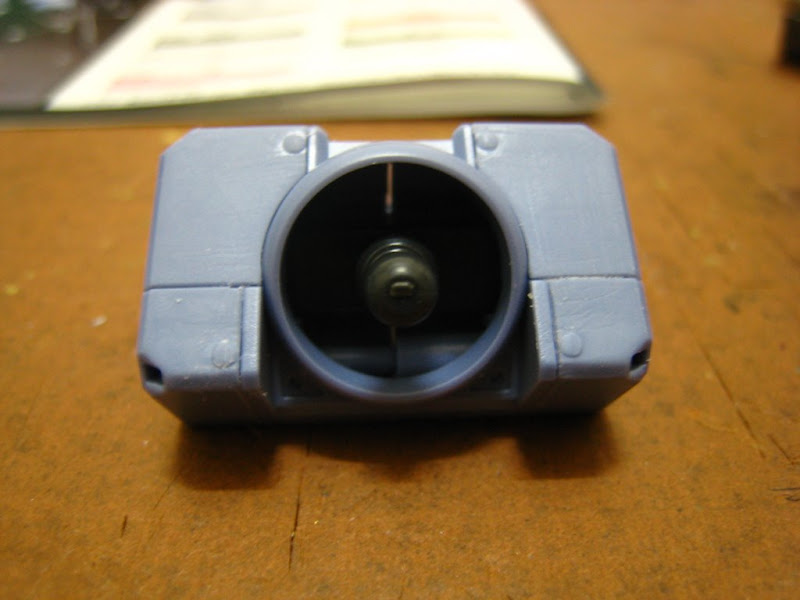
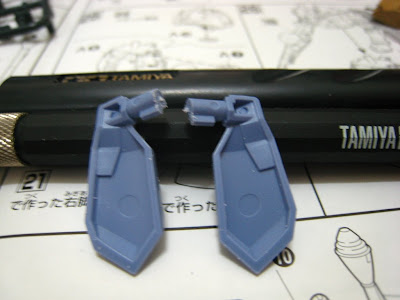
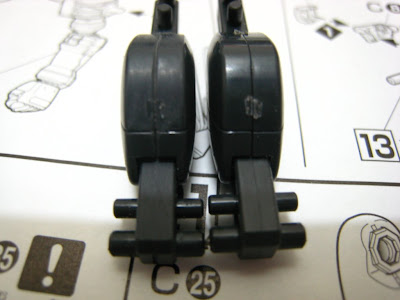
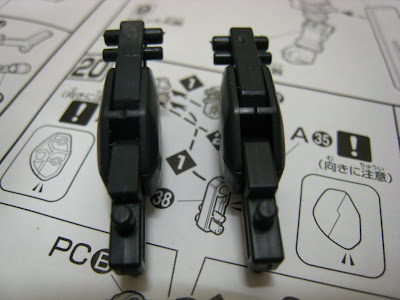
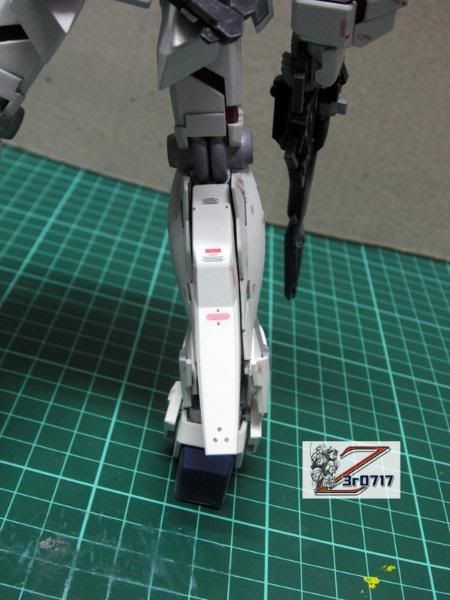
There are also some on this surface but i had sand them away.....

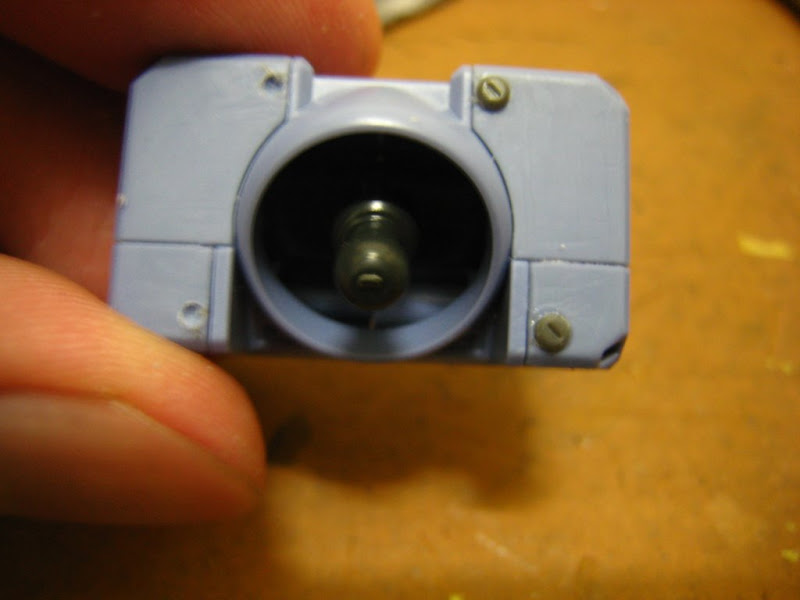
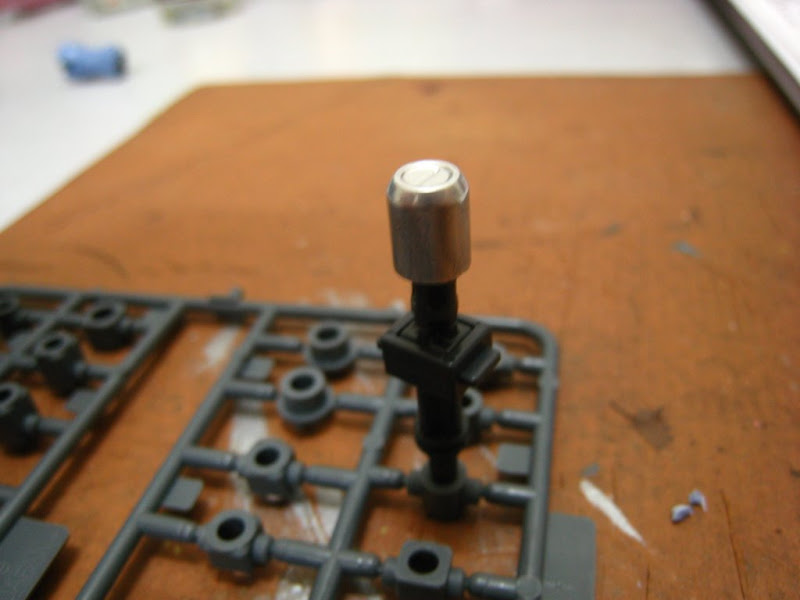
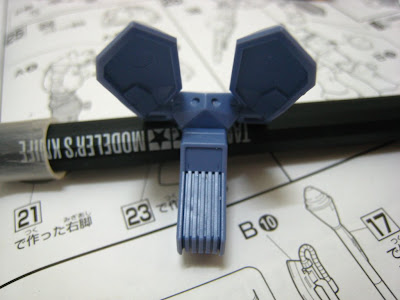
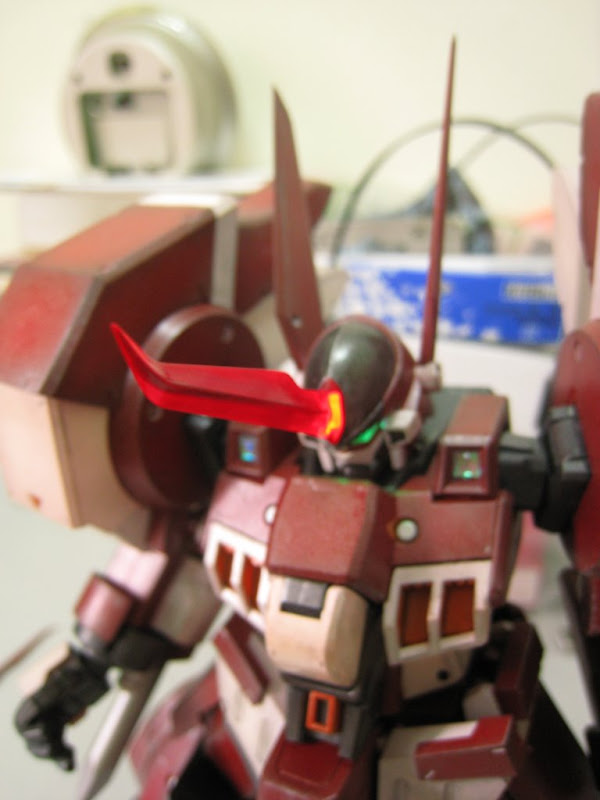
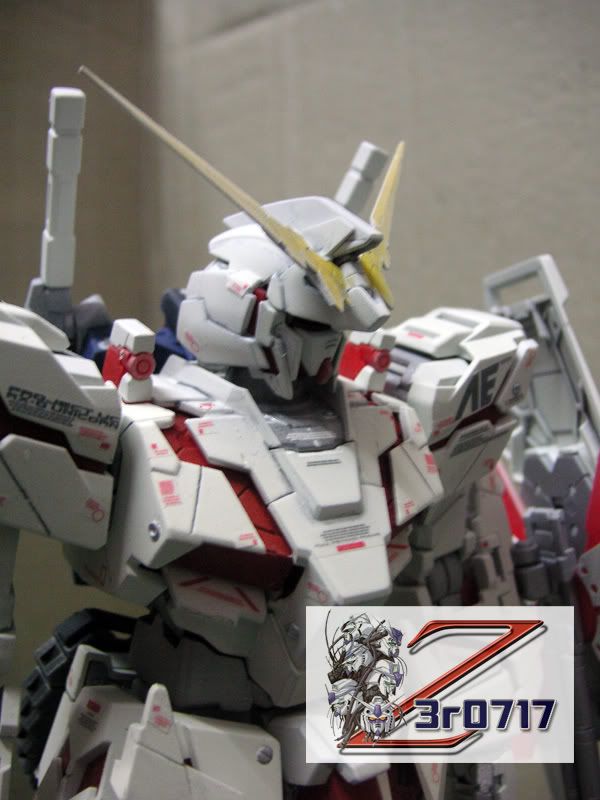
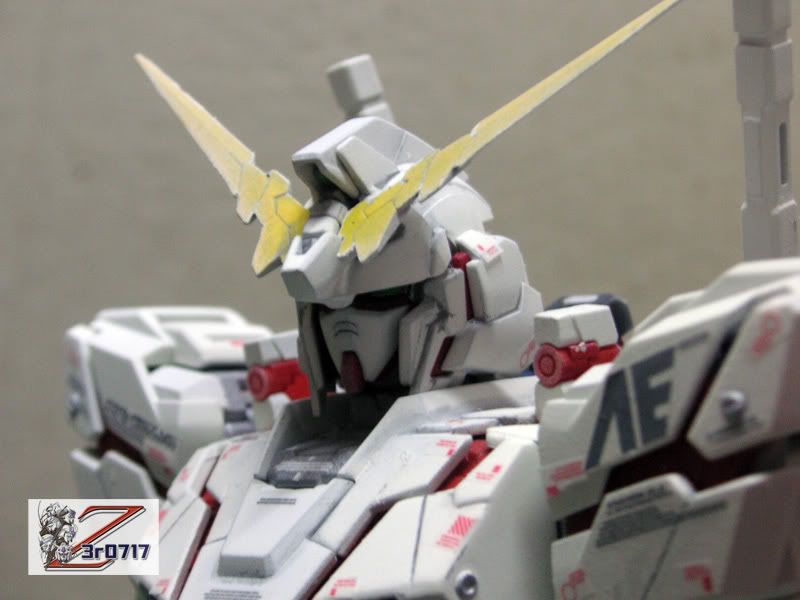
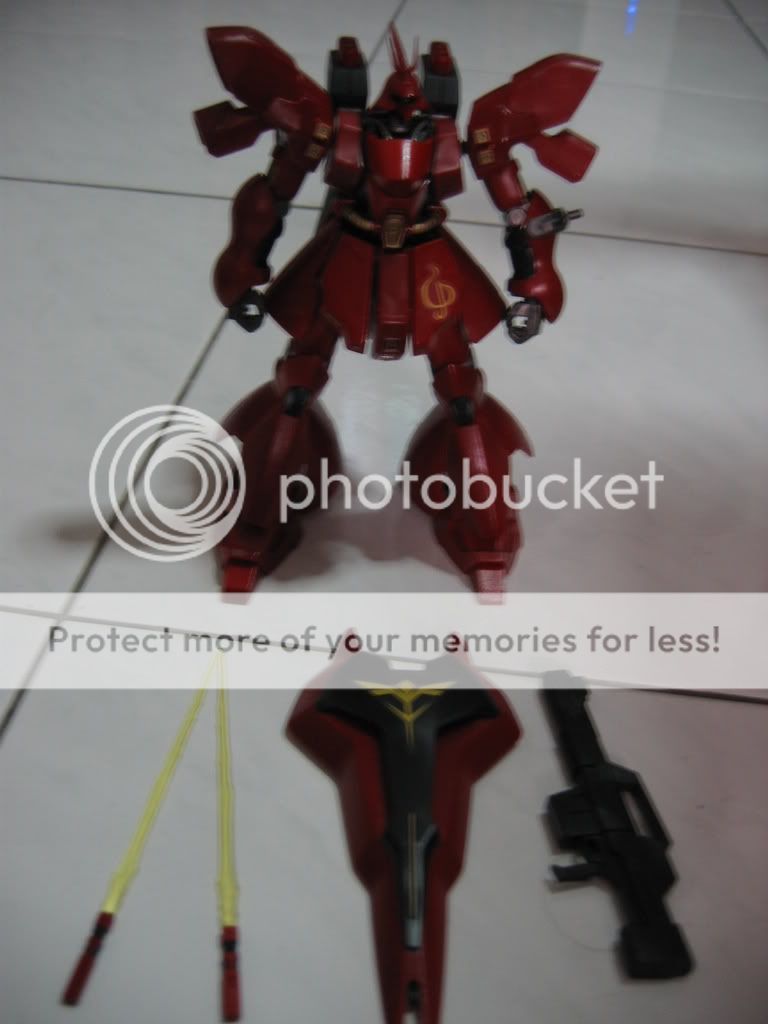
Ok last part is i drill away the 4 button on the armor and added on some of my own Kotobukiya MSG parts on it! The result definitely is better than the original
» Click to show Spoiler - click again to hide... «


0300078
post Jul 13 2008, 05:20 PM

Regular
******
Senior Member
1,447 posts

Joined: Mar 2006


QUOTE(z3r0717 @ Jul 13 2008, 03:36 PM)
hmm... i feel tat ur wing armor, the details not suitable... 1st, it's too big...
2nd, too many... right side is nice, i just dun like the left side...
just my 2 cents though...
i think u shud get a bigger cutting mat, it's very cheap.. got mine A2 size for RM29 only brows.gif
*
i also agree, u overdid the backpack joh! Why add so many stuff on it??? The part u open a vent and the panel line is still nice.
0300078
post Jul 16 2008, 11:46 AM

Regular
******
Senior Member
1,447 posts

Joined: Mar 2006


Deng one lazy to type stuff on my progress but i think so ppl know that my snap fit is around 90% finish!

Part 4 here come come and continue
Like always the seam line in the head part......fill with plastic cement and then sand it! But becareful becoz after u stick it u wont be able to open it up again!
» Click to show Spoiler - click again to hide... «

Ok paint the darn capsule looking thing on the shoulder first before u start installing it!
» Click to show Spoiler - click again to hide... «

I used the Gundam Marker Silver to settle the problem, but do remember to wash ur part with detergent first so the paint can stick better!


Now gonna mod the shoulder part so it can cover seam lines easy and u can still remove the inner frame easily!
» Click to show Spoiler - click again to hide... «

0300078
post Jul 21 2008, 04:29 PM

Regular
******
Senior Member
1,447 posts

Joined: Mar 2006


OK is the time again! Zudah Zudah Zudah....

Today it is a small update only, as we all know recent HG kits the lower body armor skirt now used Ball Joint to allowed you to flip up and down! The Zudah one was a bit unique.
user posted image

The whole thing comes i one rod, and no ball joint at all limiting all the action it can do.
» Click to show Spoiler - click again to hide... «


Although they do it so, but it still doesnt mean we can cut it in to 2 separates parts!
» Click to show Spoiler - click again to hide... «


Now it is better than before, it can flip on its own without having dragging the others up!
user posted image

That all for the skirt armor part, now on to the leg joint part.
This Zudah joint is quite superb, it allows the kit to do more than 90 degree bending really pawns some MG articulation. By the way a little touch is required to make it look more natural!
» Click to show Spoiler - click again to hide... «

0300078
post Aug 3 2008, 07:05 PM

Regular
******
Senior Member
1,447 posts

Joined: Mar 2006


This is my finish Alty 1/100!
» Click to show Spoiler - click again to hide... «

More pic will be posted later....

0300078
post Aug 3 2008, 08:30 PM

Regular
******
Senior Member
1,447 posts

Joined: Mar 2006


Before
» Click to show Spoiler - click again to hide... «

and After
» Click to show Spoiler - click again to hide... «


I AB it and also did some shading effect on it! Then later i used Gundam Weathering Marker to do the extra touch up and weathering!
0300078
post Aug 9 2008, 09:29 PM

Regular
******
Senior Member
1,447 posts

Joined: Mar 2006


QUOTE(z3r0717 @ Aug 9 2008, 09:17 PM)
Time for some close ups biggrin.gif
» Click to show Spoiler - click again to hide... «

*
did u do the leg mod?
0300078
post Aug 11 2008, 09:01 PM

Regular
******
Senior Member
1,447 posts

Joined: Mar 2006


Chris i still prefer Yellow color gray wolf! Anyway good work on the riffle!
0300078
post Aug 14 2008, 11:48 PM

Regular
******
Senior Member
1,447 posts

Joined: Mar 2006


QUOTE(shauno @ Aug 14 2008, 11:44 PM)
freshly completed sazabi. still not done with final touchups tho. C&C please? biggrin.gif
» Click to show Spoiler - click again to hide... «

*
this is HGUC one right?
0300078
post Aug 15 2008, 11:35 PM

Regular
******
Senior Member
1,447 posts

Joined: Mar 2006


HMy Zudah is finish (the MS part weapon havent even start)
Now come to think about it..... the speed i build my kit are ridiculous slow.....
Anyway this one, I didnt AB, I just used Enamel Wash and then clean up, and again weather it with the Gundam Weathering Marker.
[attachmentid=559933]
0300078
post Aug 19 2008, 07:16 AM

Regular
******
Senior Member
1,447 posts

Joined: Mar 2006


QUOTE(VincC454 @ Aug 19 2008, 12:24 AM)
MG RX-78-2 v2
modeled by VINCE
» Click to show Spoiler - click again to hide... «

*
good super clean job! Make me want the next year release Gundam v2.0 with the G-Armor one release more faster!

This post has been edited by VincC454: Aug 19 2008, 10:58 AM
0300078
post Aug 25 2008, 12:18 PM

Regular
******
Senior Member
1,447 posts

Joined: Mar 2006


The guren hand is the onli part i am not tat happy about! The finger cant really bend much! Anyway HS damn expensive buying those gundam kits..... better used Rainbow 10!
0300078
post Aug 28 2008, 07:10 AM

Regular
******
Senior Member
1,447 posts

Joined: Mar 2006


one word chris..... u are going to overdo ur kit again.... dun add up too many things on it. The thing u add below tat sazabi.... it doesnt even look nice......
0300078
post Sep 3 2008, 08:16 AM

Regular
******
Senior Member
1,447 posts

Joined: Mar 2006


QUOTE(amirisme @ Aug 25 2008, 10:30 PM)
brows.gif  brows.gif  brows.gif
Clean build ma... Of course a fast... summore not a lot of detail....

Although i consider it a curse. I got tonnes of work todo, but instead im assembling model kits. Hahahaha!


Added on August 26, 2008, 8:14 pmWokay... at the risk of being burned for back2back posting.... I here by present.... Vincent and Rolo!

» Click to show Spoiler - click again to hide... «

Guren and Vincent beat up Lancelot. Not really nice pose as kinda rushing. Hahahaha

Ok, this model is basically same as building the Lancelot, except it uses the same shiny/slippery plastic that Guren uses. Also, the only weapon it comes with is the swords, which can be used on both hands or on one hand in lance mode. I also found it more stable then the Lancelot, which is a good sign for the Lancelot Conquista model. The manual also says that if u have the Wing pack from the Lancelot Air Calvary model, you can hook it up to Vincent too.
*
FYI Lancelot Conquesta used back the old mold just they modified the shoulder and leg outer armor abit..... the whole thing is basically the same old Lancelot.

QUOTE(madmoz @ Sep 3 2008, 12:43 AM)
er... still looks off? Vent's blowing forward one? methinks it looks better slanting back instead of front?
*
yah after u mention it i also feel kind of weird.......blowing forward one.....
0300078
post Sep 3 2008, 12:21 PM

Regular
******
Senior Member
1,447 posts

Joined: Mar 2006


QUOTE(shauno @ Sep 3 2008, 12:20 PM)
all right.. promised pics a long time ago, here they are! biggrin.gif
» Click to show Spoiler - click again to hide... «


C&C please?
*
eh wat paint u used on ur sazabi? Why some parts look so rough?
0300078
post Oct 2 2008, 08:34 PM

Regular
******
Senior Member
1,447 posts

Joined: Mar 2006


10 years no post here joh! My Lancelot Air Calvary took me forever to finish.....
user posted image
» Click to show Spoiler - click again to hide... «

More could be seen in my blog

0300078
post Oct 2 2008, 09:10 PM

Regular
******
Senior Member
1,447 posts

Joined: Mar 2006


QUOTE(kurz @ Oct 2 2008, 08:50 PM)
wow looks like AB'ed
nice woh
*
hmmmm u referring to me or to Tempt? My Lancelot is AB one.... just the mini Suzaku there is hand painted.

This post has been edited by 300078: Oct 2 2008, 09:15 PM
0300078
post Oct 12 2008, 09:19 PM

Regular
******
Senior Member
1,447 posts

Joined: Mar 2006


QUOTE(chriswoo @ Oct 11 2008, 05:32 AM)
Here is my latest update

Well today i just able to finish AB the kits. Now lefts some little details to touch up and some decal.

» Click to show Spoiler - click again to hide... «


all C&C are welcome biggrin.gif
*
ur yellow color does not match the sazabi yellow. Anyway nice one except for Zeon logo gone.... and turn into some Silver color stuff......... Mono Eye must always has their Zeon logo!
U paint the those pla plates on ur armor using wat? AB or hand paint?

This post has been edited by VincC454: Oct 14 2008, 02:39 PM
0300078
post Oct 15 2008, 09:01 AM

Regular
******
Senior Member
1,447 posts

Joined: Mar 2006


QUOTE(Fodder Soldier @ Oct 15 2008, 12:30 AM)
[Part 3 of 3]

Returning to my ongoing story project, theSoldiers of Fodder: Survival Tournament 2008.

Progress of this series has slowed a bit thanks to my workshifts, but I've still managed to gather the required resources to make this adventure engaging; more materials, more PlaMo, more Lego, etc.

The essential storyboarding of the entire series is also vital to maintain the sequence of events and to give it an episodic / chapter manner (as mentioned in the pseudo-spoiler of the previous post made in page 88), so I've got to do more brainstorming to get the result I want as compared to previous story posts which were relatively simple to execute.
And now, as the opening chapter, I present to thee the 8 teams participating in the Tournament:
» Click to show Spoiler - click again to hide... «

» Click to show Spoiler - click again to hide... «

» Click to show Spoiler - click again to hide... «

» Click to show Spoiler - click again to hide... «

» Click to show Spoiler - click again to hide... «

» Click to show Spoiler - click again to hide... «

» Click to show Spoiler - click again to hide... «

» Click to show Spoiler - click again to hide... «

Chaotic fun imminent.

In the next instalment, we will be shown the proceedings of the opening ceremony and the full Tournament details; the rules, the tools and the map. So stick around, compatriots!  icon_rolleyes.gif
Time to get back to playing MW4 Mercenaries with JAM project blaring out my speakers. 'Till next time, peoples.  biggrin.gif
*
Fodder i envy u for able to get all the 1/144 for Turn A! I cant find any in the moment now! and ur 1/144 V series also damn nice!
0300078
post Mar 24 2009, 01:36 PM

Regular
******
Senior Member
1,447 posts

Joined: Mar 2006


wow v2 1/60.... my used to have it but his mom throw his away.....

my Guren finally finish painting joh!
user posted image
user posted image

5 Pages « < 2 3 4 5 >Top
Topic ClosedOptions
 

Change to:
| Lo-Fi Version
0.1236sec    0.44    7 queries    GZIP Disabled
Time is now: 28th November 2025 - 02:40 AM