

 May 12 2008, 07:23 AM

QUOTE(zeraato @ May 12 2008, 03:28 AM)
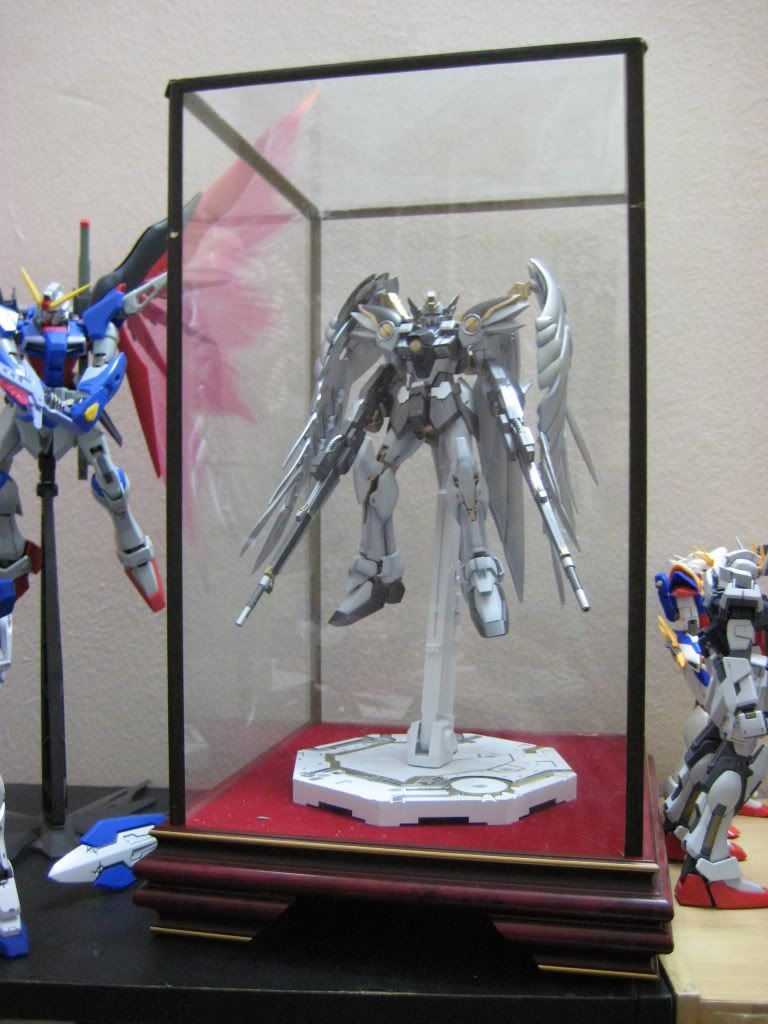
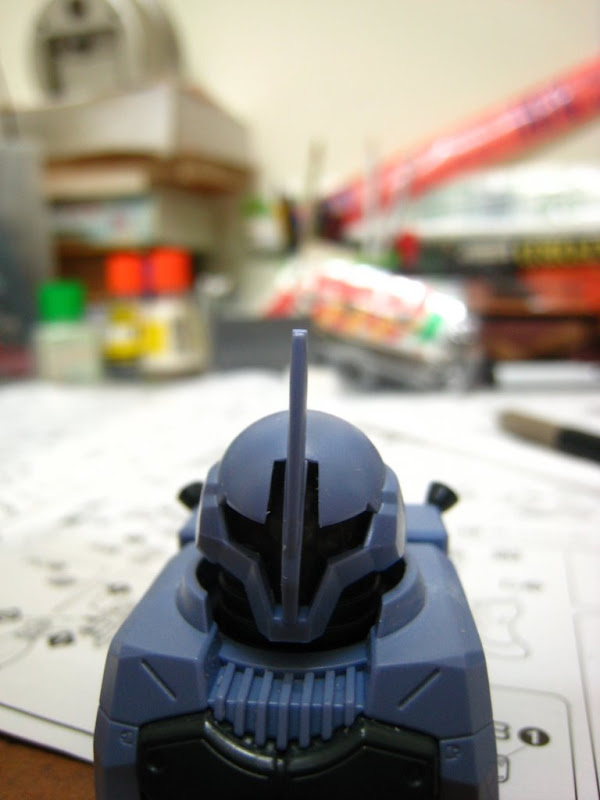
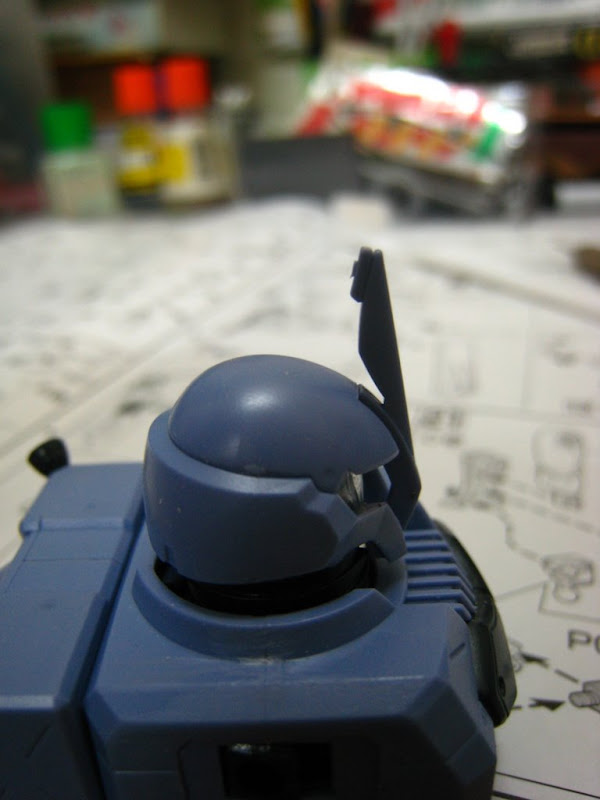
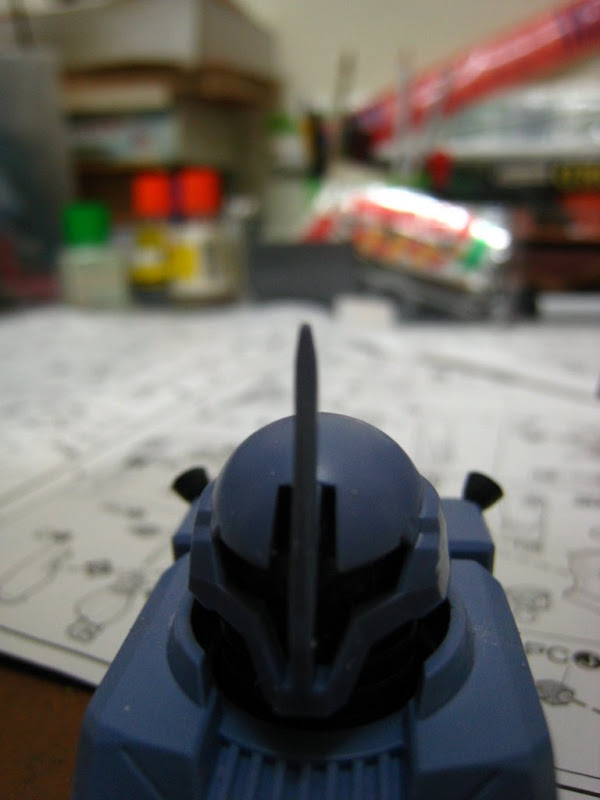
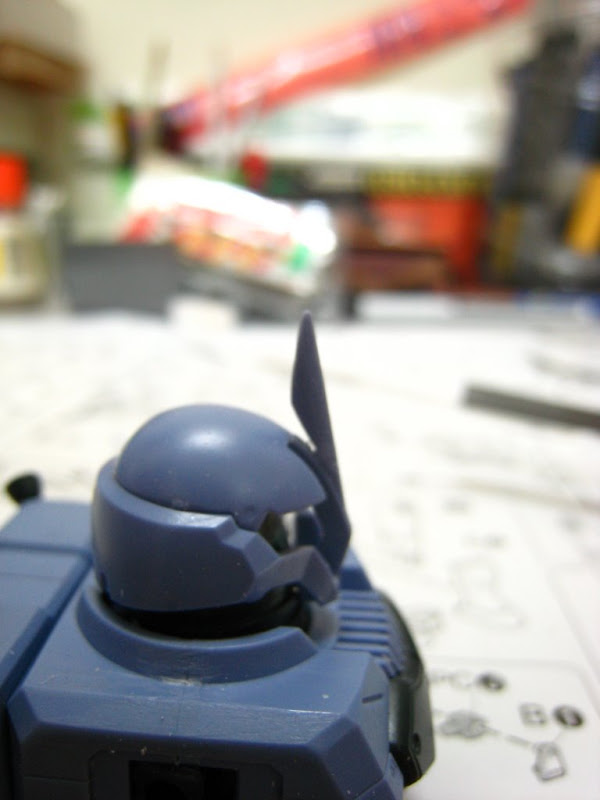
kekeke..the below images are about the Kampfer MG that i was planning to use for the mid-year challenge....BUT, i cant attend coz there is classes for all the days that we have to be at the event..i cant miss class when its so close to the final presentations T.T...so, i guess, the project is scrapped T.T
anyway, i painted it using just spray cans...no airbrushing. No LED. the photos are posted on my geocities webby, then hyperlinked here...coz photobucket and imagehosting dont open for my slow connection T.T i apologize to the mods first if this post is too big...i have no choice...slow hostel internet connection T.T
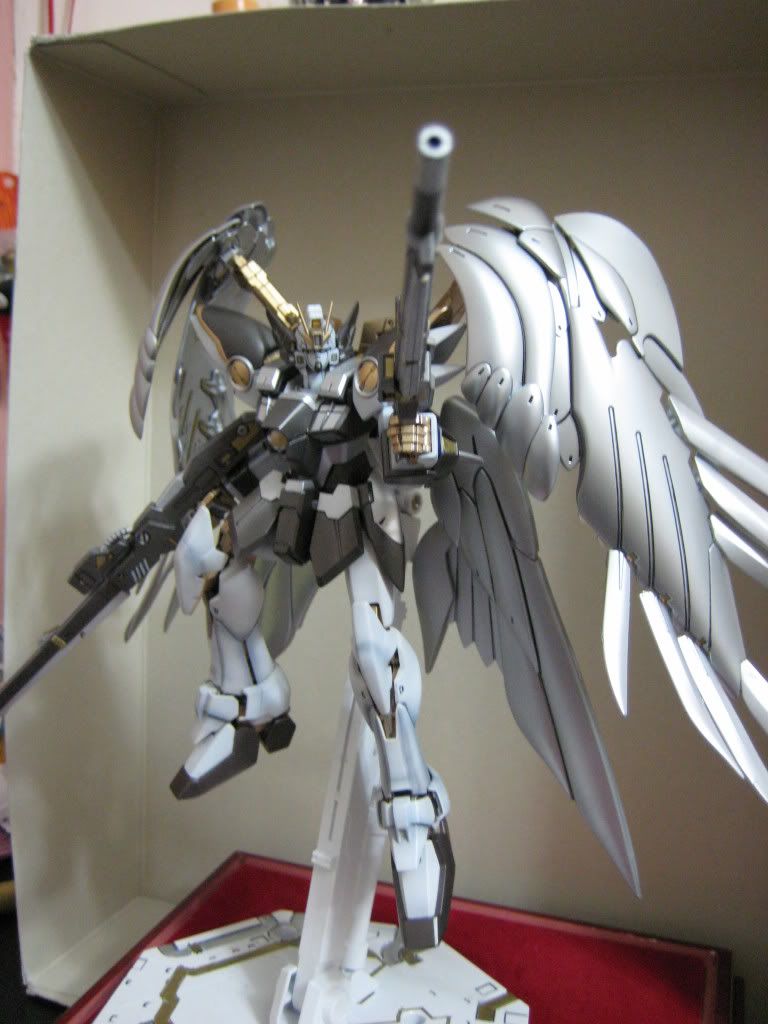
as you all can probably see, there are still a lot of places that need to be taken care off, especially the paint...didnt have much time to work on it...but comments are all welcome xD
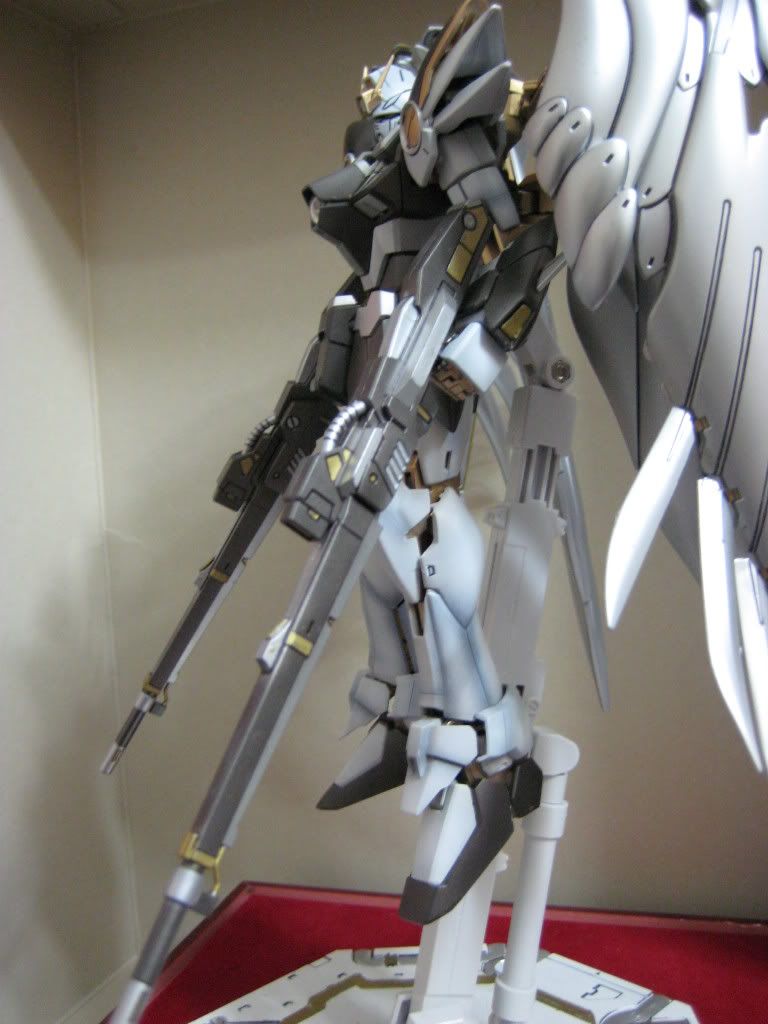
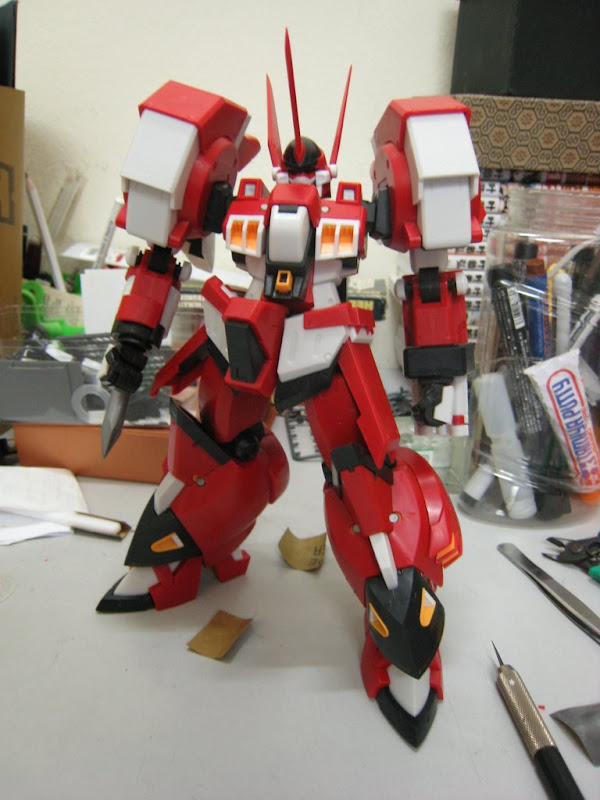
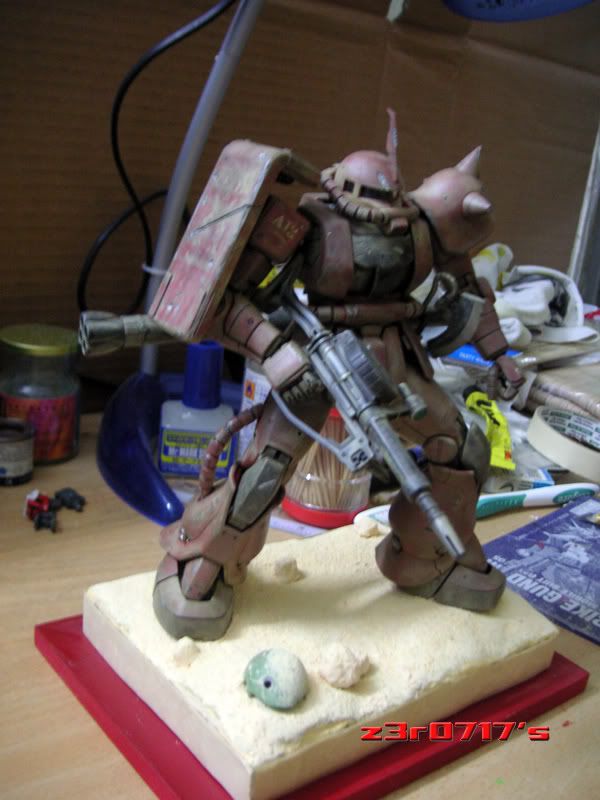
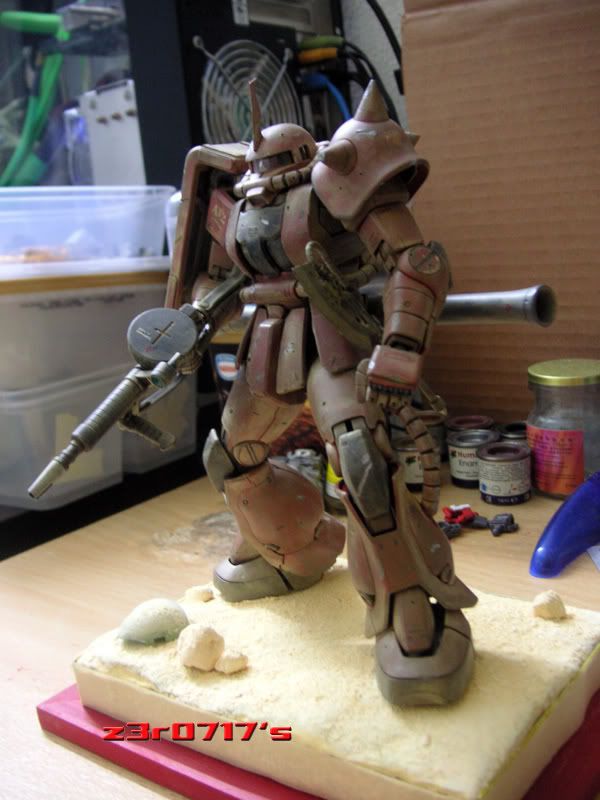
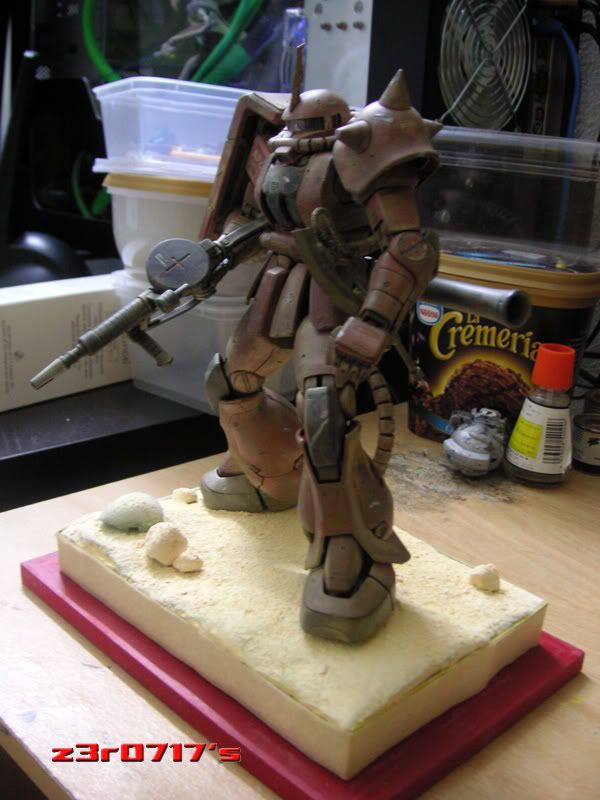
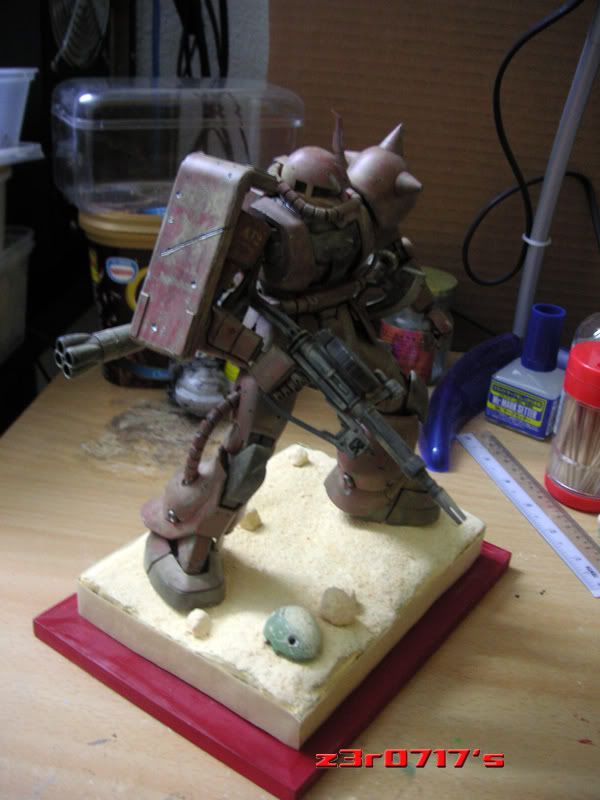
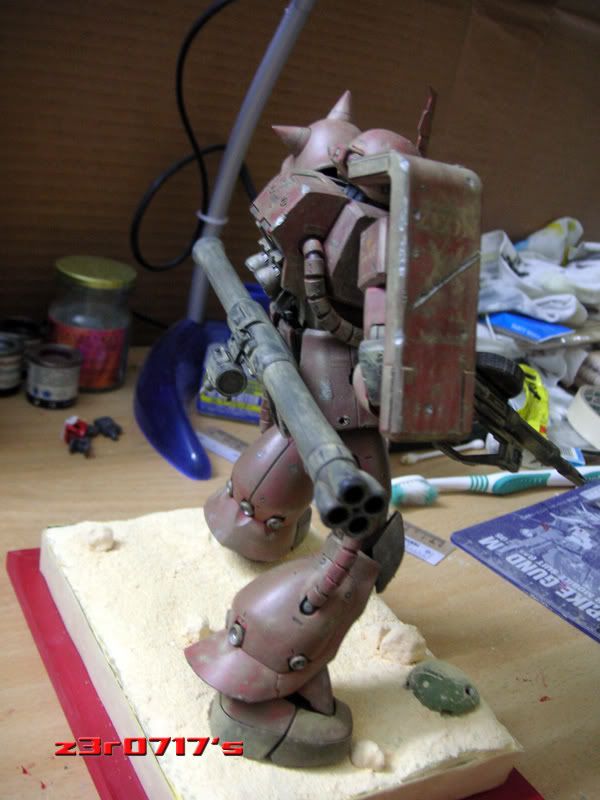
Concept : Seven Guns Kampfer
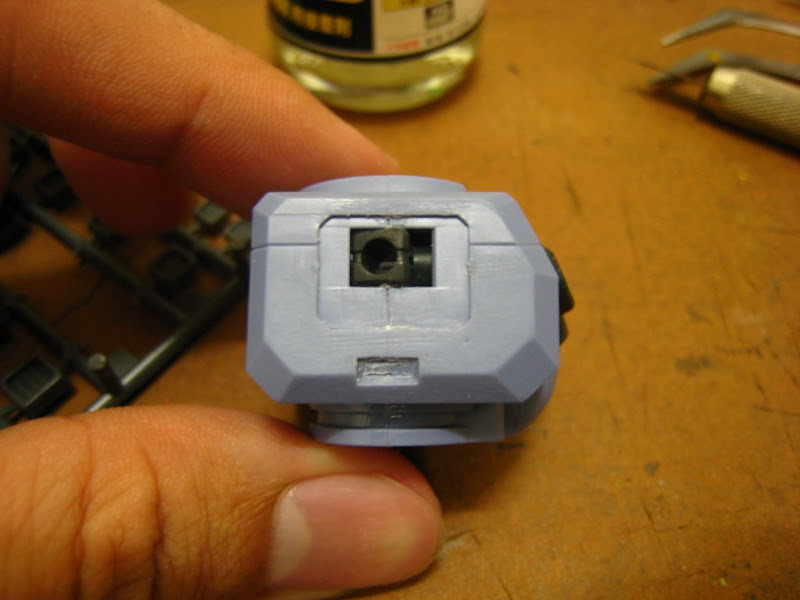
Kit : Bandai 1/100 MG Kampfer
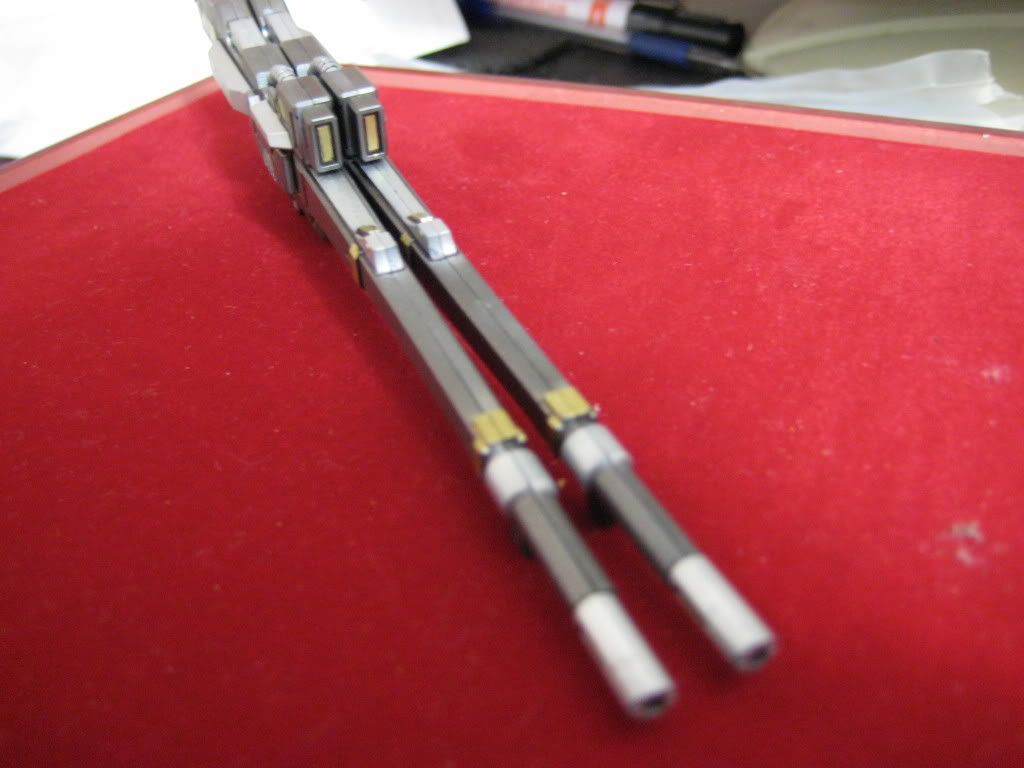
Equips : Beam Smart Rifle x1 , Kampfer Shotgun x4 , Hyper Bazooka x2
Color Scheme : High Gloss Blue
comments are all welcome xDDD

ur color seems to be a bit too tight! It produce some uneven glossy effects on ur kit! U been using industry spray can is it? Ur spray distance and amount must be control so the color can achieve better effect! And ur post is ok i think no mod will fire u! anyway, i painted it using just spray cans...no airbrushing. No LED. the photos are posted on my geocities webby, then hyperlinked here...coz photobucket and imagehosting dont open for my slow connection T.T i apologize to the mods first if this post is too big...i have no choice...slow hostel internet connection T.T
as you all can probably see, there are still a lot of places that need to be taken care off, especially the paint...didnt have much time to work on it...but comments are all welcome xD
Concept : Seven Guns Kampfer
Kit : Bandai 1/100 MG Kampfer
Equips : Beam Smart Rifle x1 , Kampfer Shotgun x4 , Hyper Bazooka x2
Color Scheme : High Gloss Blue
» Click to show Spoiler - click again to hide... «


comments are all welcome xDDD
 Quote
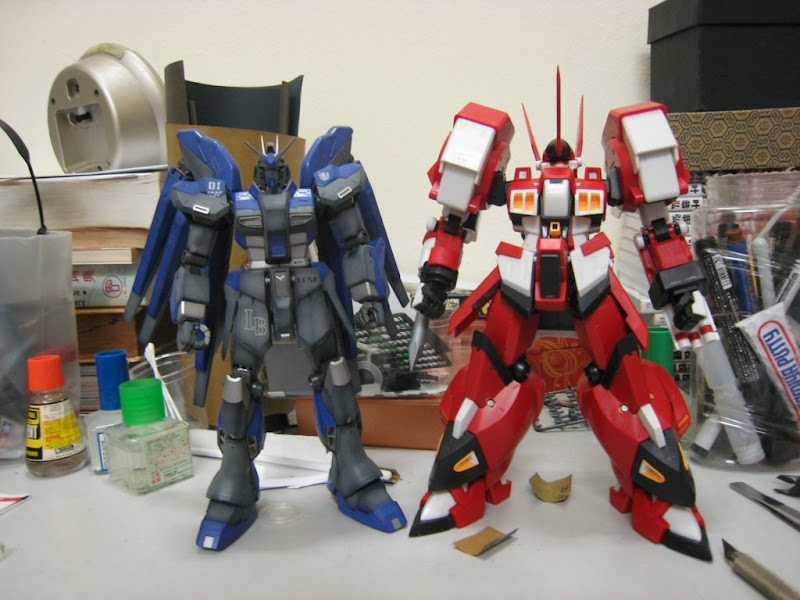
Quote actually the glossy/different tone parts i tried to follow the kampfer box art..coz in the box art the kampfer armor is super glossy like glass, so there is actually lots of color variation on it...but dunno, the actual model looks fine, i think is maybe i use flash, makes the picture look weird...
 i thought it was just ok...


 advises as well please


 now waiting for the Novel+gatling gun to arrive....


 0.0424sec
 0.32
0.32
 7 queries
 GZIP Disabled