QUOTE(amirisme @ Sep 21 2008, 10:07 PM)
wooow. nice collection. got many PGs AND their MG counterparts. 

Huhu... I wish I'm rich enough to do that. It's just some MGs and their HG counterparts.Model Kits Work In Progress and Mecha Modelling Gallery, No CHATTING! we just want to see pic
|
|
 Sep 22 2008, 10:11 AM Sep 22 2008, 10:11 AM
|
 
Junior Member
225 posts Joined: May 2007 From: KL |
QUOTE(amirisme @ Sep 21 2008, 10:07 PM) wooow. nice collection. got many PGs AND their MG counterparts. Huhu... I wish I'm rich enough to do that. It's just some MGs and their HG counterparts. |
|
|
|
|
|
Sep 23 2008, 10:32 AM
|

Senior Member
5,355 posts Joined: Jan 2003 From: Cera |
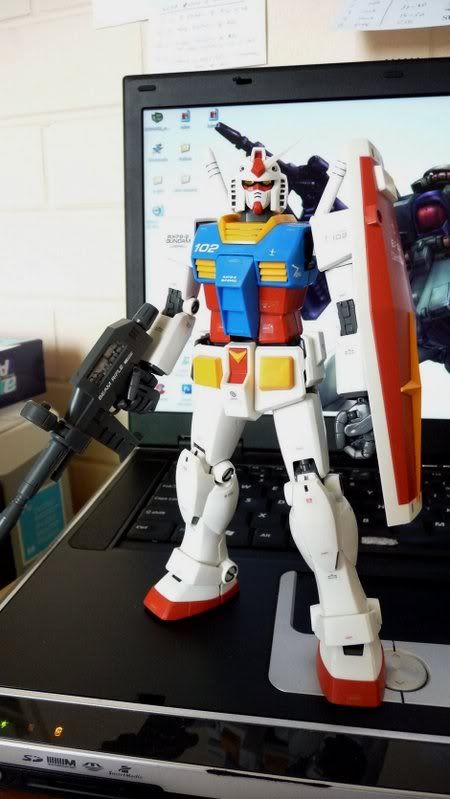
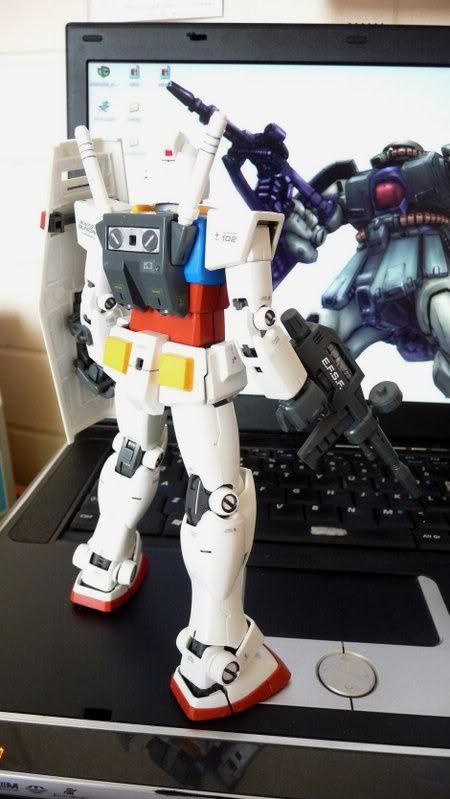
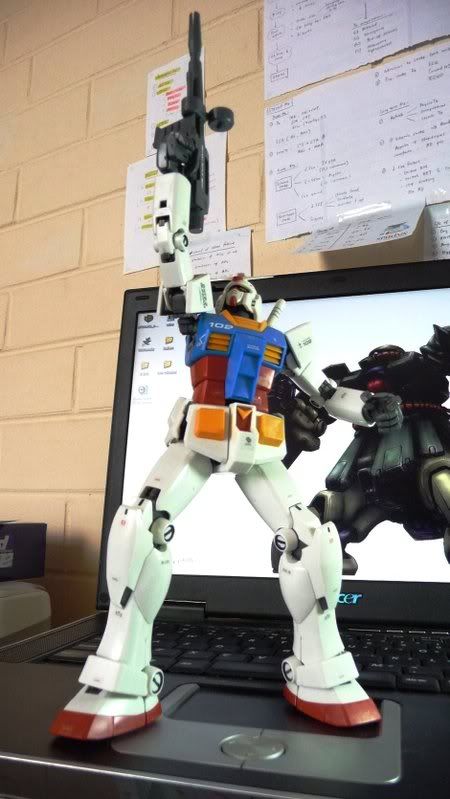
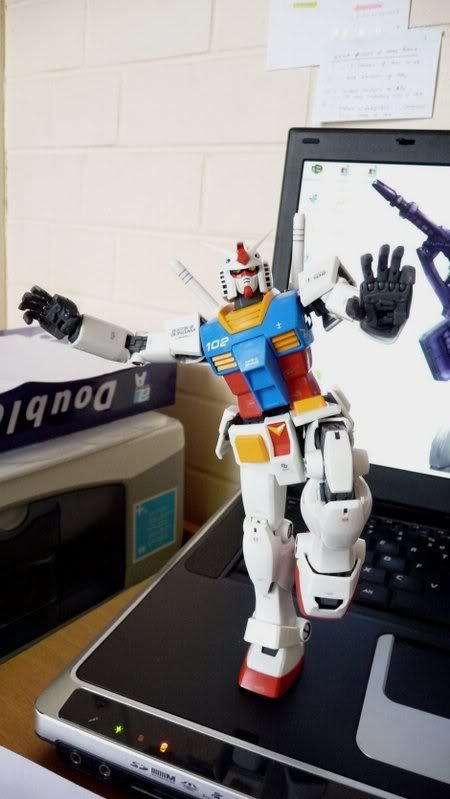
QUOTE(St0rmFury @ Sep 21 2008, 02:14 PM) My collection: Cool stuff... More pics please... esp the Perfect Zeong !!My recently-completed RX78 v2... great kit. » Click to show Spoiler - click again to hide... « Saturday Night Fever !! Retro is cool !! 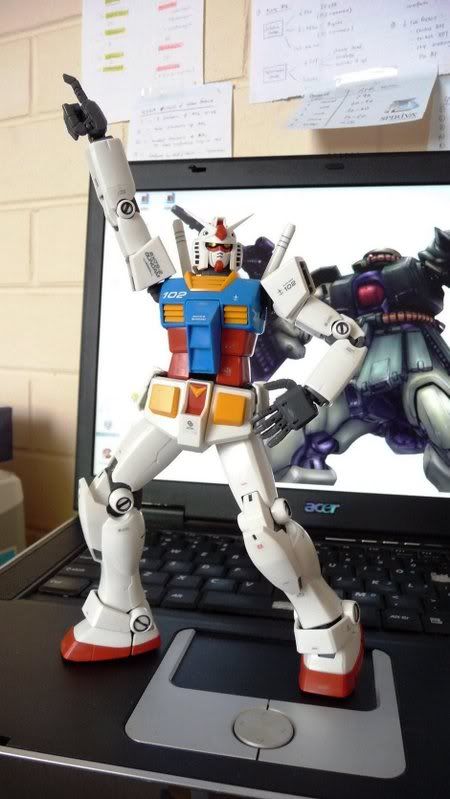 This is a compulsory pose. 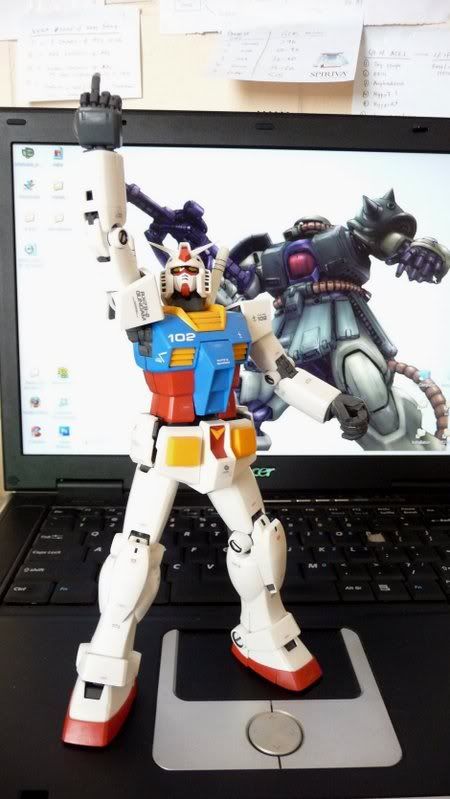 More pics later... gotta have some fun poses with my other MGs. This post has been edited by StarGhazzer: Sep 23 2008, 10:33 AM |
|
|
Sep 25 2008, 12:21 AM
|

Junior Member
98 posts Joined: Oct 2006 |
Little update on my 1/144 HGUC sazabi
Today I refine some panel lining and also redesign the side bottom skirt armor and also some portion of the leg. 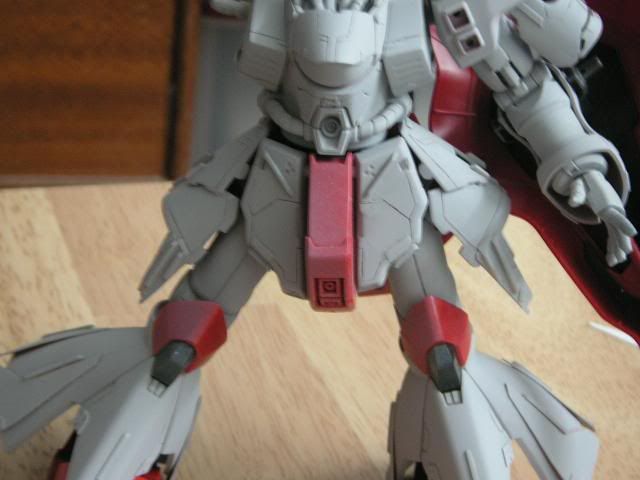 Refine the panel line to make it asymmetrical. 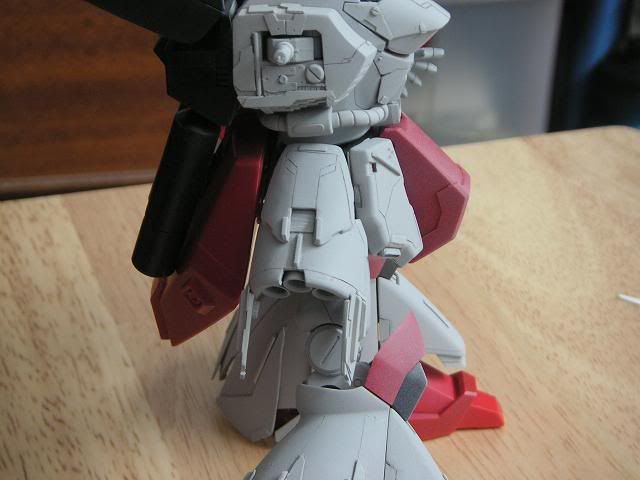 Well the side bottom skirt armor 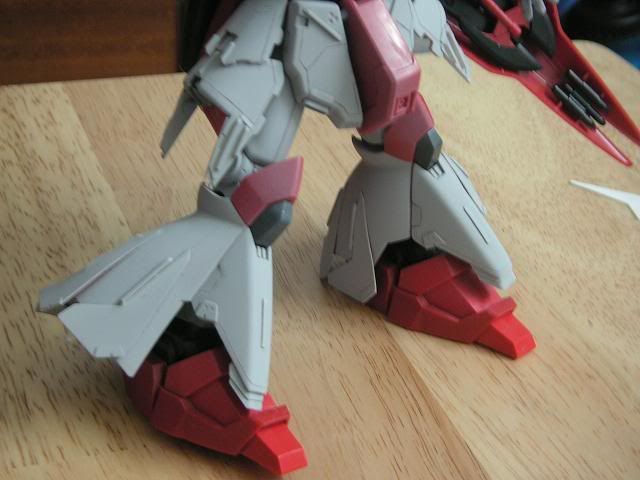 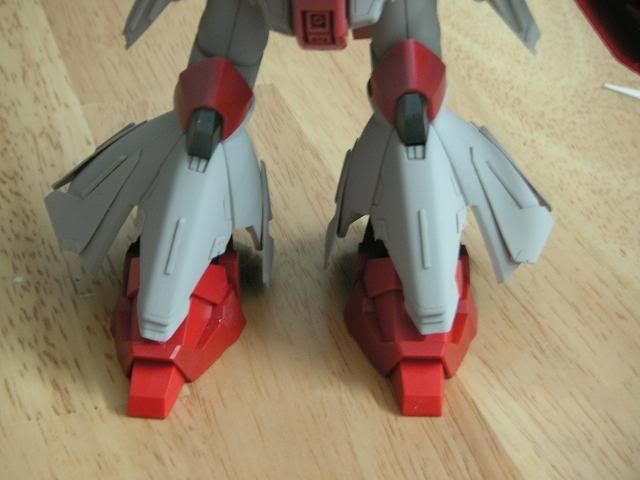 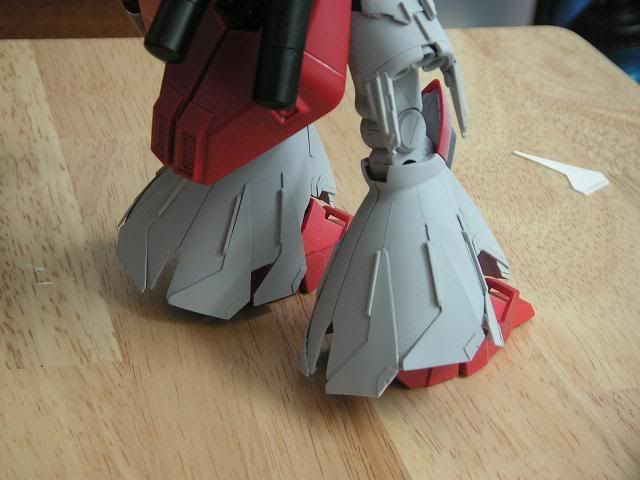 Leg armor mod 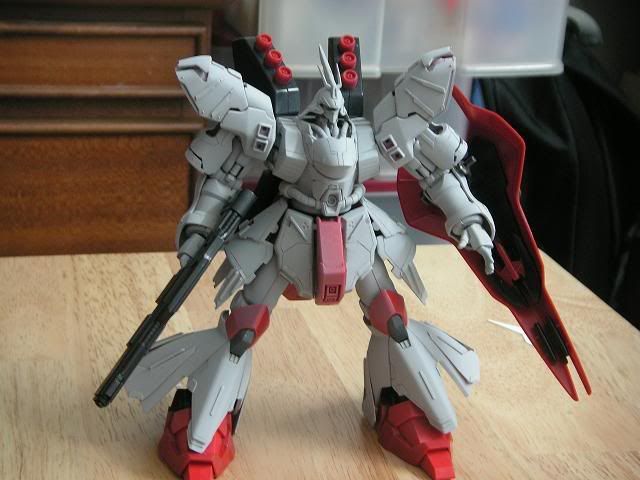 overall kits Well now is at 80% done, just left the shield, weapons, back armor and backpack to be mod. all C%C are welcome. This post has been edited by chriswoo: Sep 25 2008, 12:40 AM |
|
|
Sep 25 2008, 12:39 AM
|

Senior Member
4,250 posts Joined: Nov 2006 |
wooh your sazabi got bell bottoms!
|
|
|
Sep 25 2008, 08:45 PM
|

Senior Member
2,966 posts Joined: Apr 2008 From: Macross Galaxy |
QUOTE(chriswoo @ Sep 25 2008, 12:21 AM) Little update on my 1/144 HGUC sazabi lao... from far it really looks like MG sazabi conversion sia... nice work with the pla plates! hope to learn some from u in the future Today I refine some panel lining and also redesign the side bottom skirt armor and also some portion of the leg. » Click to show Spoiler - click again to hide... « Well now is at 80% done, just left the shield, weapons, back armor and backpack to be mod. all C%C are welcome.  |
|
|
Sep 28 2008, 01:04 AM
|
|
Junior Member
98 posts Joined: Oct 2006 |
madmoz - haha yup bell bottoms
 edwardgsk - haha thx for your comment but my skill still need a lot of refine to do before reach those sifu. Just a little Update from my HGUC Sazabi Well for today I mod the backpack and change to more longer fuel tanks and addon abit of detail at the feet. overall backpack design. (i haven't add any details yet but just a concept shape of it 1st) 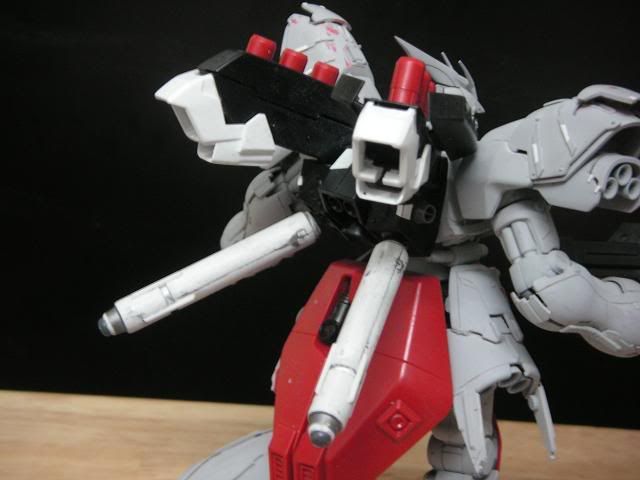 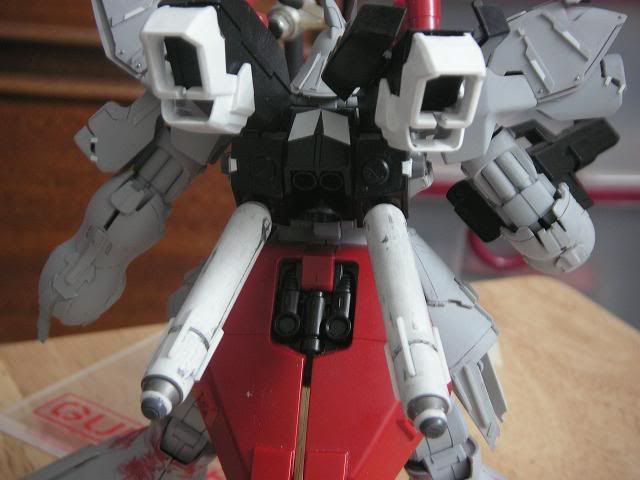 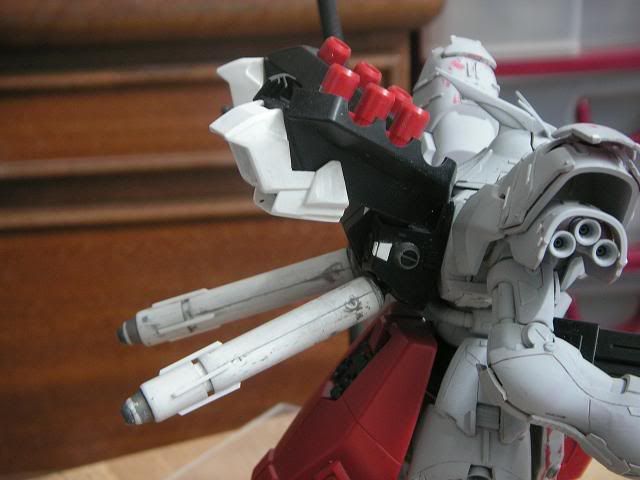 the original fuel tanks was too big for my taste so i discard it and use other longer and more thin for it 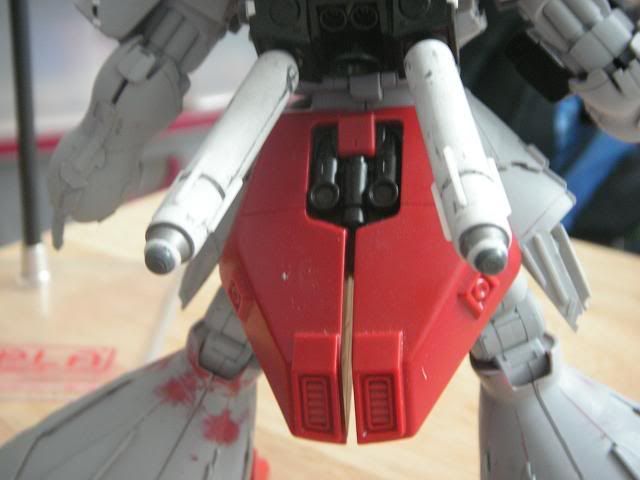 well here some of the feet mod as well 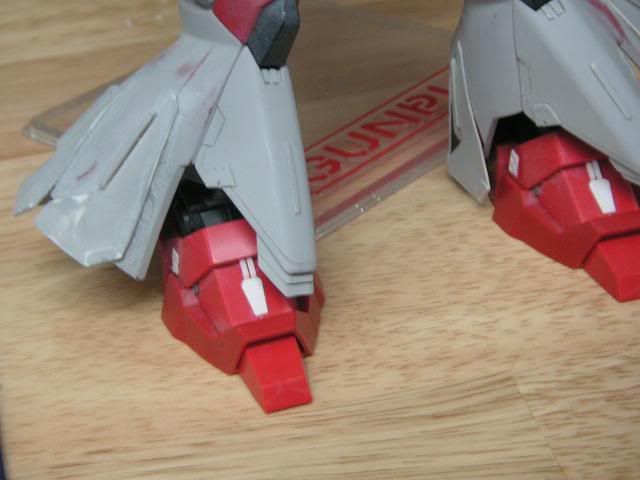 all C&C are welcome. |
|
|
|
|
|
Sep 28 2008, 01:40 AM
|

Junior Member
167 posts Joined: Apr 2008 From: Ampang / Adelaide |
@ Chriswoo ~ Dude... ur like... FRICKIN AWESOME man. a real inspiration.
I hope some day can gunpla model like u!But for now, this is what i just finished. Been looking for this for awhile and i finally found it: TURN A Gundam!!! AKA Mr Moustache   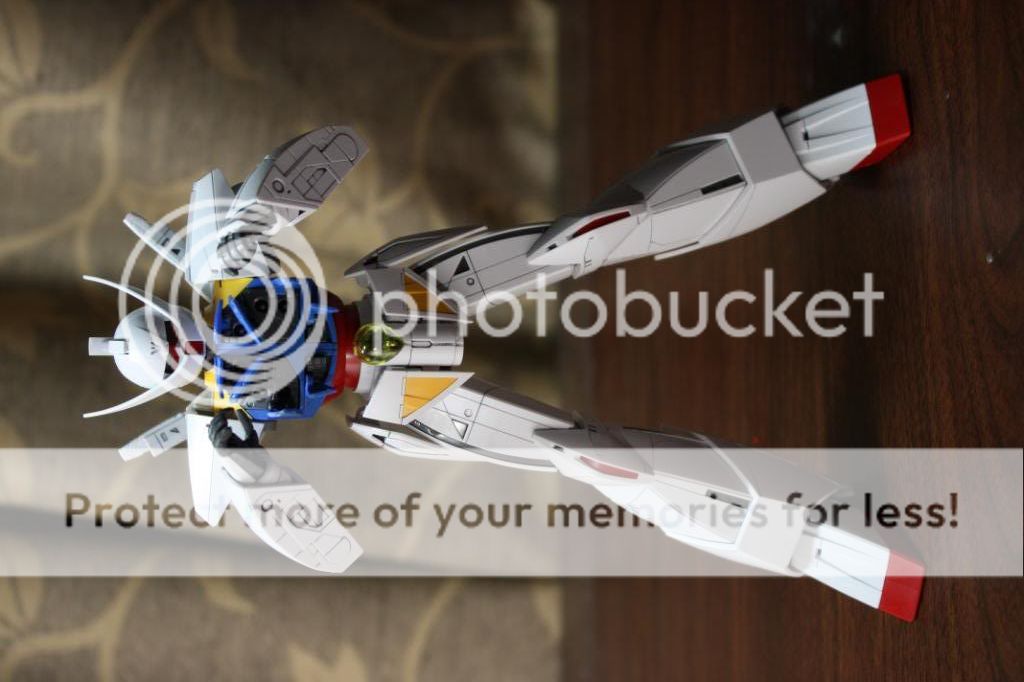   The hardest part is all the friggin lining. and the leg suffers same problem as my zeta gundam.... to stiff. though, that maybe a result of poor construction. hahaha. Also, I cant pose the rifle properly if its extended. Next up, is my latest Code Geass model: Lancelot Conquista! Bought this to get over the fact that Code Geass going to end next week   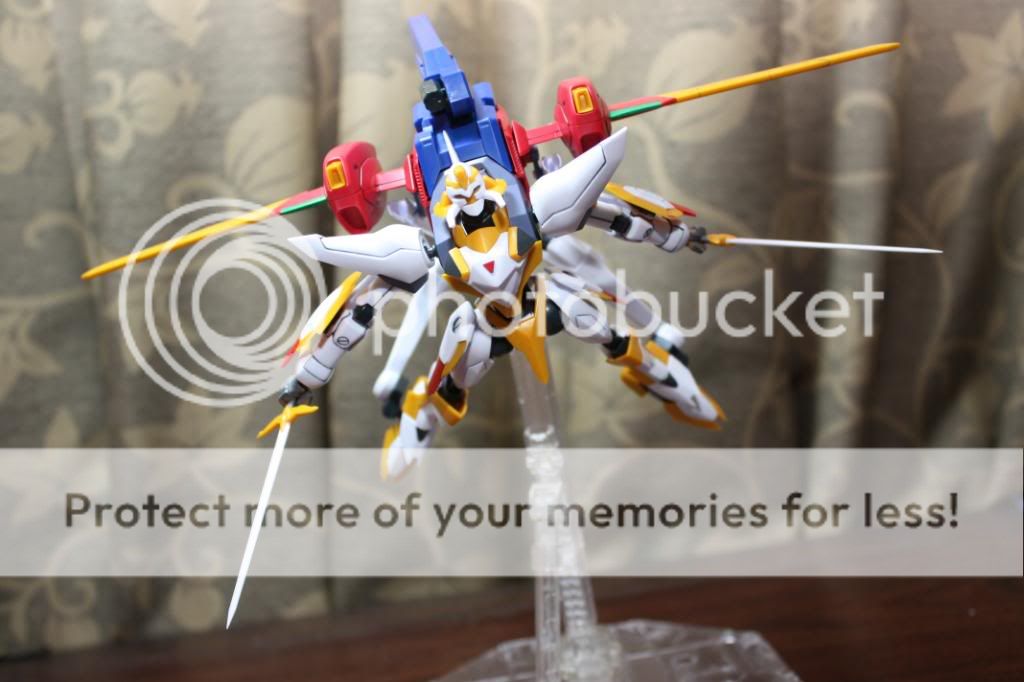 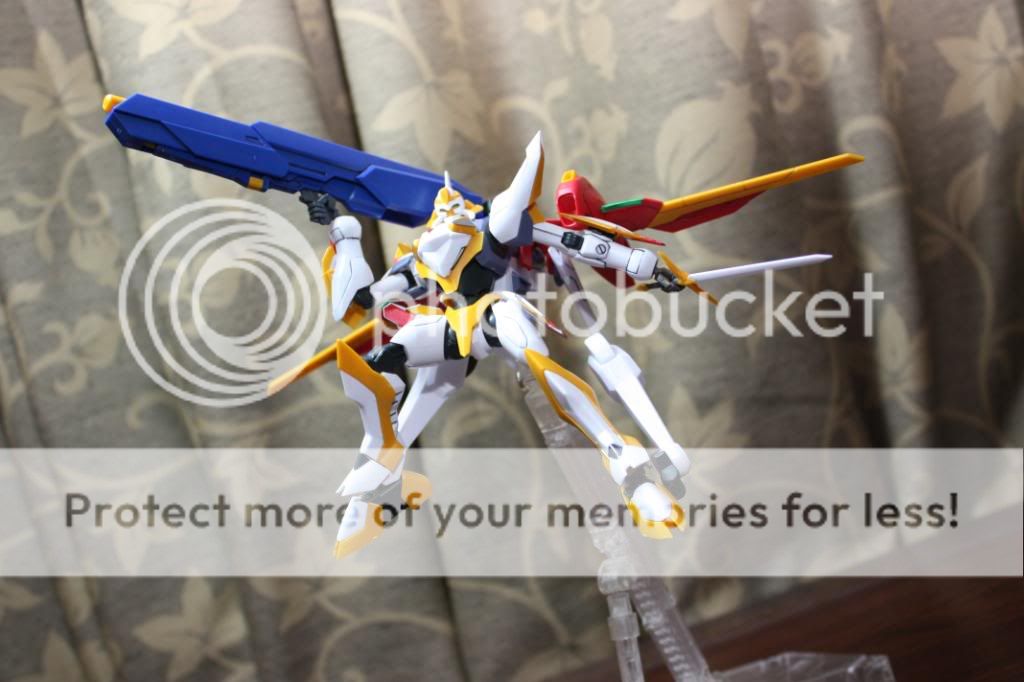 What i had hoped for with this model came true! The joints are stiffer and stronger then the normal lancelot. When i get back to adelaide, imma gonna spray paint my old lancelot pink. Hopefully can get the same shade as CC's lancelot. Now... come on bandai! Bring out the other knightmares!!! This post has been edited by amirisme: Sep 28 2008, 01:44 AM |
|
|
Sep 28 2008, 08:07 AM
|
|
Senior Member
5,355 posts Joined: Jan 2003 From: Cera |
^nice Turn A... Stiff legs are actually a pro since it'll not sag and become flimsy and eventually be unable to pose. What's wrong with the rifle?
man amirisme, your collection is increasing exponentially !! |
|
|
Sep 29 2008, 11:19 AM
|

Senior Member
2,239 posts Joined: Jun 2006 From: K.L |
Hey guys, long time didn't post in W.I.P thread alr...
Just want to share what i'm currently doing with u guys.. hehe... and yea, i'm doin sazabi too like chris...  Here's the snap fitted kit 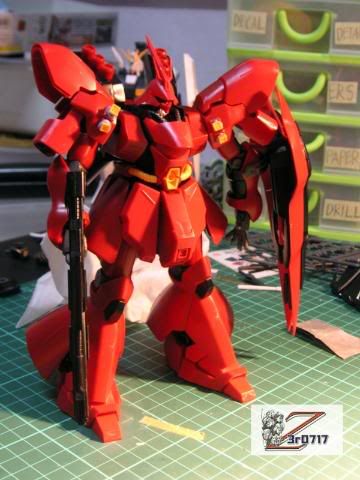 Now i am trying to design it to look better becoz it looks too plain The left one is the new one and the right is the old one which i failed.. dry.gif NOTE: not final design. biggrin.gif 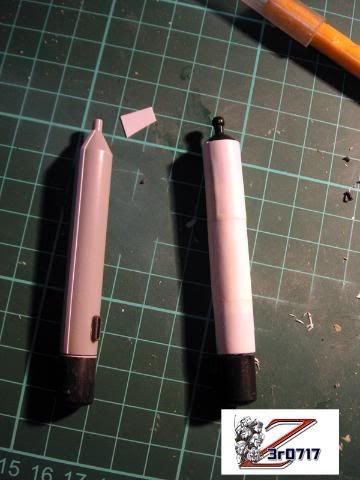 now to the upper body armor... i didn't quite like the side armor as it is too thin so i added another 1mm pla plate to thicken it... this one applied with polyester to cover the holes 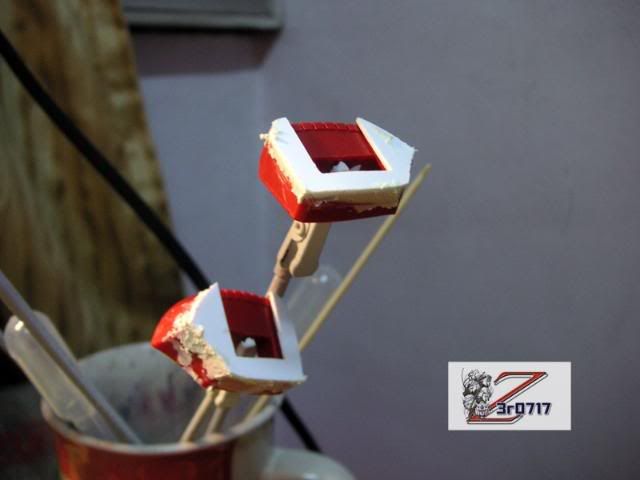 After sanding 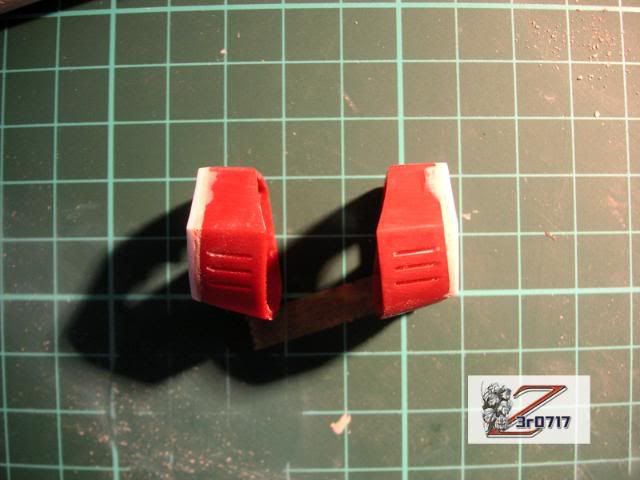 Here a place i modded, i replace the poly cap with kotobukiya kit joint part from oldman(free advertisement) Those these koto parts are cheaper the yellow submarine but it's not as tight as Y.S, anyway it's just nice for HG though.. hehe i used bondite to hold the cap... hope it holds strong enough NOTE: havn't sand one.. hehe 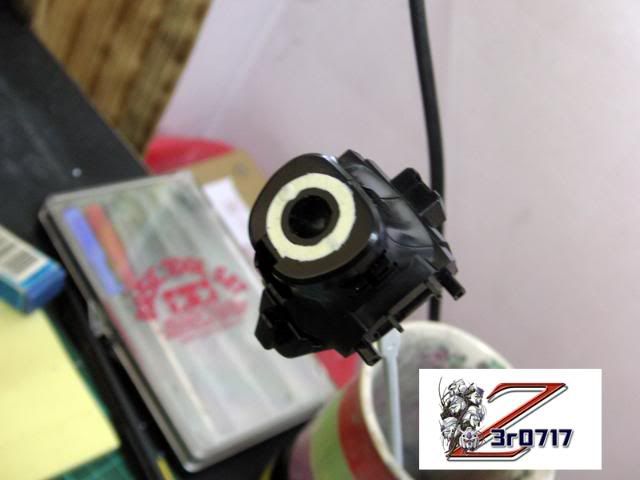 |
|
|
Sep 29 2008, 11:21 AM
|
|
Senior Member
2,239 posts Joined: Jun 2006 From: K.L |
Here's the design i did for the front armor part
I added 0.2mm pla plates for design, at first i tried to do panel lining but i couldn't get the even lines...  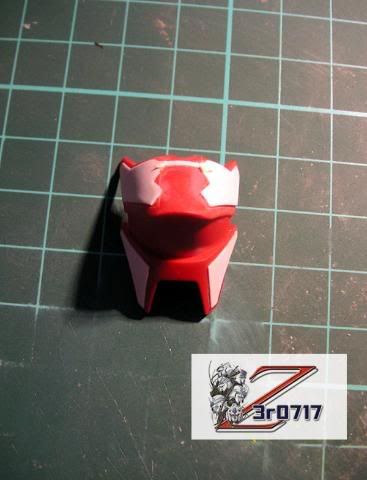 This is the side where i added 1mm pla plates to thicken it... 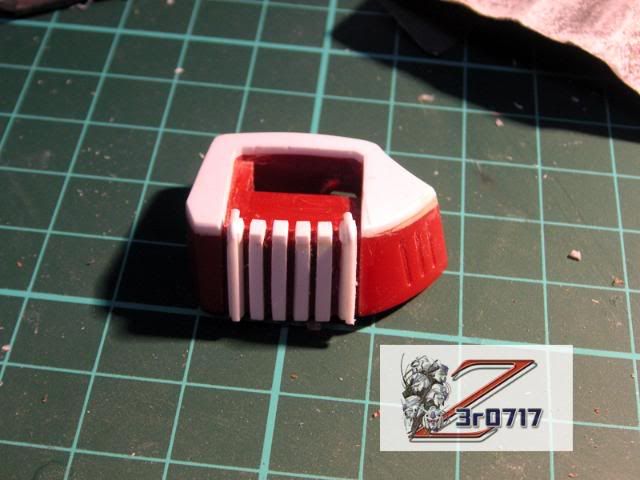 Overall for now, looks like this 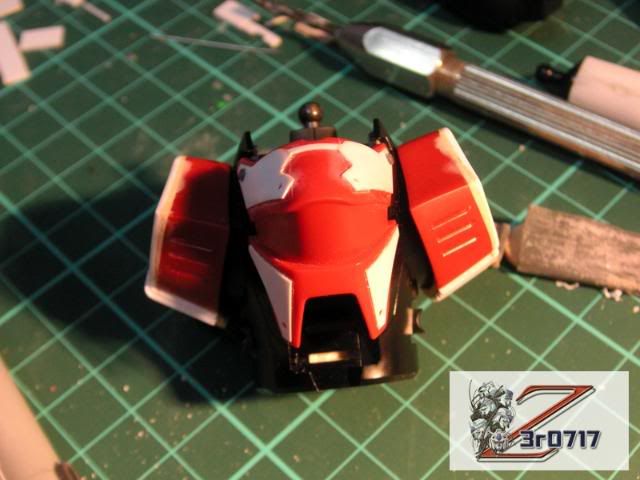 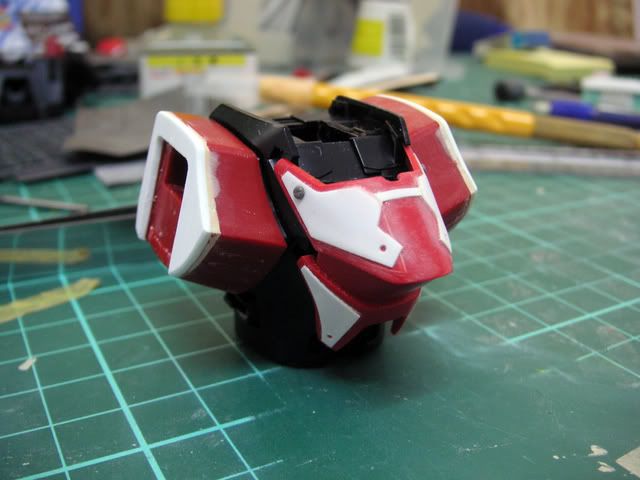 |
|
|
Sep 29 2008, 01:29 PM
|

Senior Member
1,967 posts Joined: Jan 2007 From: Side 3 |
zero, wat is the screw like thingy at the chest? |
|
|
Sep 29 2008, 02:01 PM
|
|
Senior Member
2,239 posts Joined: Jun 2006 From: K.L |
it's a kotobukiya part... this one is a minus mold part... got a lot of size.. i just use this for detailing..
 |
|
|
Sep 29 2008, 04:47 PM
|

Junior Member
189 posts Joined: Apr 2005 From: Silent Hill Prefecture |
wah, so many sifu here modify their sazabi kaw-kaw...
just sharing some pics of my humble zaku... » Click to show Spoiler - click again to hide... «      some more pics here |
|
|
|
|
|
Sep 29 2008, 05:22 PM
|

Senior Member
2,862 posts Joined: Jan 2003 From: アメリカ |
what a very nice zaku u have there ! awesome.
|
|
|
Sep 29 2008, 05:57 PM
|

Junior Member
176 posts Joined: Sep 2006 From: KL |
hahah zaku got caught shitting very funny ler..
and nice poses man! |
|
|
Sep 30 2008, 12:17 AM
|

Senior Member
2,287 posts Joined: Jun 2007 From: Anno Domini Time Ultra: 1,000,000 Trans Am Attack! |
 |
|
|
Sep 30 2008, 01:45 AM
|
|
Senior Member
2,239 posts Joined: Jun 2006 From: K.L |
ok ok, small updates!
cut these for detailing 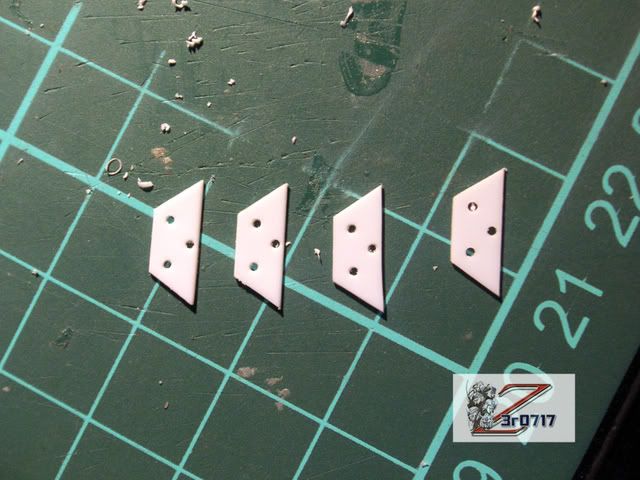 ok, here's the funnel back pack BEFORE & AFTER 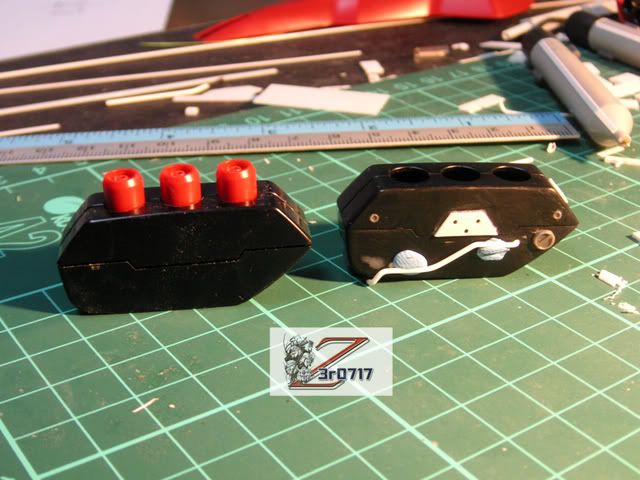 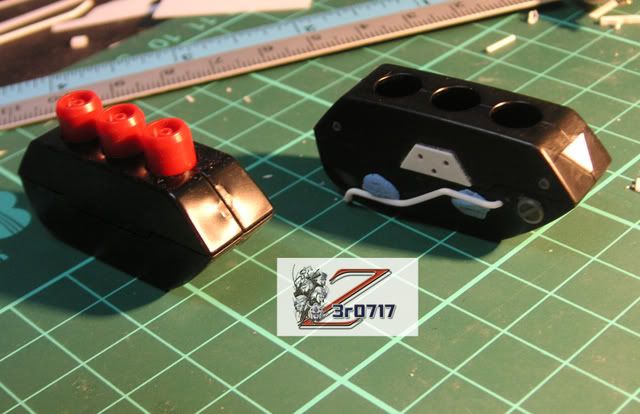 Close up 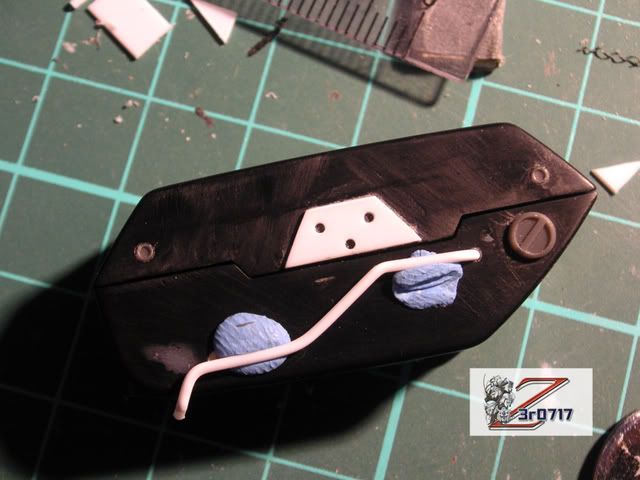 OK, this picture, i plan to do a pipe thingy, i was wondering is this ok? PLZ COMMENT. once it's ok, i will drill holes and the pla beam will go in to act like a pipe.. |
|
|
Sep 30 2008, 03:02 AM
|
|
Junior Member
98 posts Joined: Oct 2006 |
z3r0717 - wa you also doing backpack
cool nice 1 and i love you have done with the pipes. may i know how you do that? btw well today i done a little detailing for the backpack only. here is overall detail backpart but the detailing haven't finalize yet still. 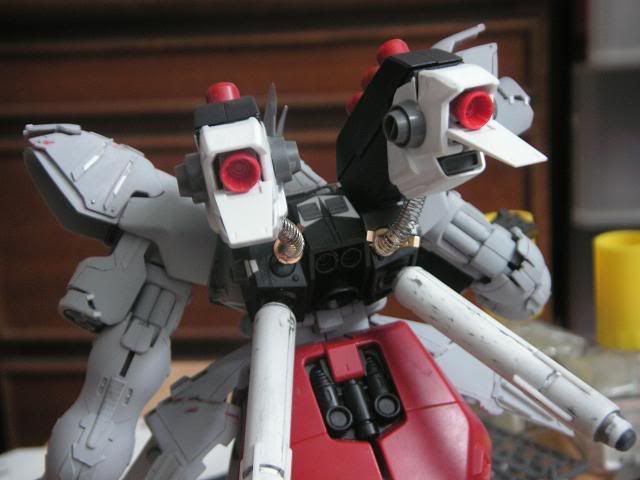 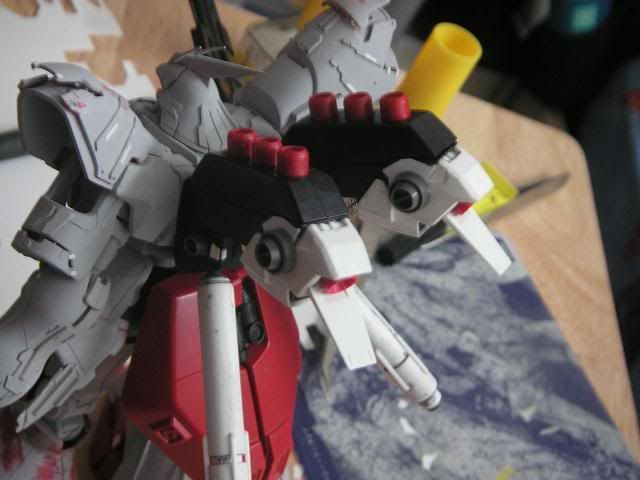 here the more backpack shot only 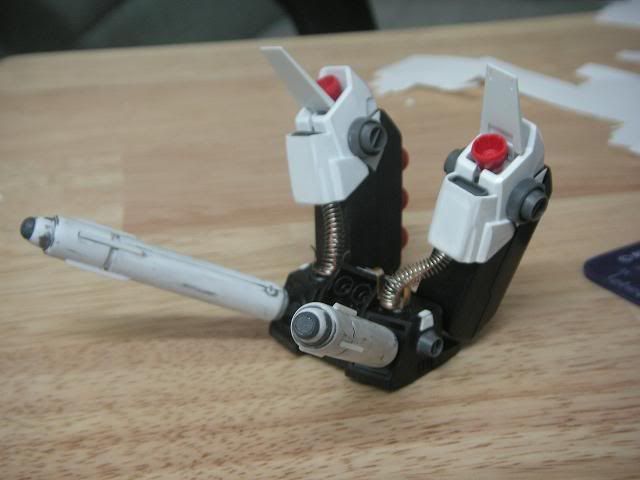 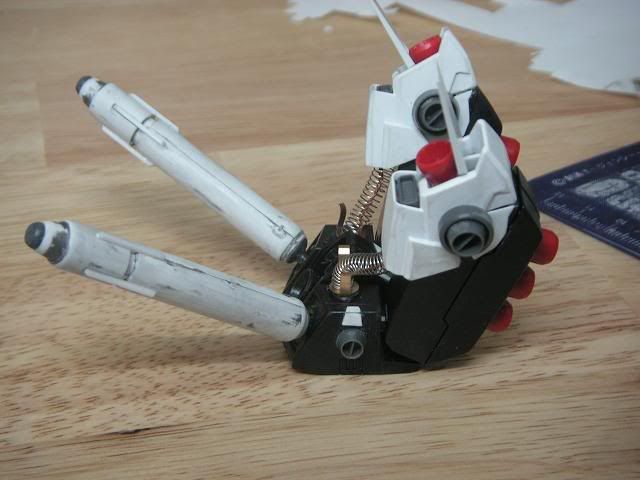 well i still haven't decided how are the truster going to be place yet (up or down i use it on both 1st) 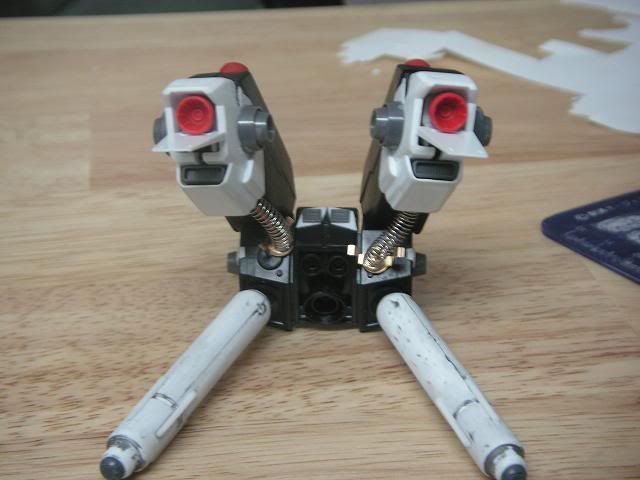 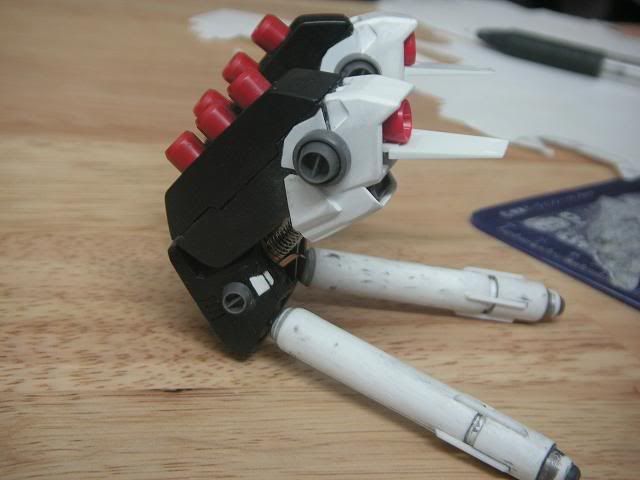 but i stick in to normal 1st and see how it comes all C&C are welcome This post has been edited by chriswoo: Sep 30 2008, 03:05 AM |
|
|
Sep 30 2008, 03:15 AM
|
|
Senior Member
2,239 posts Joined: Jun 2006 From: K.L |
@chriswoo
i used pla beams, just slowly bend them with my fingers.. very easy... WALAU, ur back pack mod... mine totally kalah d... This post has been edited by z3r0717: Sep 30 2008, 03:15 AM |
|
|
Sep 30 2008, 11:02 AM
|
|
Junior Member
98 posts Joined: Oct 2006 |
z3r0717 - Oo ic thx for the tips. but your backpack mod won't kalah so fast 1 because you haven't finalize yet your design.
|
|
Topic ClosedOptions
|
| Change to: |  0.0347sec 0.0347sec
 0.70 0.70
 6 queries 6 queries
 GZIP Disabled GZIP Disabled
Time is now: 4th December 2025 - 06:17 PM |
 Quote
Quote