okay, been really busy these few days with my things.....
my new sem is starting today at 8am and i'm here at 3.40am updating this thread

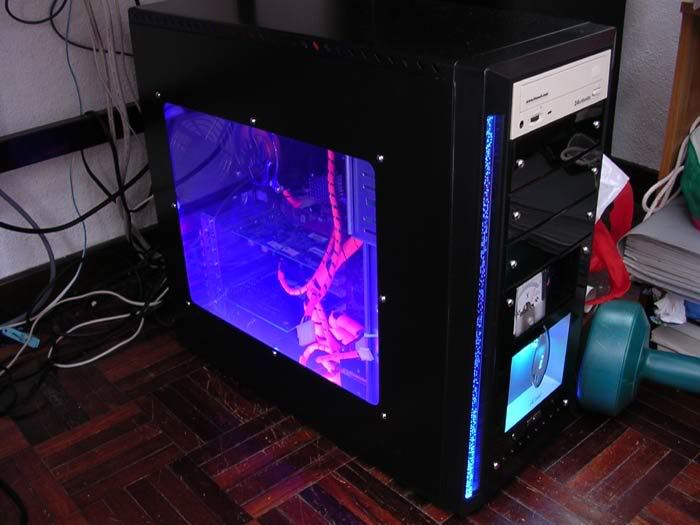
the rest of the mod i will do it slowly coz my time is quite limited.....
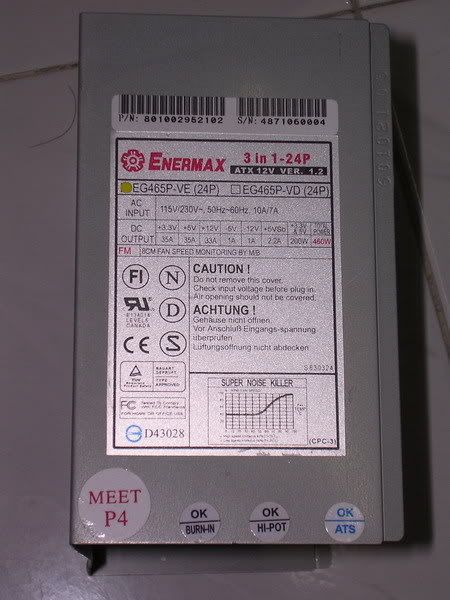
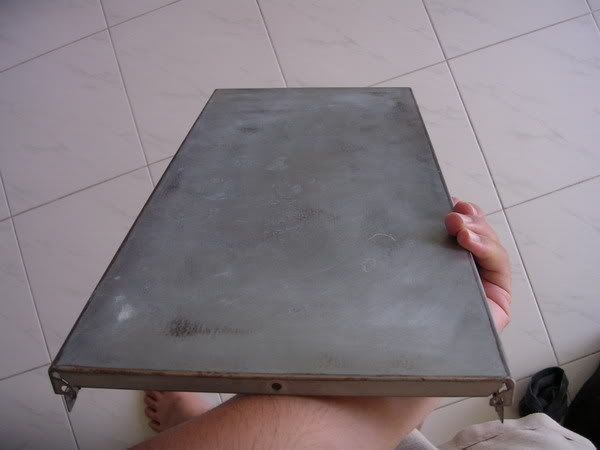
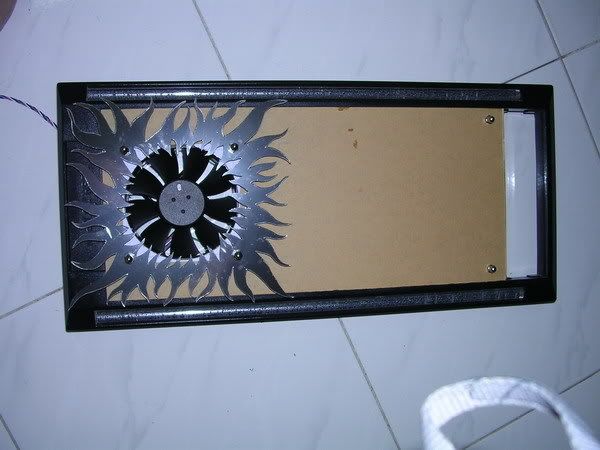
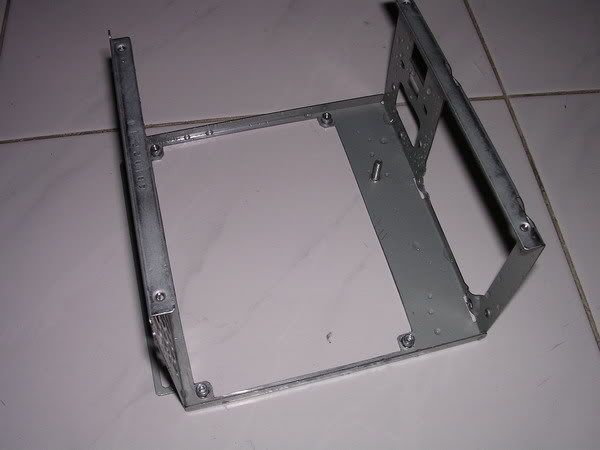
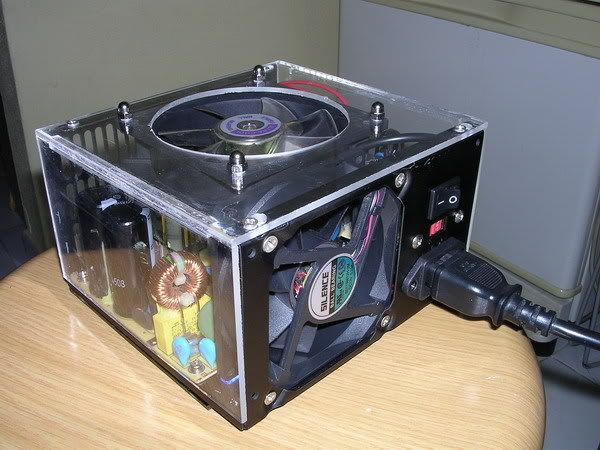
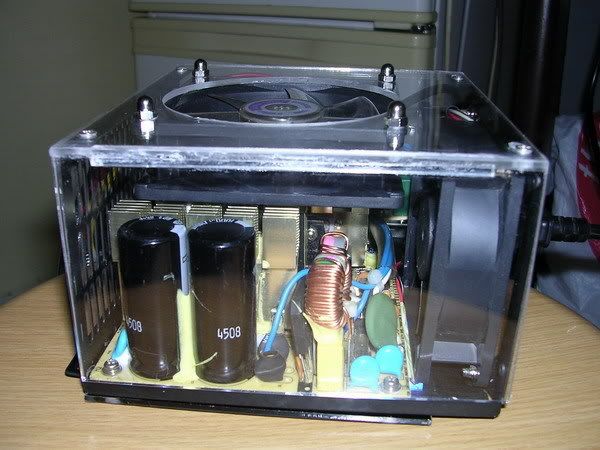
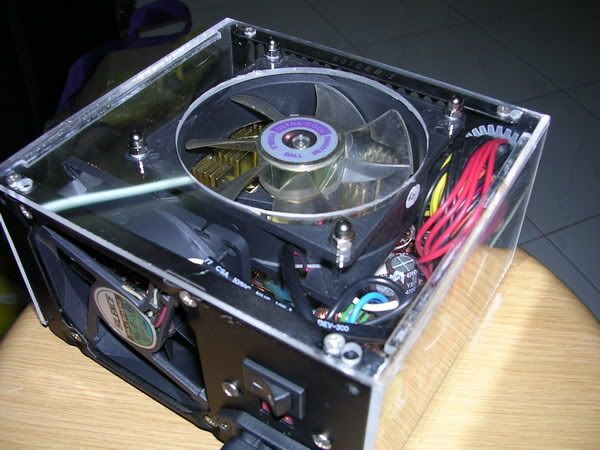
alright, this is my Enermax 460W.
this is what i'm gonna to do to it :
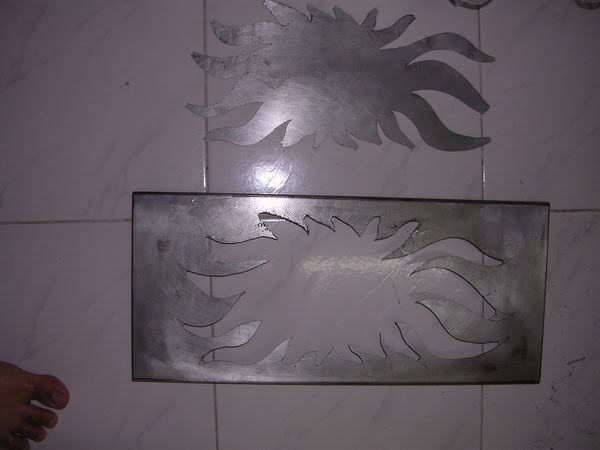
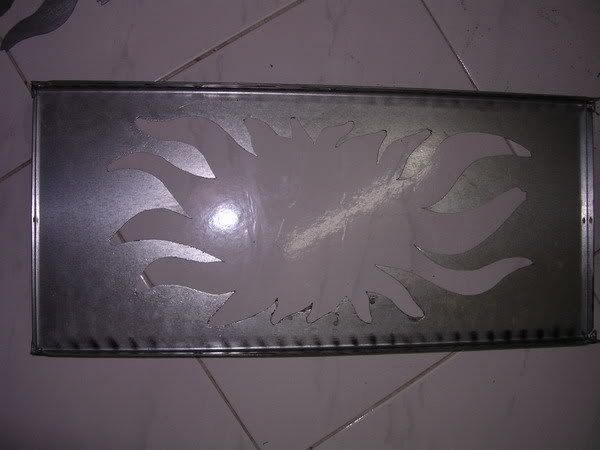
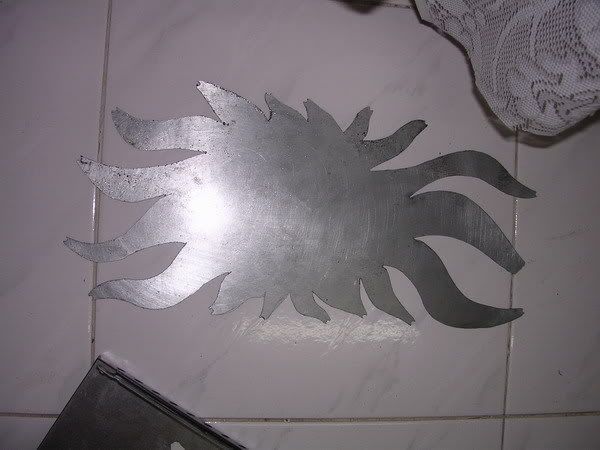
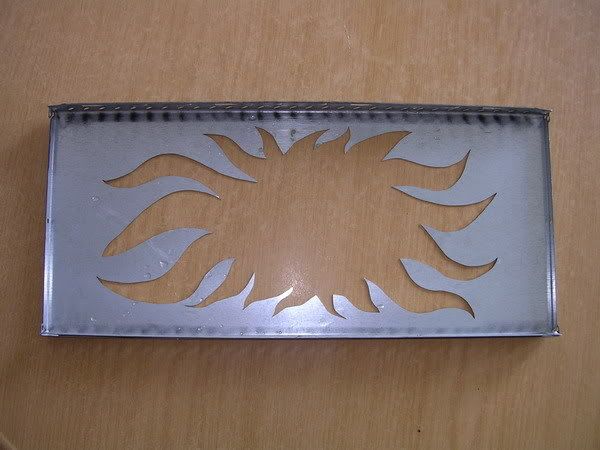
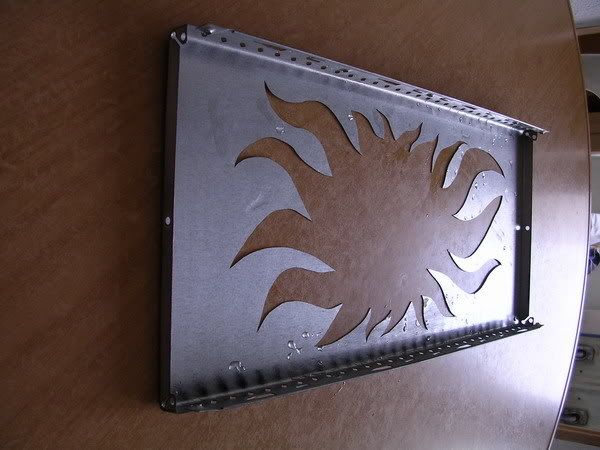
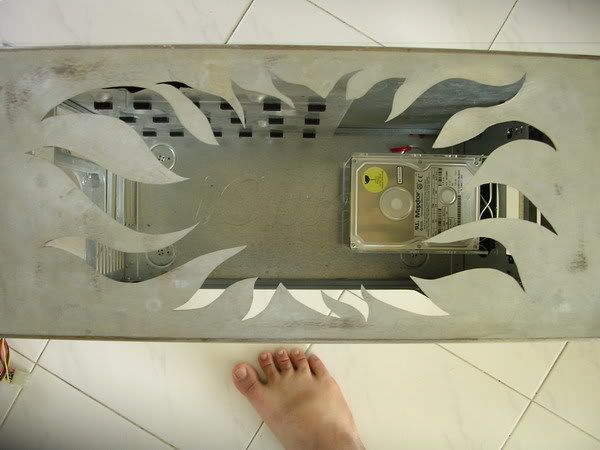
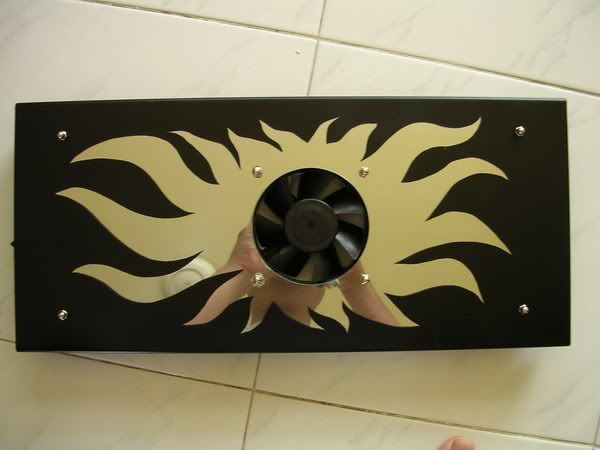
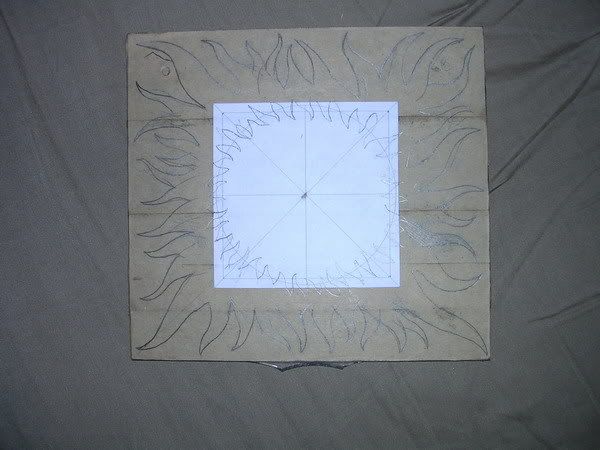
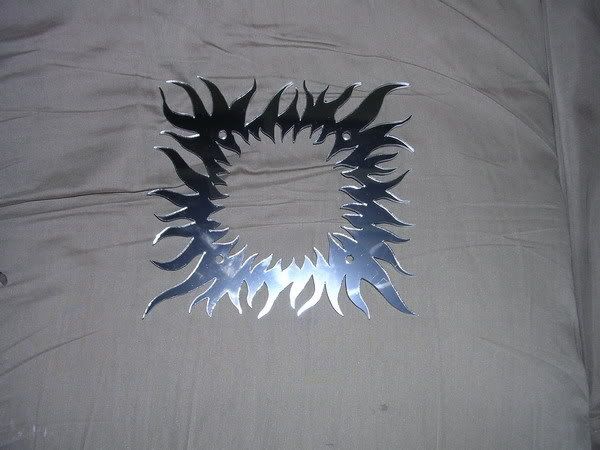
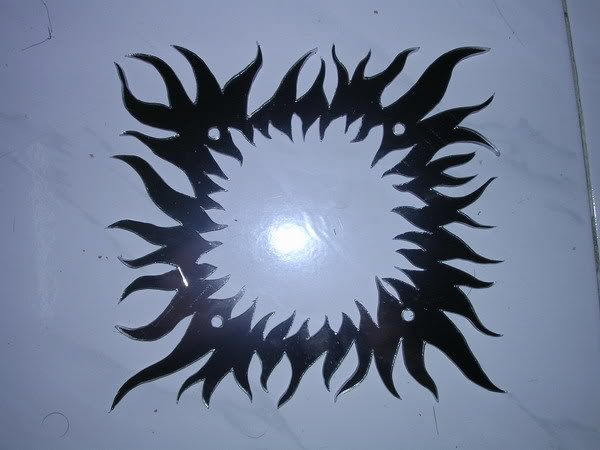
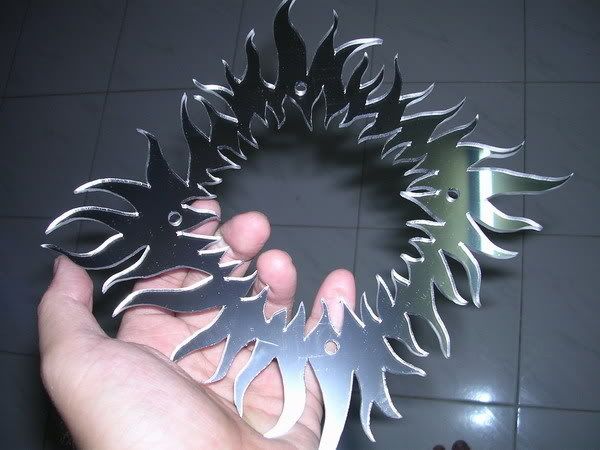
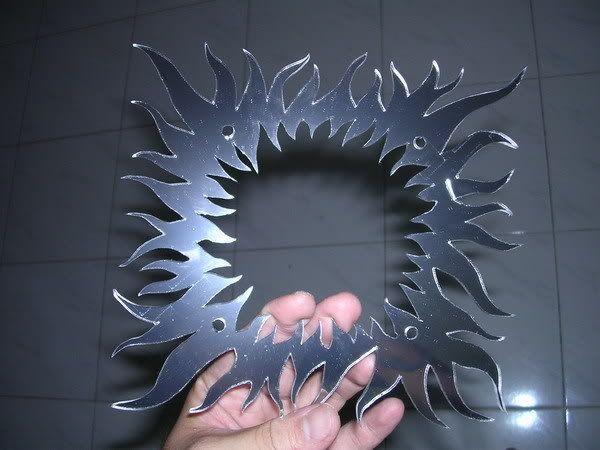
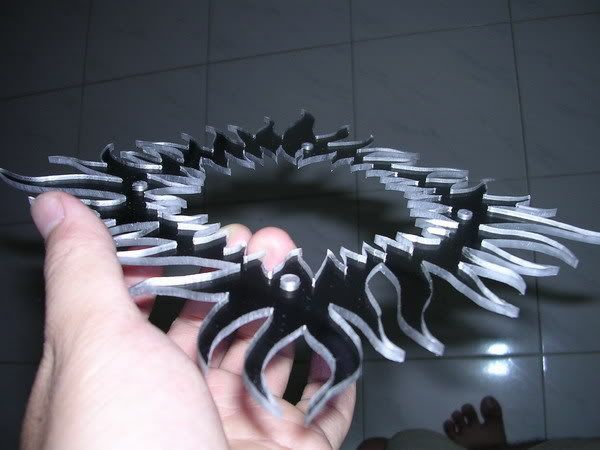
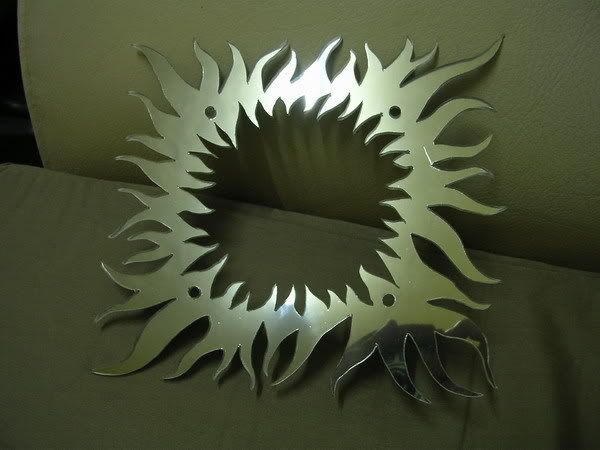
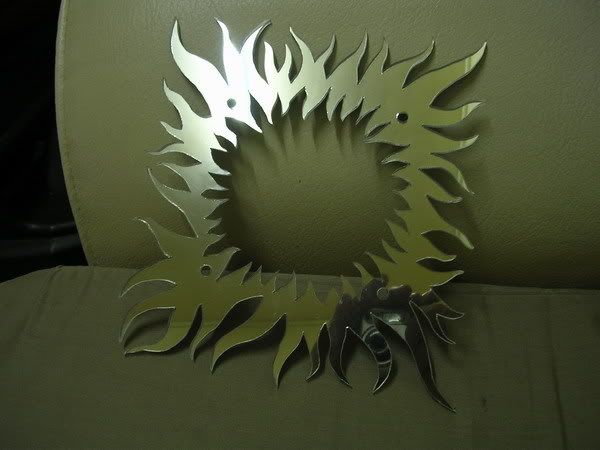
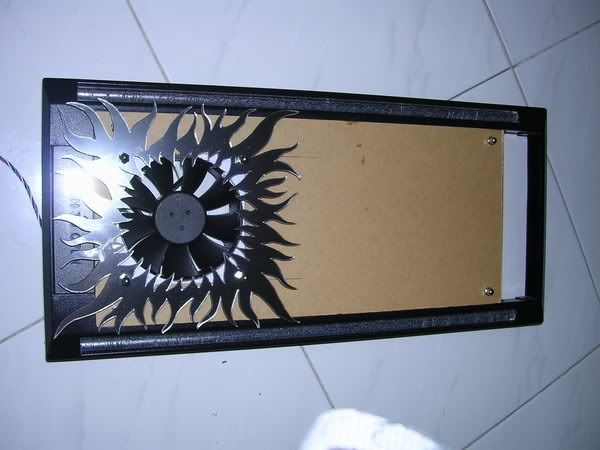
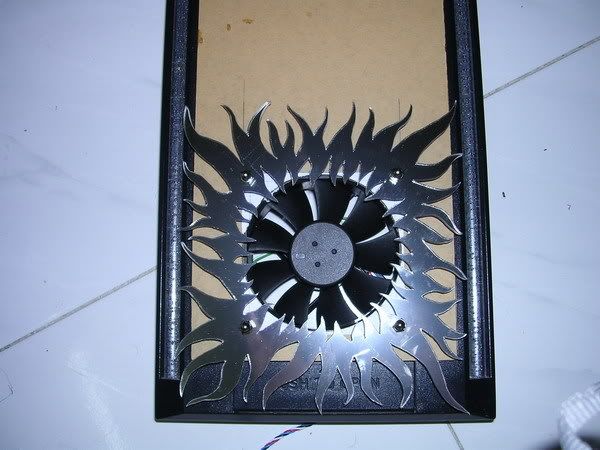
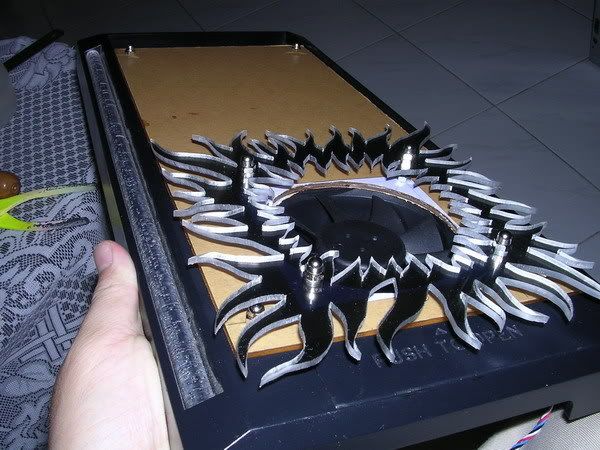
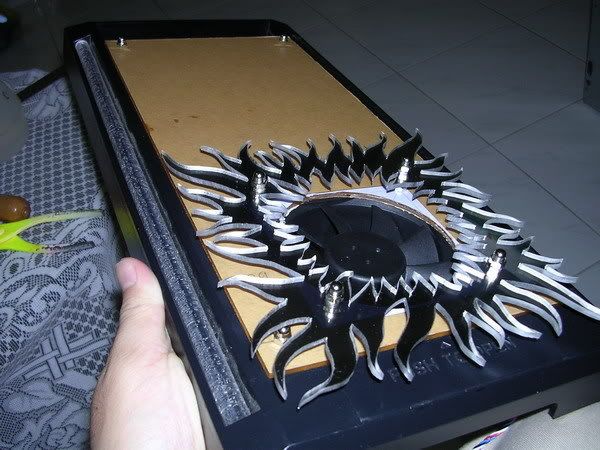
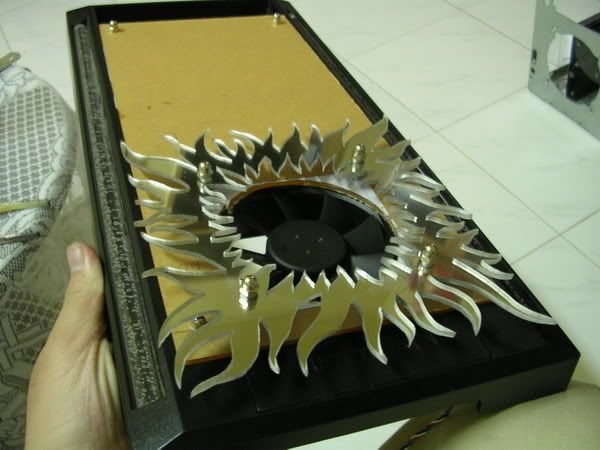
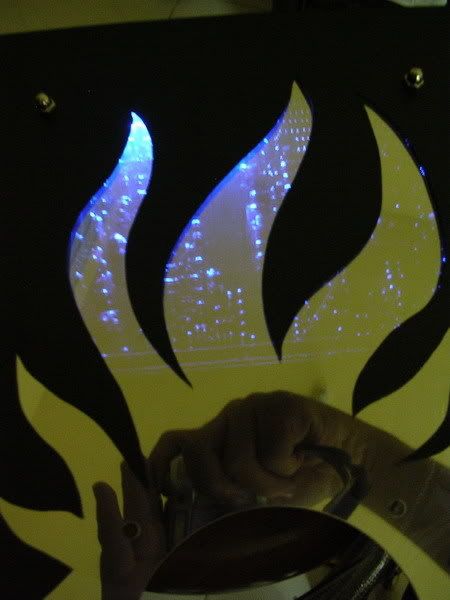
1. make an acrylic for the top cover
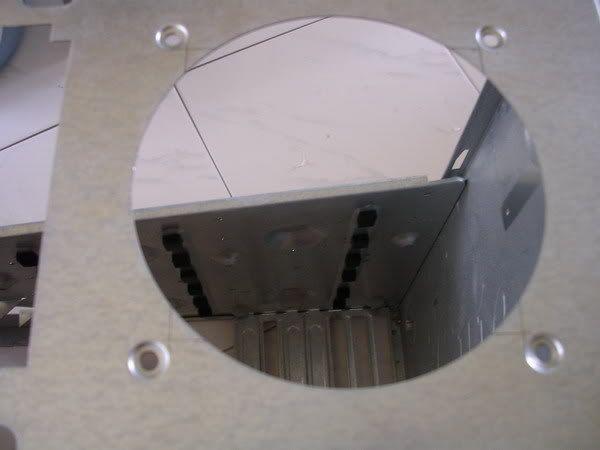
2. cut out a window below the PSU's circuitry
3. spray the whole thing to black
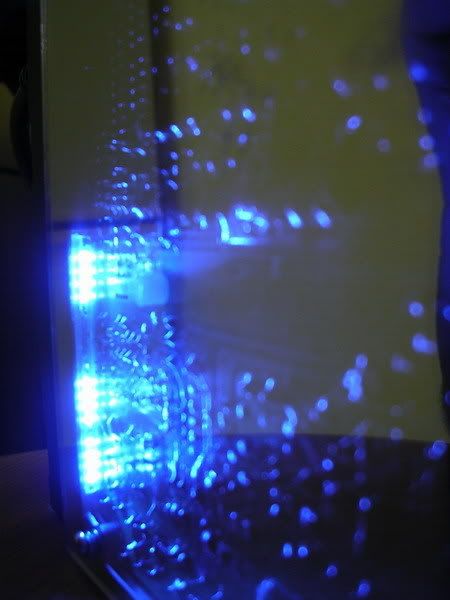
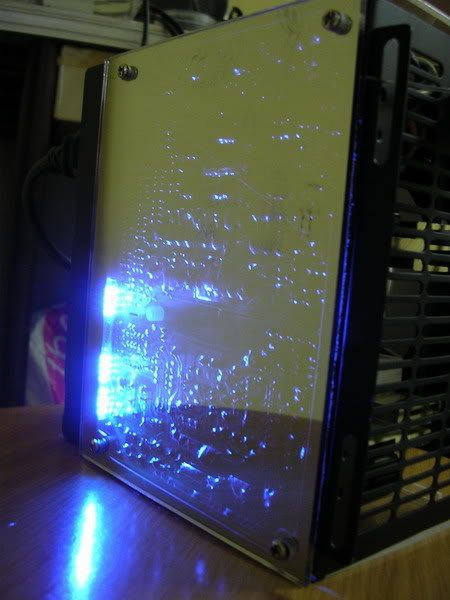
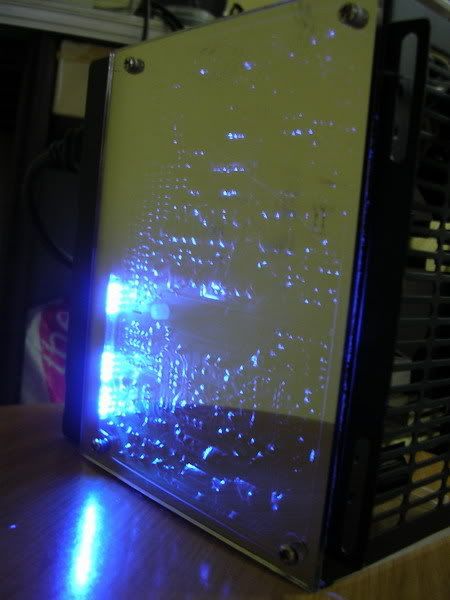
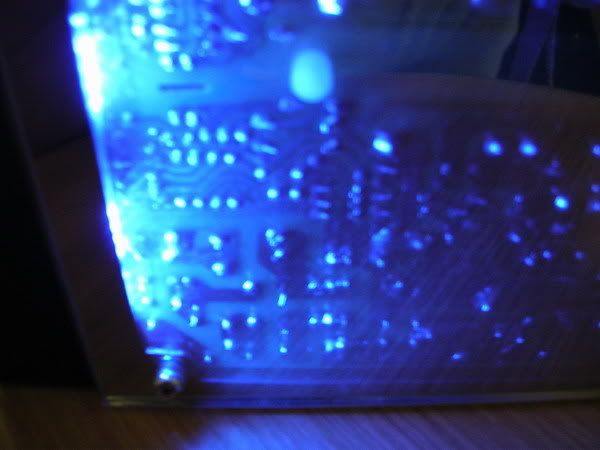
4. add blue SMD LEDs to shine the circuitry + good insulation or else it will kaboom

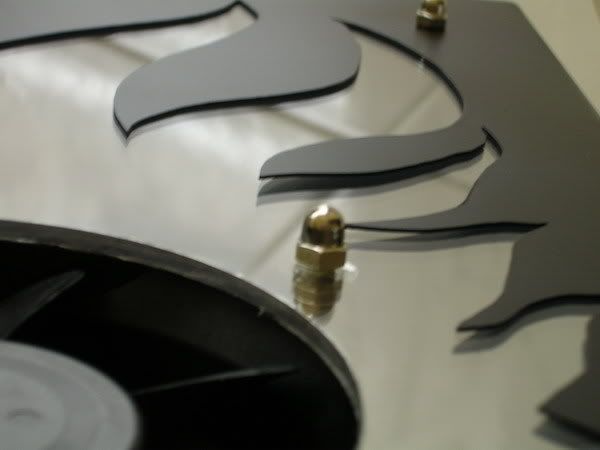
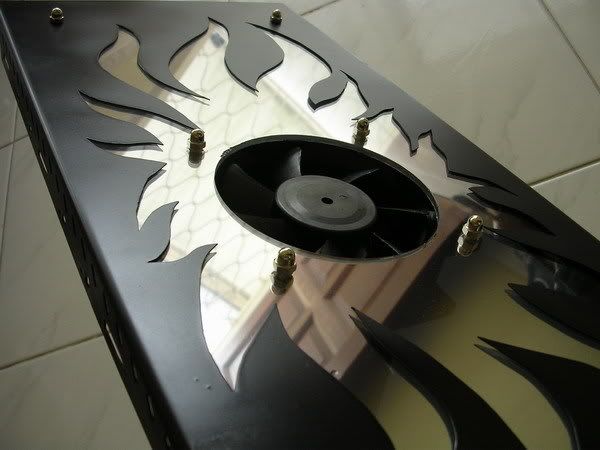
5. add mirror acrylic on the back of the PSU.
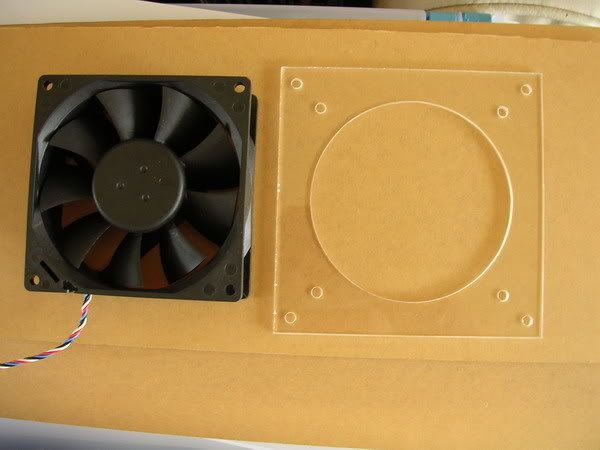
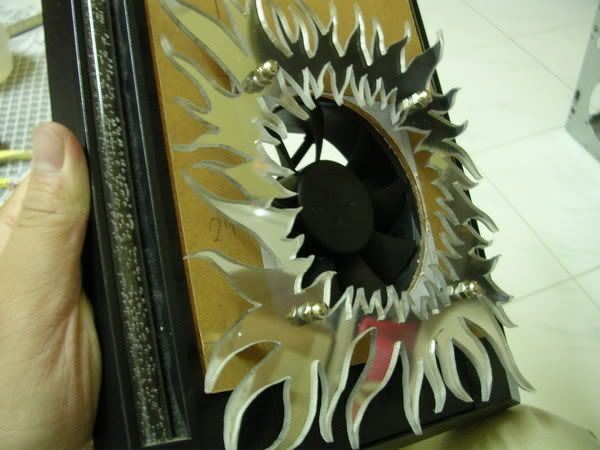
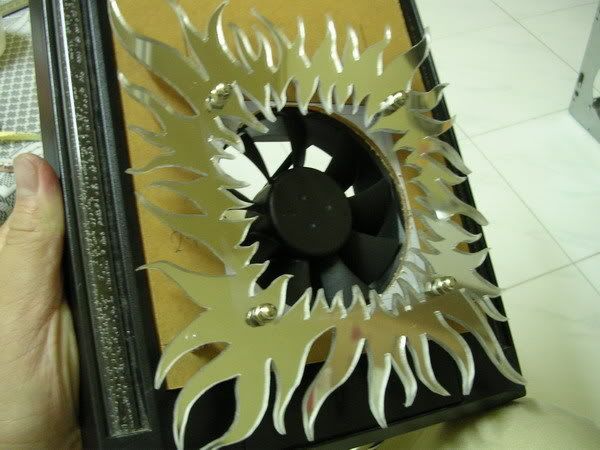
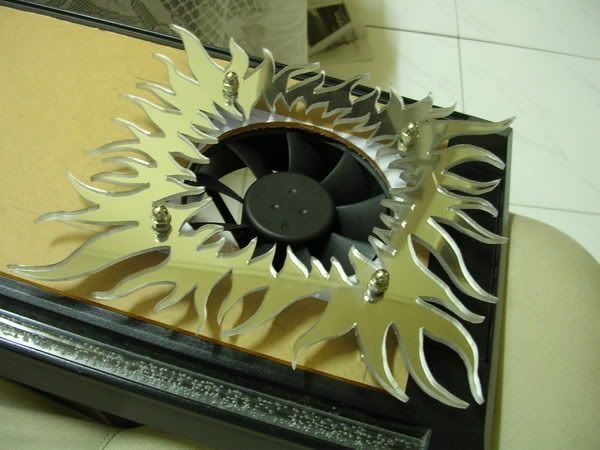
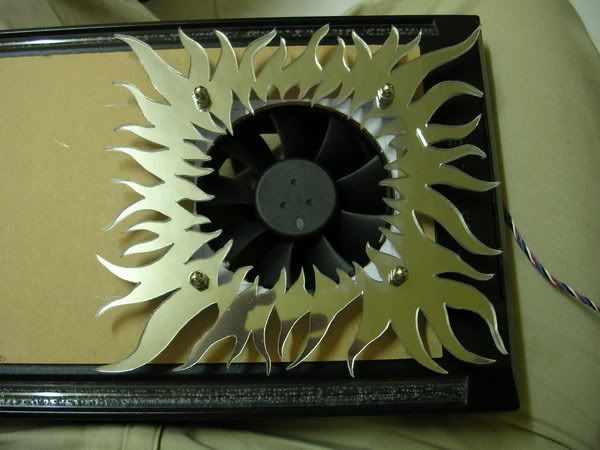
6. change the fans (which will be done on the next phase)
7. sleeve + change the connectors. (which will be done on the next phase)
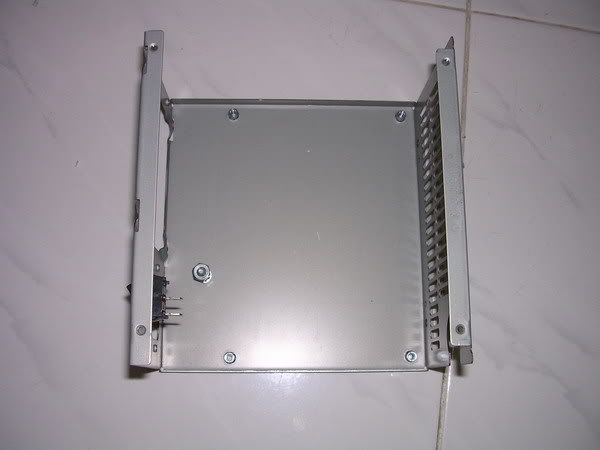
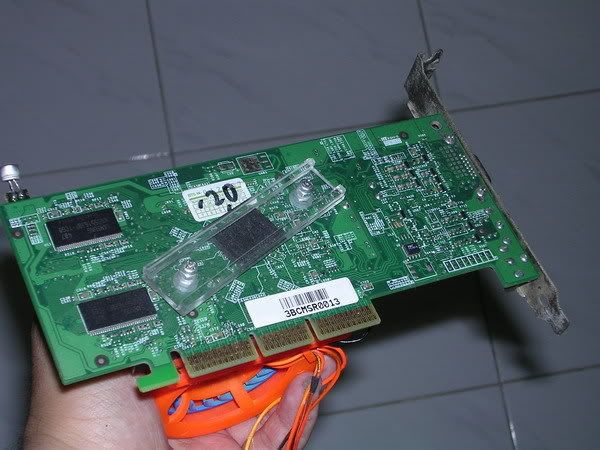
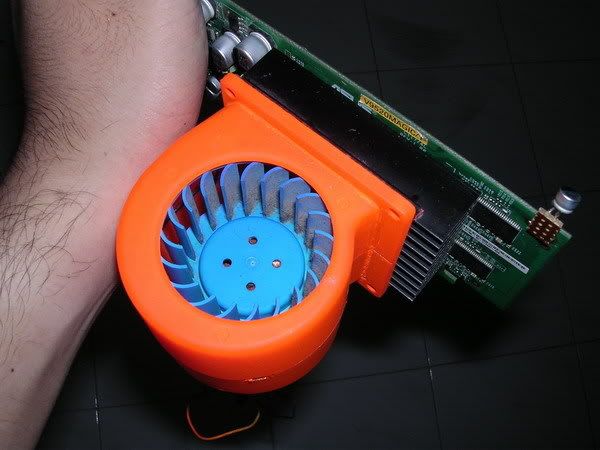
as the picture shows, 460W Enermax

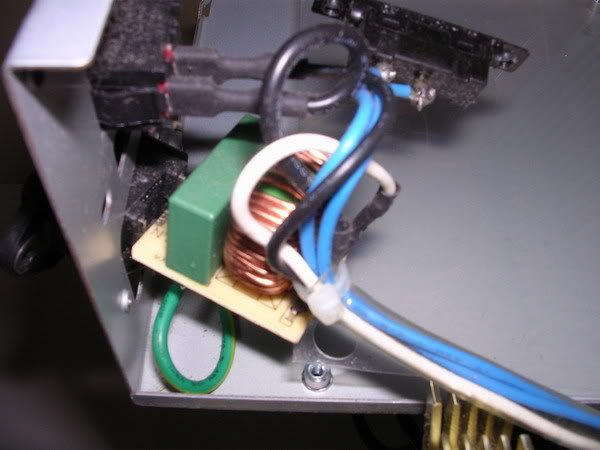
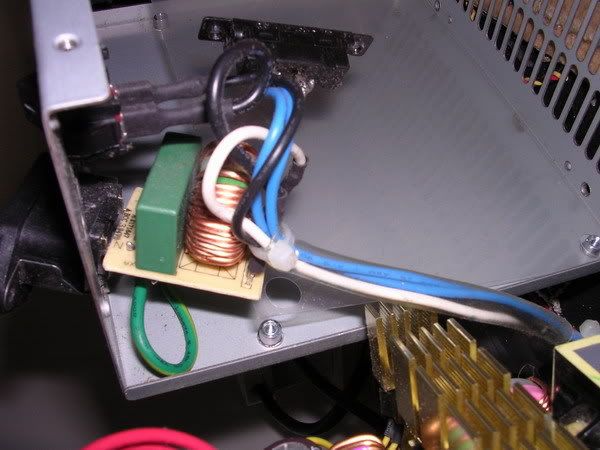
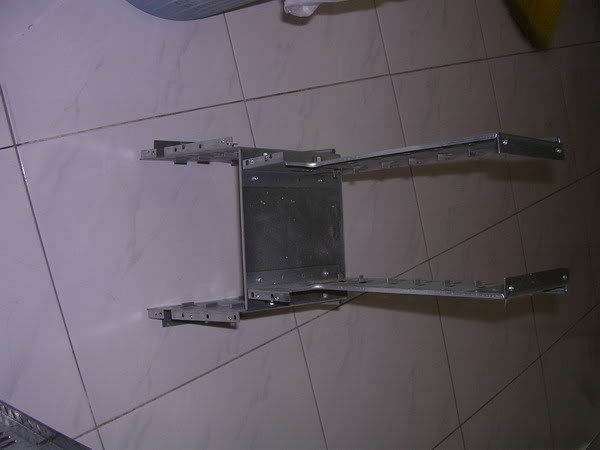
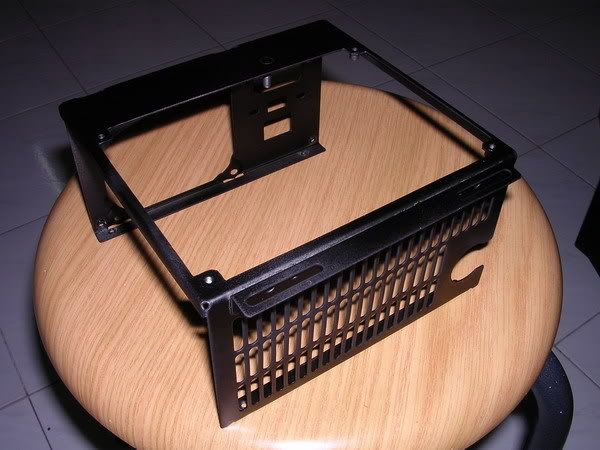
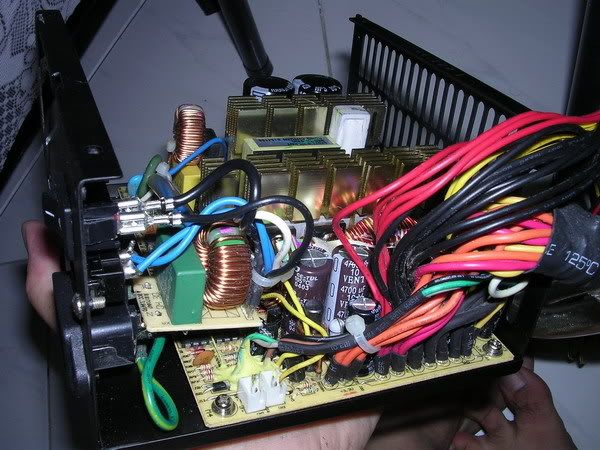
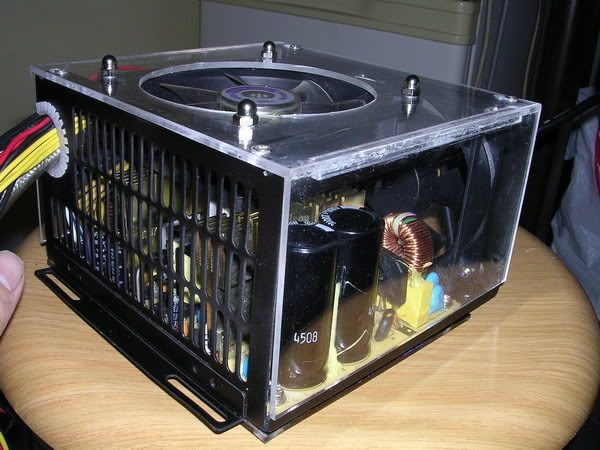
this is how the internal looks like, the heatsinks are in gold colour.......

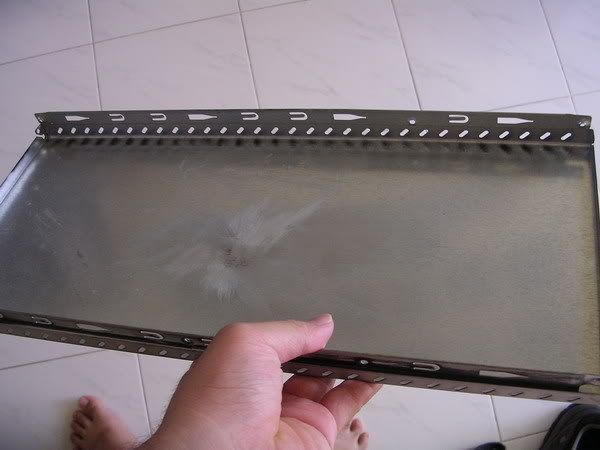
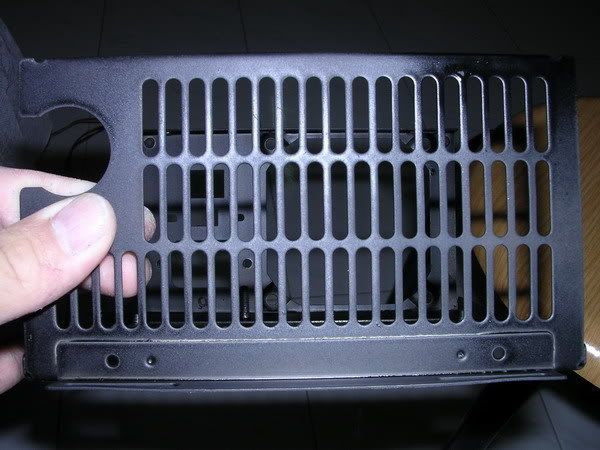
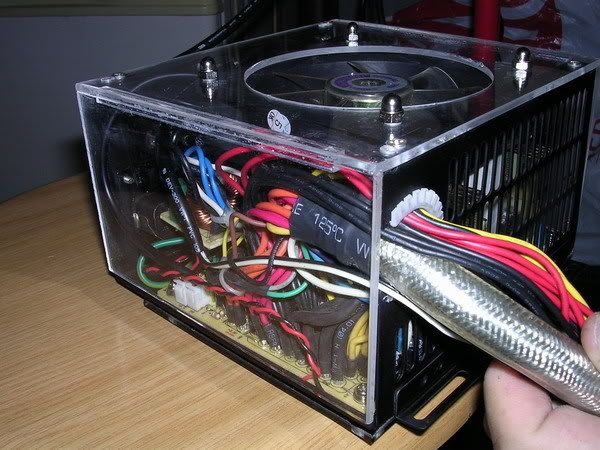
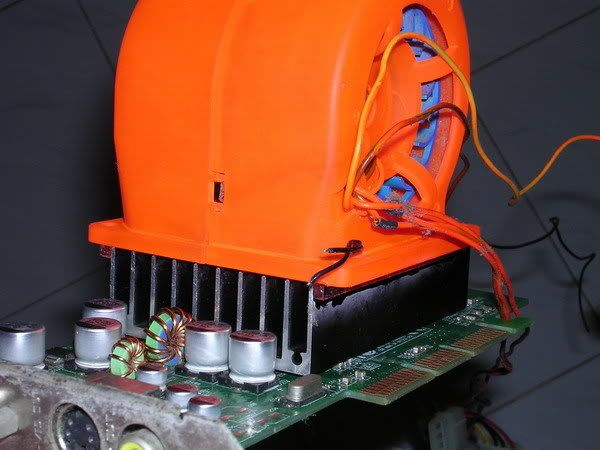
and the whole bunch of wires will give me a lot of problem when i want to sleeve

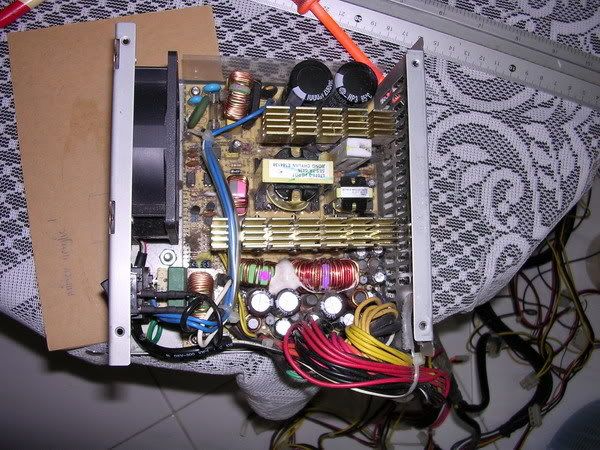
the ATX and the 12V cord is insulated making the cord really hard to bend......

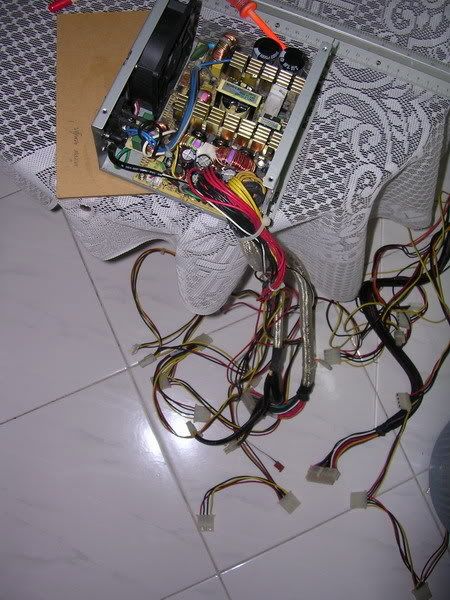
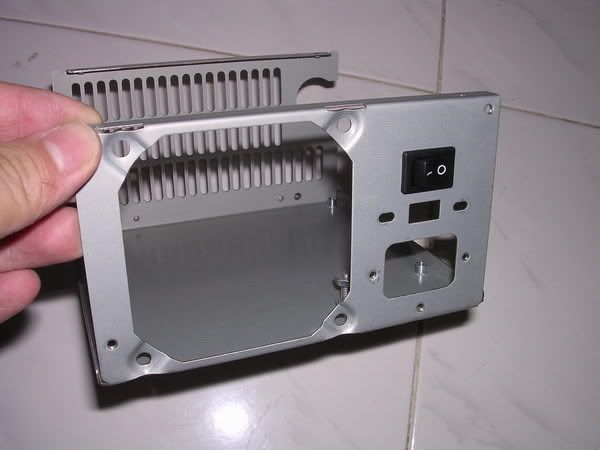
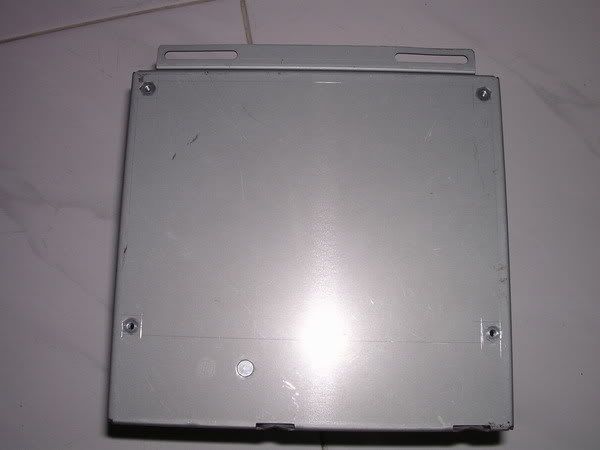
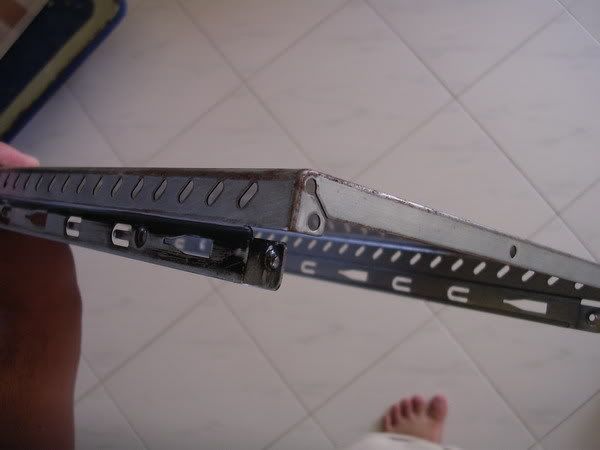
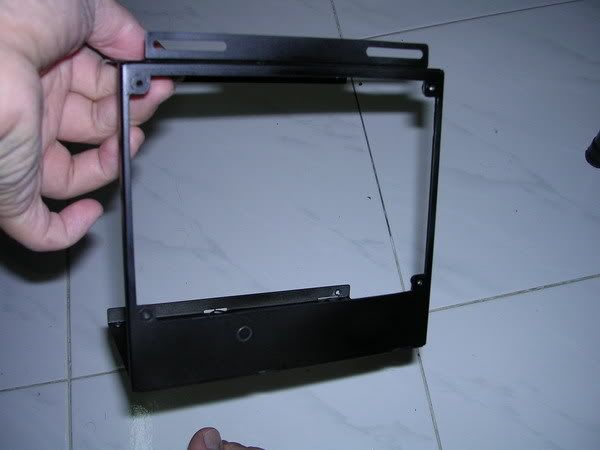
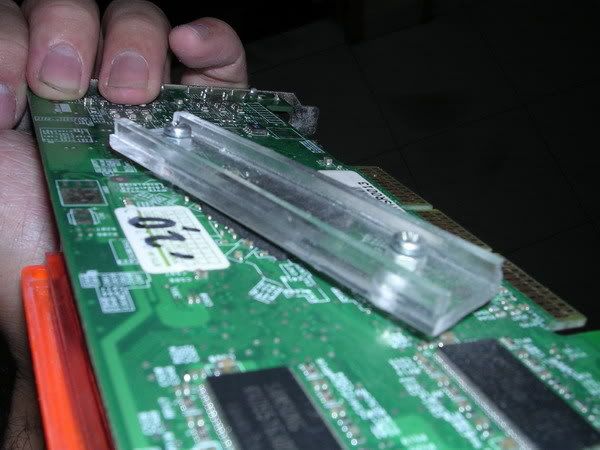
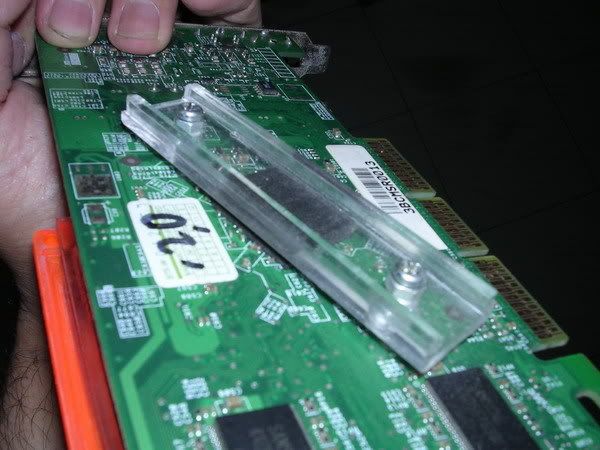
after removing the 4x screws that holds the circuit to the case, i'll need to remove the wires from the on/off switch so that i can strip the PSU to a metal casing only....
( warning : it is not as easy as it seen, please dont try this at home !!!
)
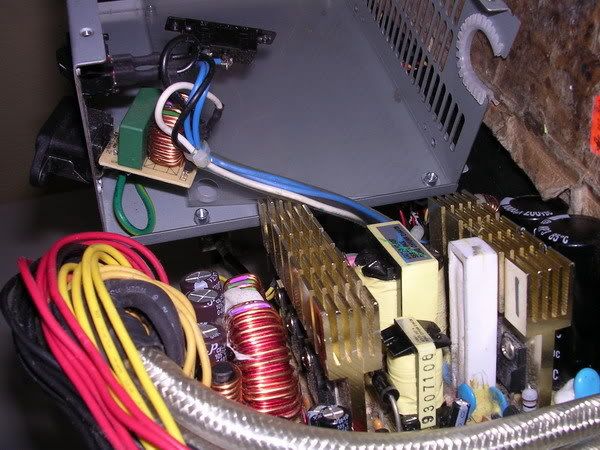
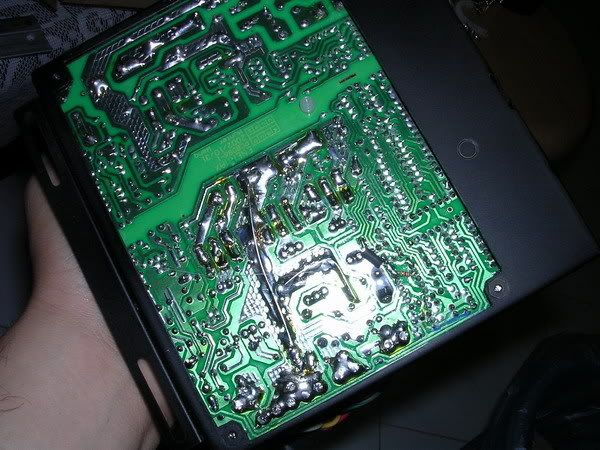
this is the circuit board of the PSU, notice that there is no difference with the messy soldering regardless of how high end it is.
the only difference is that the components used in high end PSUs have better quality only
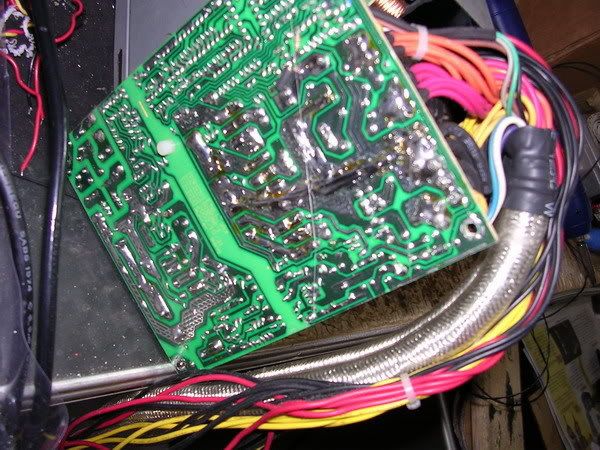
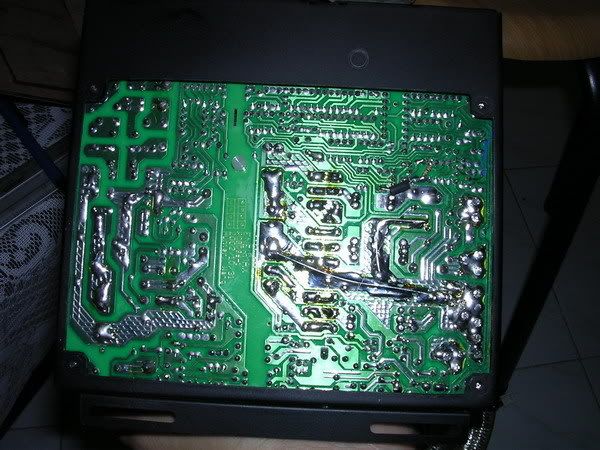
Okay, after removing all the parts, i can continue with making a window for my PSU.
 This post has been edited by AllnGap: Oct 2 2006, 03:47 AM

 Sep 23 2006, 10:45 AM, updated 19y ago


 Quote
Quote

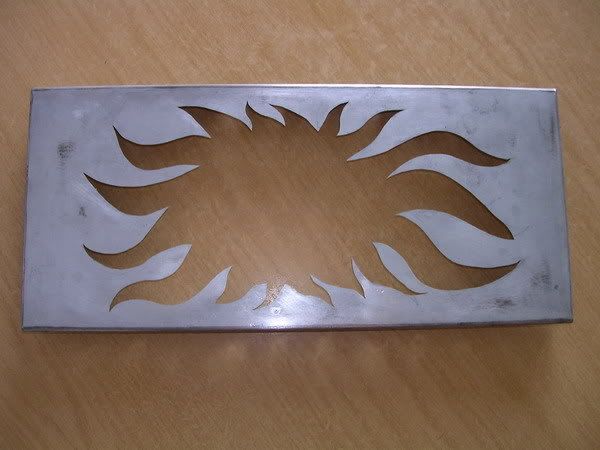

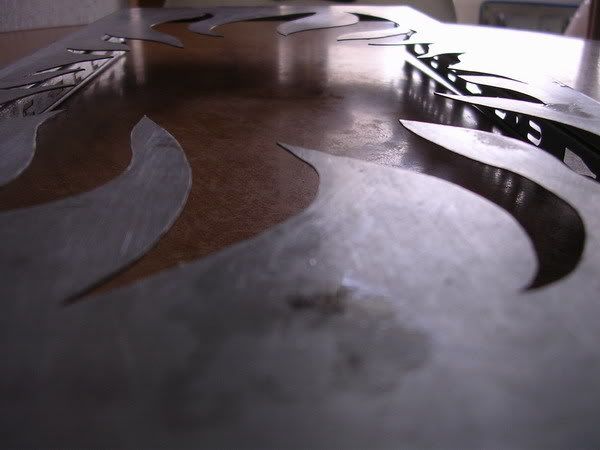
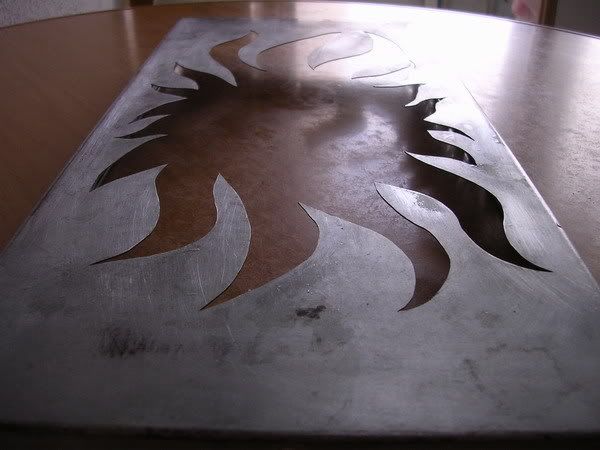
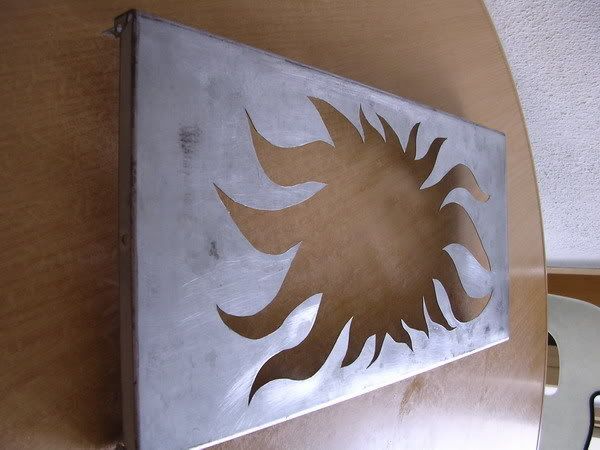
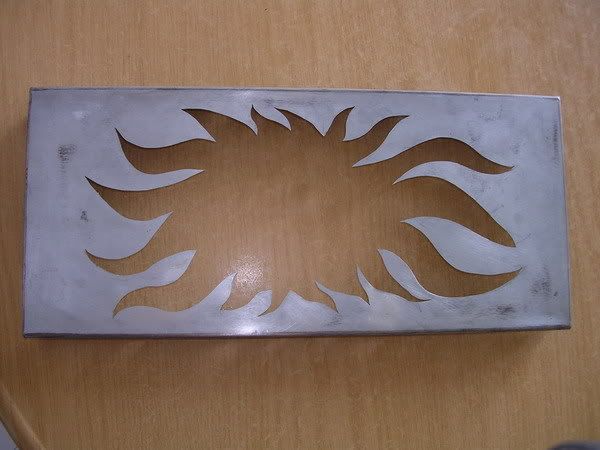


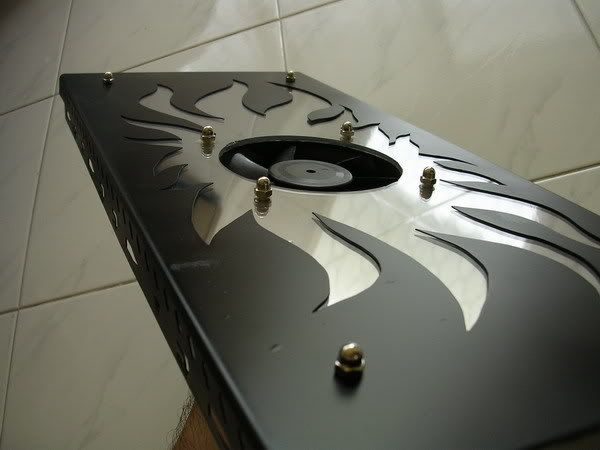
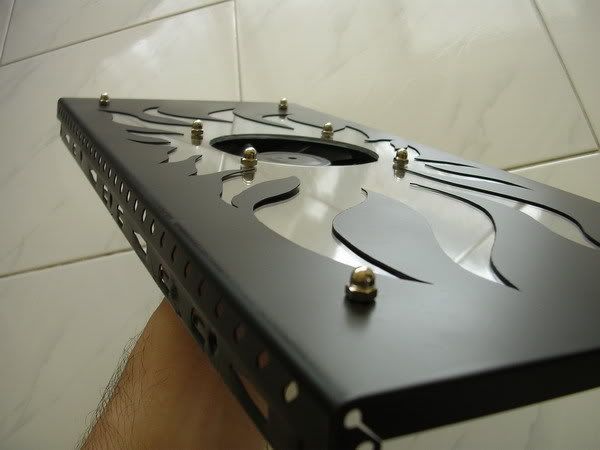
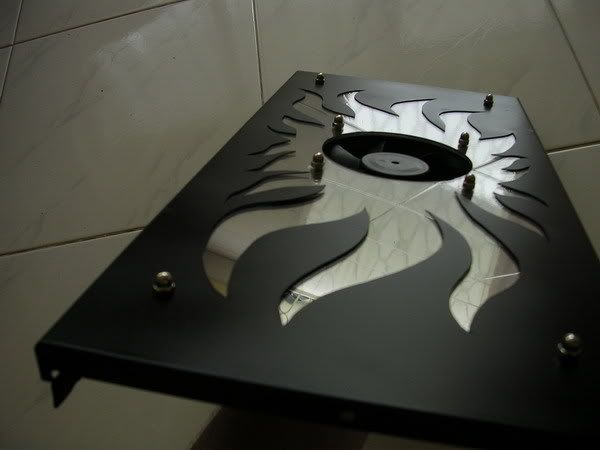
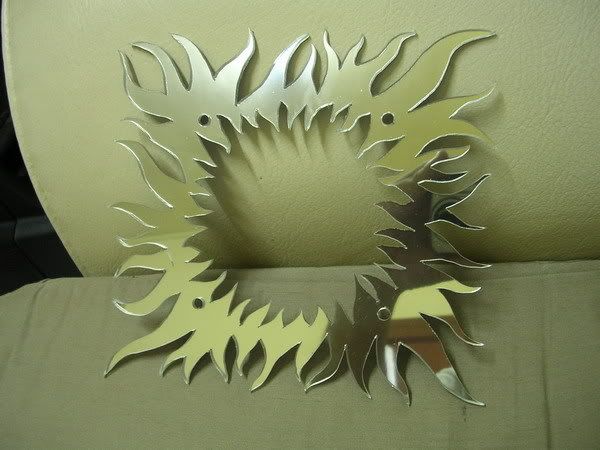
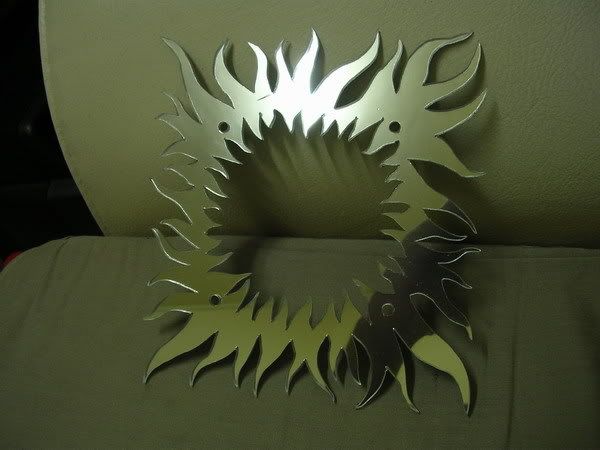
 btw nice top panel design u got there


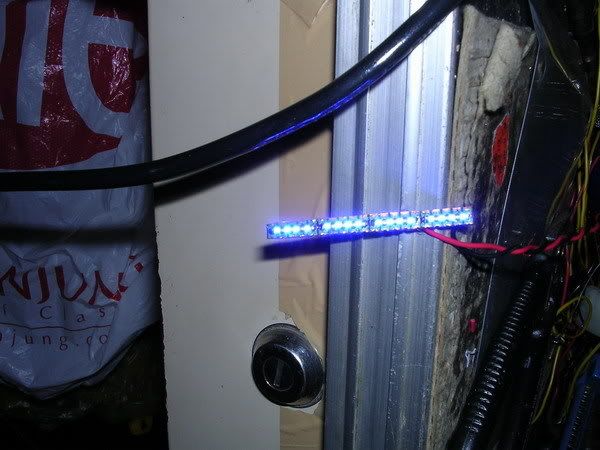
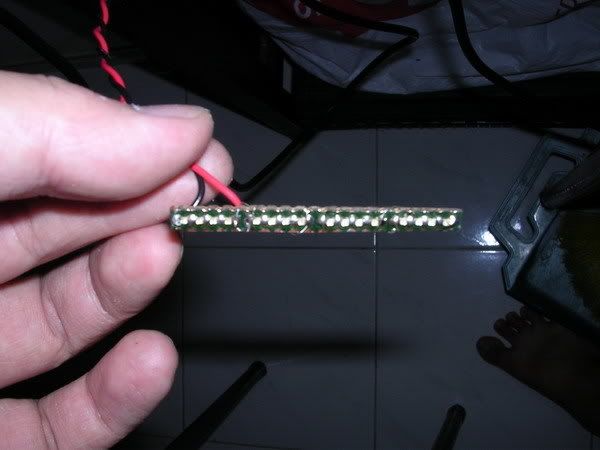
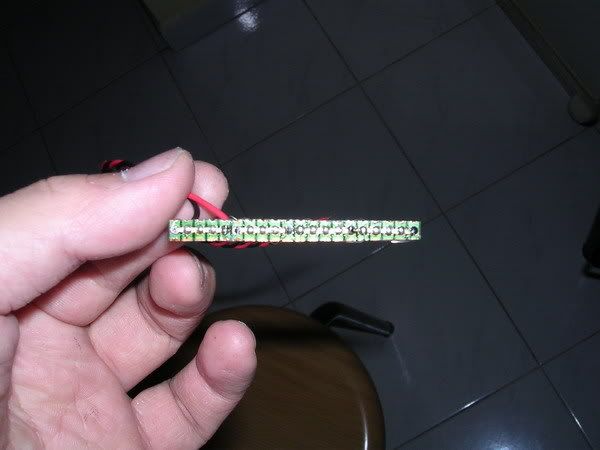
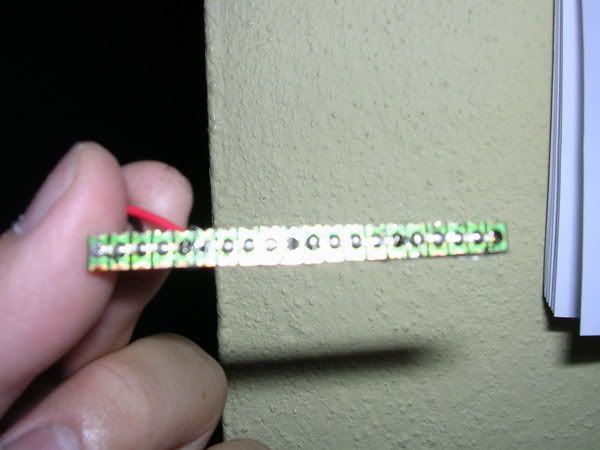
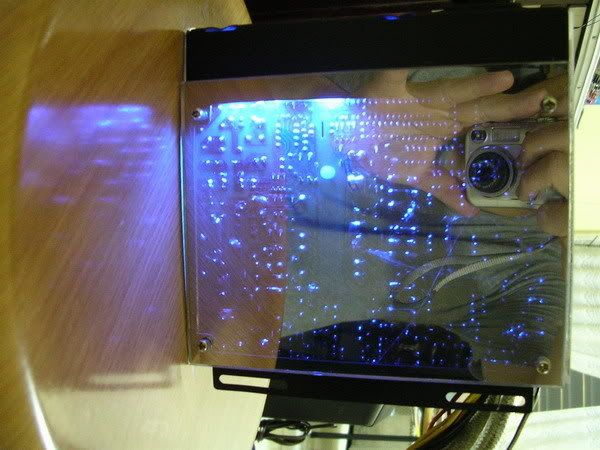
 DAMN !!!! potong stim man, 4x of the LEDs must have shorted and burned during installatio of the LEDs but nothing happened to my PSU coz i insulated the wirings nicely de......
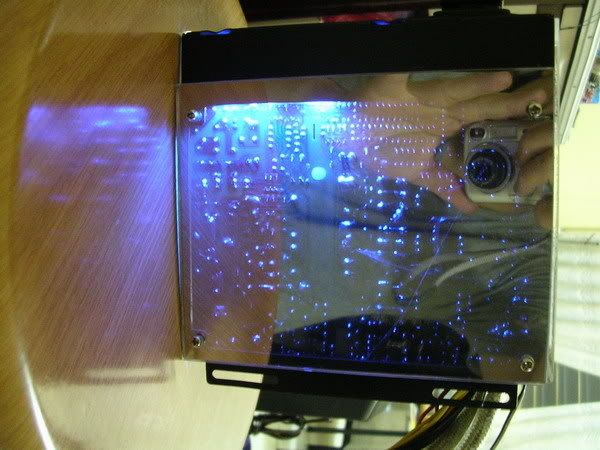


 0.0180sec
 0.85
0.85
 7 queries
 GZIP Disabled