After a hiatus
I AM BACK!!!!!!!!!
Lets see, what would be my excuse(s)
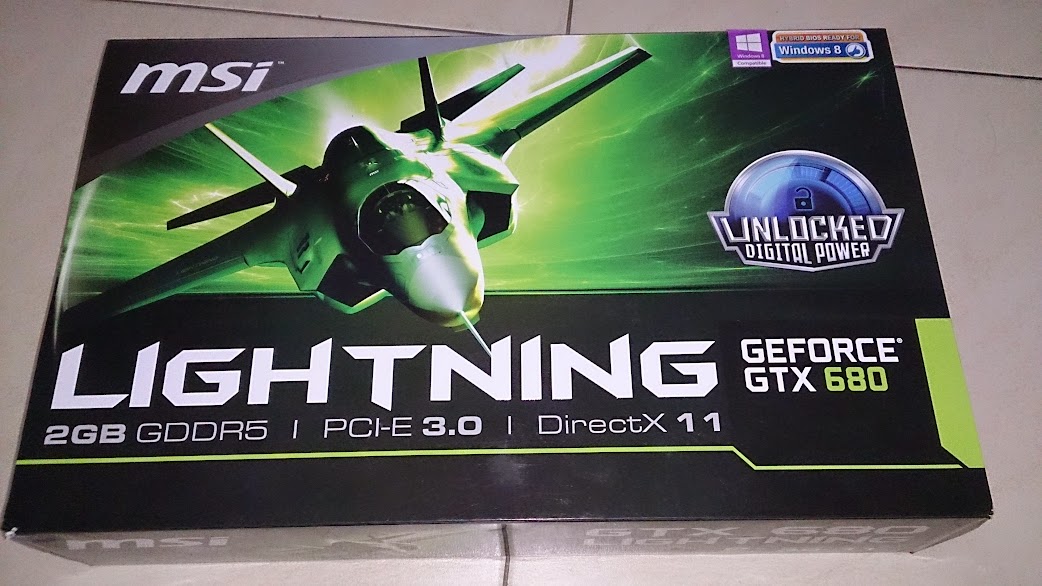
1. GTX 680 Lightning?
2. CG:GO at RM 15.50?
3. Workload?
4. Life crumbling around me
5. Just lazy
6. All above??
Well installed GTX680 (finally

) and just started to play a slew of games my old 9600GT cannot handled
Then CS:GO happened, and this is from Mar till now.. almost 5 month and chalked up almost 600hrs gameplay


also coupled with work load from my life-paying job
and just a sudden bout of laziness, apathy really, and my life equipment sort of strat to break down around me
(my phone DIY wireless charging is a NG, GPS unit acting up, car start to sputters, line shaft cover broken....

)
things just sort of slowed down
well I did get to go to Germany for a week, all expense paid...
https://forum.lowyat.net/index.php?showtopic=3682120&hl=just recently fixed my GPS unit
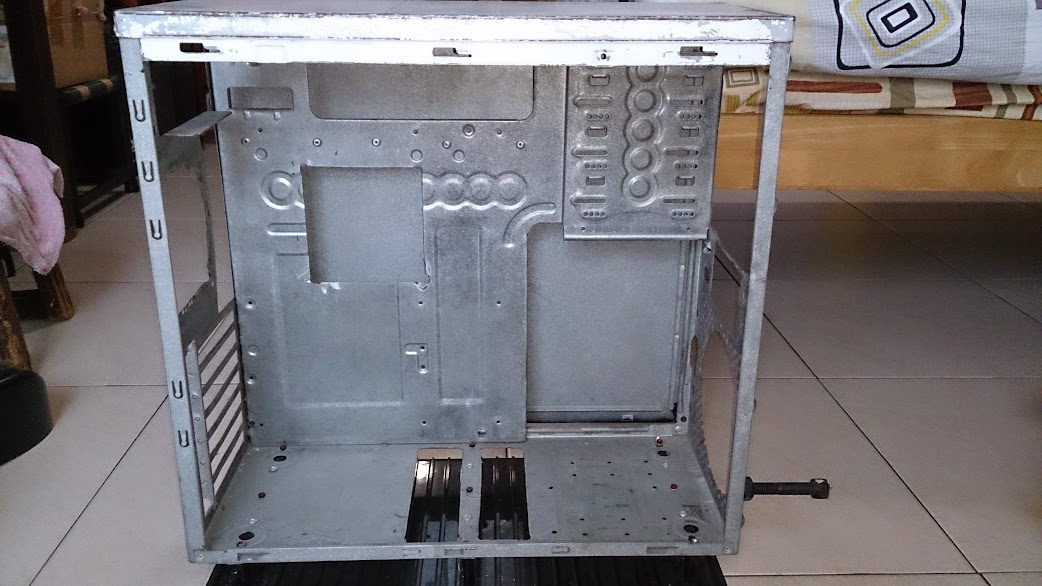
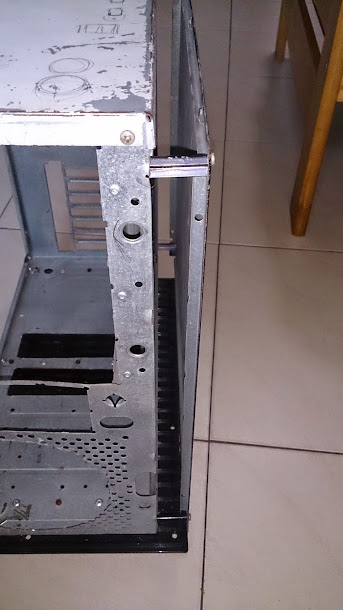
and this Case mod feeling is coming back, BABEH!
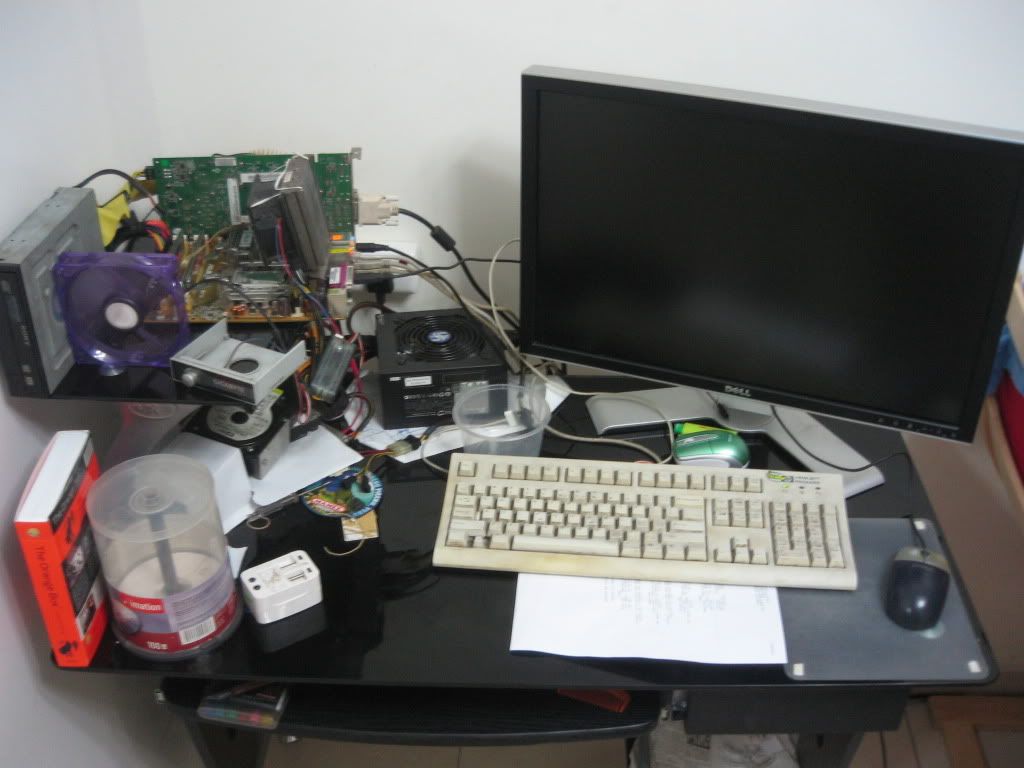
before anything lets see the setup as it is now..
My Components:
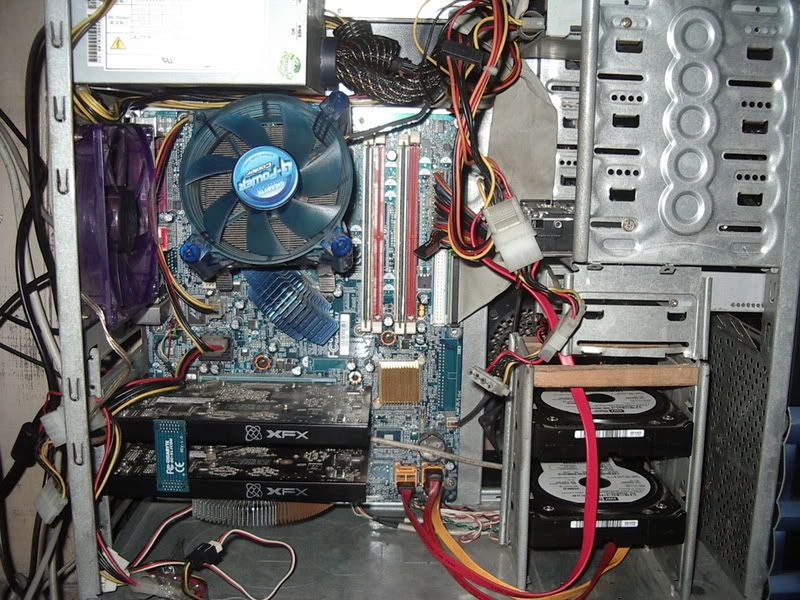
Processor : Intel Core i7 2600k @ Stock
CPU Cooler : DIY Mod from Gigabyte 4 Heatpipes Cooler + Freaking Loud Delta Fan
RAM : 16GB DDR3 Corsair Vengeance Light Blue Heatspreader
GPU : MSI GTX 680 Lightning @ Stock
Display : Dell U2414h FHD LCD
PSU : Seasonic S12D 750W
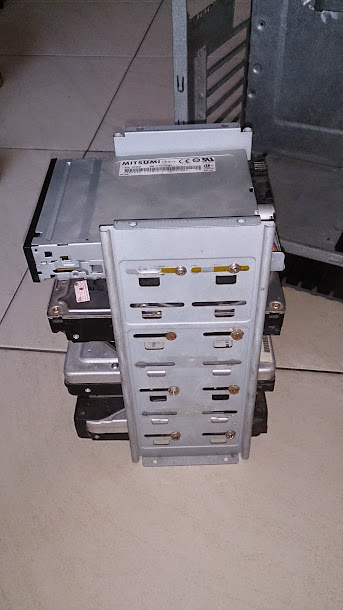
Storage :---> 2X 256GB SSD (Plextor M6S and Liteon L9s) in Raid-0, Mod BIOS for Trim Support **NEW**
---> 3X 2TB HDD (2X Samsung HD204UI, 1X WD Red )
---> 1X 320GB Seagate
---> 2X 80GB WD Black
Peripheral : ---> El-cheapo Keyboard,
---> Gigabyte G402 Mouse **NEW**,
---> REAL Carbon Fiber Mouse Mat
---> Sony In-ear headphones, very nice for CSGO (bundled with Xperia Z)
etc etc...
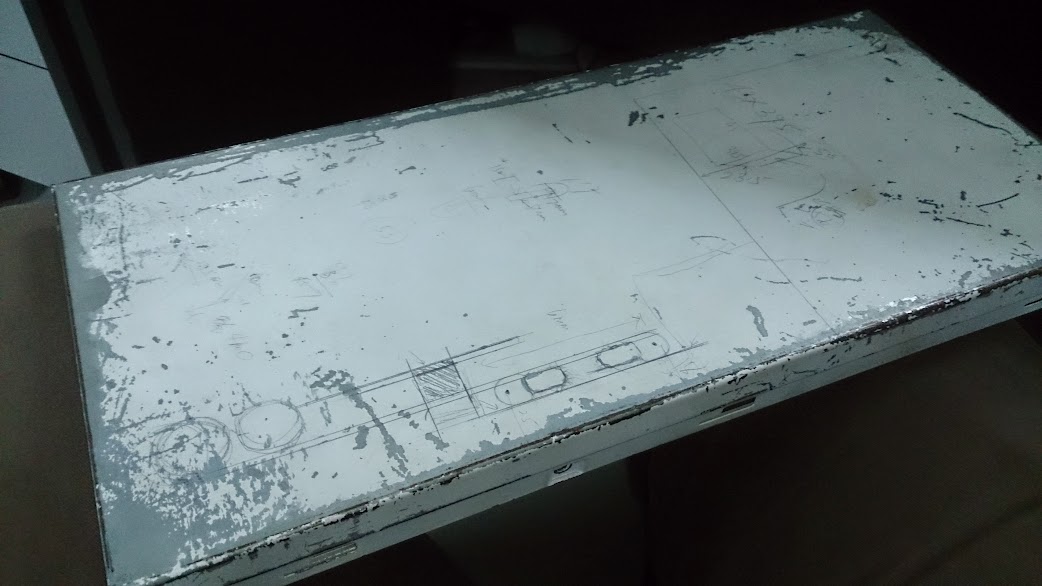
well enough chit chat,
you all here for the pictures, right?
a disaster waiting to happened, perhaps?

A disaster you say?
well you're in the right place!
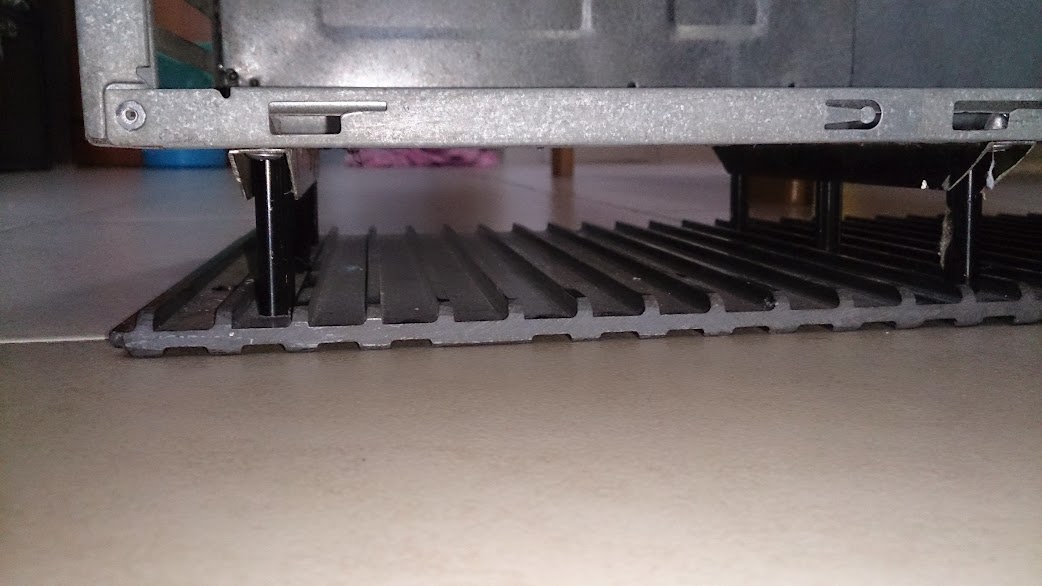
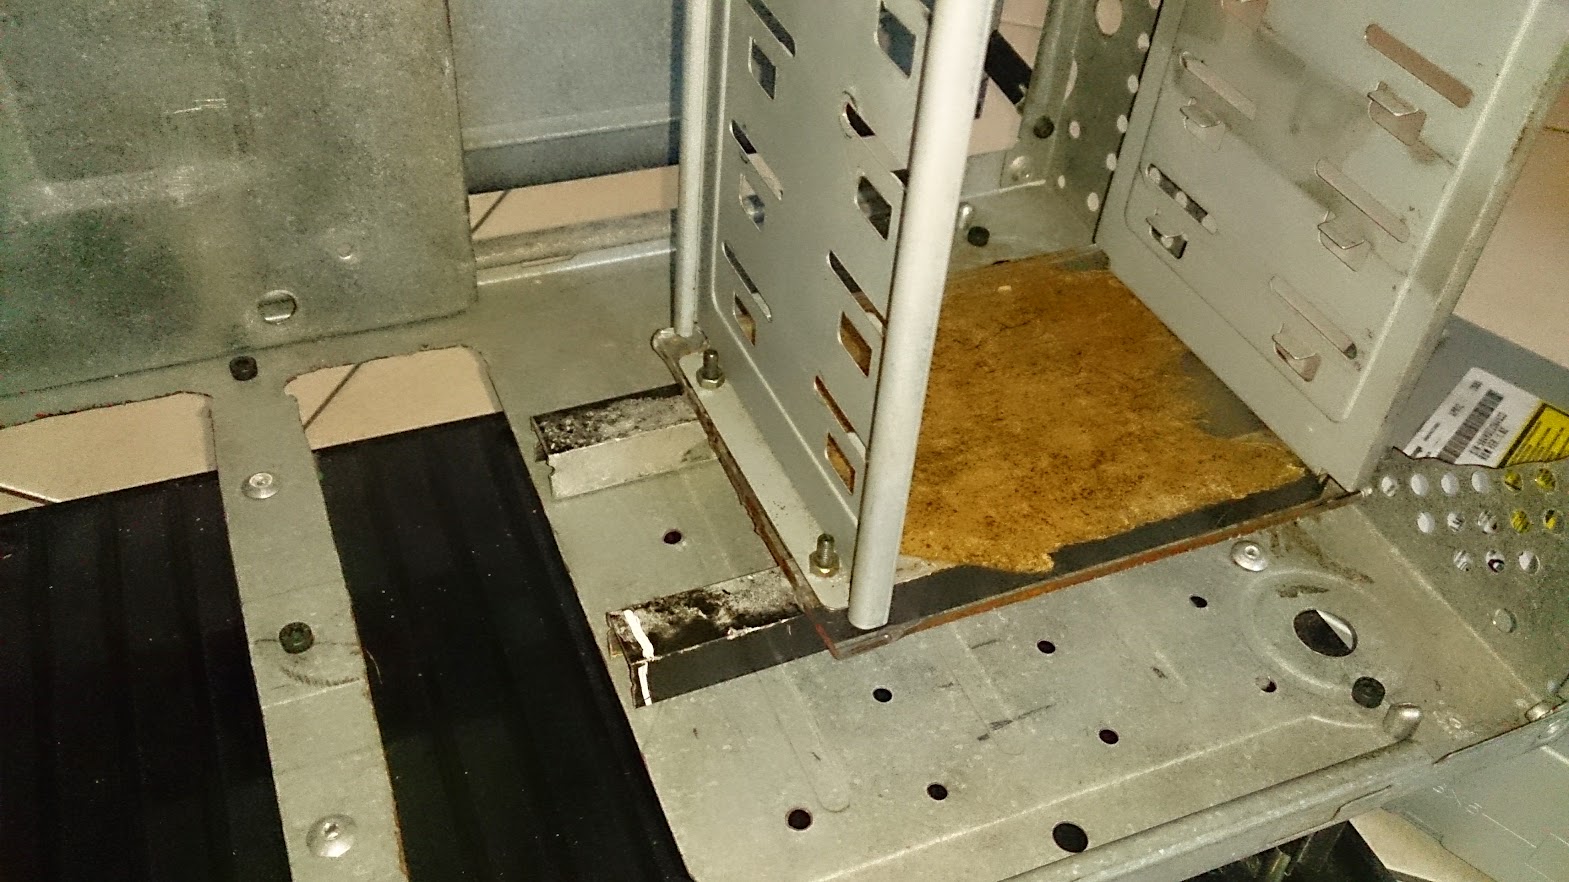
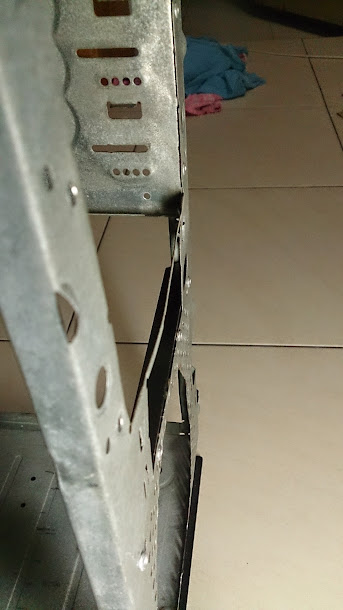
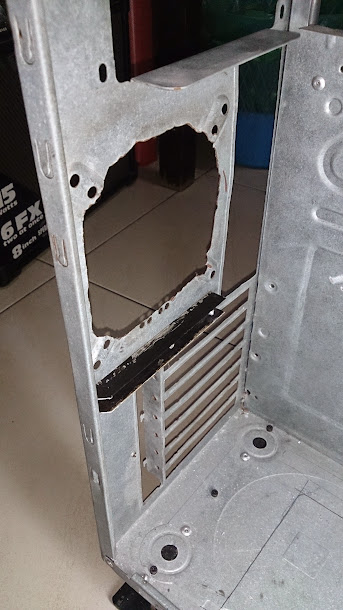
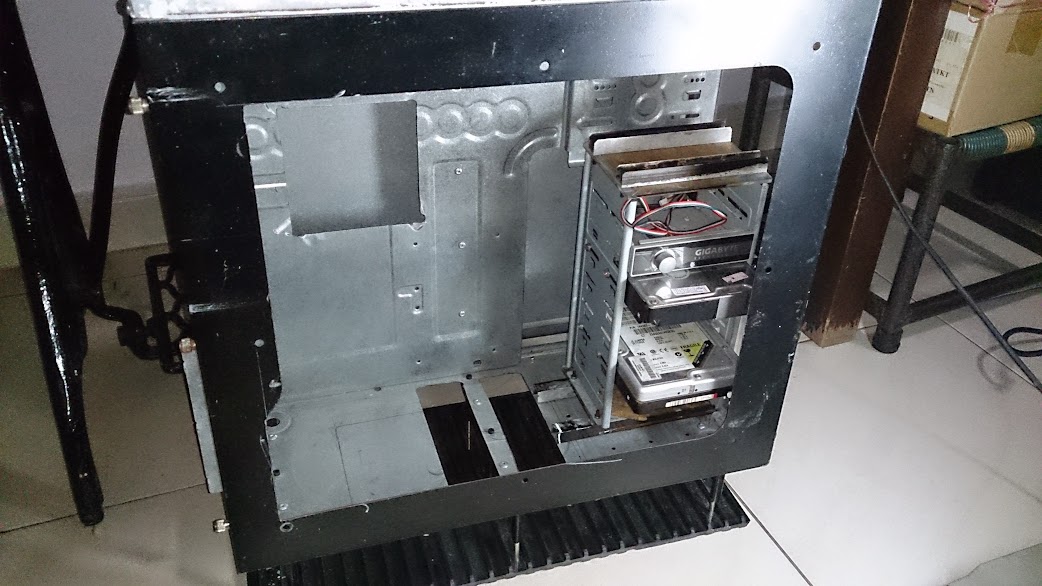
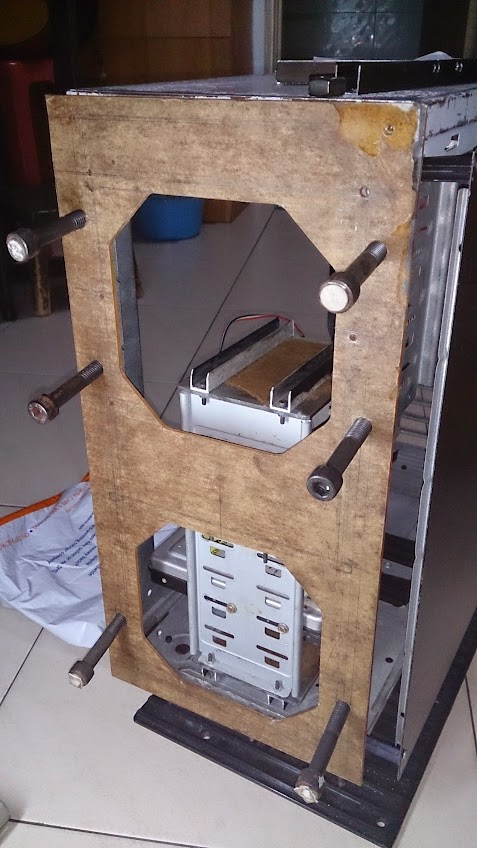
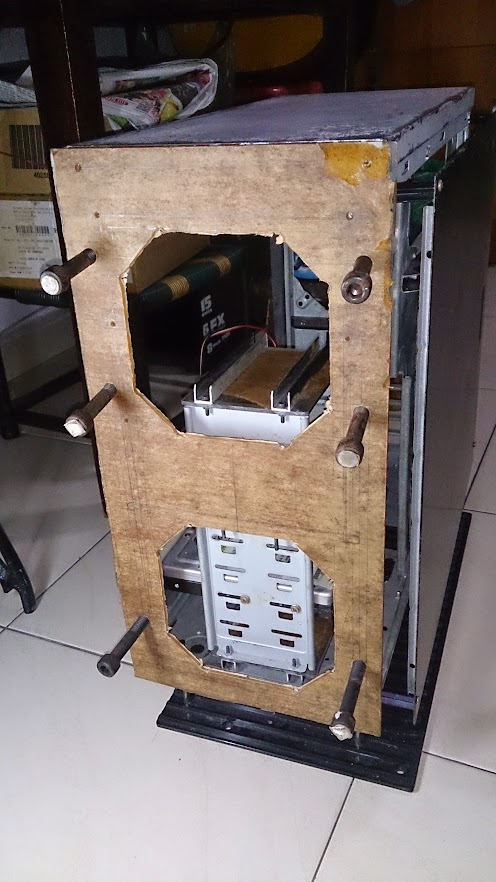
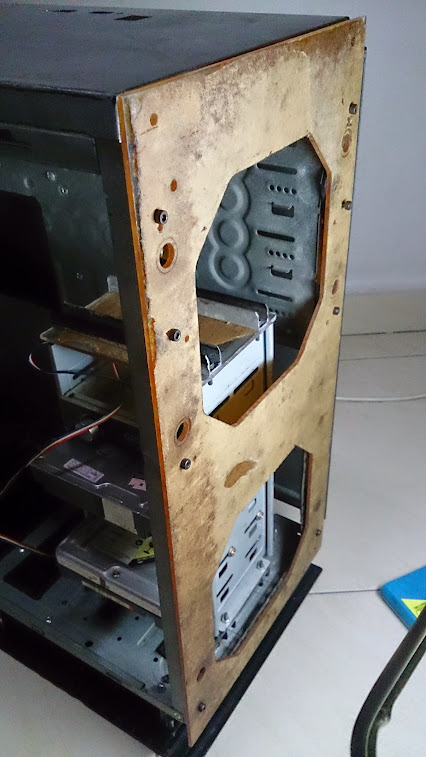
a 5 months open air setup and the system is hocked full of dust!!!!
this is the Graphics and mobo, with fins filled with dust!

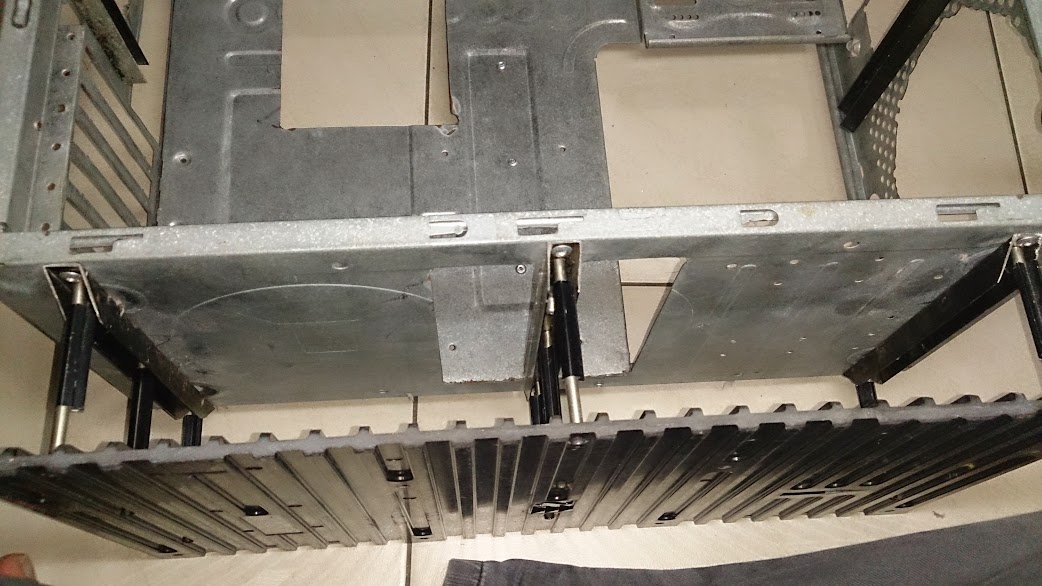
then this is above it, all HDD/SSD with the PSU
Active air will kill your system guys...

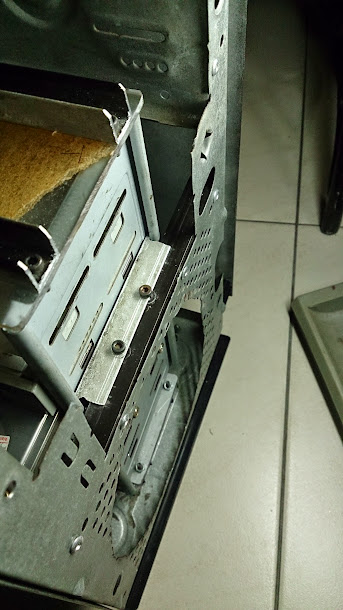
the back of the system, filled with hanging wires and co...
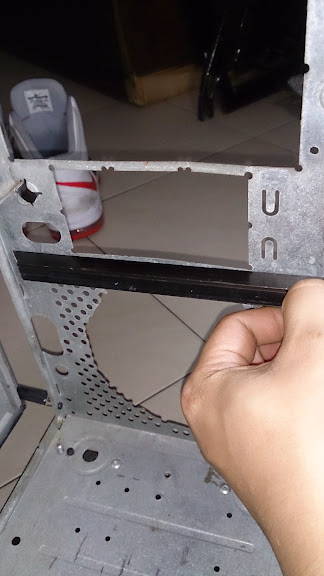
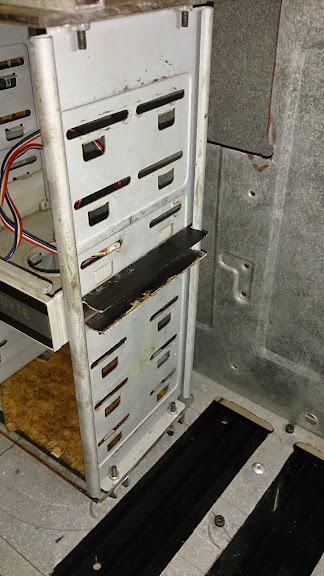
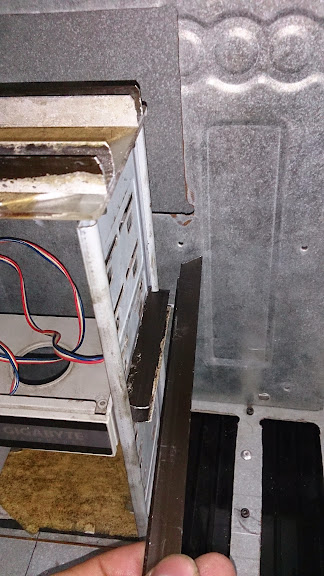
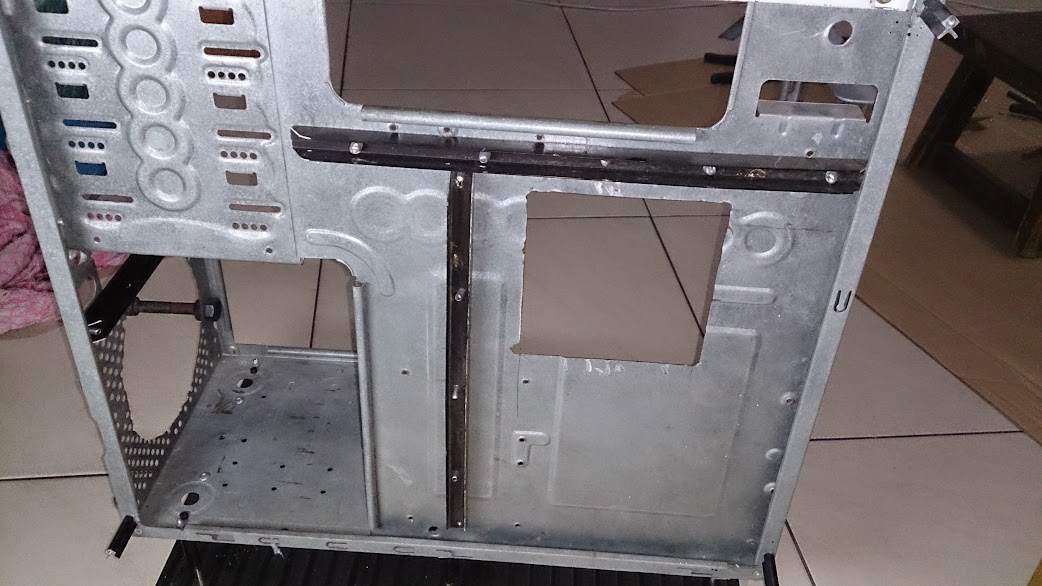
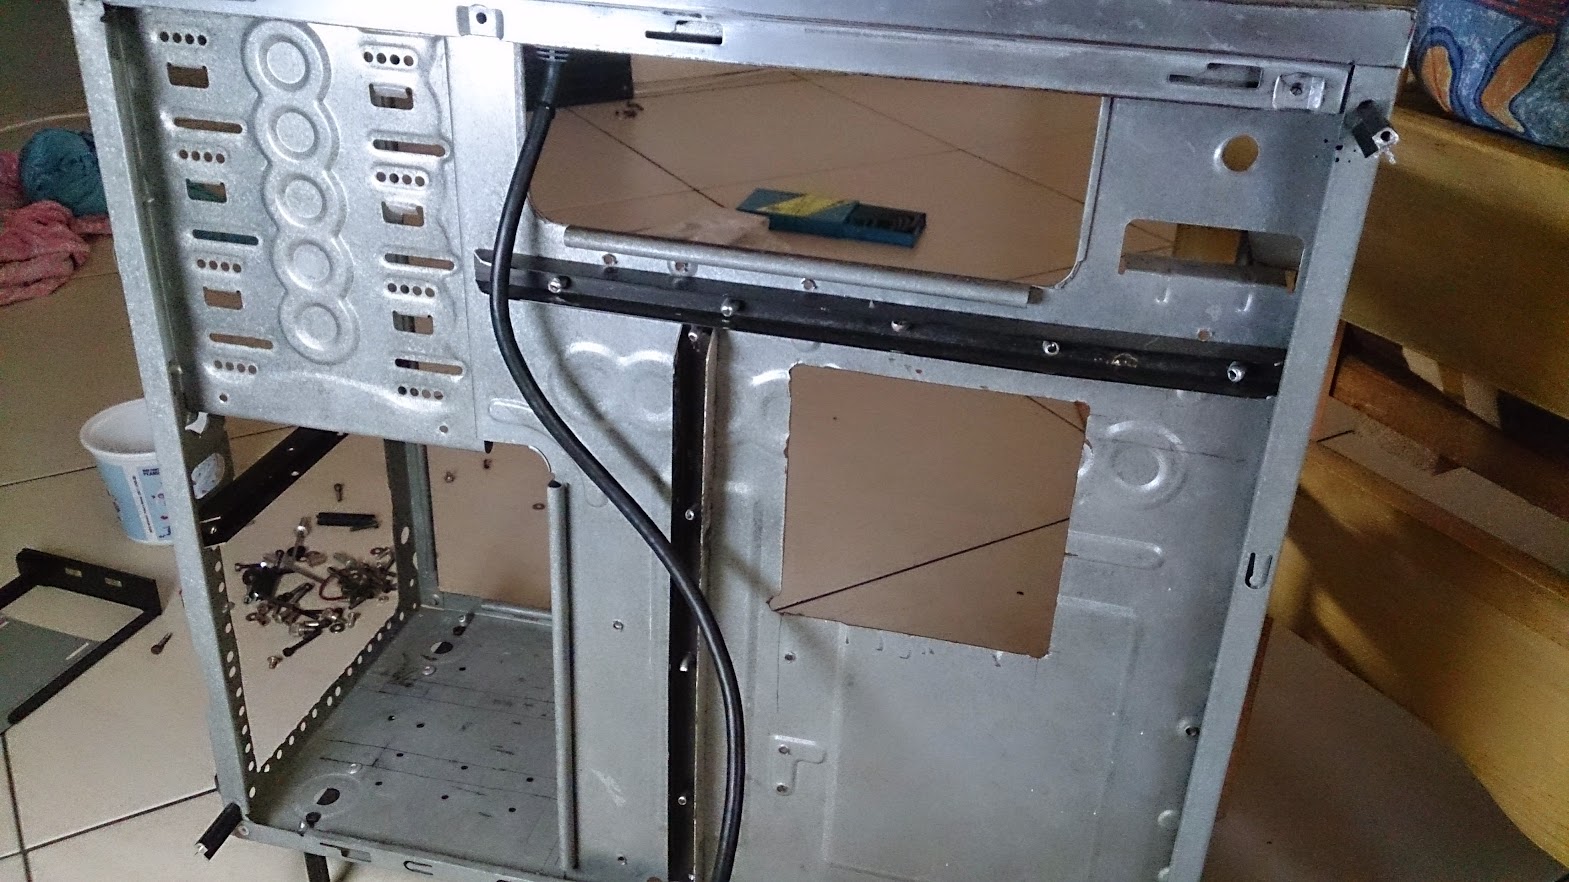
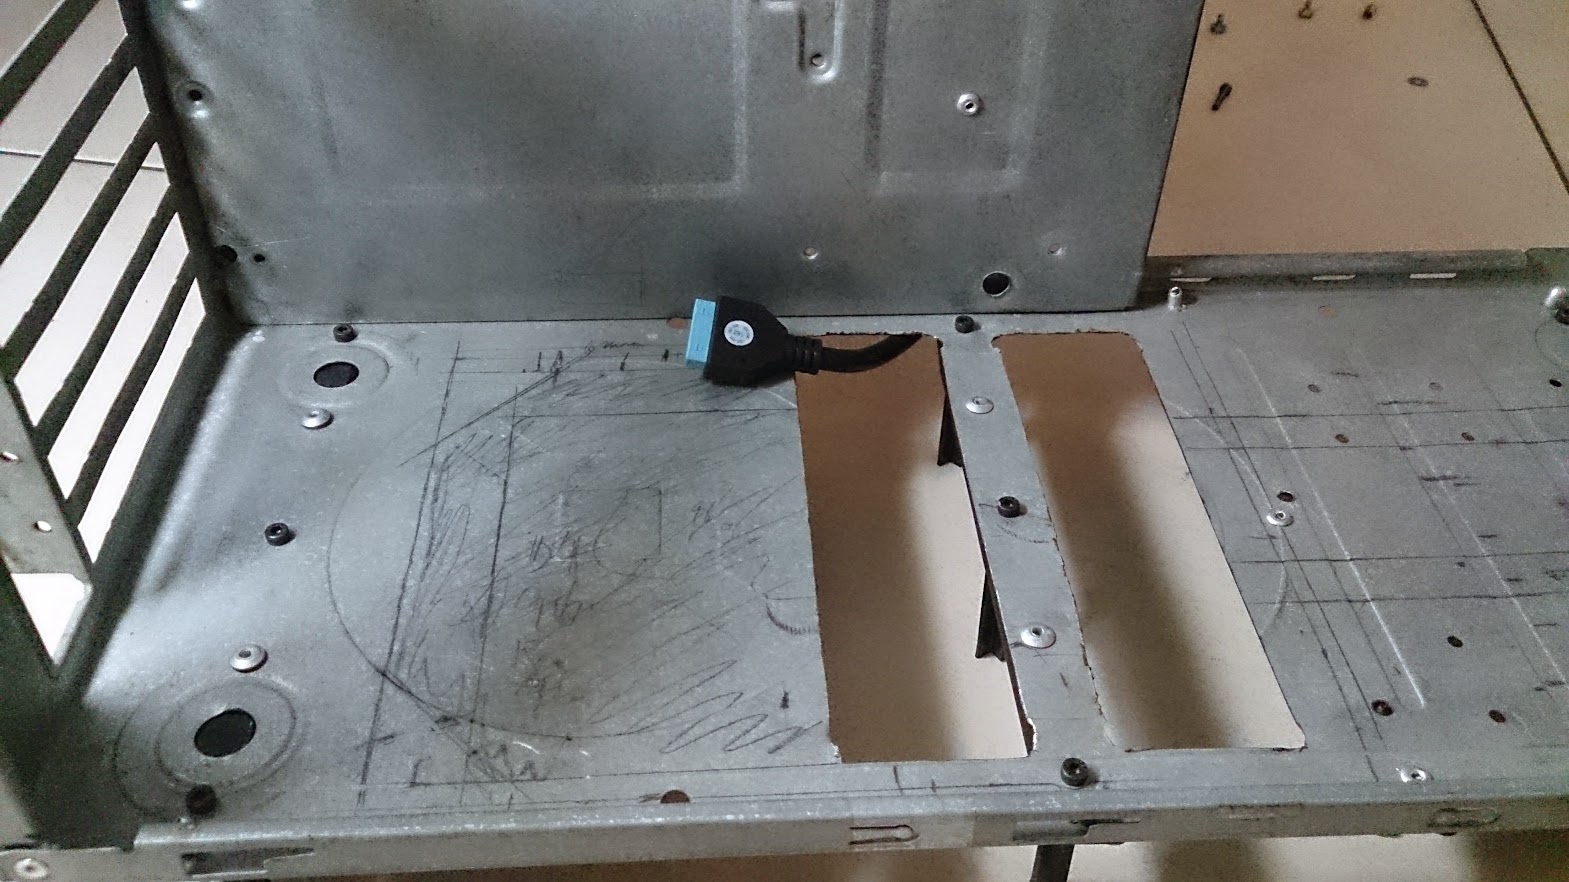
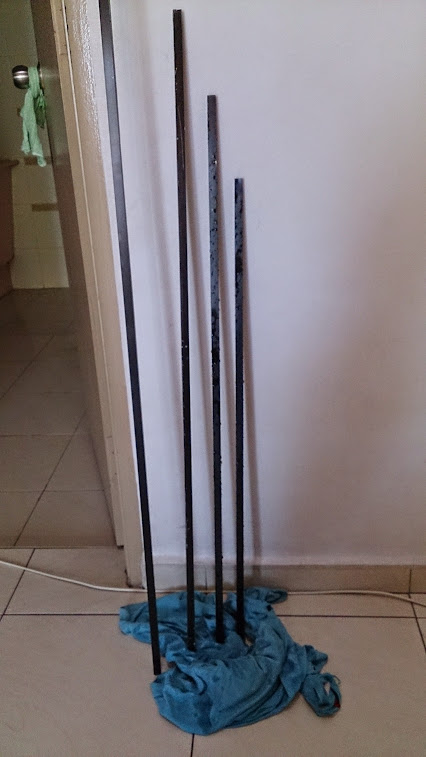
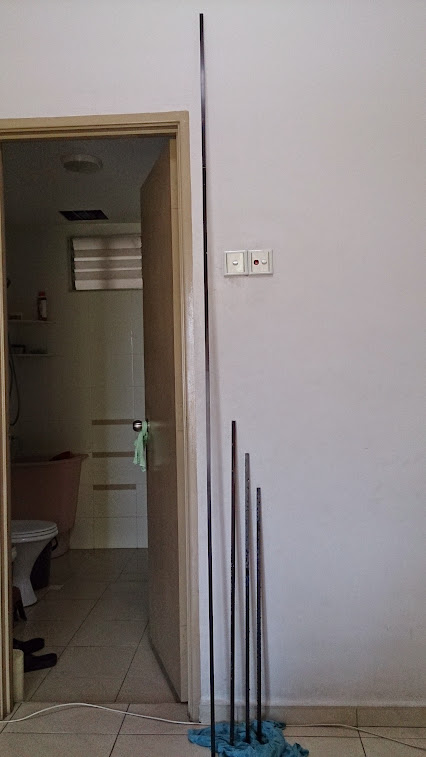
Any hoo, my road back to finishing this project starts...
on the next post
 This post has been edited by mcchin: Oct 9 2015, 09:33 AM

 Sep 26 2014, 11:49 AM, updated 10y ago


 Quote
Quote


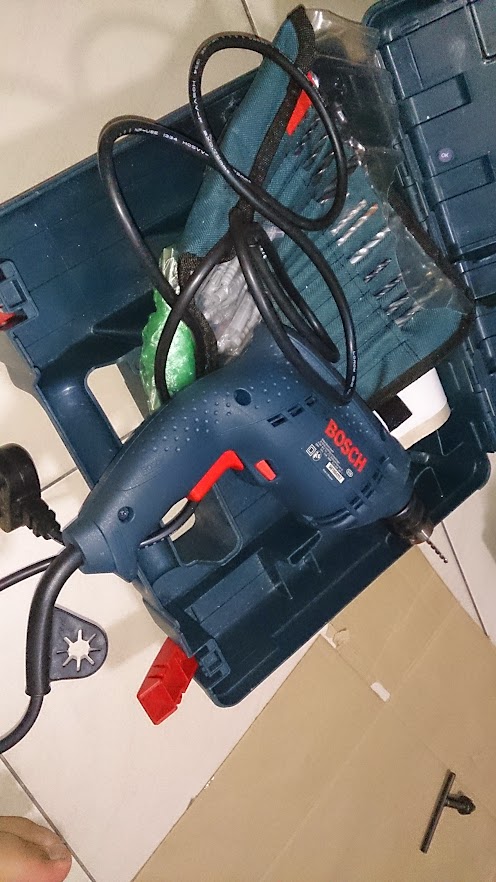


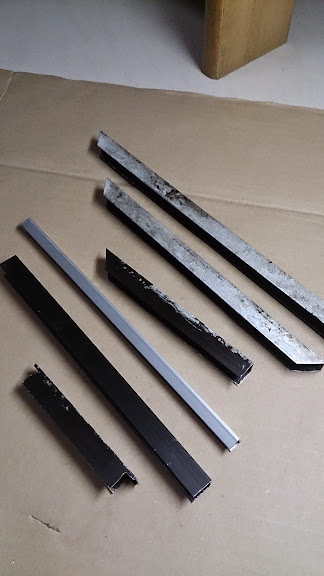


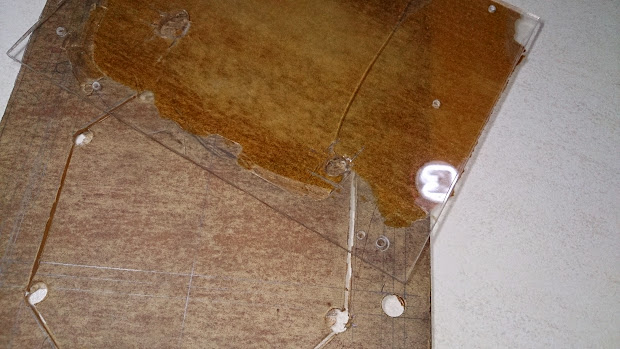
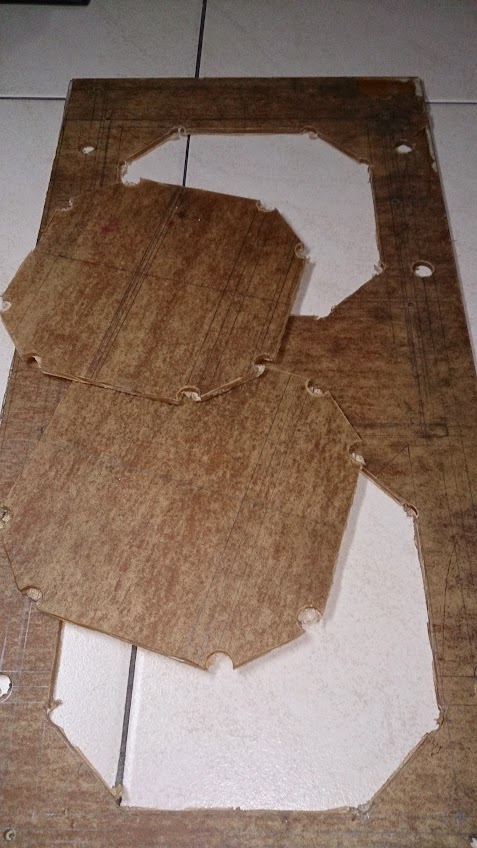
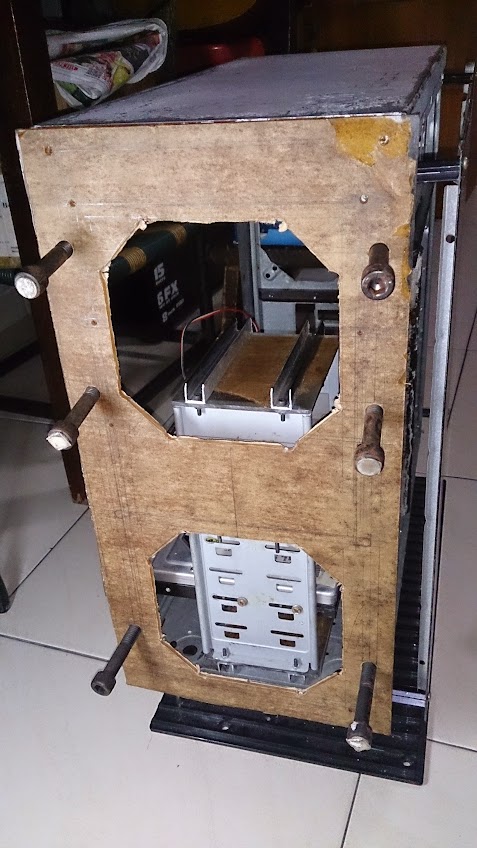
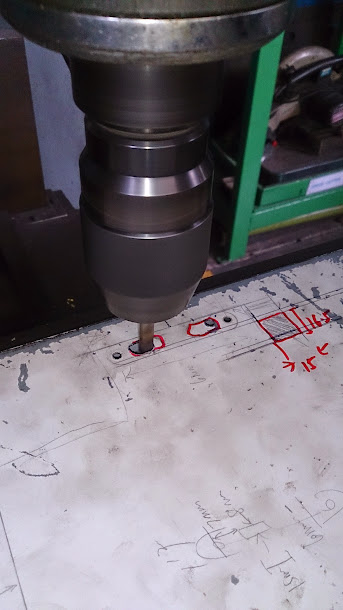
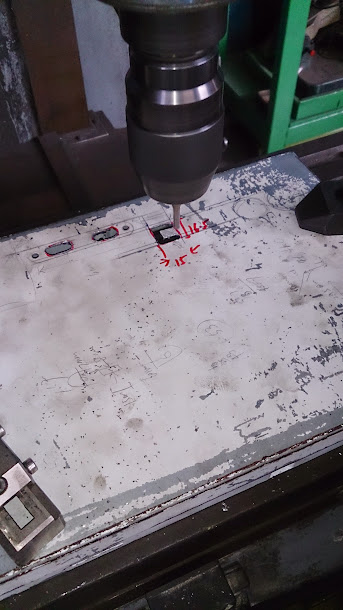
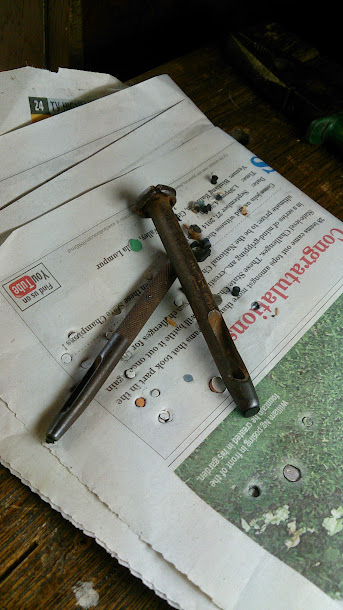
 for the bisingness of the grinder/ drill...


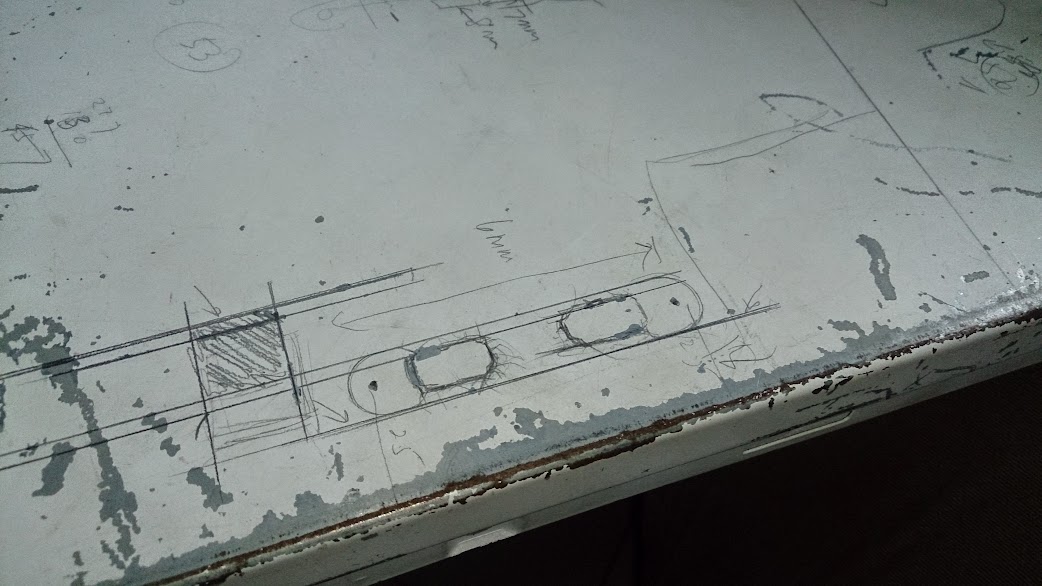
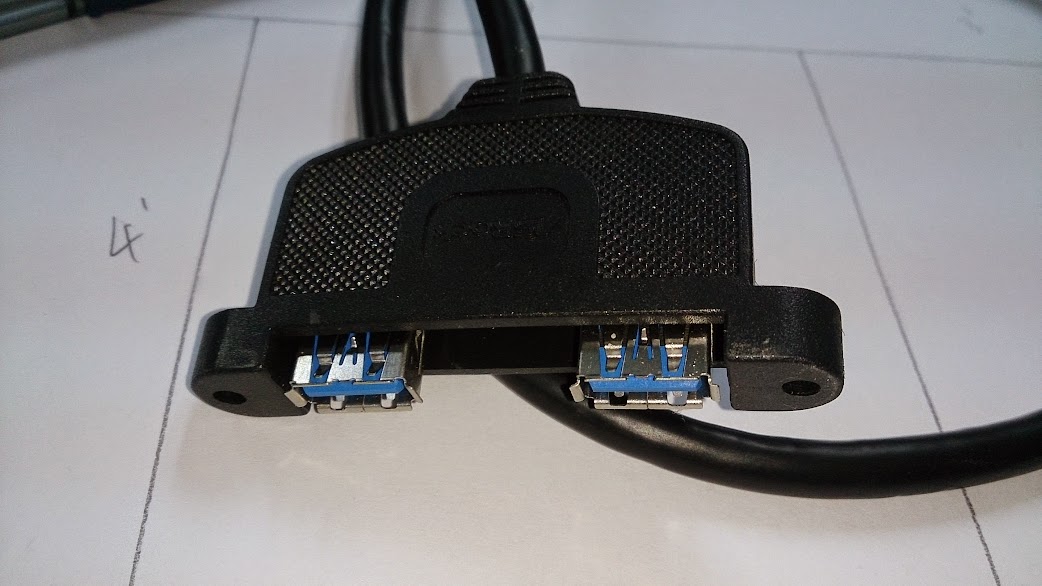


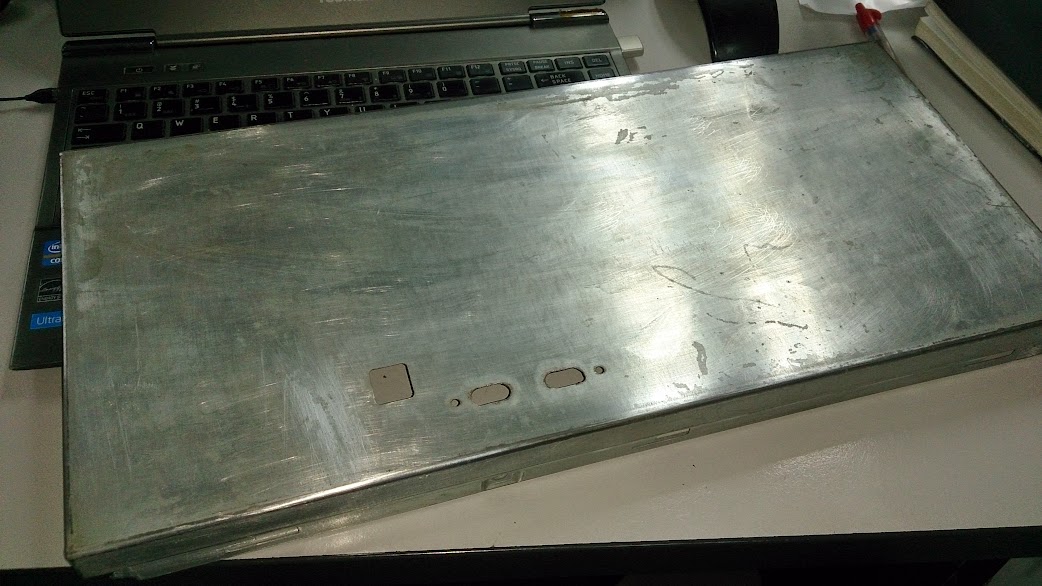
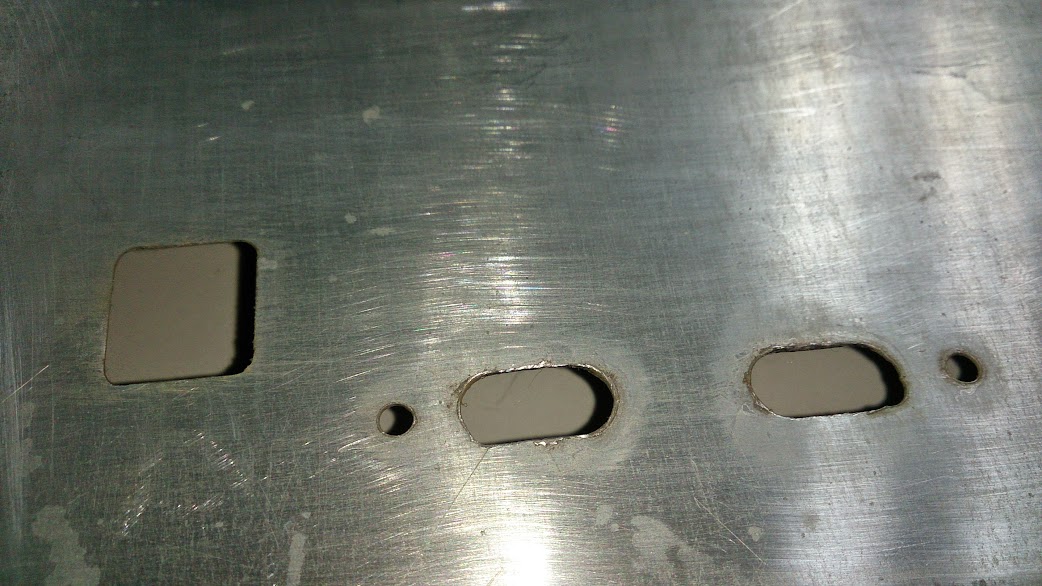
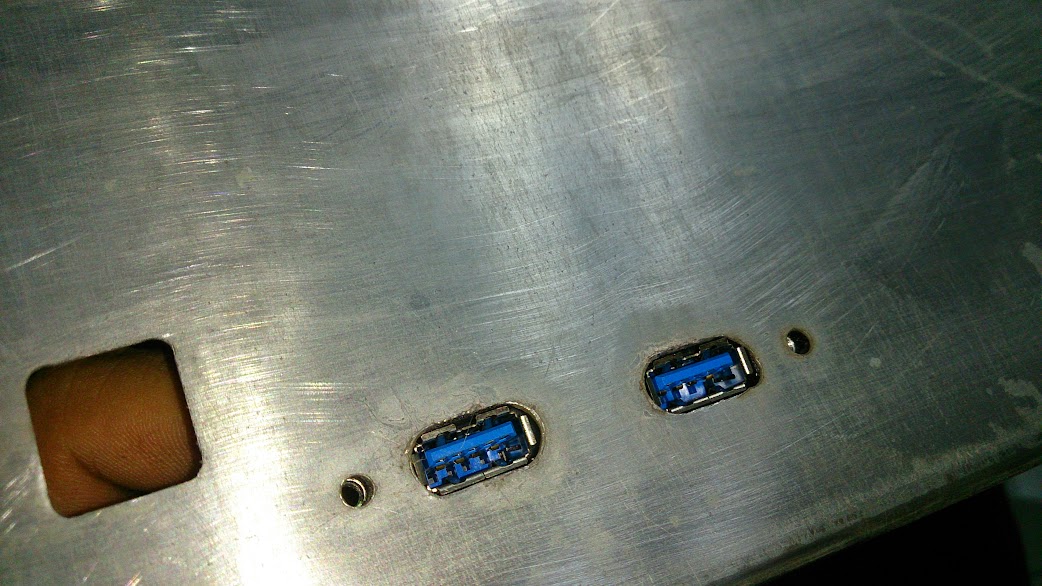


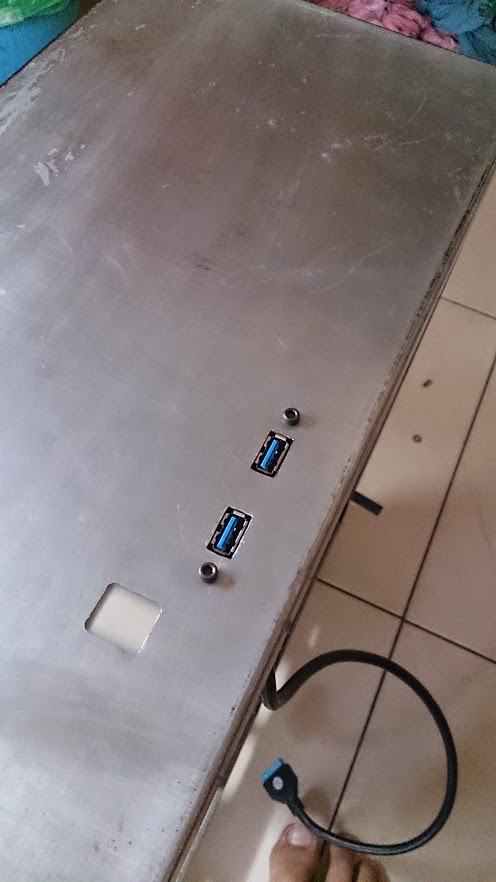
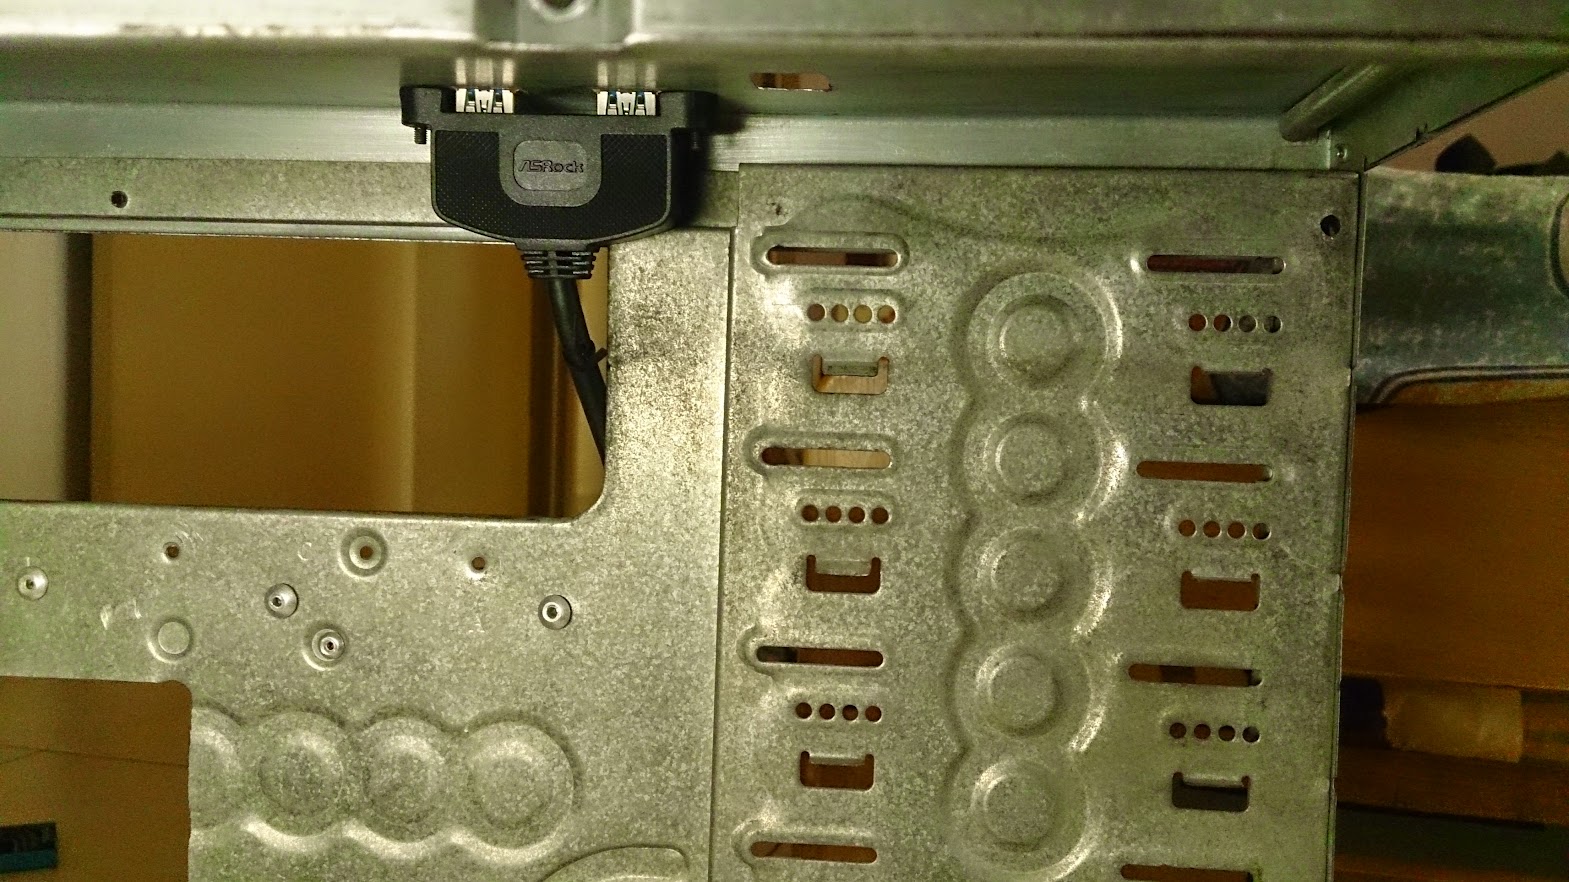
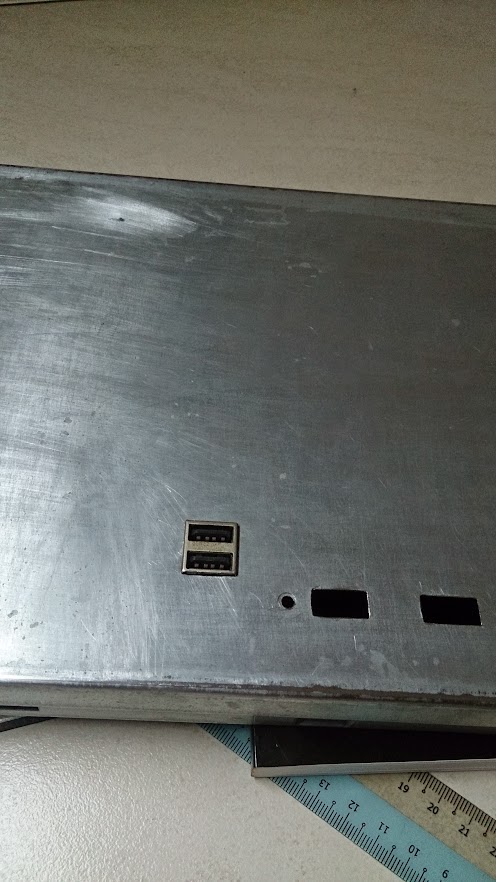
 This time a USB 2.0
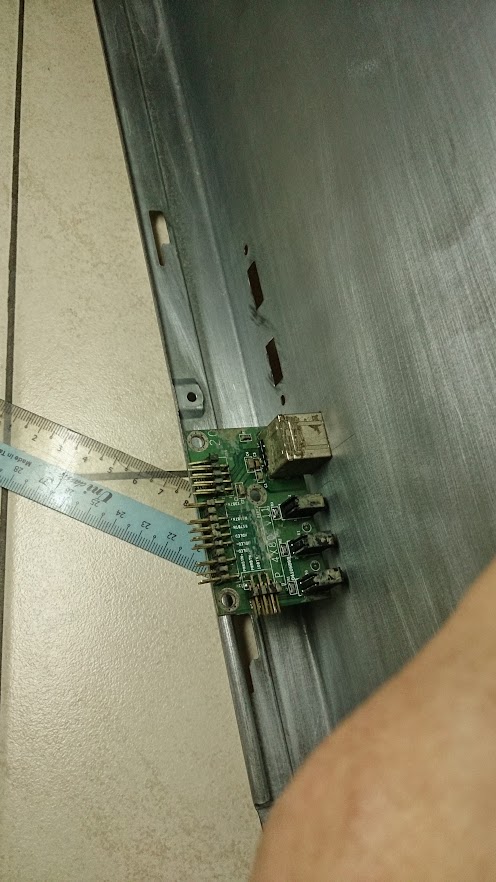
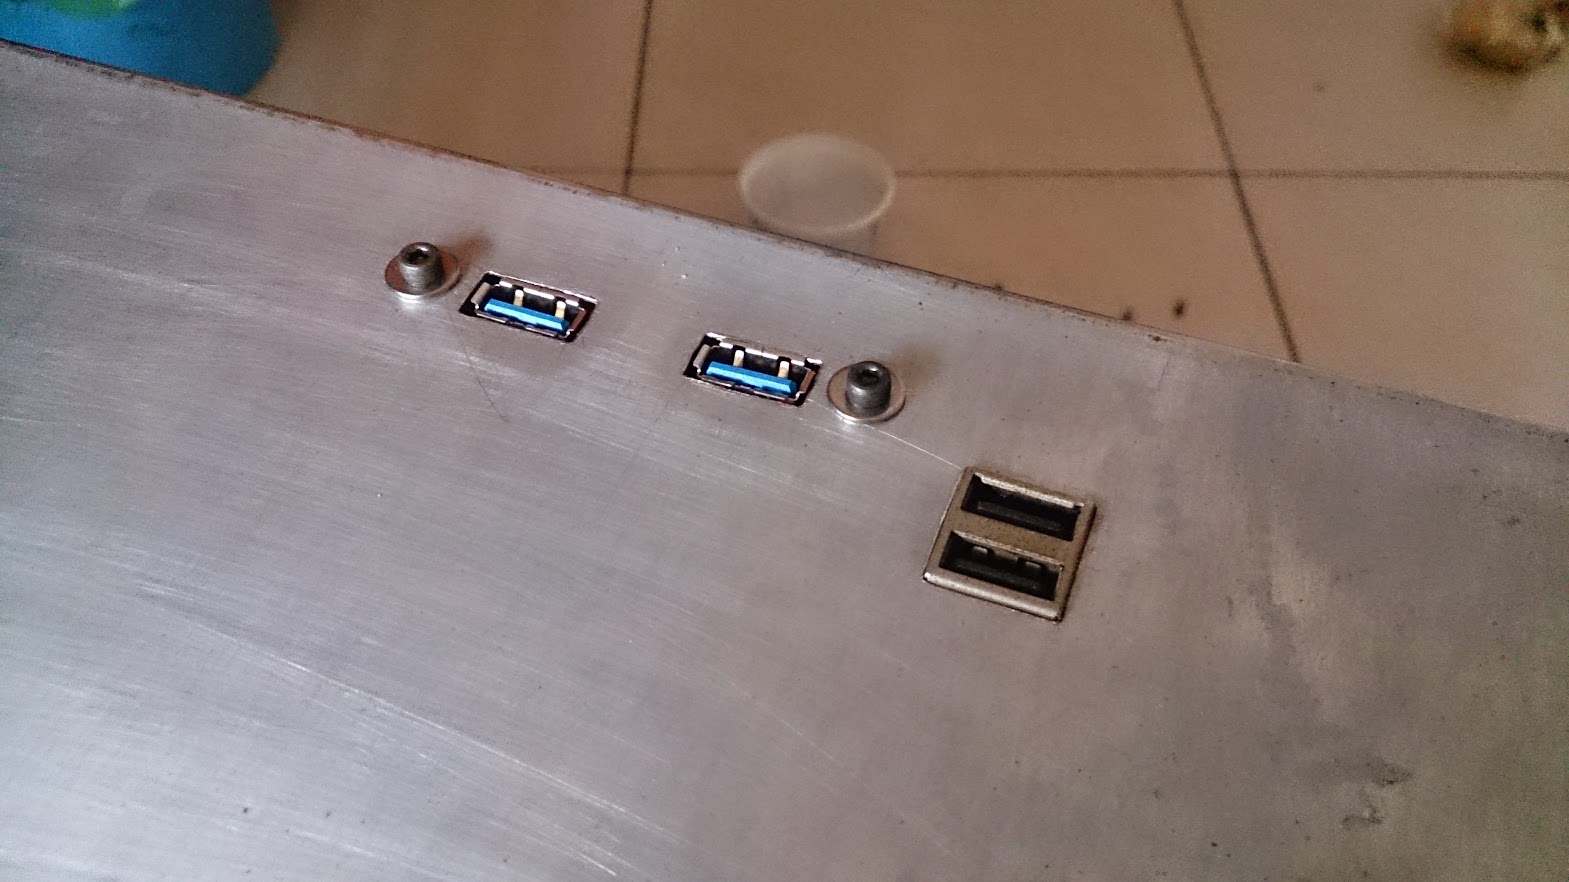
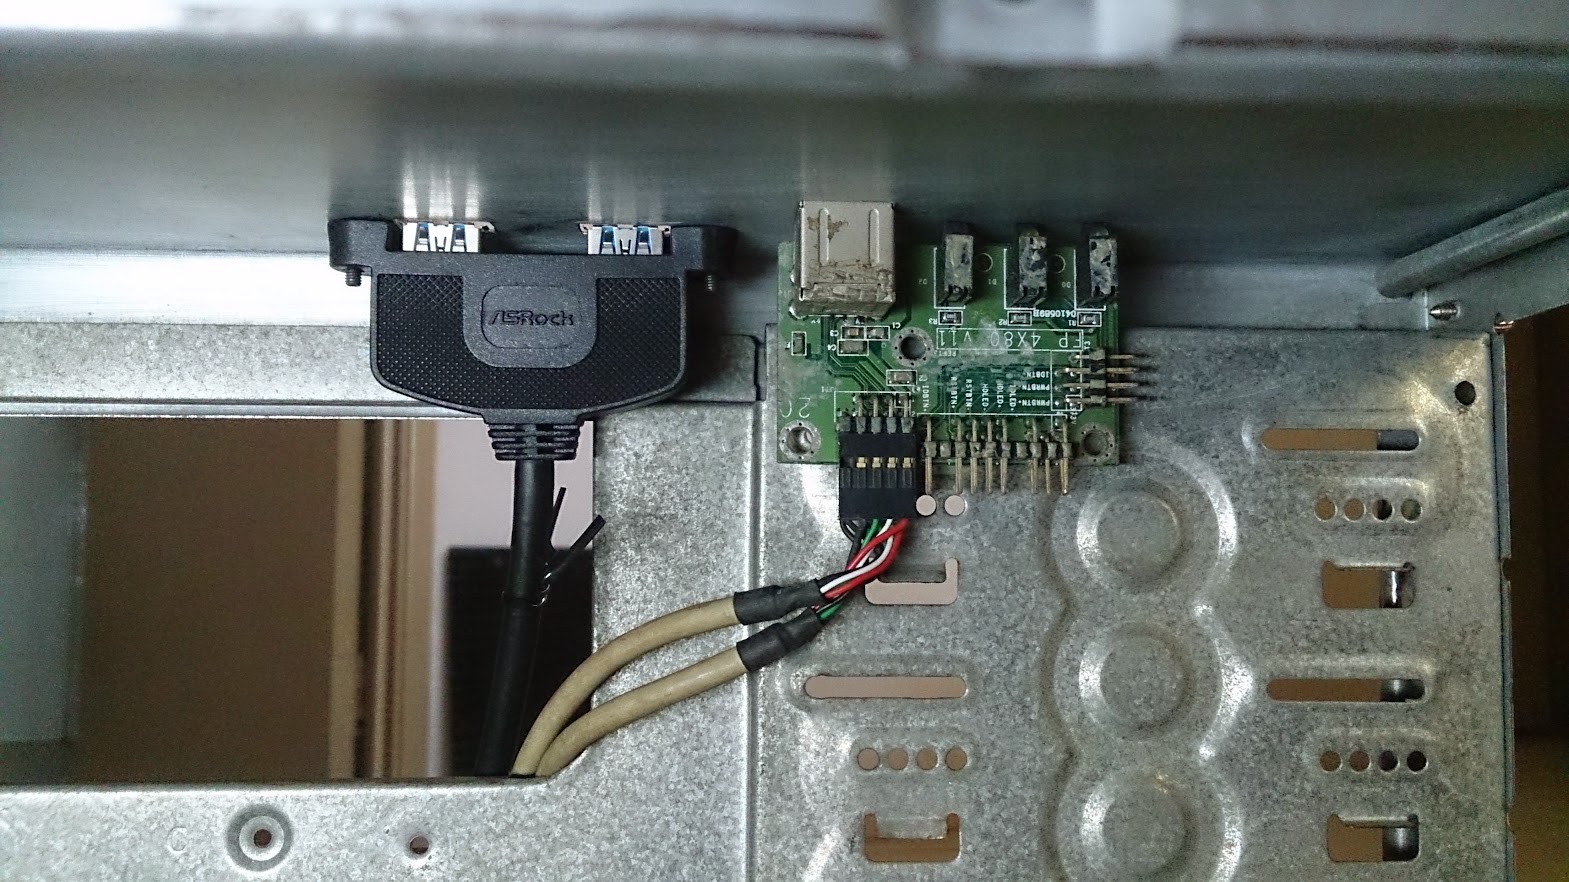


 ... or,


 0.0690sec
 0.59
0.59
 5 queries
 GZIP Disabled