

 Jan 31 2011, 12:59 PM, updated 12y ago

(~Star War Theme~)
2007 to be exact
Got my self a new system
the specs
Pentium D 930 (bought from an "acquaintance")
Gigabyte GA-8N-SLI (the cheapest store-bought SLI mobo I can afford back then)
2x7600GT in SLI
etc...
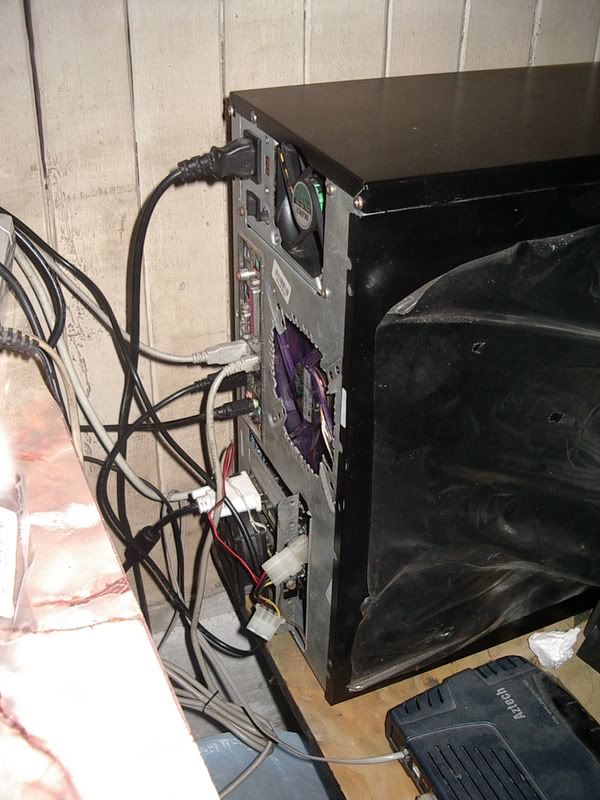
Housed in THE CHEAPEST-THINNEST-WOBBLY-CASING that is modeled after Alienware style
Some Pic Circa 2008
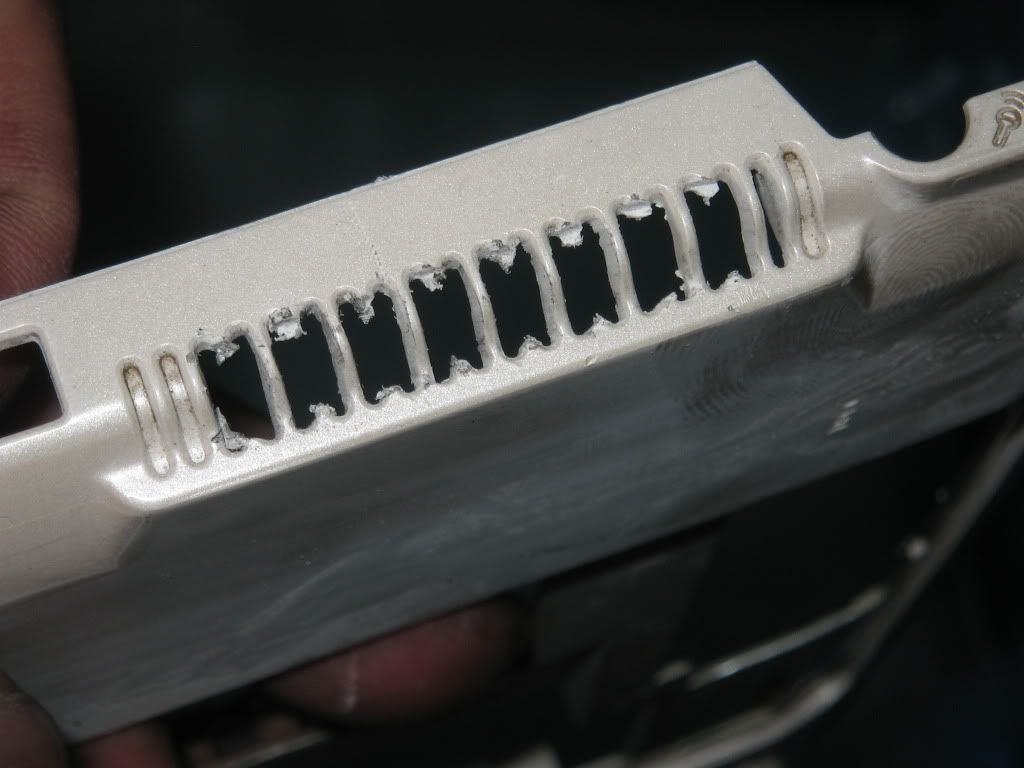
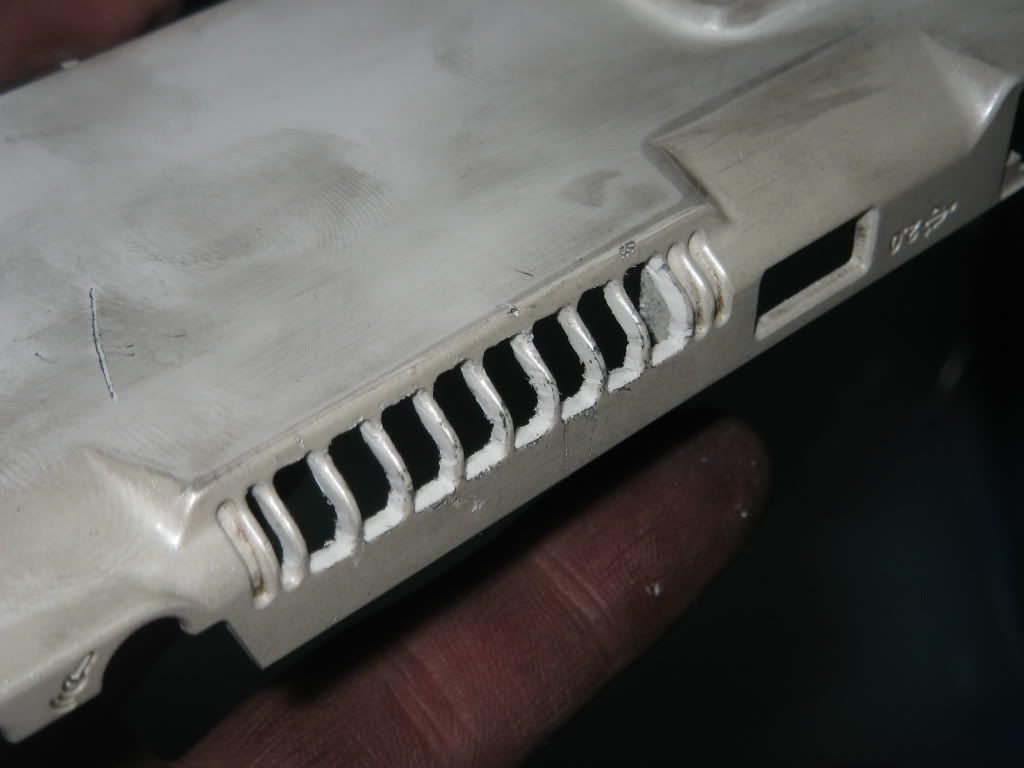
This is the side of the casing. As you can see, some mods done here back then
- The fan Grill cut roughly
- Fan hanging from the DVI plug to draw out air
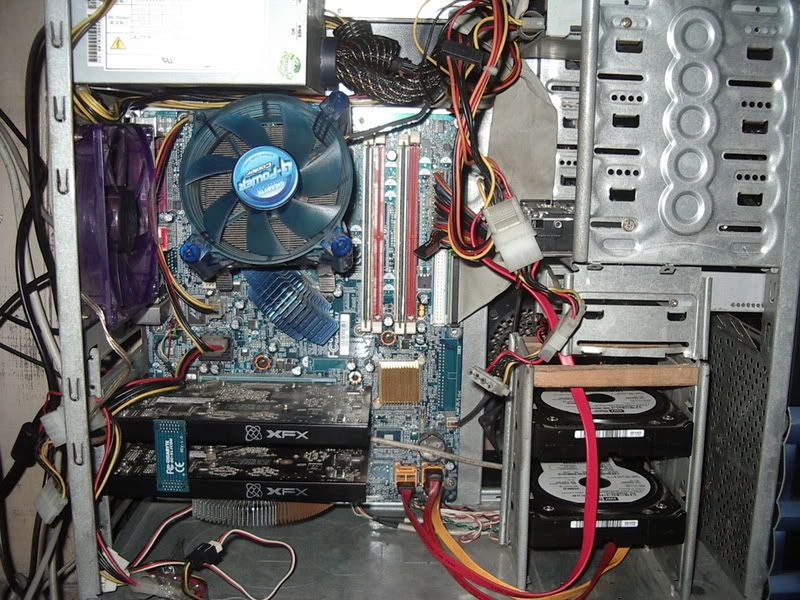
The Moneh Shot
Turned the HDD cage 90 degrees (an absolute error!!)
Then 2008 passes
so does 2009, swamped with job responsibility
(some where in that year got to go to Bologna, Italy
 )
)2010 was a B!TCH and so we arrive to 2011
Let me recap what was to be of my rig
2007
Intel Pentium D 930
GA-8N-SLi
1GB Samsung DDR2
XFX 7600GT
14" El-cheapo LCD
Enermax 460W PSU
Gigabyte G-Power HSF
Feb 2008
Intel Pentium D 930
GA-8N-SLi
XFX 7600GT + XFX 7600GT
Enermax 460W PSU
Gigabyte G-Power HSF
Mar 2008
Intel Pentium D 930
GA-8N-SLi
Enermax 460W PSU
Gigabyte G-Power HSF
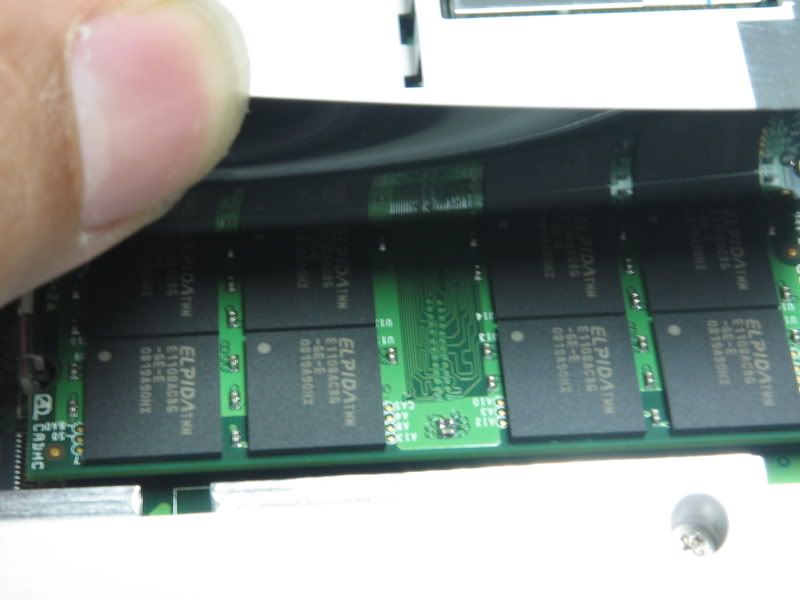
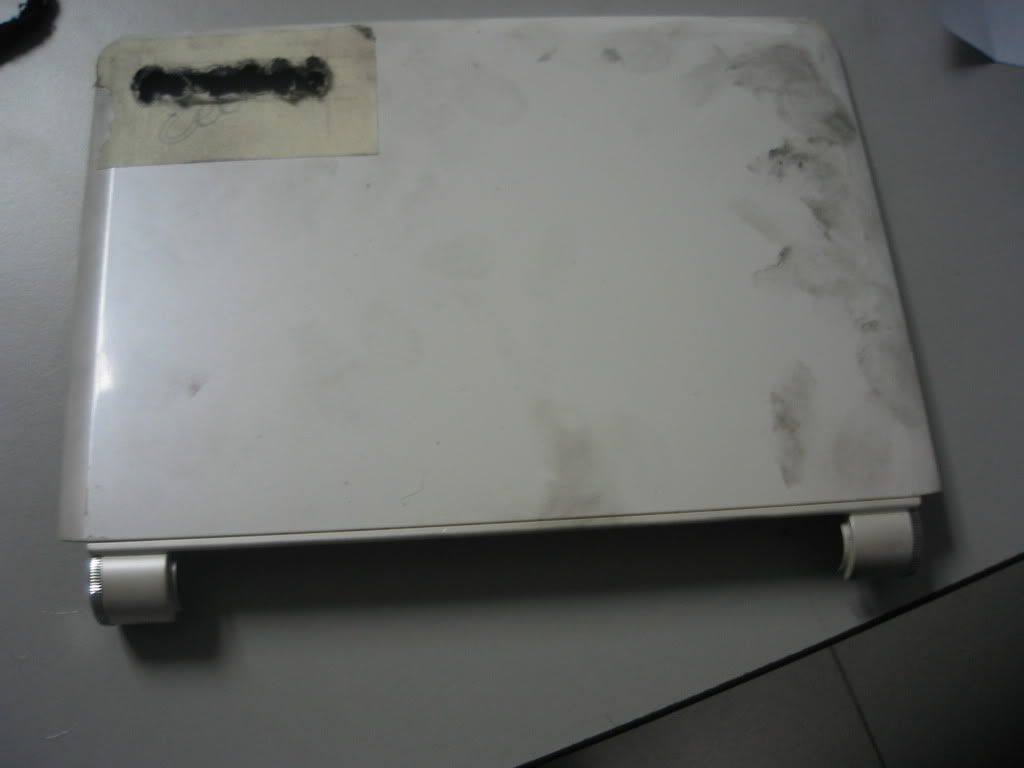
Aug 2008
EEE PC 901
Sony E W595
etc
Lay low for a year, then...
Nov 2009
Intel Pentium D 930
GA-8N-SLi
Gigabyte G-Power HSF - Done some mod (change to Delta Fan)
1H of 2010
Intel Pentium D 930
GA-8N-SLi
Gigabyte G-Power HSF -Done some mod (change to Delta Fan)
2H of 2010
was skulking around for a x58 system
Got a deal to Get Asrock x58 system but then the deal fell through
and by "LUCK" my GA-8N-SLi mobo expires..


so got myself an interim mobo, a Asus P5B to tide me over while my other deal is in the pipes
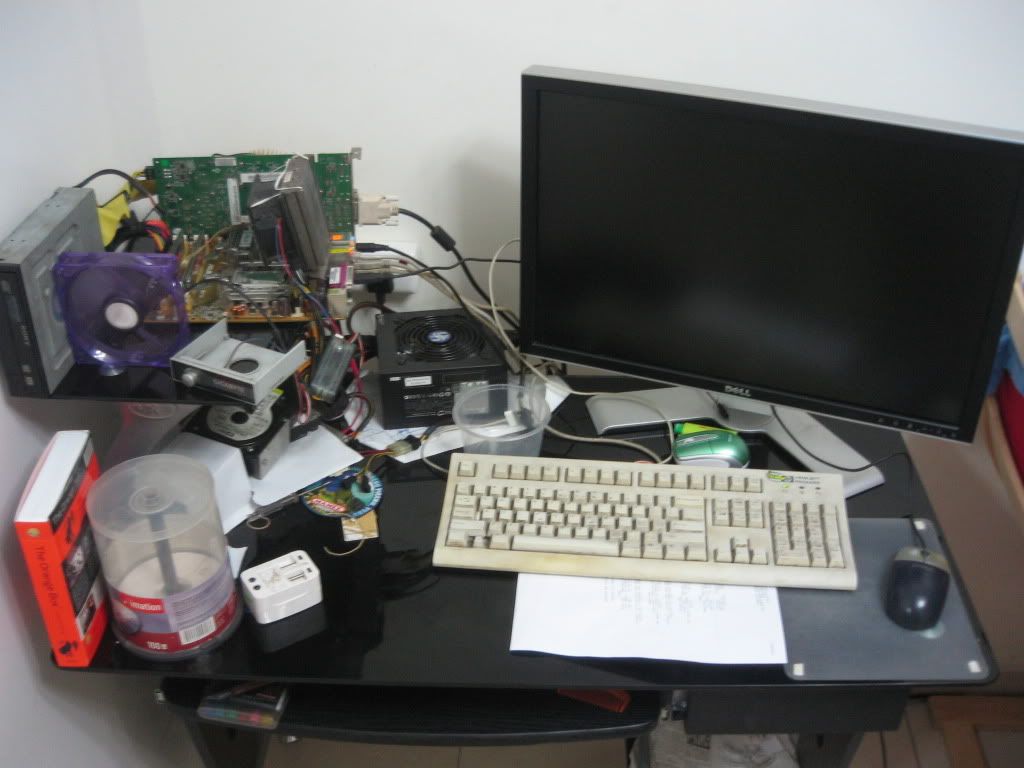
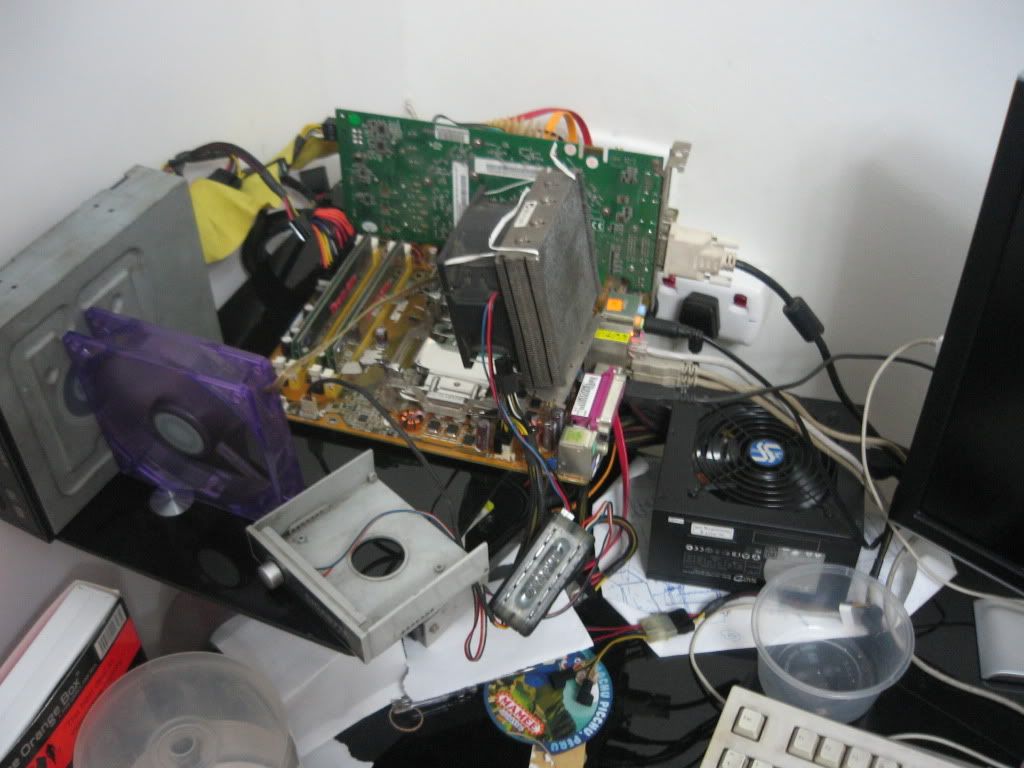
The system as of now
Intel Pentium D 930
GA-8N-SLiAsus P5B
Gigabyte G-Power HSF -Done some mod (change to Delta Fan)
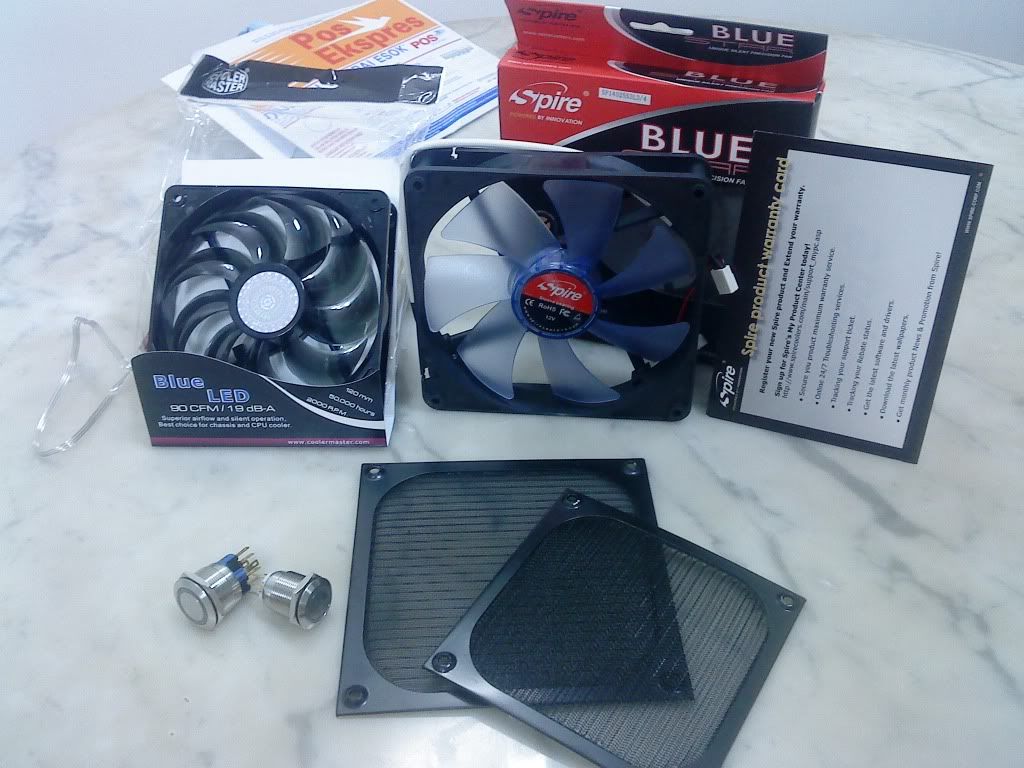
Expected system @ Mar 2011
Intel Core i7 2600K
Asrock P67 Extreme6
8GB G.Skill RipJawsX 1600MHz
xPertVision 9600GT+ Galaxy 9600GT
24"Dell 2407WFP HC
Seasonic S12D 750W
Mod G-Power to be a Tower HSF
So With a new system coming, I ain't gonna stick it in a crappy casing right?
if to be a crappy casing, it would have to by my OWN CRAPPED CASE!
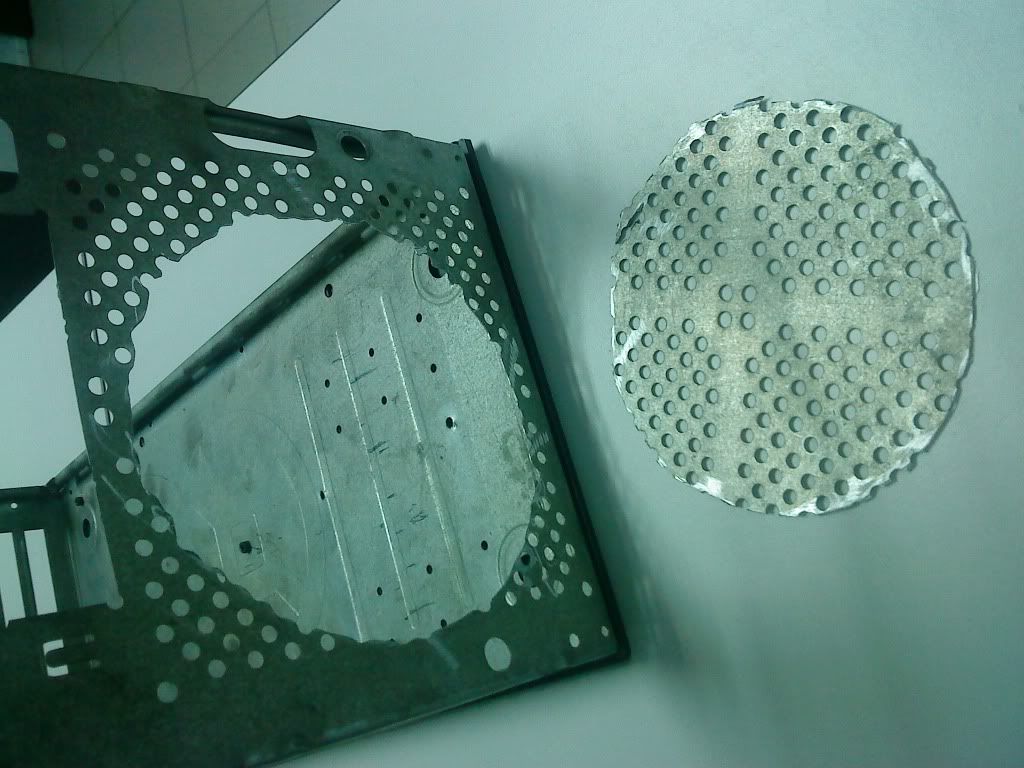
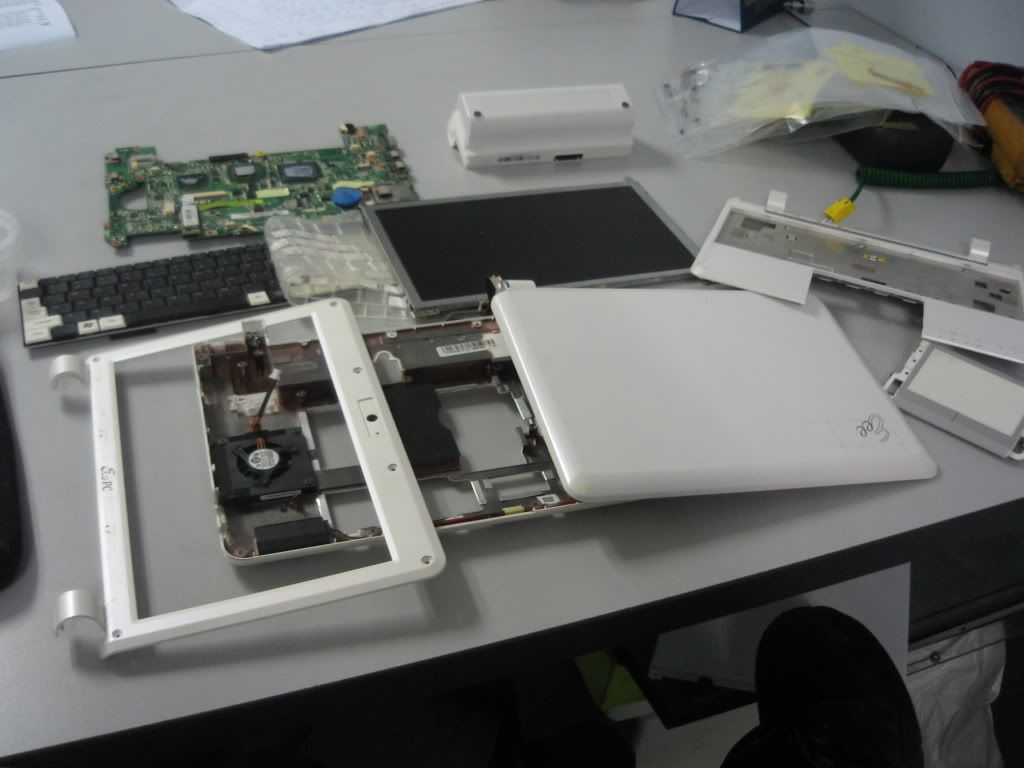
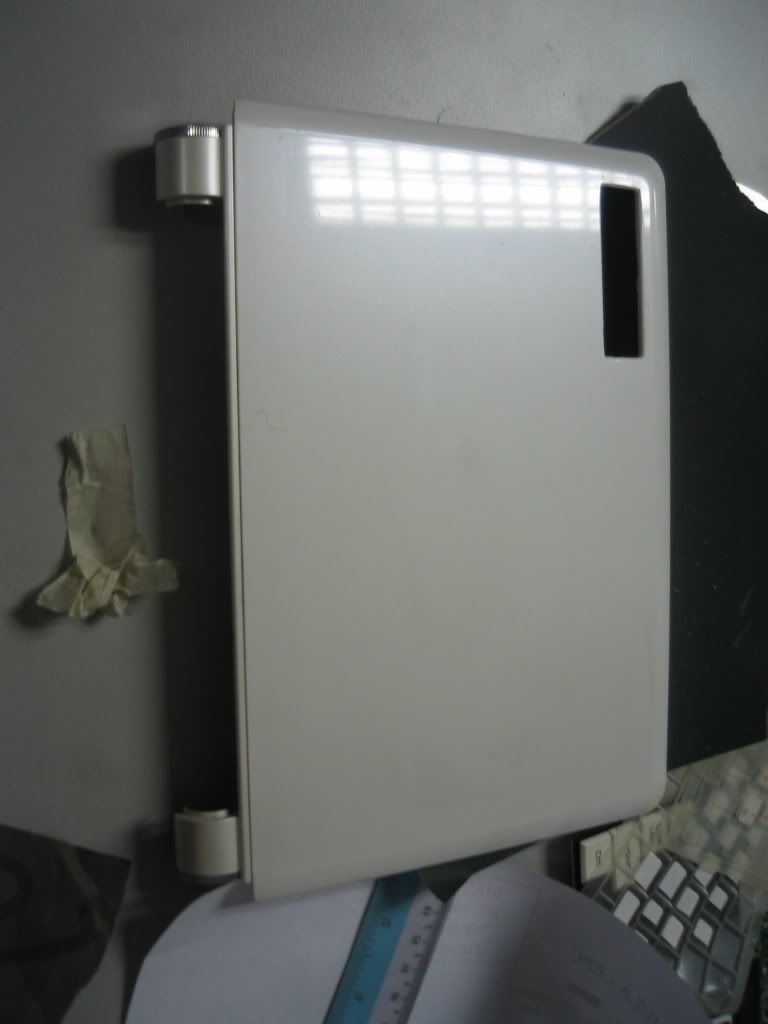
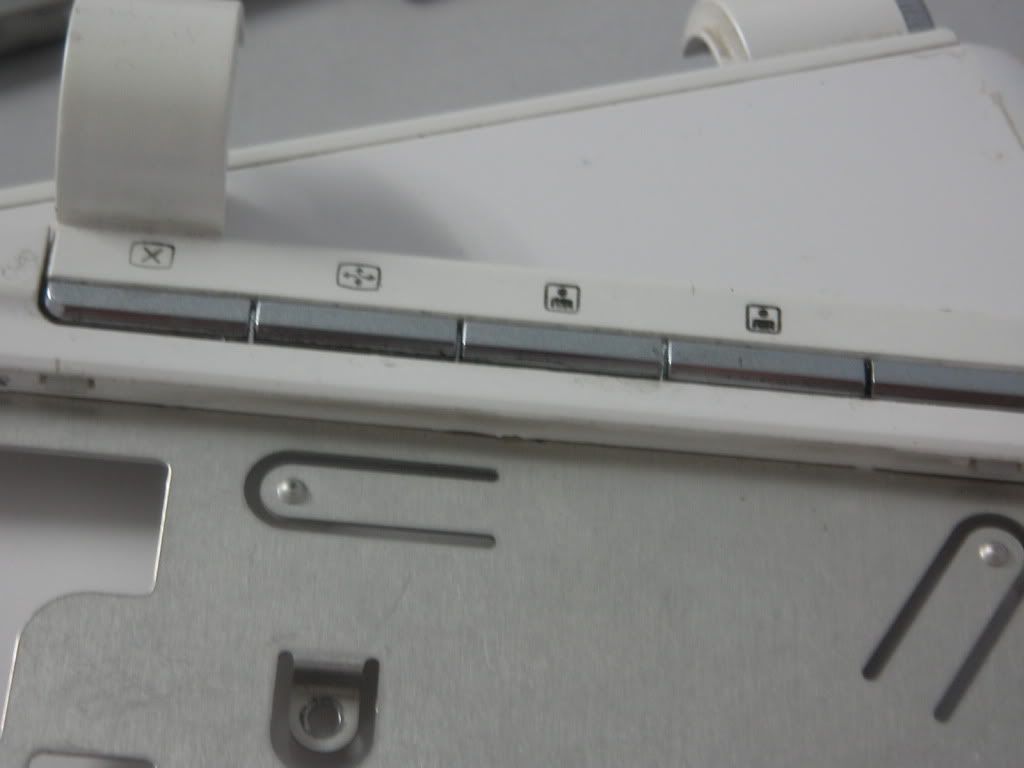
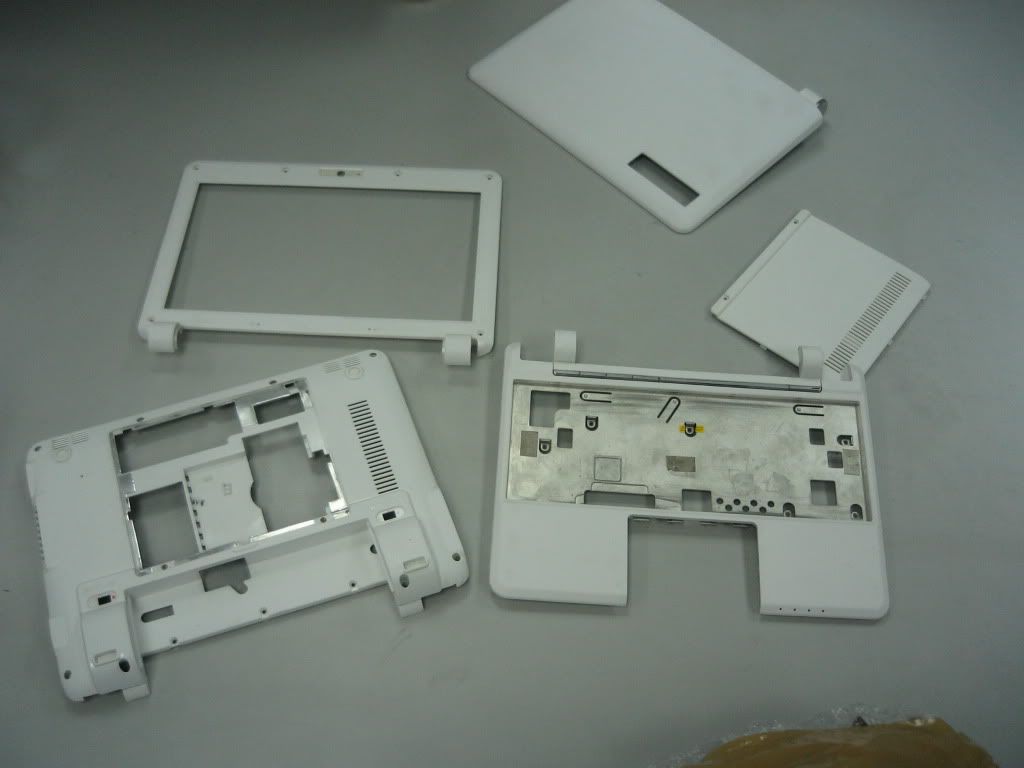
The mod So Far
The case Dismantled until dismantle-able
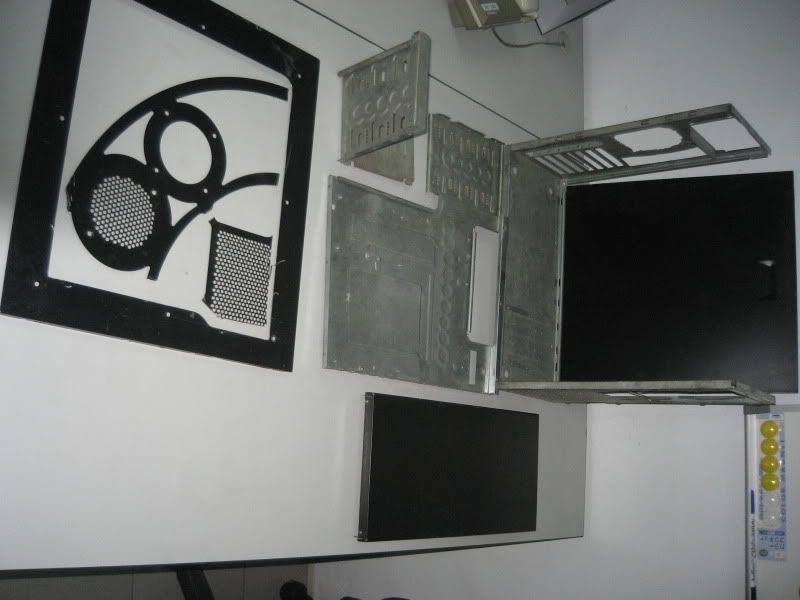
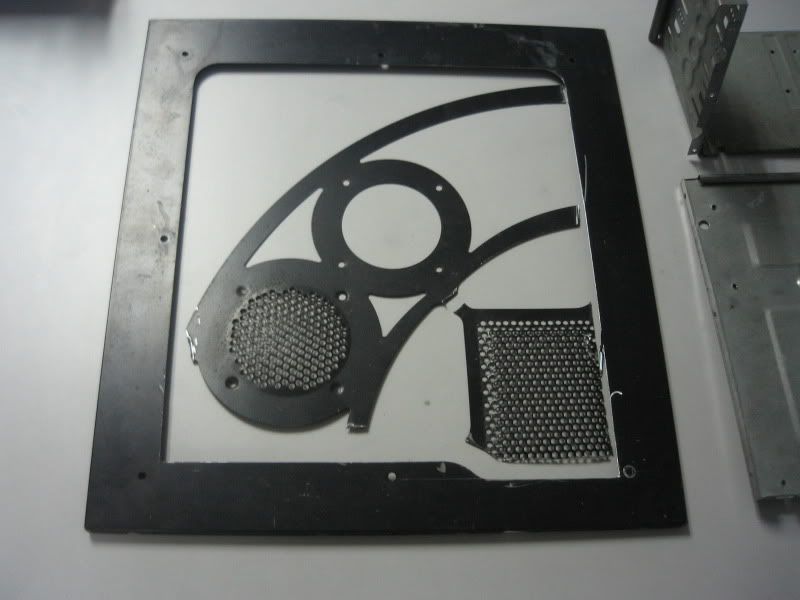
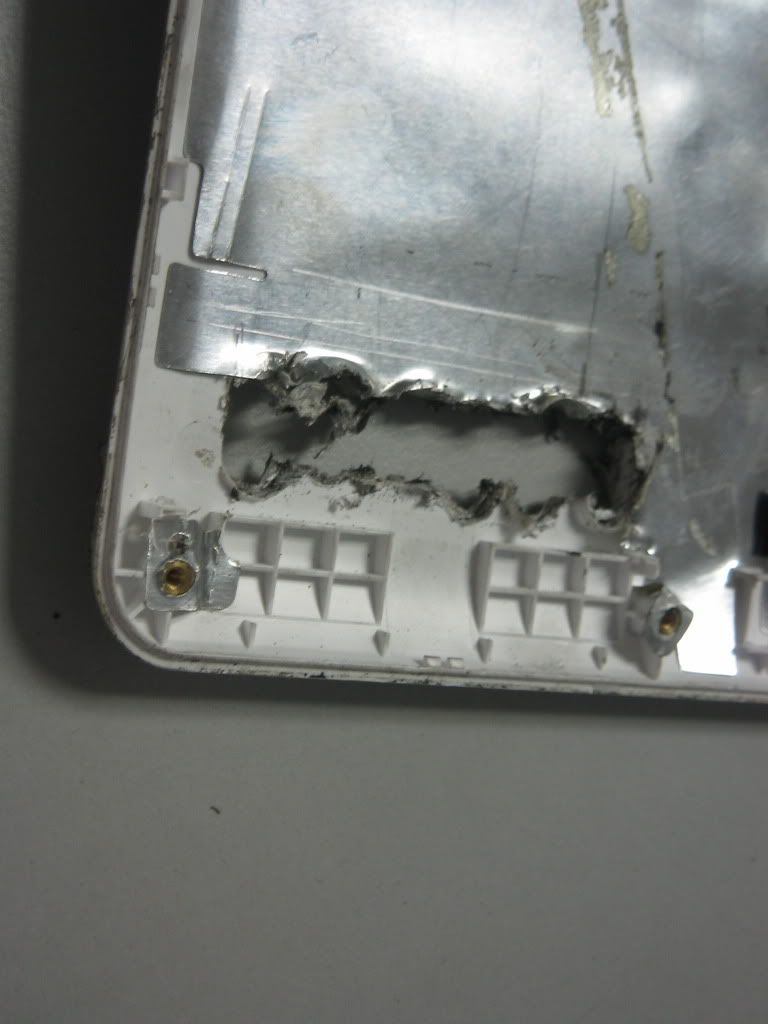
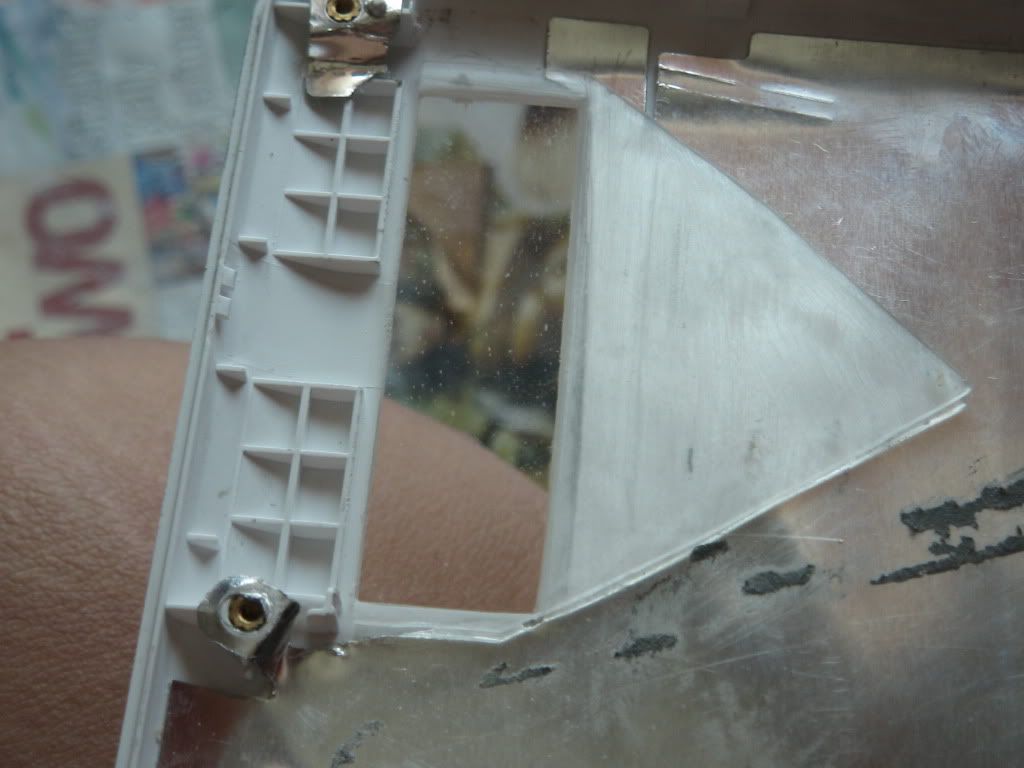
The side with the cheesy stuff cut out (with a grinder)
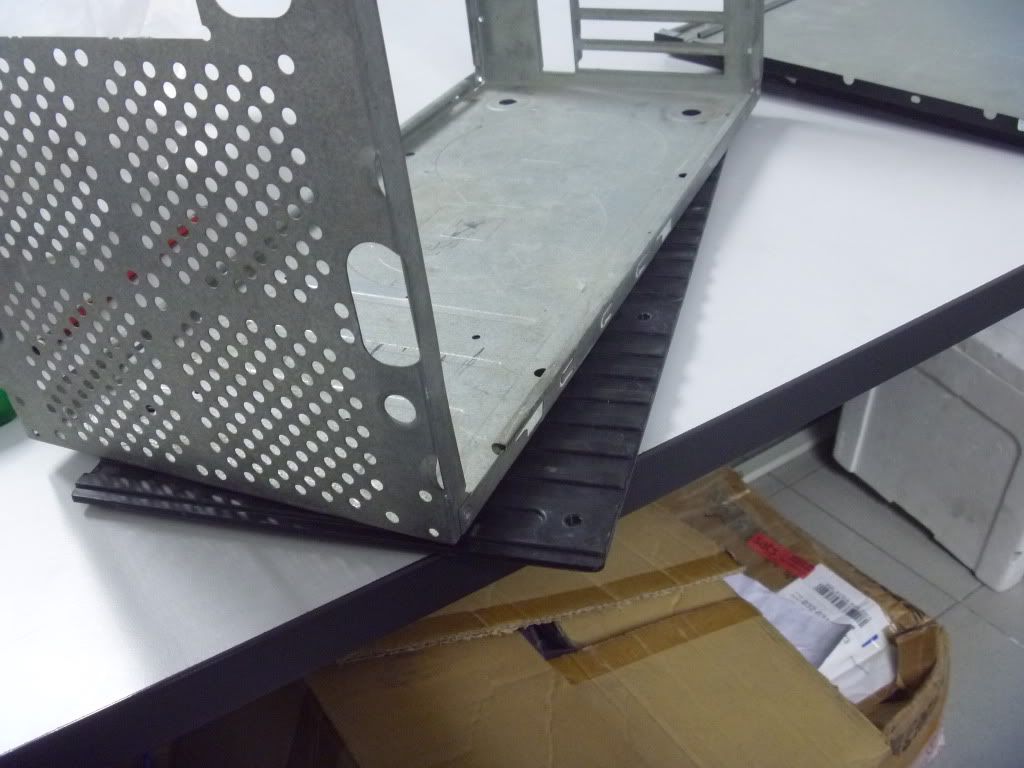
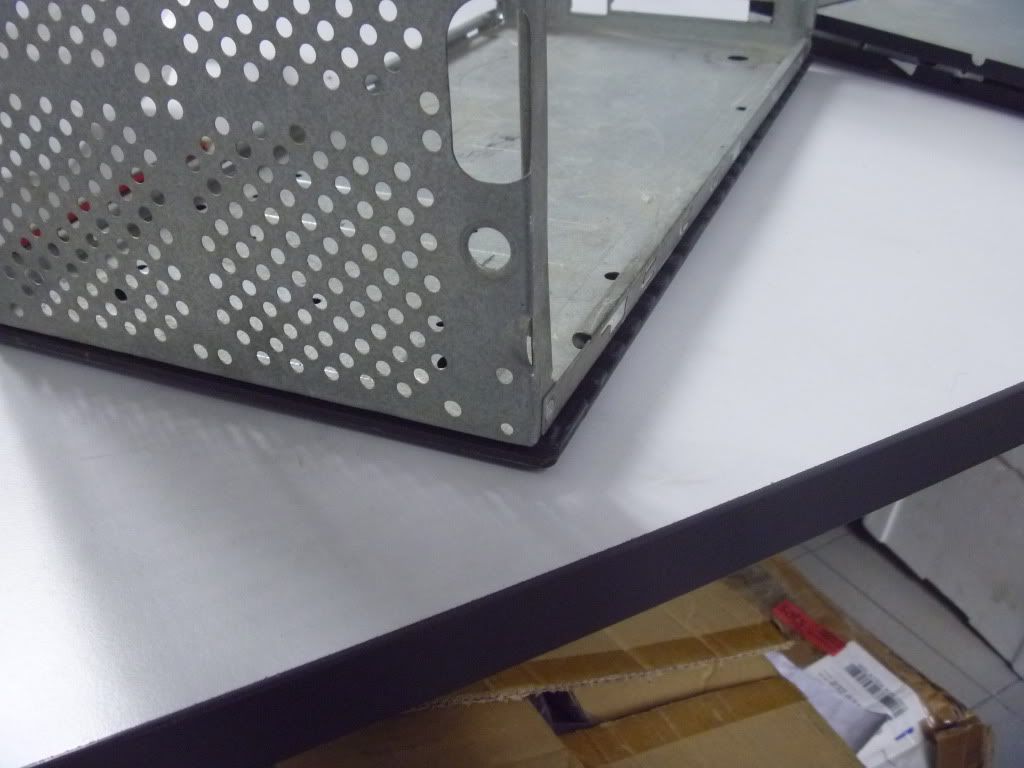
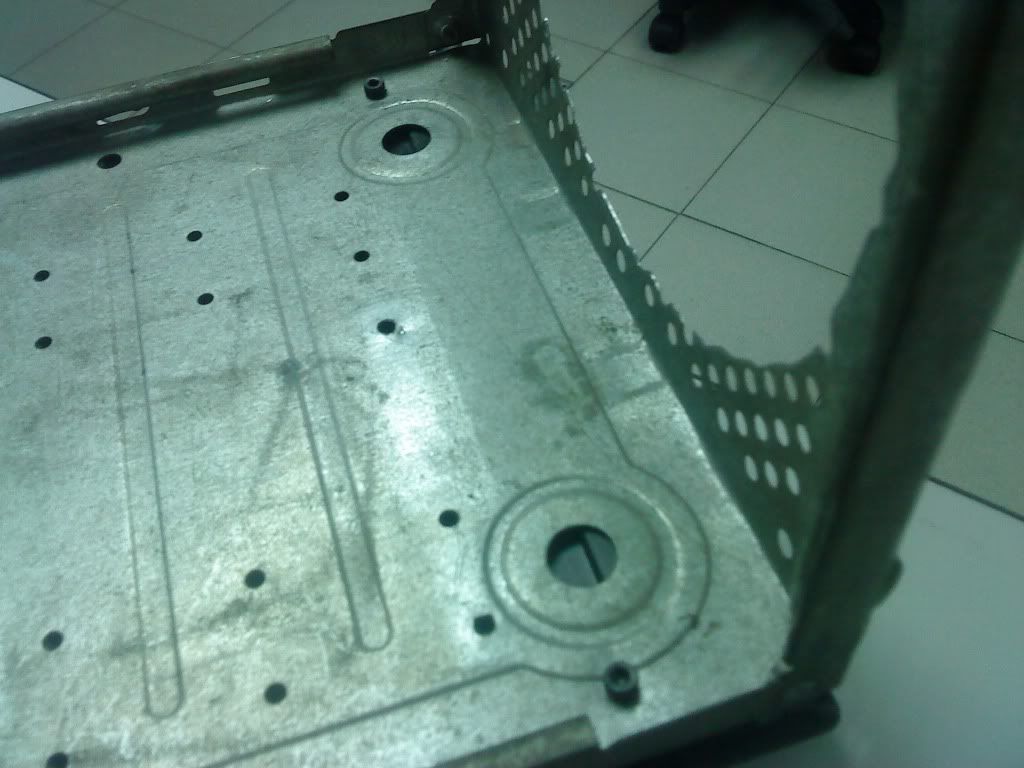
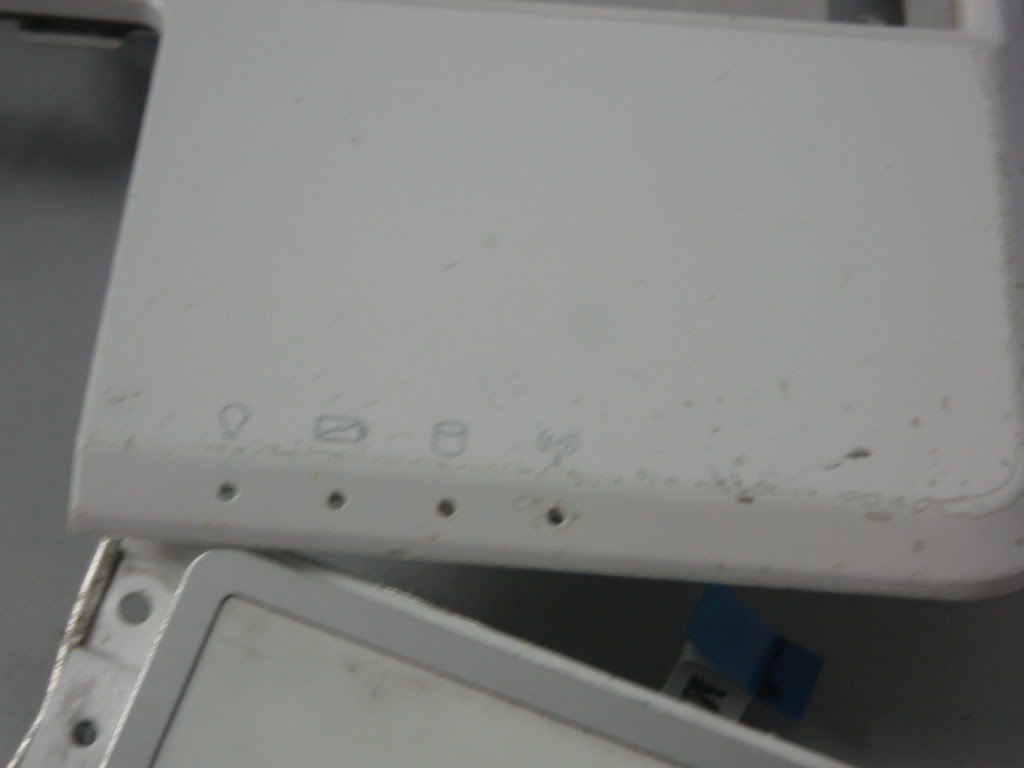
the mobo tray stuck with the 5.25" cage... ah well have to think of a way
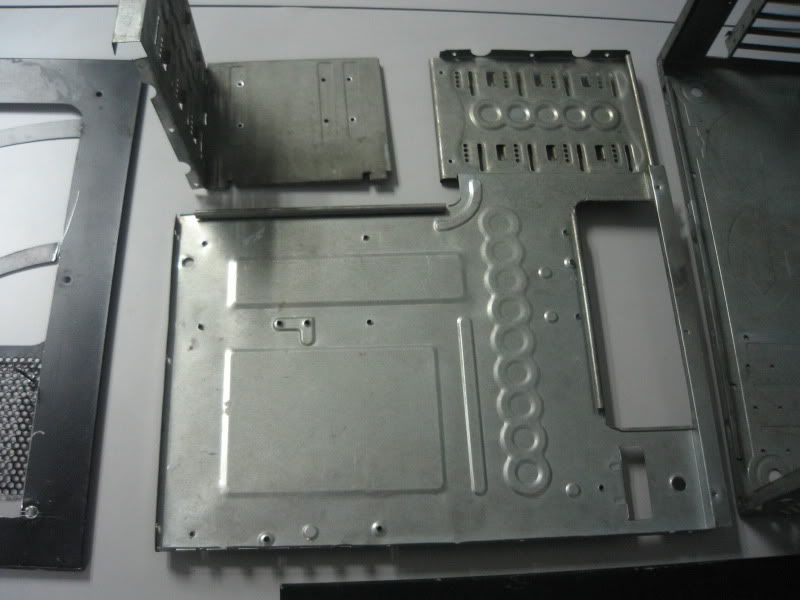
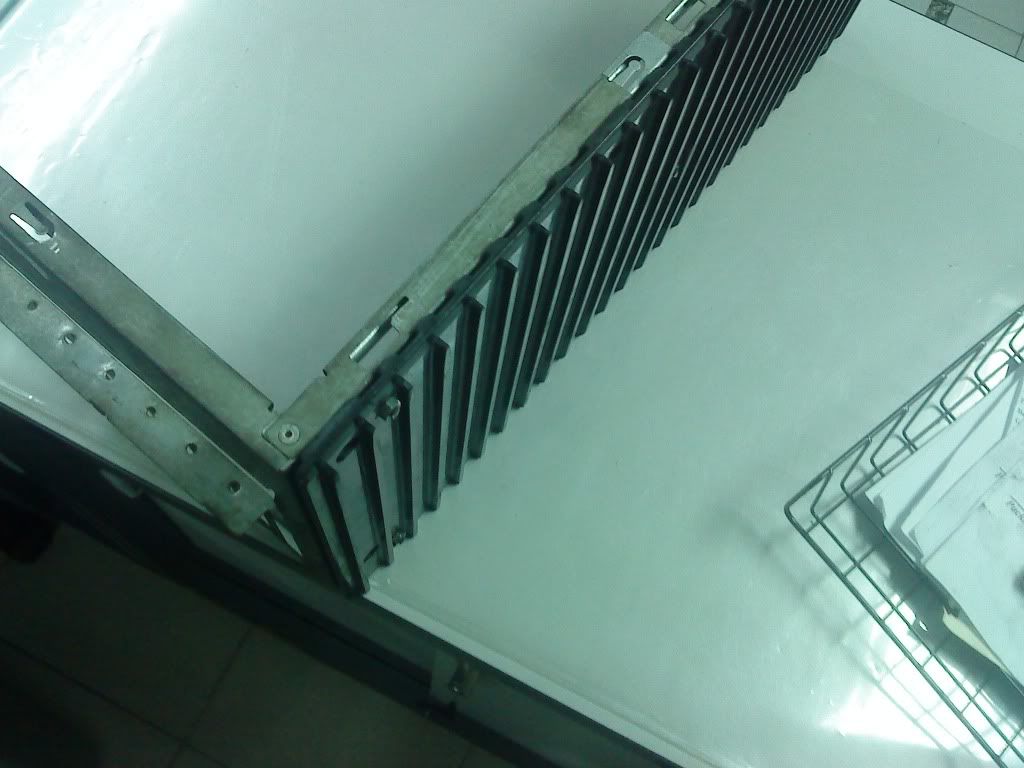
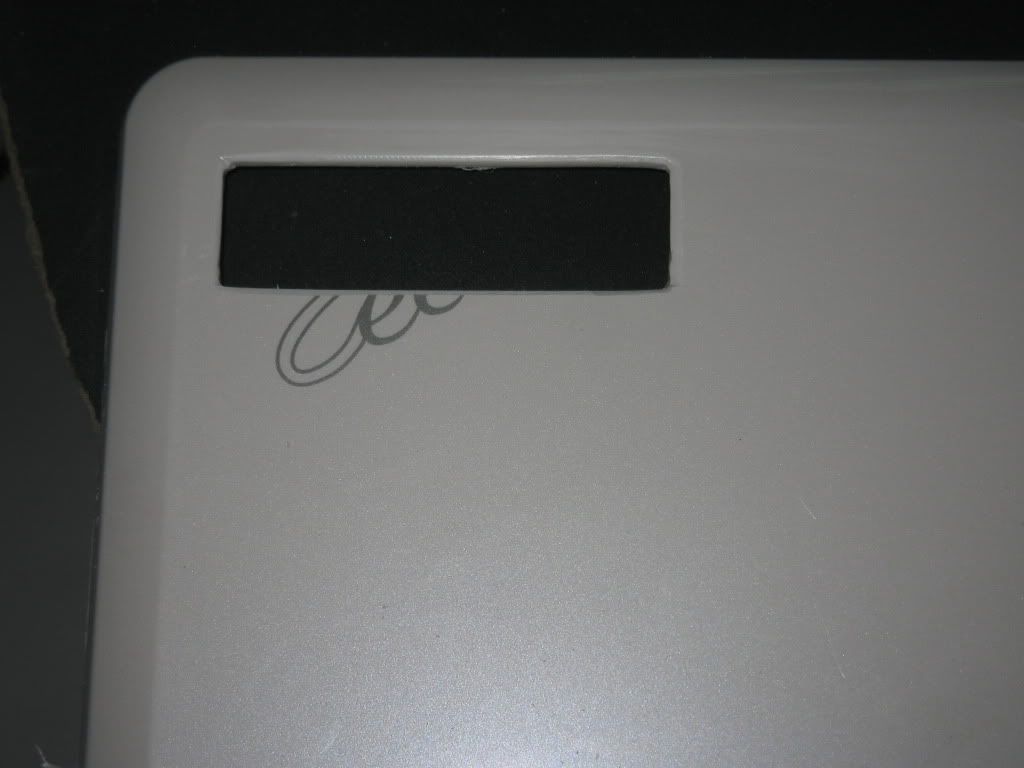
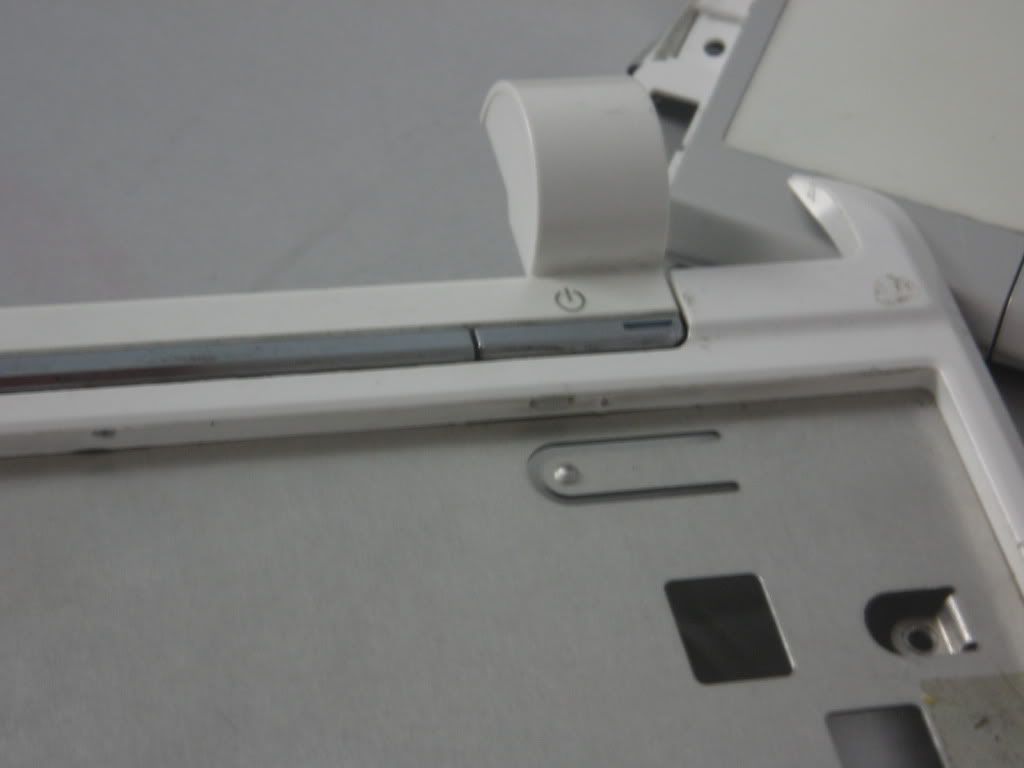
the nearer view of the main body

ya I know it's crap, the outlet fan need retouch, the whole rig need reinforcement
and it badly need some new coat of paint
that is for now of the rig pictures
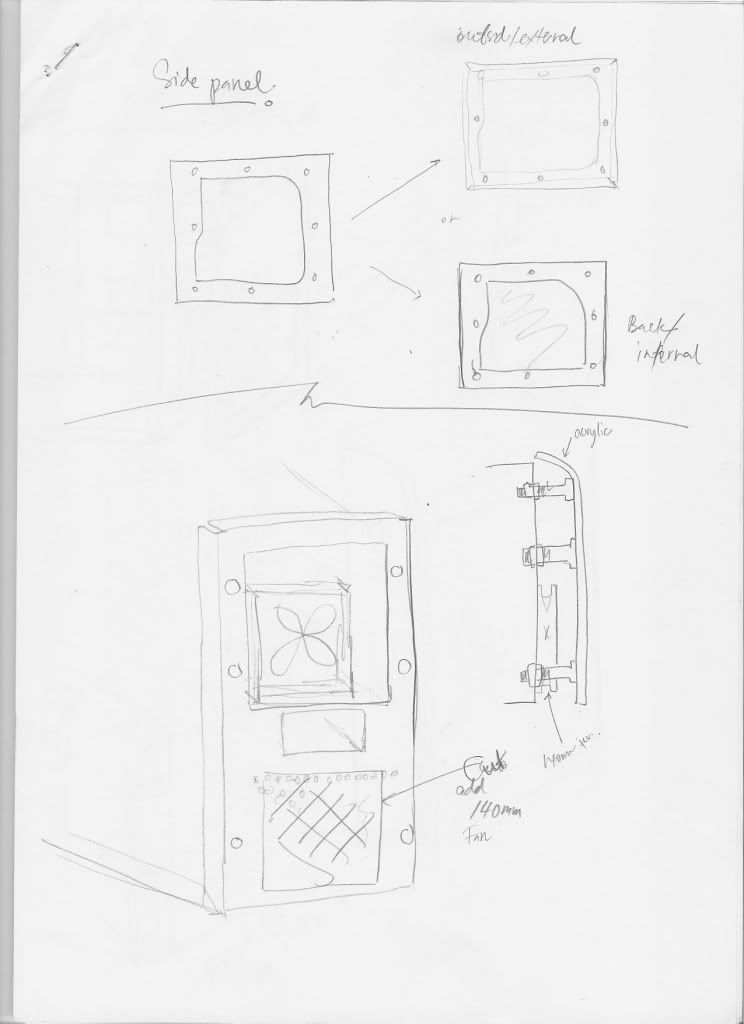
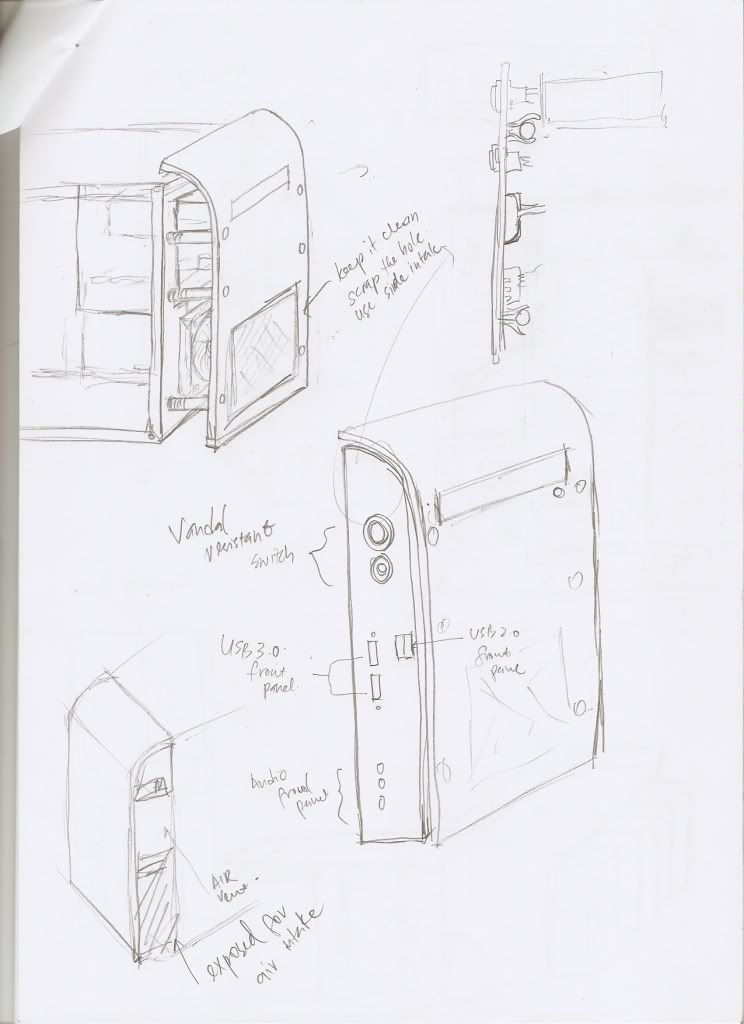
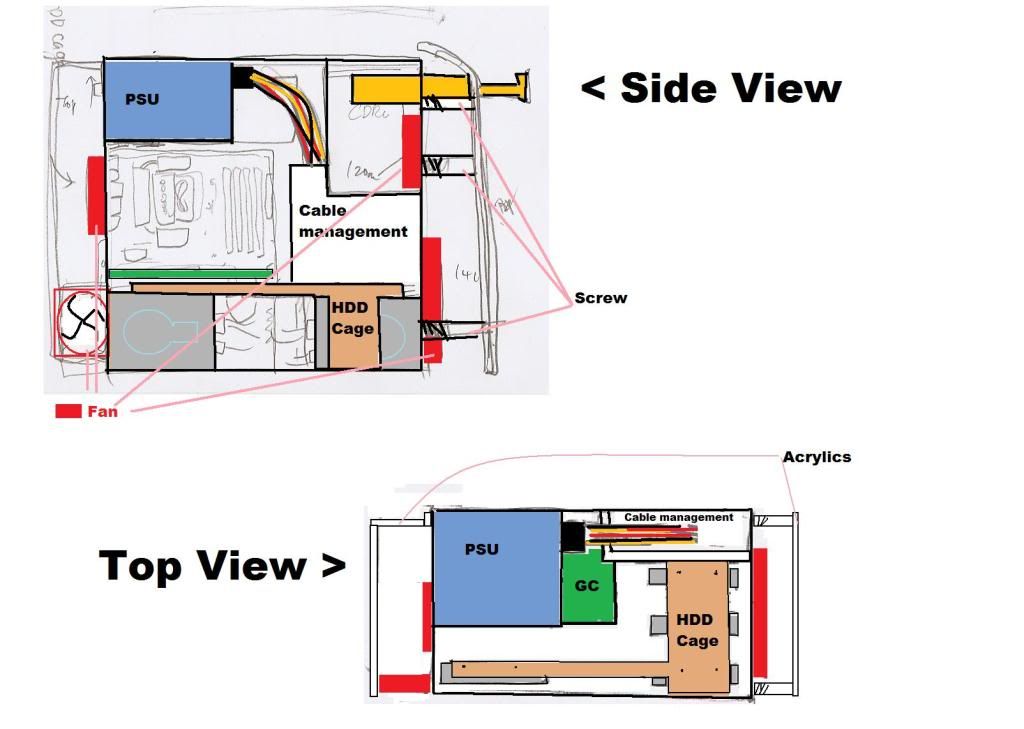
the next post is dedicated for some plan drawings (freehand style)
thank for viewing
I will try my best to drag it out the best i can
make it like an EPIC GRANPA story
This post has been edited by mcchin: Mar 17 2011, 03:42 PM
 Quote
Quote


 )
)


 whoever they may be.
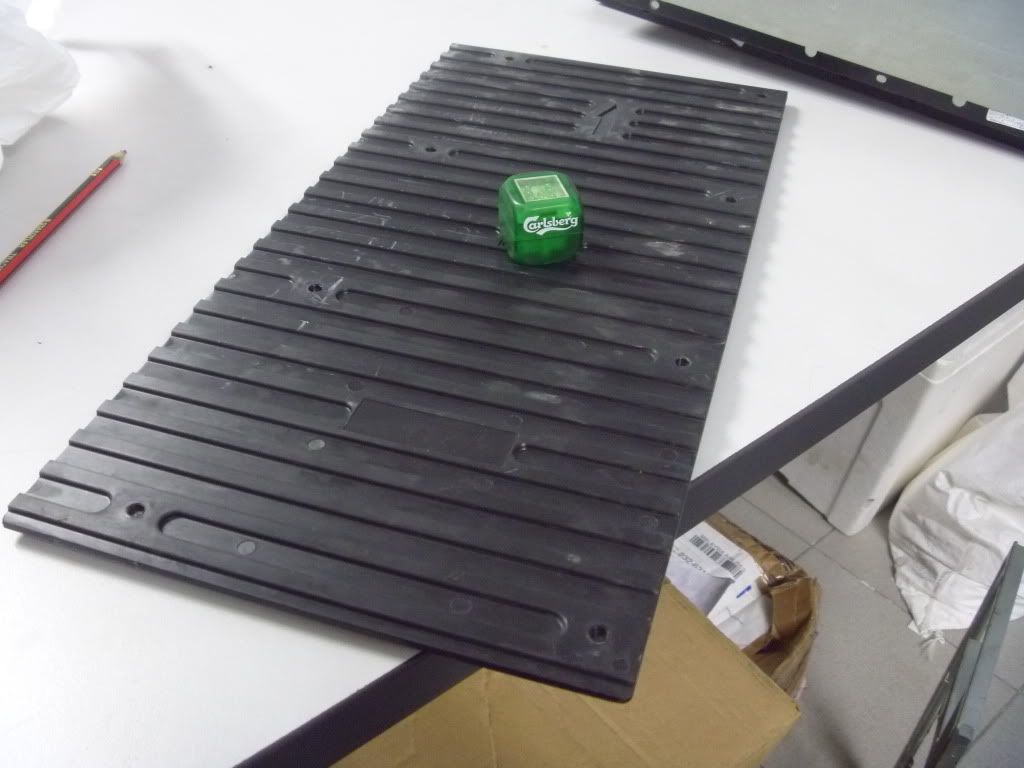

 \
\

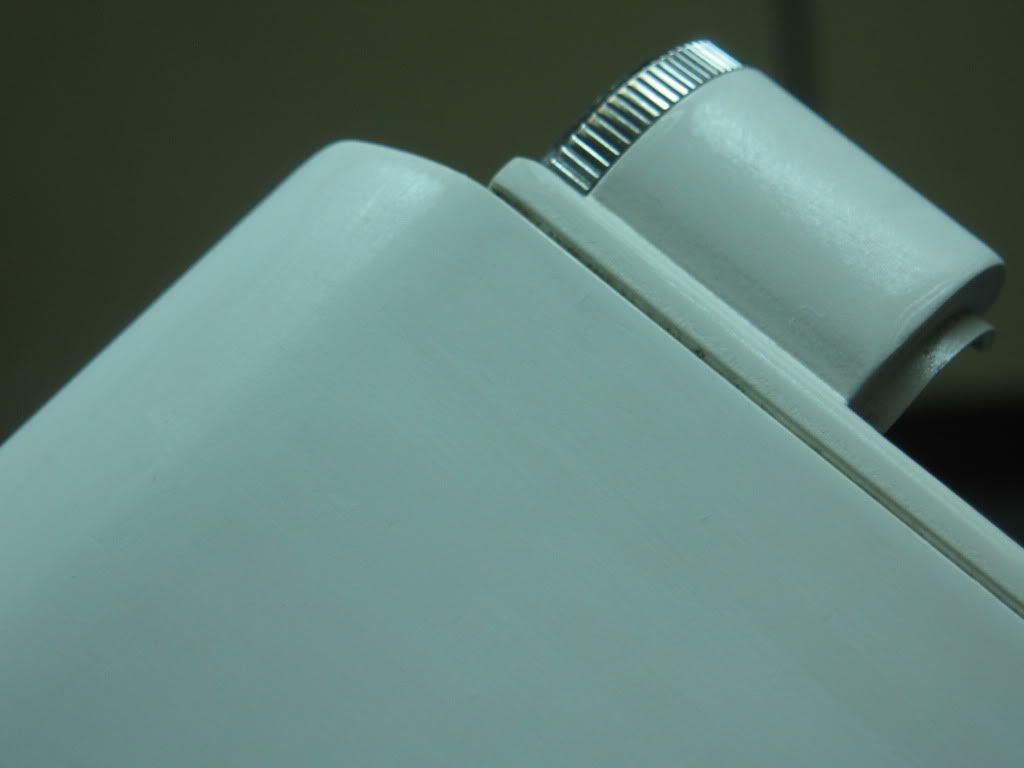
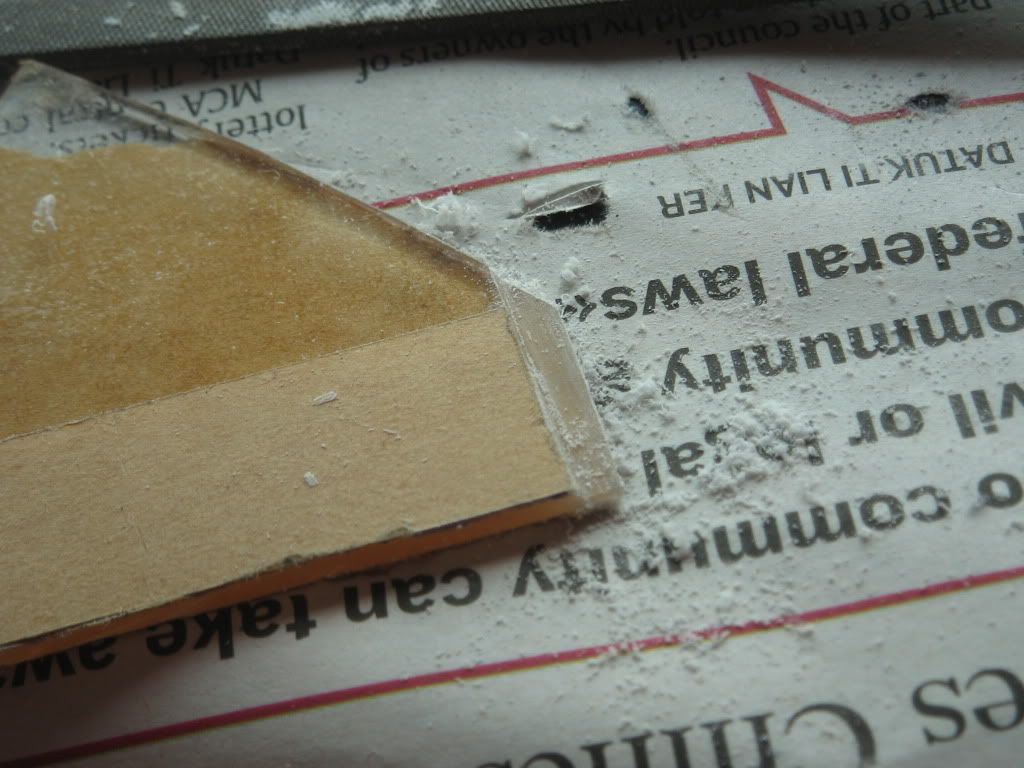
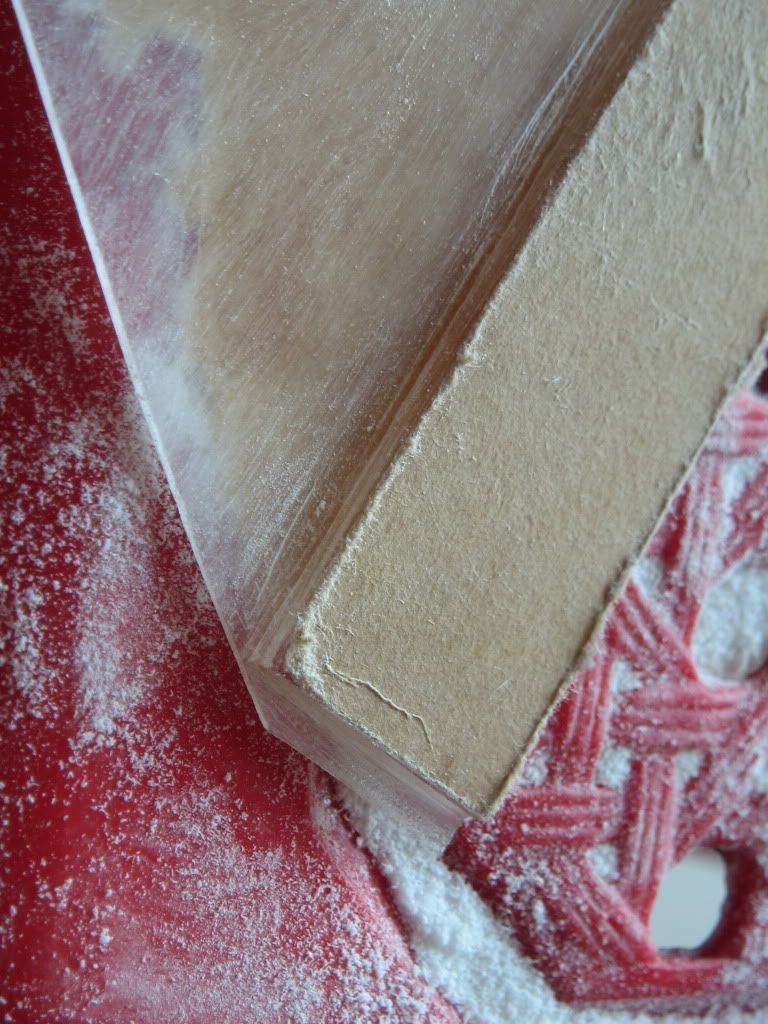
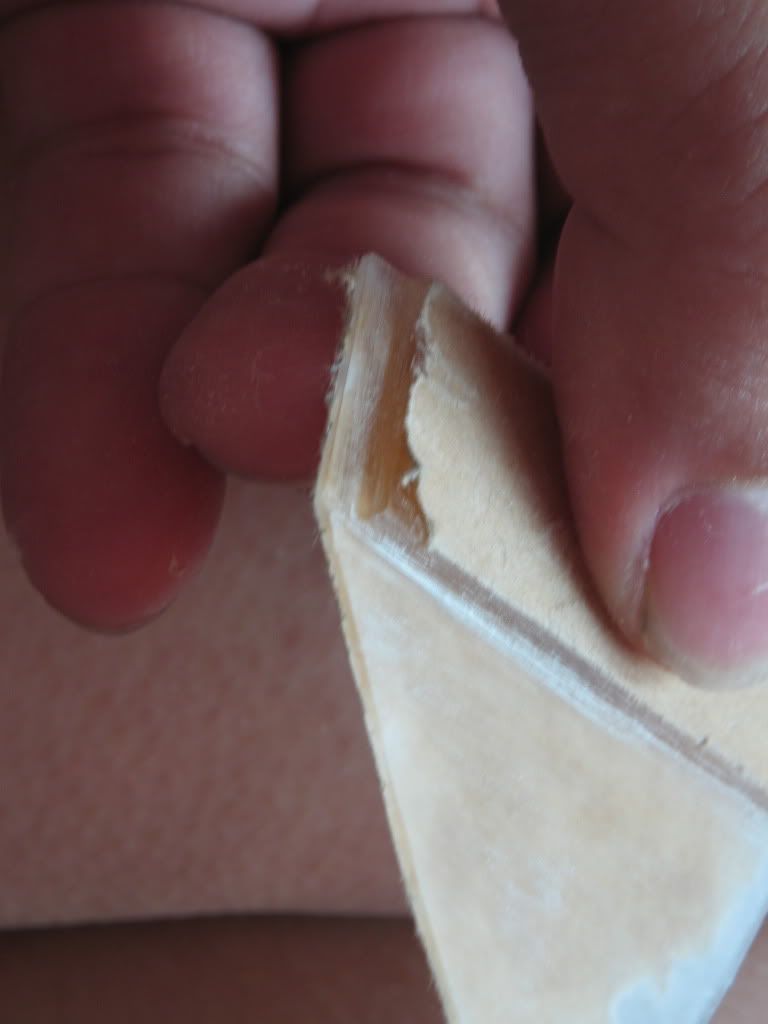
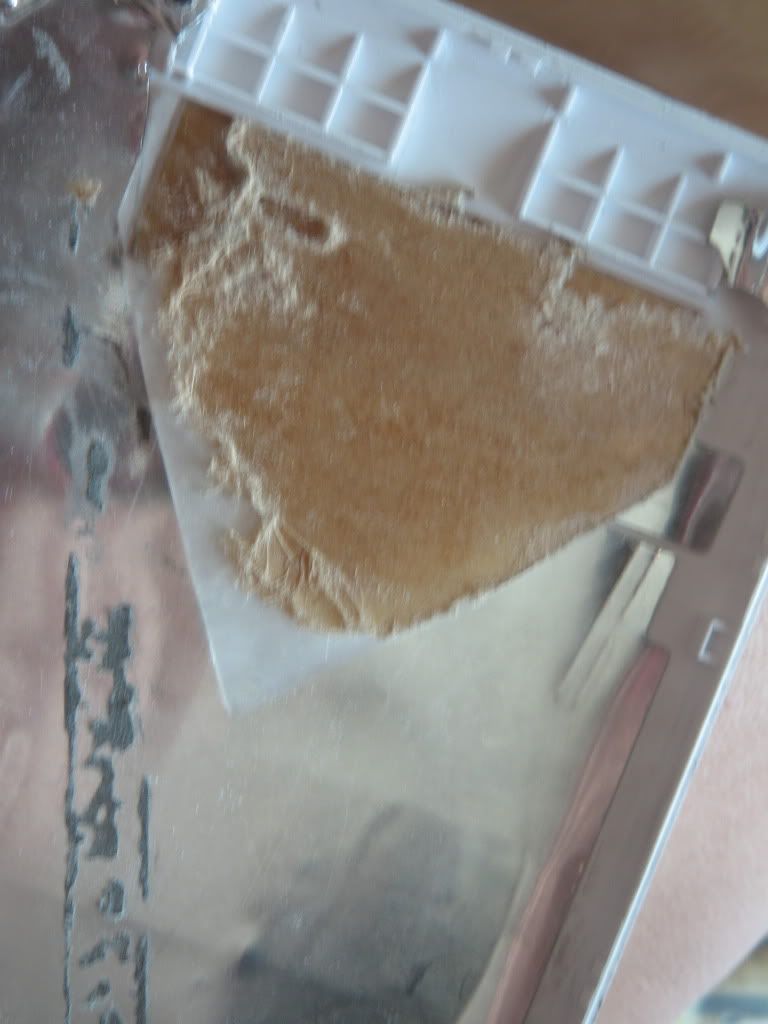
 . Sanding just makes it worse, so OFF with the whole paint with the help of MEK- Methyl Ethyl Ketones

 Keep it up!
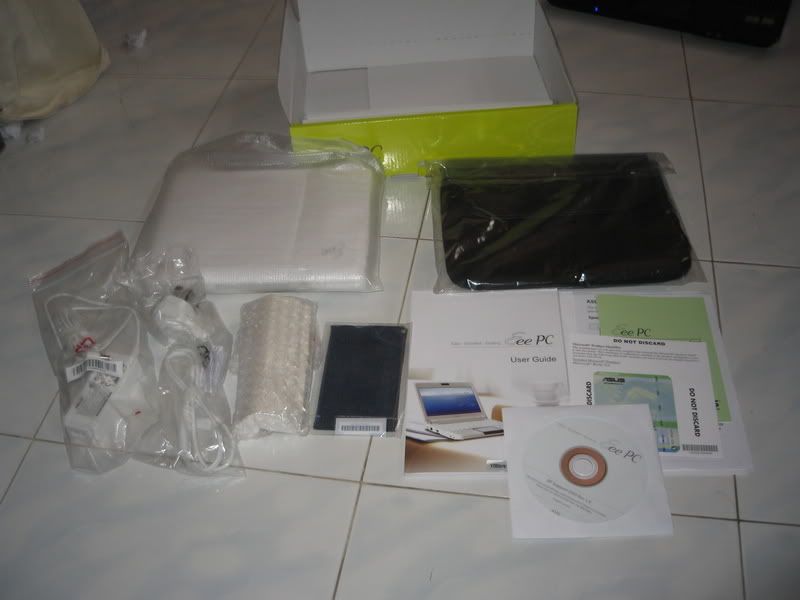


 0.0259sec
 1.44
1.44
 5 queries
 GZIP Disabled