

 Sep 26 2014, 11:49 AM, updated 10y ago

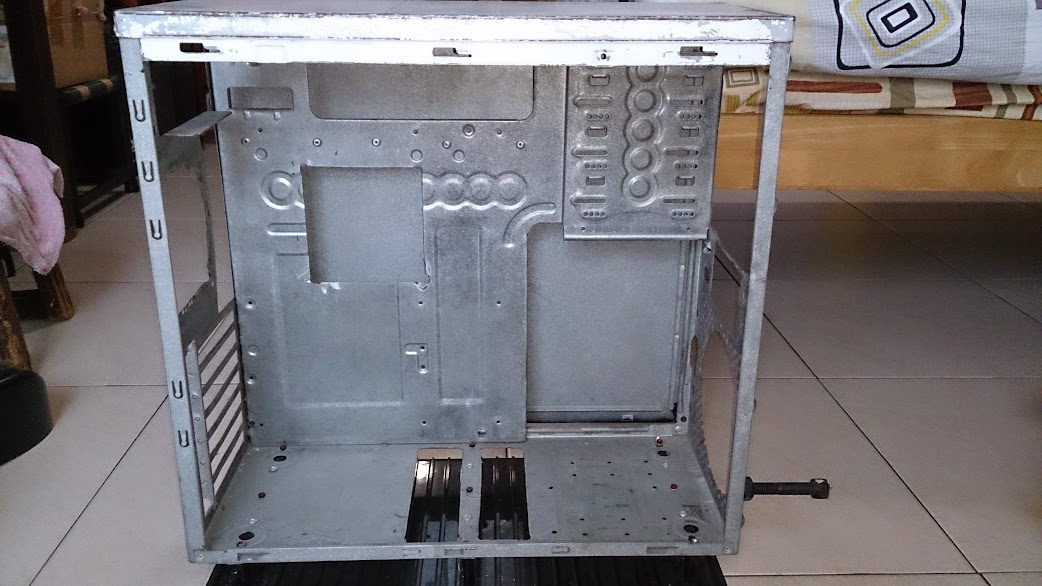
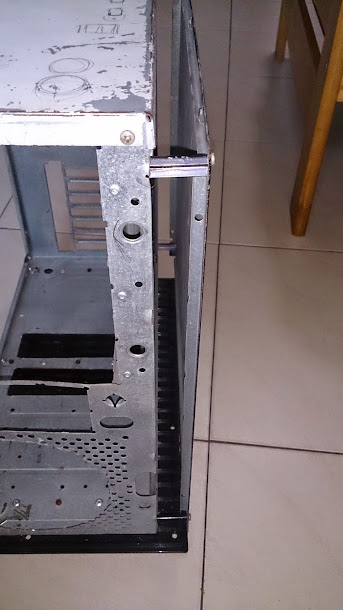
Been sleeping for on my case mod since 2011
https://forum.lowyat.net/topic/1738405
from like this:
to


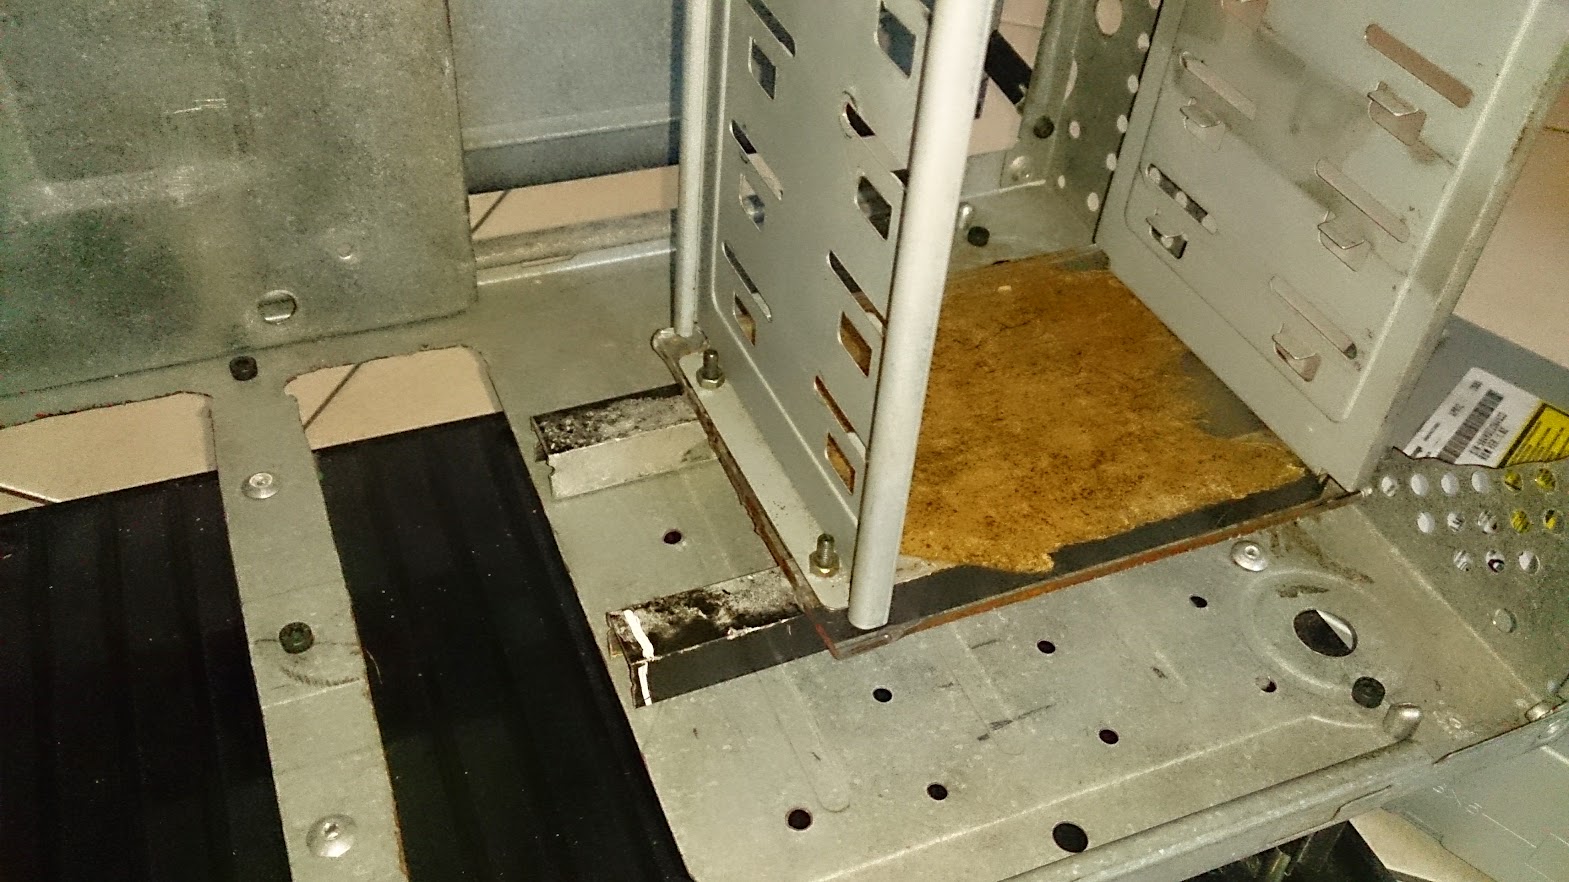
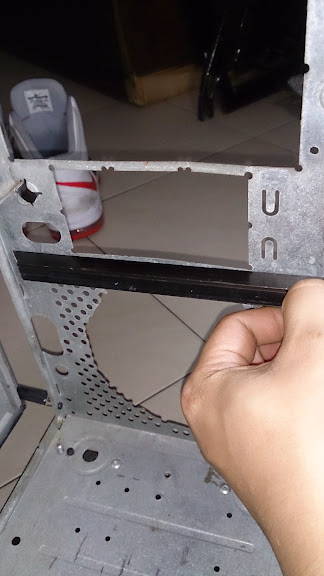
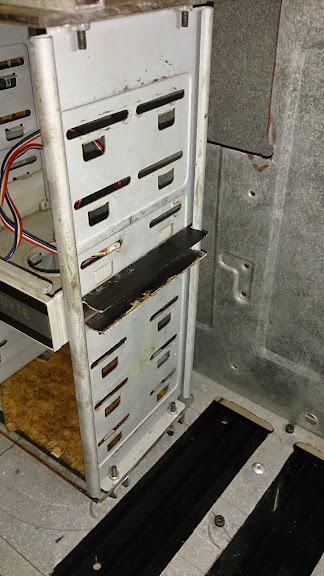
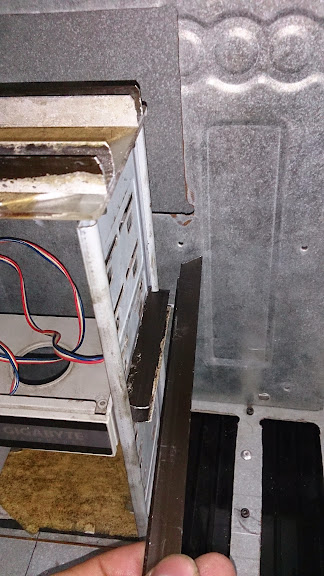
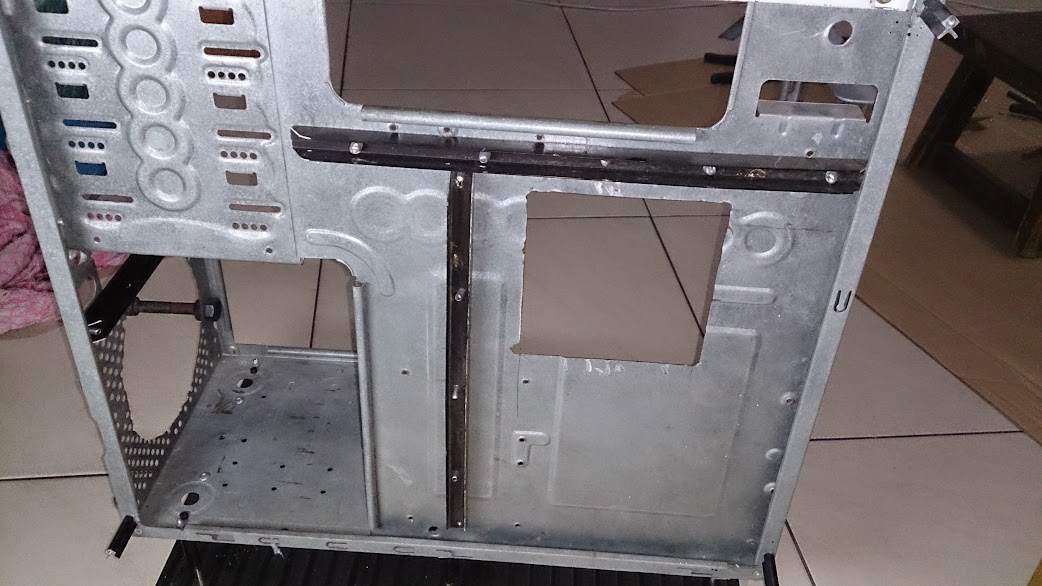
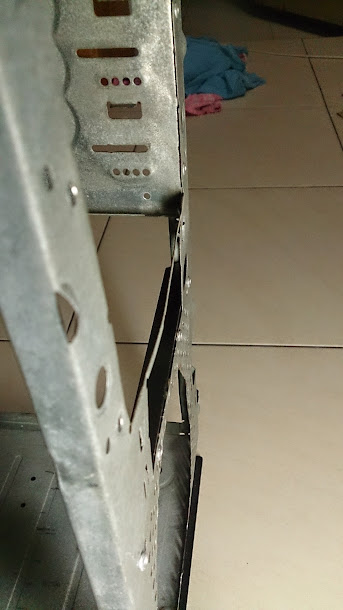
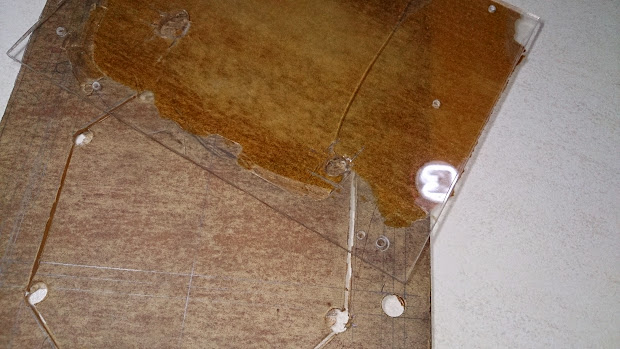
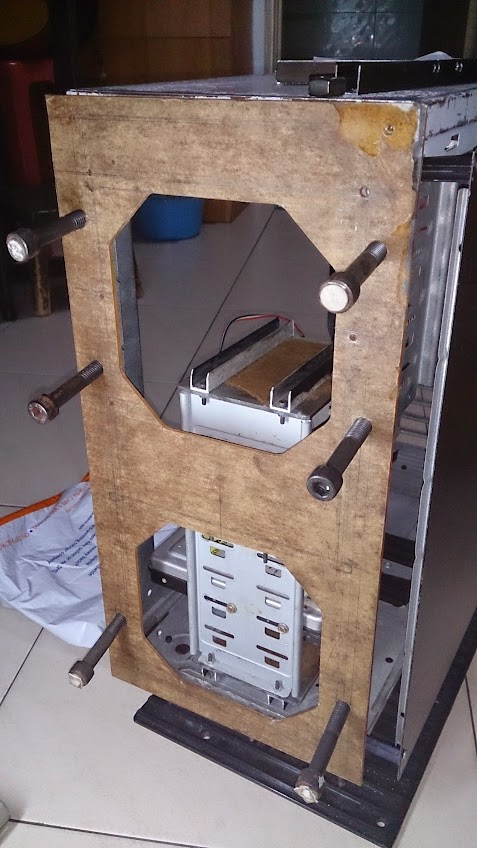
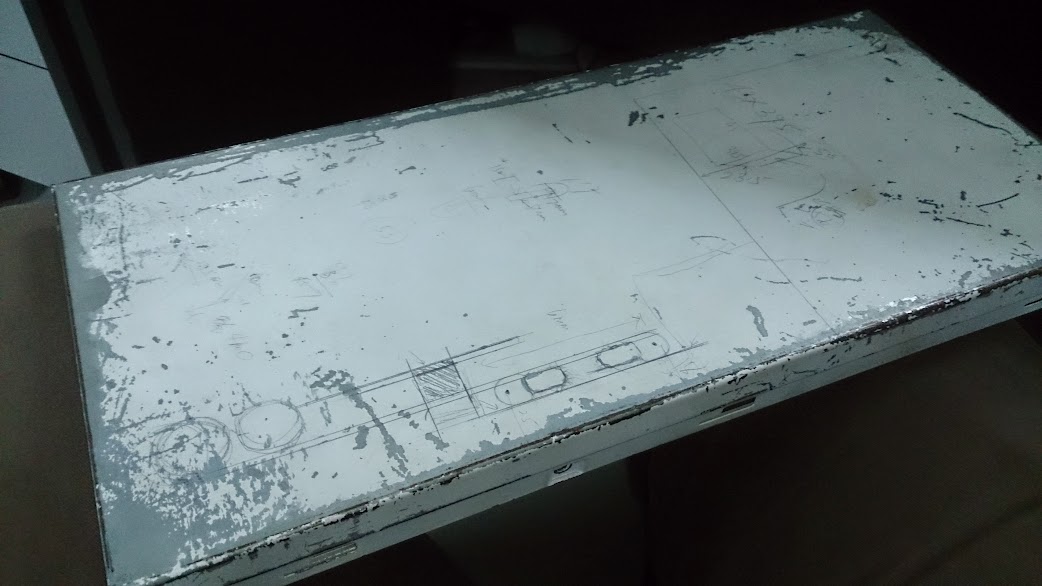
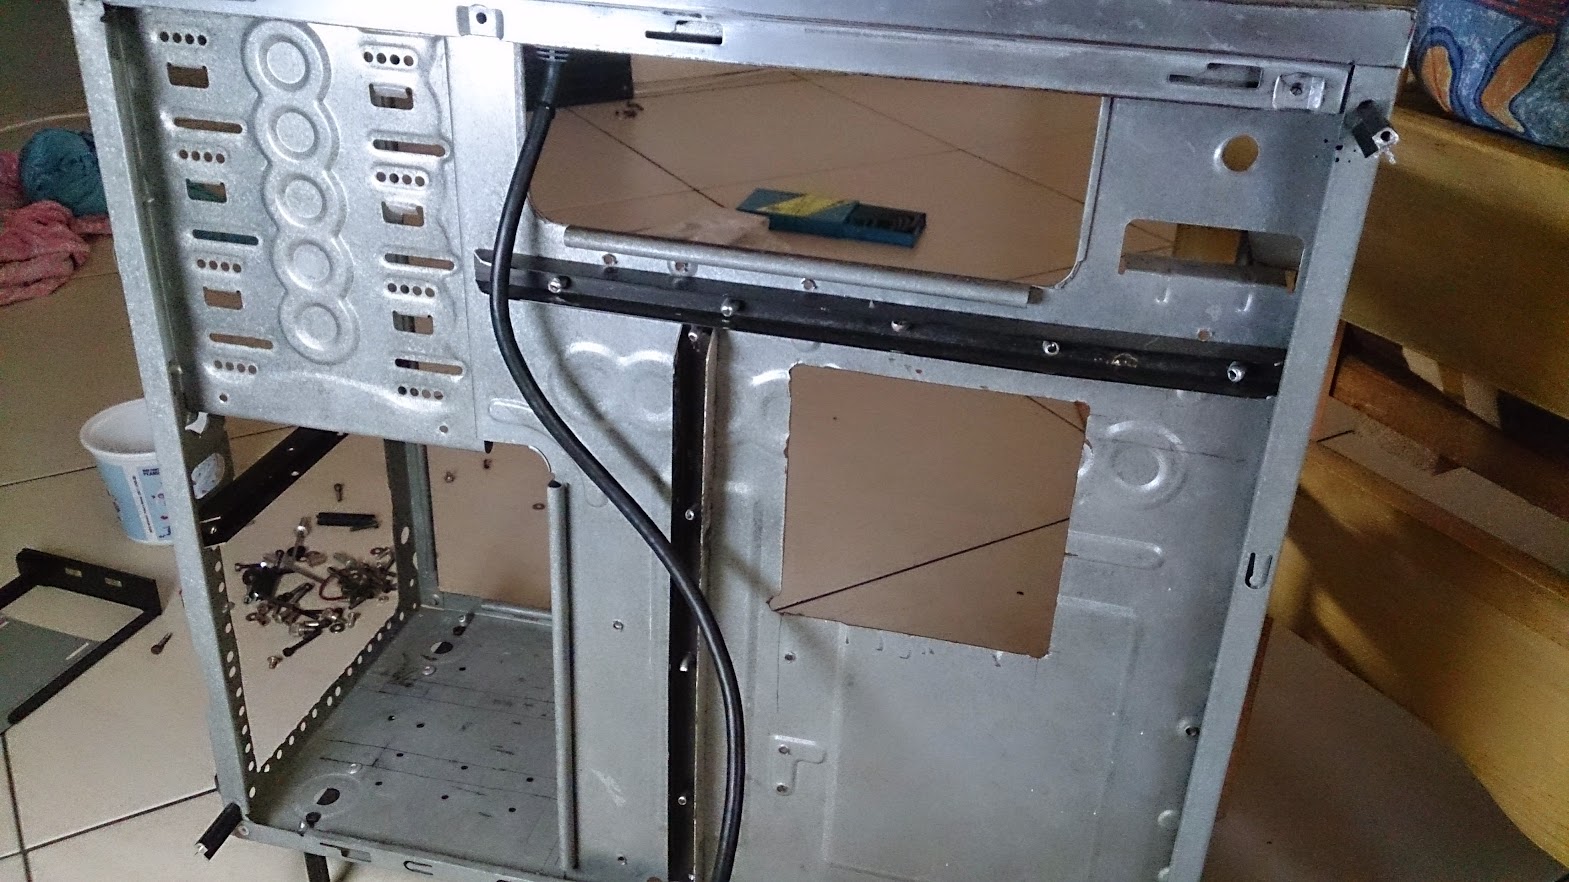
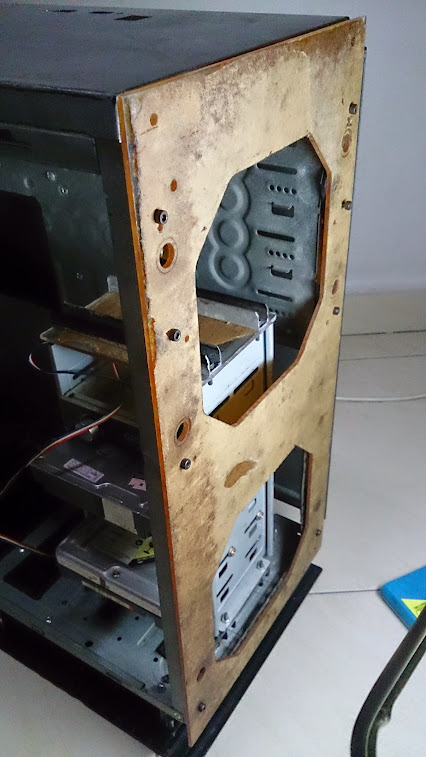
Man! Did I let it go to rot.....
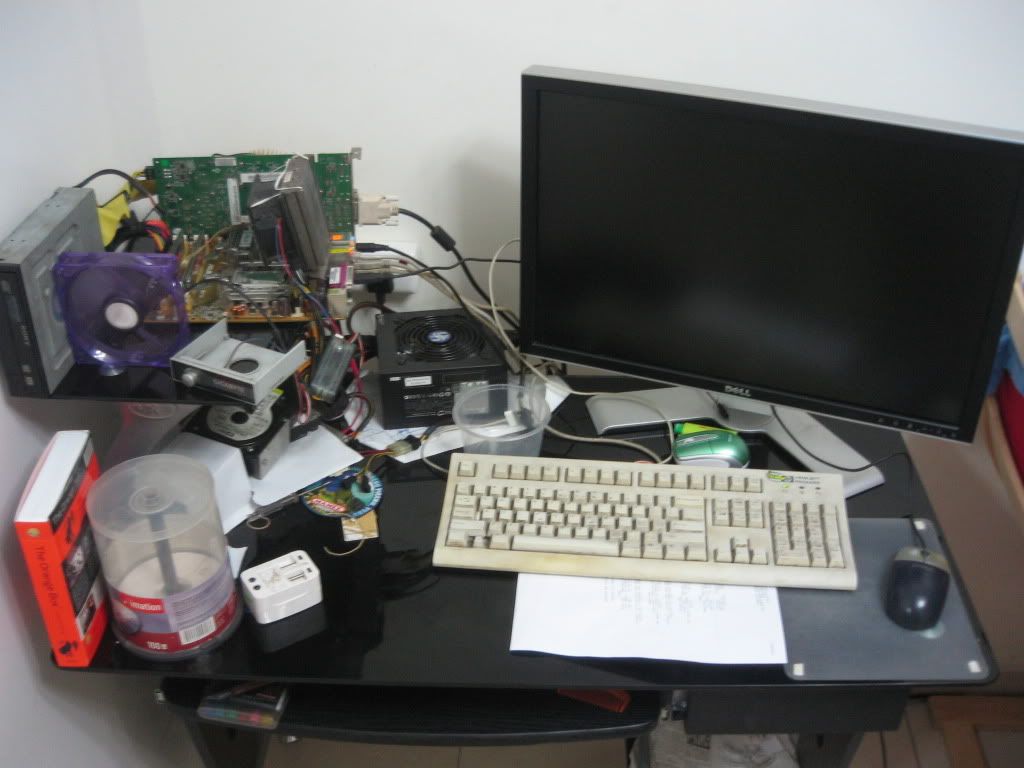
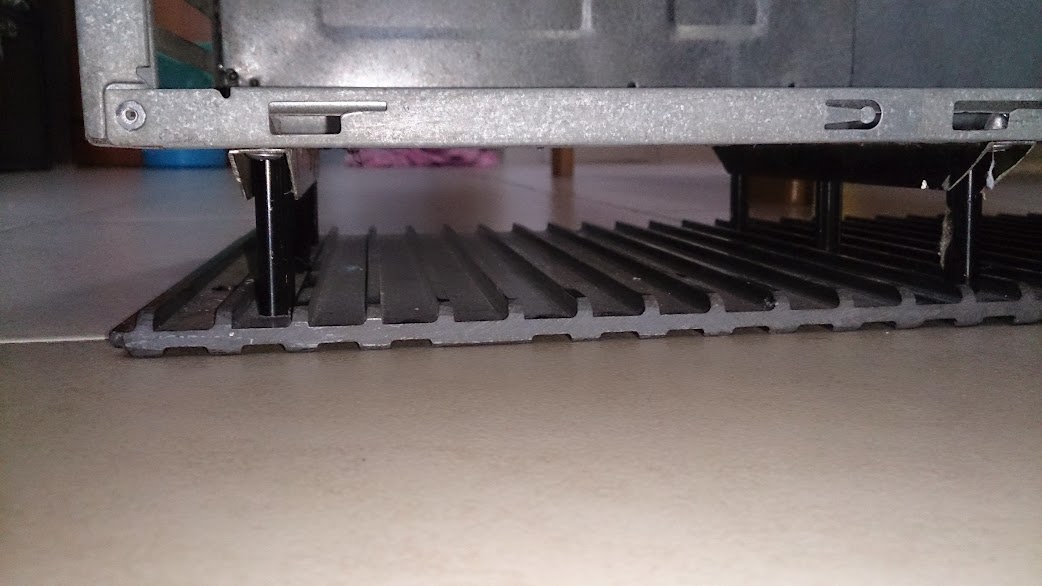
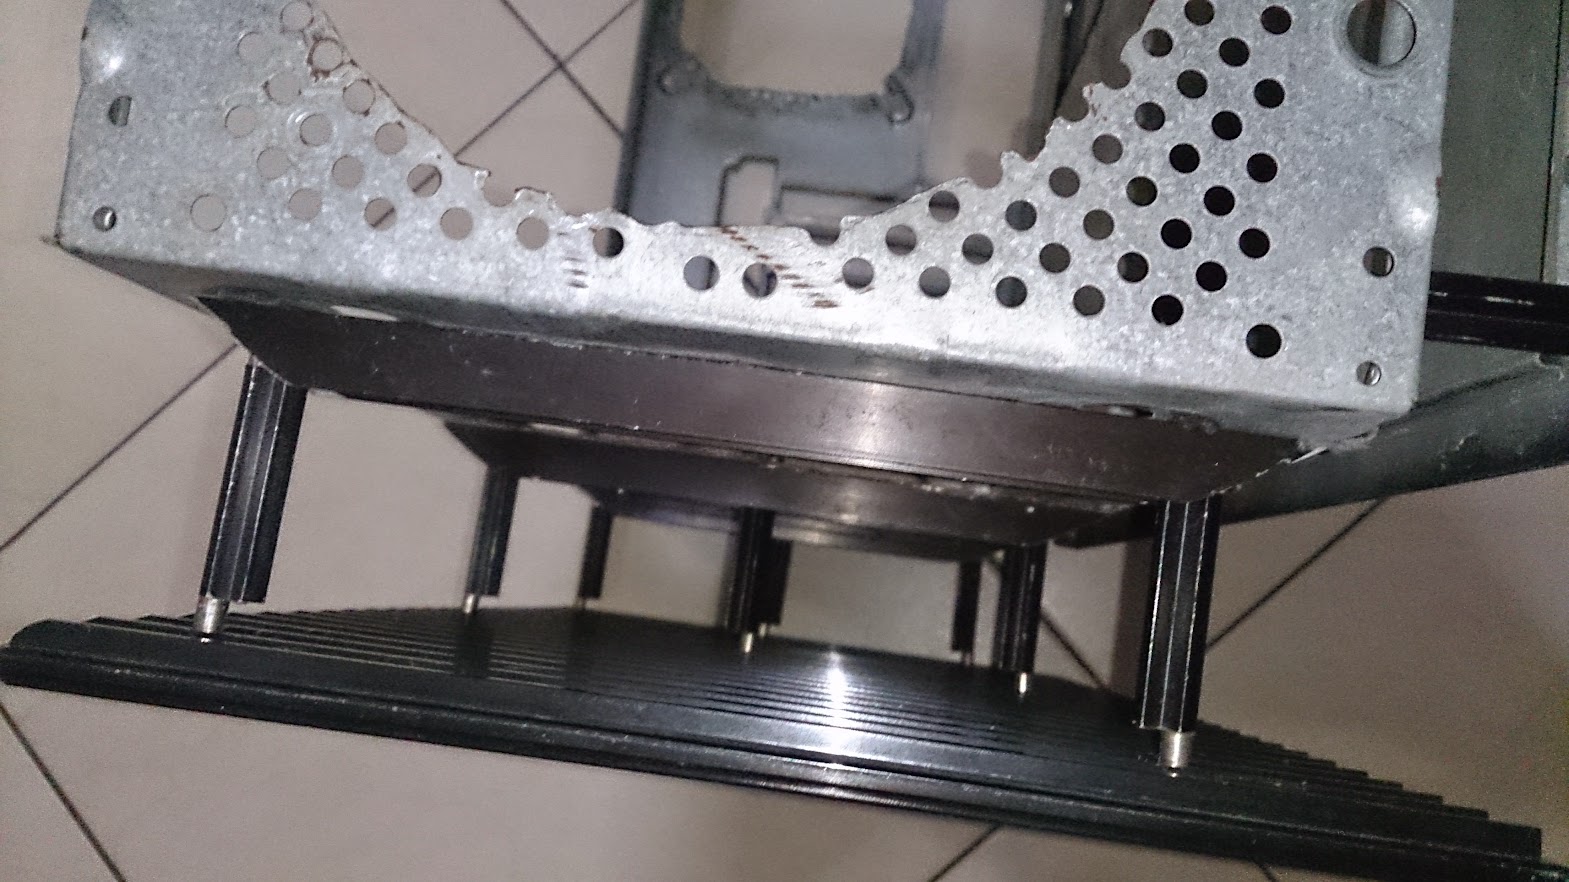
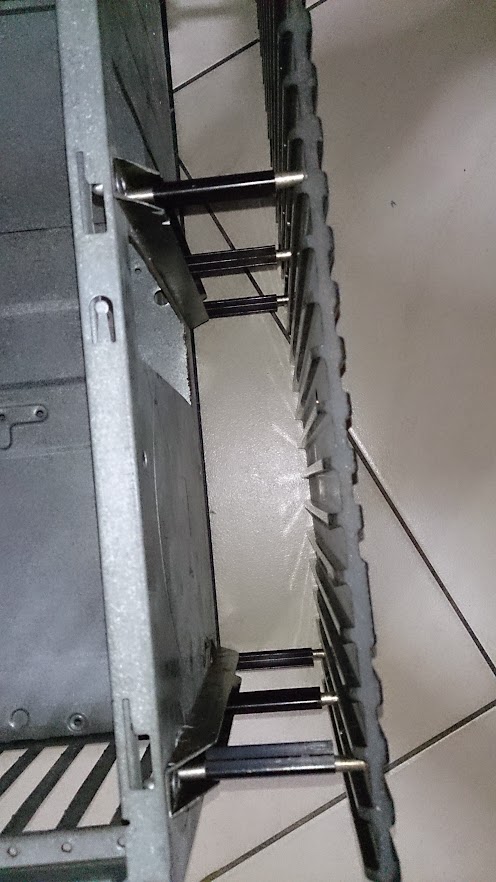
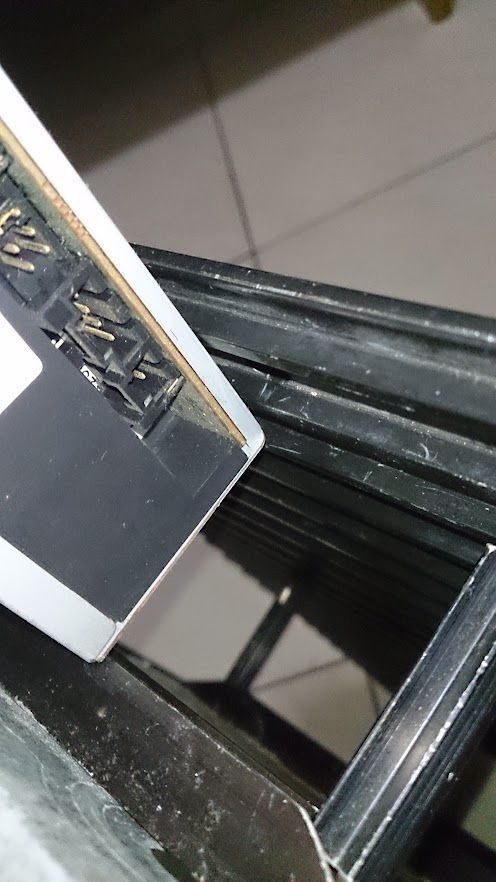
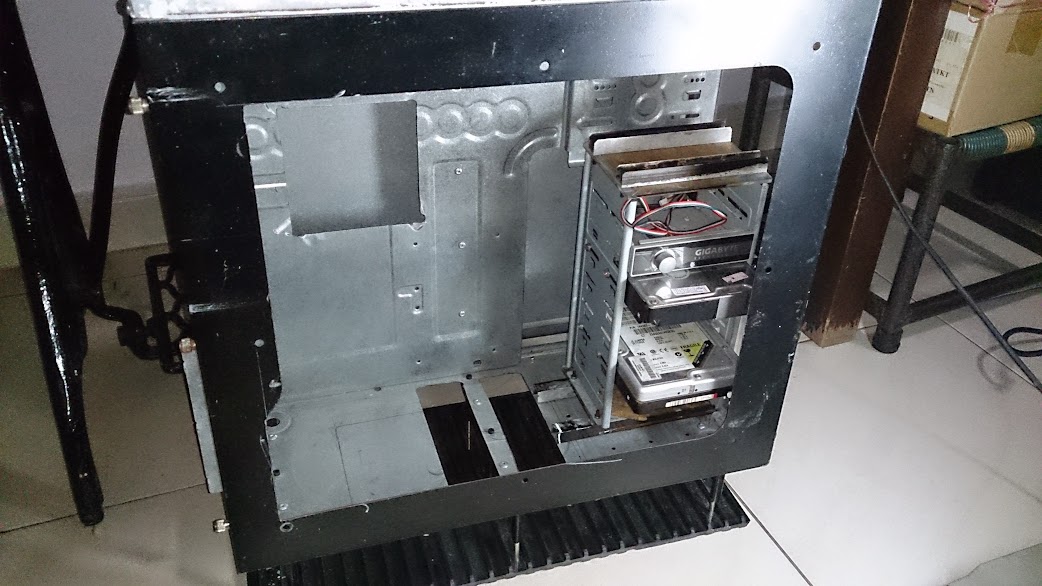
What you guys are seeing here..
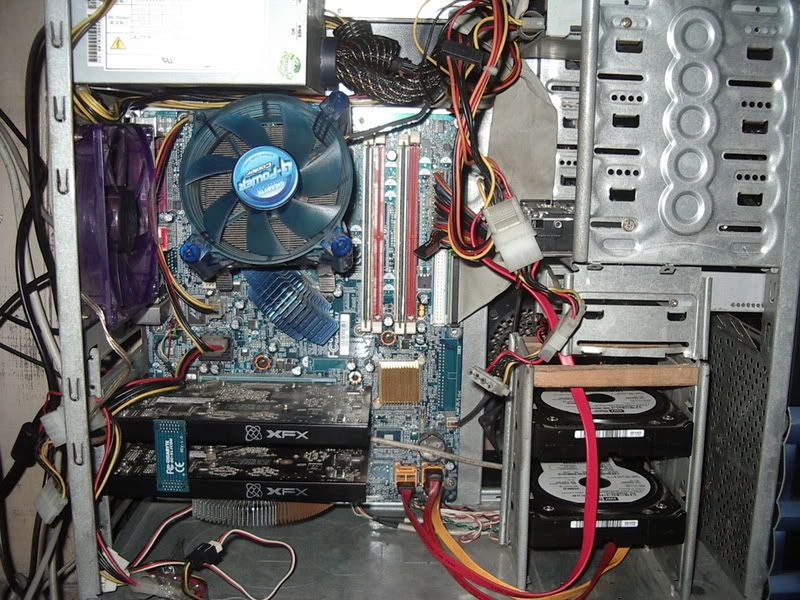
As of September 2014, my rig:
Intel Core i7 2600K
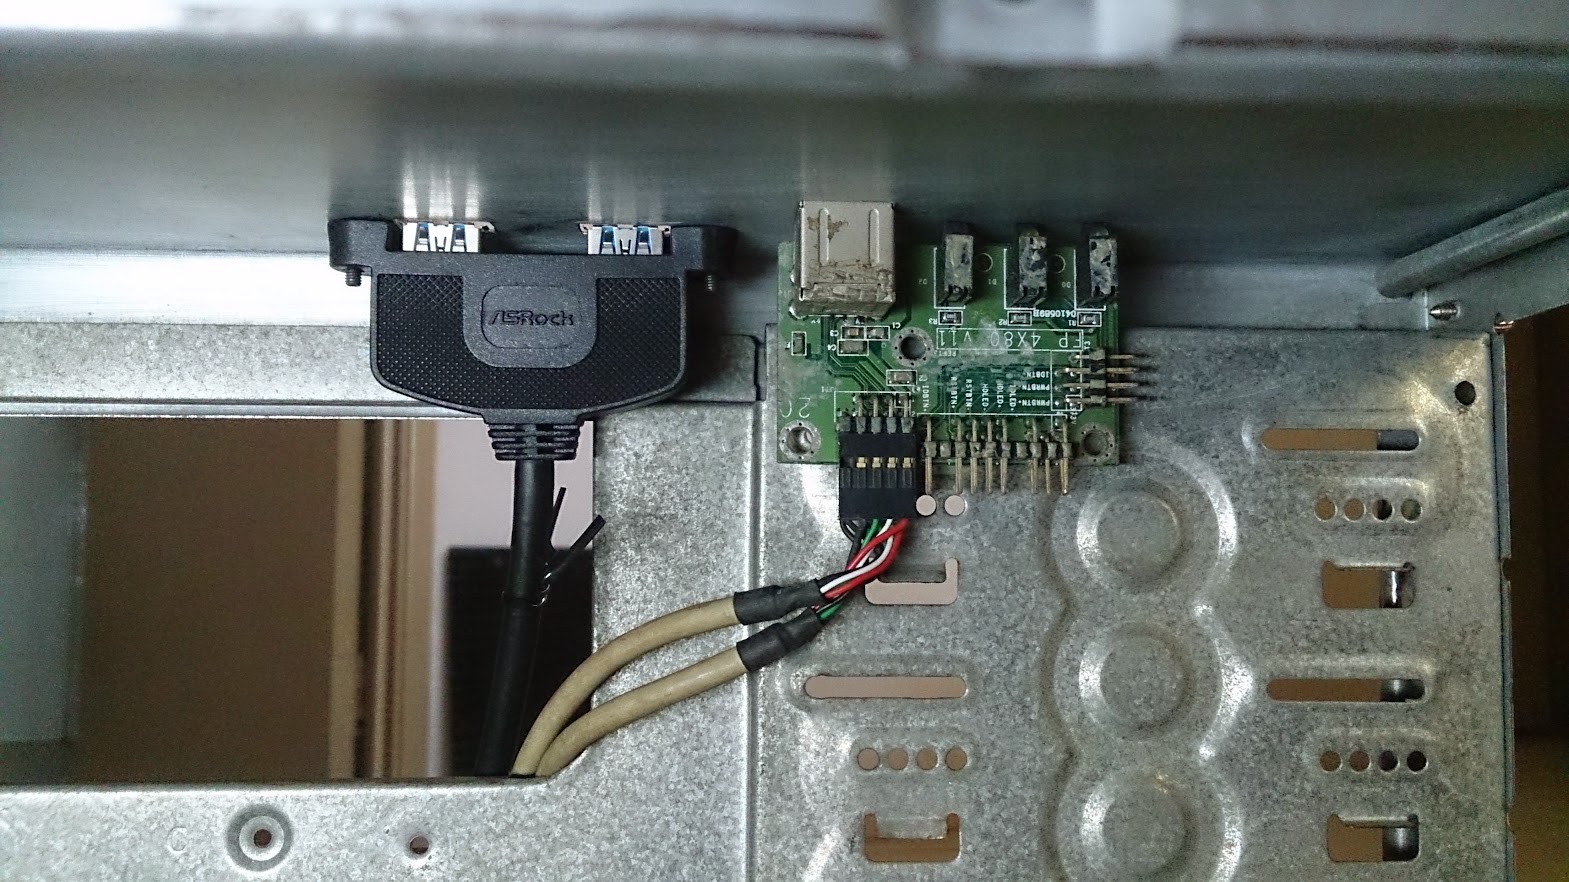
Asrock P67 Profesional (fatal1ty) motherboard
4x 2GB DDR 1600MHz
2x Nvidia 9600GT 512MB
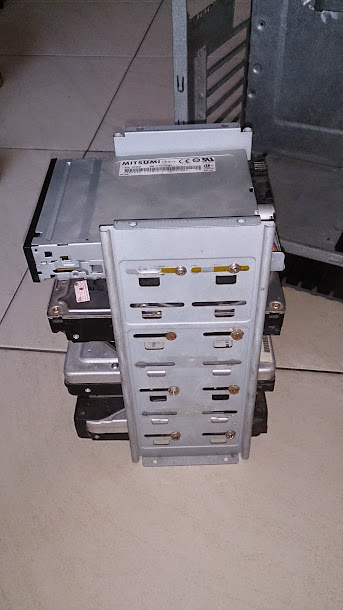
4+ HDD
Seasonic S12D 750W PSU
Dell U2414h (pictured here is Dell 2407WFP HC, which retired early Aug 2014)
What really re-boot back my old project?
This https://forum.lowyat.net/index.php?showtopic=3323198&hl=
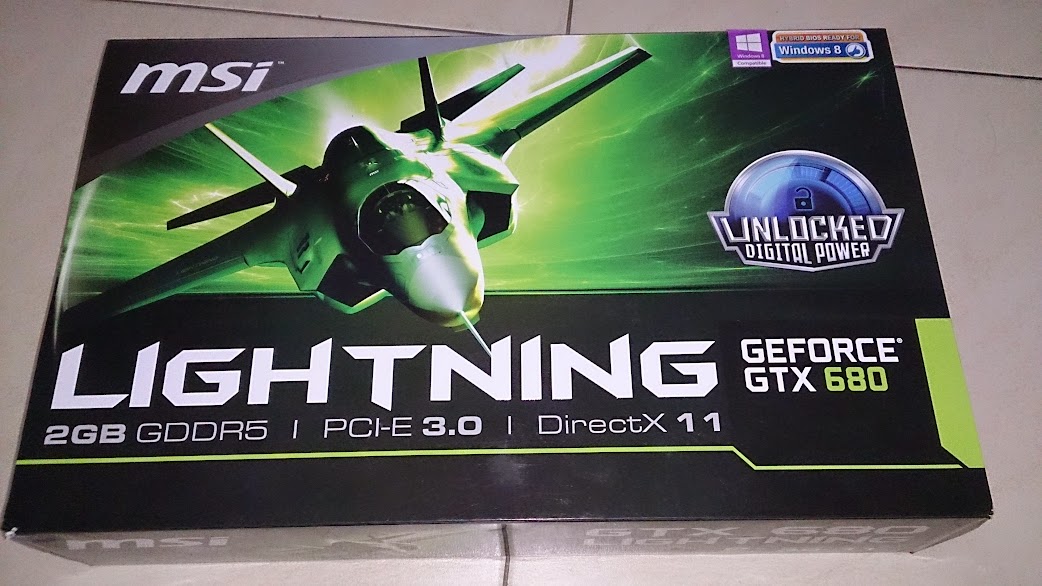
(for future reference if thread pruned, the link above goes to a selling page of MSI GTX680 Lightning at irresistible prices, for me at least)
And further compounded with the viewing of Nvidia Mod 24 (an event to commemorate the release of GTX980, with 3 teams to mod case withing 24hrs, and stream live in twitch)
https://www.google.com.my/search?client=ope...WHcvM8gWPv4LoBg

I got the GTX680 a week back and till now not yet connected...

» Click to show Spoiler - click again to hide... «
RT8081 liked this post
 Quote
Quote


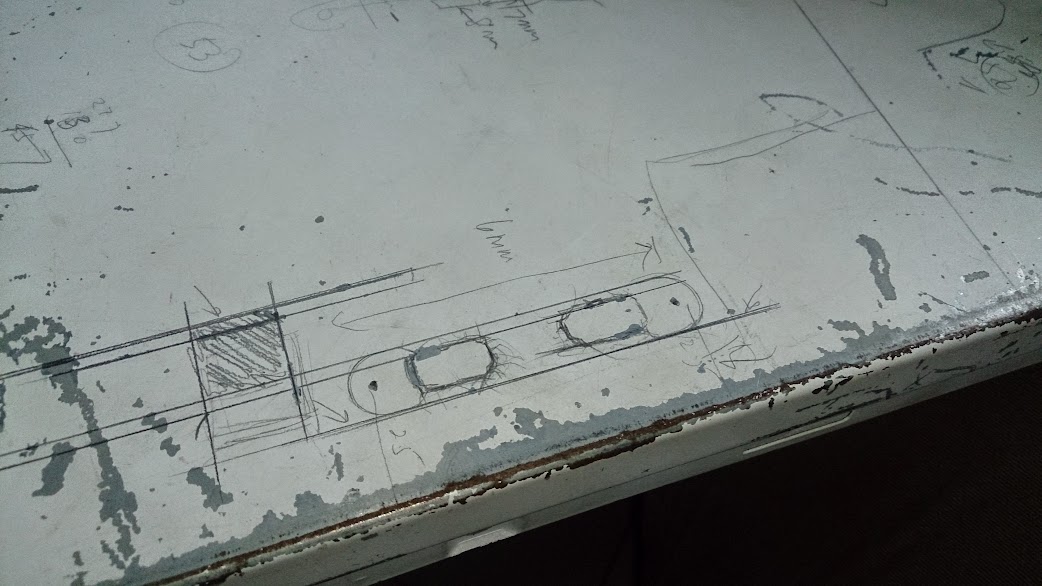
 thinking too far ahead...


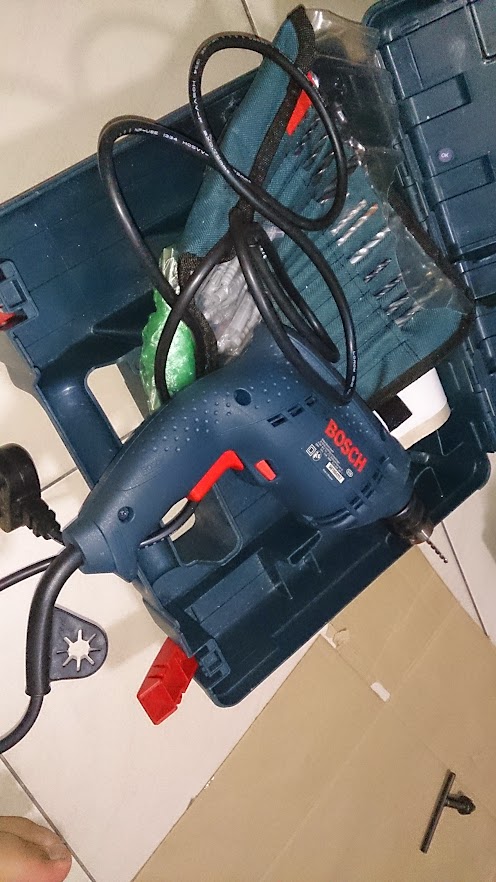


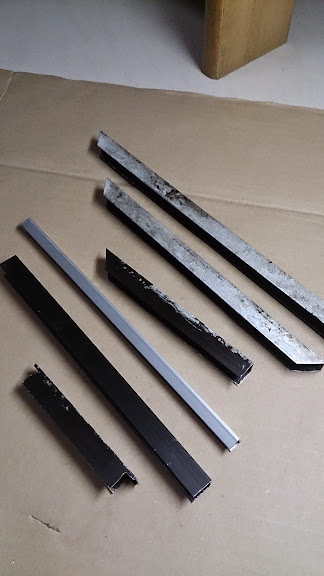
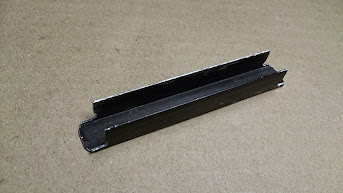


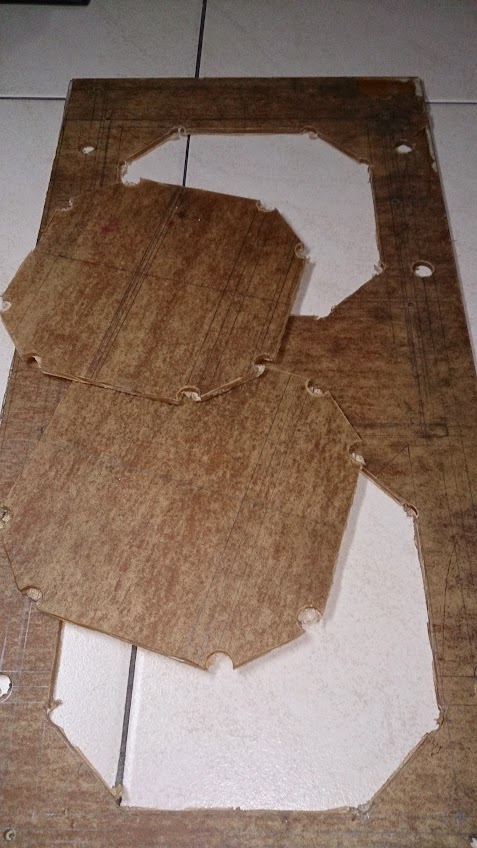
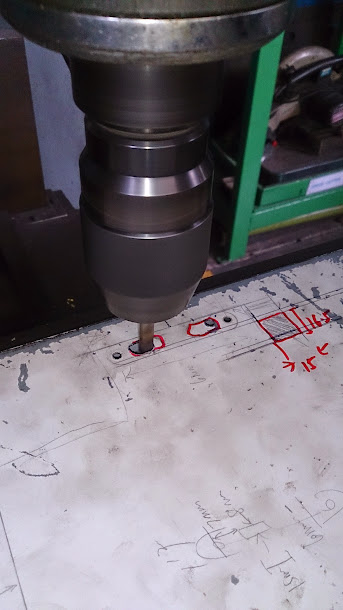
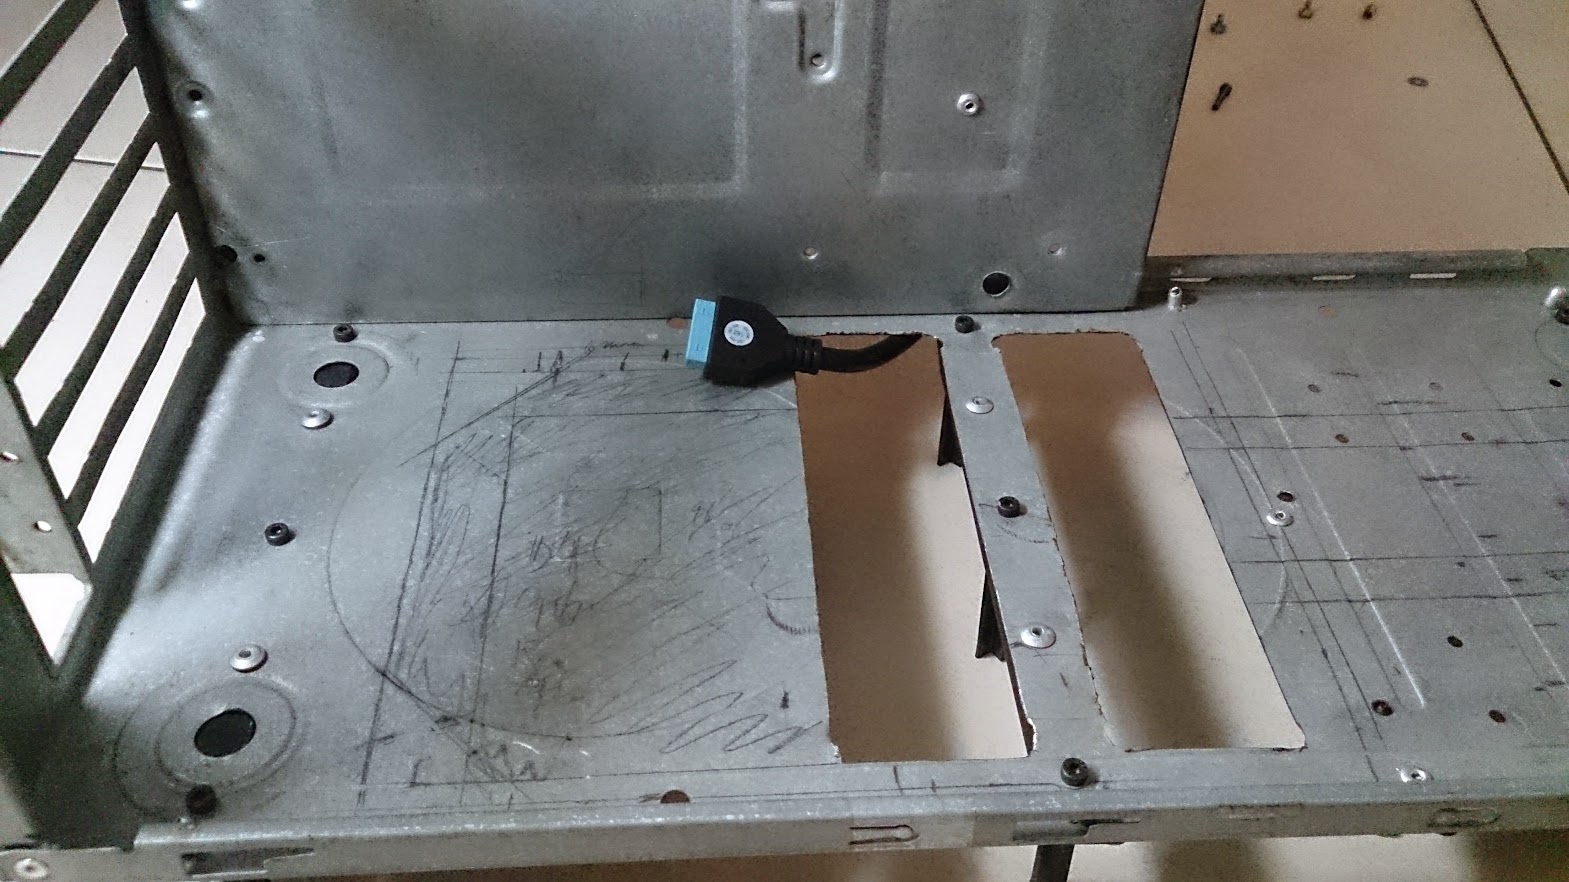
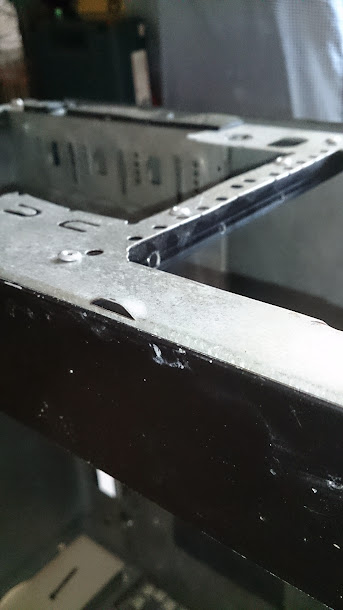
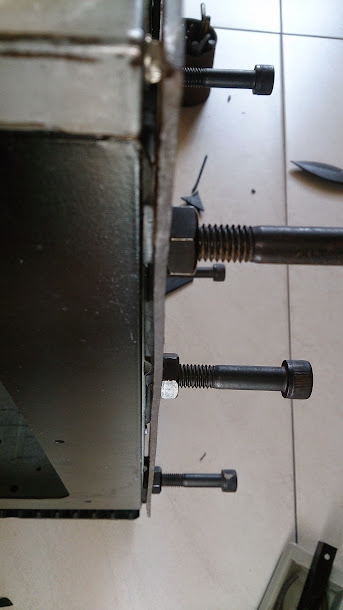
 for the bisingness of the grinder/ drill...


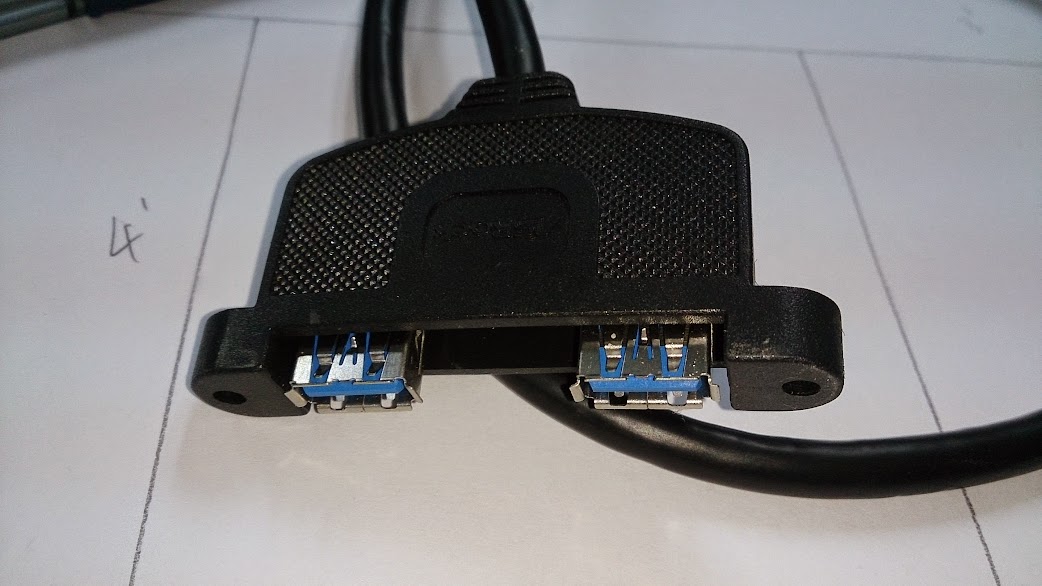


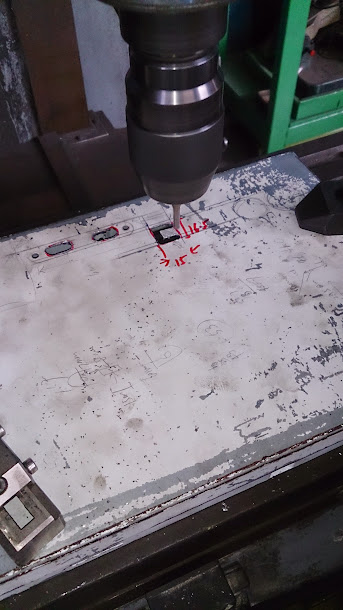

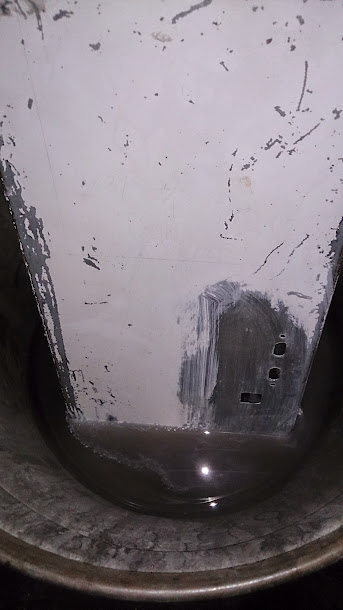

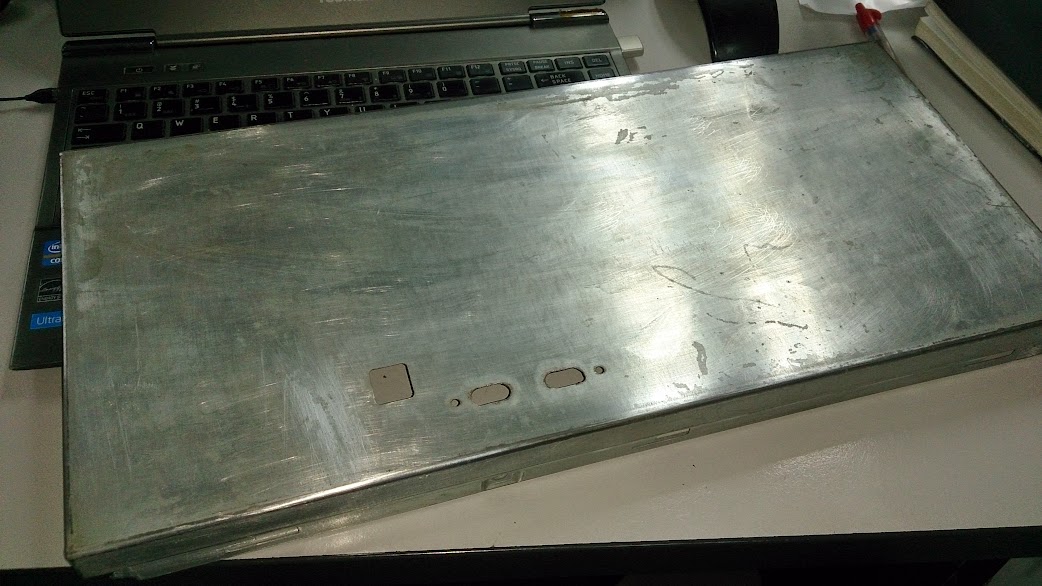
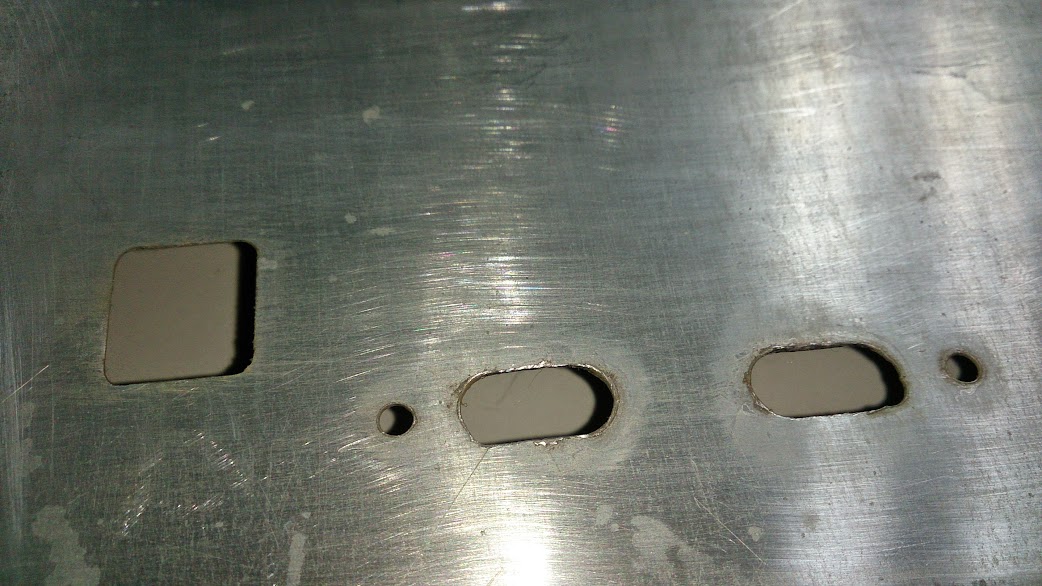
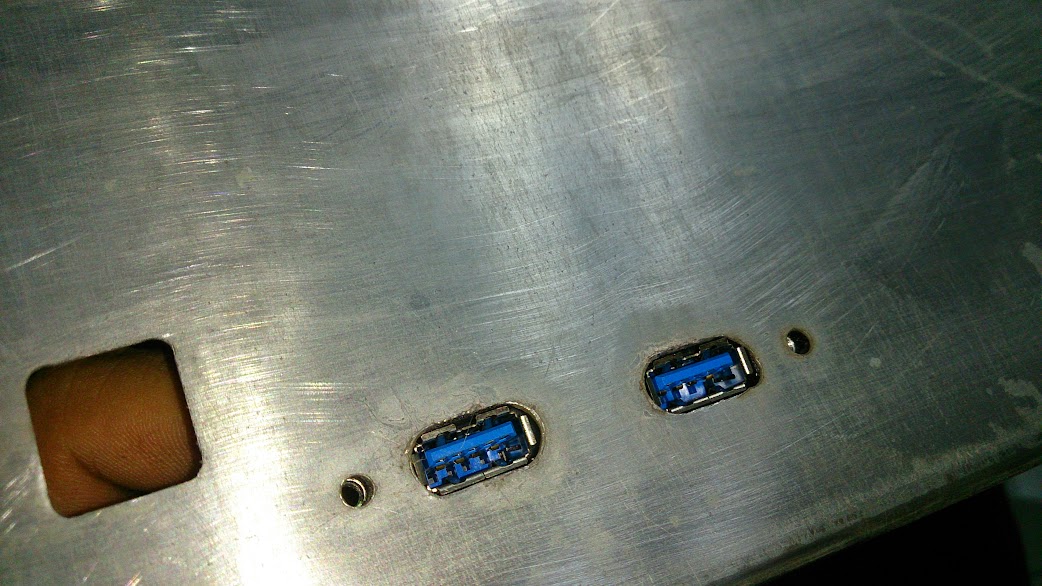


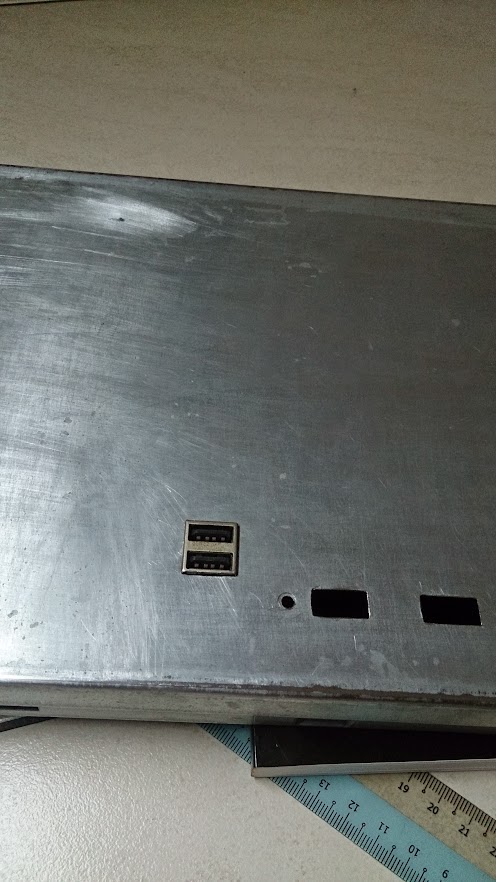
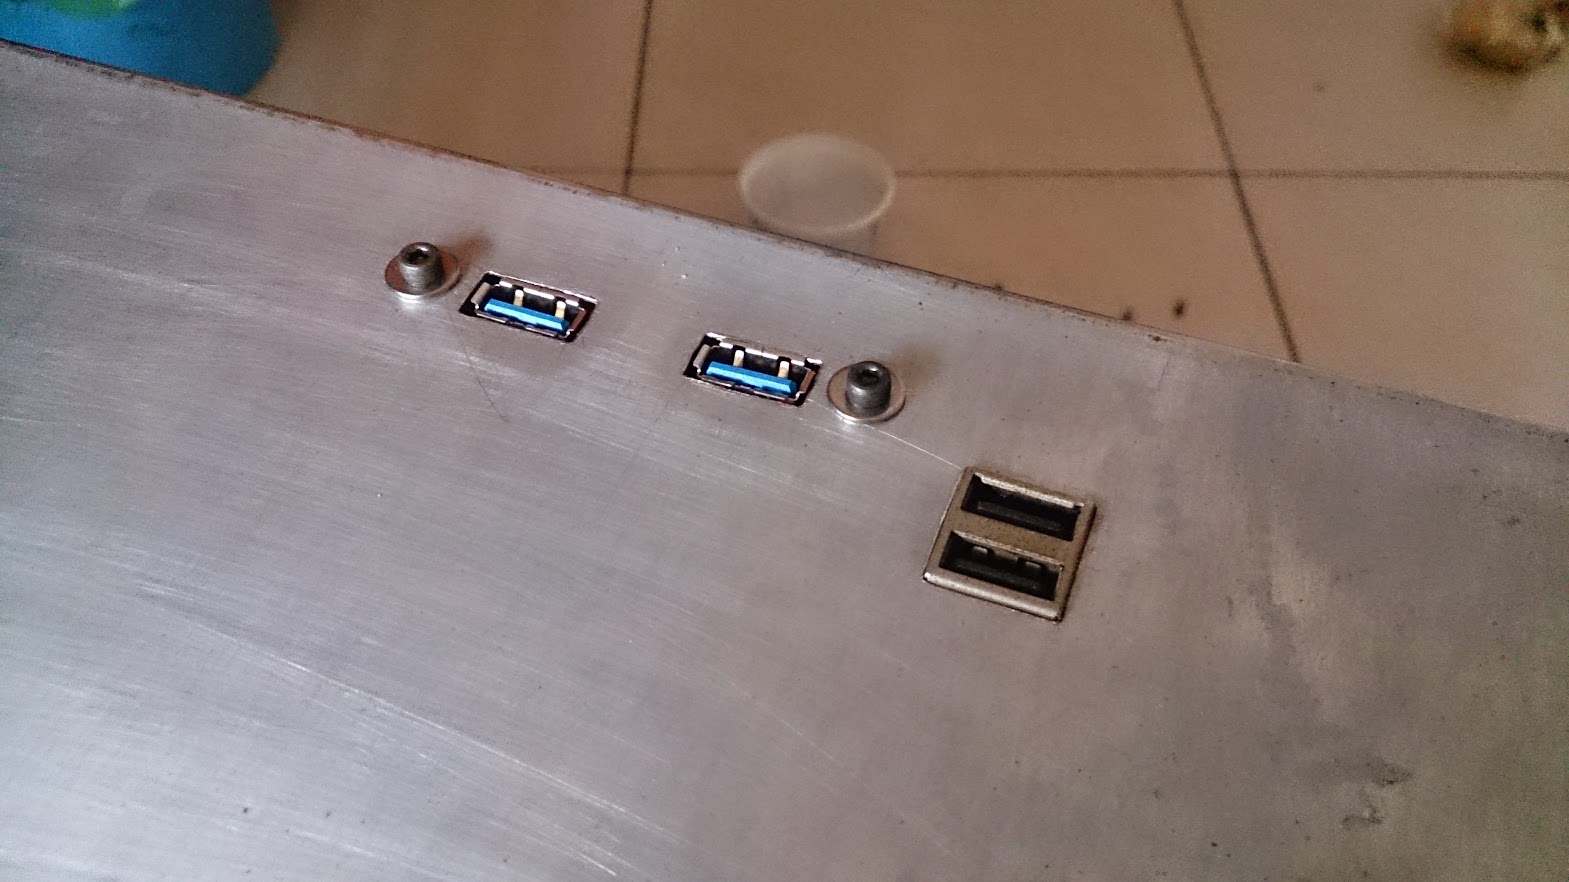
 This time a USB 2.0
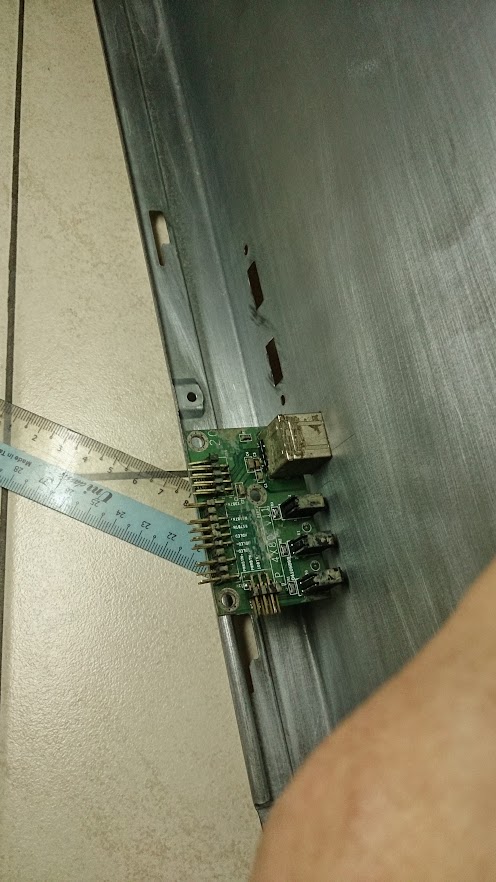


 0.0279sec
 0.74
0.74
 5 queries
 GZIP Disabled