

 Aug 13 2006, 08:04 PM, updated 19y ago
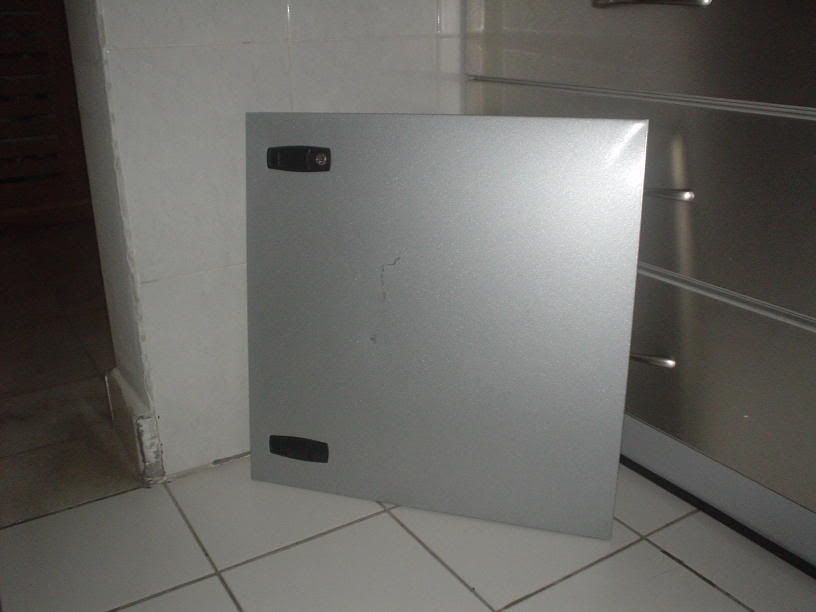
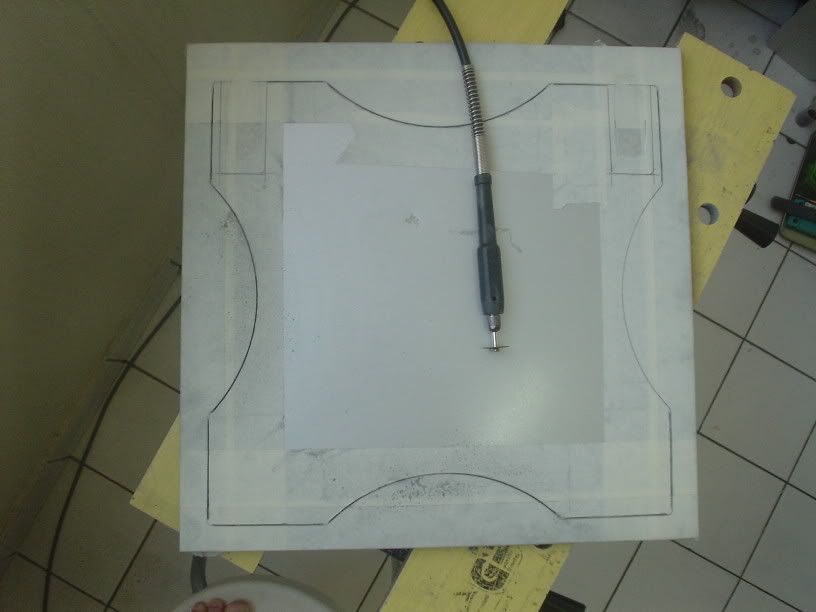
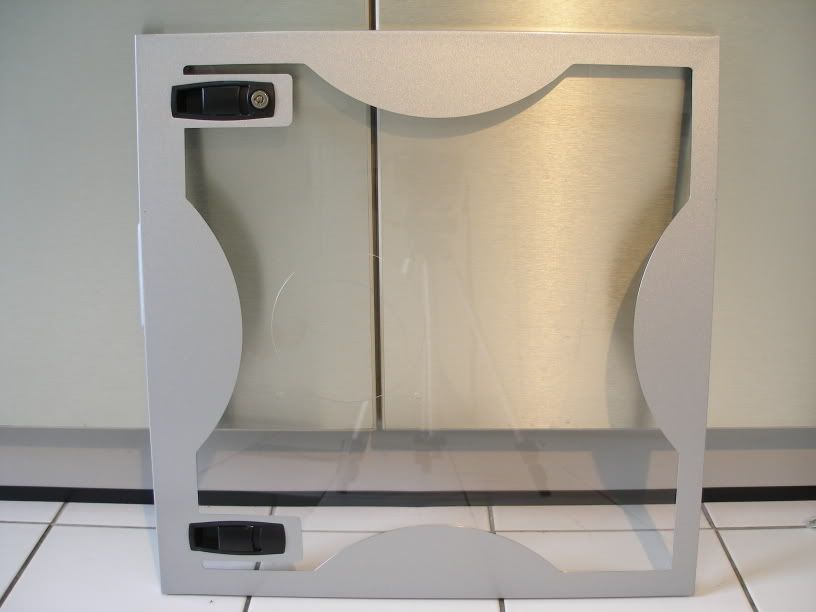
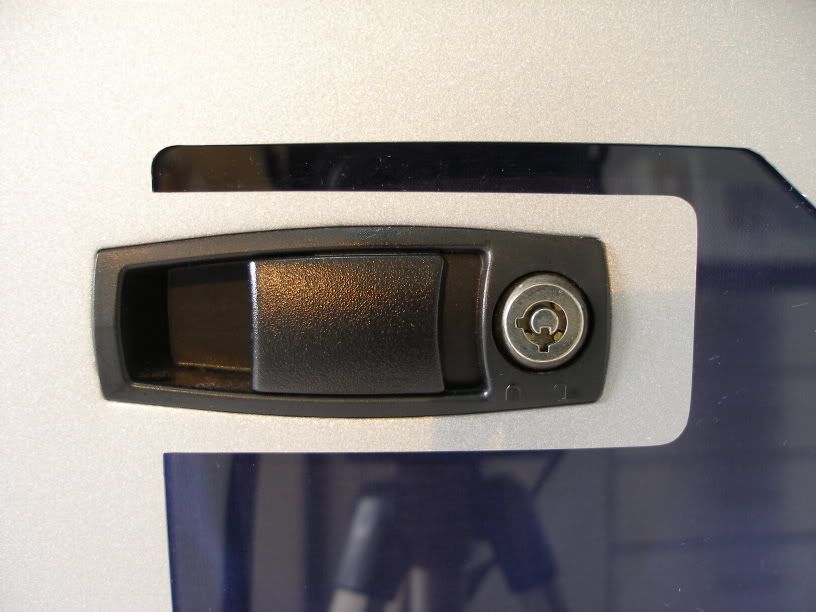
Here's how the original panel looks like. Also take note of the damage at the top right corner n a big scratch right in the middle. Perfect for modding coz after cutting it shud look as good as new without that big scratch in the mid n I will try n push out the dent at the top right corner to make it look nice again.
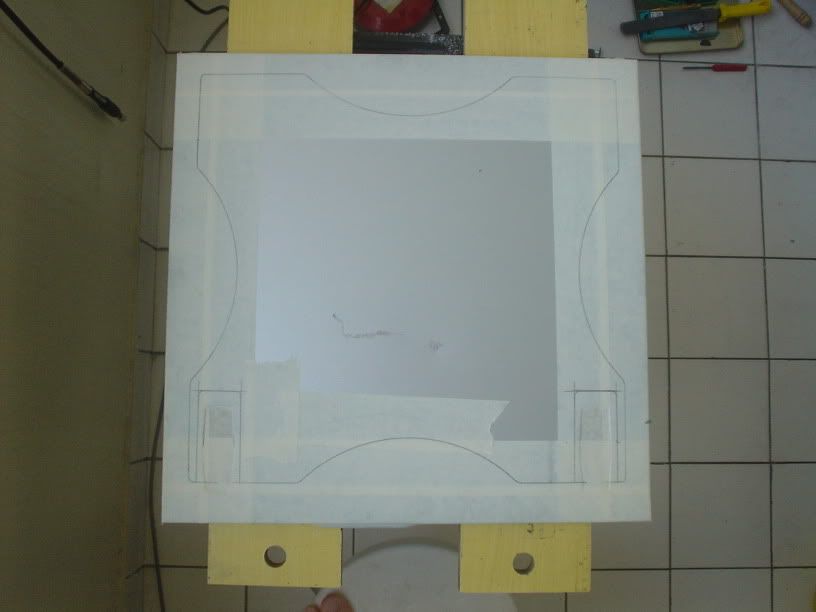
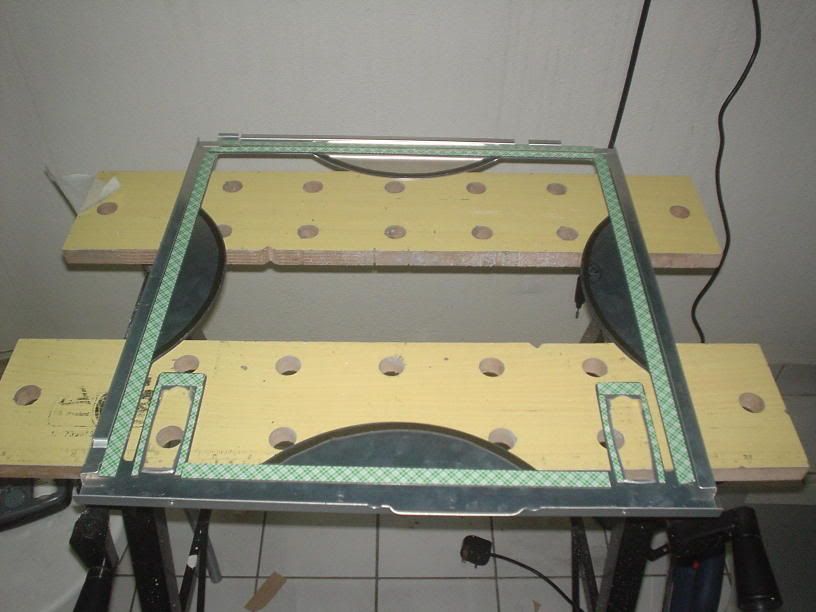
Masked up the panel. Then taped the original X panel on top of this panel n drew the lines for the window.
n awaaaaaaaaaaay we go with the dremel. chop chop chop.
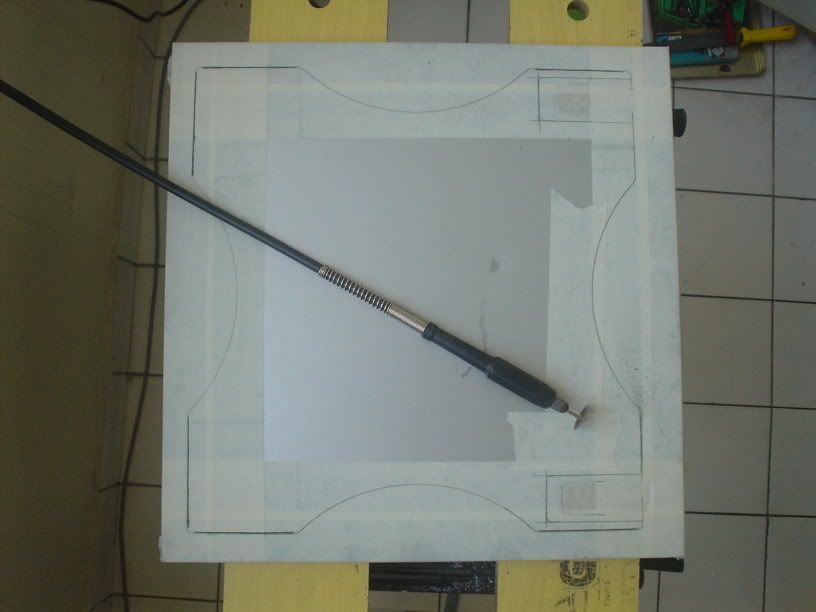
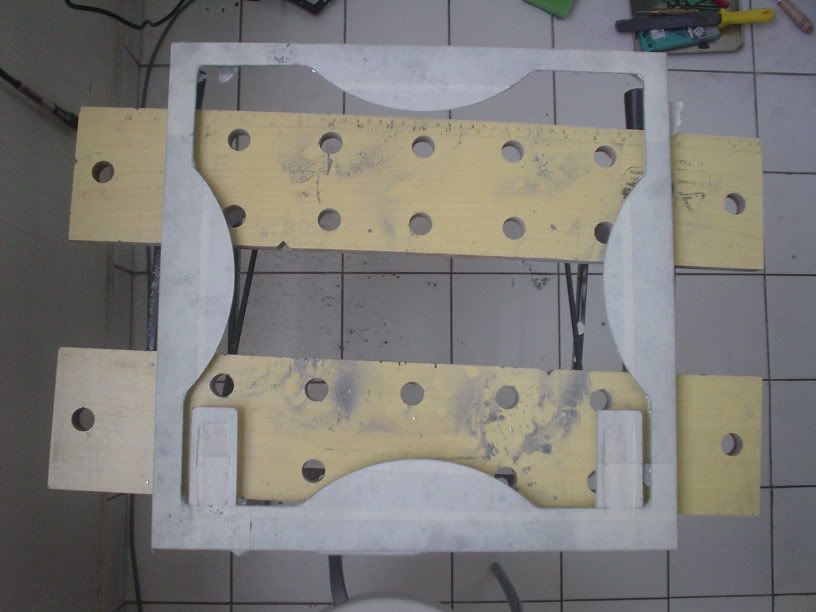
The most difficult part of the window is this part. The cutting of the 4 big curves. Hafta be inch perfect cuts or it's gonna look like dog bite n real ugly. Had to take a 10 minute break to freshen up, haf a cup of coffee b4 I started out on the curves. Almost done in this pic.
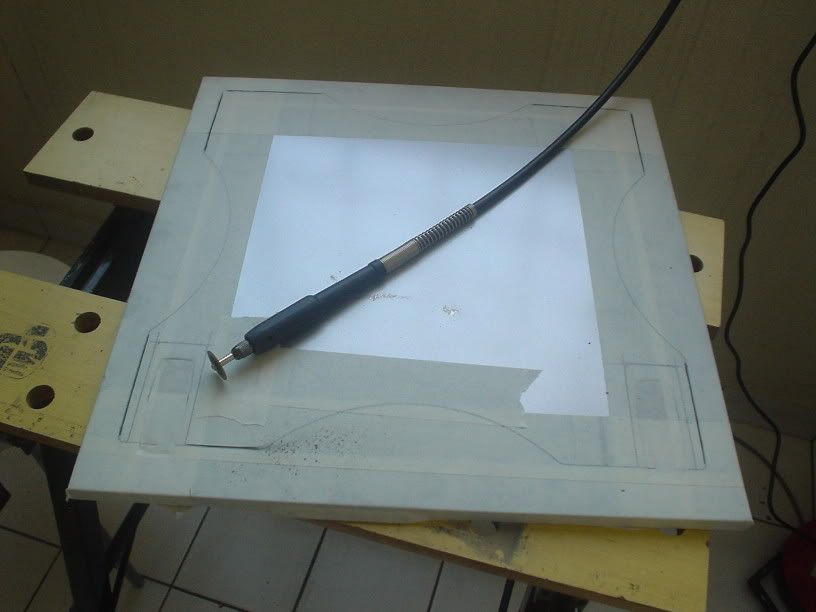
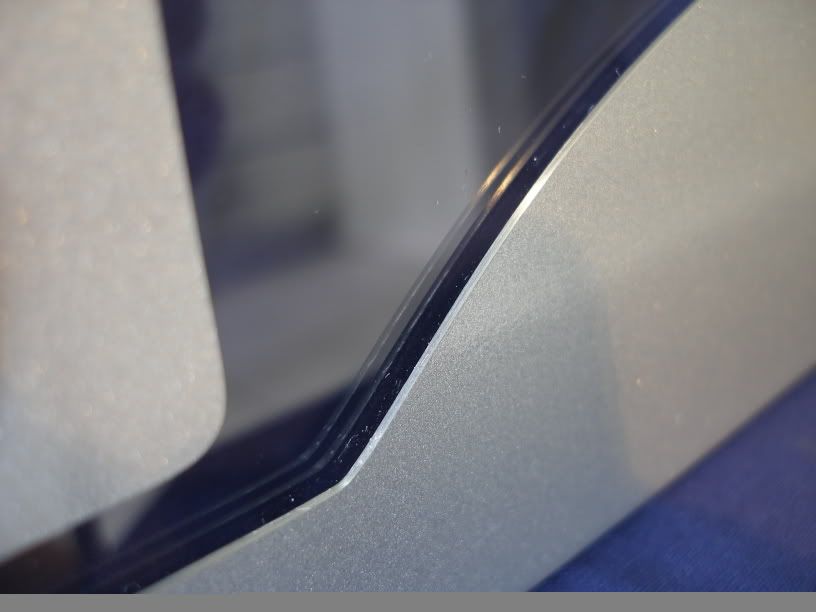
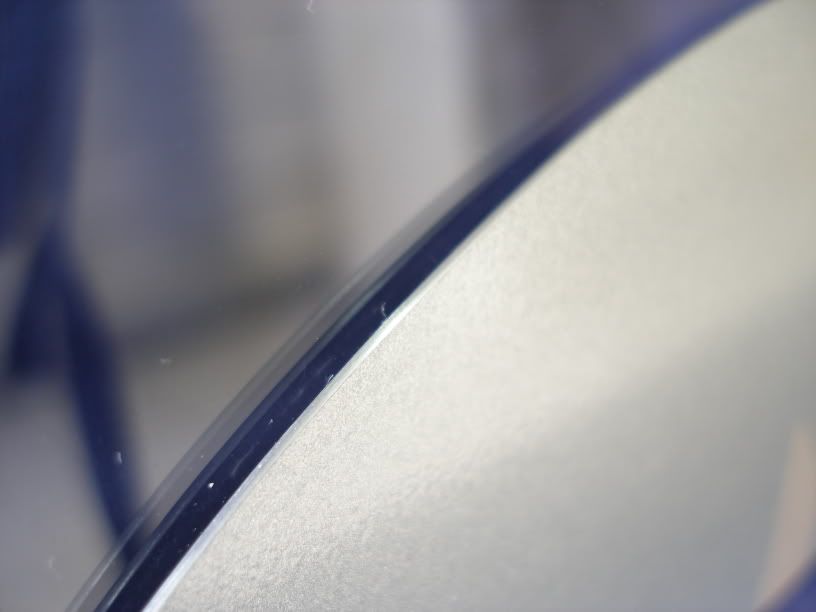
Here we gooooooooo. Rough cut is completed. Just need to finish off the edges to make it perfect with nice smooth edges. I'll b posting new pictures of the edges with my new camera later. These pics were taken with the old camera which doesn't haf macro mode so I cant focus up close on the detailed work like the edges of the window.
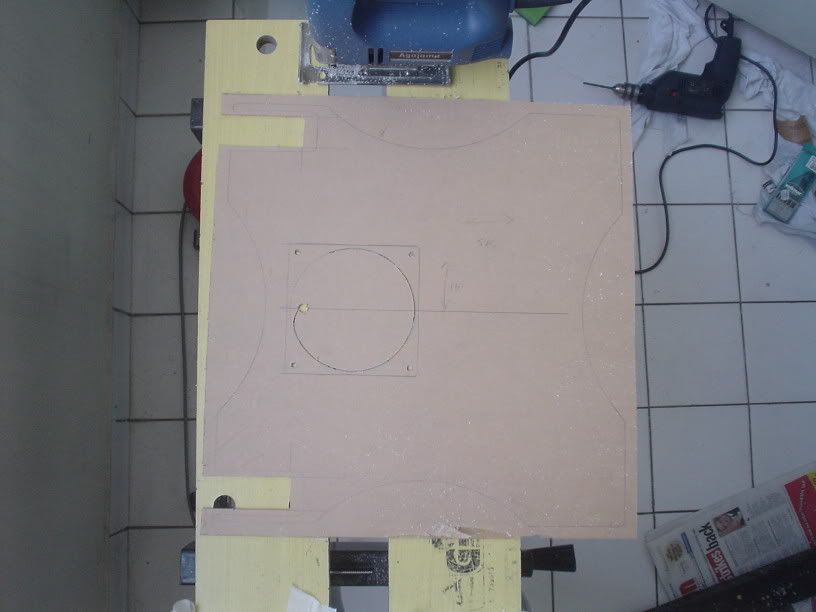
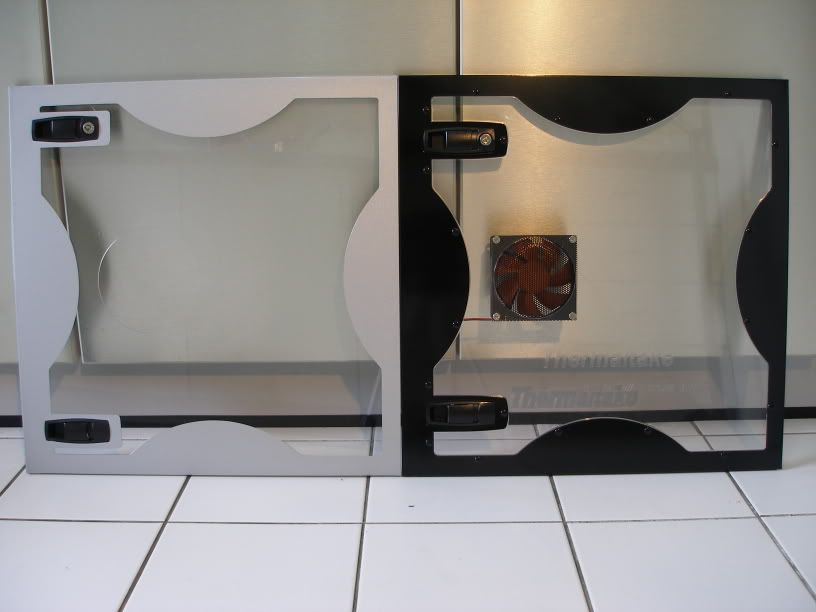
Next up is to draw the outline of the window so I can measure the acrylic for cutting n also to position the 120mm blowhole perfectly in the middle between the plastic lock levers just like the original. Only difference is the original window uses 90mm fan n for this mod I'm cutting a 120mm hole.
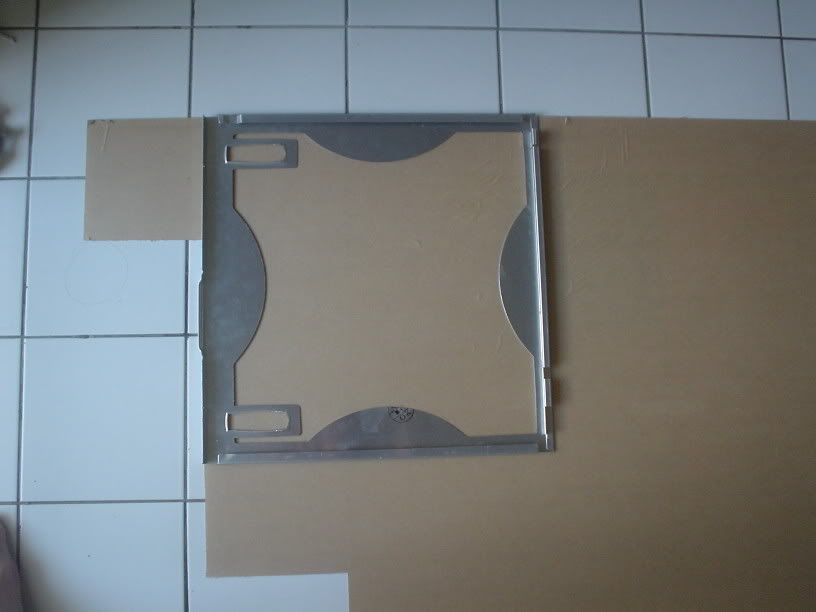
Cutting the acrylic window n blowhole.
The detail work on the panel is finished. Perfectly finished n smooth edges all done. Time to put on the double sided tape for mounting the acrylic. The original uses a type of plastic removable rivet system. We're going for a clean look here, so no rivets. Just a nice smooth front with the acrylic on the inside.
This post has been edited by ianho: Aug 14 2006, 10:41 PM
 Quote
Quote


 sorry ya


 0.0228sec
 0.88
0.88
 5 queries
 GZIP Disabled