

Project : Package, ... Packing
Project : Package, ... Packing
|
|
 Mar 15 2013, 04:45 PM Mar 15 2013, 04:45 PM
Return to original view | Post
#21
|
 
Senior Member
660 posts Joined: Jan 2012 |
Second Teaser.
|
|
|
|
|
|
Mar 15 2013, 09:32 PM
Return to original view | Post
#22
|
|
Senior Member
660 posts Joined: Jan 2012 |
CODE Update 8 Prodigy is here. Prodigy has a very nice build. Very thick metal, no flex to it. Here's some shot of most of the features that I really like about the prodigy. 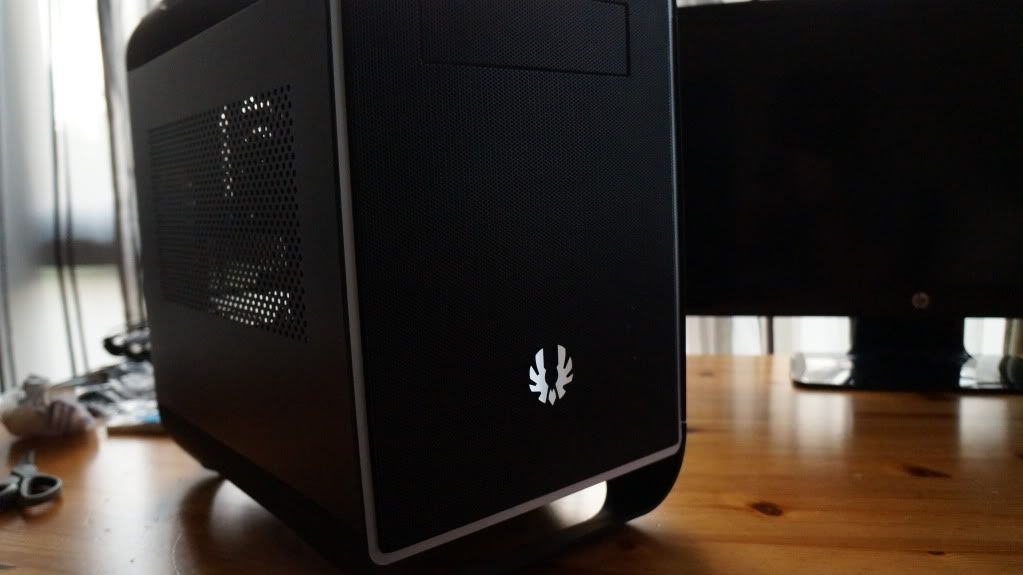 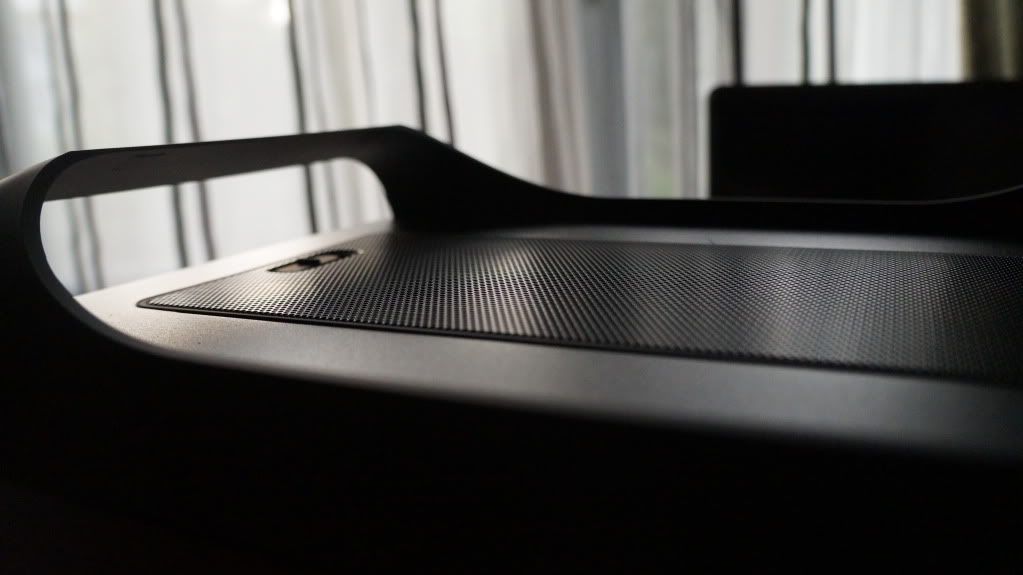 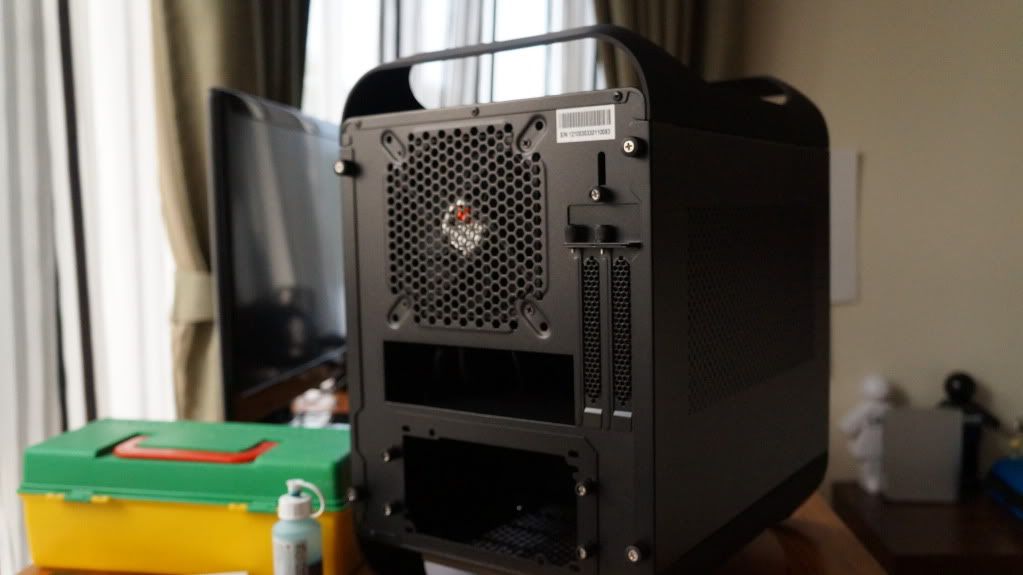 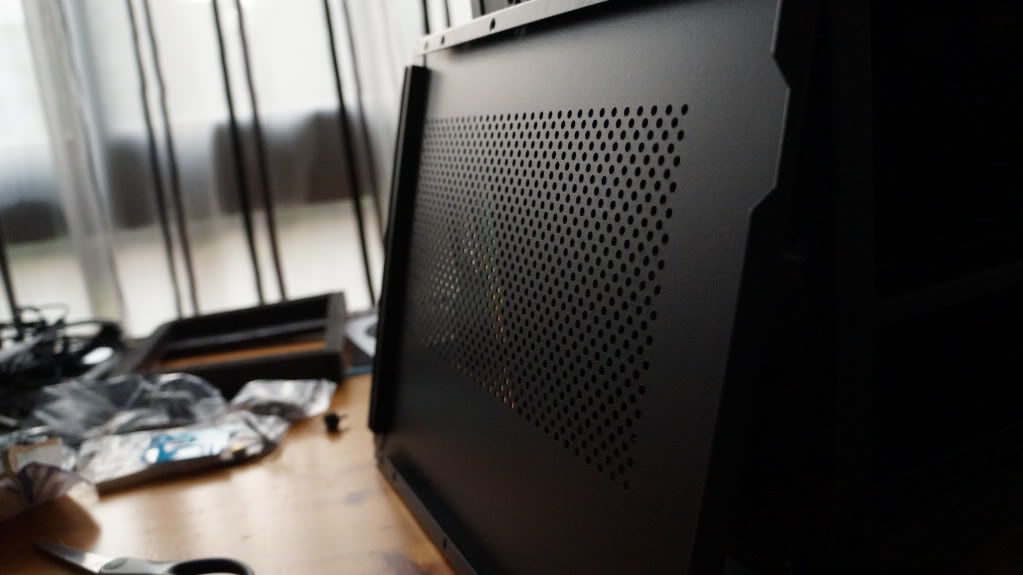  |
|
|
Mar 15 2013, 09:43 PM
Return to original view | Post
#23
|
|
Senior Member
660 posts Joined: Jan 2012 |
QUOTE(skreith182 @ Mar 15 2013, 09:37 PM) wow nice project u got ther bro..prodigy..really like this casing..can state ur budget for this build? No budget, my budget is when my bank have money, I use for this prodigy. 1640+300+1200+270+475+1100+300+250+450+580. So altogether, I will have spent RM6565 now. |
|
|
Mar 15 2013, 09:49 PM
Return to original view | Post
#24
|
|
Senior Member
660 posts Joined: Jan 2012 |
QUOTE(skreith182 @ Mar 15 2013, 09:45 PM) wow..ok bro..keep going & thanks lols.. lol sorry for the scary amount I gave. It's expensive cause I buy modular sleeve cable and watercooling. Plus I also buy acrylic and dremel.Come back for more updates  |
|
|
Mar 17 2013, 04:20 PM
Return to original view | Post
#25
|
|
Senior Member
660 posts Joined: Jan 2012 |
I have taken off the top's handle. It looks ugly in my opinion. Maybe going to keep the bottom. The handle is lock with 6 screws and a slider. I drilled out 2 screws out of the 6 screws. Because bitfenix doesn't want me to take off the screw with a normal screwdriver. I also taken out of the hdd cage by drilling 1 of the 6 screws holding it. And let's just say the same thing happened to 5.25 bay but is 1 out of 4 screws. I was so furious at the time that I just bent the whole bay because I had enough. Enjoy this night shot with an extra picture of how I kept my screw (credits to bill owen). And the (front/side) connectors.  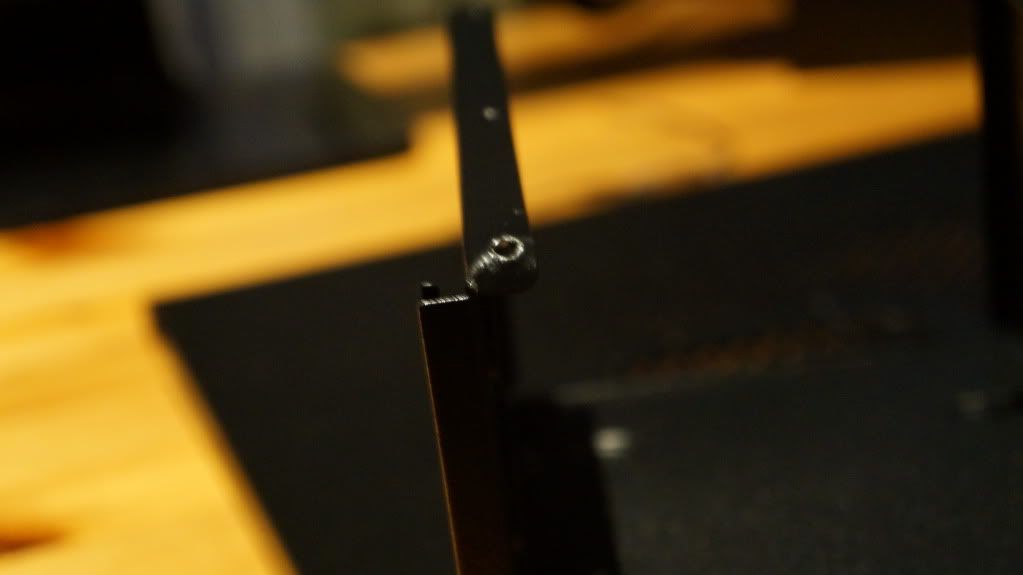 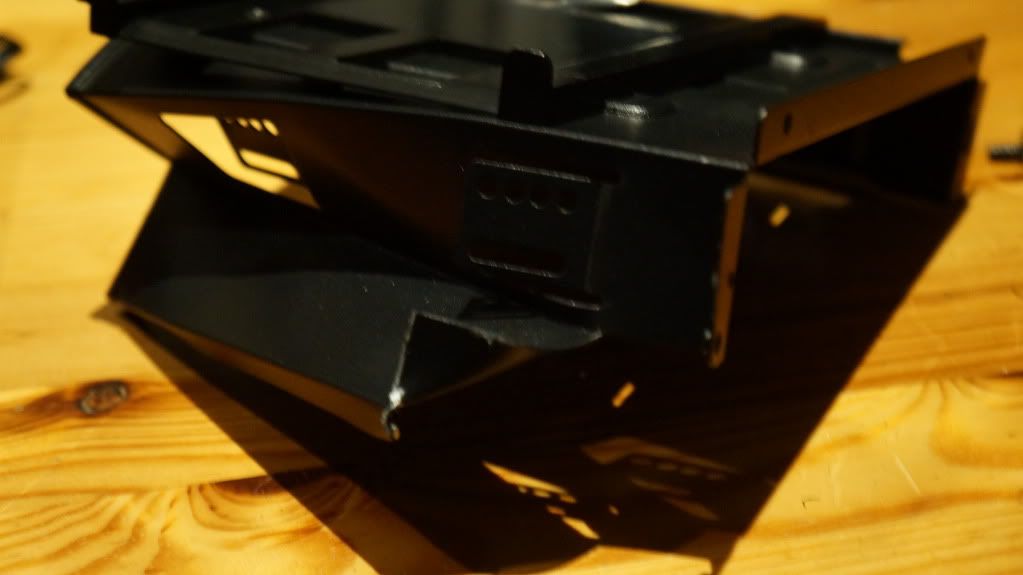 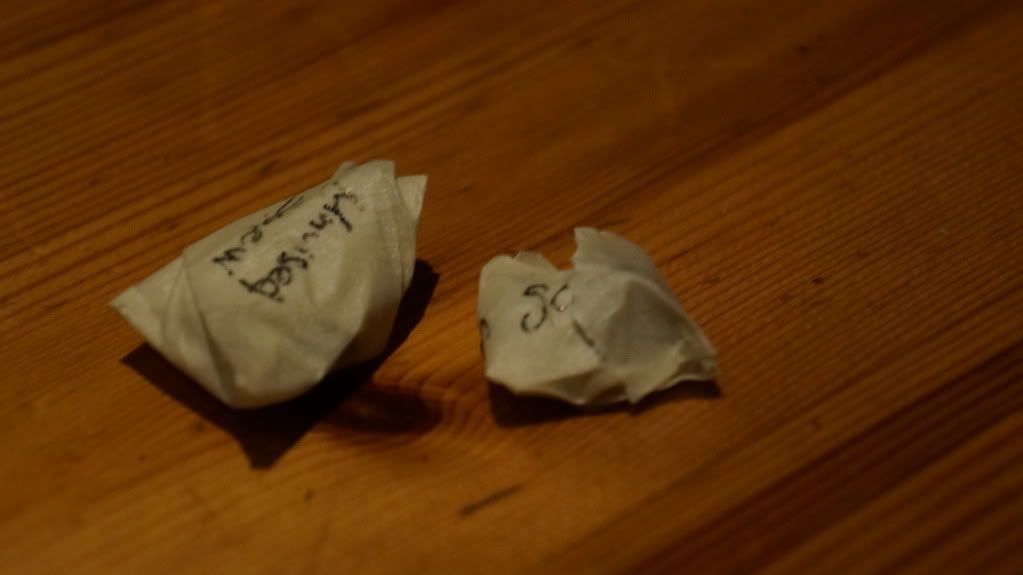 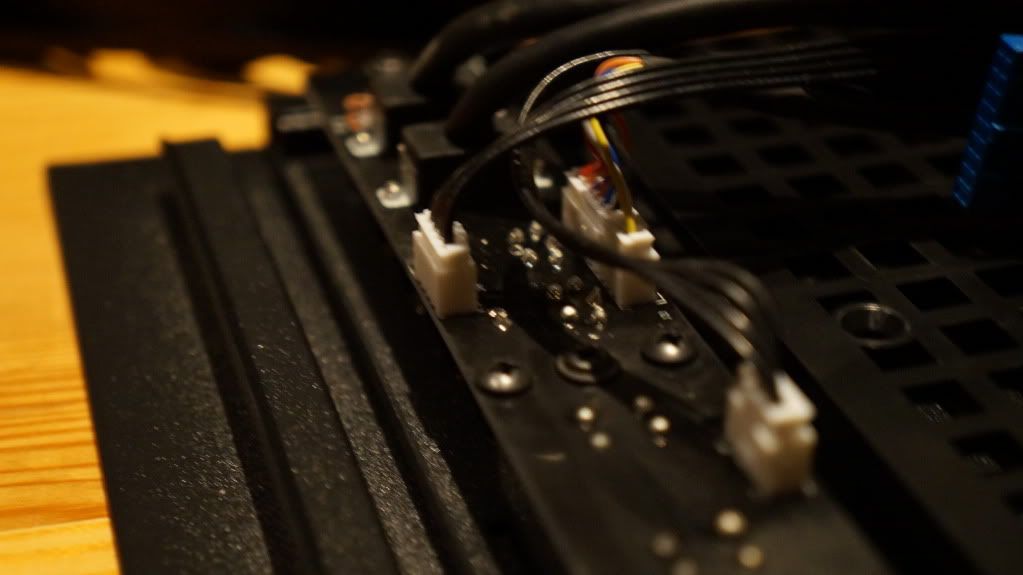 This post has been edited by JakeGFX: Mar 17 2013, 04:22 PM |
|
|
Mar 18 2013, 06:57 PM
Return to original view | Post
#26
|
|
Senior Member
660 posts Joined: Jan 2012 |
Ok I'm gonna try something different. I won't put what update because it is split into many parts. This is gonna be a very descriptive update. First of all I would start with what I want to cut first. The top part where it holds the fan filter for the top. This is entirely different from any other build that you ever seen in a prodigy mod. I always want to be different, so I find different ways to stand out. I put on masking tape and start cutting. I start putting caption on top of each picture now. Let's start by me marking the lines I want to cut with a pen. 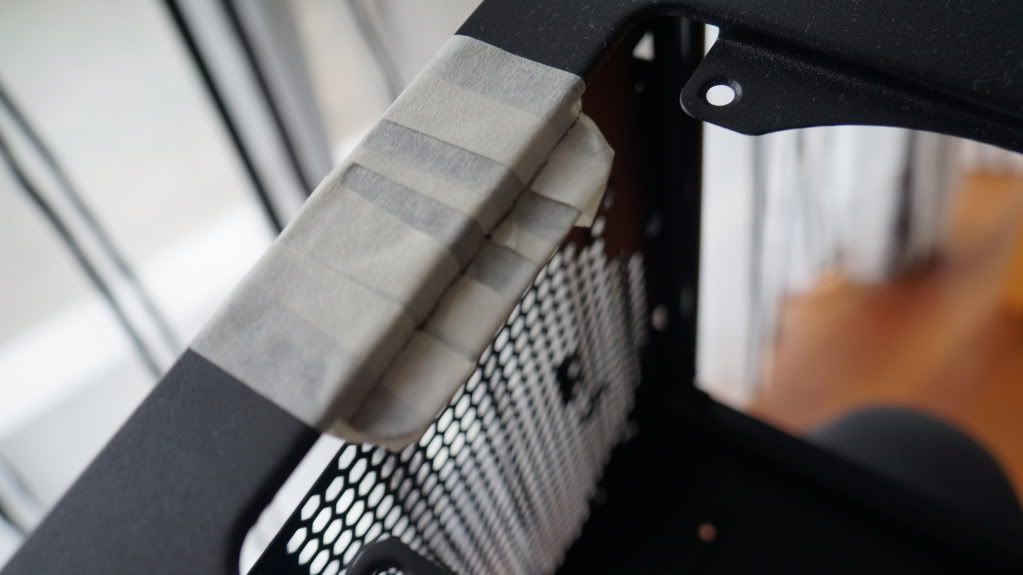  Water + Metal shavings. Looks so beautiful in my opinion. 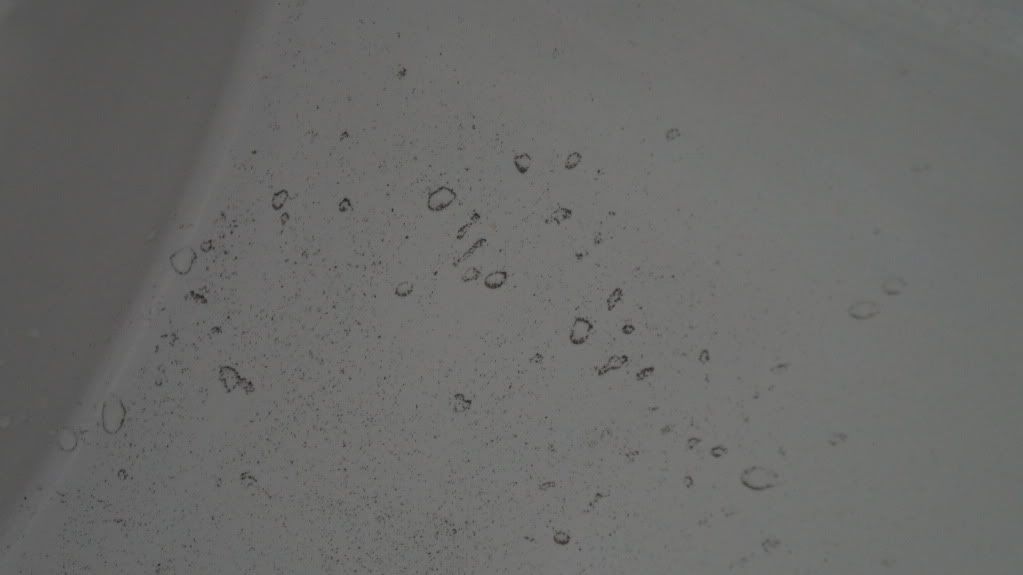 My first cut (before using sanding attachment) 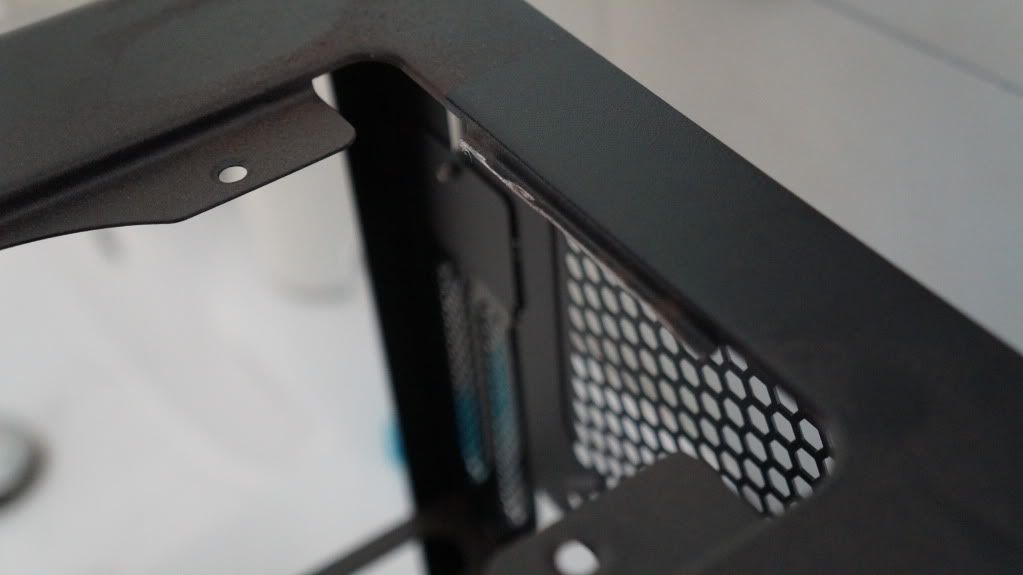 After sanding 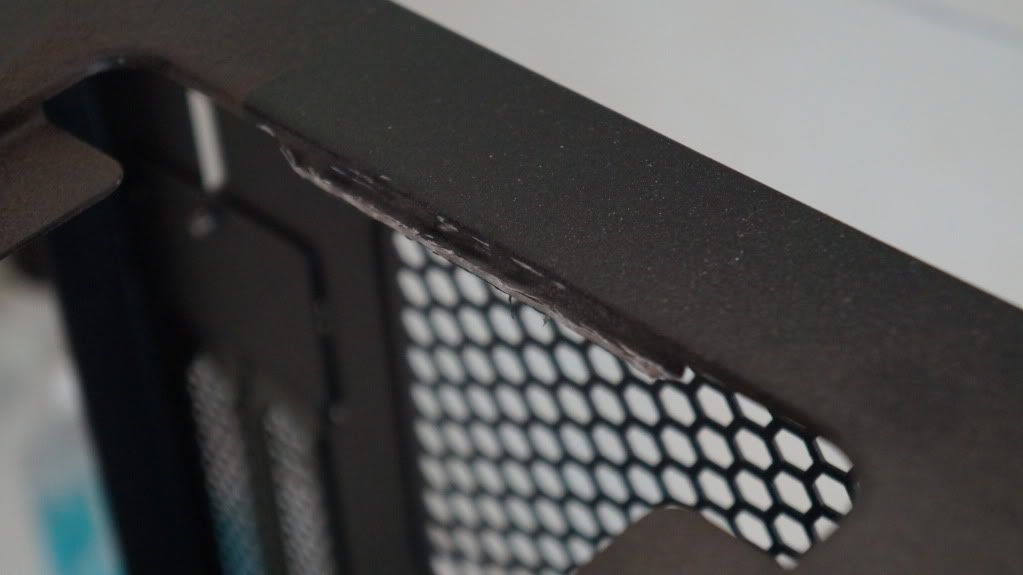 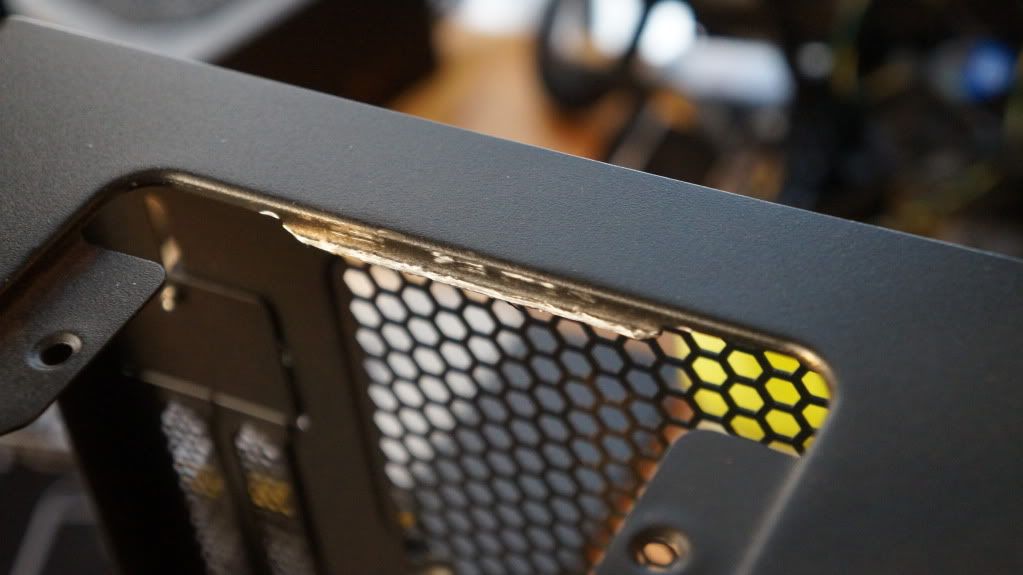 Metal shavings all over the case. 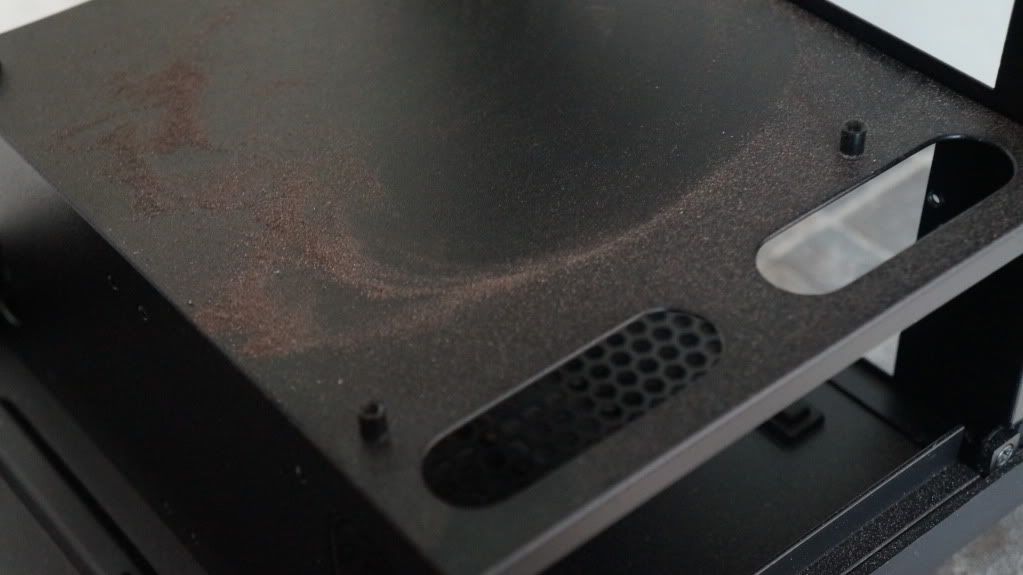 This post has been edited by JakeGFX: Mar 18 2013, 08:47 PM |
|
|
|
|
|
Mar 18 2013, 06:58 PM
Return to original view | Post
#27
|
|
Senior Member
660 posts Joined: Jan 2012 |
Part 2... Because of lowyat's image limit Piece I cut. 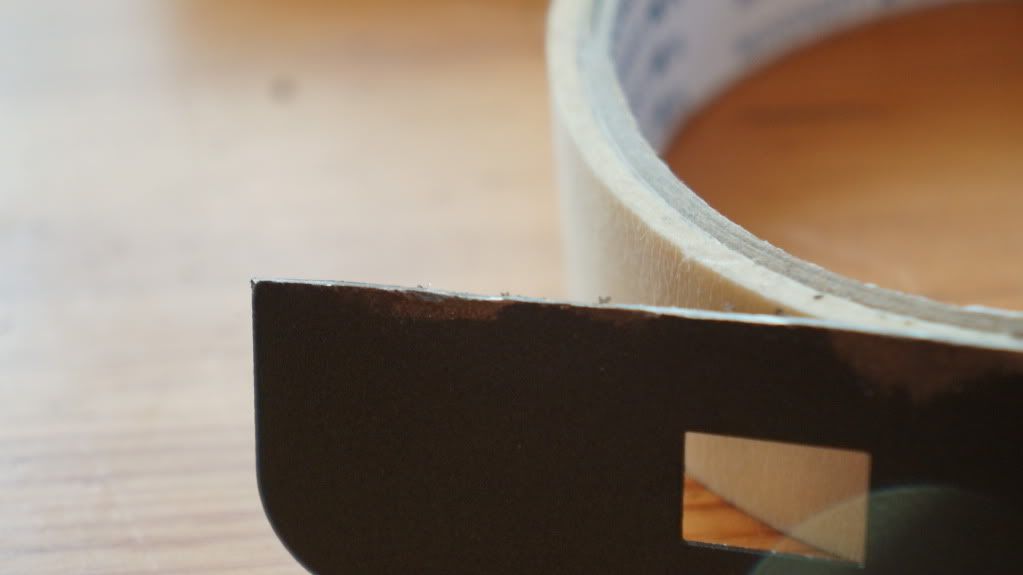 Here's the other side. I did the same thing. That side is shorter. The picture is the following : (cut without sand, remove masking tape, after sand) 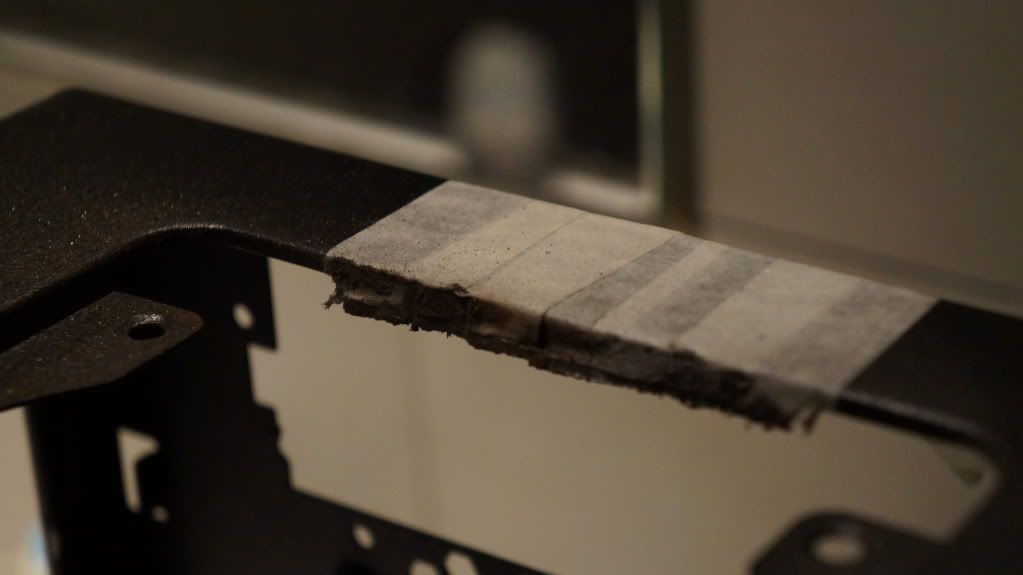 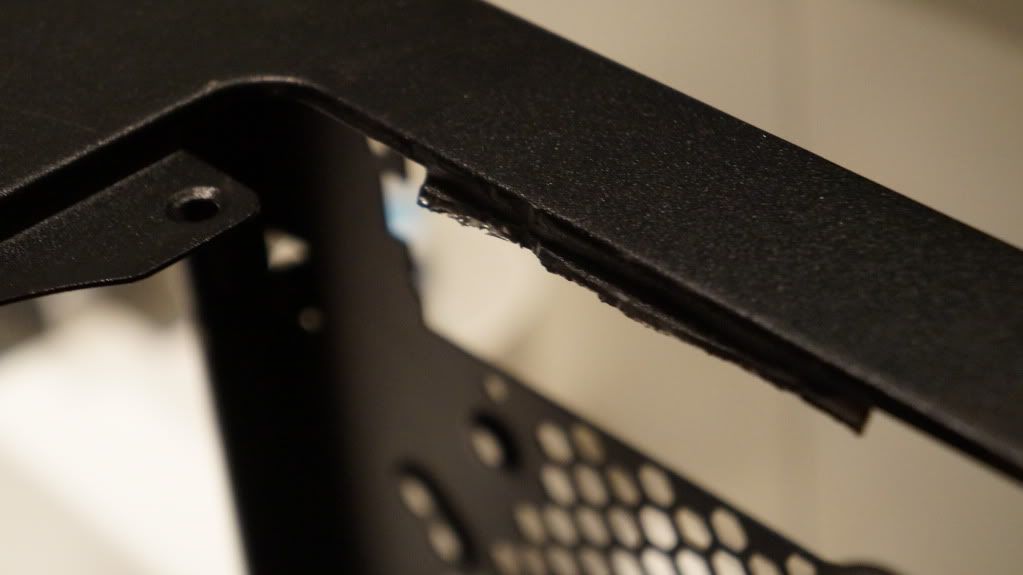  And last but not least. A shot overall after both cuts. Next update will be what i got on my hardware store & in the mail. 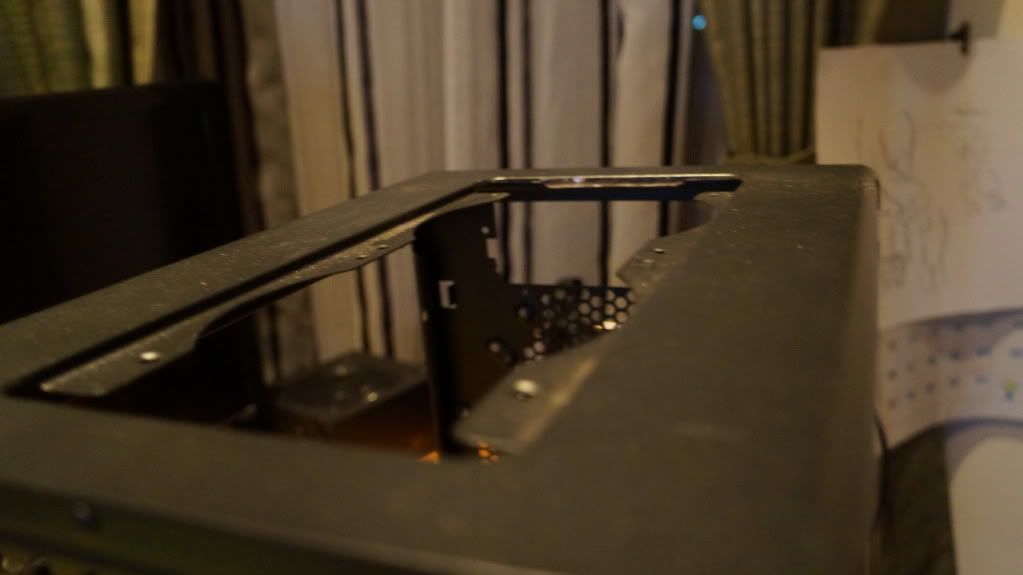 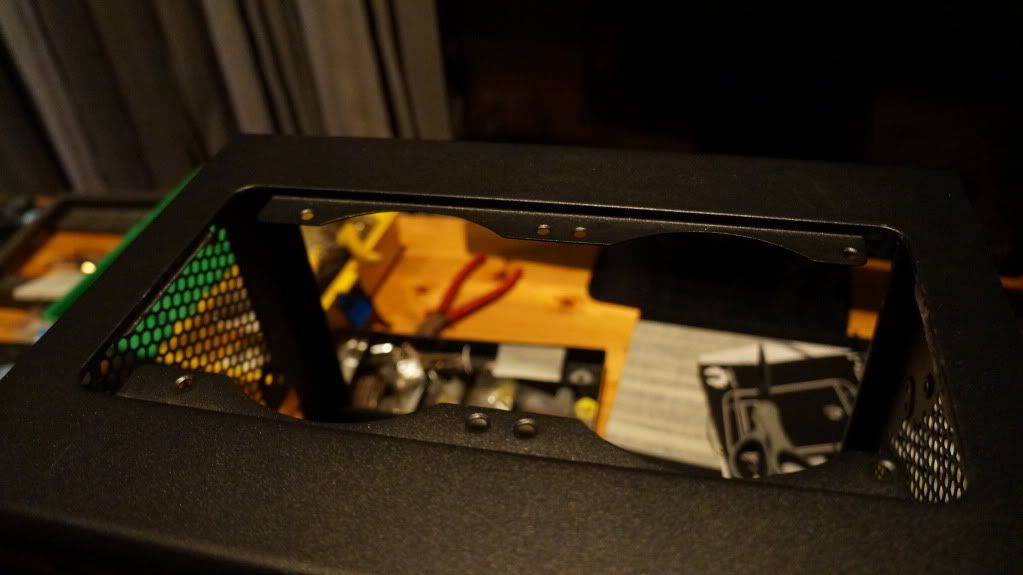 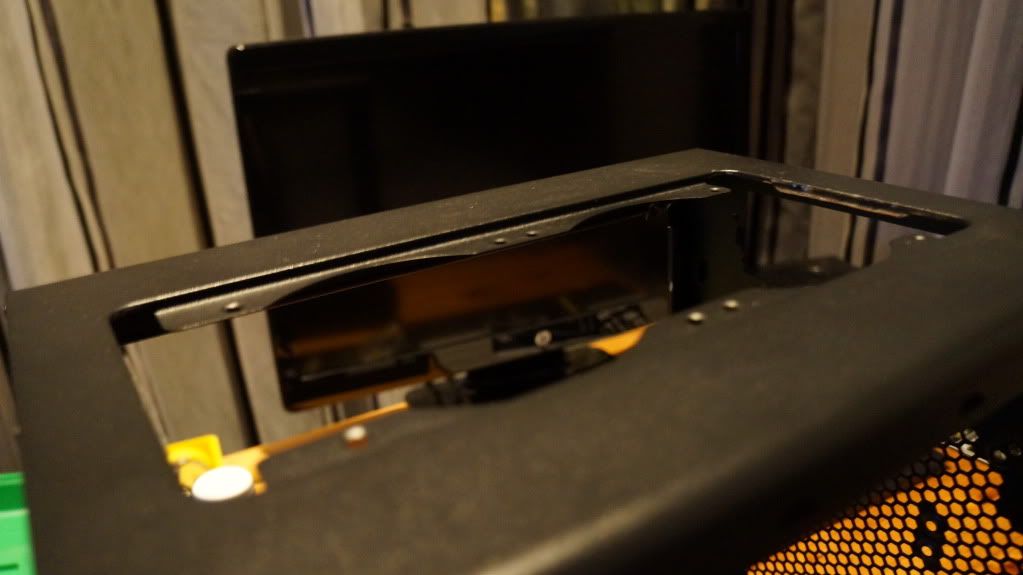 |
|
|
Mar 18 2013, 08:45 PM
Return to original view | Post
#28
|
|
Senior Member
660 posts Joined: Jan 2012 |
QUOTE(hmwgbworld @ Mar 18 2013, 07:43 PM) Is those metal side on top of the casing blocking the radiator then u cut them off? Here's a hint for you, no radiator on top |
|
|
Mar 19 2013, 01:17 AM
Return to original view | Post
#29
|
|
Senior Member
660 posts Joined: Jan 2012 |
QUOTE(hmwgbworld @ Mar 18 2013, 09:06 PM) Hmm cant guess what u gonna do with the top cut out. Maybe try to fit 2x 140mm fans? still no, you need to wait for my air parcel to arrive |
|
|
Mar 19 2013, 10:21 AM
Return to original view | Post
#30
|
|
Senior Member
660 posts Joined: Jan 2012 |
QUOTE(qwe13 @ Mar 19 2013, 08:52 AM) seems like things going smoothly so far for u eah.. good for u bro. no my watercooling bulk buy gonna have tax but I scared tax cost like 1000 bucks.plus have to wait for 2 weeks. |
|
|
Mar 19 2013, 02:22 PM
Return to original view | Post
#31
|
|
Senior Member
660 posts Joined: Jan 2012 |
QUOTE(pristine @ Mar 19 2013, 11:48 AM) Please la. won't be that high. now say not that high, then suddenly charge me rm2000.... anyway, quickly order pristine, many people want update  |
|
|
Mar 22 2013, 07:13 PM
Return to original view | Post
#32
|
|
Senior Member
660 posts Joined: Jan 2012 |
Well since I want to save space. I will go only SSD. Maybe a second SSD in the future. It's an M4 256gb. It's expensive to me. Here's some shot. 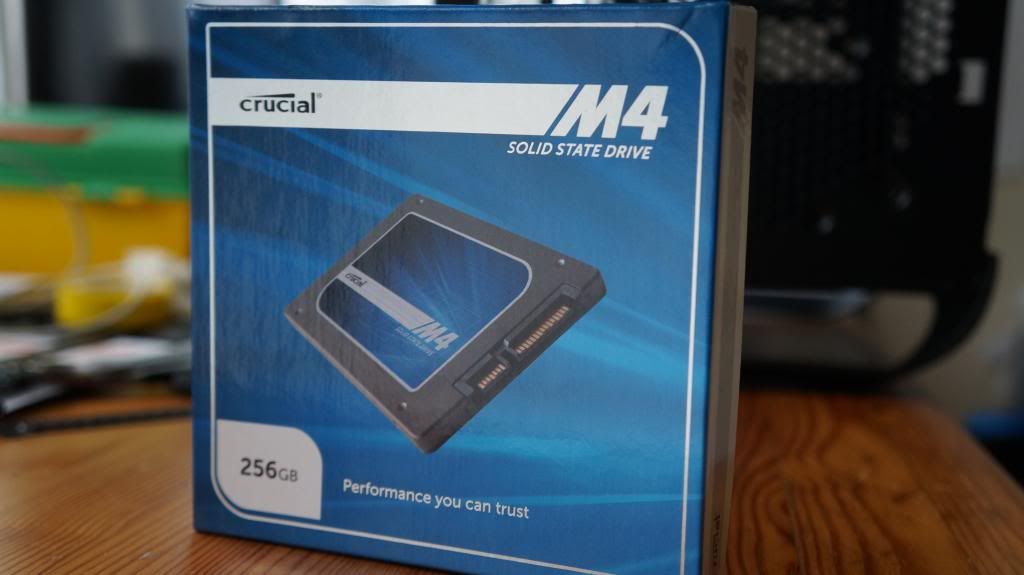 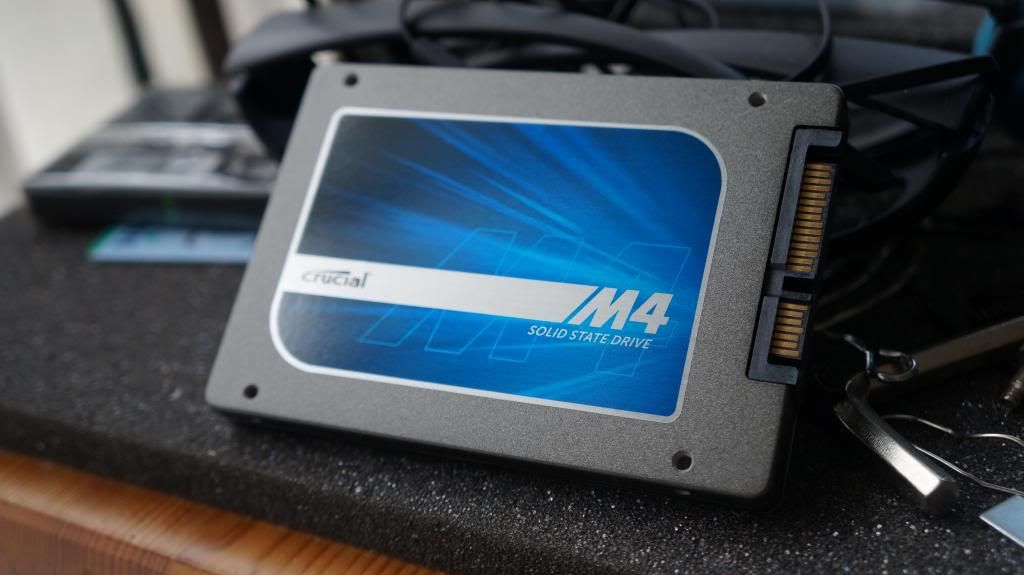 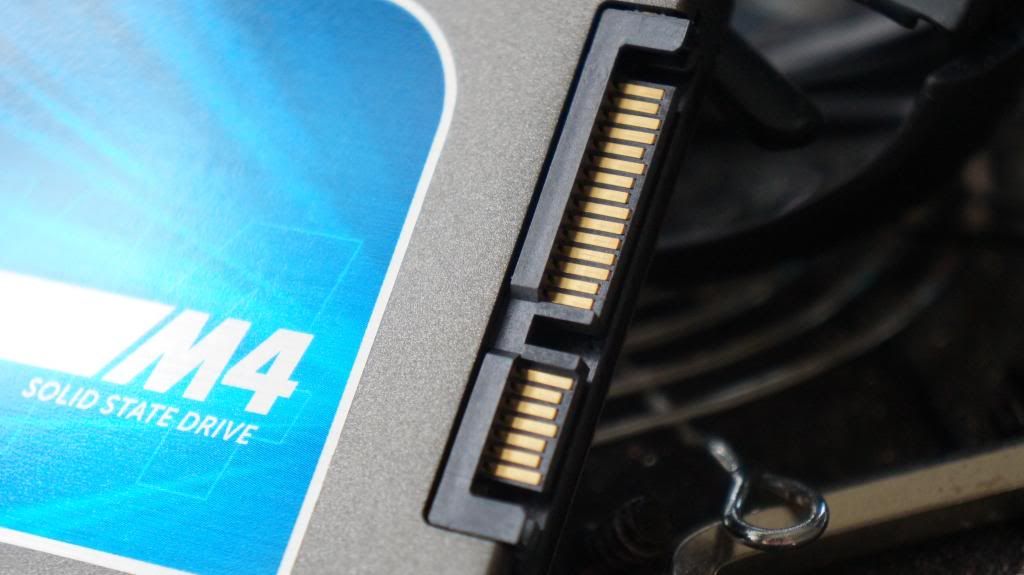 So since I was going for a black and gold theme. The blue sticker for the SSD won't cut it. So.... Let's remove it. In my opinion, it looks sleek. I remove both stickers. Here's some shots. 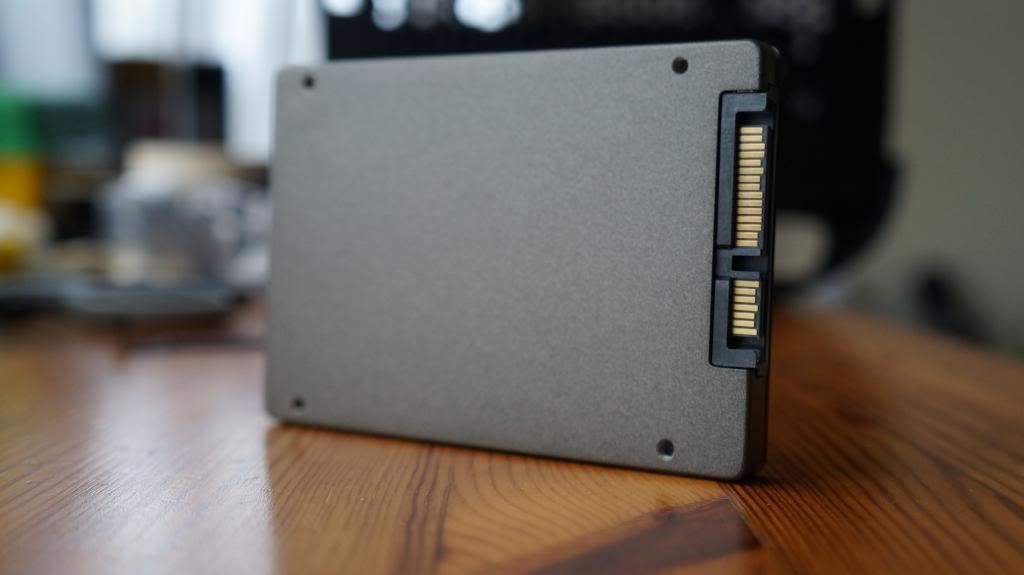 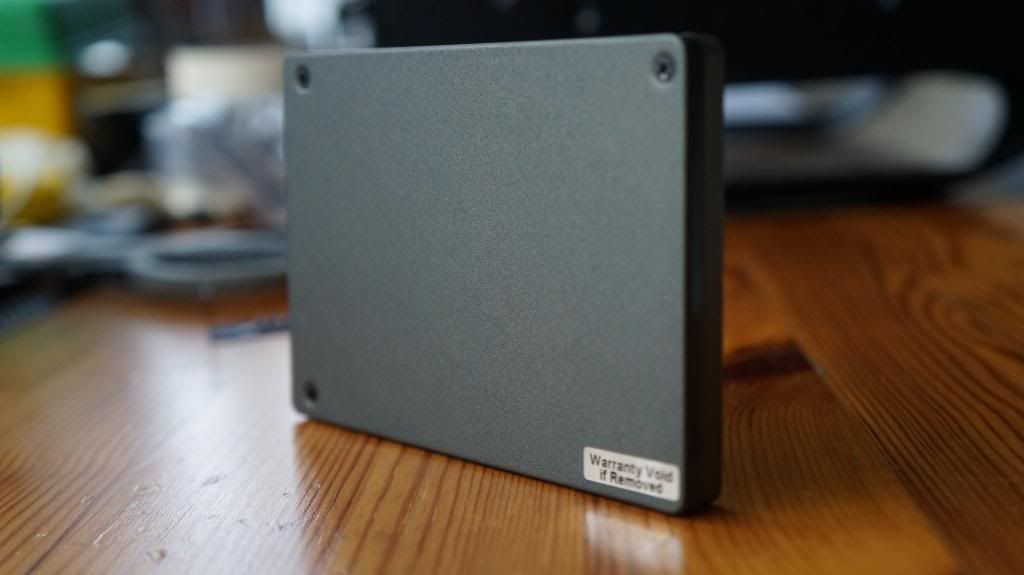 |
|
|
Mar 24 2013, 04:57 PM
Return to original view | Post
#33
|
|
Senior Member
660 posts Joined: Jan 2012 |
Watercooling Parts Teaser : FedEx An update or two will be posted before my watercooling parts update. This post has been edited by JakeGFX: Mar 24 2013, 05:00 PM |
|
|
|
|
|
Mar 28 2013, 08:56 AM
Return to original view | Post
#34
|
|
Senior Member
660 posts Joined: Jan 2012 |
I wanted to change stuff that I didn't like.First the SSD brackets. I hated the mesh so I cut it out. It doesn't have to be clean since it will be in the side in the darkness. This pictures are before, after, and after with SSD. 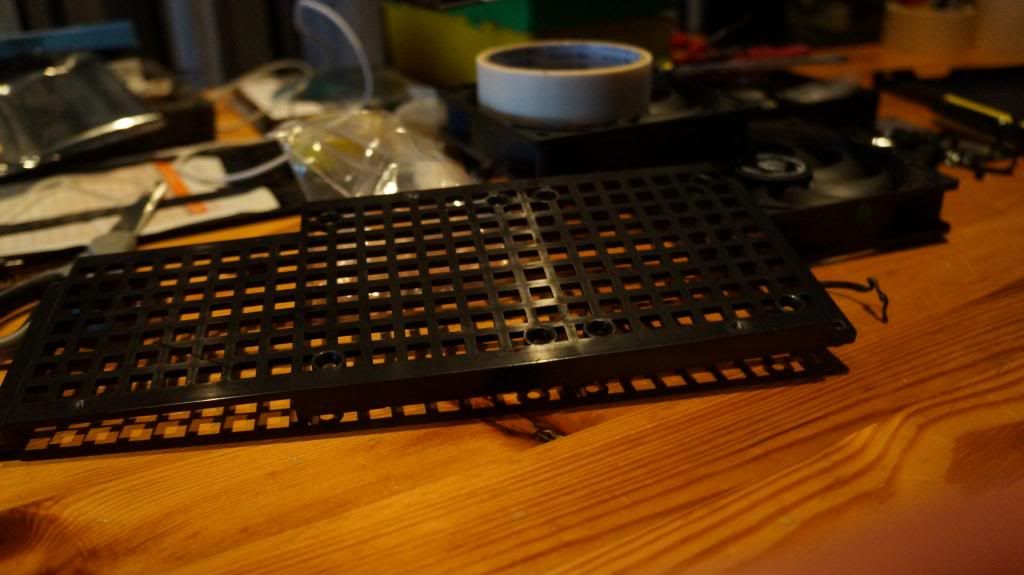 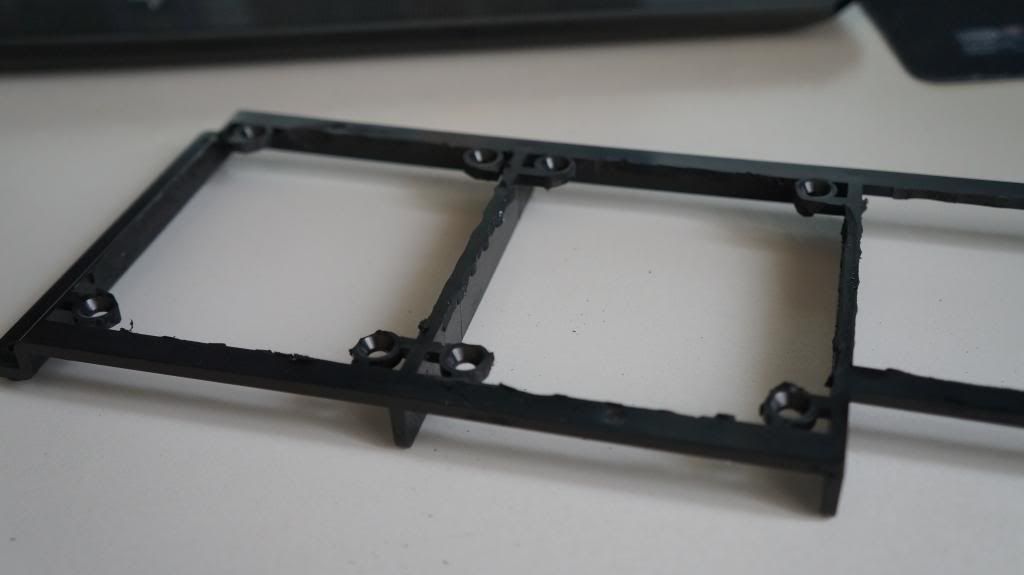  The side where the bracket is located. 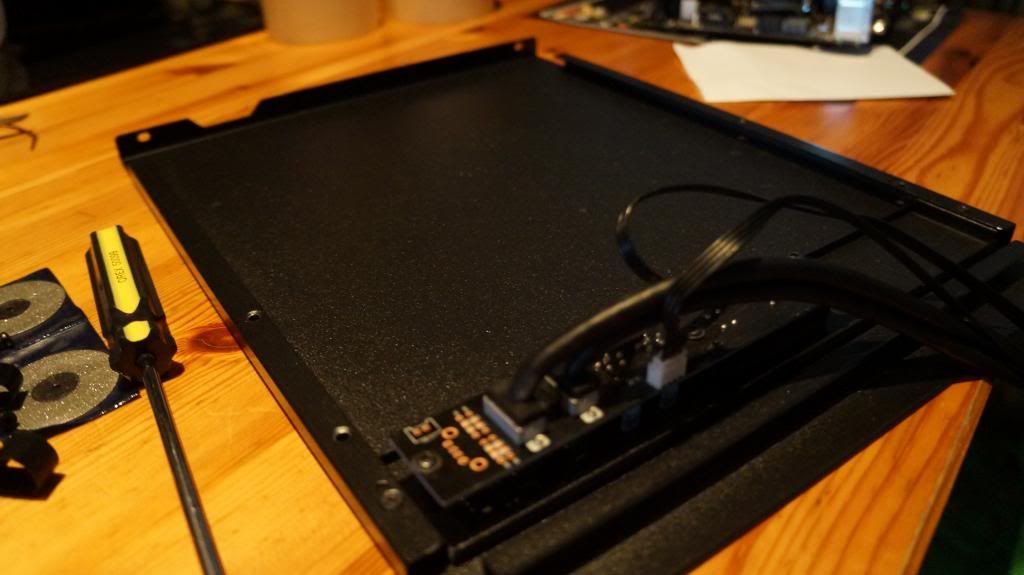 I used diamond cutting disc for this. I found that it's way easier for the brown colour blade which left alot of shaving.  I was bored while at that time so I painted my fan grill gold. 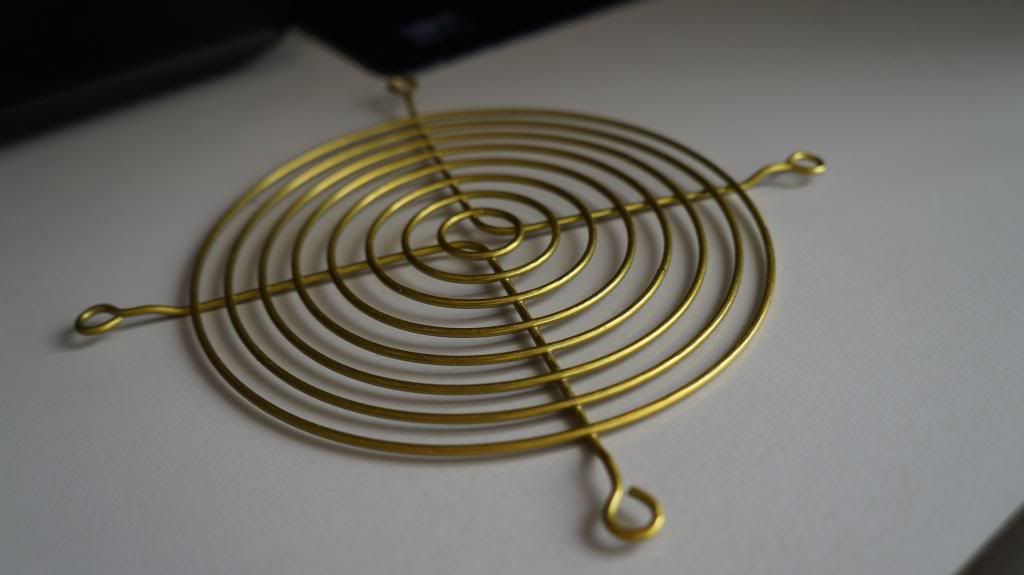 And this are some misc. Items that I bought. Acrylic cutter/plastic cutter. Dremel Chuck. New sets of small drills.  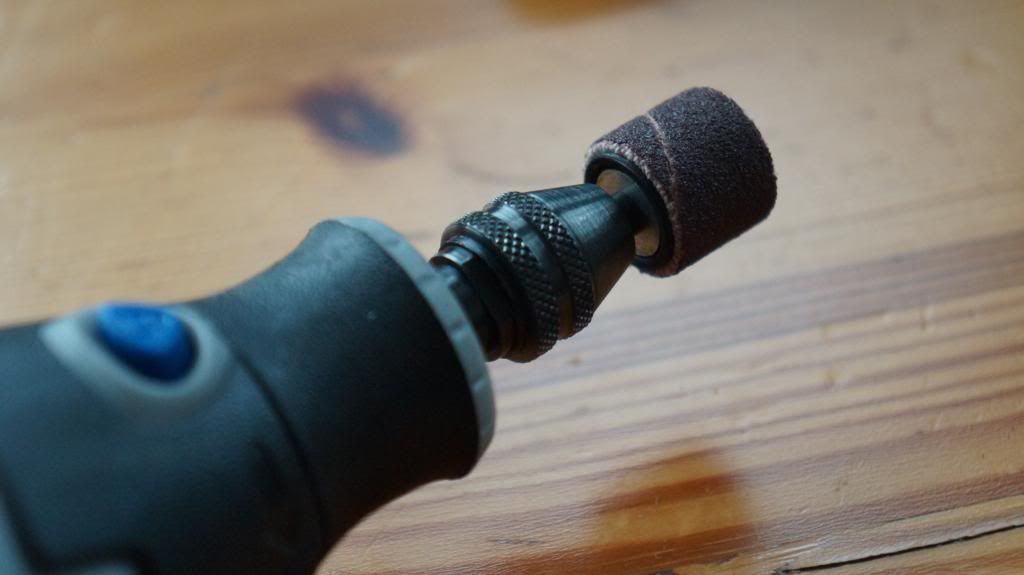 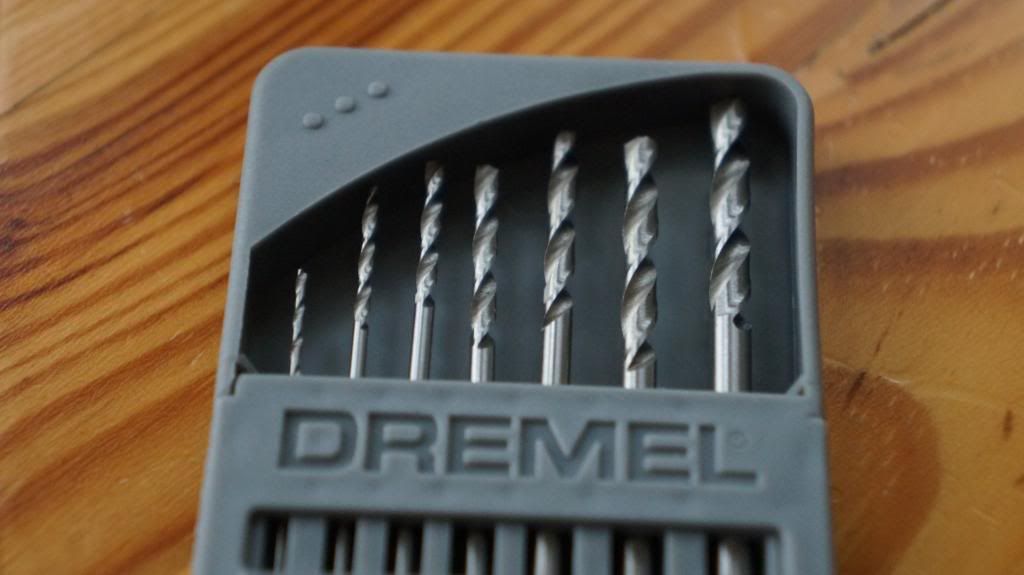 This post has been edited by JakeGFX: Mar 28 2013, 08:58 AM |
|
|
Mar 28 2013, 03:17 PM
Return to original view | Post
#35
|
|
Senior Member
660 posts Joined: Jan 2012 |
QUOTE(ntw @ Mar 28 2013, 02:17 PM) the ssd bracket looks flimsy after the cut.. Abit but after i screw back in. It wont be flimsy, its gonna stay in place |
|
|
Mar 30 2013, 09:57 PM
Return to original view | Post
#36
|
|
Senior Member
660 posts Joined: Jan 2012 |
The rig's currently is alive and I'm using it now to update this update. Updateception....
Here's a blurry pic, Sorry because it was a night show. Most orangey lighting is night shots. Sorry if it looks low quality. 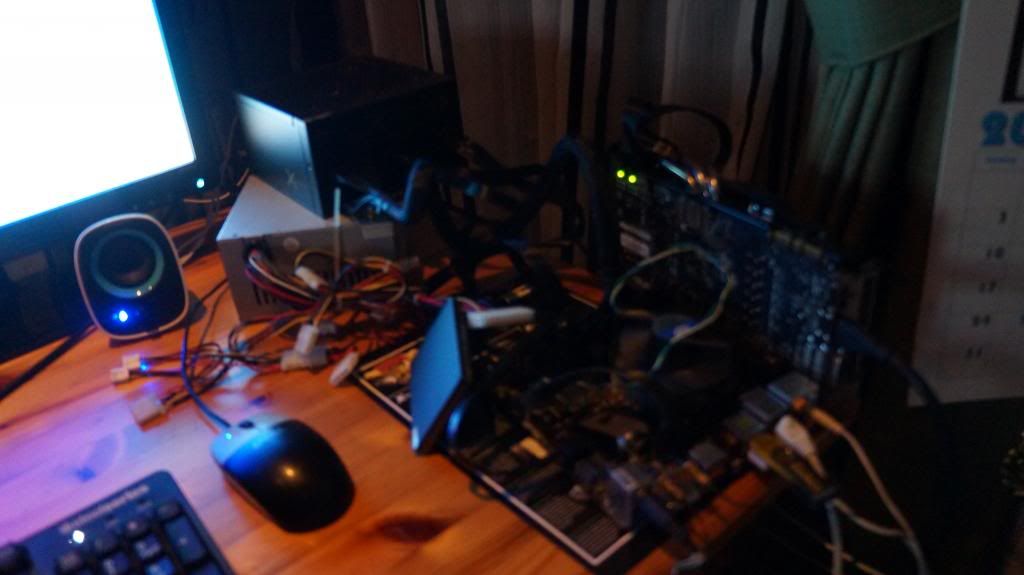 I hate the current honeycomb front so I cut it off. Sorry I have no before but only have after. Here's an overall shot and a after shot. 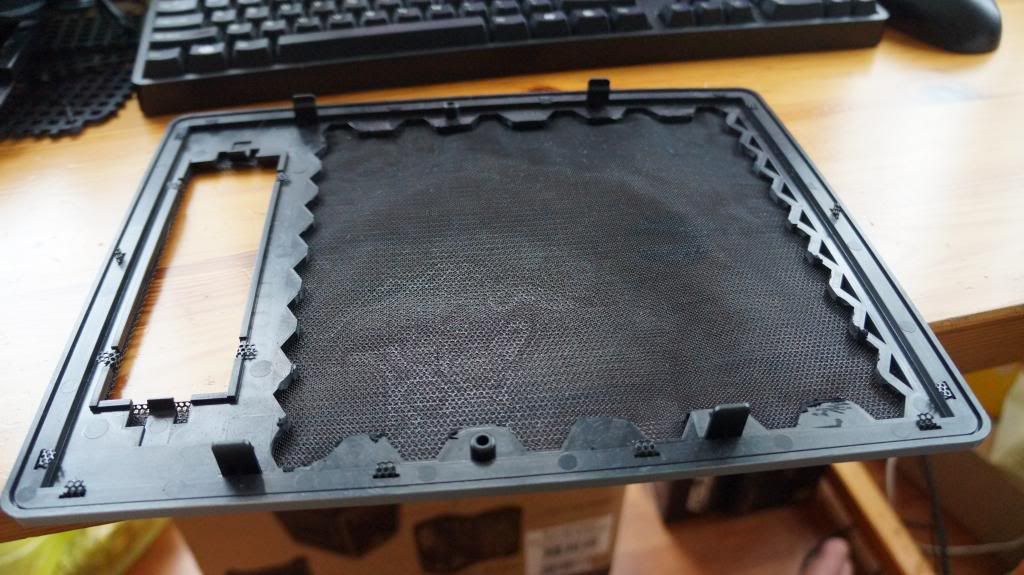 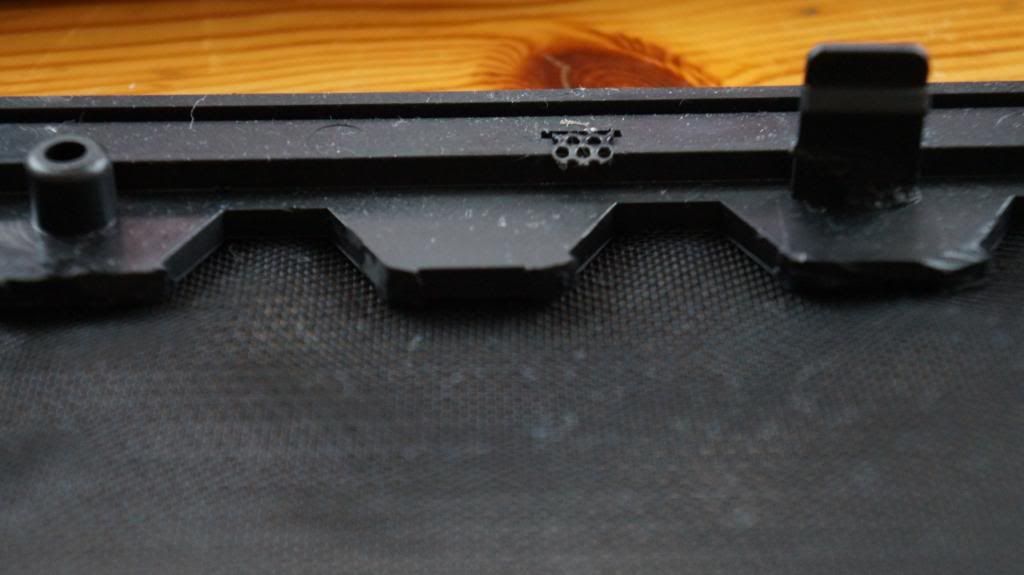 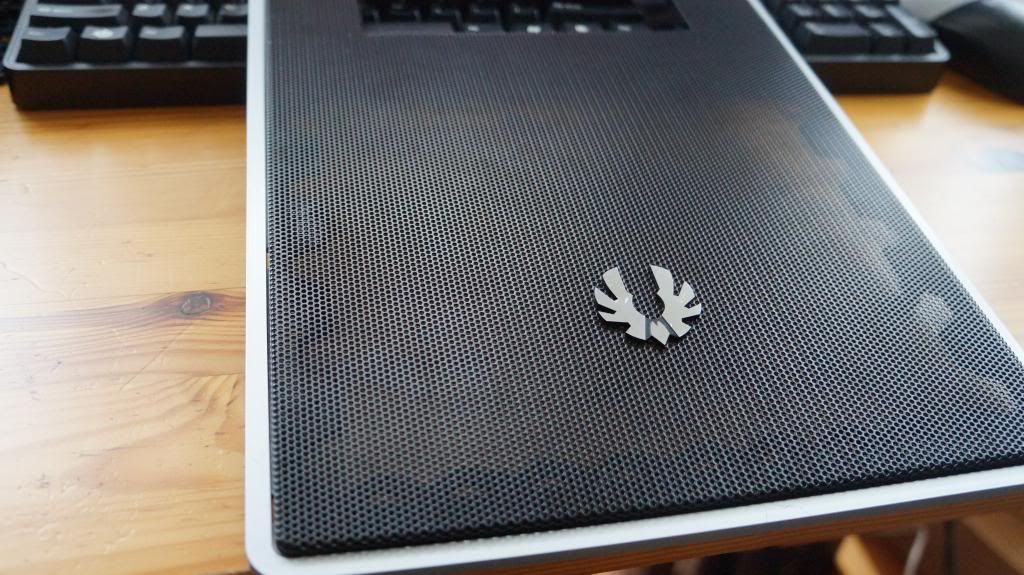 GORILLA GLUE!! I know gorilla glue has a reputation for leaving a shiny residue and I'm aiming for a matte finish. You can cover it with a pad with black paint. Kinda difficult but it works.  |
|
|
Apr 1 2013, 05:22 PM
Return to original view | Post
#37
|
|
Senior Member
660 posts Joined: Jan 2012 |
QUOTE(qwe13 @ Mar 31 2013, 08:12 PM) taw takut... is fine. I'm still waiting for my watercooling parts. sori jake...spamming in ur thread by the way..keep up updating..wanna see ur approach on Apogy @pristine quick!!! I want my item I love you but you need to hurry pleaseee.... |
|
|
Apr 2 2013, 08:28 PM
Return to original view | Post
#38
|
|
Senior Member
660 posts Joined: Jan 2012 |
MNPCTech UPDATE!! This update is from a package by Bill. Thanks for the *shipping* *wink wink* First is the handles. The most expensive part and most thrilled about part of my build. Is to carry around places, so the handles is the most important. I'm gonna add in the card too. Product Placement. 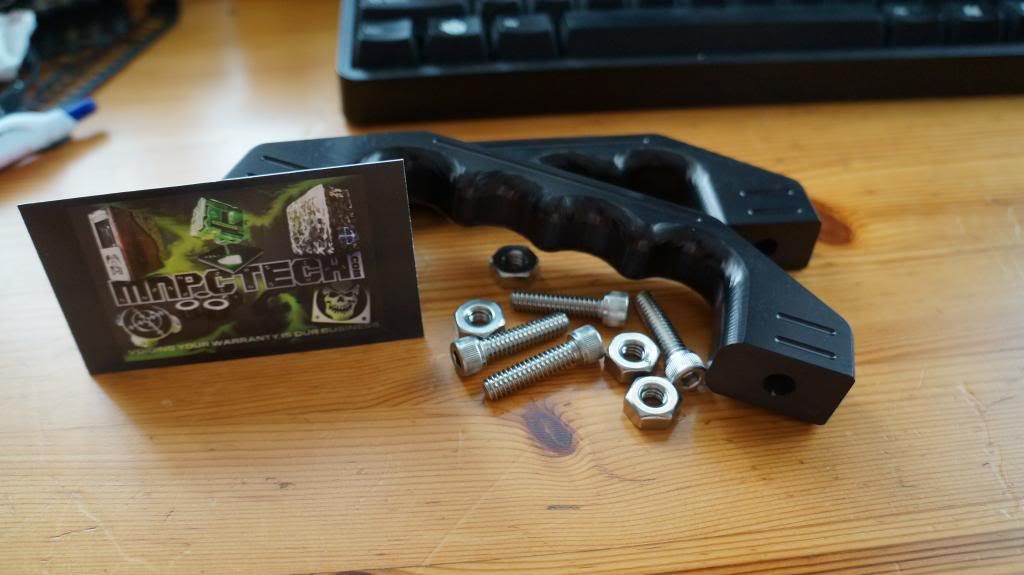 And the God Of Tapes!! I repalce my adhesives cable ties with one of these in my Blacklist build for the cathodes. Works like a charm. 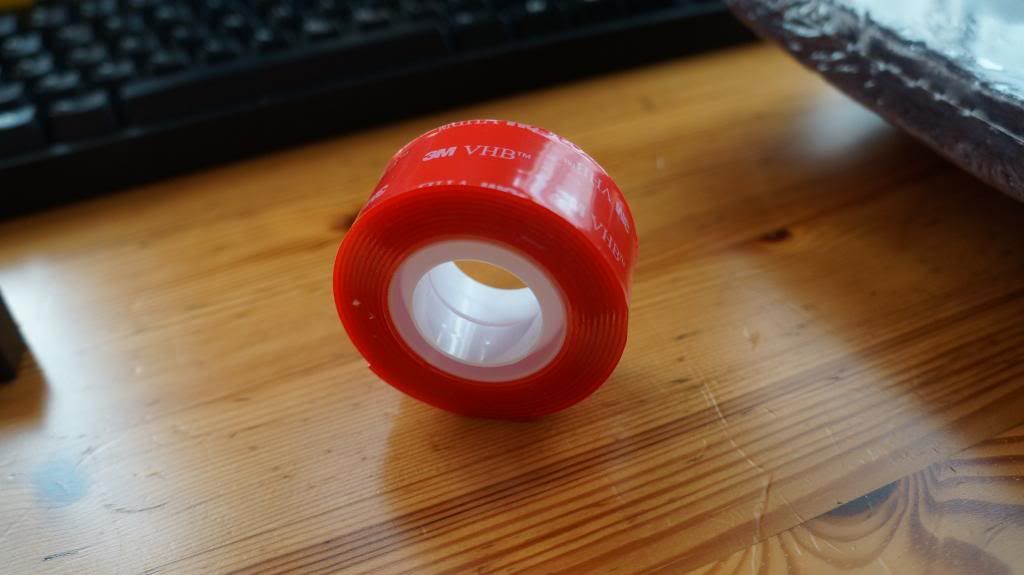 U-channel. Looks smaller than I thought. 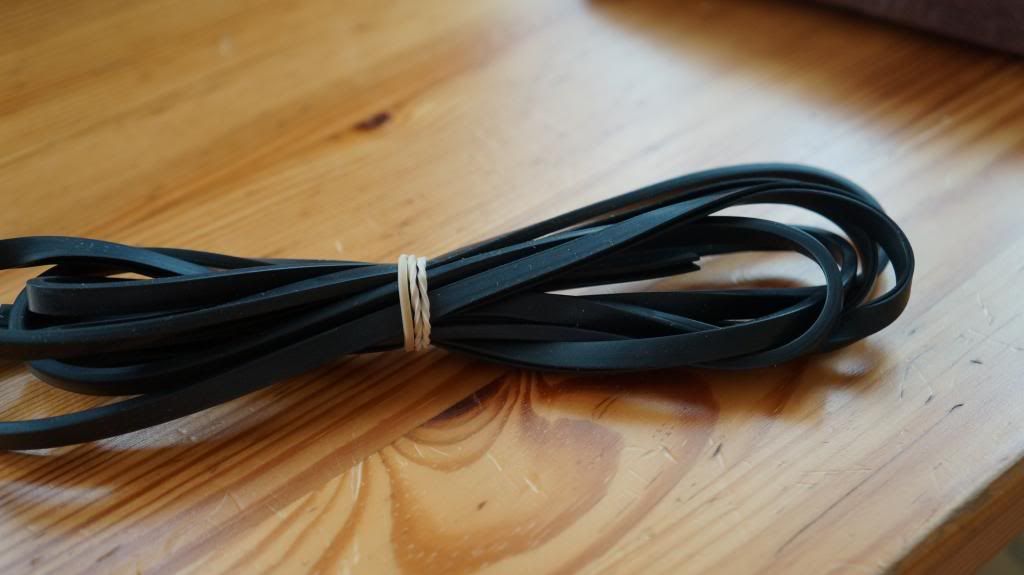 Finally, the scotchbrite pad. It comes in 3 pack and it is way bigger than I expected. A substitute for sandpaper. What I found out is that it makes like a brush aluminium finish. 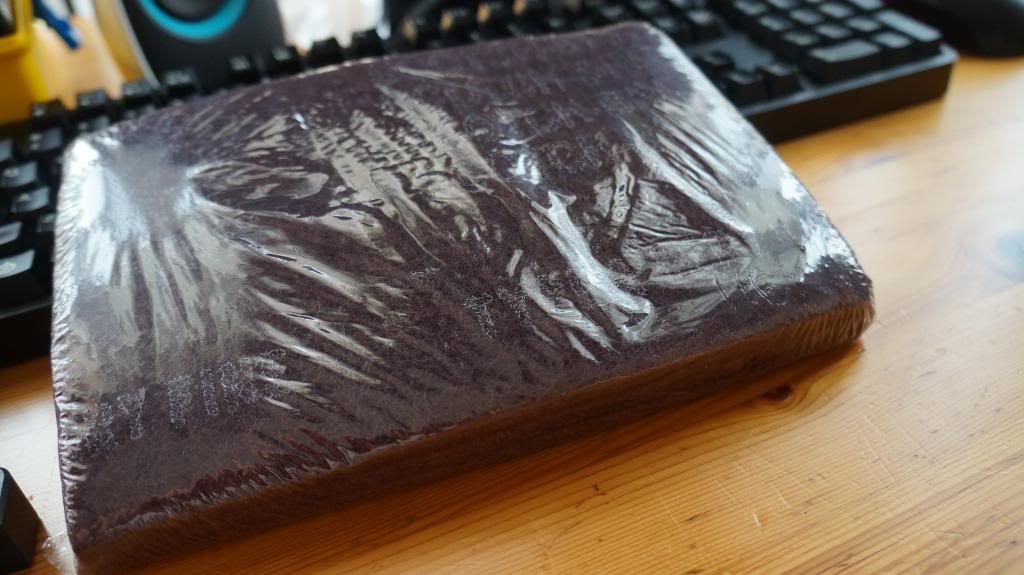 P.S. Thanks bill for the shirt. Haven't got the chance to wear it yet as it's 95 degrees here. 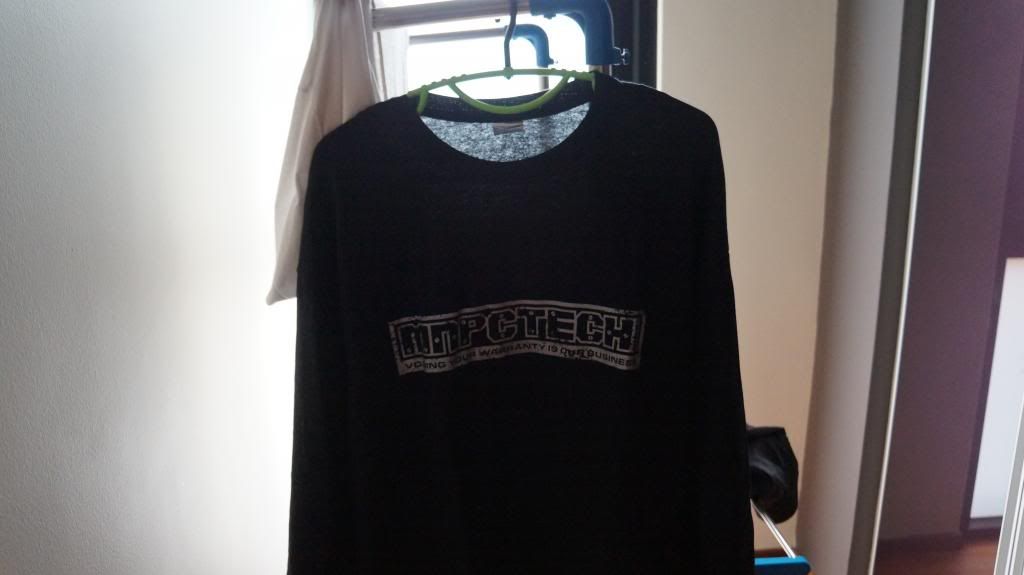 |
|
|
Apr 4 2013, 12:57 PM
Return to original view | Post
#39
|
|
Senior Member
660 posts Joined: Jan 2012 |
Ok, let's change something about the case. I used the scotchbrite pad to rough up the texture of the case. It gives a brush aluminium and yet a gun metal look. Here's some top shot of the case.   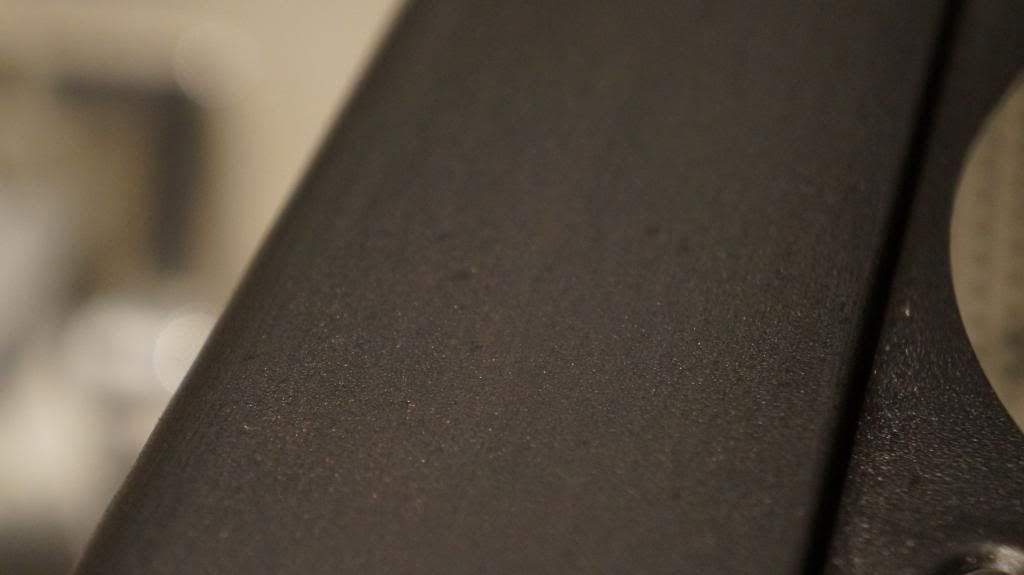 Next for the update is the mnpctech handle. I first drill a small hole and then just slowly use the same drill bit and slowly 'sand' it to make a big hole. Here's the final result. 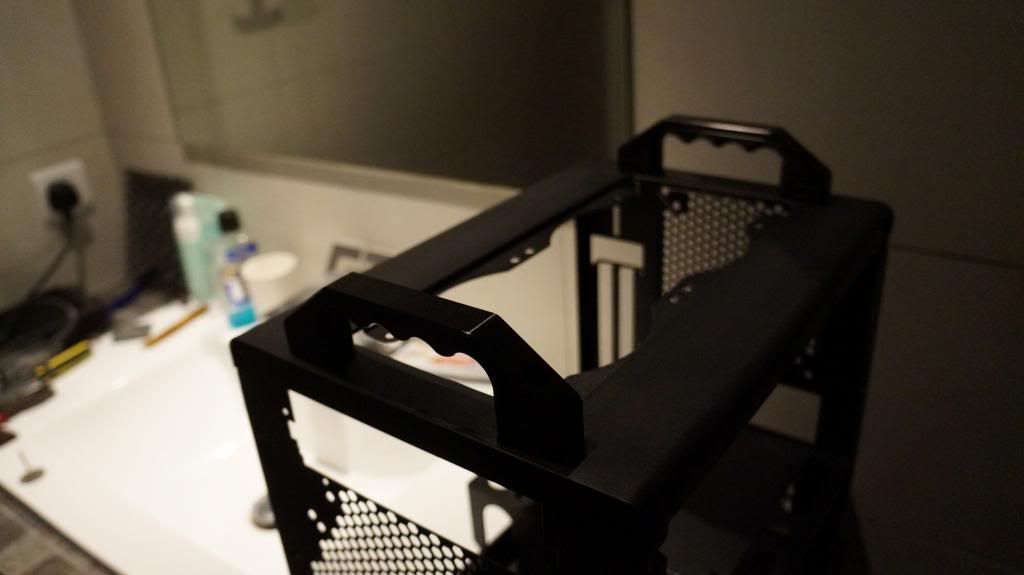 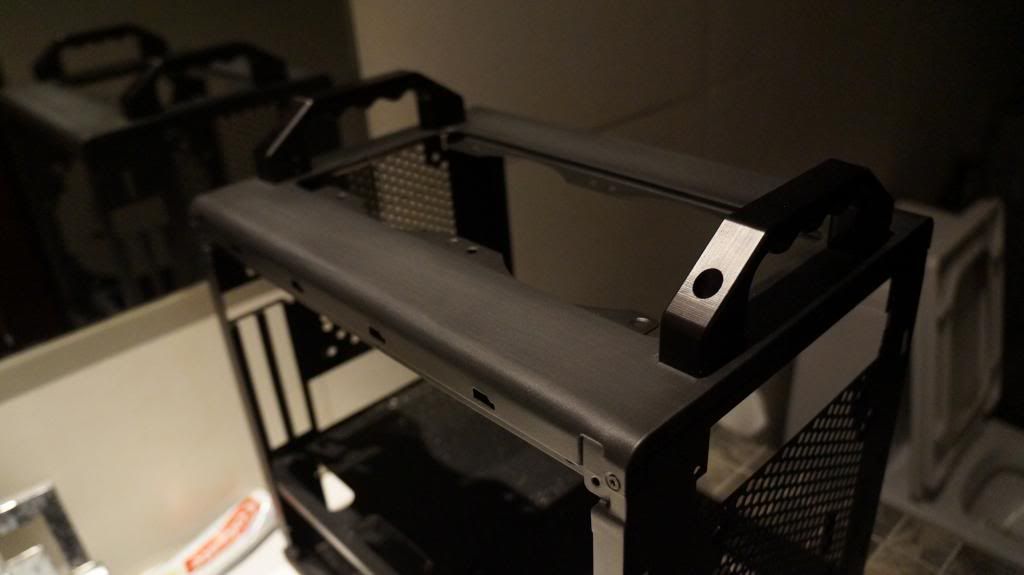 This post has been edited by JakeGFX: Apr 4 2013, 12:57 PM |
|
|
Apr 4 2013, 05:28 PM
Return to original view | Post
#40
|
|
Senior Member
660 posts Joined: Jan 2012 |
QUOTE(bardshah92 @ Apr 4 2013, 05:23 PM) [/spoiler] Black Anodized case Handles @ $39.99 (RM120)How much is the price for that handles plus shipping? Do remember that this handles are created from a block of aluminium. Is produced by mnpctech and I paid alot for this because it's a very high quality product that I need. You may not need it but I need it for this build because it's all about portability. Shipping is around ~$20 (RM60). You can contact Bill from mnpctech at (pcbuilder@mnpctech.com) or you can sign up in the http://www.themodzoo.com and register and private message bill with your orders. |
|
Topic ClosedOptions
|
| Change to: |  0.0295sec 0.0295sec
 0.19 0.19
 6 queries 6 queries
 GZIP Disabled GZIP Disabled
Time is now: 6th December 2025 - 03:05 PM |
 Quote
Quote