

 Mar 13 2006, 04:41 PM, updated 20y ago


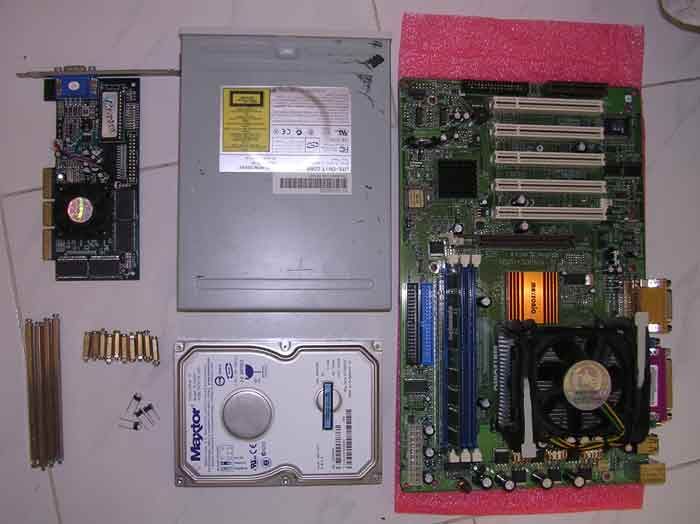
so this is what i'm going to throw into the mini casing.

- Pentium 4 1.8Ghz
- Matsonic MB
- 512mb value ram
- lousy graphics card
- DVD ROM
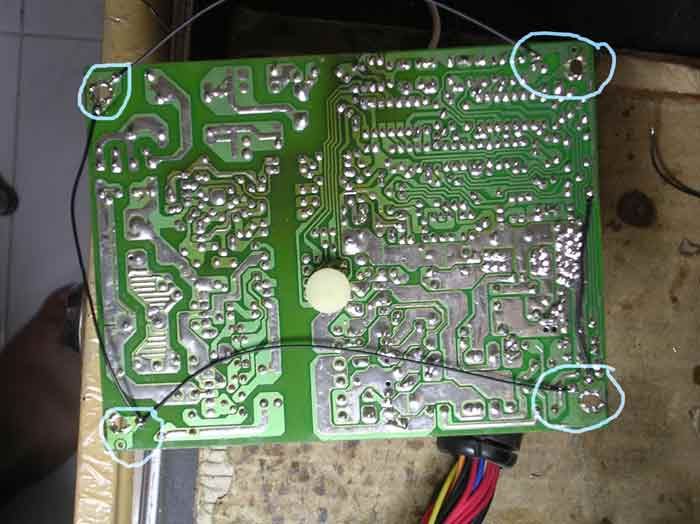
- cap A PSU
- 2 x 60mm fan
- 1 x 92mm fan
okay, i'm going budget on this, just nice casing, no window or whatever as long as it looks nice outside. i wouldnt want to invest on the frame, so i used the motherboard as the support for the heavy things like CDROM and HDD
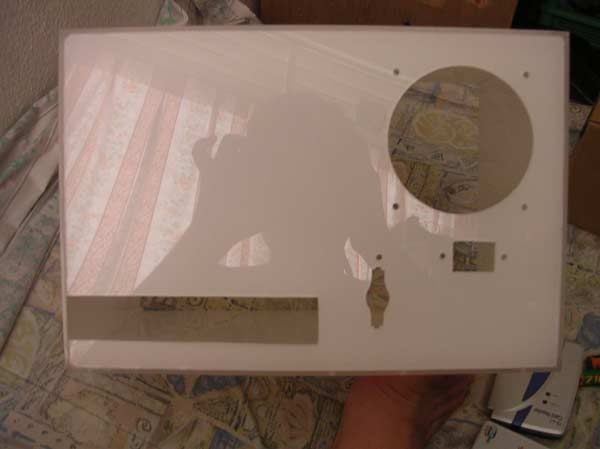
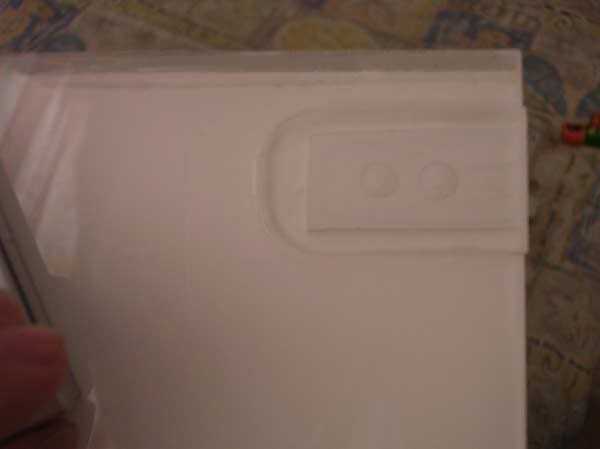
so basically i should stuff all these into a box measuring about 21mm(thick) x 205mm(height) x 317mm(length).
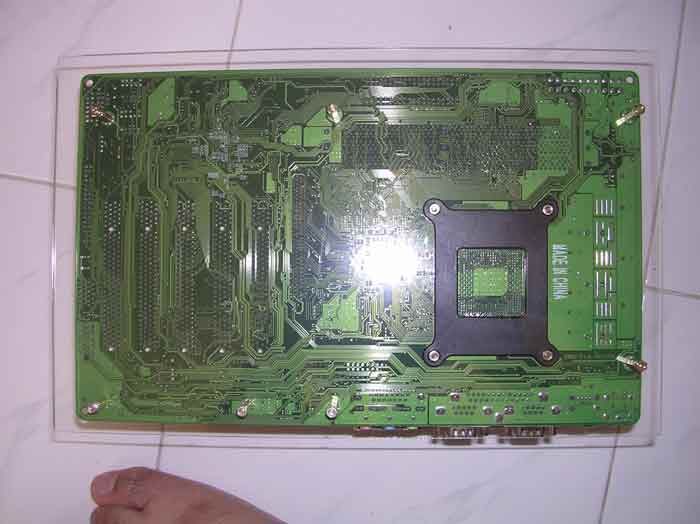
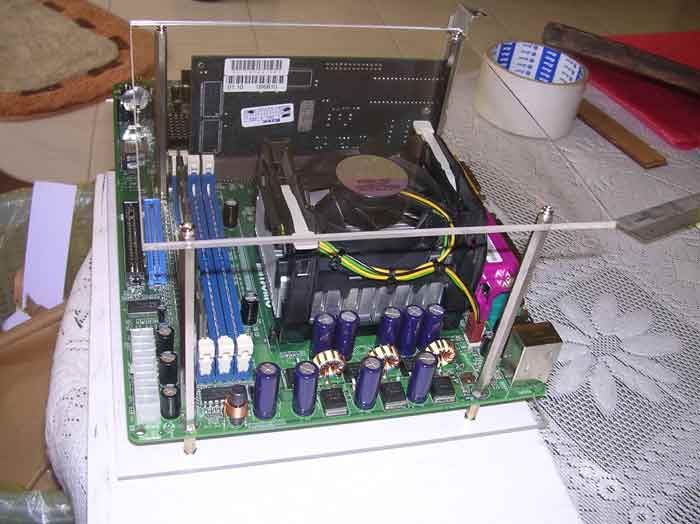
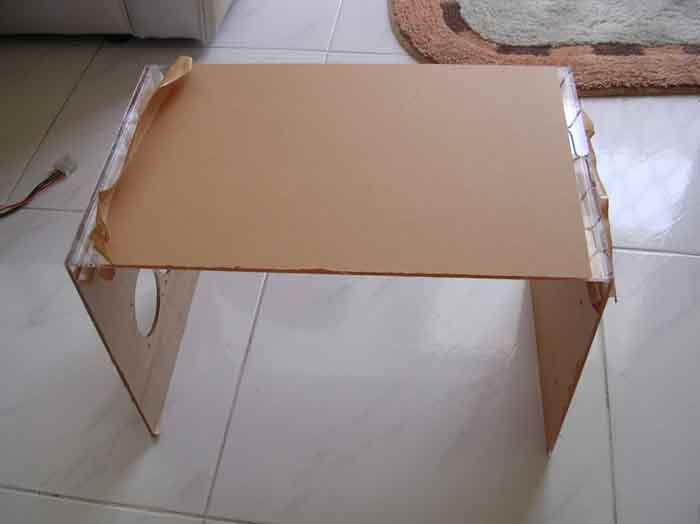
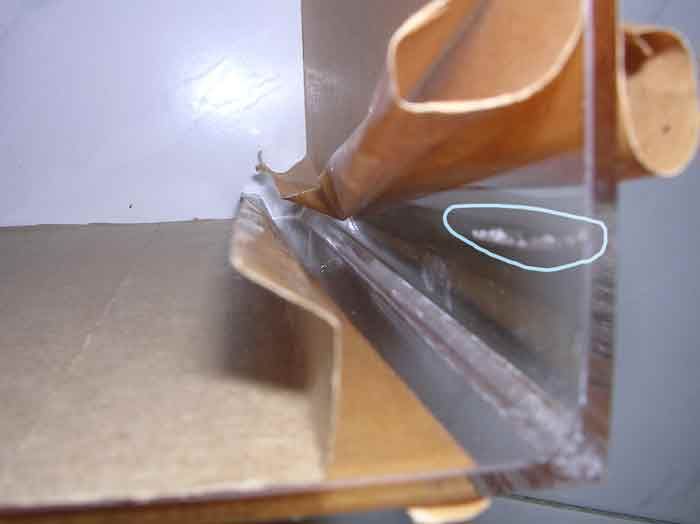
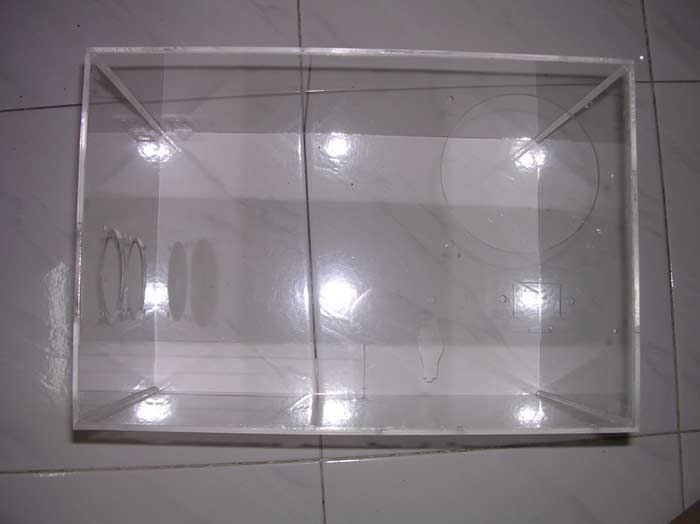
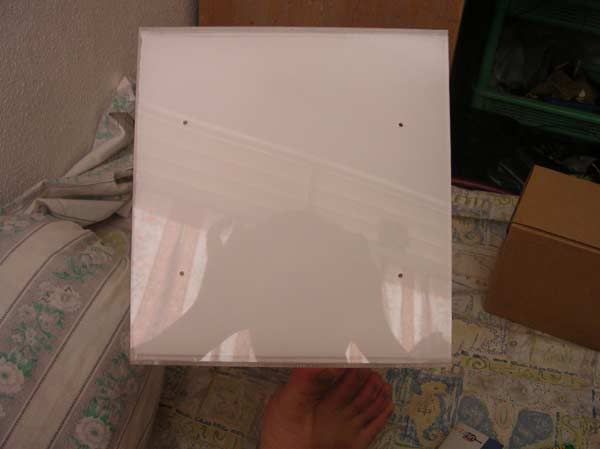
i started off with the motherboard base acrylic, drilled 7 screw holes and put in the motherboard stand.
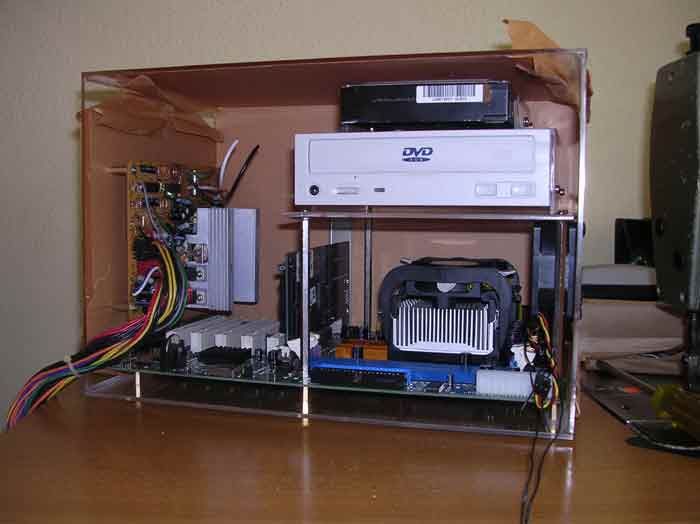
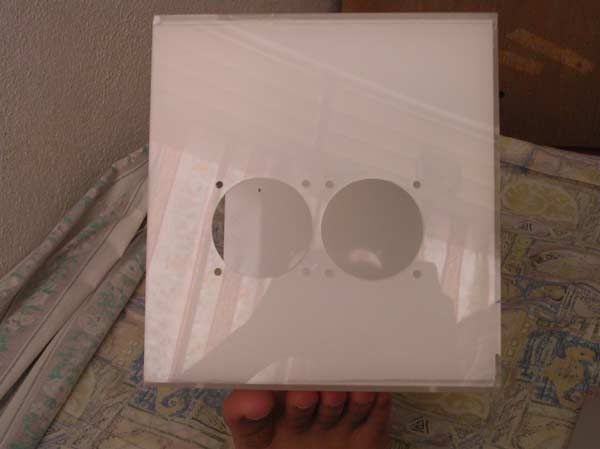
i used 4x long motherboard stands to support the base for the CDROM and HDD.
those stands are really expensive but they are so useful in building workstation style design.
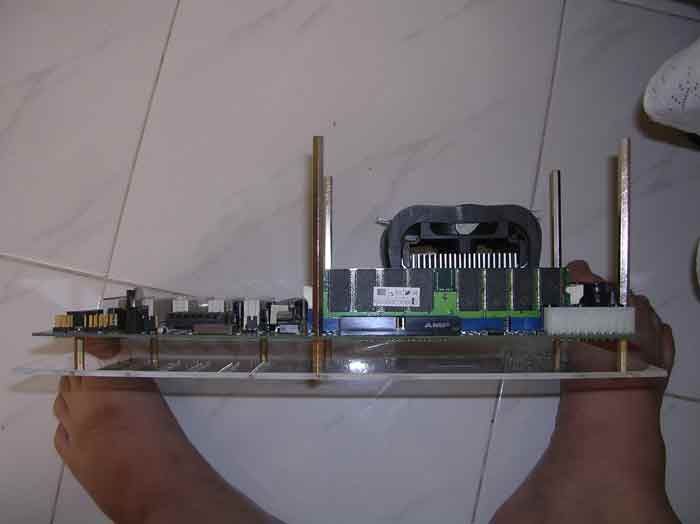
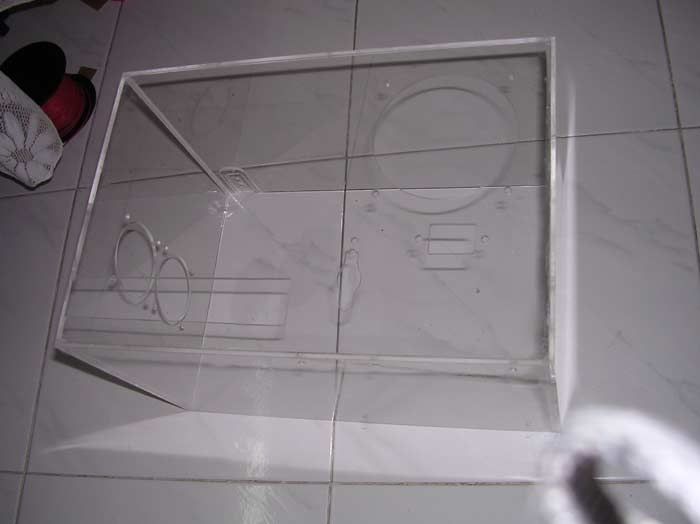
made another acrylic base for the stands
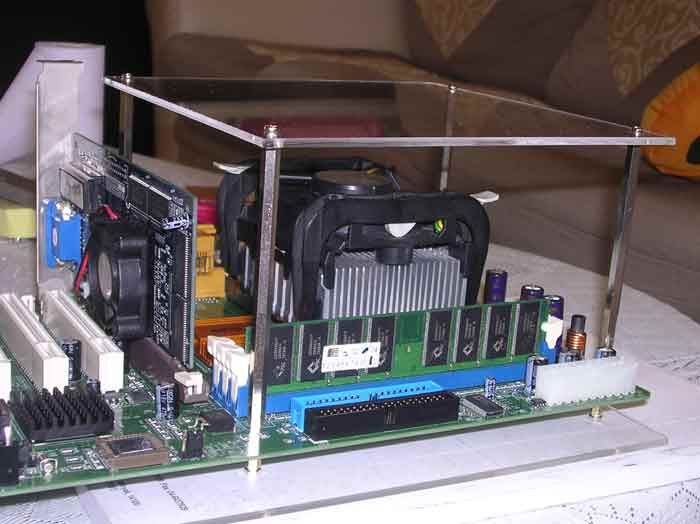
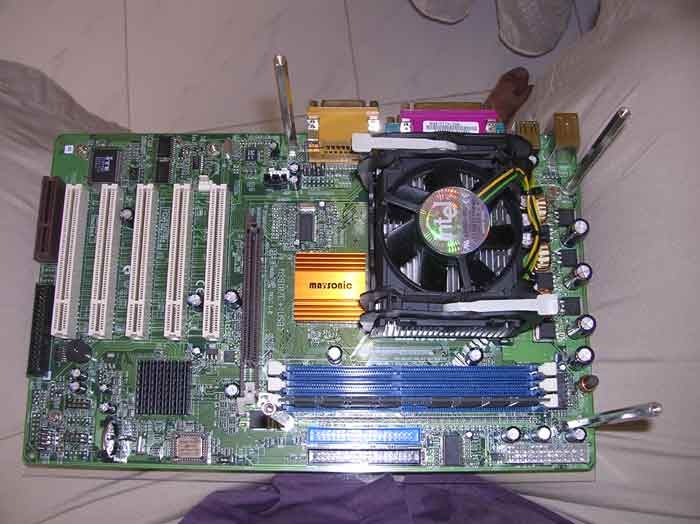
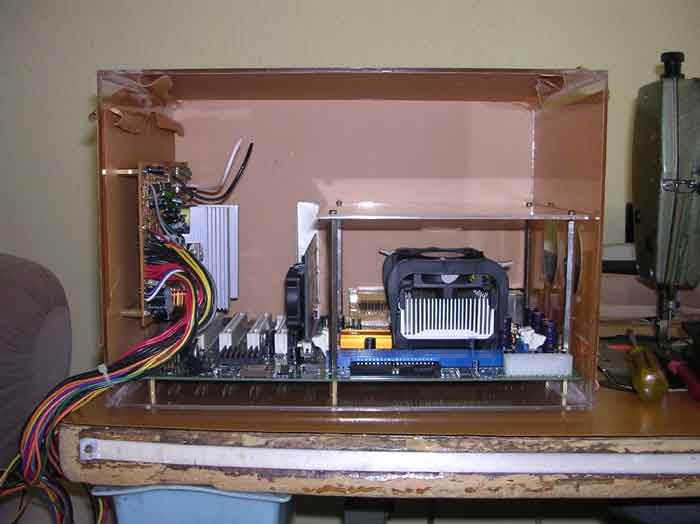
basically this arrangement is what i have in my mind, but with the PSU running naked

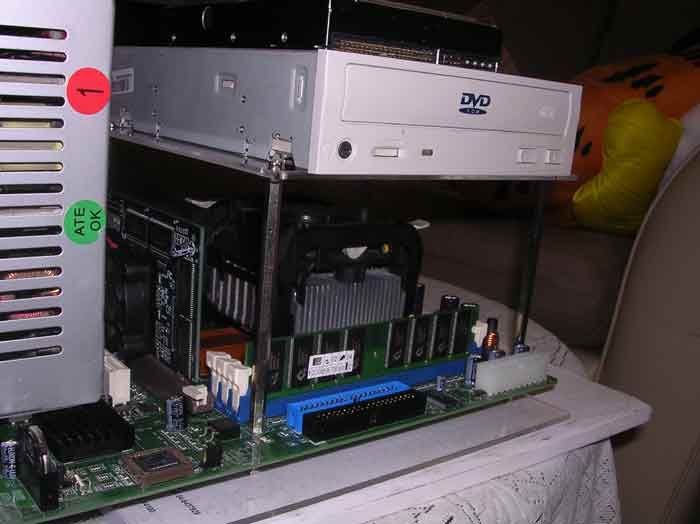
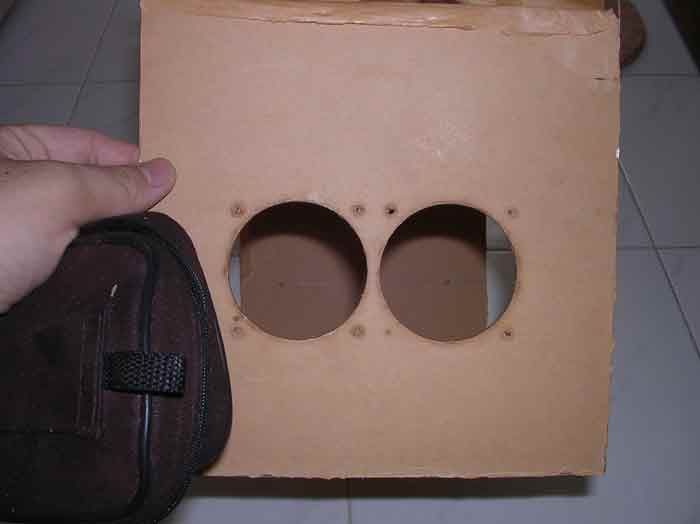
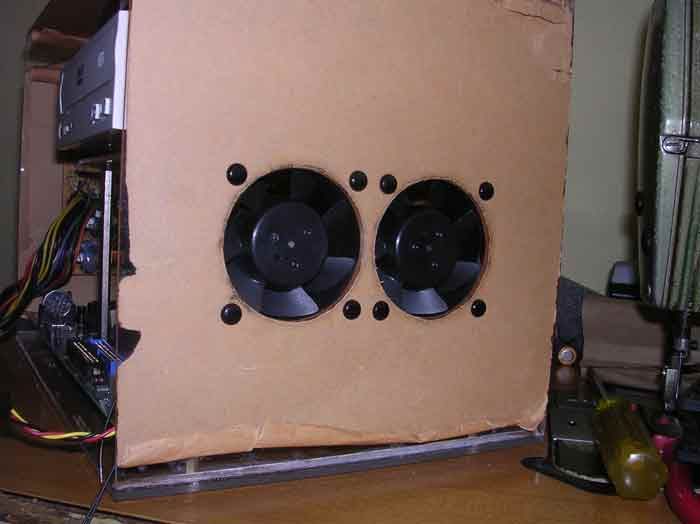
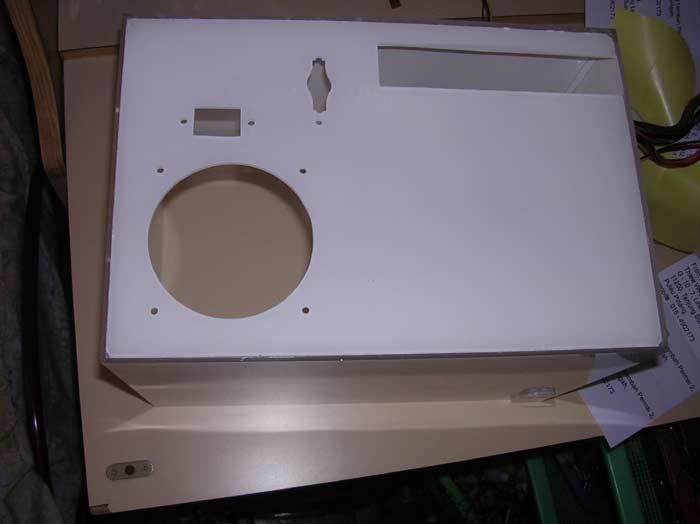
i'm leaving the front panel for the surprise, so i have to push the fans near the heatsink and exhaust at PSU area.

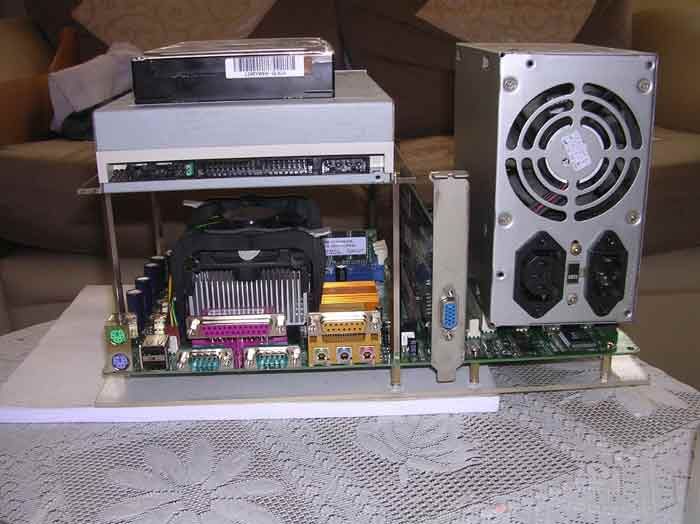
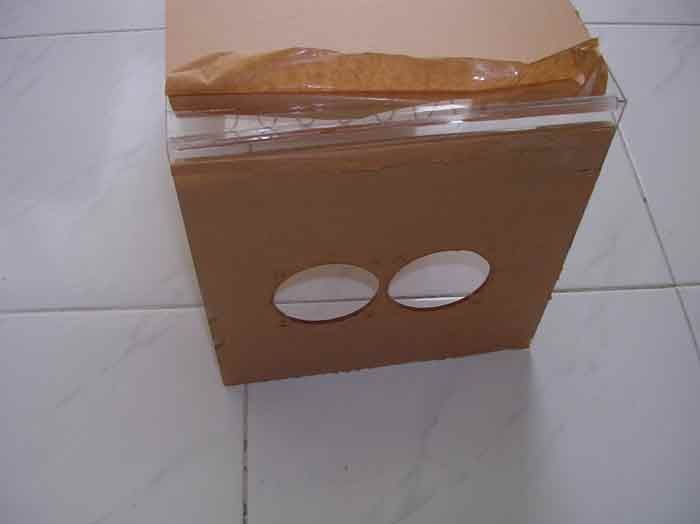
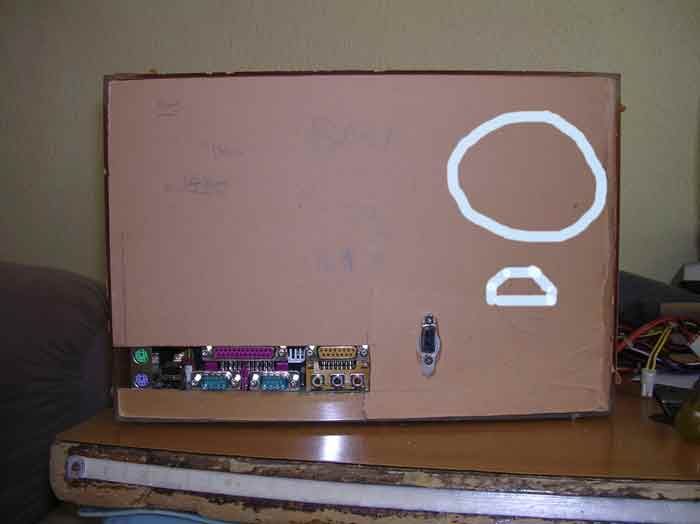
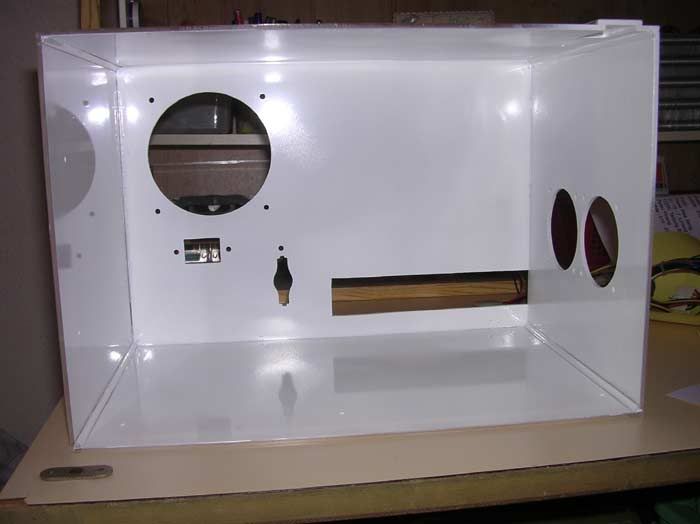
rear part of the casing
This post has been edited by AllnGap: Apr 23 2006, 02:46 PM
 Quote
Quote


 Looks Very pro Job!


 0.0156sec
 0.95
0.95
 5 queries
 GZIP Disabled