

 Sep 2 2011, 02:06 AM, updated 12y ago

 )
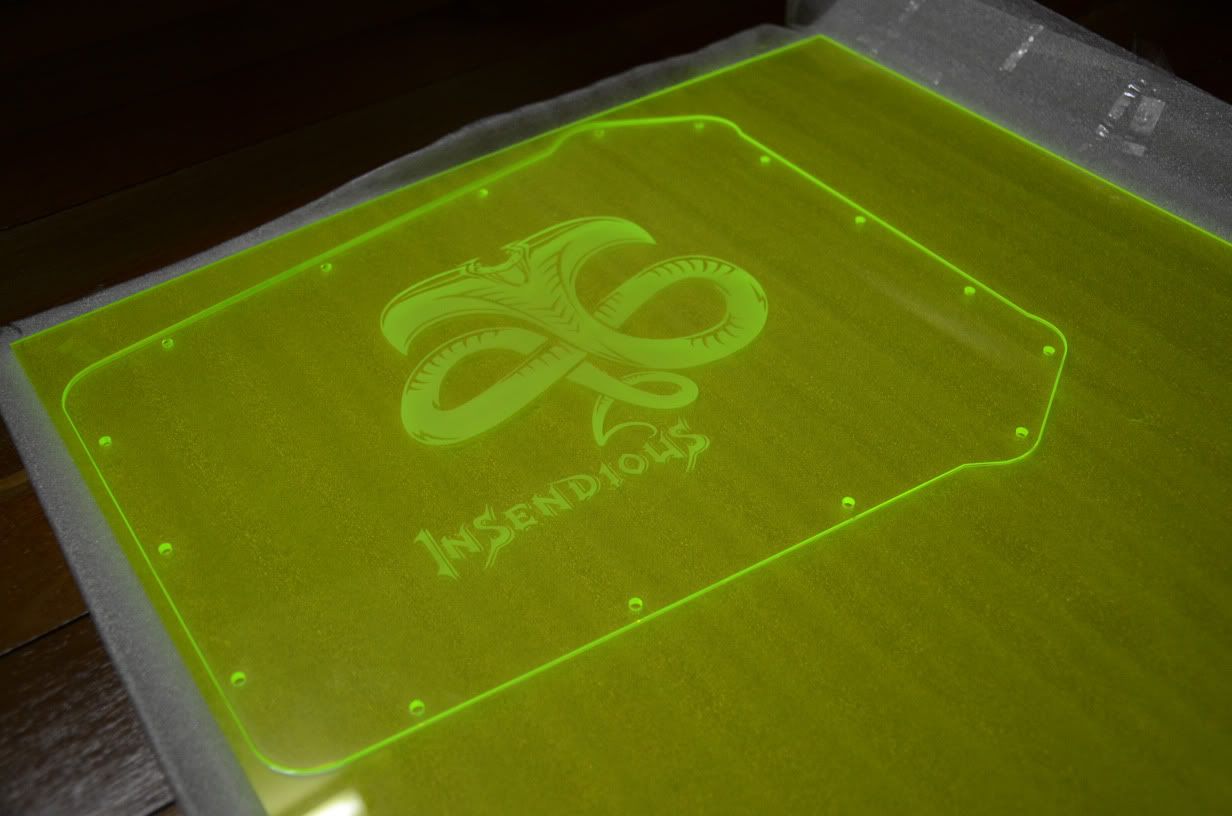
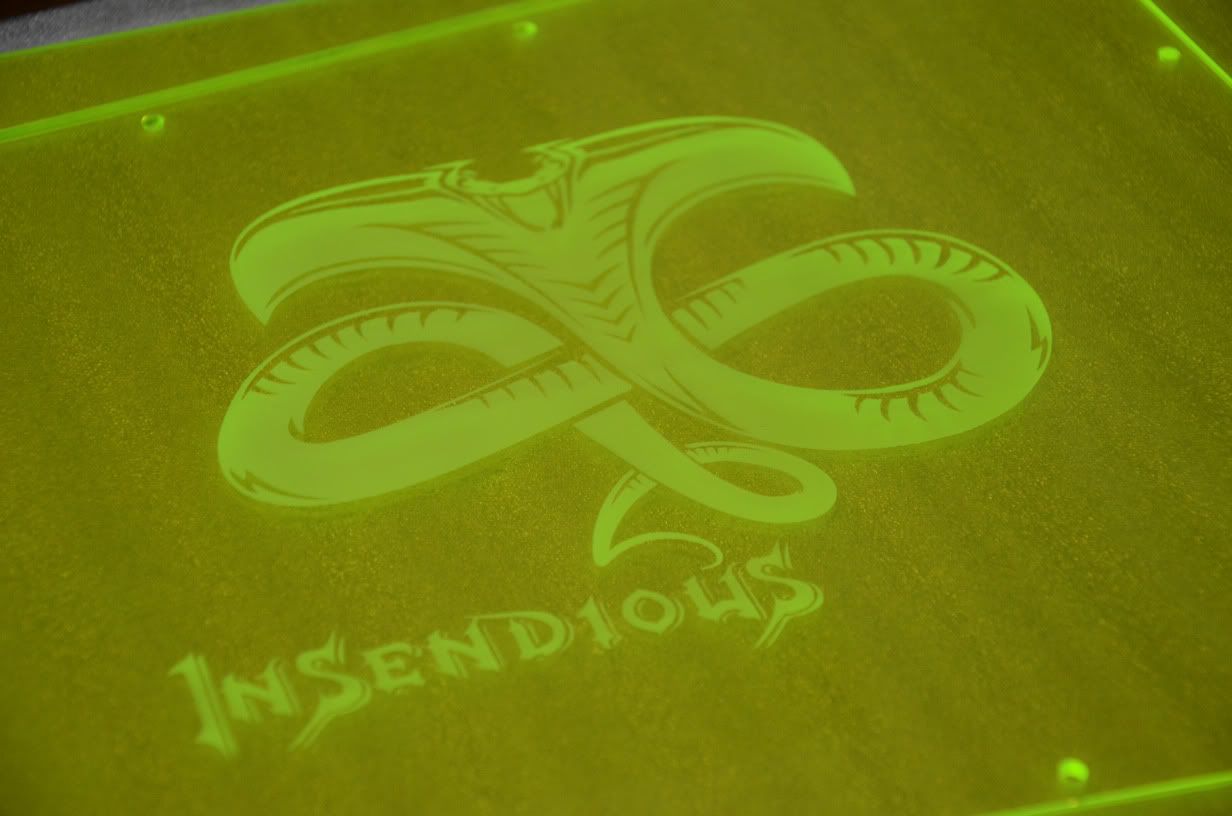
)prologue (lolz....): this mod has been ongoing for the past 2+ months (and its pretty slow going due to bz-ness) but recently only i got time to do this worklog. hope u guys enjoy this mod and i truly welcome and appreciate all criticisms and constructive point outs. anything u think i'm doin wrg plz do correct me as this is my first case mod project. i codenamed this project "Insendious"
i'll be writing this worklog accordingly with the sequence of my work. enjoy

after a long long long time of awwing and oogling at other ppls awesome works.... i've finally decided to start mine

bear with me ladies and gentlemen, and take a seat, its gonna be a bumpy ride, lolz
my fren upgraded his casing from a storm scout to a rv-02 *lucky bustered*
so y not buy over his case to mod since its a cheap case? lets do this thumbup.gif since i'm kinda reluctant to work on my bigger haf 932 cuz err.... it kinda cost me alot? lolz

an intro to this rig i'm gonna build, this rig will have a evga nforce 790i ultra sli for a mobo and a Q9650 for my cpu. well, this old school mobo and cpu is something i've wanted for a long time, and i'm finally getting those. hahaha. both of these i got from ebay, the guy sent it to my friend studying in us and she brought it back for me haha
 thats awfully sweet of her dun u think? lolzzzzz. thx anyways!!! the rest of the rig i'll show u as we go along aites?
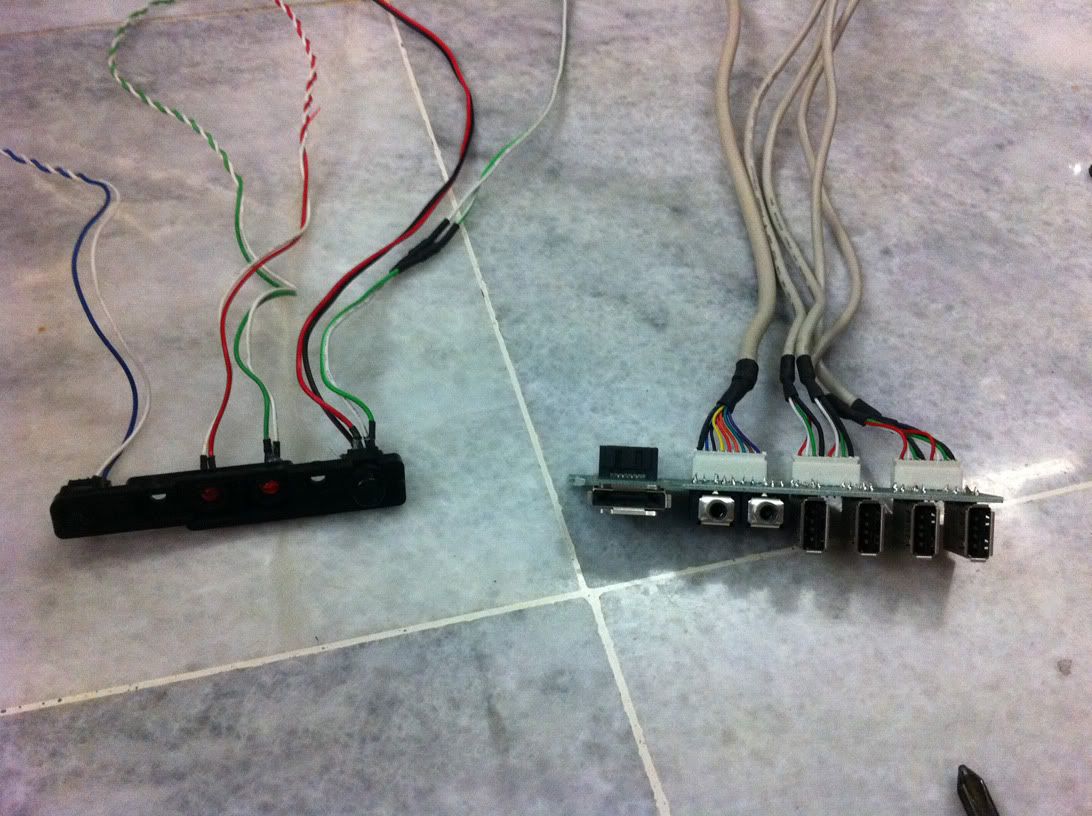
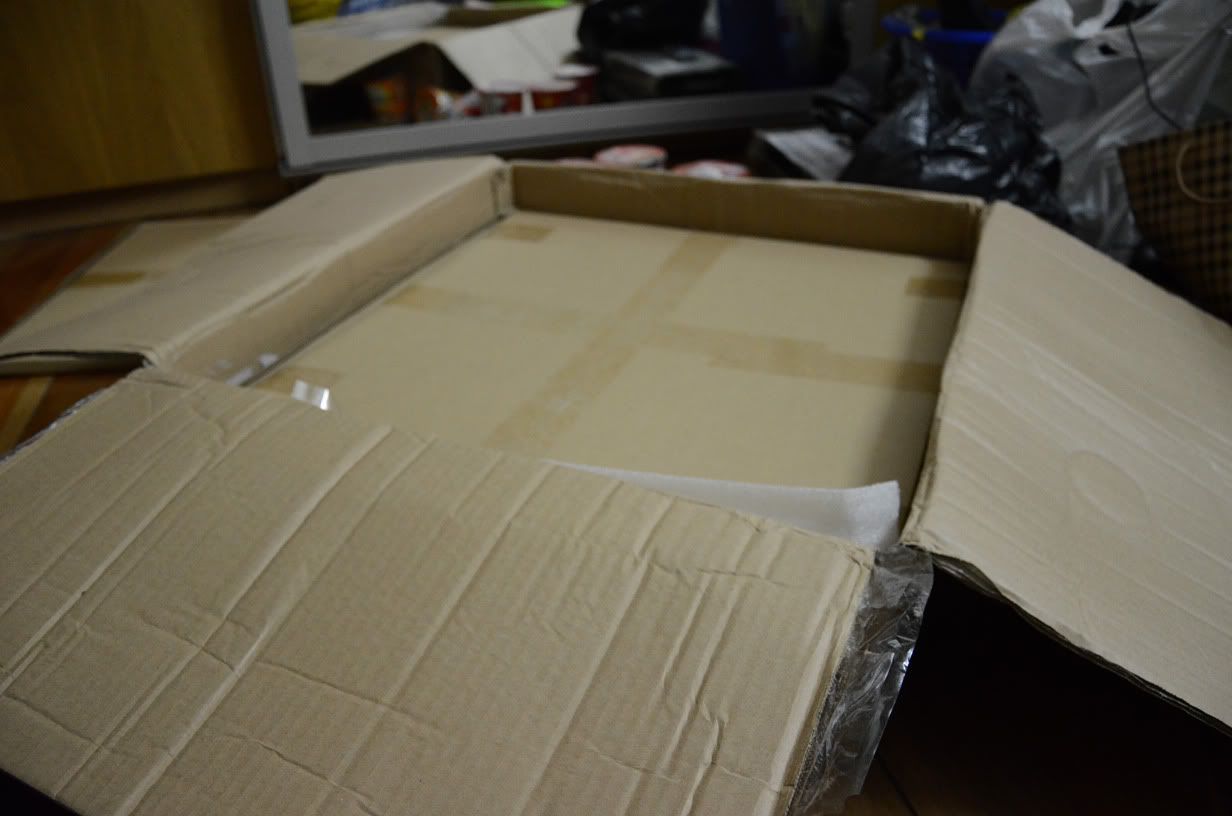
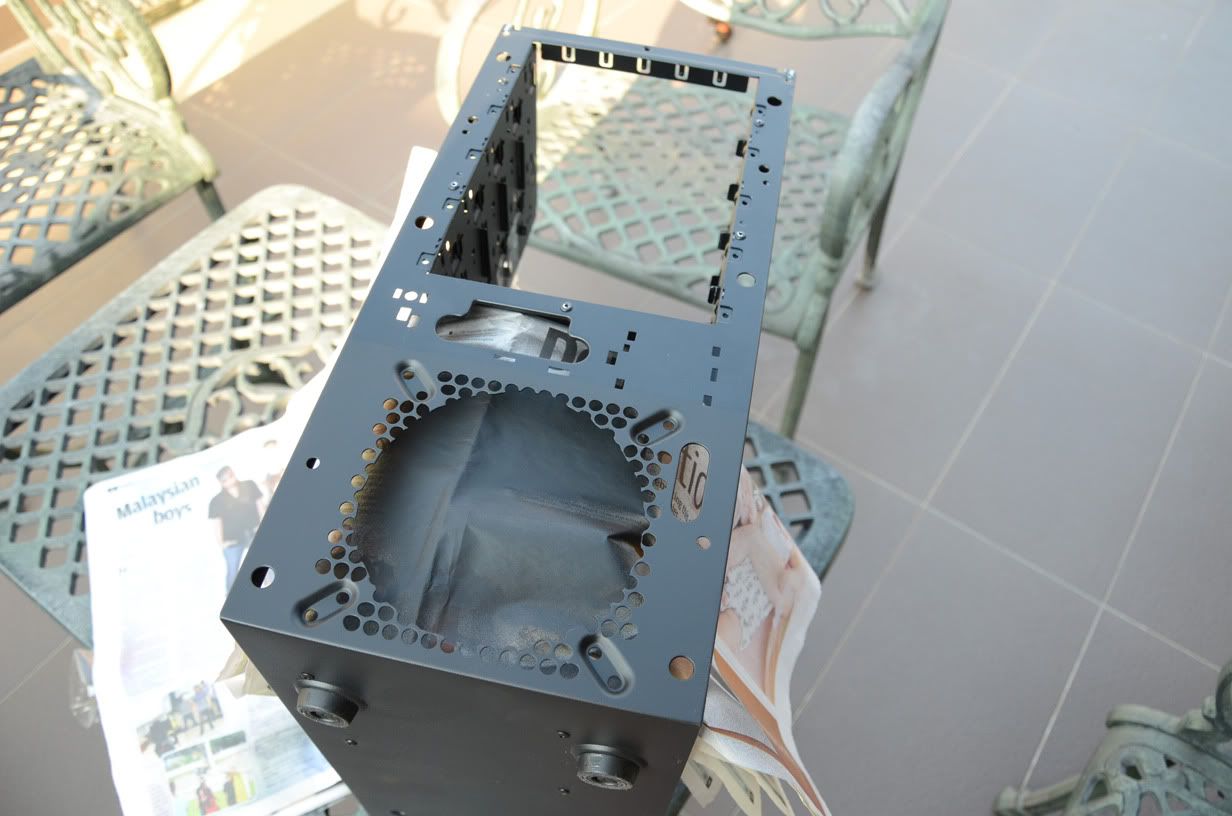
sry to say that i cannot show u any initial pictures of the casing's condition cuz i kinda tore it apart the second he took all his
hardware out from the scout...
but i'm glad to say that i CAN show u the inital pictures in bits and pieces of the casing

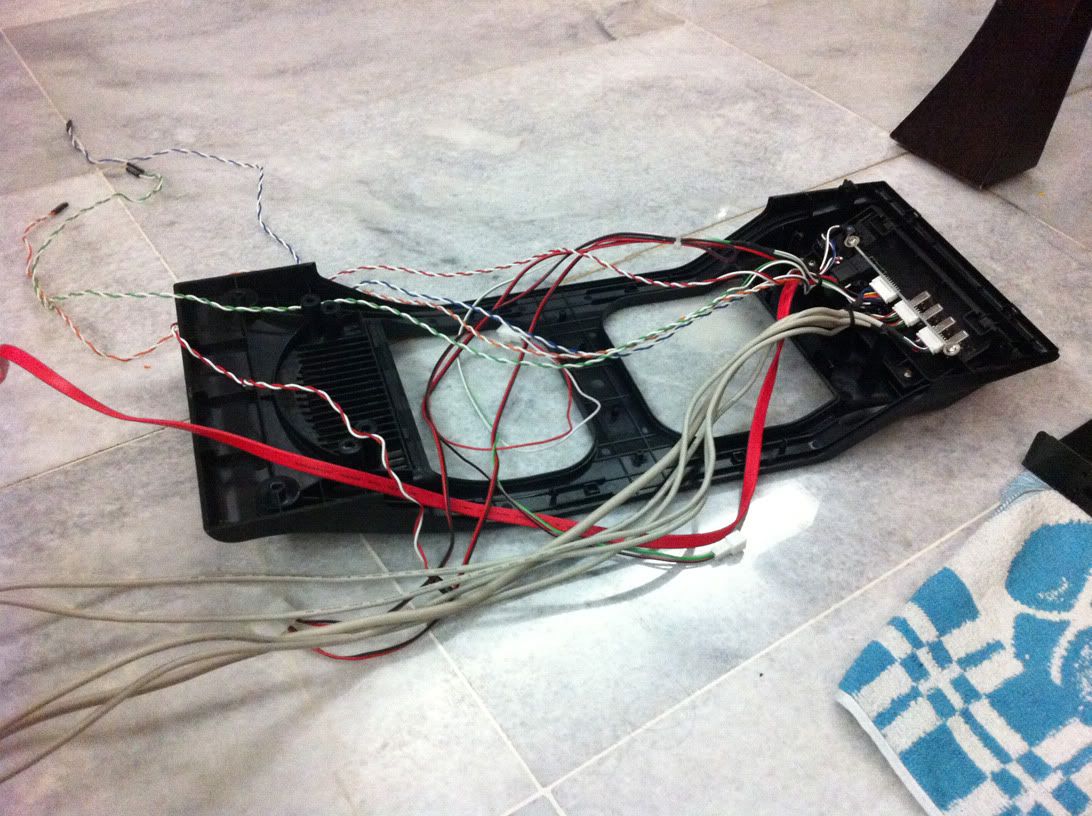
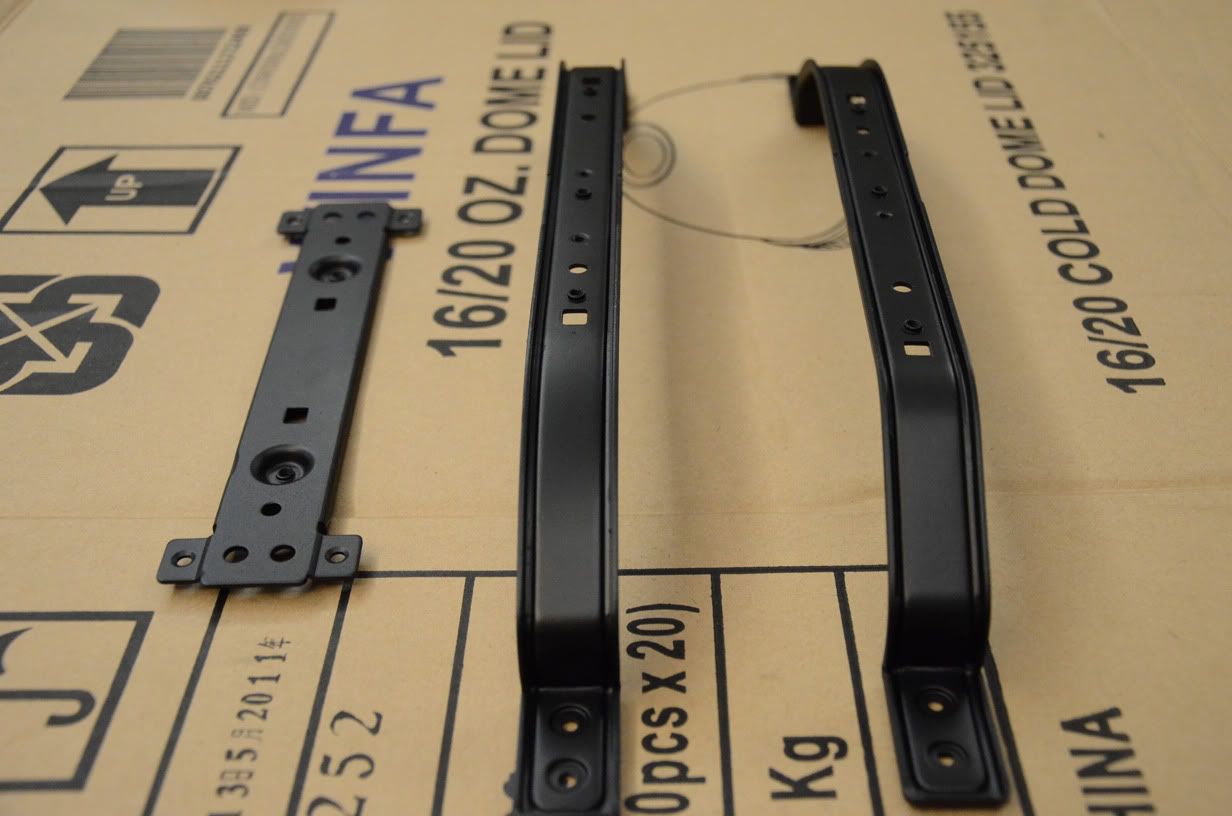
well, since it was used for quite some time it was pretty dusty, normal stuff. UNTIL i took out the steel handle bars. i was like OH EM GEE

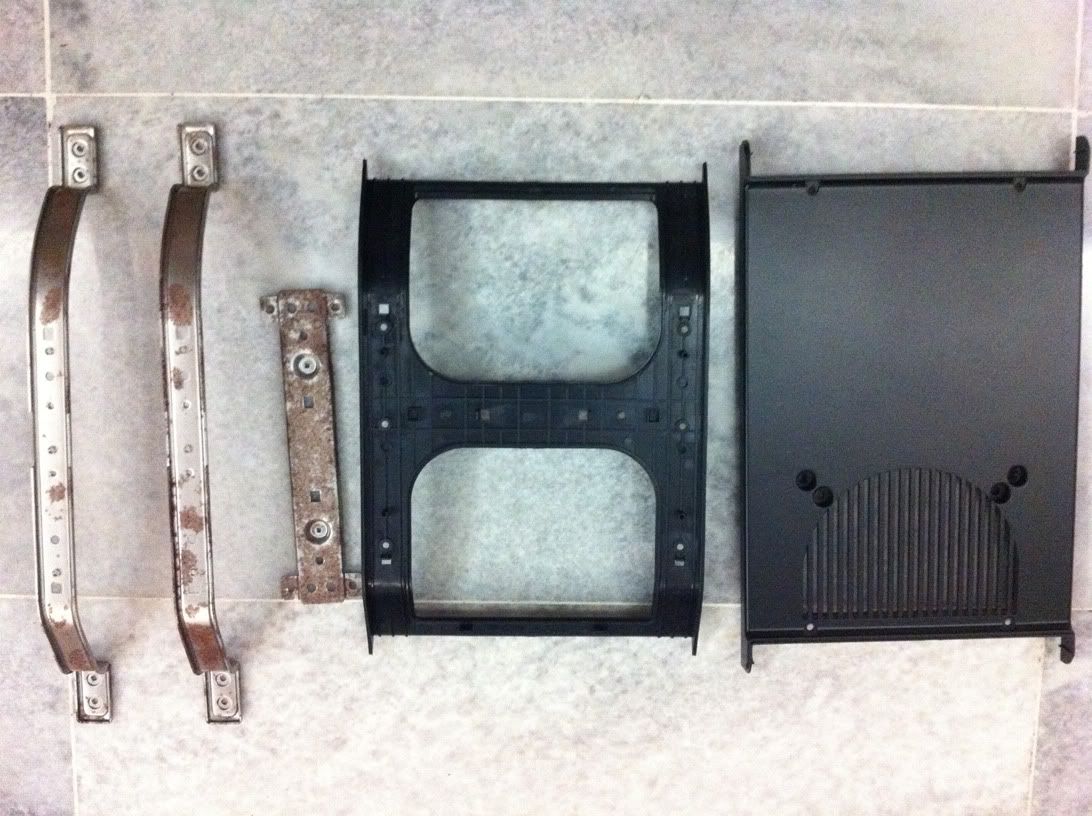
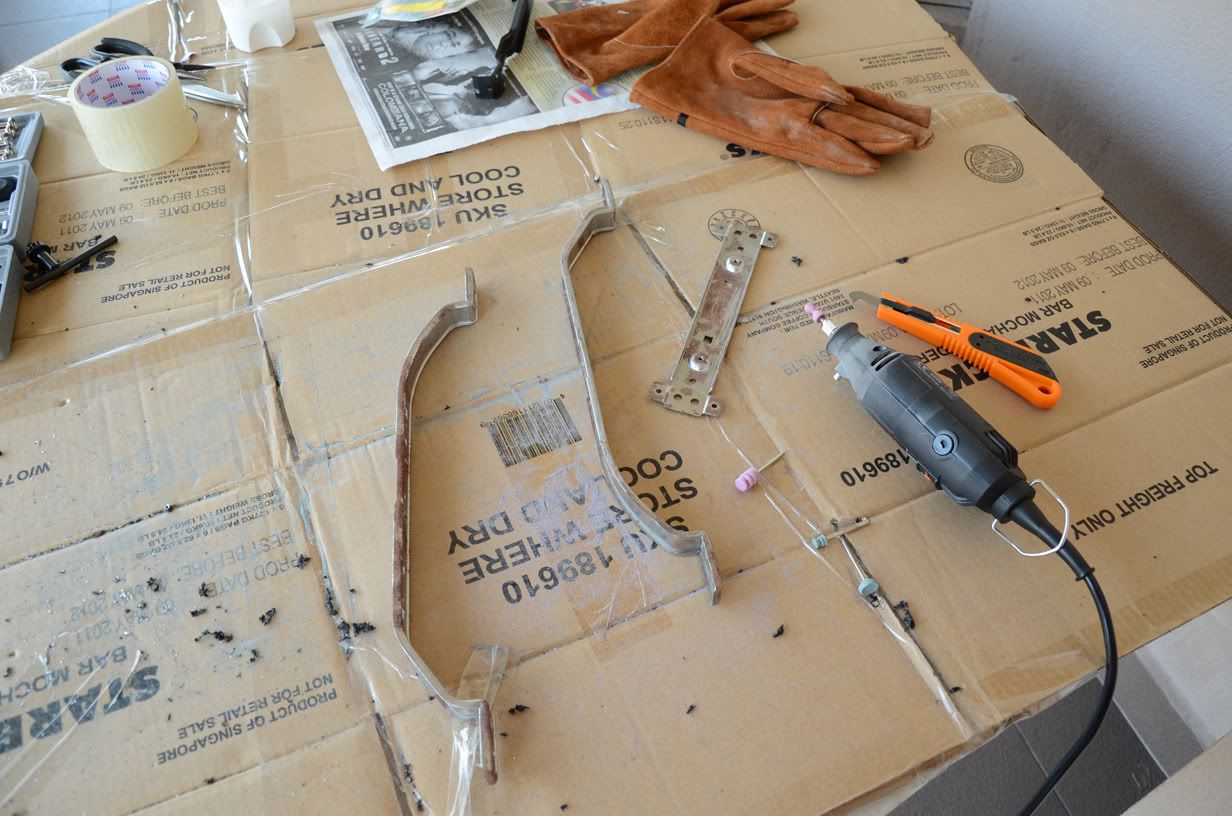
well, i really didnt expect handles to rust this bad. seriously, no protective coating? i gonna need to do something bout those.
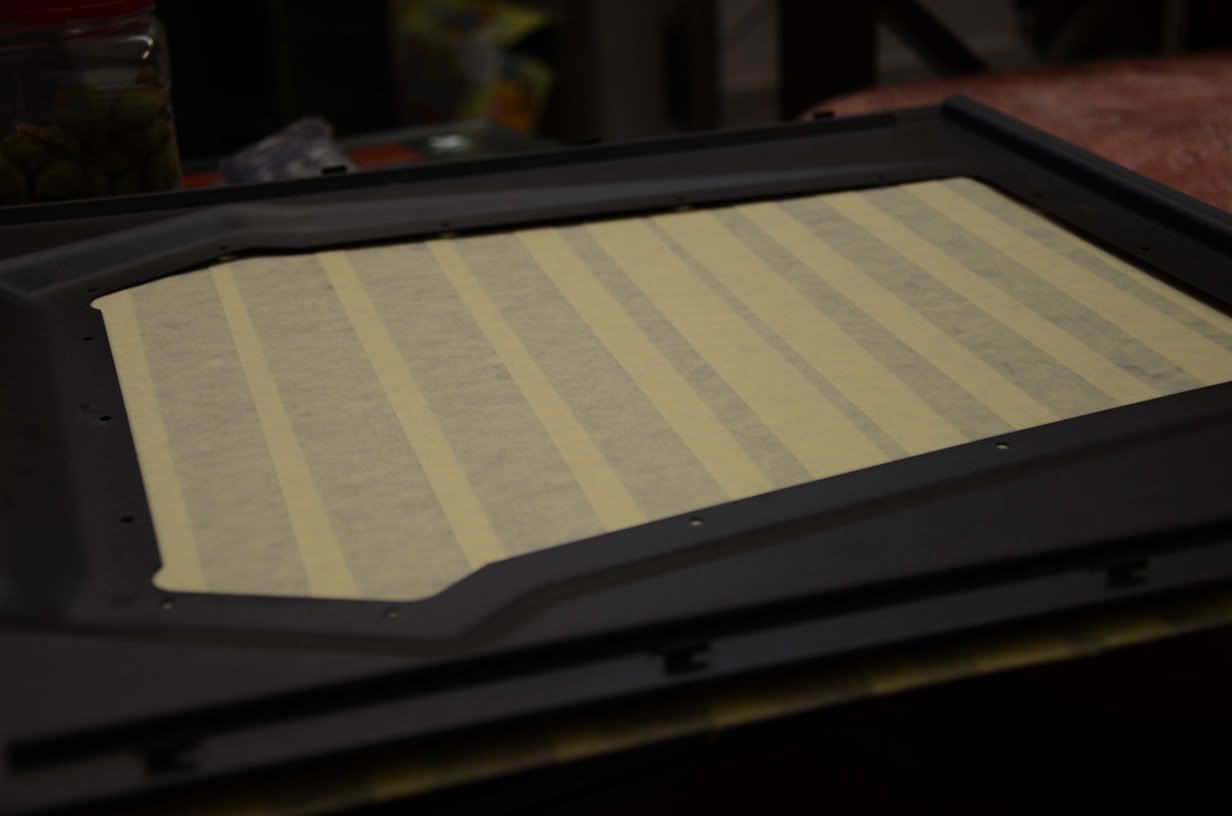
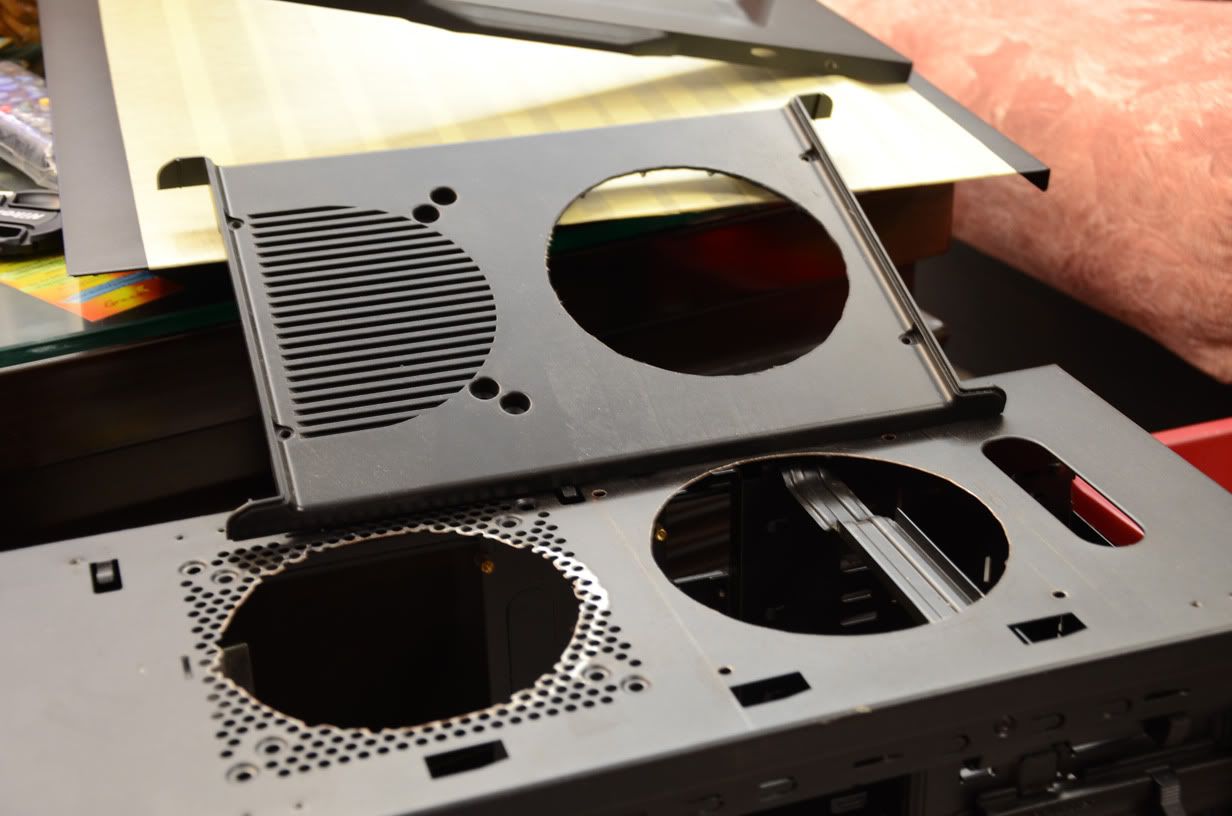
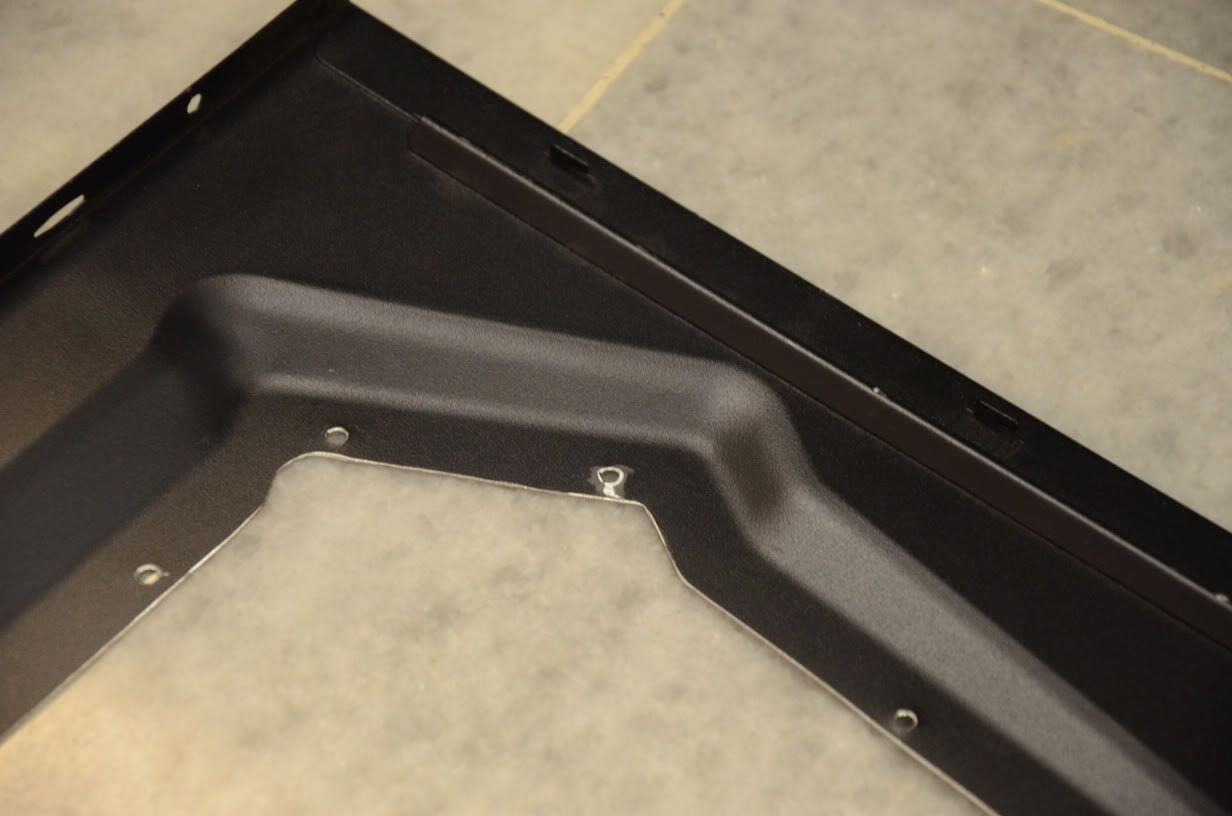
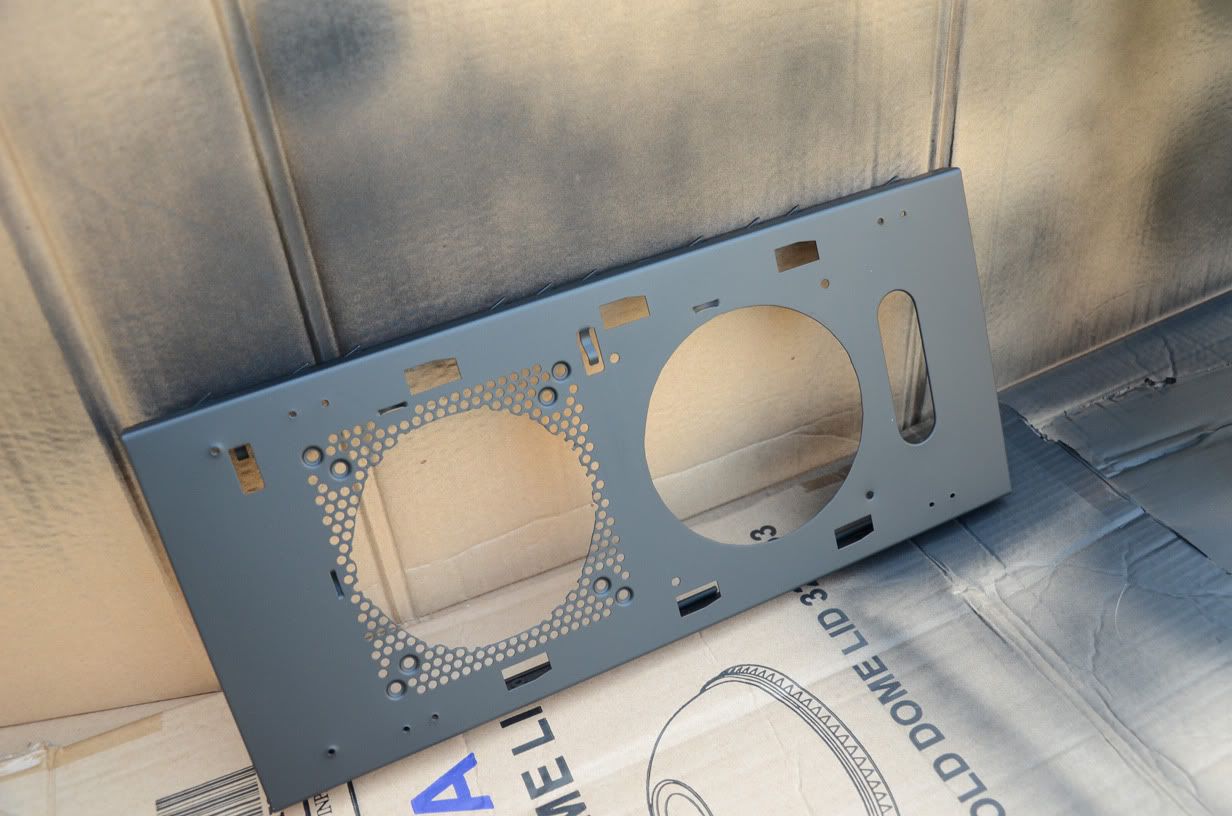
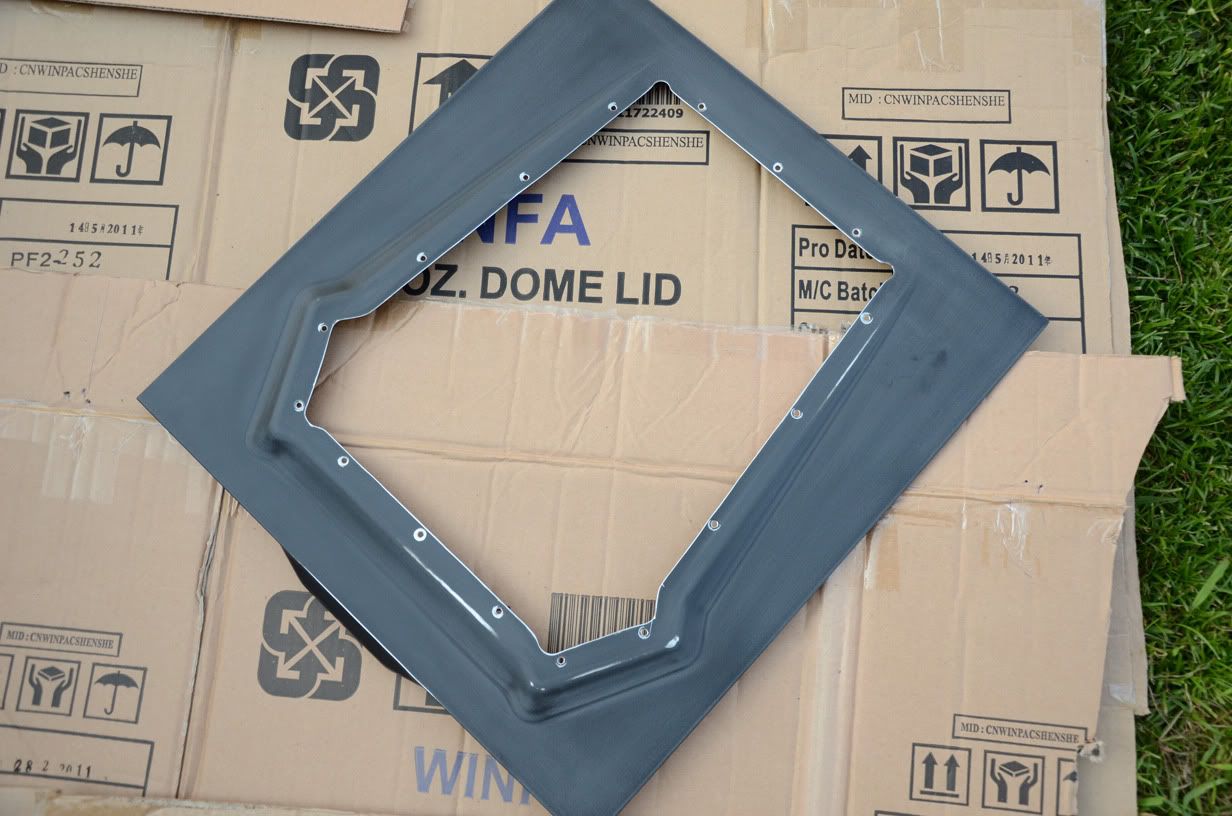
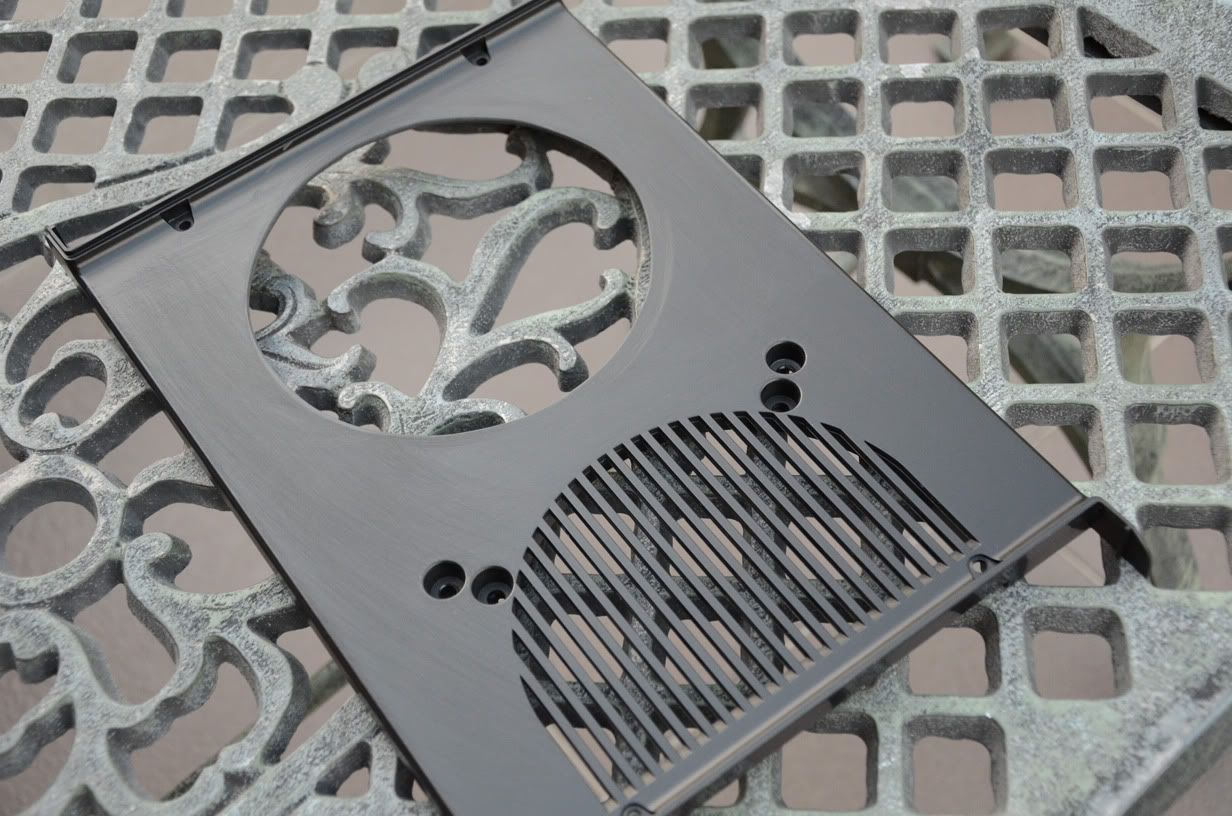
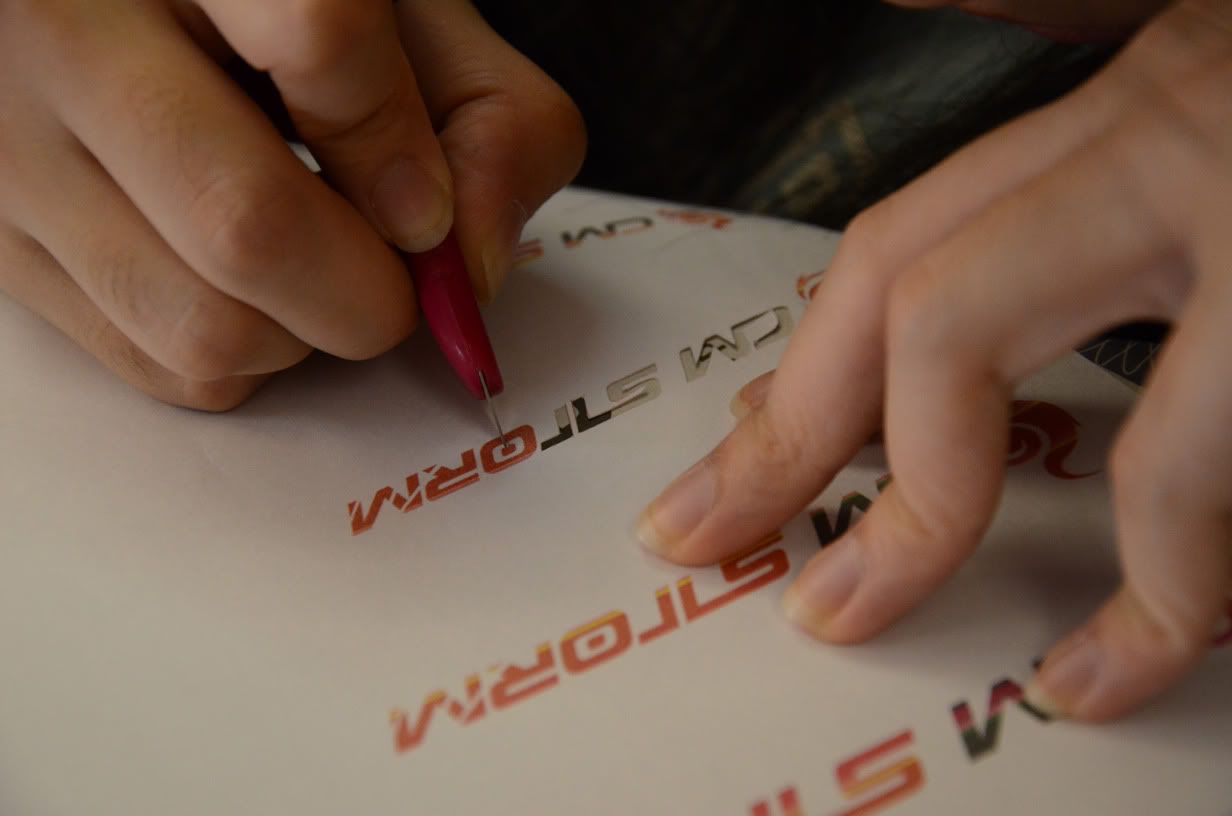
so first things first, i've decided to make this a very high air flow case. which means mounting a LOT of fans onto my case which includes making blowholes for additional fan inputs and improve the existing ones. i kinda look high and low for holesaws but nobody sells a holesaw around 120mm or 140mm which is quite a bummer. worst case scenario, dremel it myself? lolz. i asked my dad and he told me to send it to a engineering workshop to do it. so y not? time to make measurements and mark all the points for drilling and cutting.
i use masking tape to draw on the dimensions and stuff.
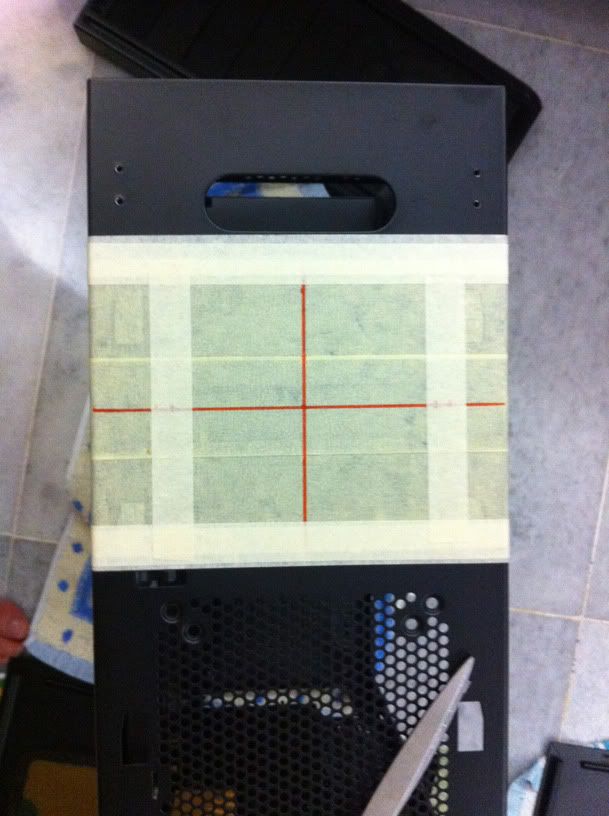
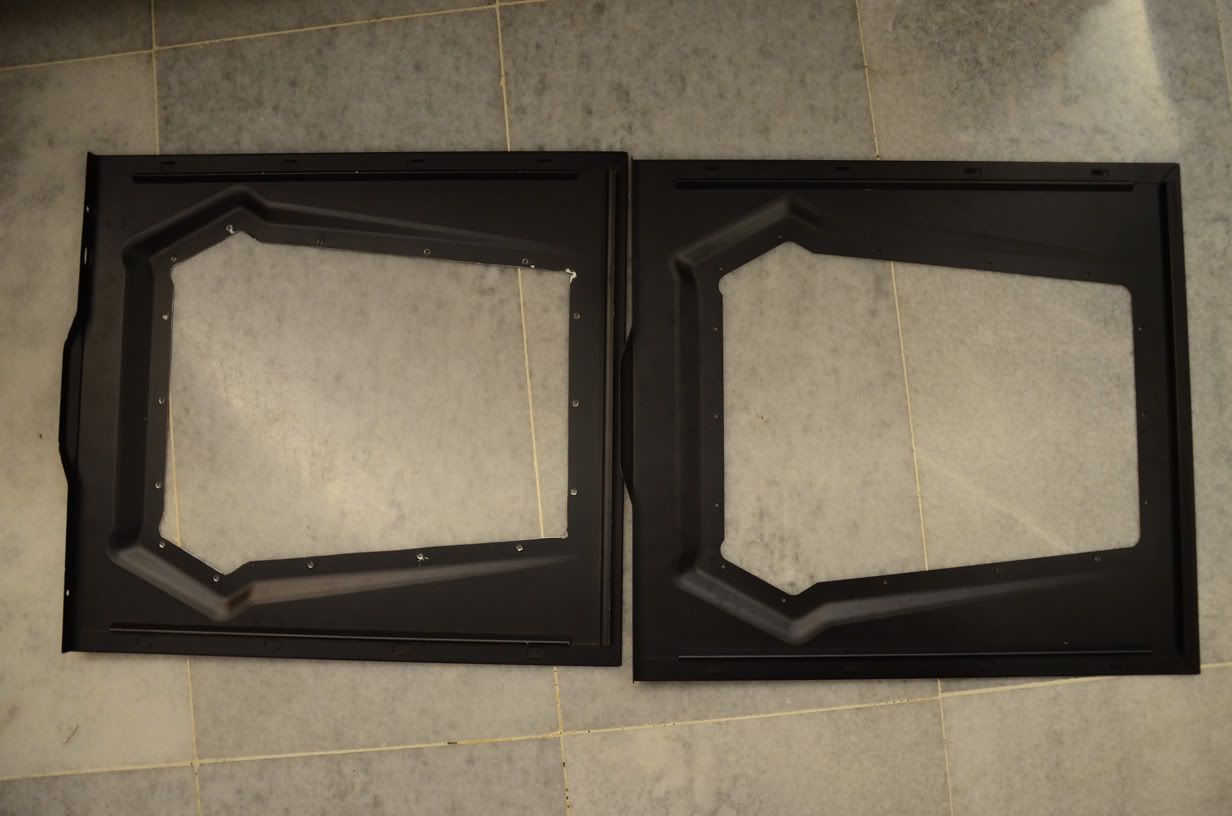
yup, 2 140mm fans on the top. 1 i juz gonna cut it to improve airflow and the other gonna cut a fresh new hole. same goes for the plastic.
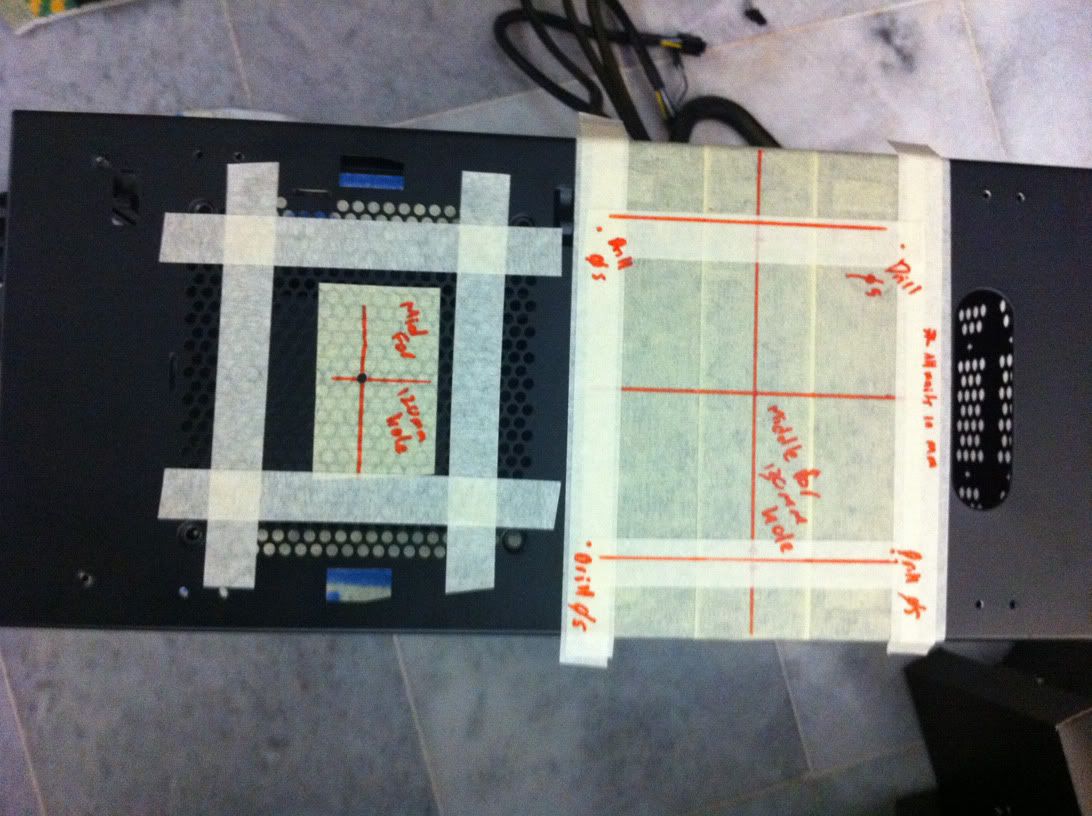
likewise, cut a hole for the front intake for better airflow
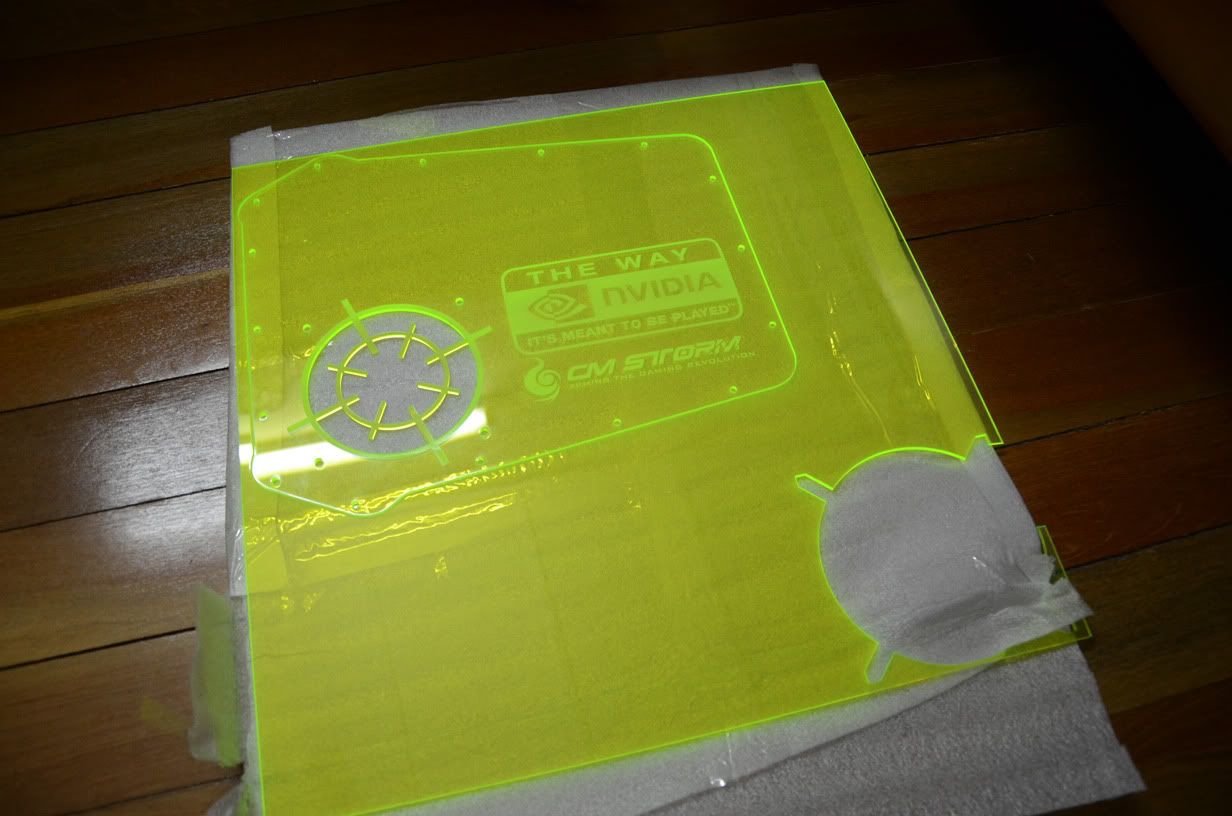
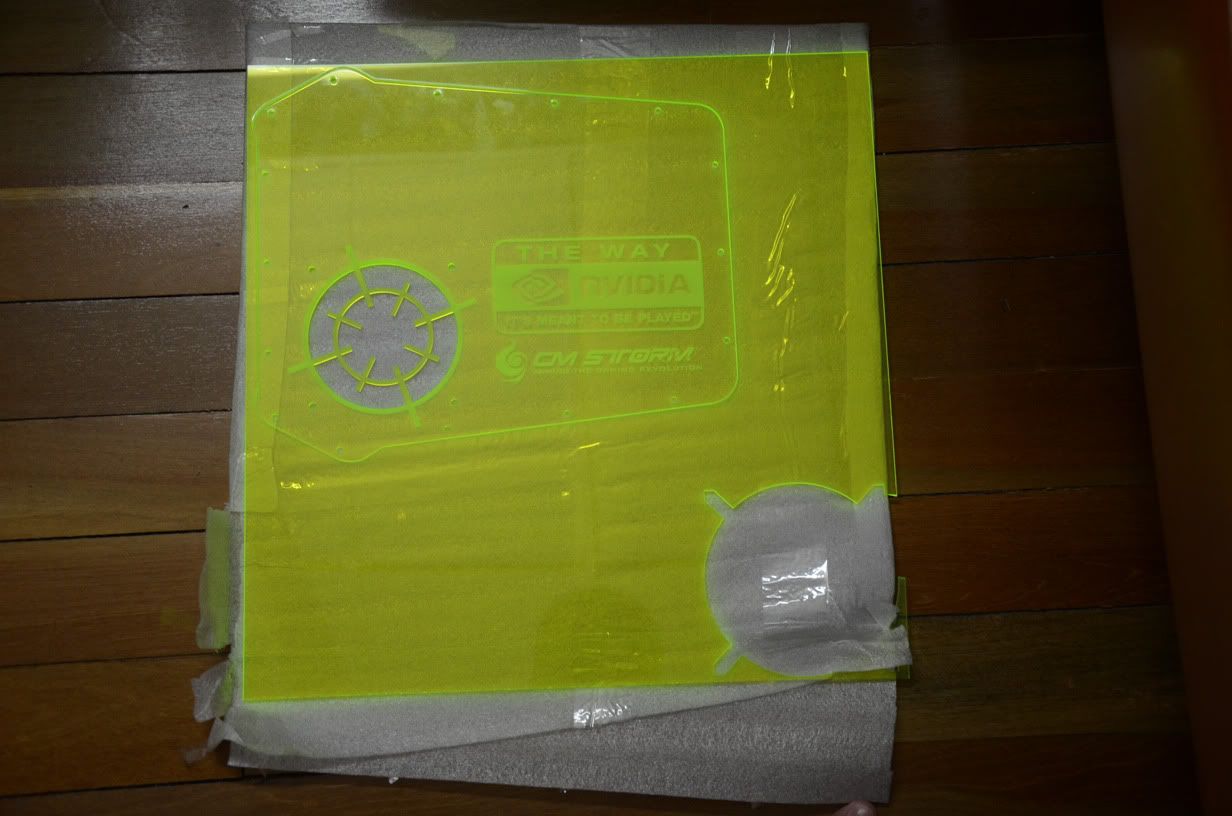
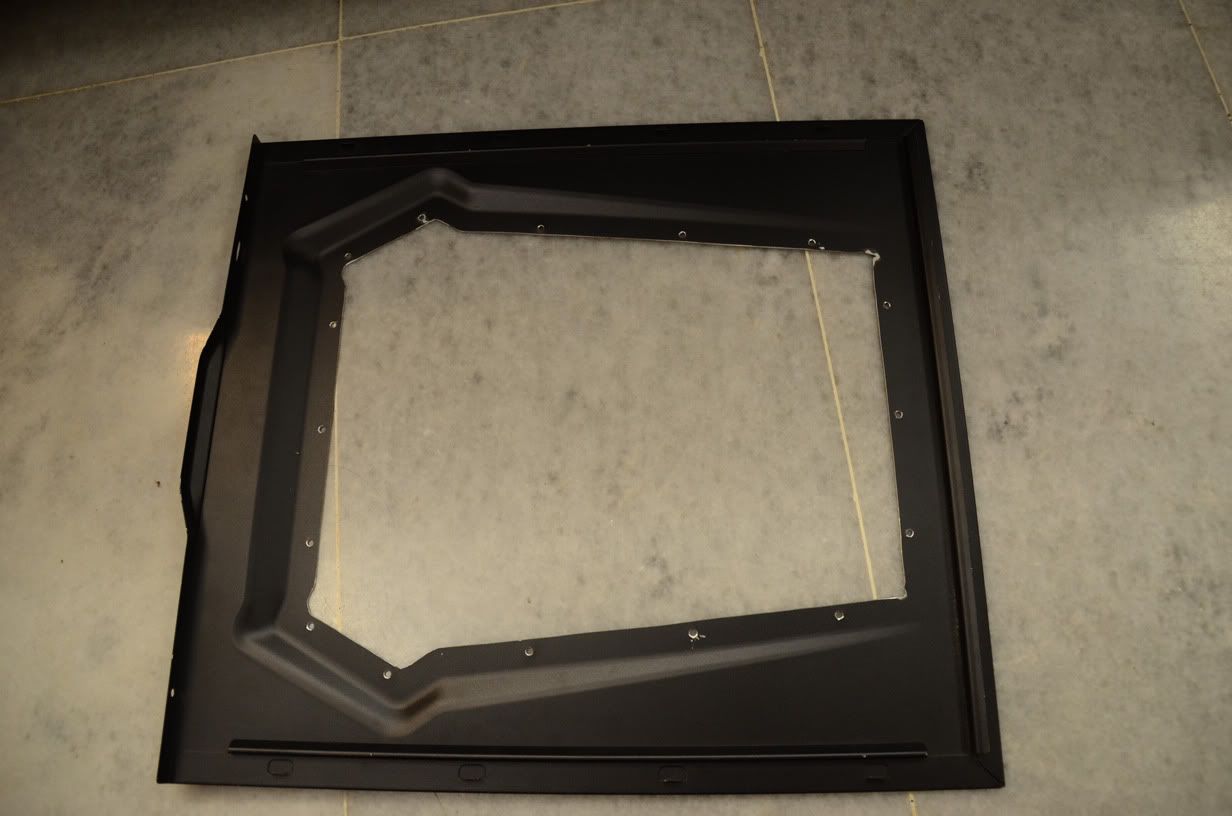
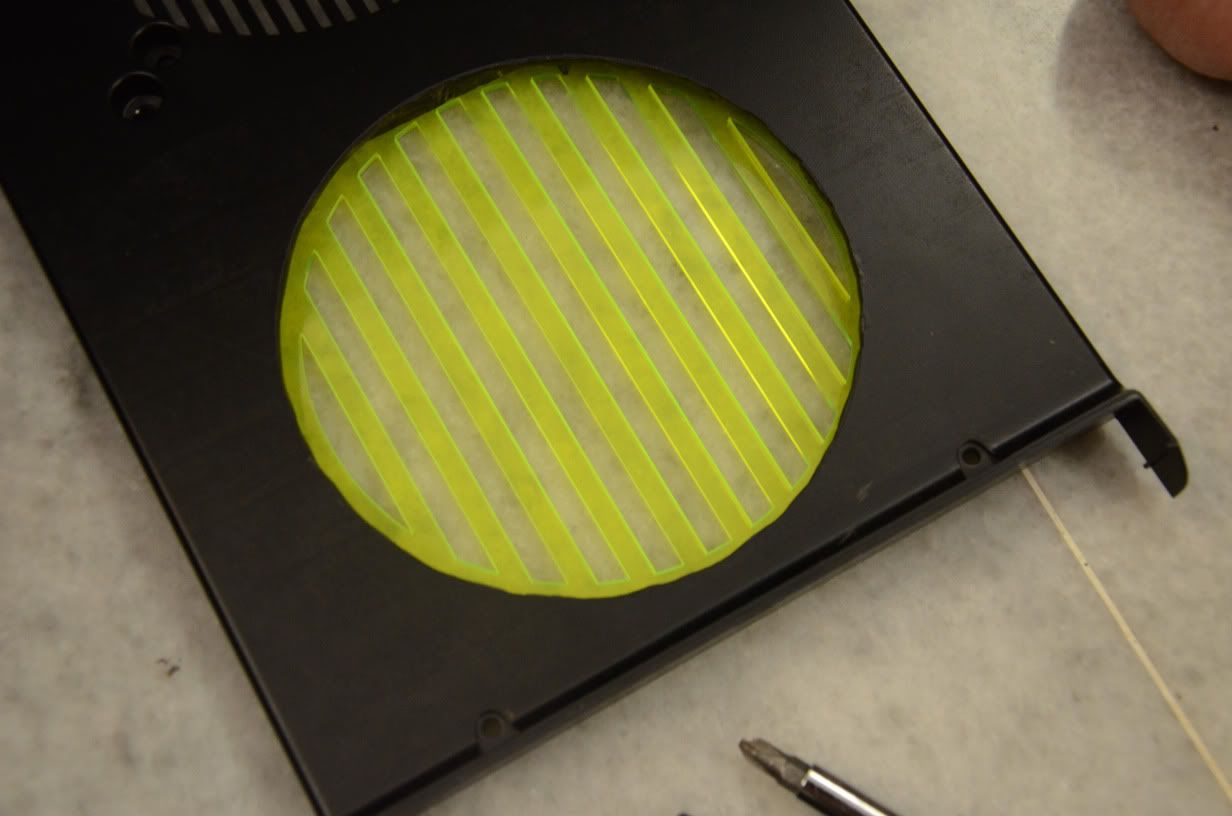
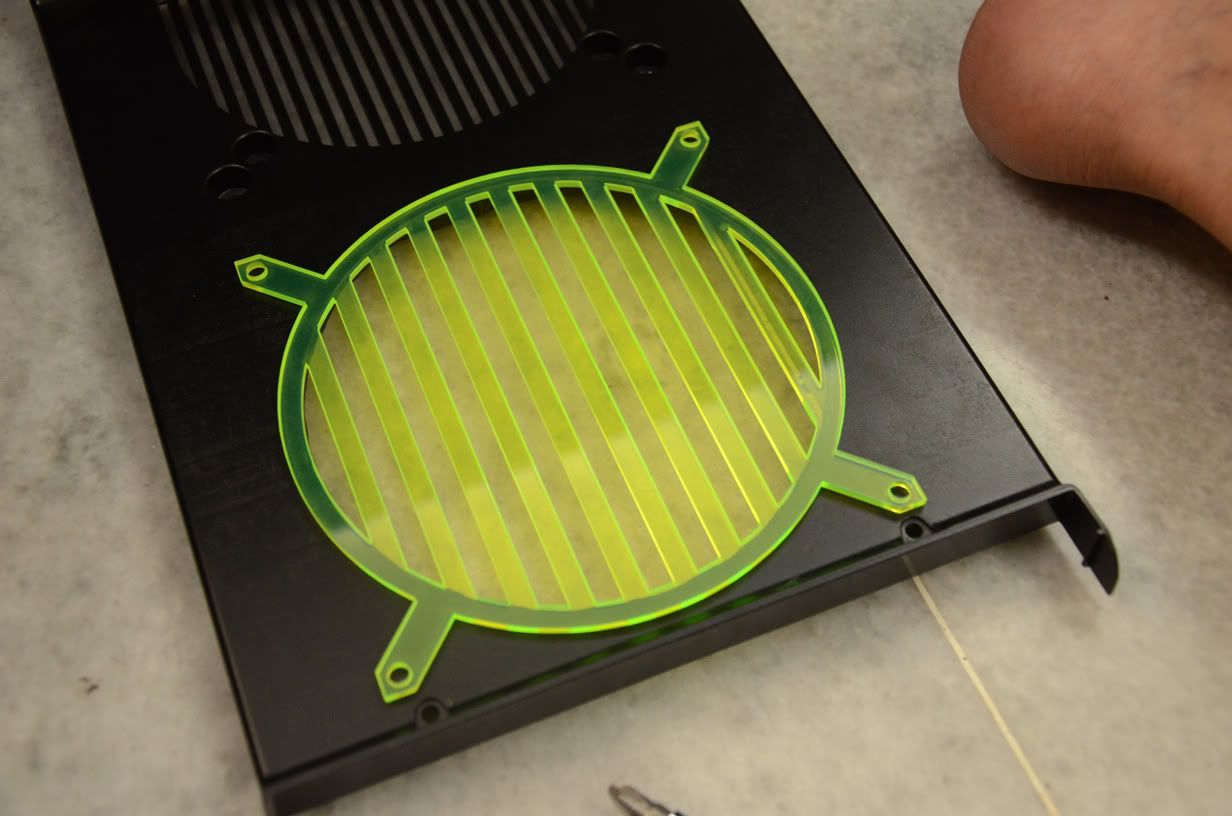
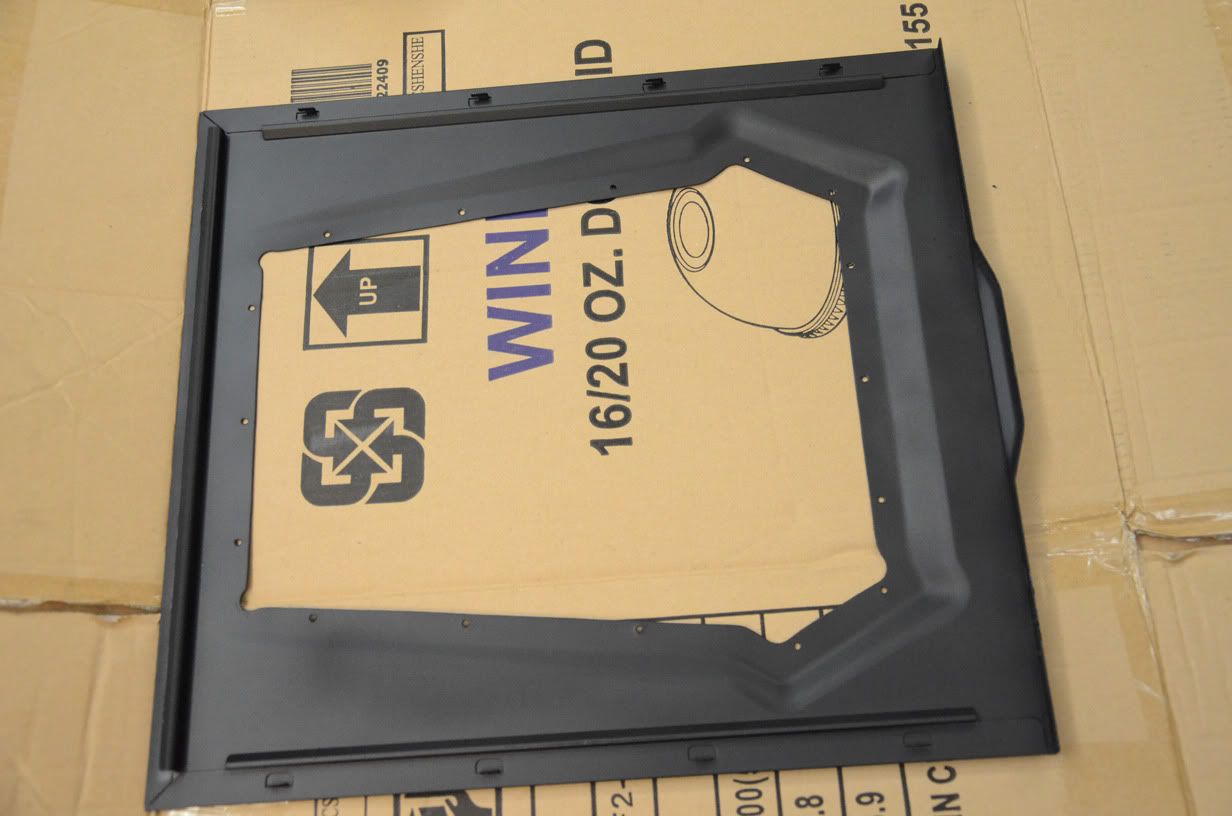
and i have special plans for the sidepanel without the acrylic window
 so i used masking tape again to allow me to draw the template of the sidepanel window and what else better to use as a template if not the existing one
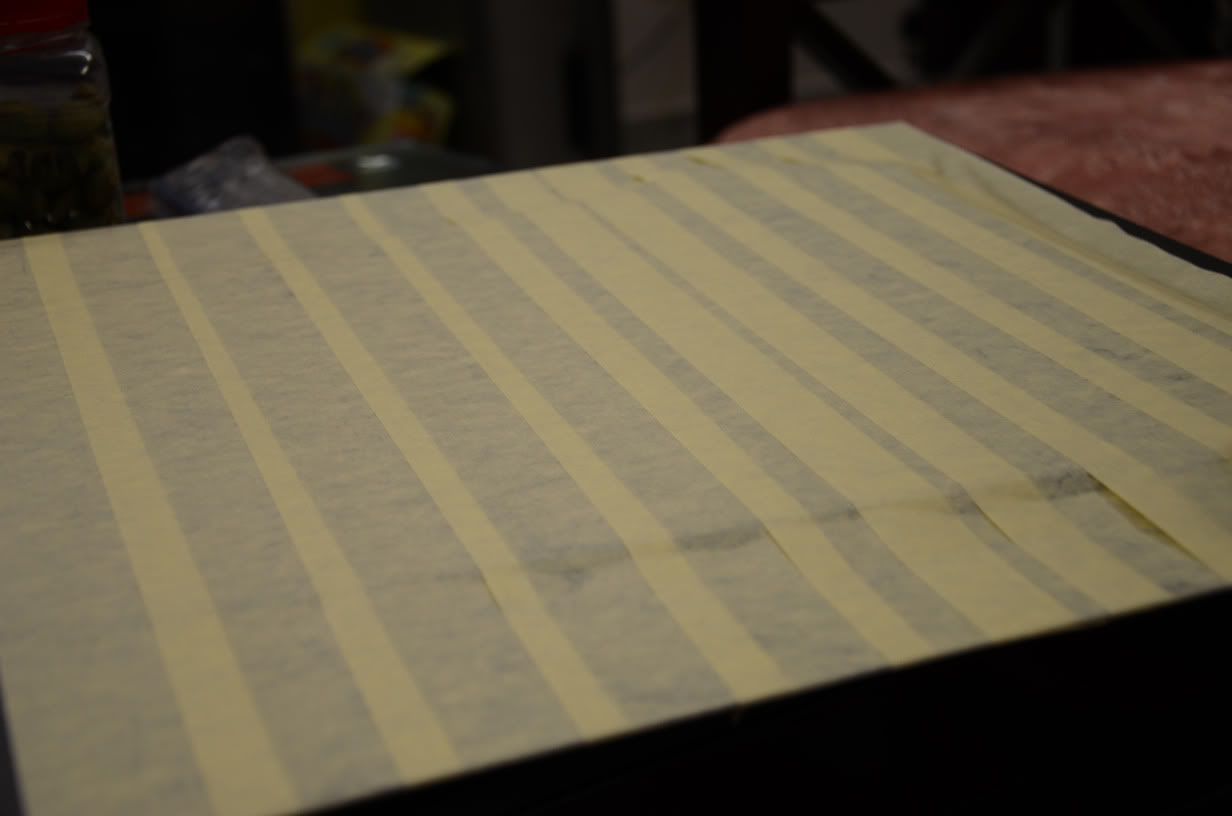
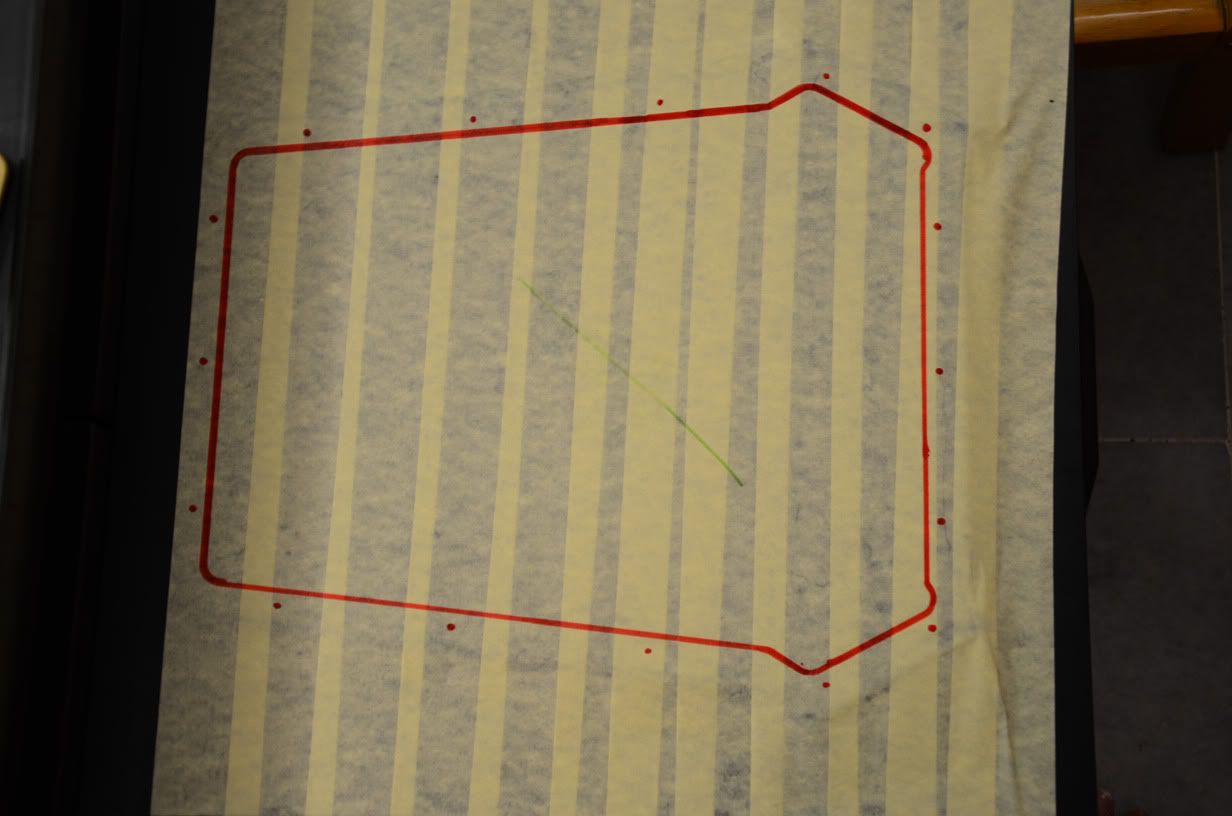
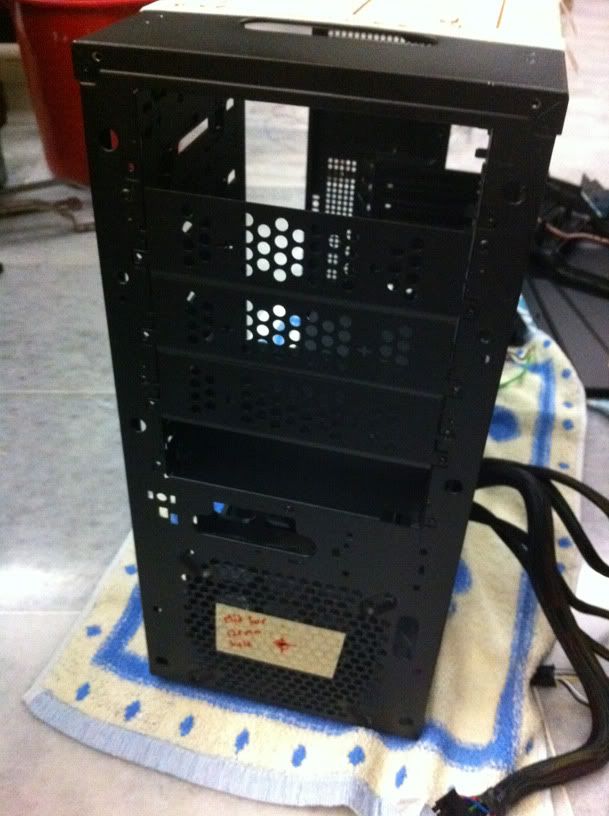
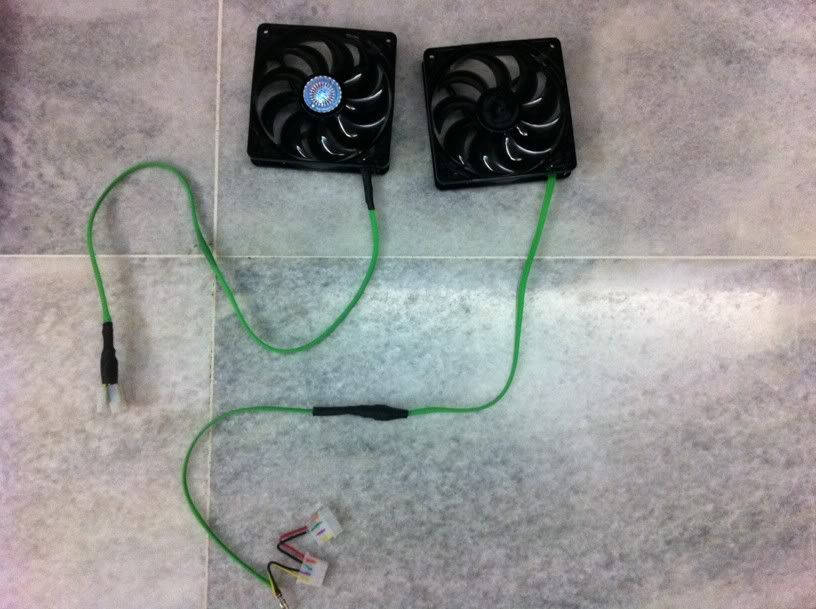
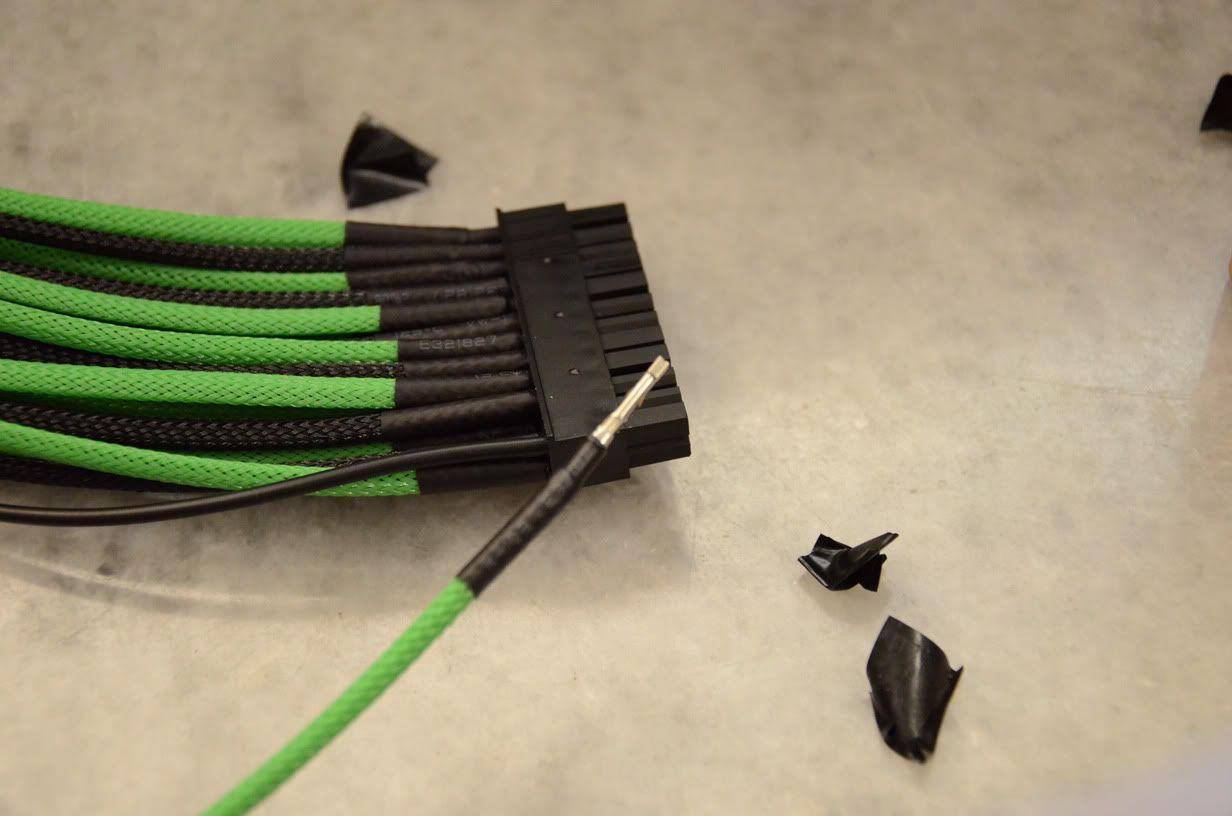
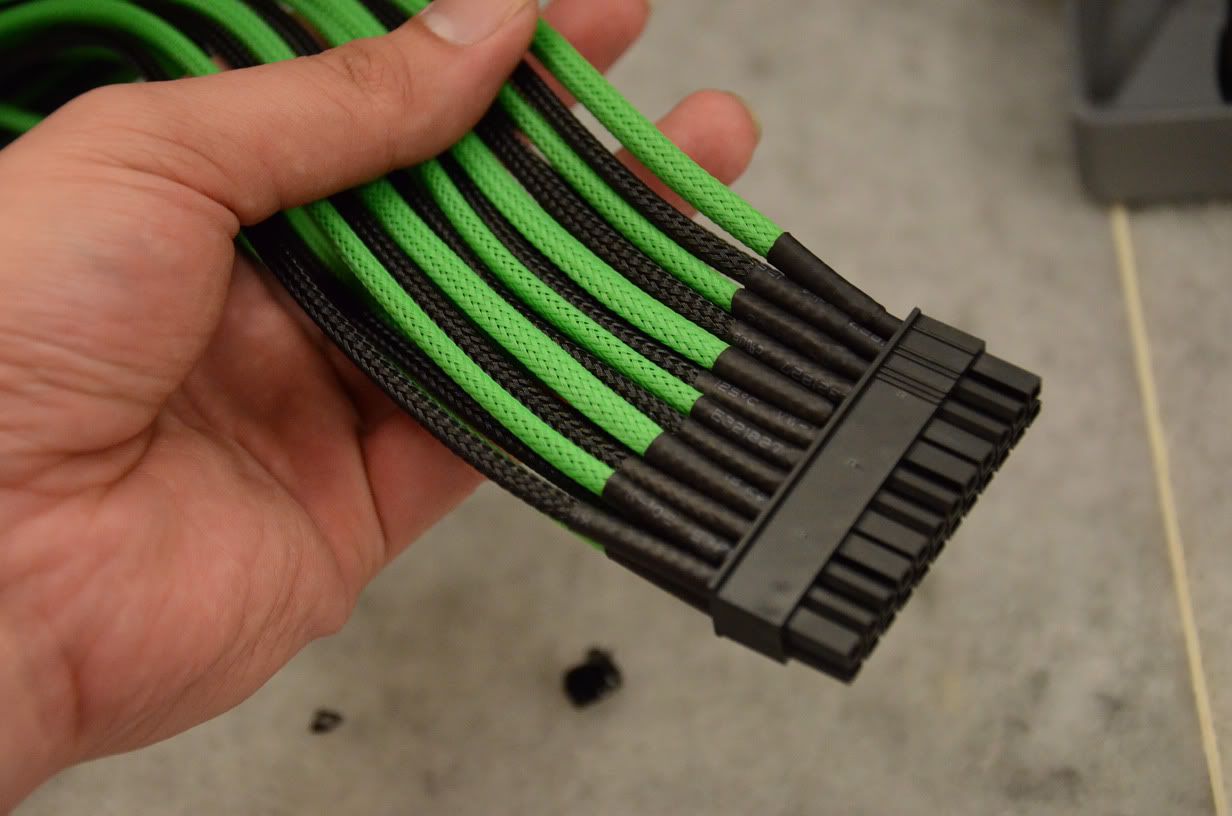
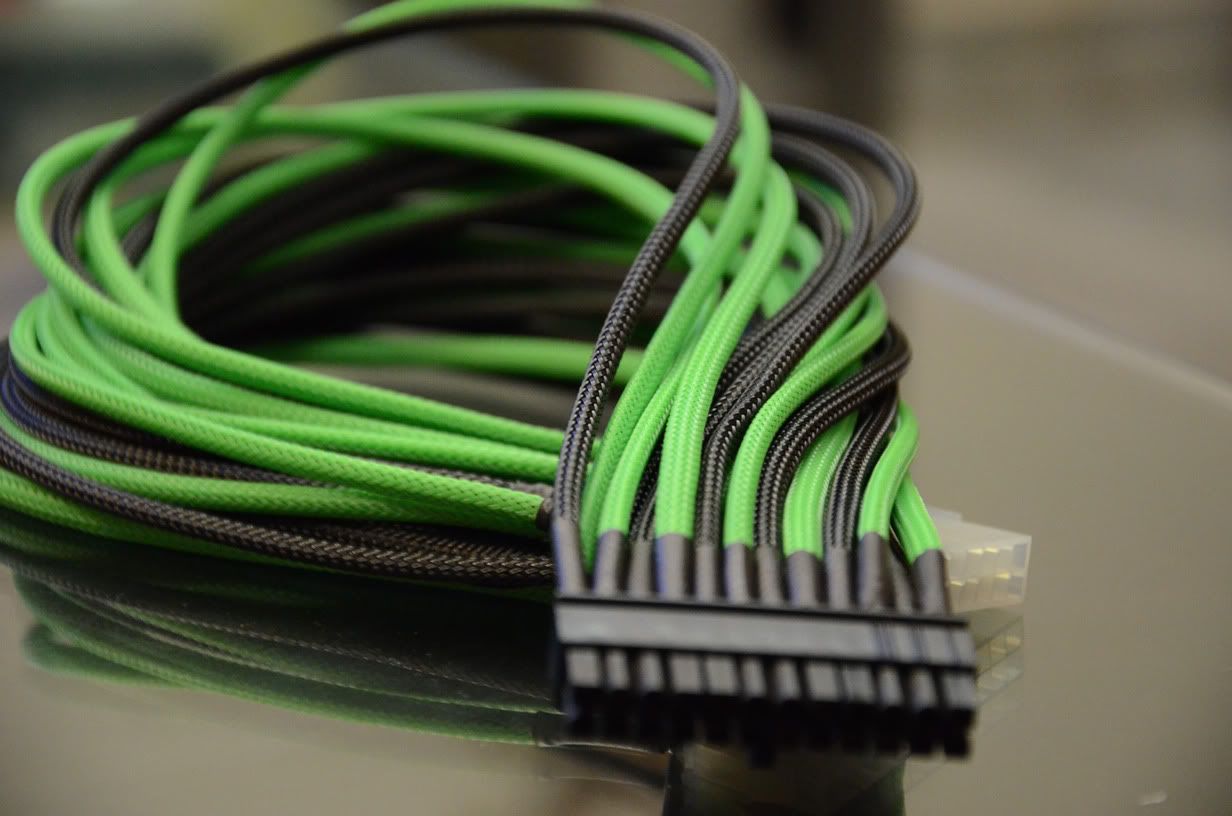
so with that done its time to send it off to the pros at metal cutting lol. and i'll move on to the sleeving XD
This post has been edited by valor89: Mar 28 2014, 02:17 PM
 Quote
Quote
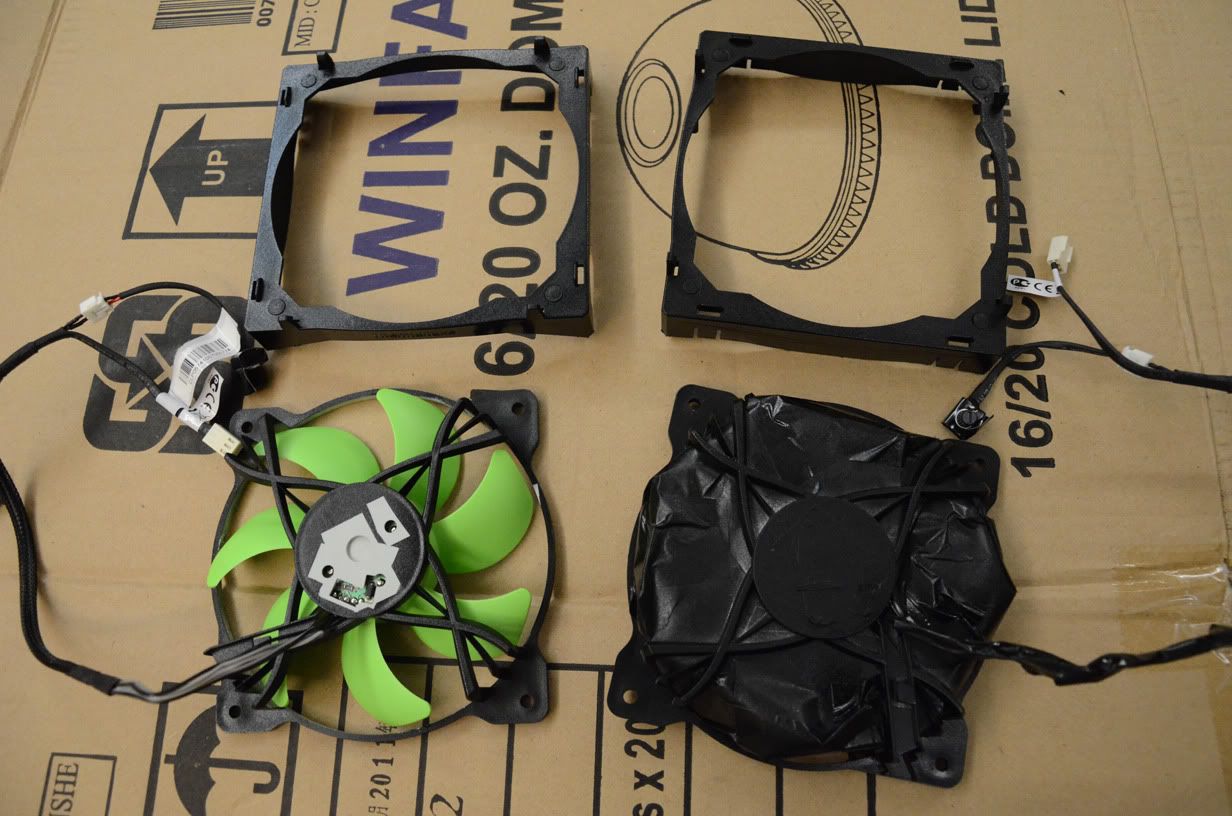
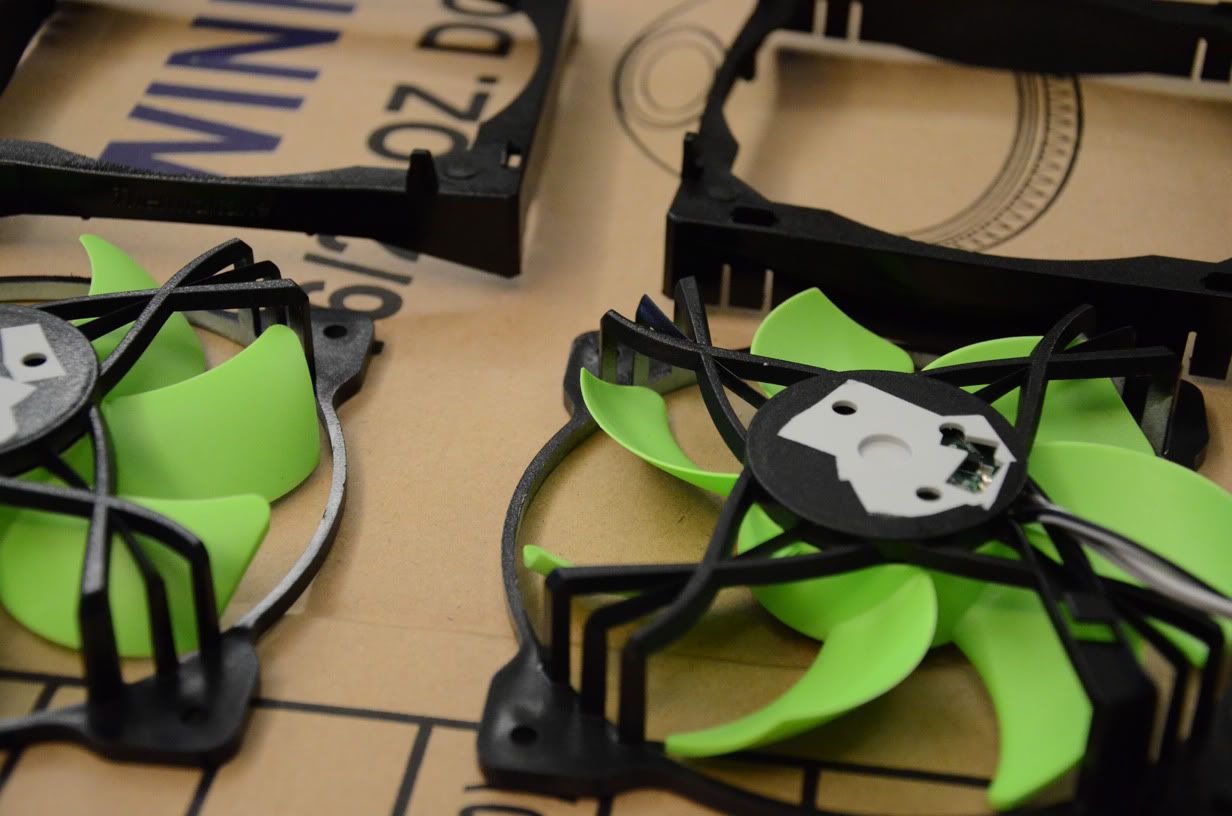
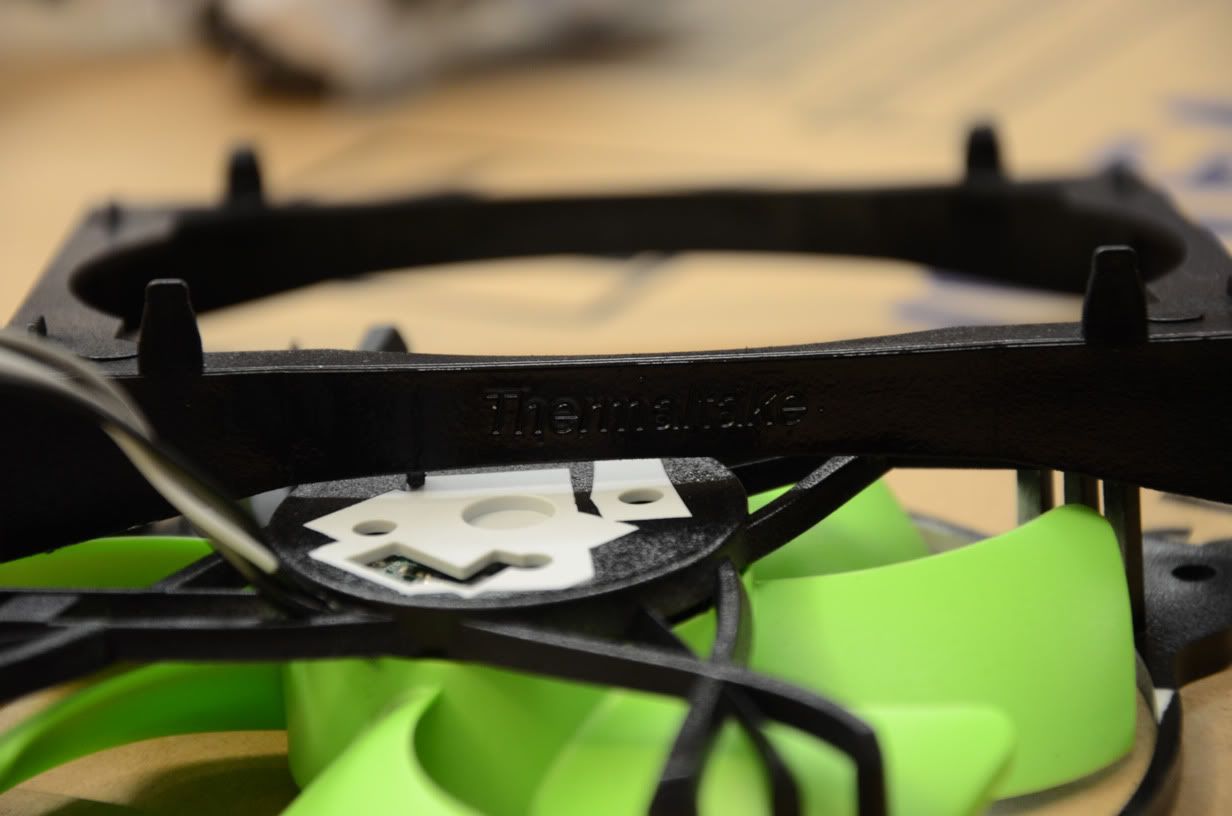
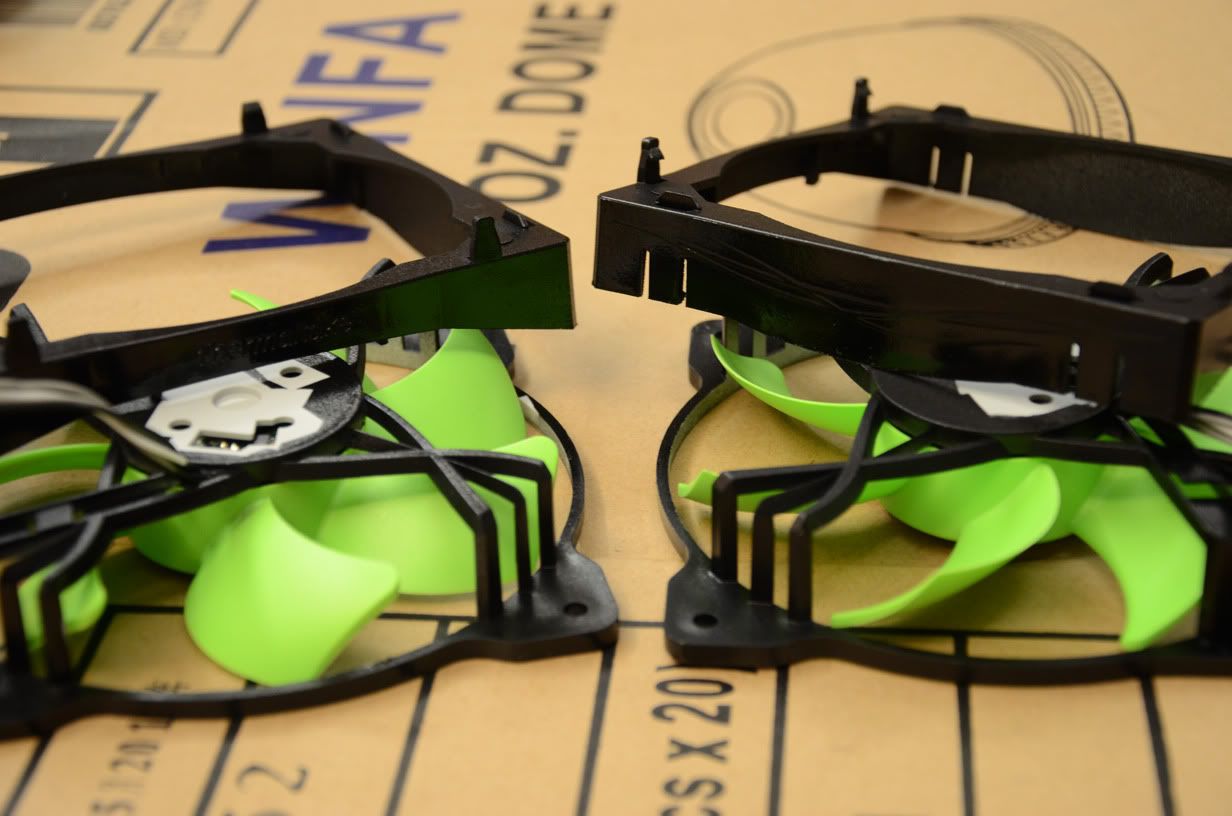
 i eventually cut it open again and rewire to the left one. lolz.
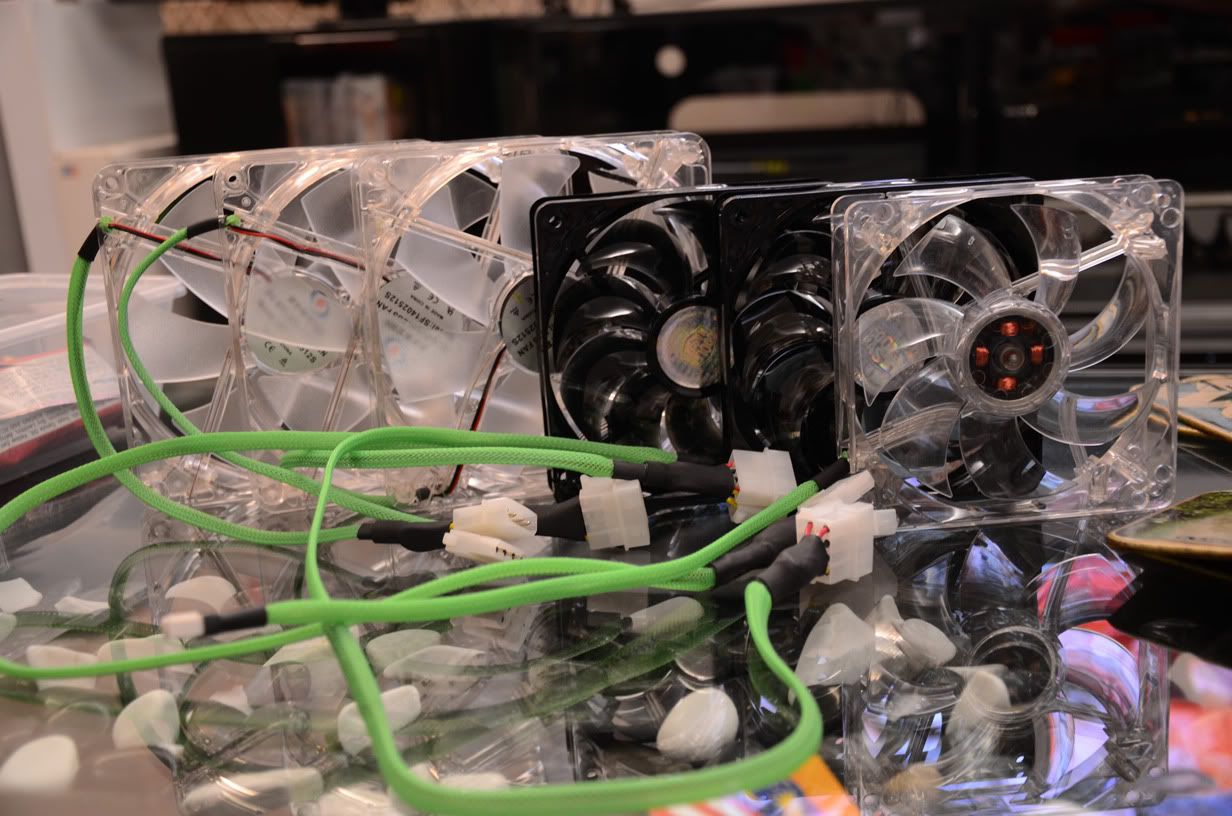
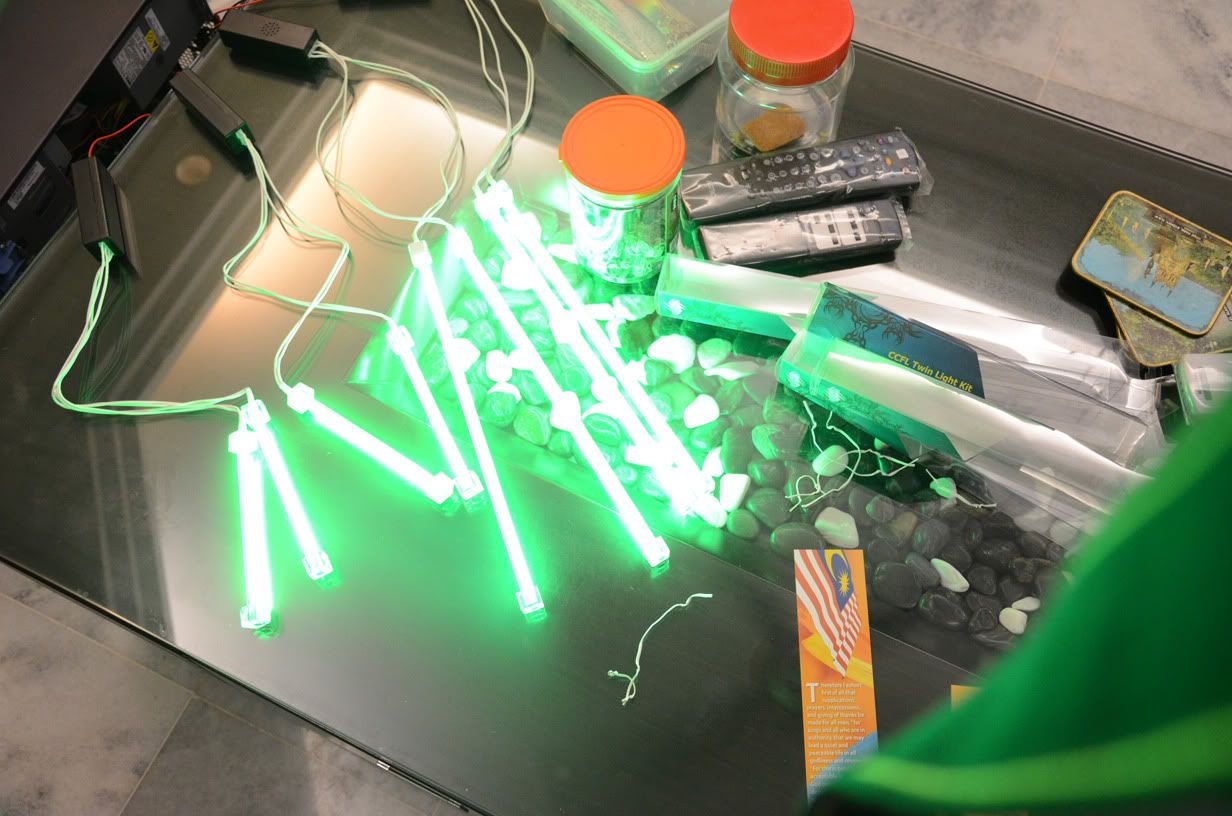
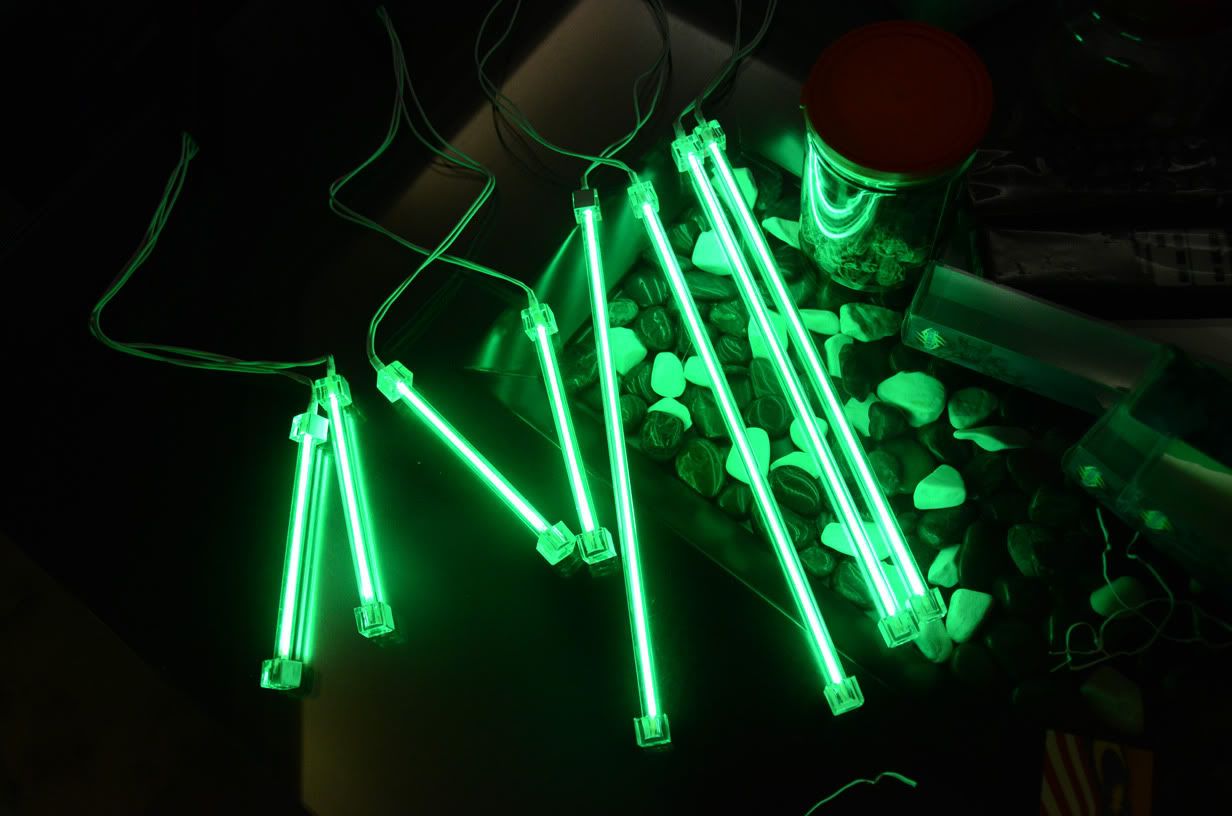
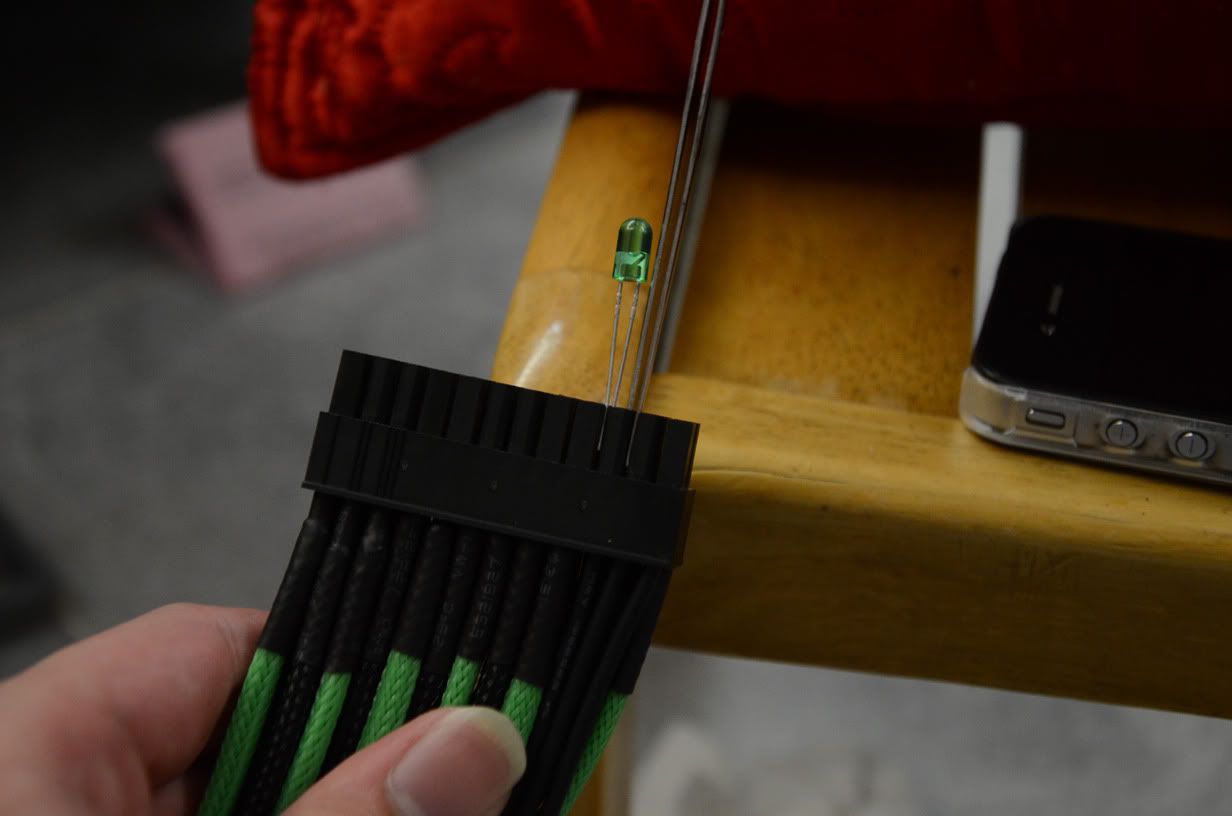
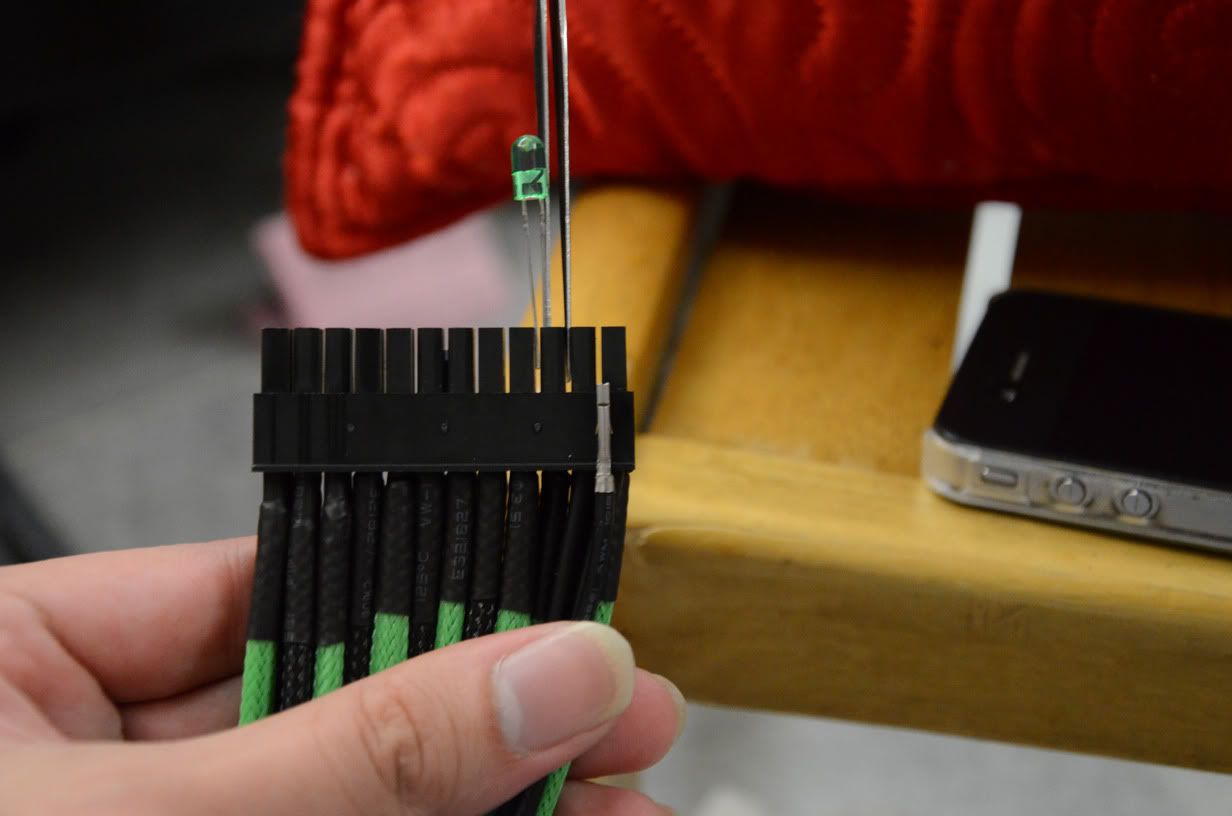
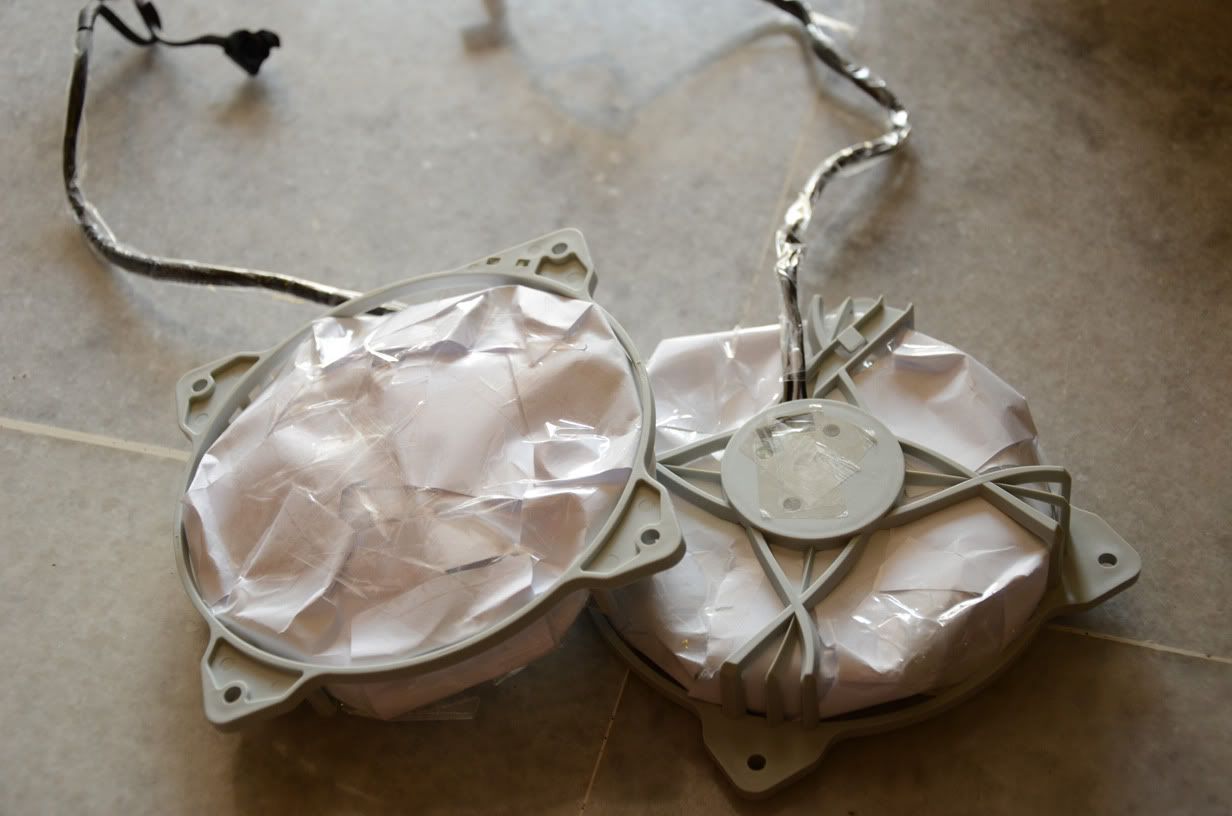
 so i decided to go with an alternative and cut every single led off. since the fans are transparent, y not use ccfl to make it shine instead? since it'll be my first time using ccfl, decided to do a bit of research. well, someone said the cm aurora was good. well, got it, and to me it was hands down junk
  it was yellow when it was suppose to be green. and not even a pleasant yellow. if anyone wants a peek at it i'll upload it aites.
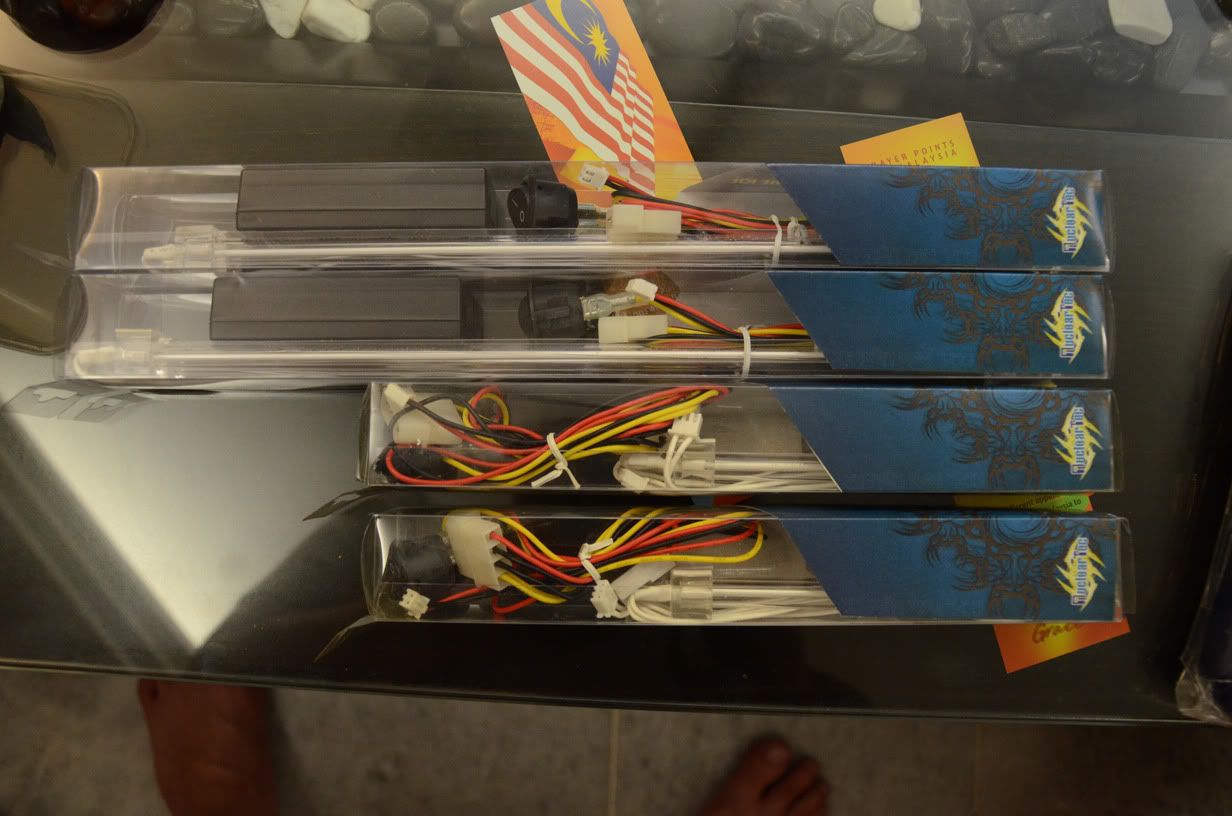


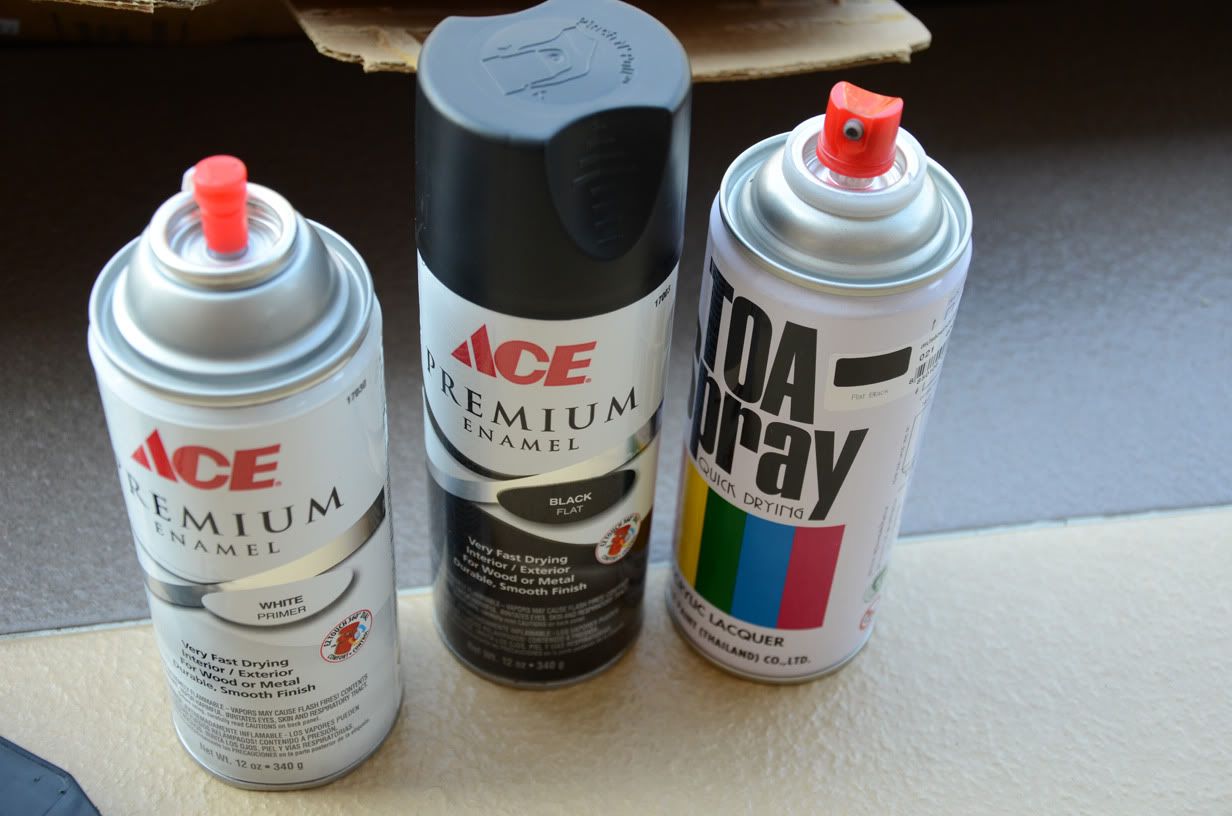
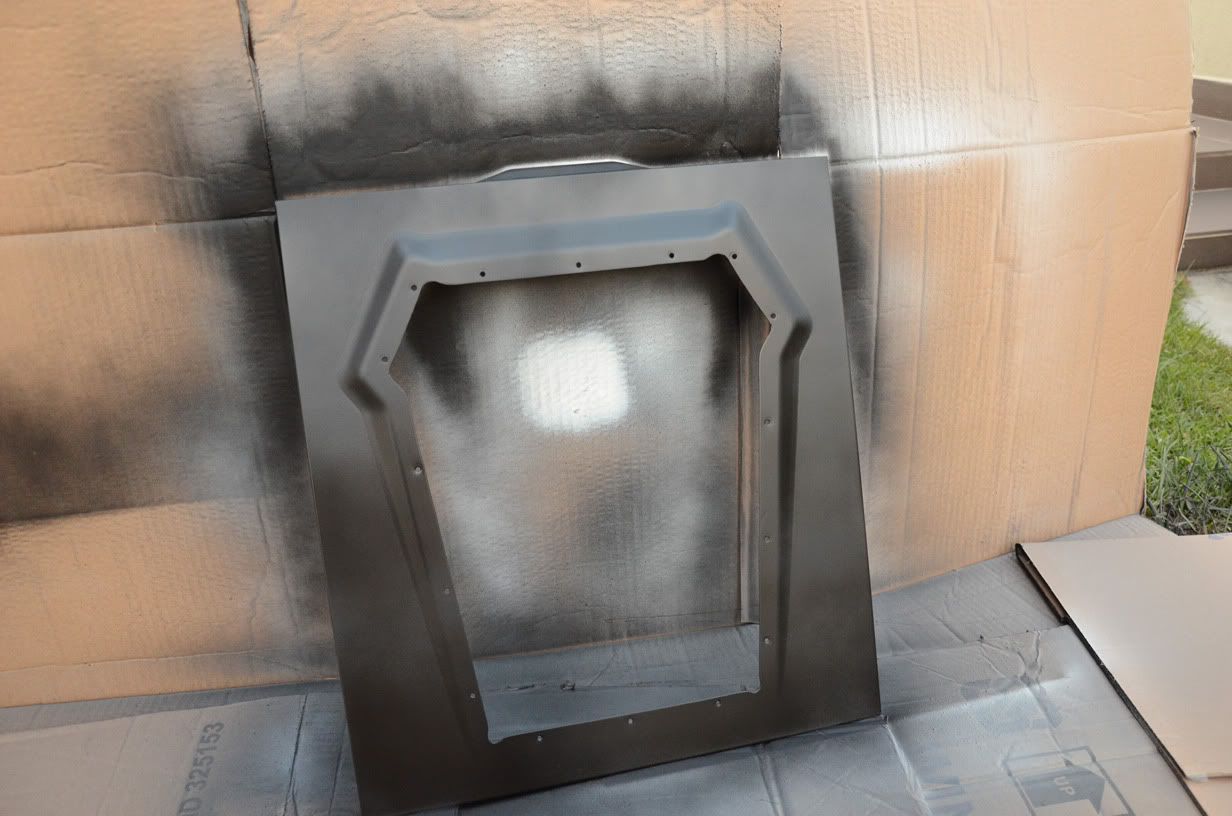

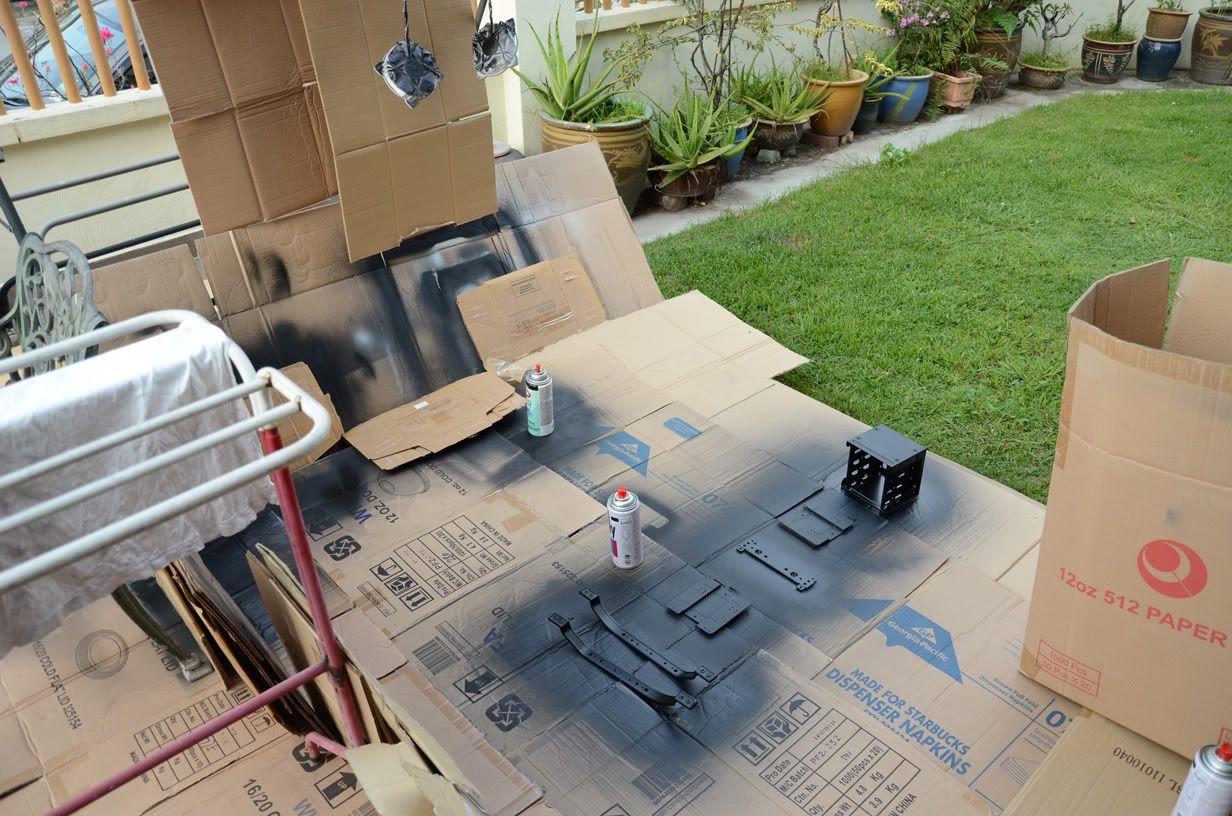
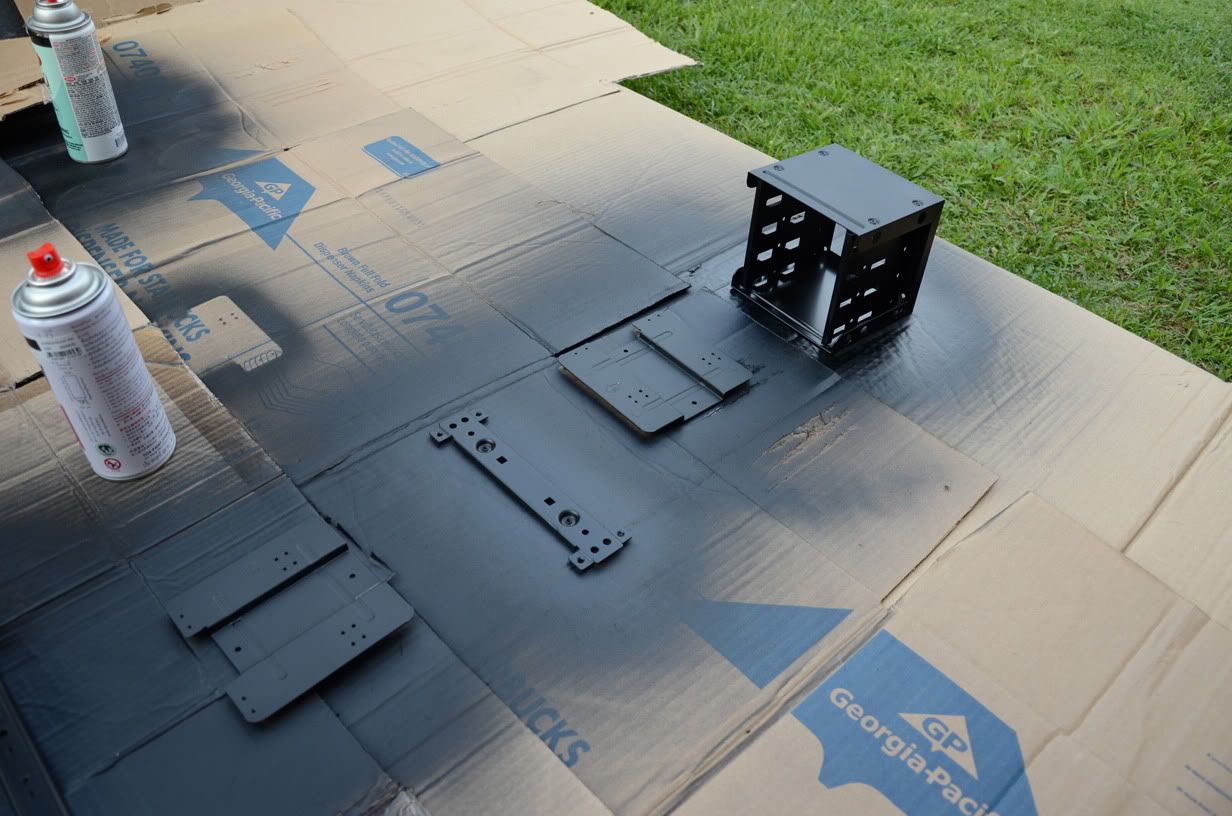
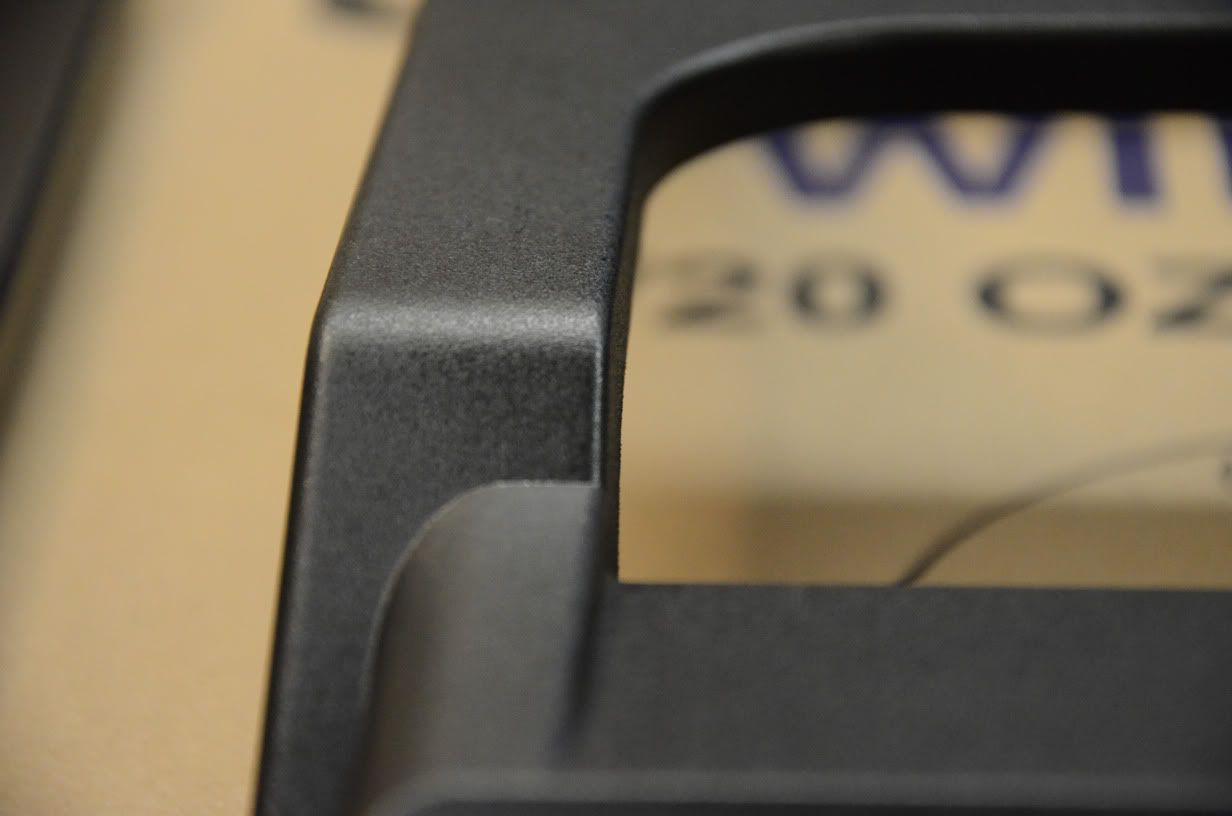
 ) cuz when i run my finger its smooth but my finger will have a lil black black powder lol. i'm still leaving out to cure cuz the instruction says 5 days so lets not be hasty (dam kan chiong lolz) and once after i'll give it a thorough wipedown and we'll see how it is
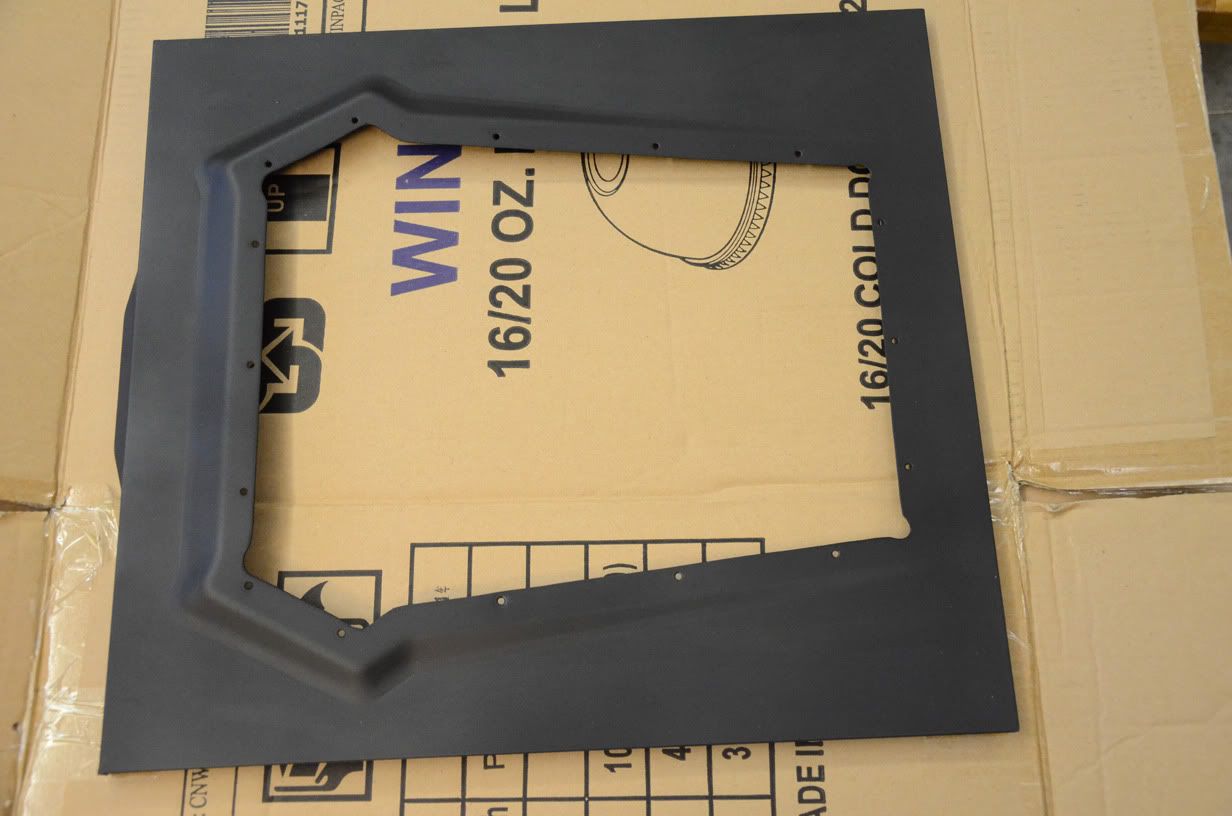


 0.0241sec
 0.37
0.37
 5 queries
 GZIP Disabled