Welcome Guest ( Log In | Register )

3 Pages  1 2 3 >Bottom

Outline · [ Standard ] · Linear+

 From Temjin TJ (Awesome) 7 to Murderbox MKII, Not much modding, just assembly

views
     
TSnej
post Jan 10 2011, 02:15 AM, updated 9y ago

Getting Started
**
Junior Member
85 posts

Joined: Sep 2008
Hi there, i'm deciding to start my project log in Lowyatnet here with not much on the modding parts coz i don consider myself as a real modder. tongue.gif
As a real modder you need some talent and lots of patient, which i don have much on both of it ha. laugh.gif
I got most of the hardware on my hand to water cool an I7 platform inside my TJ07.
I'll try to finish my project before chinese new years. (hopefully laugh.gif )
And i wish this project log will not dissapointed you guys and of course myself.

Playing with computer hardware and all those liquid cooling parts really cost me a bomb, but i'm enjoying it.
Liquid cooling computer hardware already become one of my hobby and it cost me most. sweat.gif

The initial of the project, i bring you guys this:

Starting with this:
user posted image
user posted image
user posted image
Yes you guess it right, its a hammond box.
The essential of murdermod style TJ07.
And yes i'm copycat. whistling.gif

Now bring you to my lovely sweety TJ07, its nake now haha.
This is why i like her most.
user posted image
user posted image

to be continue...

This post has been edited by nej: Jul 4 2017, 12:43 AM
TSnej
post Jan 10 2011, 02:22 AM

Getting Started
**
Junior Member
85 posts

Joined: Sep 2008
Try to cover up this ugly area.
user posted image
user posted image

My little hammond box gonna help me out.
user posted image
user posted image

Hmmm.... it looks much more better now.
user posted image

I'm trying to making it better.
user posted image

Now i can say it's cool enough. thumbup.gif
user posted image
user posted image

That's all for today, thanks for checking in. wink.gif
user posted image


TSnej
post Jan 10 2011, 05:34 PM

Getting Started
**
Junior Member
85 posts

Joined: Sep 2008
@freeman1314
Ya the time is short, but I'll try my best to complete it.

@jiroHC
Thanks bro. smile.gif

@don^don
I did make an opening on the other side for cable.
The opening isn't so nice that's why I didn't make a shot from other side. tongue.gif
Hmmm... I think I'll still make a shot or two by tonight.


TSnej
post Jan 16 2011, 09:38 AM

Getting Started
**
Junior Member
85 posts

Joined: Sep 2008
@rc2x
Working hard now, life is too busy. sweat.gif

Some photo of sleeved psu, my little corsair HX1000.
Its actually a gift from my very very old good friend, bro acther.
It has a story behind this psu, i really appreciate this.

Ya i know, no story here. tongue.gif
Here you go with the picture.

The PSU itself
user posted image

MDPC-X ftw!
user posted image
user posted image

8 pin done.
user posted image

And the 24 pin.
user posted image

It took me around 3 days getting to this point.
Wake up--->sleeving--->eating--->sleeving--->sleeping smile.gif
Ha ha maybe a bit too much on my description. laugh.gif
user posted image

Proudly to present you the result of MDPC-X sleeving.
I'm satisfied for the result.
user posted image

Thanks for viewing.

TSnej
post Jan 17 2011, 11:26 PM

Getting Started
**
Junior Member
85 posts

Joined: Sep 2008
@Hantarkatsini2
Thanks bro, I'm using most common item (lighter). wink.gif

@da drummer
Thanks, will take picture later.

@acther
Hi bro, long time no see ha ha.
Sure find u yamcha when I go KL. wink.gif

@lun1986
Thank u, just need more practice and a little bit patience.
I'm sure u can do the same job. smile.gif
TSnej
post Jan 18 2011, 06:33 PM

Getting Started
**
Junior Member
85 posts

Joined: Sep 2008
@mudd123
Thank you, the pin removal I bought directly from MDPC-X. smile.gif
Sounds like u having problem getting ur sleeve.
I think few forumner was selling MDPC-X sleeve here, maybe u can contact them.


Added on January 18, 2011, 11:45 pmBtw i miss out 1 photo that i suppose to post here. tongue.gif

The other side of the hammond box, opening for cable.
user posted image

This post has been edited by nej: Jan 18 2011, 11:45 PM
TSnej
post Jan 23 2011, 11:24 PM

Getting Started
**
Junior Member
85 posts

Joined: Sep 2008
@kinozawa
Thanks for the encourage bro, it really means something to me. wink.gif

I afraid my progress are running too slow, and nothing to show you guys.
So decide to take some picture for my hardware to keep my project alive. tongue.gif

So let the picture do the talking:


The mother board.
user posted image


Really like the design of original heatsink. nod.gif
oppps i mean ASUS, not the INTEL heatsink. laugh.gif

user posted image


The CPU block.
user posted image


I like this photo. smile.gif
user posted image


No sequence photo of installation, because i'm lazy ha.
user posted image


Take out the original heatsink.
user posted image


New shirt for my R3E.
user posted image

user posted image

user posted image


Chipset block on.
user posted image

To be continue.....

This post has been edited by nej: Jan 23 2011, 11:30 PM
TSnej
post Jan 24 2011, 10:36 PM

Getting Started
**
Junior Member
85 posts

Joined: Sep 2008
@Braynumb
smile.gif


@Jinster
Yup, its up side down to fit my invert atx mobo tray. nod.gif


@Hilmiangah
I pay nils and he send me the remover.
Maybe he saw my mailing address, so he putting it on. hmm.gif


Continue hardware picture, because cannot load so many picture in 1 reply.
My double blade.
user posted image

user posted image

user posted image
I know its not powerful enough, but its more than enough for me. wink.gif


My EK twin.
user posted image
Wait a minute.... it can't consider twin, the color......


No worry about it. whistling.gif
user posted image

user posted image


Ahaaaaa......
user posted image


GC blocks on.
user posted image


It took me around 3 hours getting to this point. sweat.gif
user posted image


Last picture i got to show you this. cool2.gif
user posted image

Thanks for viewing.
TSnej
post Jan 24 2011, 11:09 PM

Getting Started
**
Junior Member
85 posts

Joined: Sep 2008
@ravewar
Thanks you.
The length of 5870 was 11" or 280mm water blocks on. smile.gif

This post has been edited by nej: Jan 24 2011, 11:09 PM
TSnej
post Jan 26 2011, 03:16 AM

Getting Started
**
Junior Member
85 posts

Joined: Sep 2008
@kursk
The hammond box I bought from PPCS USA. smile.gif

@hilmiangah
Yup kluang is my kampung. wink.gif

@super_evil_alien
Ha ha not a real modder here.
Hardware isn't a big problem here, but not much member with same hobby. sad.gif

@Acther
Jangan ketawakan saya la, my big brother. sweat.gif
U are the one who poisoning me most hehe.
But too bad, u already retired from wc.
I go KL sure looking for u to belanja me yamcha haha, coz now u big boss lo. biggrin.gif
I think taiwan there can't send me the case, maybe u can. (kidding)
Keep in touch bro.

@jungle_boy
Thanks, will update when I have progress.
Looks like wont be so soon, now is critical part. smile.gif

TSnej
post Jan 26 2011, 08:11 PM

Getting Started
**
Junior Member
85 posts

Joined: Sep 2008
@reiben05
The plexi top I get it from brother Vlad. smile.gif
TSnej
post Feb 16 2011, 01:06 AM

Getting Started
**
Junior Member
85 posts

Joined: Sep 2008
QUOTE(huzzLEE_82 @ Jan 28 2011, 08:53 PM)
huhuhuhu terliur tgk TS nyer TJ07...
aritu ade satu tpi sbb xde buyer cosmos1000 ni xleh nak grab...
nak pakai 2 casing mcm buang tebiat plak...hehehehehe

btw nice job bos...
*
Thank you bro, ok juga guna cosmos1000 cukup cantik tu. nod.gif


Sorry guys, i cant finish my project as i promise before. notworthy.gif
Now CNY was finish, my rig is only half way to go. sad.gif

I did expect 1 major upgrade during CNY, due to this ETA i stop all my internal parts assembly.
But after so many day and night for waiting, i gain nothing (hmmm... i think i learn something).... maybe the santa claus doesn't like me. cry.gif
It's ok, the life still goes on. At least i can start to catch back the progress of my rig. flex.gif

Ok, time to continue my on going project.
This update i'm going to touch my casing, some opening for cable management should be cool ya. nod.gif

Here you go with the picture:
user posted image
Some opening for the cable management.
Mid plate, mobo plate and invert atx back plate.


user posted image
roughly mark up the position for some cable route through.

user posted image
Items for hole opening-->hole saw+rotary drill.


user posted image
First hole done, and the second.
user posted image

user posted image
closer shoot.


user posted image
user posted image
Rubber grommet attach.


user posted image
user posted image
Mid plate done.
Finger print all over the place. whistling.gif

I apologise that i didn't going into detail, i'm the kind of person that can only do 1 thing at a time.
I really cant drilling half way then stop and take out my camera taking photo. sweat.gif

Thanks for viewing.


TSnej
post Feb 17 2011, 09:13 PM

Getting Started
**
Junior Member
85 posts

Joined: Sep 2008
QUOTE(reiben05 @ Feb 17 2011, 03:47 PM)
awat tak angkut TJ-11 terus tongue.gif..
*
TJ-11 not my cup of tea tongue.gif, and i think the price range i cannot effort. sweat.gif
Btw good job on your modding worklog. rclxms.gif looking forward on that.
Just saw that you wreck your mom's civic few months ago, lucky u didn't wreck your dad's Alphard ha. (just kidding)


QUOTE(acther @ Feb 17 2011, 04:27 PM)
pro modder jor keke. now i bekside itchy wanna play wc again. when u wanna help me out =P
*
No la bro, just small mod. there are so many sifu here.
if you really play WC again, i sure help you out. (but must finish mind 1st haha)
I miss your 20k rig hehe. drool.gif
TSnej
post Feb 18 2011, 01:51 AM

Getting Started
**
Junior Member
85 posts

Joined: Sep 2008
QUOTE(owikh84 @ Feb 17 2011, 09:33 PM)
[attachmentid=2047808]
suggest to cut out this blocking piece of evil to allow molex to EZ plug connection
*
OMG! i totally forgot this little sucker, the little part should be cut on my original plan. shakehead.gif
I won't be able to cut it right now, the reason will be show in the photo later. cry.gif


QUOTE(dro @ Feb 17 2011, 11:39 PM)
nod.gif
*
tongue.gif

QUOTE(kInOzAwA @ Feb 18 2011, 01:14 AM)
nice nej. looking forward for the updates on your project smile.gif
*
Thanks bro, hope the result won't dissappointed. smile.gif


I got my parts back from powder coating factory, the result was so cool... icon_rolleyes.gif
But bro owikh point out 1 important part that i should mob a little but i didn't. sad.gif
I afraid if i cut it right now it will affect my powder coating on that part, so right now i shall remain like that.
Might cut the little sucker later, i'll see how this thing go. hmm.gif

Just took a few shoot on some powder coating result.
user posted image
user posted image
user posted image


Test assembly, this is so cool with internal black... yet still long way to go.
I think all the TJ07 should be manufacture internal black by silverstone haha, what do you guys think. wink.gif
user posted image
user posted image


Thanks for checking in.
TSnej
post Feb 18 2011, 06:34 PM

Getting Started
**
Junior Member
85 posts

Joined: Sep 2008
QUOTE(acther @ Feb 18 2011, 04:47 PM)
notworthy.gif  notworthy.gif  notworthy.gif
*
I think I smell an epic rig is coming out from u. brows.gif brows.gif brows.gif

TSnej
post Feb 19 2011, 02:07 AM

Getting Started
**
Junior Member
85 posts

Joined: Sep 2008
QUOTE(jungle_boy @ Feb 18 2011, 09:03 PM)
wow..nice...how much for powder coat cost...?can give some hint..? smile.gif ..looking frwd for more update.. biggrin.gif
*
Thanks bro, the powder coat cost me RM150 for whole internal black.
If you in Kl area, Ronzmod should provide you better price on that.
the only problem is he too busy. tongue.gif

QUOTE(limhongwoon @ Feb 18 2011, 09:36 PM)
Cut this piece then the casing not will shaking ? Because this is used to support the panel
*
Bro owikh already answer ur question. smile.gif
As i think there will be reduce some degree of rigidity (minor), but still within acceptable level.
It confirm workable and proof by our legend modder Mr. Ianho. notworthy.gif

QUOTE(owikh84 @ Feb 19 2011, 12:11 AM)
there's still a portion of this piece supporting the panel to PCI hole.
so u can cut it partially just to allow that molex connector passing thru.
*
I'll test fit 1st then only decide whether to do a plastic surgery for that little sucker or not. wink.gif
TSnej
post Feb 19 2011, 11:54 PM

Getting Started
**
Junior Member
85 posts

Joined: Sep 2008
QUOTE(kakicam @ Feb 19 2011, 06:39 AM)
bro your inverted mobo plate who did for u..? very nice
*
before this i didn't know Ronmodz can fabricate, so i bought it from Chillpc UK.
Really cost me a bomb haha. sweat.gif


And the progress going on.
today gonna show you guys the radiator and fan that i'm using.
Its TFC480 and Scythe S-Flex 1600RPM.

Here you go:
user posted image


Small box underneath hehe. tongue.gif
user posted image


Fan wire going underneath with p-clip attach.
user posted image


Black color fan molex. brows.gif
user posted image


Overall shot.
user posted image
user posted image


Test fit to check the space between bottom and mid plate of my tj07.
Exactly the height that i want. icon_rolleyes.gif
user posted image


On the othere side.
user posted image


Thanks for checking in.....again.


TSnej
post Feb 20 2011, 10:51 PM

Getting Started
**
Junior Member
85 posts

Joined: Sep 2008
QUOTE(owikh84 @ Feb 20 2011, 01:05 AM)
TFC480 is a damn thick rad. push pull fan is highly recommended.
but for this setup to in order to close the side panel u need to push in the rad a lil bit towards the PSU. and this time u gonna need 2 slim fans to fit into the clearance between PSU and the rad.
inverted ATX, I'm sure u need to extend that casing cables as well as USB cables right coz the Q connector and USB connectors are at the top now. correct me
ehh that day I also forgot to paint the two vertical supporting metals at the back case.
*
Yes TFC is a thick rad, but now doesn't have plan to use push pull configuration since its fpi doesn't as high as BI rad.
I'm not a hardcore OC'er, and i'm searching for balance between OC/temp/noice/performance/appearance. smile.gif
I need some clearance between rad and psu for tube looping, it will more clear after i show you the picture......later(not so soon).
You are right, i need to extend the power switch cable and usb cable. Thats why until now i haven't sleeve the power switch cable.
Actually i purposely leave the 2 supporting frame like that just to creat some contrast effect. And most important its murdermod style ha.
Thanks for the suggestion. wink.gif

QUOTE(kakicam @ Feb 20 2011, 06:26 AM)
ic..how much did u pay for it..? if u dont mind sharing.. and how are u planning to mount your rad at bottom case..? are those doublesided tape..?
*
For the price you can always check it on chilledpc's website. smile.gif
Very eye sharp bro, yes i'm using doublesided tape upside down hehe.


QUOTE(overclockalbert @ Feb 20 2011, 10:46 PM)
how heavy for that TFC480 and Scythe S-Flex fan?
dont think so to double side tape that. must need other support material.
if that rad get fill up with coolant, lagi berat.
*
Not so sure about the weight, but the 3M doublesided tape is quite strong.
Try shake a bit after i tape the rad, it remain steady. smile.gif

This post has been edited by nej: Feb 20 2011, 10:58 PM
TSnej
post Feb 22 2011, 01:17 AM

Getting Started
**
Junior Member
85 posts

Joined: Sep 2008
QUOTE(kakicam @ Feb 21 2011, 06:14 AM)
ic thanks bro.. cant wait to see u finish it. hahaha
*
Not so soon, i'm still lack of 1 important item. smile.gif
Will update when i have prpogress.

QUOTE(reiben05 @ Feb 21 2011, 09:02 AM)
looking good there bro rclxms.gif ..

wish i got a case to stuff a 480 too rclxms.gif
*
Thanks bro, you can always have a.....FEW case for 480 rad if you want to. tongue.gif


Added on February 23, 2011, 1:23 amHi all, no progress until now. sad.gif
Received 1 parcel few days ago from far far away, haven't try all the stuff out there.
But decide to show you guys what's inside. sweat.gif


Well.... i guess all of you will know what's inside after i show you the 1st picture haha.
Here it is...
user posted image
No! Its not sleeve inside, its some other things. tongue.gif


A crimping tool, i know it can be purchase locally.
Just cannot resist to spend money to Nils' MDPC-X when i saw the stuff. icon_question.gif
Well, i guess i have to stop browsing MDPC website..... or maybe not too offen hehe.
user posted image


Here is another shot of the crimping tool or can i call her a "T-Rex"?
user posted image

Its pretty much a "T-Rex" right now. laugh.gif
user posted image


The molex power connector.
user posted image

user posted image


And the crimp contact for fan.
user posted image

user posted image


The crimp contact for ATX and PCIE.
user posted image

user posted image


Try to fabricate some wire for cable management with all the stuff above.
A bit worry on that, because never done all this before.
It should take me a week or 2 to make some cable.
If the next update i'm showing other things than this, you know i'm fail haha. whistling.gif

Thanks for viewing.


This post has been edited by nej: Feb 23 2011, 01:23 AM
TSnej
post Mar 2 2011, 01:28 AM

Getting Started
**
Junior Member
85 posts

Joined: Sep 2008
QUOTE(Krauser @ Feb 24 2011, 07:02 PM)
nice bro, i hope u can do a bulk so other can join to biggrin.gif
*
Thanks bro, bulk is not a problem.
I think few forumner carrying MDPC-X stuff, it will be easier if they have ready stock. smile.gif

QUOTE(kakicam @ Feb 25 2011, 01:50 AM)
aiya.. but nvm i will wait.. hehehe this is gonna awesome i guess
*
My project is running much more slower than i expect, still encounter few problem at the moment.
I'm just kind of lazy...... tongue.gif

QUOTE(owikh84 @ Feb 25 2011, 07:11 AM)
DHL snail took u 3 weeks to arrive. That's damn long.
Guys who wanna do bulk order for cable sleeve take note that it's a taxable item, 23% tax, unless if total value+shipping is less than RM500 then u will get away from tax. Just to share.
*
DHL took 3 weeks to arrive!? I have some experience shipping with DHL, it took only 3-4 days from Uk to MY.
Maybe it was the custom problem that delaying ur stuff. hmm.gif
Btw thank for sharing bro. thumbup.gif

QUOTE(hantarkatsini2 @ Feb 25 2011, 08:11 AM)
if the item is marked as 'gift' also wun get taxed right? i bought shoes from outside, the values itself already more than RM500.
*
Answered by bro owikh.

QUOTE(owikh84 @ Feb 25 2011, 11:46 AM)
Yes depends on qty brought in also, 1-2 ok la can mark em as gifts. But can advise the shipper to declare total value under rm500 then u will be fine.
*
Hmmmm..... very important information.
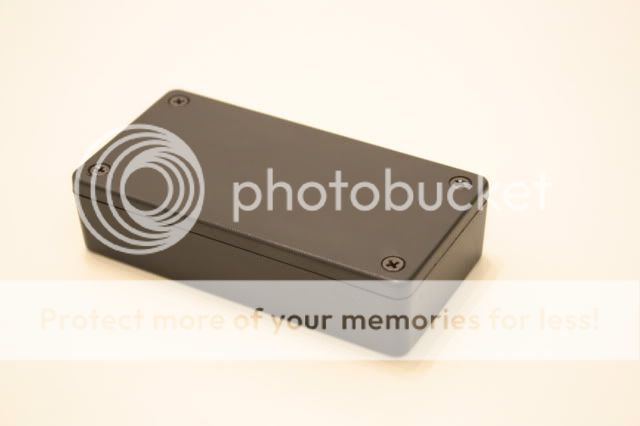
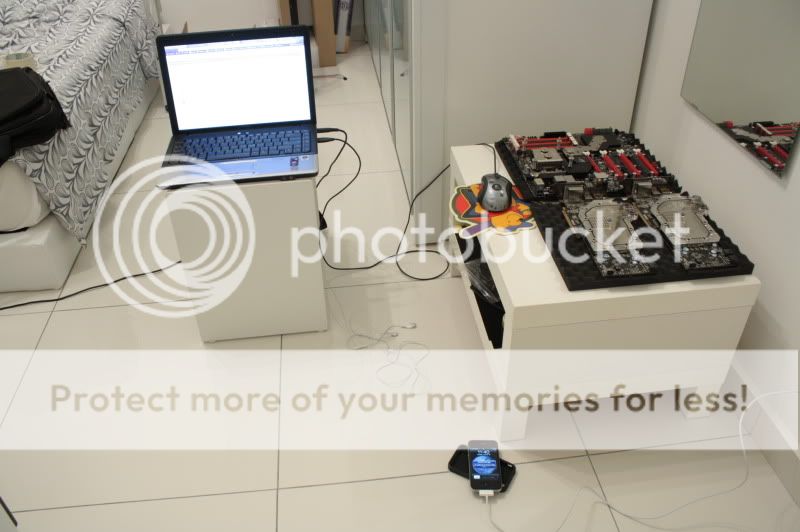


Ok Its me again.
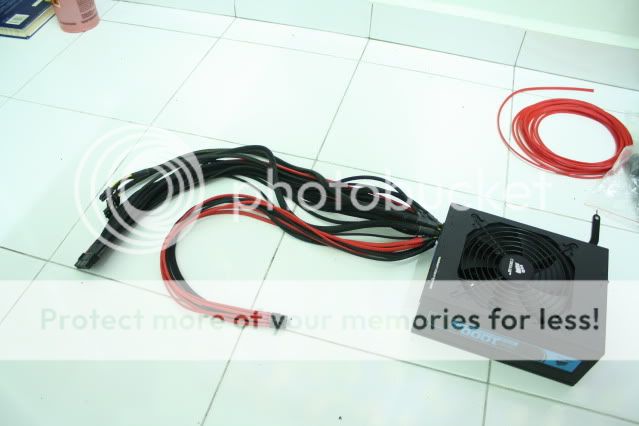
I have very little progress, manage to make some cable for my GC power cable.
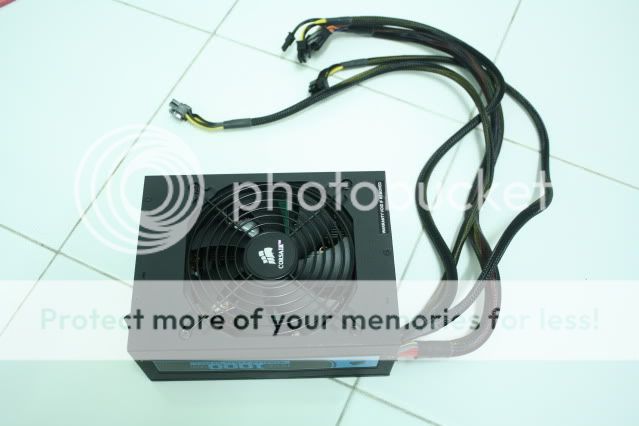
the original corsair's power cable was not long enough.
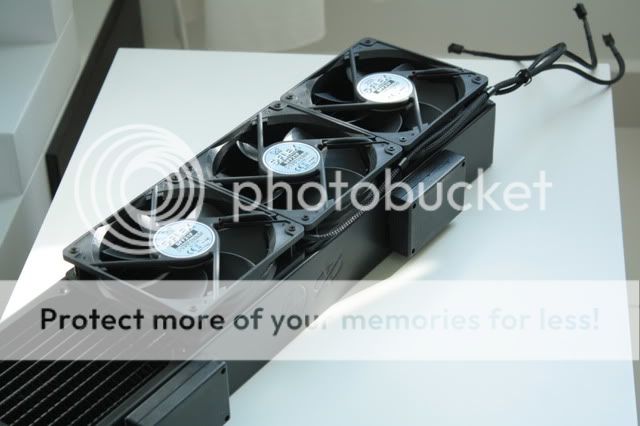
Try out my "T-Rex" today, the result are satisfactory. nod.gif


here you go.....

Cut out some wire to the length that i need.
user posted image

user posted image


My T-rex was crunching the atx crimp connector. cool2.gif
user posted image


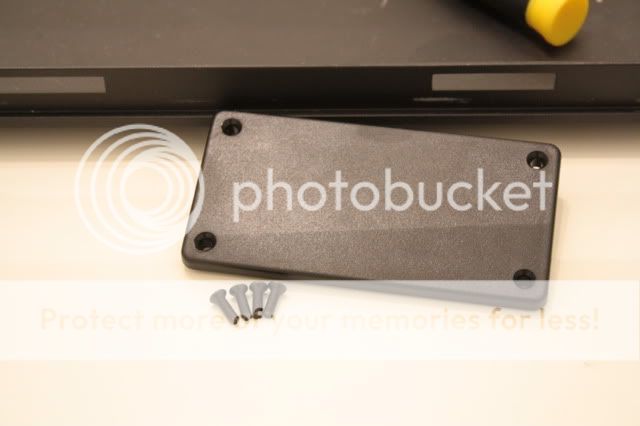
1st wire done, the result not bad.
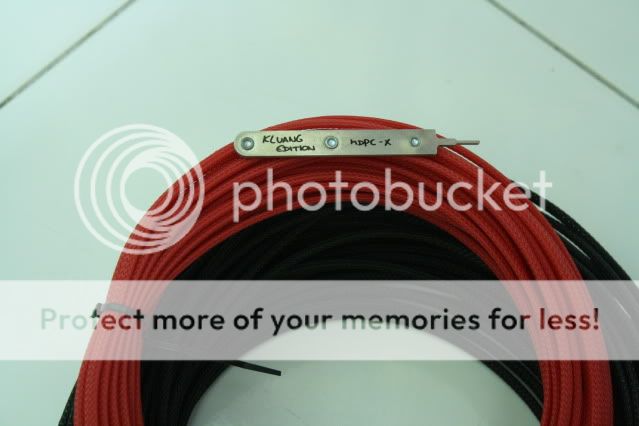
What you pay is what you get, Nils' product was always perfectly done. icon_rolleyes.gif
user posted image

user posted image


All 6 wires done, i finish all 6 wires at around 1 hour times.
I was surprise it was quite easy to handle, maybe the tools just right. laugh.gif
user posted image

user posted image


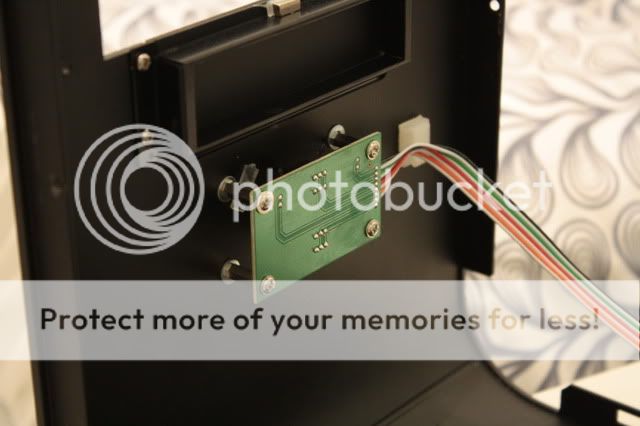
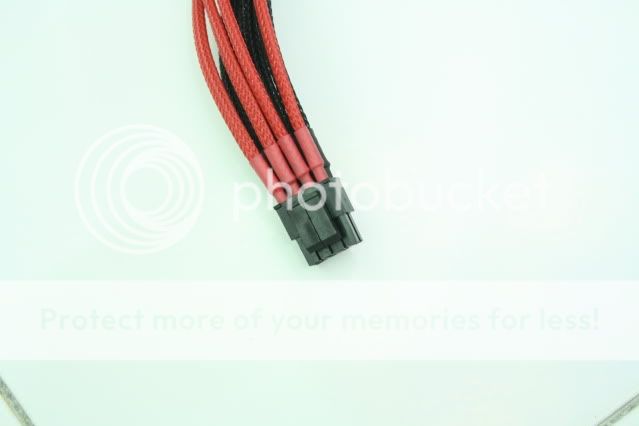
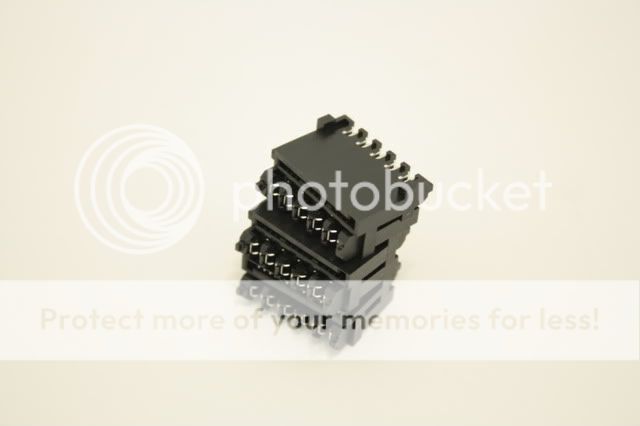
6 Pin power connector.
user posted image


My 1st 6 pin GC power cable consider done.
Will sleeving it later.
user posted image


This update was actually quite boring i think, hopefully the next update will be more interesting ha. sweat.gif
Thanks for checking in.


3 Pages  1 2 3 >Top
 

Change to:
| Lo-Fi Version
0.0307sec    0.18    7 queries    GZIP Disabled
Time is now: 14th December 2025 - 11:41 PM