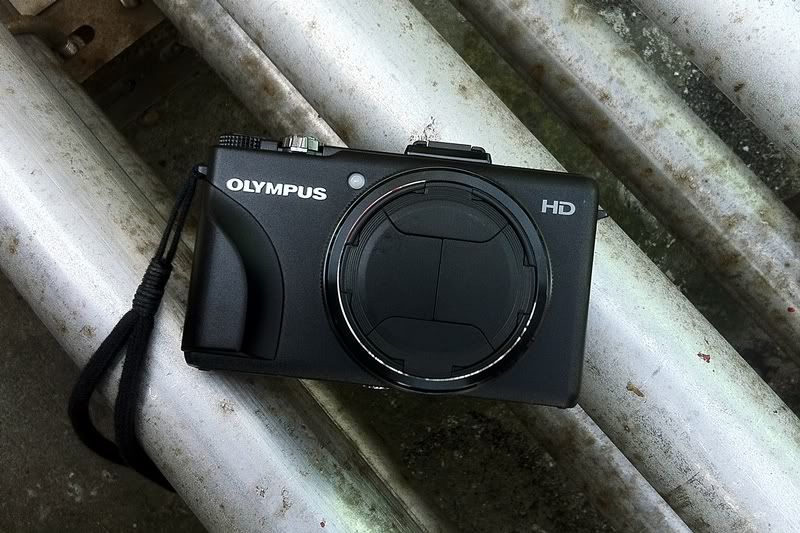
Hello guys,here i found good info settings for XZ-1,
lets try :-)
Setting the camera
Suggestions for new XZ-1 owners --
Start with Program mode instead of i Auto, Aperture, Shutter, or Manual.
On the screen menu that you see after pressing the back OK button --
1. Select Auto-ISO. The XZ-1 will try really, really hard not to go over ISO 200 -- and that extra stop, from, say ISO 100 to 200, will give you super low-light pictures, with a camera-set shutter speed fast enough to handhold.
2. Next, going down the menu, select 1 Vivid. Then press the little Menu button on the back. Go to Picture Mode, select Vivid. Press the right arrow key, and set Contrast to +1, Sharpness 0, Saturation +1, Gradation - Normal. Important: do NOT set Gradation to Auto, or some other stuff will stop working.
3. Next, select white balance - Underwater (the fish icon). On the back-button Menu, go to WB, press the OK button to select the fish icon, then press the right-arrow. Leave A (amber) at 0, in the middle... but set G (green) to -1.
Between this and the Vivid setting above, you'll get beautiful pictures, indoor and out, daytime, twilight, and in the dark.
4. Further down, select 'LF + Raw' as your picture type. This will make both a JPG and a RAW image. In most instances, the JPG will be great... but the RAW backup lets you rescue any image where the JPG isn't good.
5. Further down, select Spot metering, instead of ESP or Ctr-Weighted. After selecting Spot, go out of the menu. The camera will now always meter light from the little circle-area in the center of the screen.
6. Next comes Focus Point selection. Press the left-arrow key and make sure the green focus square is in the center of the screen. Leave it there! The XZ-1 will now start behaving normally. The XZ-1 will always try to focus in the green-square area in the dead center of the screen, which is where you naturally point the camera.
(thanks to echelon2004 for helping me get this straight!)
Imagine that you are taking a picture of a sunset. Point the XZ-1 at the sky, to the left of the sun. Press the shutter button lightly -- it will lock focus and exposure with a beep. If you don't like the preview image on the LCD, move the camera up or down, and try another preview. The screen lets you see right away what you will get!
7. Lastly, further down, select AF instead of Macro or Super-Macro. At the camera's startup wide-angle lens setting, everything's sharp from about 2' to infinity -- like for almost every photo you will take. But play around with Super-Macro... fantastic closeups. Just don't forget to put it back on AF!
That's about it. Now after you set the camera, write these settings down on a piece of paper in case something gets unset, and forget all about it -- time to start taking pictures! From here on out, trust your eye and your camera. Think pictures, not camera settings.
Before you go, get two SD cards, and three spare batteries. You will get about 200 -250 pictures per battery charge... so three charged batteries should be all you need, who knows what kind of electricity they have over there. You can carry the XZ-1 in a shirt pocket, with a spare battery in your other shirt pocket.
Night photography -- if you're on the move, forget the tripod or monopod. Learn to balance the camera on a fence, a railing, or braced against a pole. Or, carry a small beanbag in your pants pocket. Use the camera's 12-sec self-timer to take a good sharp picture of anything that isn't moving too much.
Sunset -- point the spot focus to the sky at the left or right of the setting sun; watch the LCD screen til you see the effect you like.
Water reflections -- spot focus off the reflection in the water, not the sky.
Portraits -- here's an exception to Program mode. Go to A Aperture instead. Turn the lens ring til it says 1.8 Put the lens at full telephoto. Stand about 6 feet away from the subject. The background behind the person should be nicely blurred. Now, if you are doing this in bright daylight, there may be too much light for the XZ-1 to handle. So go into the OK button menu, and change ND Off to on. The built-in Neutral Density filter lets you take pictures at wide open lens settings in bright daylight.
Filters -- Don't bother. You can do any special effects later in Photoshop -- almost anything except a true polarizing effect, and the Vivid settings above will help you avoid the need for polarizing color saturation.
Street scenes -- if you have time, think ahead, about what kind of picture may present itself in the minutes ahead. Or what kind of picture you missed may repeat itself... and when... and be there. This is hard to do!
click here for more...OMG! So awesome! I almost thought my camera sucks! Now my photos wont be so ugly any more! Thanks buddy


 Jul 11 2012, 12:37 PM


 Kesian my old G7


 Quote
Quote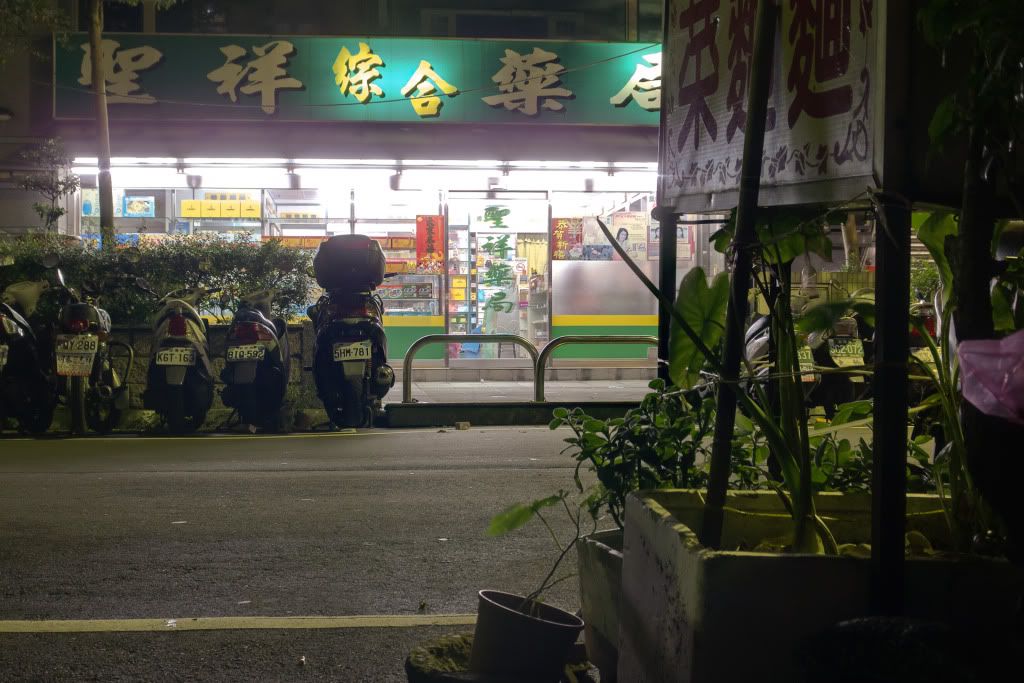


 0.0334sec
 0.48
0.48
 7 queries
 GZIP Disabled