Thanks everyone for the support.
Hi again everyone. Well is been a while since last year update. Look like this might be the 1st kit I'm going to completed it for this year.
anyway is time for the coloring I will be using back the normal flat color as I think resin kit for mecha doesn't really suite glossy color. But that not the main reason.
The aim for this project I'm trying out new technique of Abing tone color which is consisting of post shading, preshading and highlighting. This technique is very interesting and mostly use by figure coloring to allow express realism.
So I'm going to try this on my sazabi and bring out the detail lively instead of just normal 1 color shade.
Notice for the concept of toning color you need to know the basic of coloring before you able to apply on it.
For example for red color you need to have white color base so it will give better the red color. So before I start put red I will put white as base 1st then only apply the red color on top of the white.
Since this experiment is color tone so I'm doing preshading on the white base 1st before apply red color then only lastly go for post shading red.
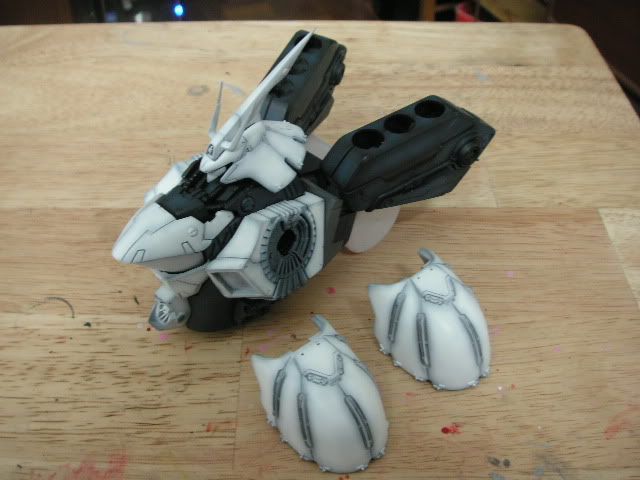
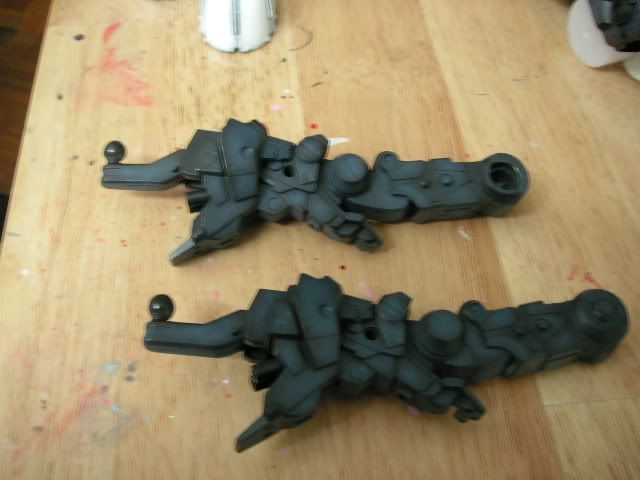
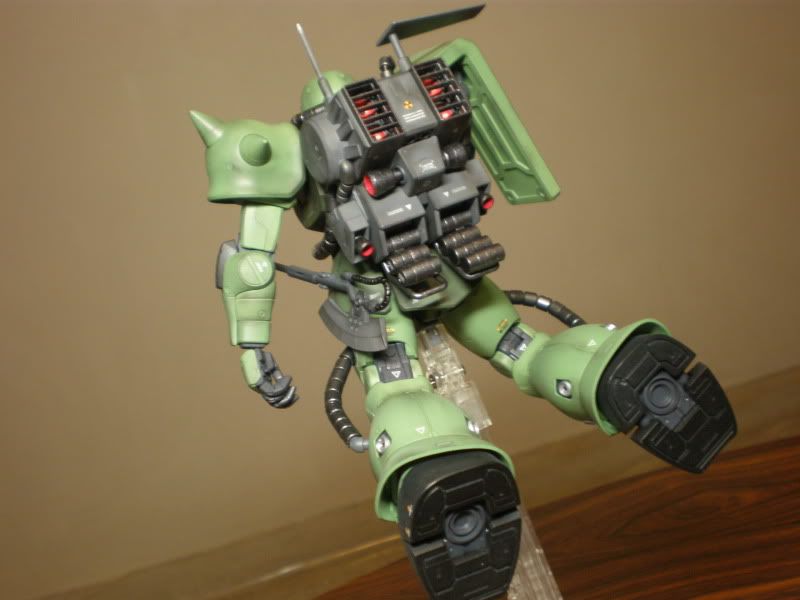
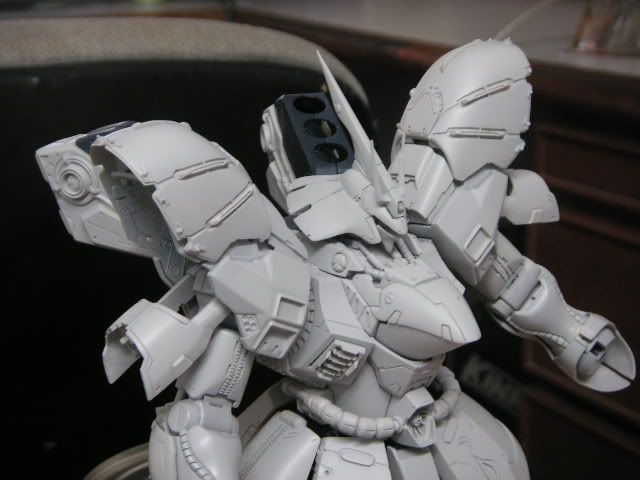
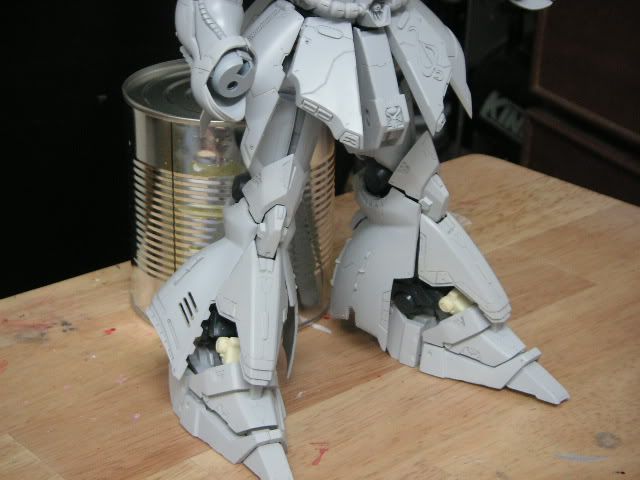
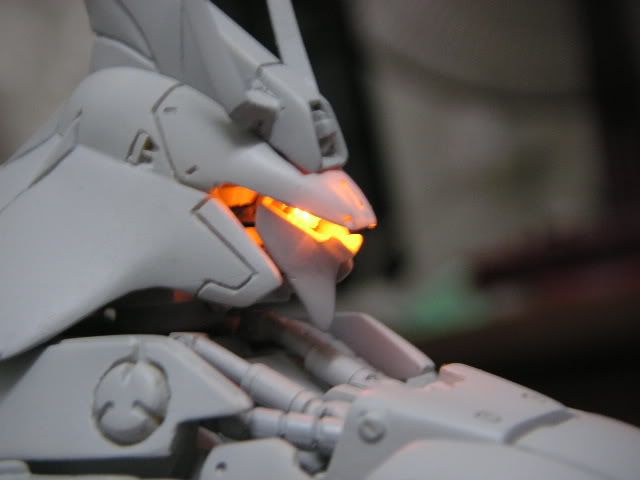
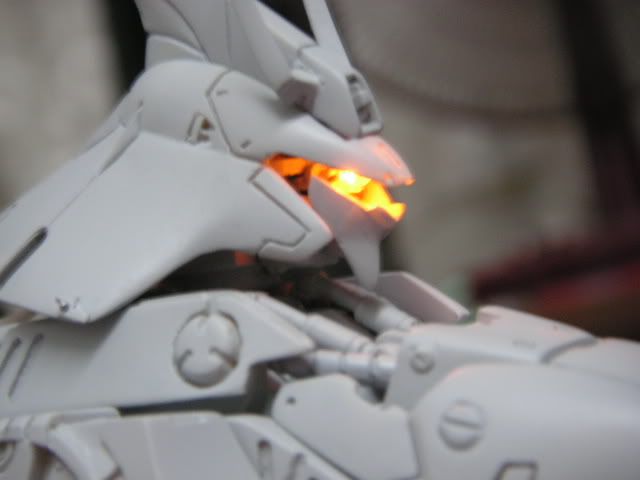
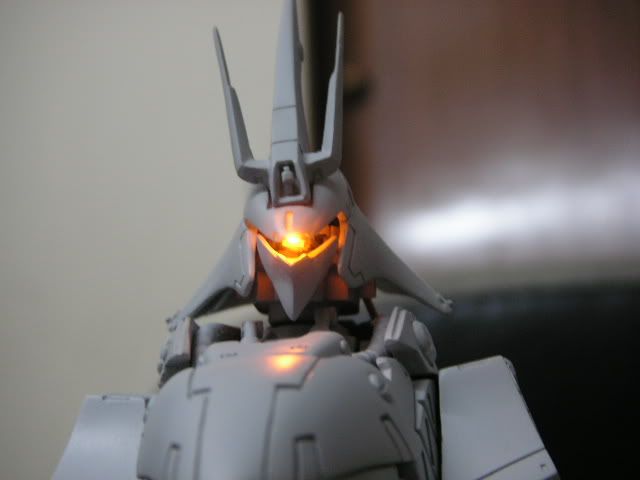
1st step shading, preshading and highlighting for the darker internal frame is done.
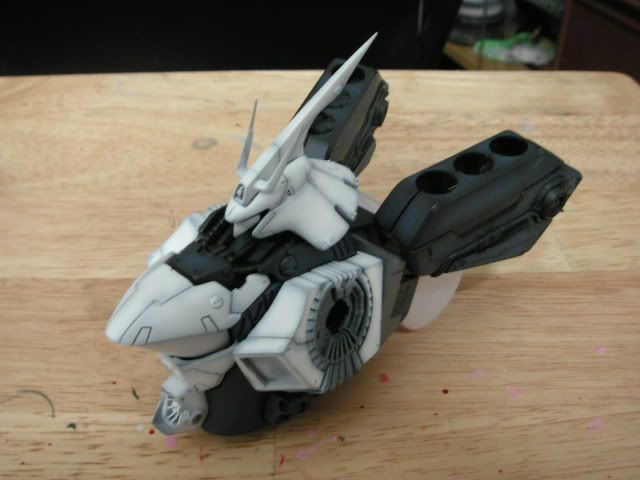
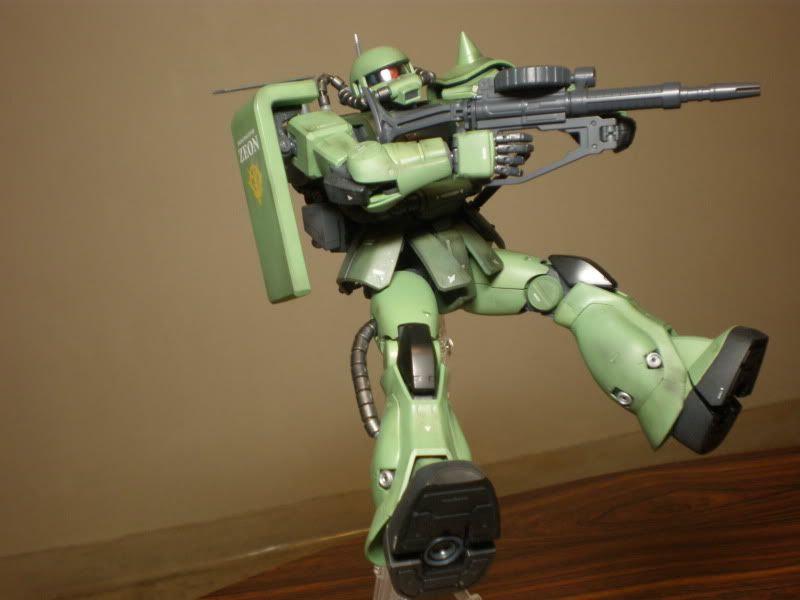
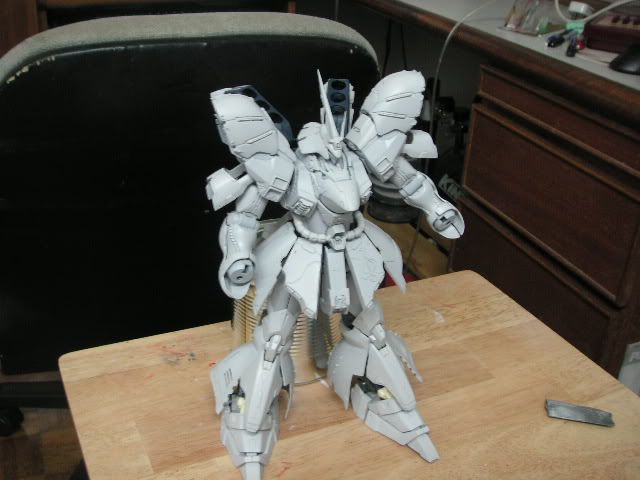
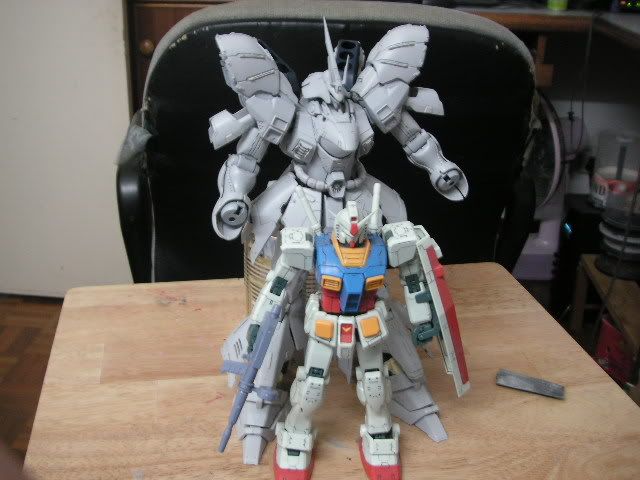
Here is overall
» Click to show Spoiler - click again to hide... «
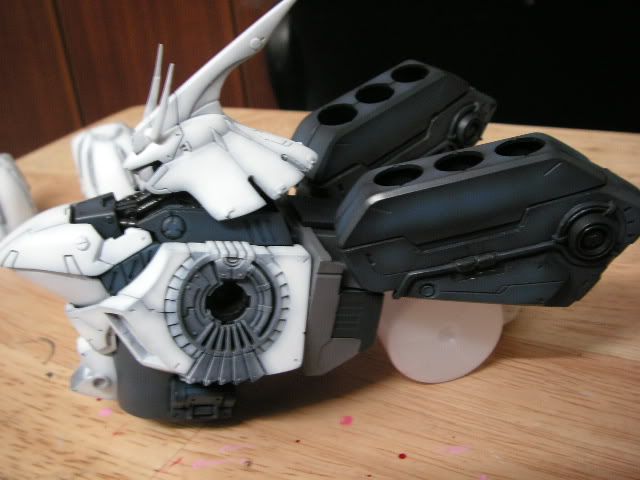
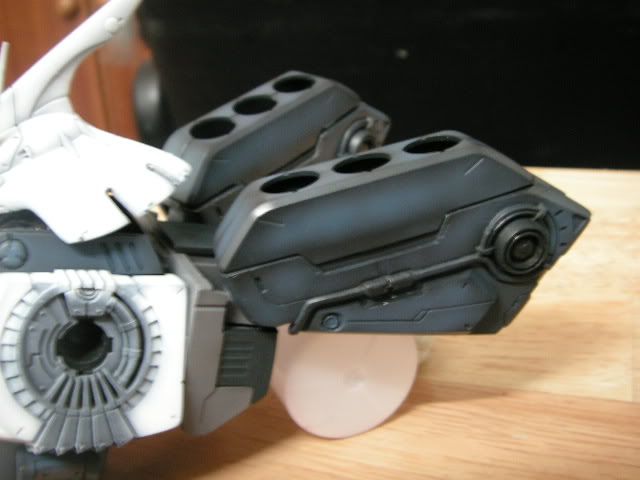
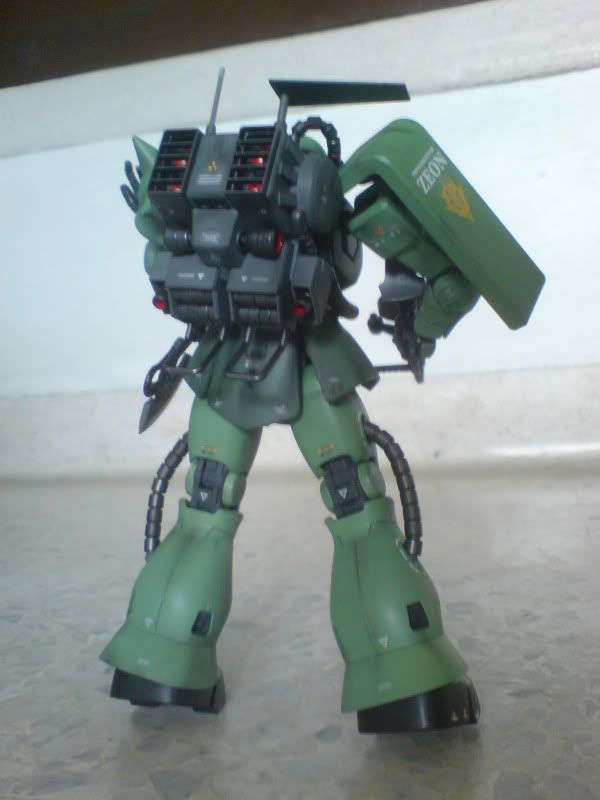
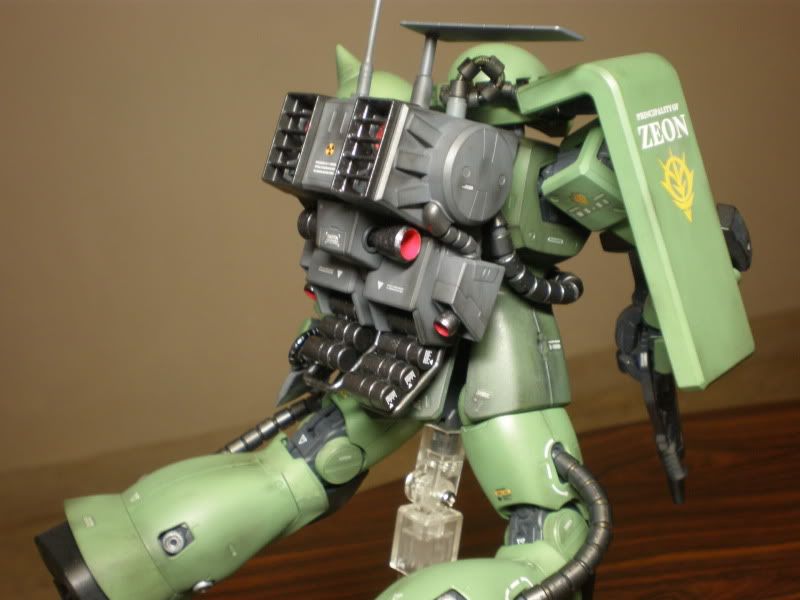
Back pack view
Leg view.
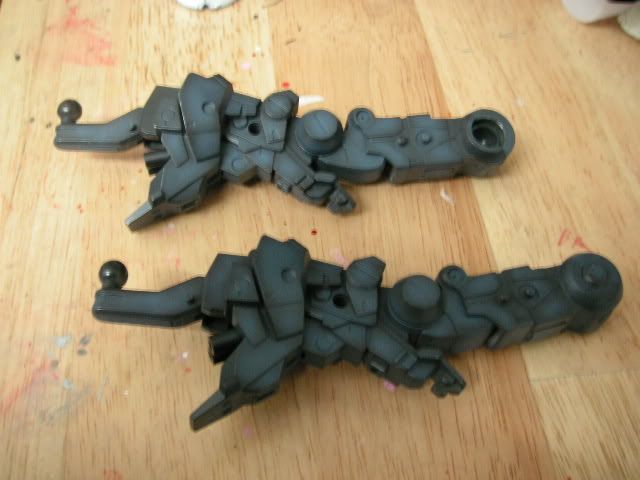
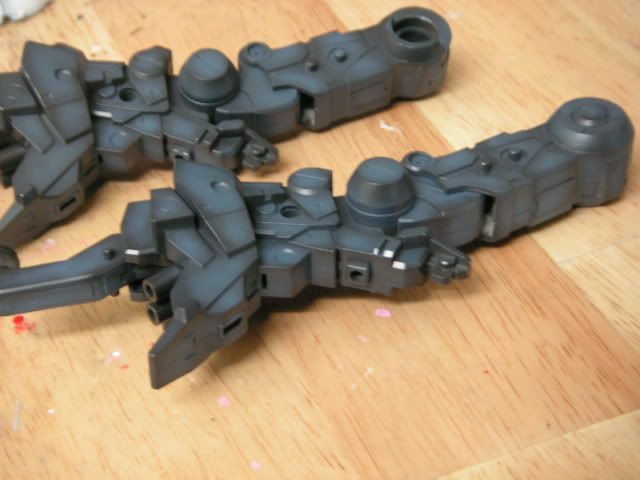
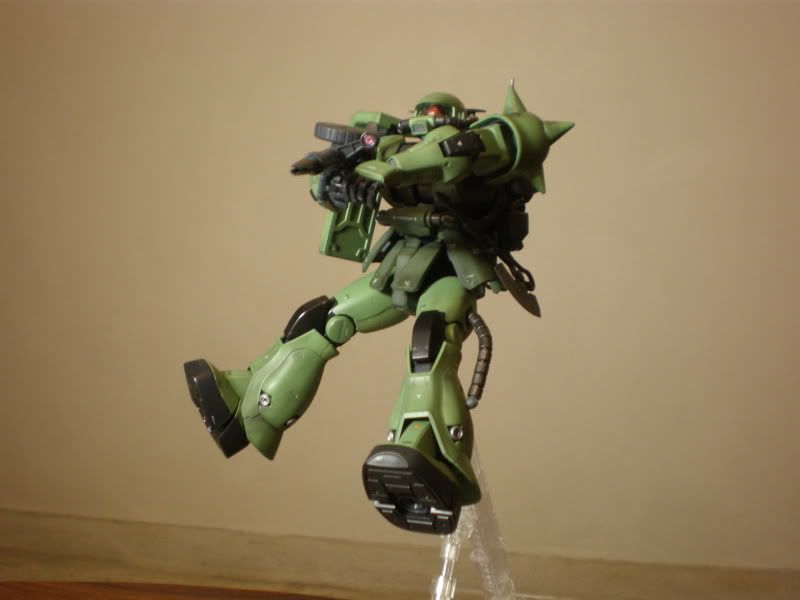
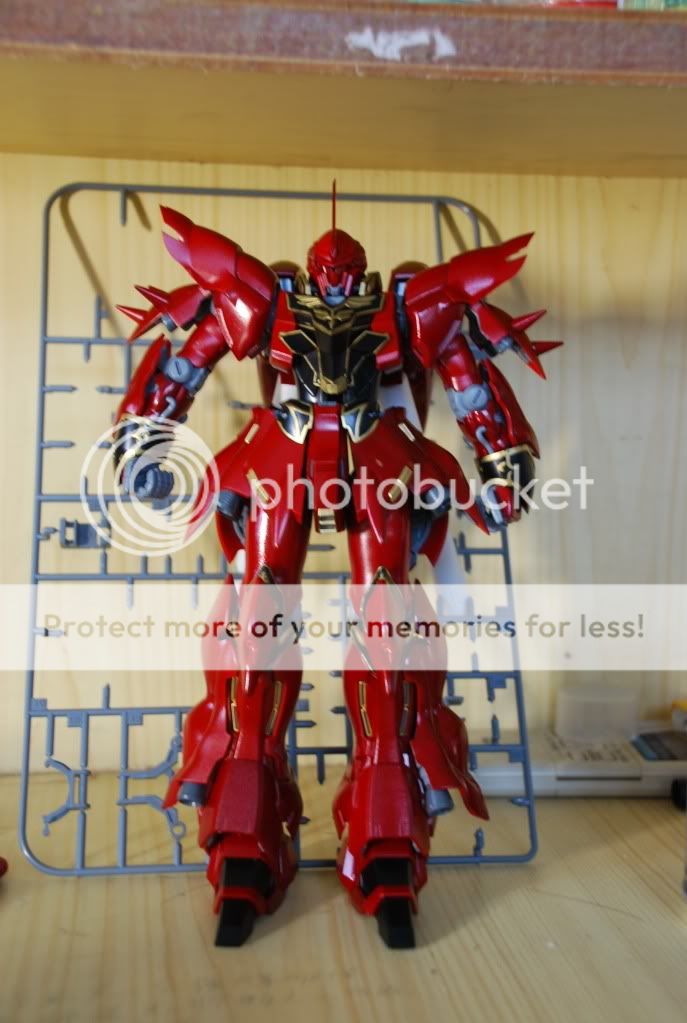
Tone color effect done!!
Here is the external armor WIP coloring tone.
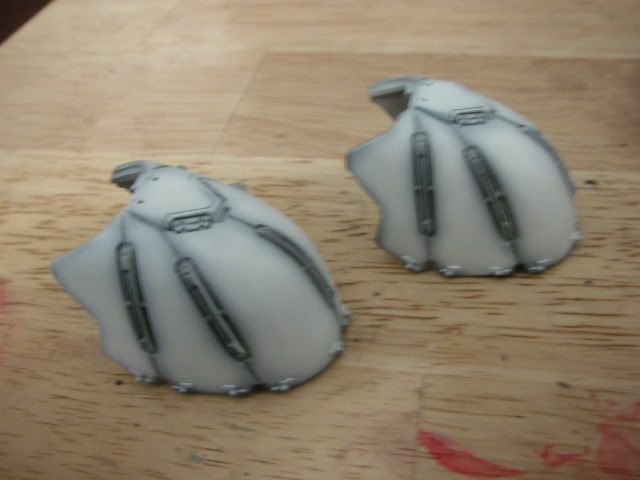
The external preshading and post shading for the base color is done.
That all for know. I hope my explaining won't confuse you guys in the process.
All C&C are welcome
This post has been edited by chriswoo: Jan 8 2010, 07:18 PM 

 Dec 20 2009, 06:36 PM


 Quote
Quote


 haha.
haha.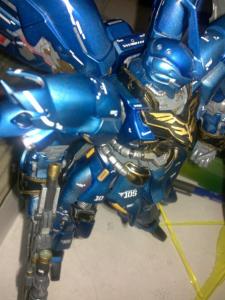


 0.0268sec
 0.27
0.27
 6 queries
 GZIP Disabled