

 Dec 9 2008, 05:00 PM, updated 18y ago

- Adobe ImageReady CS2 (comes along Photoshop)
- VirtualDub
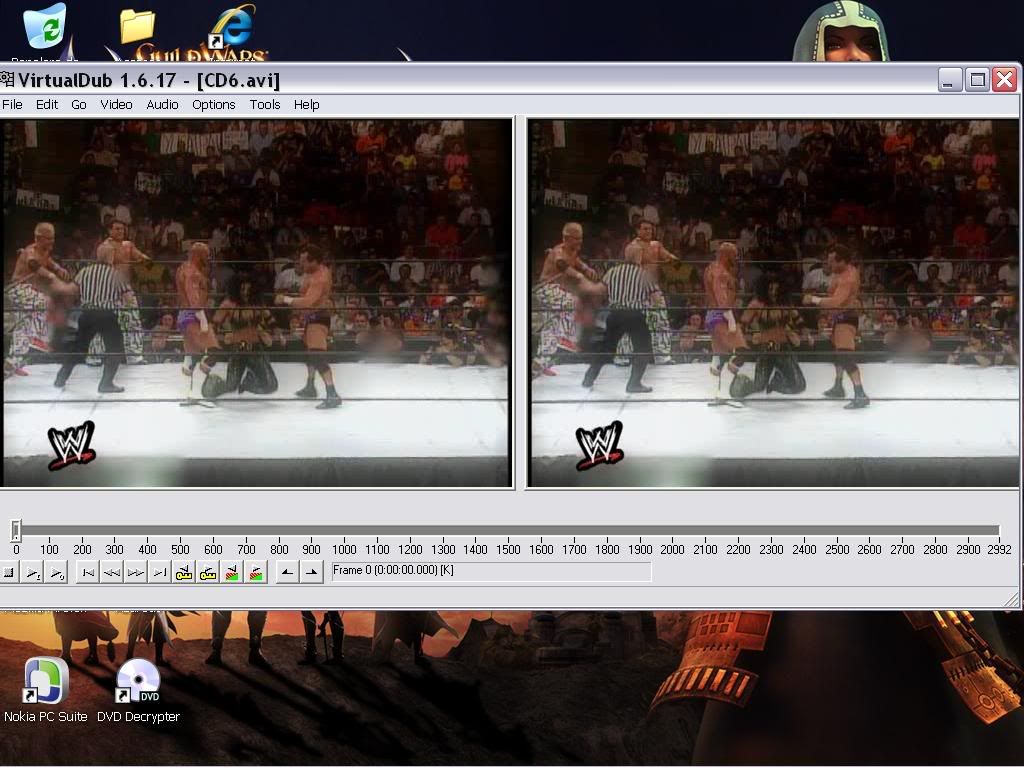
When you get both programs (google a bit and you'll eventually find both of them) We have to open VirtualDub, and we will find ourselves in the main view of the program. We select File > Open Video File and we select the avi from where we want the video taken. In this example, I'll take Wrestlemania 16. When you selct the file, it will load on Virtualdub and you'll have something like this:
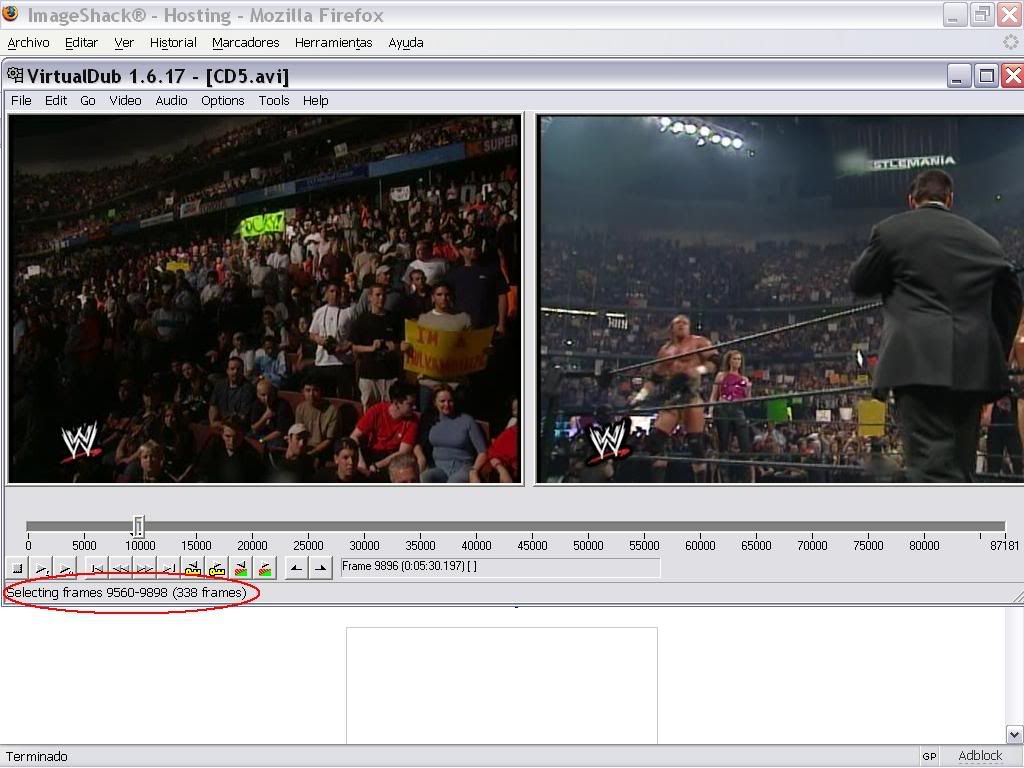
Now to cut the part of the vid we want, we use the slide to get to the point we want, then go to Edit > Set Selection Start, then we forward (use the arrows to do that) to the point we want to end the cut and use Edit > Set Selection End. Don't select too much vid coz it will be very big to have as a GIF later. I recommend something about 7-10 sec. When we are done, we have:
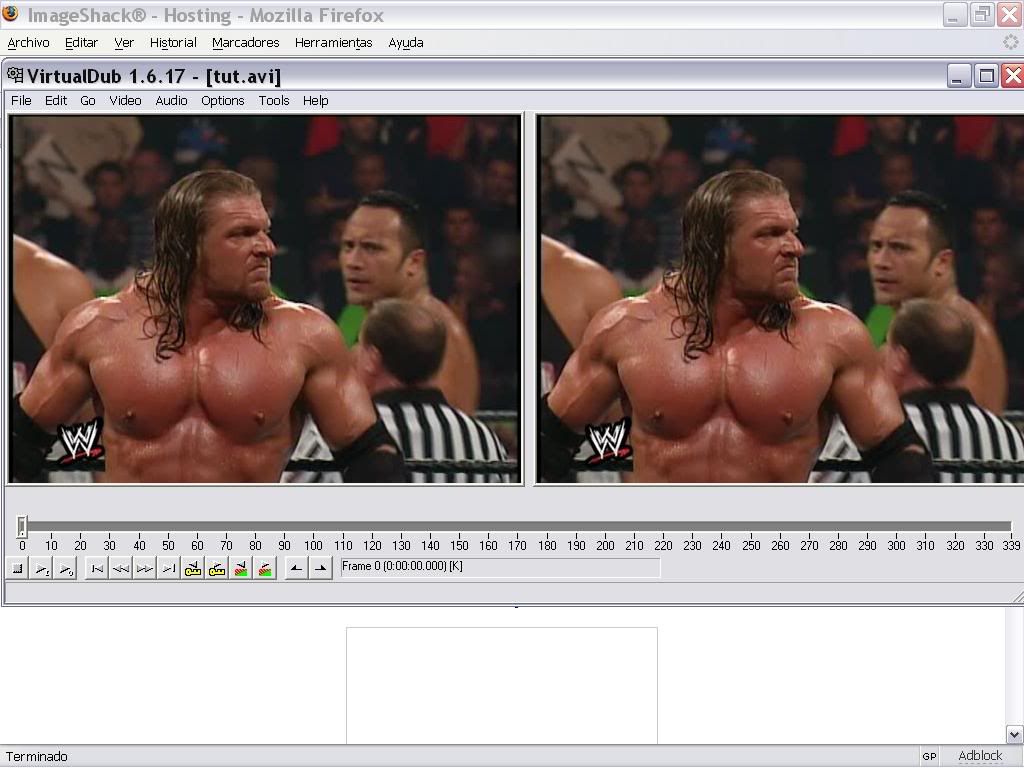
Ok, now we have to set some things before saving the cut. Go to Video and select "Direct Stream Copy", then go to Audio and select "No Audio", then we can save the file. Go to File > Save as Avi and save it with the name you prefer. When done, you can open the cut alone, so we go to File > Open Video File and we select the cut we just made, so we have the cut to work with:
Now it's time to resize the vid so it fits an avatar. We go to Video > Filters (you might have to close VirtualDub first and then open it again, it depends on the pc you're using, to be able to do this). We get to this window:
We click "Add" and we search for the "resize" filter, then click ok and a new window will pop up with 2 numbers. we put the desired avi size (I'll go with 120x100, but you can adjust it to whichever size you prefer). We put the numbers, then "Ok", and the filter will be placed in the filters window I showed you earlier. We click "Ok" and we'll see that the second window (the output window) will become the size we set:
We save the file again with File > Save as Avi wherever we want an open it with Virtualdub yet again, so we now have:

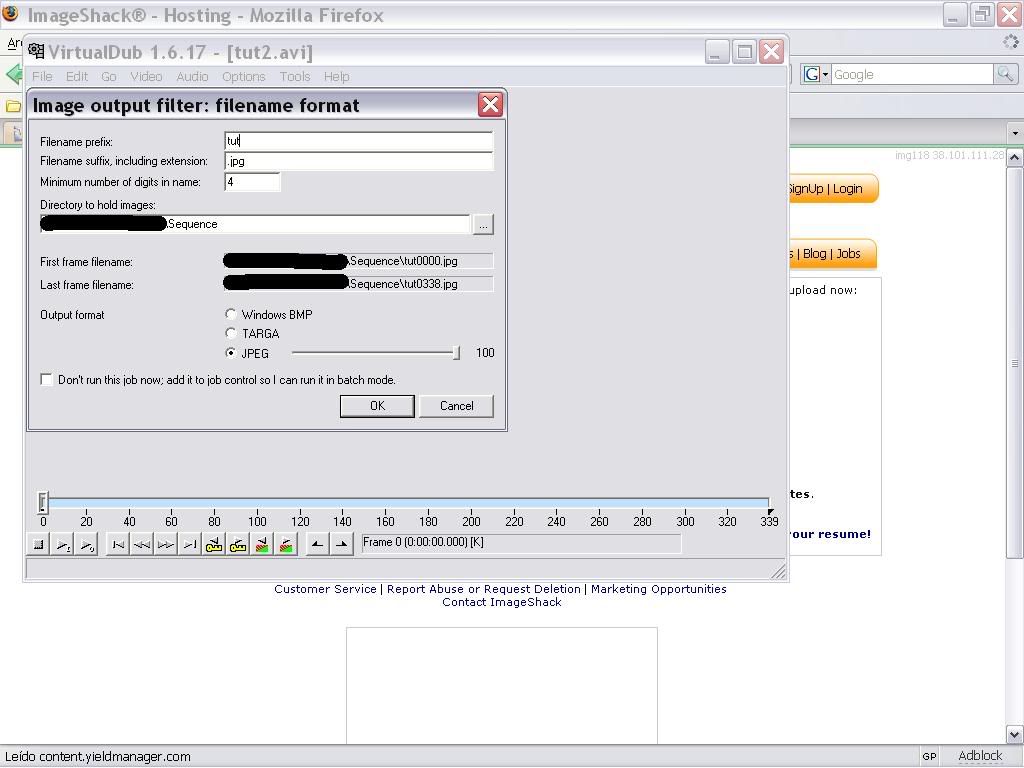
Now the last thing we'll do in VirtualDub. Go to Edit > Select All to select all the cut, then go to File > Save Image Sequence. You'll come to a new window to select the folder for the images to go. Do it on a separate folder where all there is the images, coz we will be deleting stuff and I don't wanna mess in your comps). Set things like in the image below and click Ok. WHen the job is done, you can close VirtualDub and head to the folder you just put the images in.
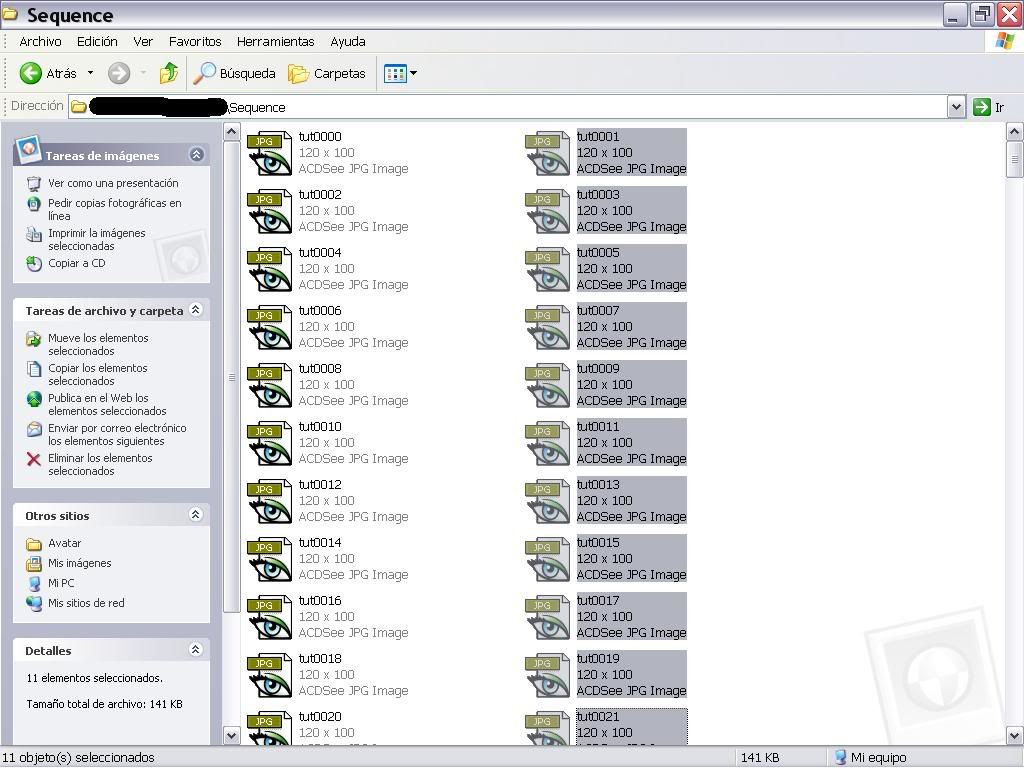
Now on the folder where we put all the images, put it a way you see two columns (like in the image below) and delete all the odd numbered images (or the right column, it's the same, you choose the name)
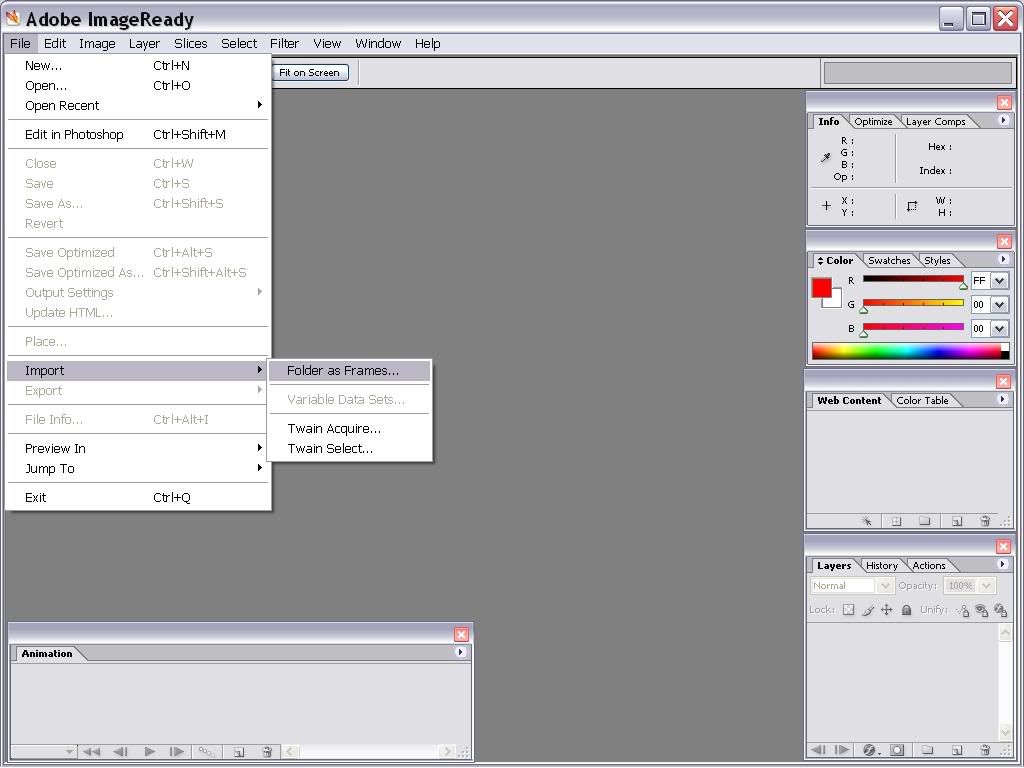
When you finish selecting all the files (it can take you a while, but it's worth the effort, I assure you that), we will be nearly finishing, and we haven't used the second program yet...open ImageReady now and you'll be in the main view. We select Import Folder as Frames (as shown on the pic below)
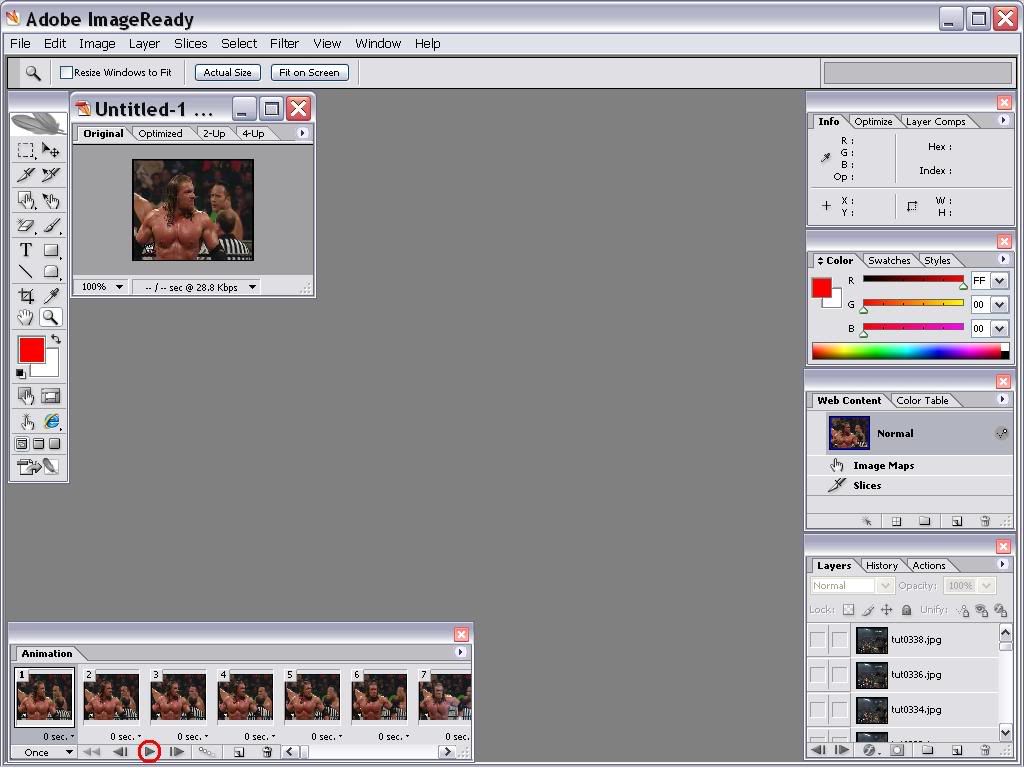
Guess what: we'll import the folder where we put the images. ImageReady will load th whole thing and the Animation panel down will show the entire sequence. Use the Play button (you all know how a Play button looks, but I'll point it ) to check if the sequence is right. If the sequence freezes, go to the folder, delete the frame where it froze and import again):
Now time to save the file. Go to File > Save Optimized As and put the name you want, but make sure you select "Images Only (*.gif)" at Type. ImageReady will save the file wherever you selected, and it's nearly the last step we're gonna do.
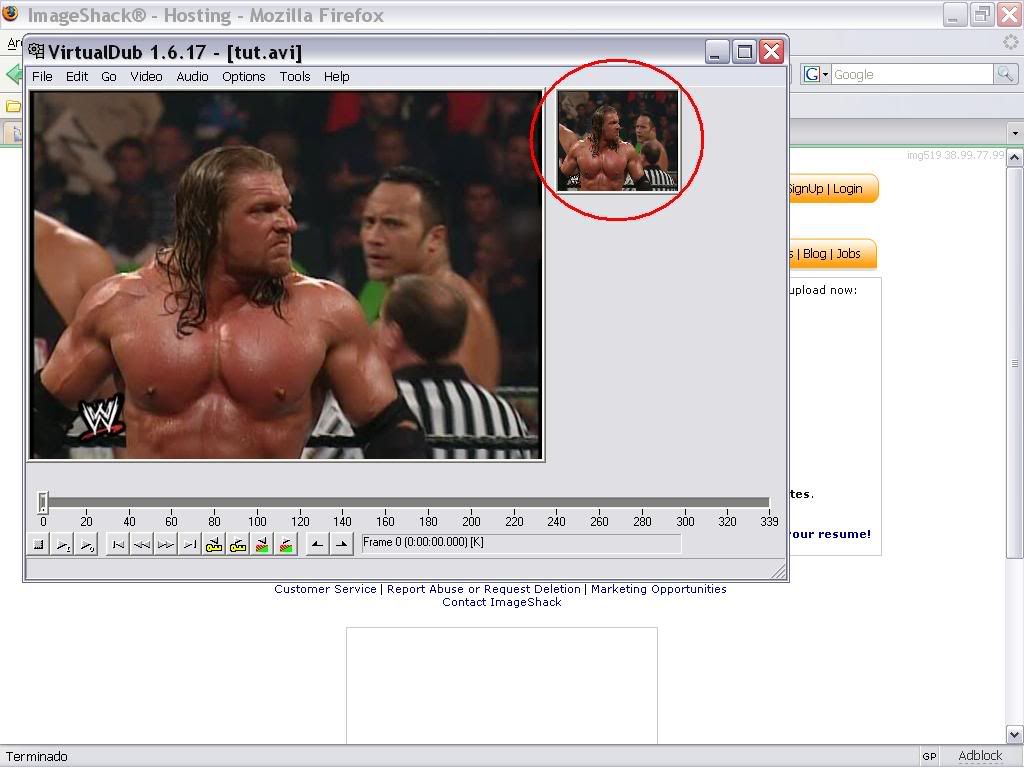
The last one is a common one: go to Imageshack or Photobucket and host the gif you just created, then put it as your Avatar as you'd do with any image.
 Quote
Quote 0.0148sec
 0.53
0.53
 5 queries
 GZIP Disabled