

 Sep 11 2008, 08:45 AM, updated 17y ago
2 Days Ago 6pm - 12pm
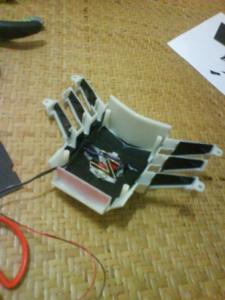
Ya here's what I did for my casing, put a board to cover up the messy cables. Since I want to make some fix on my other components, so as well I fix the 'buttom-cover' as well. Last time I used some paper blocks as the 'feet', but this time I cut some chunks of the home-electrical-cable covering tubes (though it rectangle... What that thing called anyway?).

Next I just stick it with double tapes...

Oh here a simple paper-board I cut.

Er, I changed the position of those blocks, fix those switches, cables, molex... WTH. What switches you ask? Just continue reading and you'll know.

Now just cover it up and ready to put the board on.

Oh hei, let's looks at the chaotic side...

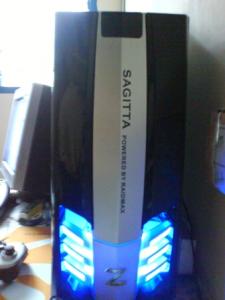
OK after put on the board, woah it looks far better than doing nothing.

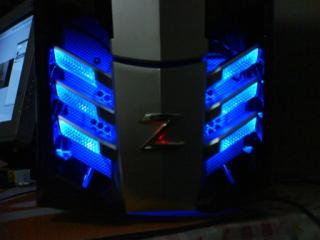
I also make abit of lighting at the front cover, but... I need some brighter LEDs. The border just not BOOM enough... If the LEDs are bright enough, you'll notice the whole left and right border of the middle plate glow. Of course, since it white plastic, some light might passed through, I can later simply just stick some black stickers in the inner side to prevent that. Oh ya, also want to add some nice tribal sticker on it when I can come out any nice one...

Here's what I make the switches for... Now, for the LED first. Uhm, actually there are 2 sets of LEDs (one set on the exhaust fan and another one set on the side-window fan). They can be turned on or off saperately...

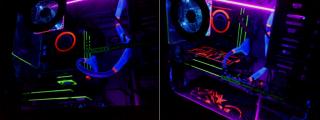
Now for the UV to go on stage... (Opps, me still newbies in most of these thing lah...)
( Post continued below ........ )
This post has been edited by M1X: Sep 15 2008, 01:14 PM
 Quote
Quote
 (not Fast Reply). Tick the "Do not combine with previous post?" option before posting. This also bumps your topic up.


 0.0211sec
 0.58
0.58
 6 queries
 GZIP Disabled