Custom XMB installation tutorial made by me.
*USE AT YOUR OWN RISK*
Nomenclature:
» Click to show Spoiler - click again to hide... «
ms0: drive letter of your memory stick/PSP when connected in USB mode, in my example below is F:
flash0: drive letter of PSP NAND flash when accessed in USB mode, same as above, F:
My hard disk drive in this tutorial is x:
Step 1: Enable Windows to show hidden files and folders
» Click to show Spoiler - click again to hide... «
Step 2: Make NAND dump/backup (If you had'nt before)
» Click to show Spoiler - click again to hide... «
Download the Open NAND Dumper
here and put the extracted content in MS0:\PSP\GAME as usual and run it. After the dumping is finished, go to the root of ms0 and copy the resulting NAND dump as shown below into your computer. Store in different places if possible (hdd, thumbdrive, internet, etc). Without this dump, your Slim PSP cannot be recovered if it is bricked.

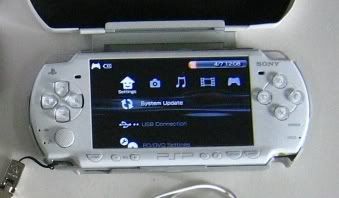
Step 3: Make your f0 / flash0 backup
» Click to show Spoiler - click again to hide... «
Turn off your PSP, and enter the recovery mode by holding the R button along with the power button until the the recovery menu is shown. Enable the flash0 USB mode:
CODE
Recovery menu -> Advanced -> Toggle USB (flash0)
This is the content of flash0 partition in the PSP NAND chip. Copy all folders into your computer (put into a folder named f0/flash0/whatever for easy management)

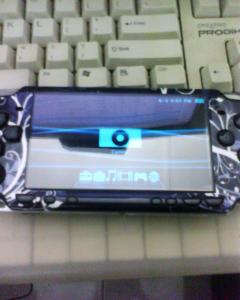
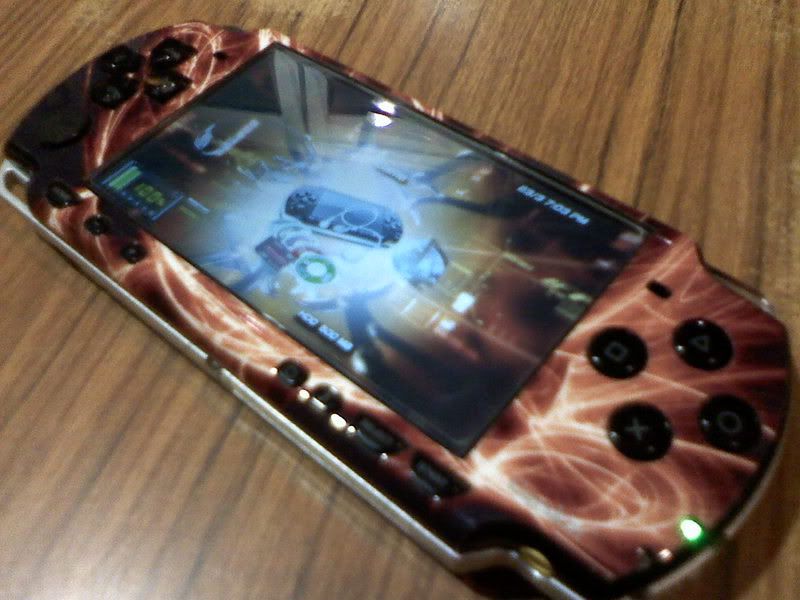
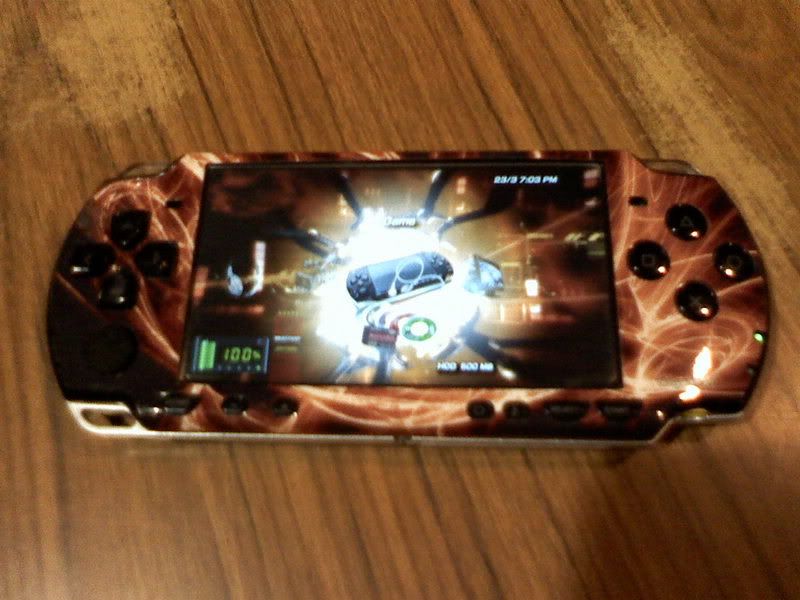
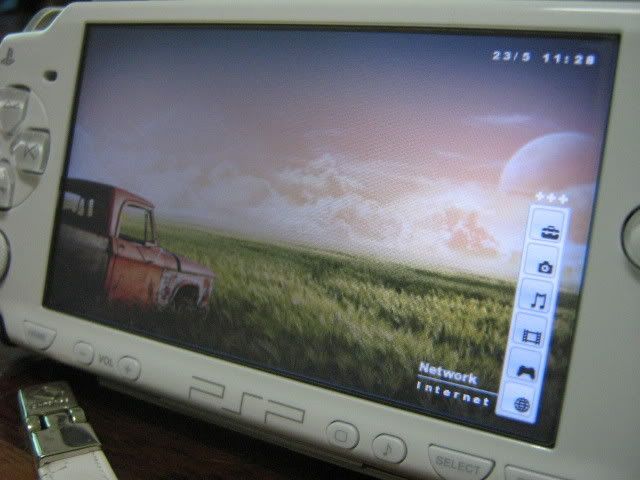
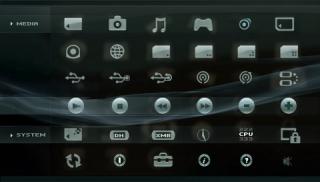
Step 4: Download your custom XMBs and analyse their structure
» Click to show Spoiler - click again to hide... «
Download custom XMBs from
http://endlessparadigm.com/ or
http://www.consolespot.net/ or anywhere. Make sure to download custom XMBs according to the firmware number. Using XMB intended for different firmware will result in a brick. Below is a few example of XMBs that I downloaded.
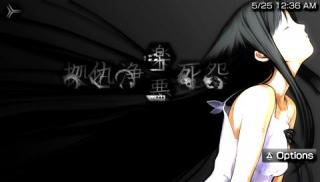
Case 1: This theme only replaces font and vsh folder

Case 2: This theme also replaces file in dic folder

Case 3: This theme only uses vsh folder, but the maker didnt package it into vsh folder. It also has a wallpaper folder. The wallpaper inside this folder should be placed in ms0 not flash0.

To be sure, navigate through your flash0 and study the folder/file structure. So far (as I've seen), custom XMBs only replaces files in vsh, dic and font folder. If there are other folders present in your downloaded theme, most likely they do not belong to f0 but to be copied to ms0 instead. I've also seen a few theme makers who didnt package their theme properly. Compare the existing individual files in your f0 subfolders with the files from downloaded themes. To novice users, this simple thing might lead to bricks if the wrong files/folders are being replaced/overwritten in f0.
Step 5: Copy/overwrite files from downloaded custom XMBs into flash0
» Click to show Spoiler - click again to hide... «
Step 6: Revert to default theme before flashing/installing a new custom XMB
» Click to show Spoiler - click again to hide... «
Overwrite the font, vsh and dic folder in your flash0 with the backups made in step 3 before installing new themes (Step 5)
Step 7: You can customise your downloaded theme by mixing sounds/gameboot/etc from different themes. All you need to know is which file is responsible for each role. Sorry I've lost the list
 This post has been edited by vorchiel: Mar 12 2008, 05:26 PM

 Feb 6 2008, 02:57 PM, updated 18y ago


 Quote
Quote


 read until blur liao


 "
"


 0.1080sec
 0.66
0.66
 6 queries
 GZIP Disabled