Wow, looks like got some real interest in photography. I guess it's time for me to contribute. I work as a freelance cinematographer and my forte is low key photography. I have been thinking that what I did for work can actually be applied to figures photography. Same theory and idea really, just in a smaller setting and scale.
These are stuff I have lighted and shot and soon you guys can creates shots such as these (in a smaller scale of course)

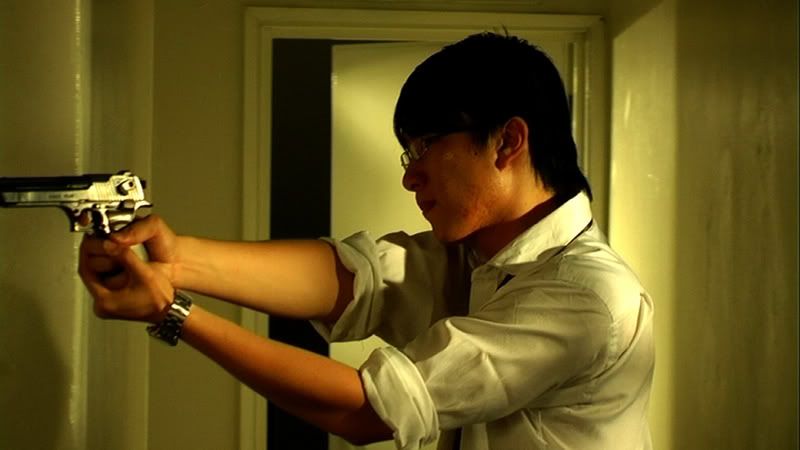
I know I shoud use pic of figures but I do not have a decdent camera and proper lighting set up for now so these will have to do.
Basically, a few basic things about lighting.
Let's start with the most basic of lighting technique yet also the most important, the three point lighting.
Just like the name implies, we need three source of light to achieve three point lighting.
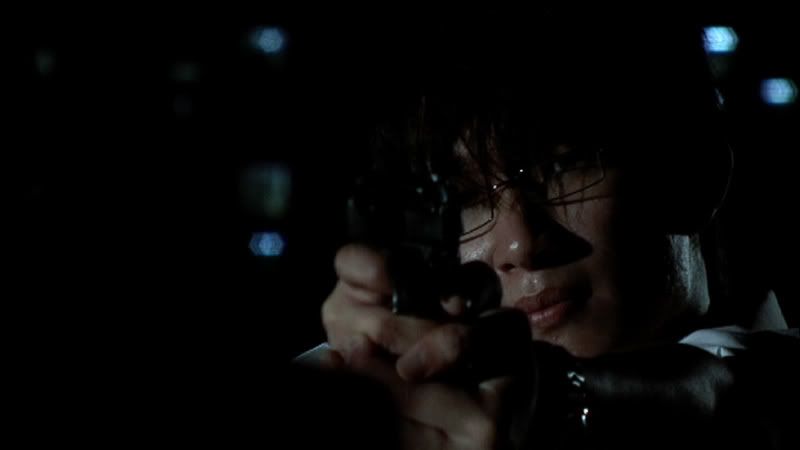
First is the key light and the key light is your main source of illumination. The key light is usually a hard light source. Hard light source is harsh and can create a lot of shadows but important in shaping the subject you want to light.
But where to put the key light? Assuming your subject is facing the camera, the camera if level with the subject, the key light will be placed at a 45degree angle from the subject on your camera right or left (doesn't really matter where, matter of design but for this discussion, let's just put it on the right)
The height is also a matter of design, can be directly in front of the subject, higher or lower, different height will give different feel and mood.
If the light is place on the same level as the camera, the right side subject will be evenly lighted. If higher, you will get slight shadow under the chin, the eyes, nose, or if the subject is wearing a cap, part of the cap shadow will be covering the eyes. But that is not sometimes a bad thing, a matter of design.
If lower than the camera, you will get the classic horror movie lighting from below look.
Once you have set you camera, you will realized that with just one light, you have shadows, and the subject is not evenly illuminated. Sometimes, this is a cool looking look, suitable for moody or horror feel. But for a more even feel we need the next light, the fill light.
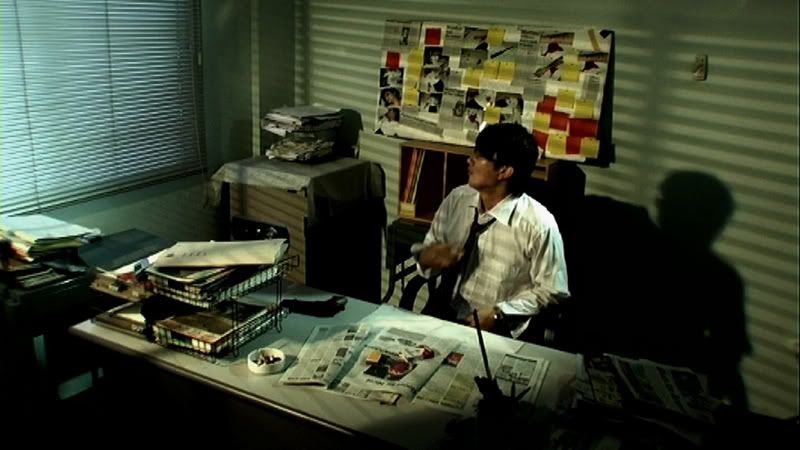
Fill light is supposed to be a softer and less powerful light source than the the key light. The role of the key light is to illuminate the other side of the subject that was dark with just the key light and also to soften any shadows. It is usually placed at the opposite of the key light, or on the left of the camera. The angle and height is a matter of design. There is not fix method for the key light, you will need to adjust the fill light to get the effect and feel that you want.
With the key and fill light in place, most of the time you can take good looking picture di. I mean, this two light set up is actually very common in photography studio these days.
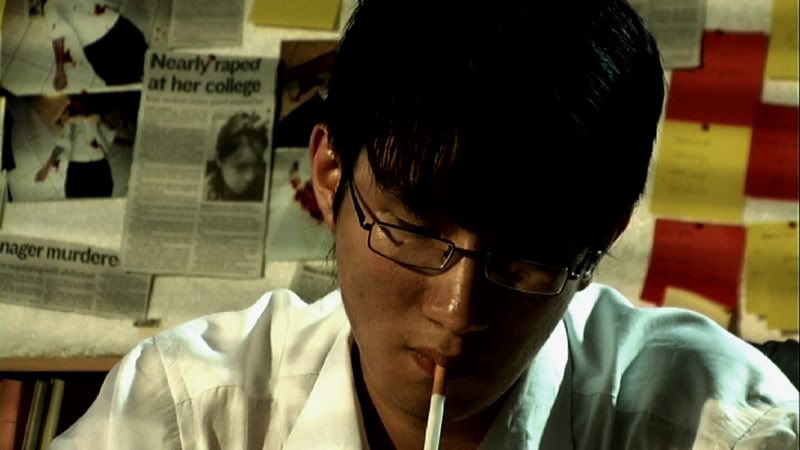
But to take it one step further, we add a back light. The backlight is usually placed directly opposite the key light, behind and above the subject.
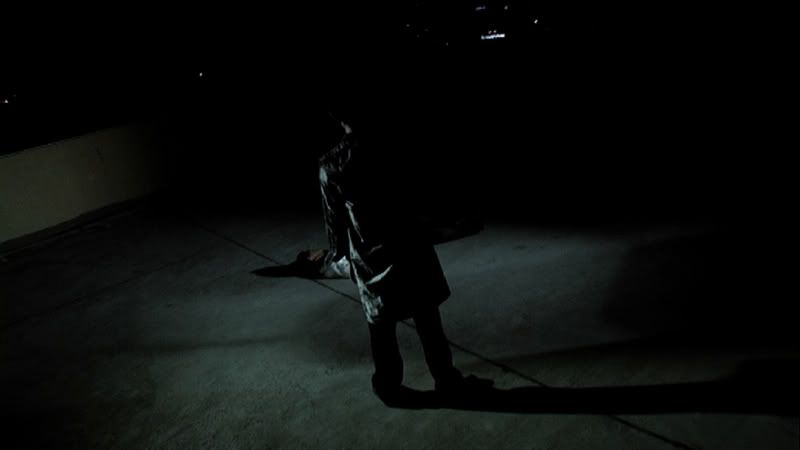
The role of this light is to create contrast, to help separate the subject from the background. This is a technique from the old black and white film days where colours tend to be just slightly different shades or grey or black and sometimes, if the subject is wearing colours that are too dark and the background itself is too dark, the subject will blend into the background, making it look flat. For example, look at the pictures from the revoltech thread where the griffon was totally blended into the background because the griffon is black and the background is black, a back light would have made the griffon stands out.
The backlight helps alleviate this by separating the subject from the background with the rim of light around it. This technique is however not much used in colour photgraphy these days because as long as the subject and the background is of a different colour, there is a natural contrast and we don't need a backlight to separate the subject.
But if used properly, you can create even more beautiful pictures with proper used of backlight, especially on a female. The backlight creates a very flattering look for females.
Ok, hope what I typed wasn't too complicated. I mean it will be a lot more easier to understand with picture guidance but I am leaving for Singapore tomorrow for a project and will be back in about two weeks. So sit tight and when I am back, I will rewrite this with proper illustration and samples so you guys get a better idea.
There is still a lot more to learn, four point light, how to use mix light source, how to create mix lightsource, colour temperature, depth of field, framing, etc, etc.
ps-By no means I am claiming myself to be an expert, there are a lot of photography sifu here but I am just sharing the technique I use in movie lighting to create even more dramatic looking visual.


 Feb 2 2008, 04:13 AM

 Quote
Quote


 0.0283sec
 0.56
0.56
 7 queries
 GZIP Disabled