

 Oct 10 2023, 09:59 PM, updated 3y ago

One thing to note, you need to have public IP for the VPN to work. Type "what's my IP" on Goggle Search, if the IP shown is the same as what was shown on your router, then you have public IP. If you don't have, other option is to use Tailscale or Wireguard where they will act as intermediary to establish the connection between the client to server. Maybe in future I'll try using it and make a guide.
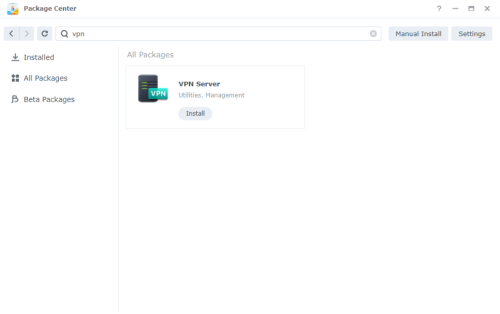
Now let's get started. First thing to do is install VPN Server from the Package Center.
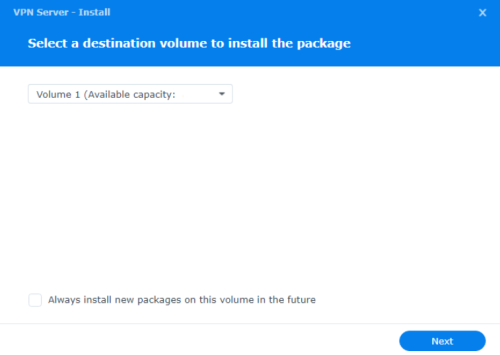
It will ask which volume it should install on if you have more than 1 volume.
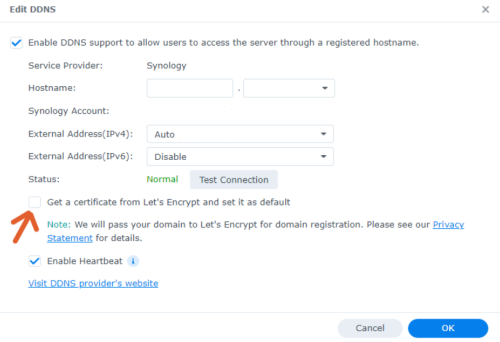
Before we start setting up the VPN server, we need to have DDNS for the VPN. I'll go with Synology's own DDNS to simplify the steps. For the VPN to work, it also need certificate. I just tick on the "get certificate from Let's Encrypt" and click Ok, it will do the process of getting the certificate and install the certificate on the NAS. But I still need to go into Control Panel > Security > Certificate and change the VPN Server certificate option to the one from Let's Encrypt.
After done with DDNS and certificate, now we open the VPN Server app. Click the OpenVPN tab and tick the "Enable OpenVPN server" to enable it. Tick the option for "Allow clients to access server's LAN" so that after connected it will be able to sees other devices on you local LAN. Also don't forget to set the port number that will be use and port forward that port number at your router setting. There's also option for Verify TLS auth key and Verify server CN but I was not able to connect the VPN when I enable it. Need to do more testing on these settings.
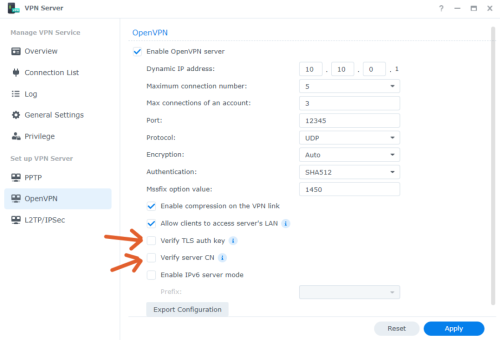
On the setting can set max number of total connection and also max connection per account. It will use Synology DSM account and it's password to connect to the VPN.
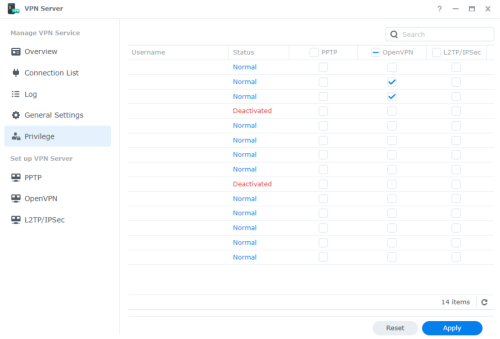
You can also set which account can use the VPN at the Privilege tab. Useful if you have many accounts on your NAS but not all account need to connect from external network.
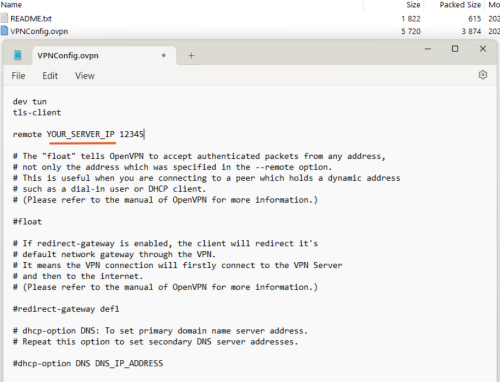
Once done, click Apply and then press the Export Configuration button. It will download a zip file. Inside it contain the VPNconfig.ovpn file. Extract it and open the file in Notepad. Replace the "YOUR_SERVER_IP" with your DDNS address that you setup earlier and save the file. If you want full tunnel, that is all your internet traffic will go to the VPN and use your home IP to access the internet, enable the "redirect_gateway" option. After all is done, now move this file to the device that you want to use as the OpenVPN client.
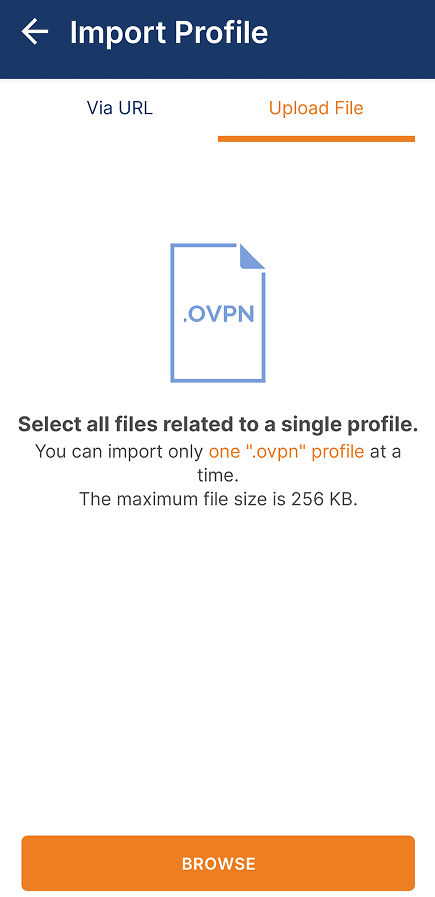
For this example, I'm going to use this on my phone. Open the OpenVPN app (or install the app first if you haven't do so), click on the + sign at the bottom right and click "Upload File" and browse for the VPNconfig.ovpn file. Put in your Synology's DSM account and password then click connect. If everything was done correctly it will show successful connection.
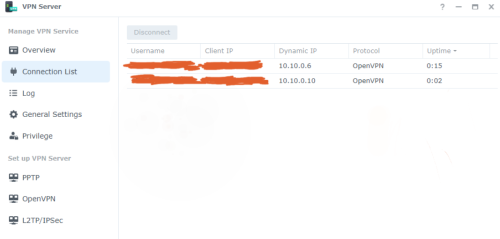
Back in the VPN Server app, on the Connection List tab, once a user connected to the server it will show the user name and it's external IP.
And that's it! Now you can securely tunnel back to your NAS and local home network with your own private VPN.
 Quote
Quote 0.0141sec
 0.98
0.98
 5 queries
 GZIP Disabled