

 Oct 18 2007, 04:22 AM, updated 18y ago
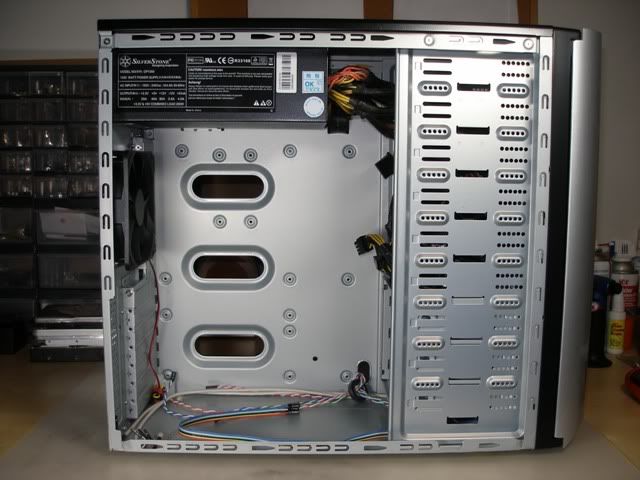
Let's get on to the Wizard. It's made entirely out of steel. It's priced at rm199 and we can't expect aluminum at this price range. The steel used is of a good grade n gauge too. The thickness of the steel sheets are nice and thick as per industry standards. I would say the steel panels are the same like cases such as Coolermaster's C5. Let's move on to the specifications.
Specifications:-
Dimensions(mm): 200 x 510 x 430 (W x D x H)
Material: Steel
Colour:Black
Weight:6.8kg
Front Panel:Power and reset switches on the side of front panel, 2xUSB, Stereo+Mic minijacks
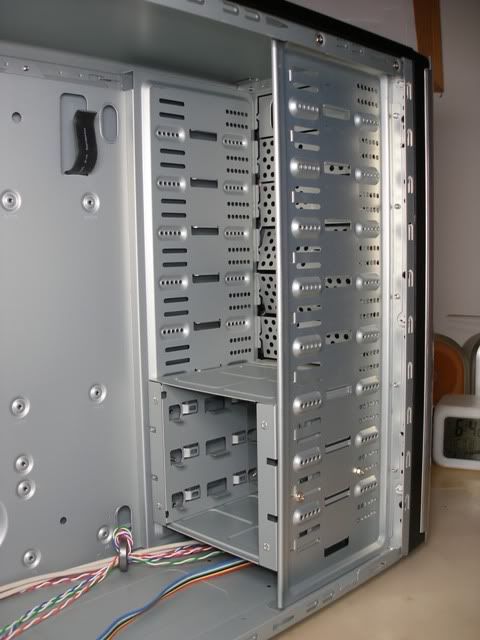
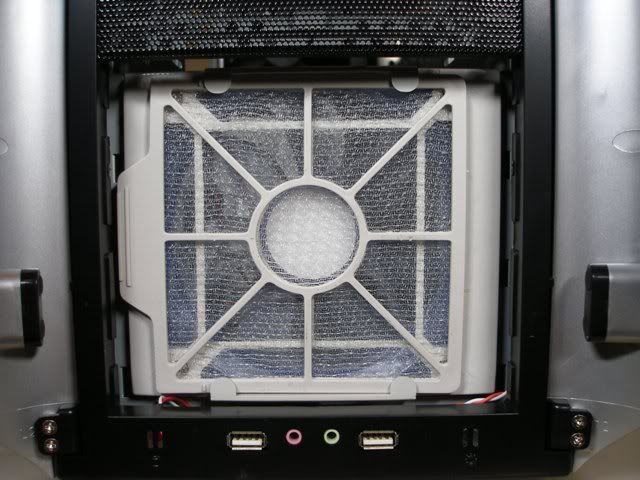
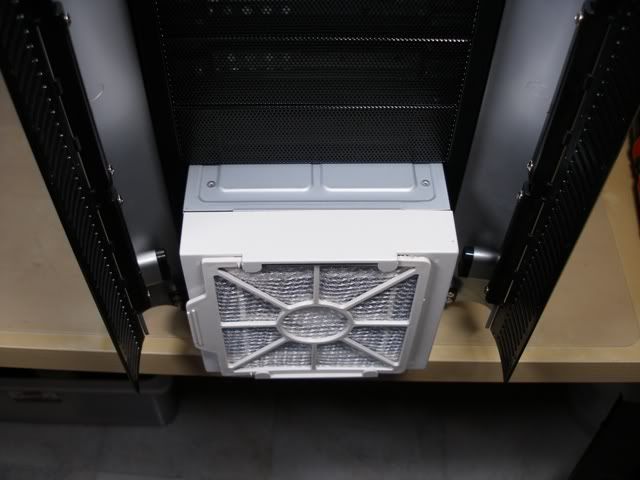
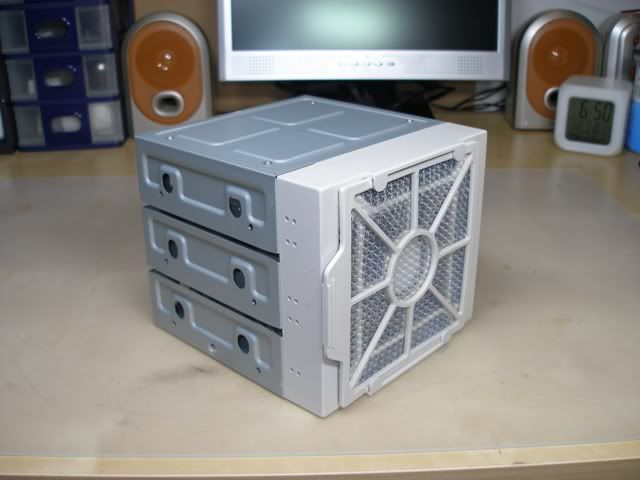
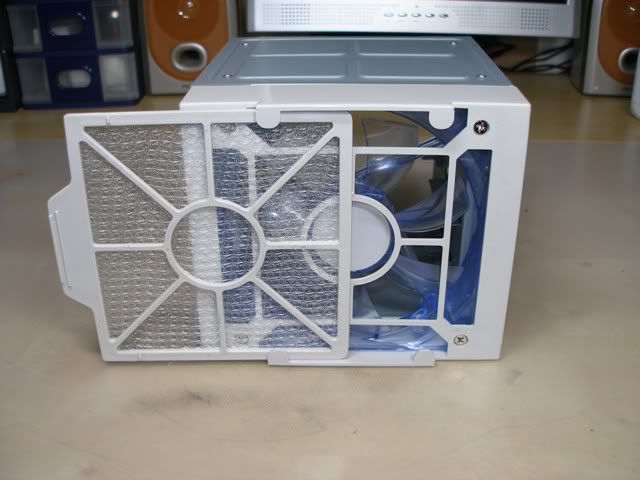
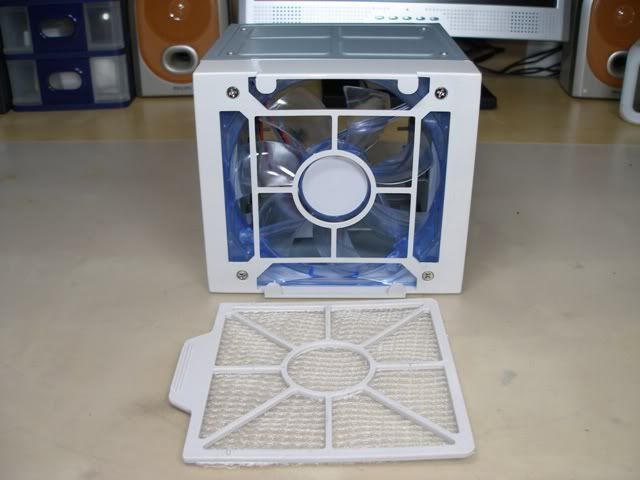
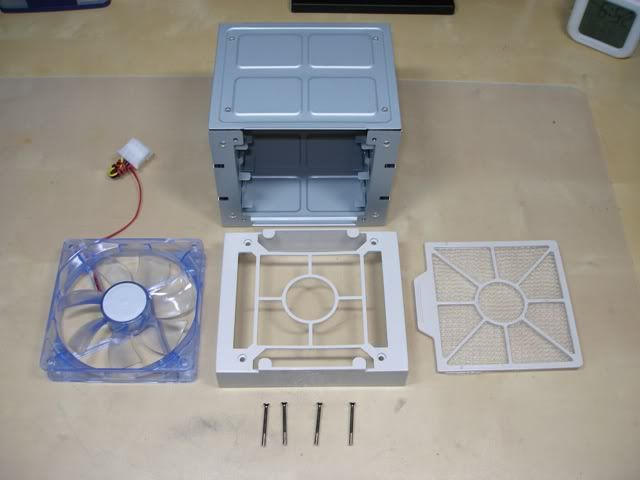
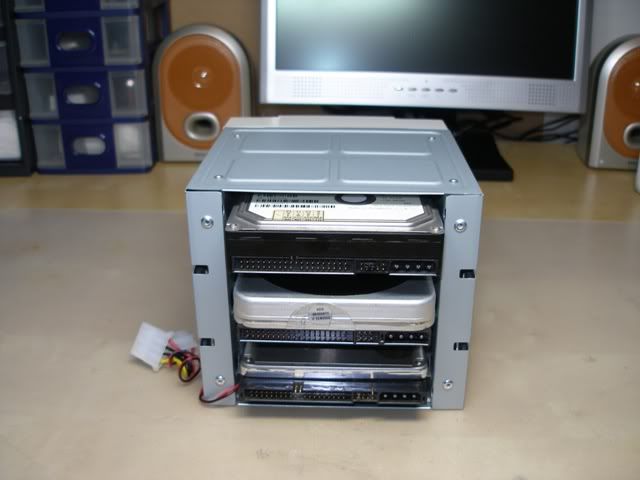
Internal features: 9 x 5.25in bays, 1 x 3 in 1 HDD module for 3 HDDs.
Form factor: ATX, MATX
Cooling:1 x front blue LED 120mm fan in HDD module, 1 x blue LED 120mm side fan mount, 1 x black 120mm rear fan.
PSU:Not supplied
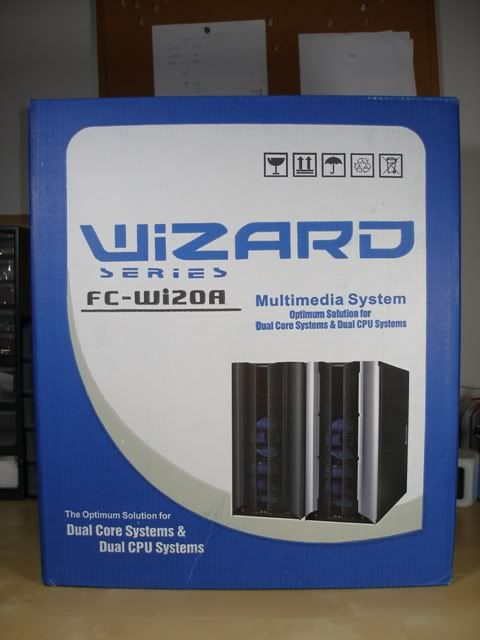
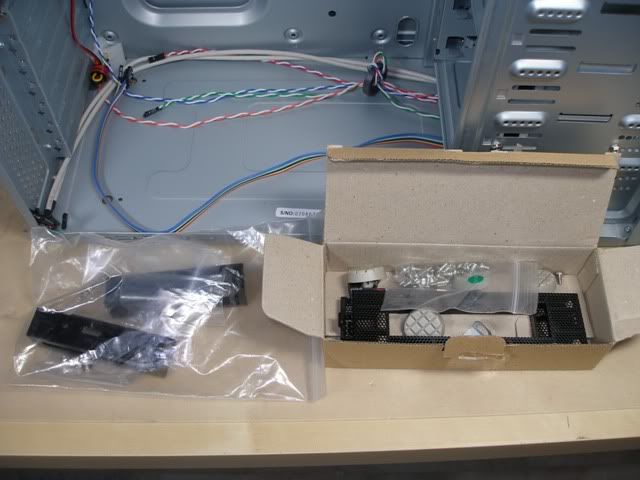
Here's the box it comes in.
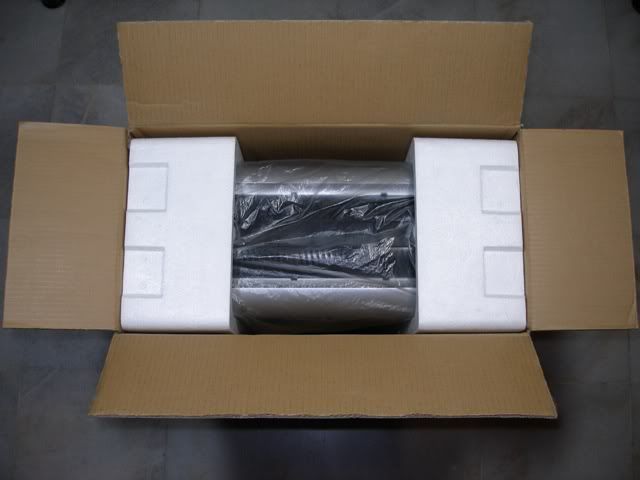
It's very well packed and protected to prevent damage during shipment. Just take a look at the styrofoam blocks in there. It covers almost 2/3 of the case. Most cases come with styrofoam blocks which are only about half the size of these units. This is good for people who buy through online shops. It will be well protected on it's way to your home.
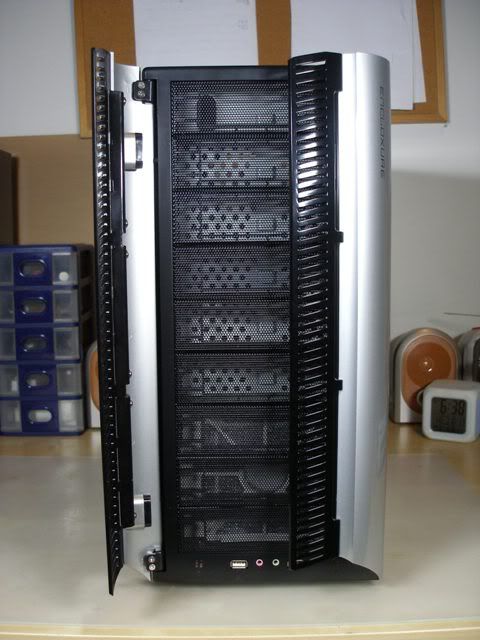
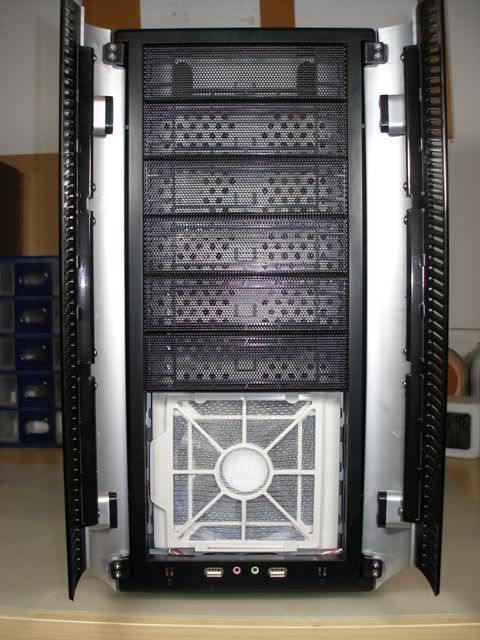
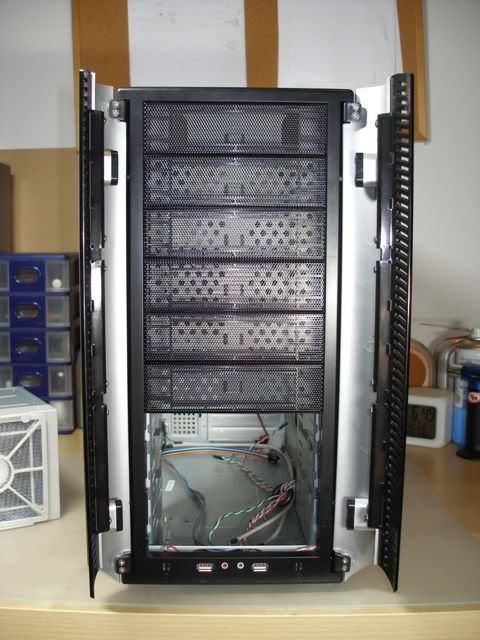
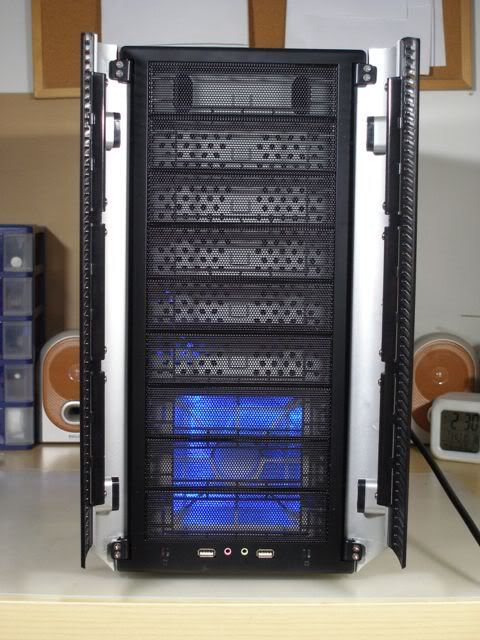
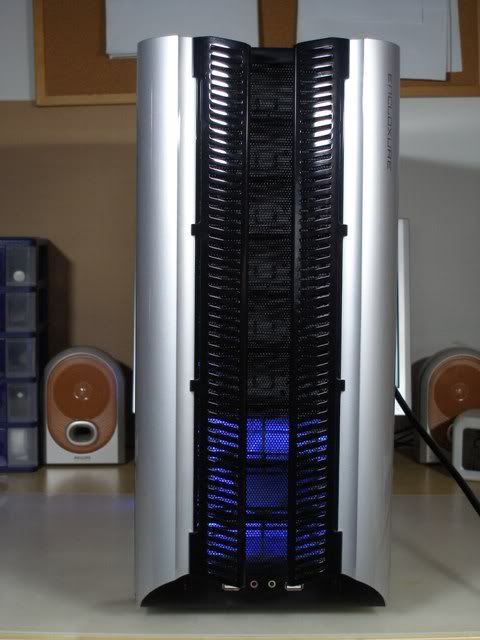
This is how the case looks like from the front. The whole front is made up of 5.25in slot covers which are made out of mesh for superb intake. The doors swing out for access to the DVD drive and also the 3 in 1 HDD module at the bottom. There's a blue LED 120mm intake fan in the HDD module for intake. There's an option to add more 3 in 1 HDD modules too if you have more than 3 HDDs.
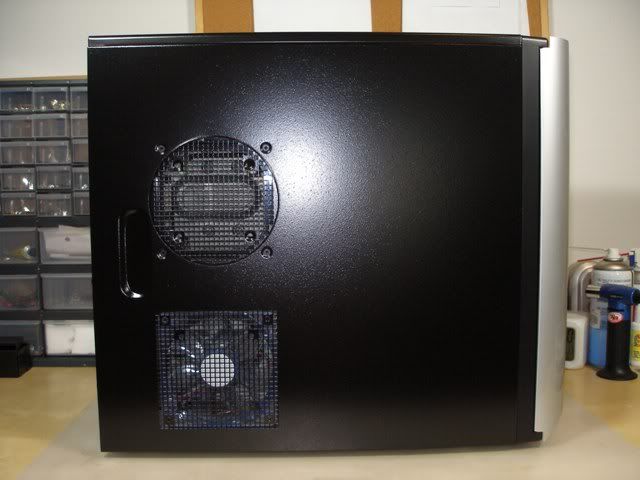
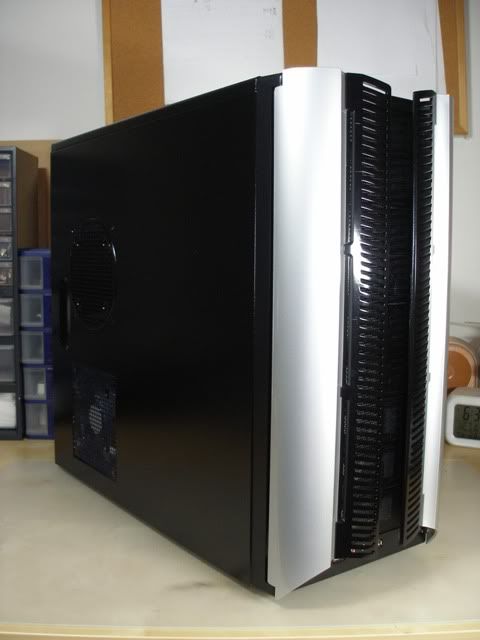
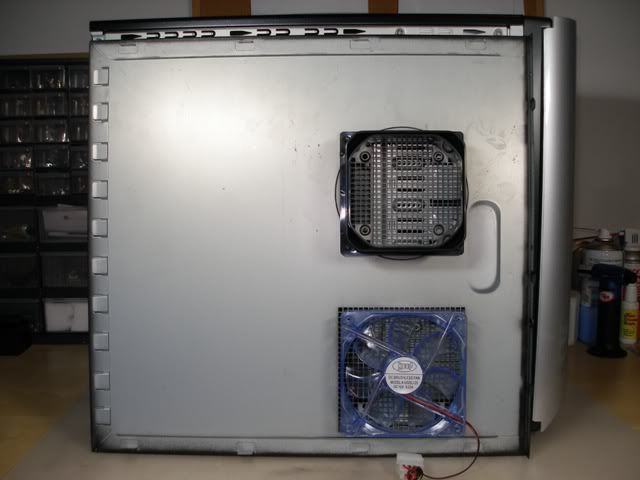
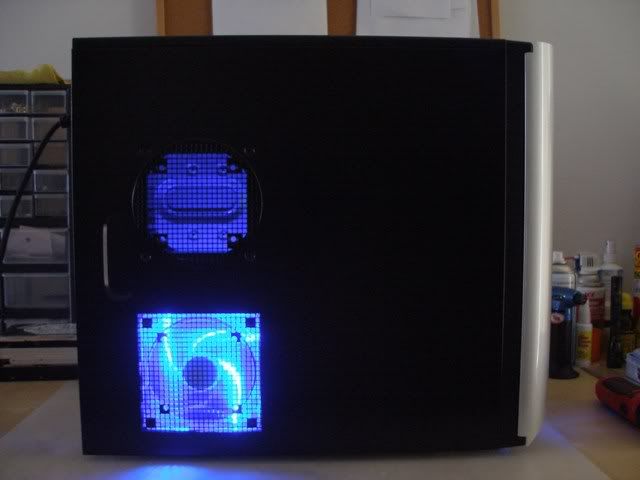
Left side of the case. This is the only part about the Wizard which I don't like. The function is good but it looks really ugly in my opinion. I reckon they should have made the blowholes uniform. Either 2 squares or 2 round holes would be much nicer. I don't understand why they went for 1 square and 1 round. Just doesn't look right. However, the side panels are totally reversible. The left and right side panels can be swapped around after the 120mm fan n intake duct are removed from the holes. If you prefer a solid side panel, just use the panel from the other side and put the right side up against the wall so you don't see the holes. If it's all about performance then I suggest leaving the panel alone as it will be really good for the case ventilation.
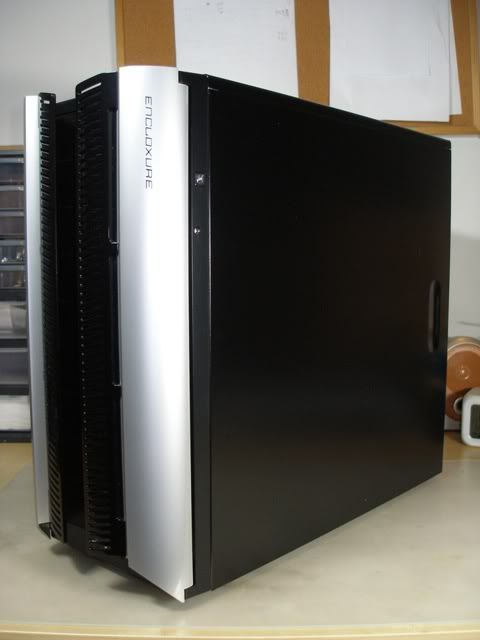
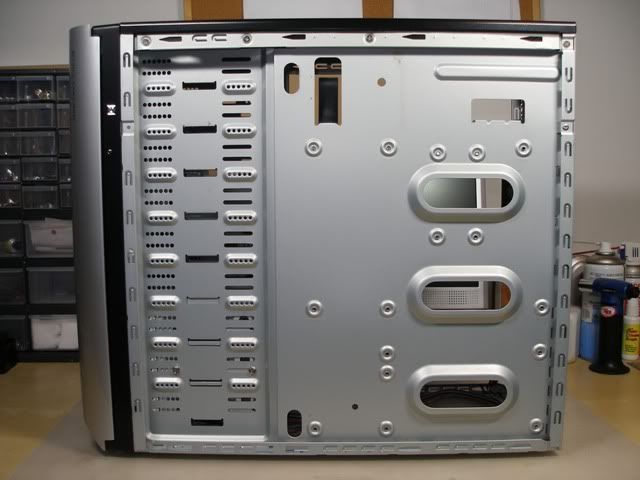
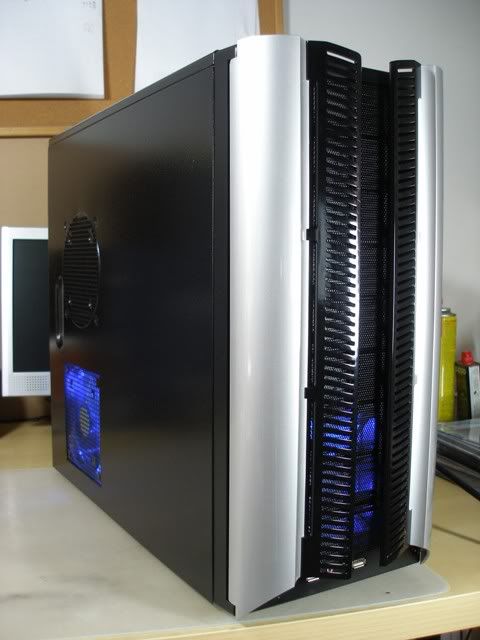
Right side. Nothing special here. Just a normal side panel. Note the Encloxure logo on the door. The logo looks nice, simple and classy. No ugly logos like dragons or spiders on typical "gaming" cases. The power and reset switches are located on this side of the front panel. A very nice touch as it keeps the front panel nice and neat, you also don't have to go through the trouble of opening and closing the doors just to switch on the PC.

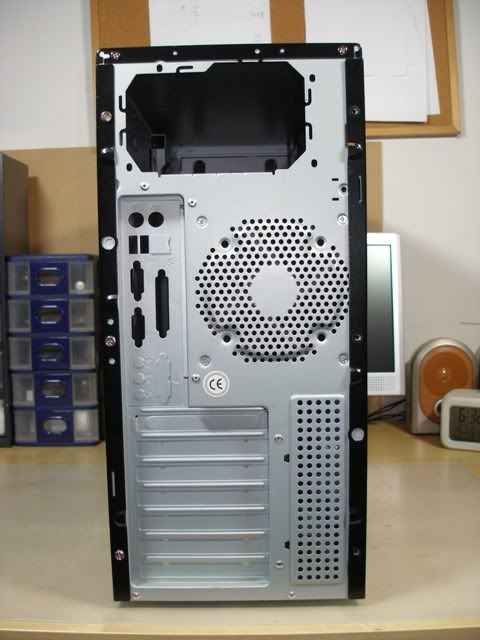
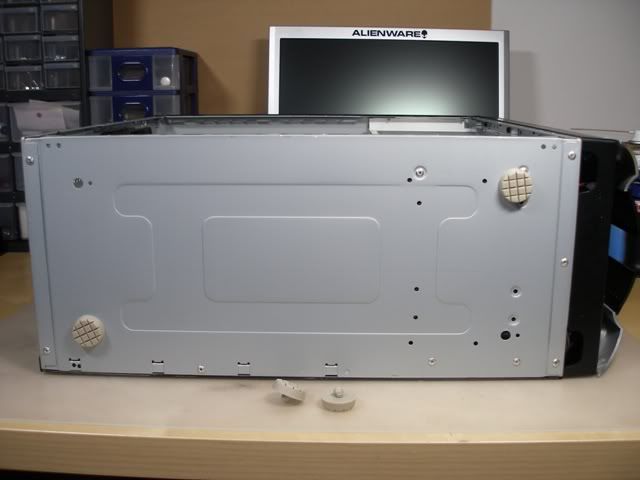
Rear. A normal rear panel with 120mm exhaust.
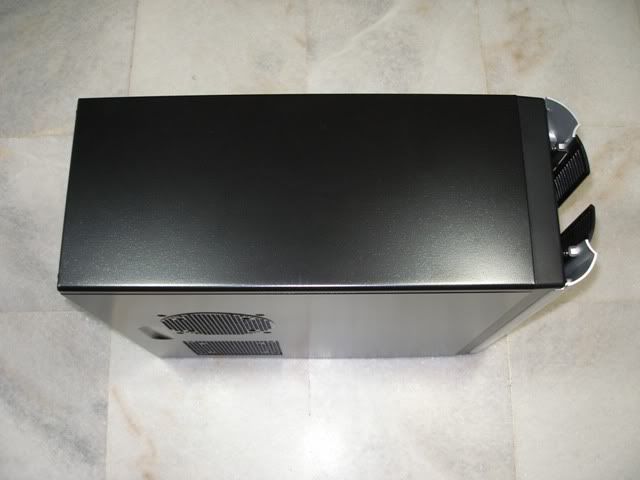
Top.
� view.
This post has been edited by ianho: Oct 18 2007, 04:32 AM
 Quote
Quote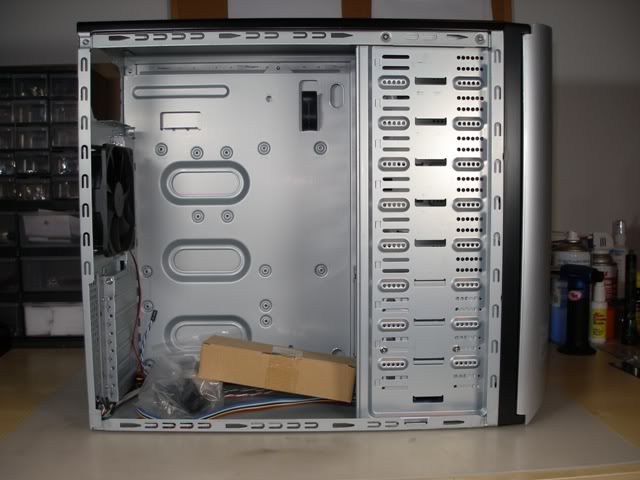

 Well, I know it doesn't actually add up that way but if you think about it that way, it does make the case look really affordable doesn't it? I'd say it really is the best bang for buck casing right now for those with a budget of rm200.


 for it~


 0.0229sec
 0.69
0.69
 5 queries
 GZIP Disabled