

 Jul 6 2007, 08:42 AM, updated 19y ago
-@meno, for discussing with me most of the ideas
For inspiring me through their work
-allngap
-ianho
-uglyvamp
-pmmonkey
-and a few others I can't recall; I'll add to this list when I remember
Index & changelog
-will implement direct links once each section is done
Part 1 - Legacy Alpha
1 - Introduction
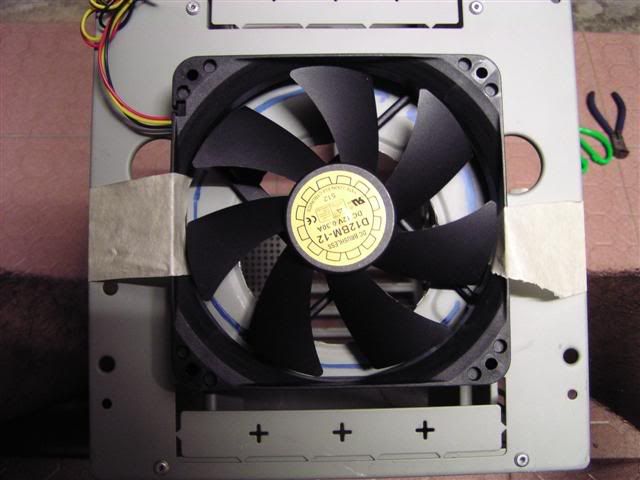
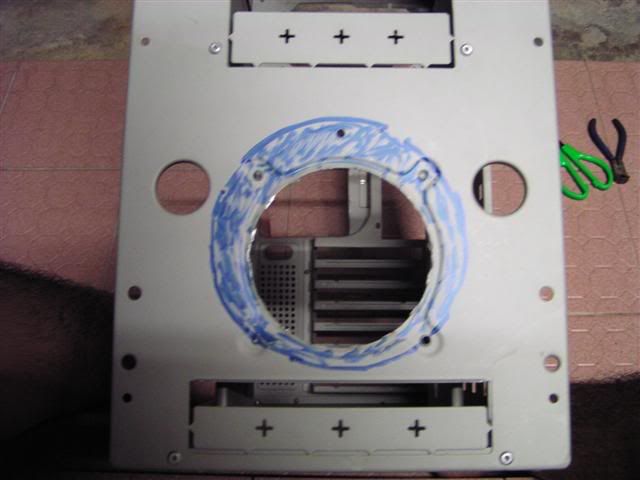
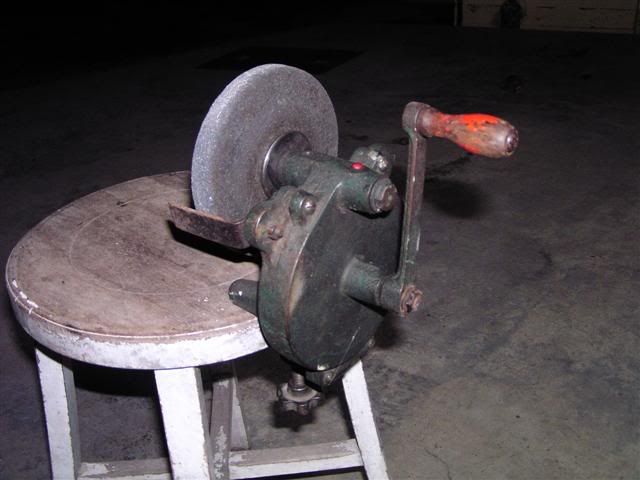
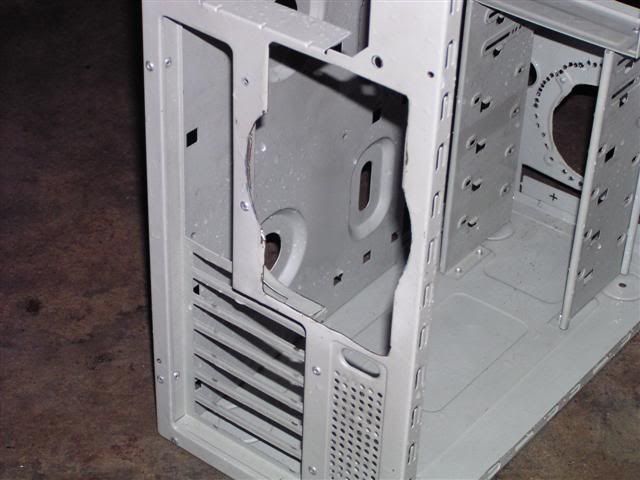
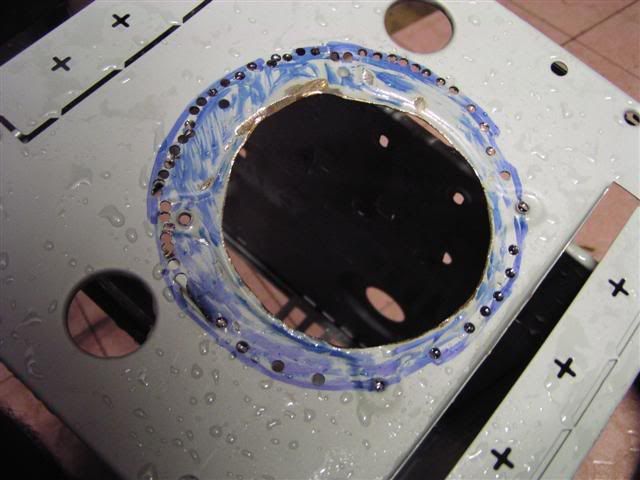
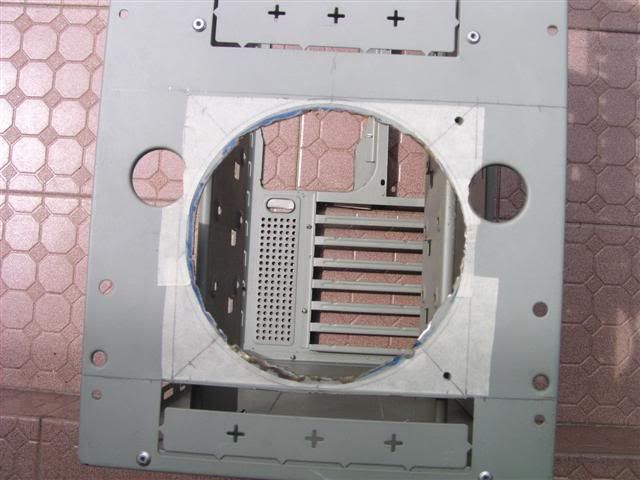
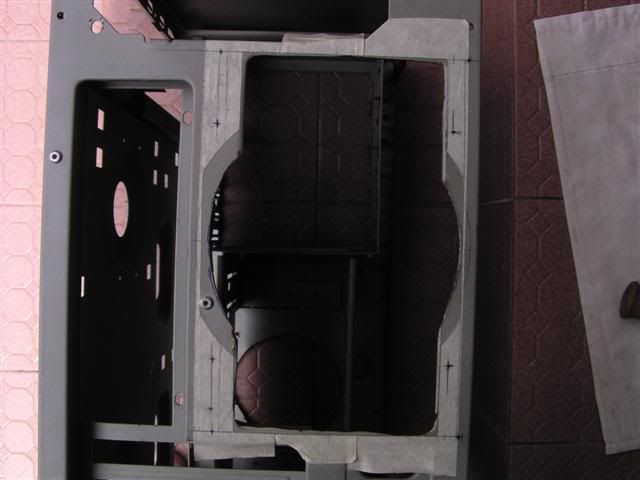
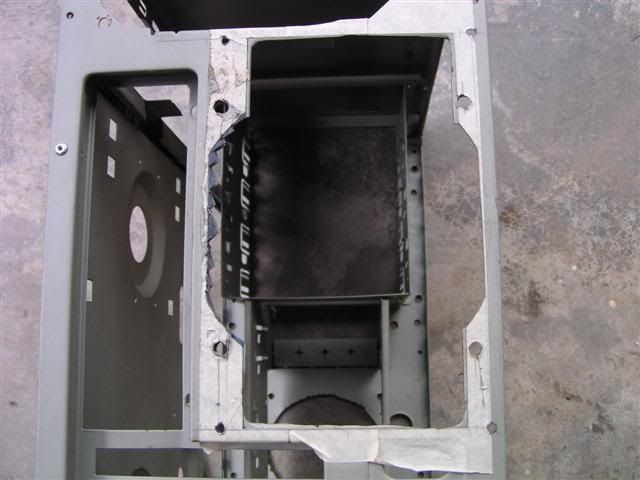
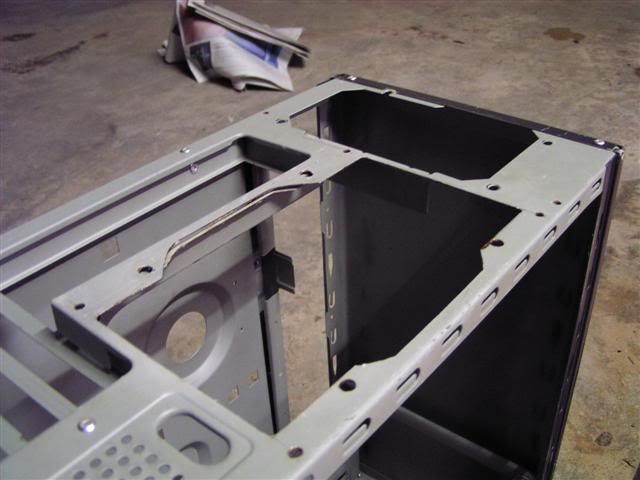
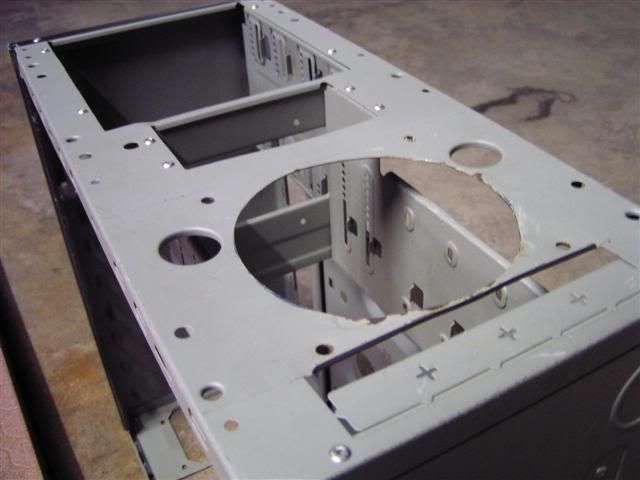
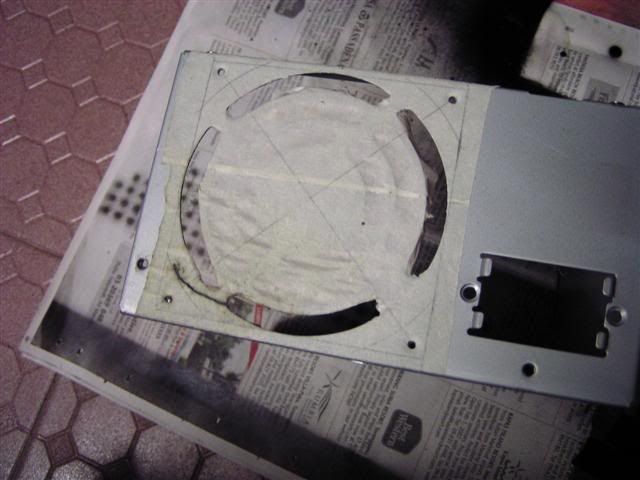
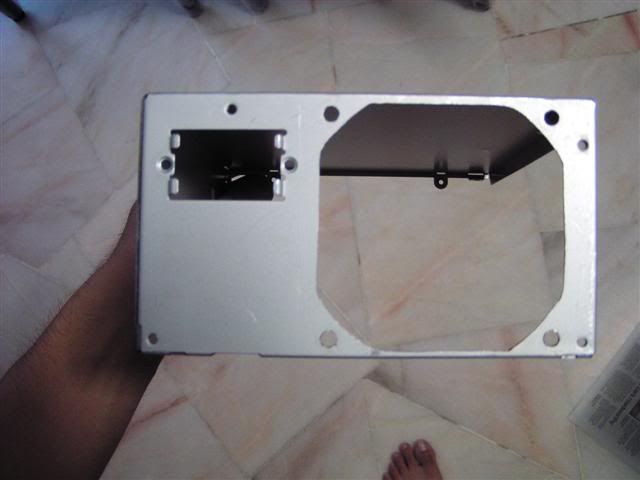
2 - Case cutting
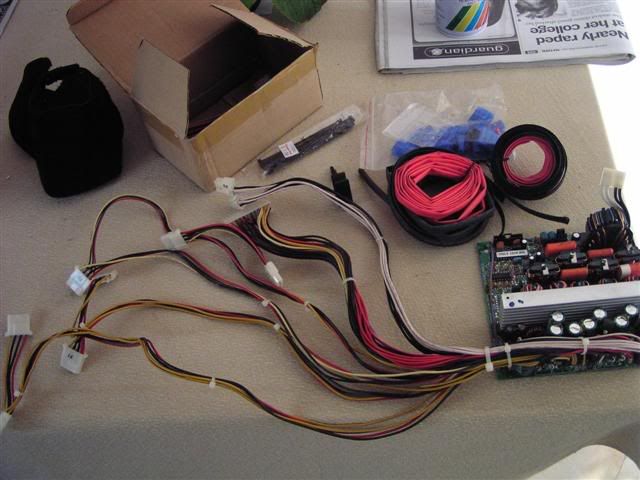
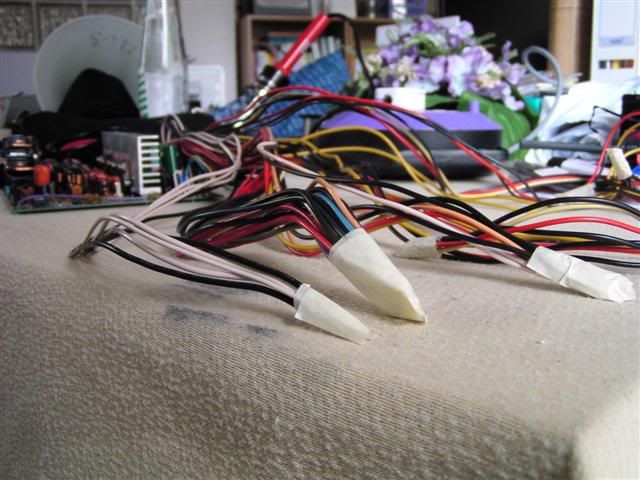
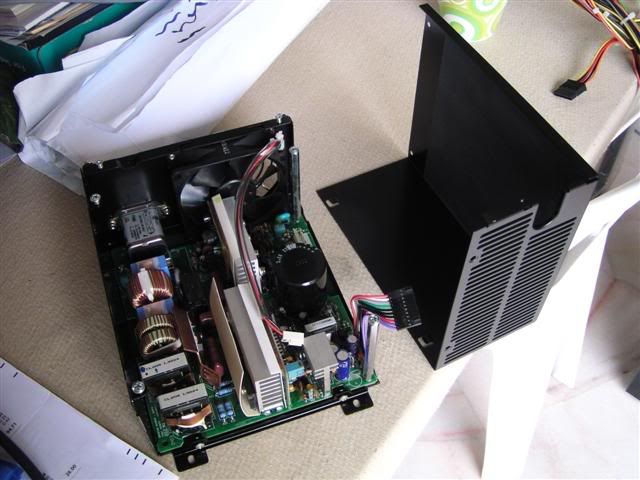
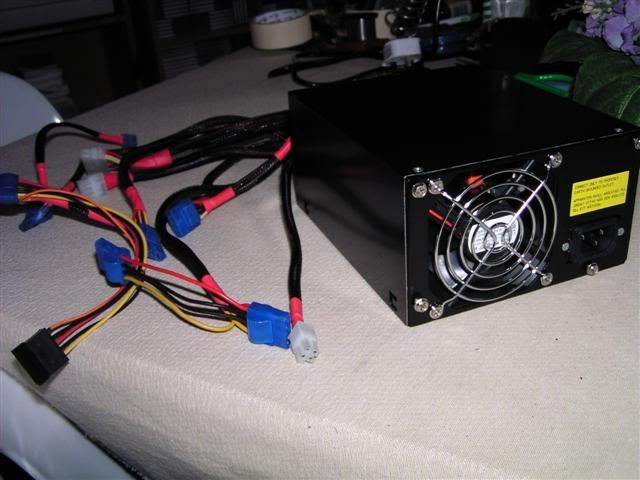
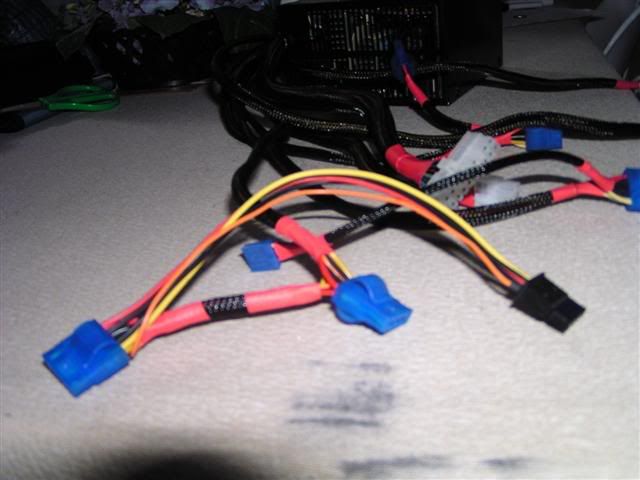
3 - PSU mod (Painting & sleeving)
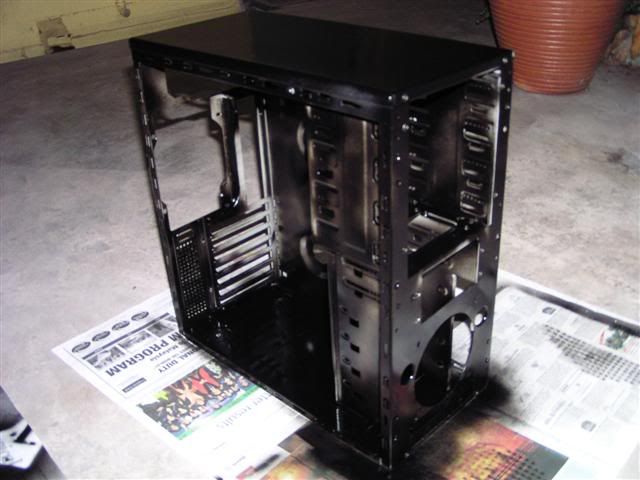
4 - Case painting
5 - Front panel, drive mods & my 5 cents so far
Part 2 - Legacy Beta
6 - Introduction & System setup update
Changelog
» Click to show Spoiler - click again to hide... «
Part 1 - Now renamed as Legacy Alpha
1 - Introduction
Basically, this system is an old system I purposely set up to run Win98 programs (mostly games) that don't run well in WinXP. I actually wanted to set up a NF3+939 X2, but it was out of my budget then, plus I couldn't sell off my IS7.
System Setup (Mk 1)
socket 478 Pentium 4 Hyperthreading "Northwood" 2.8GHz/512/800 rev M0 30 cap -thanks to wacky_angel
Abit IS7 motherboard -thanks to viking2k
OCZ Platinium EL DDR400 -thanks to aljebat
Aopen Geforce 4 MX440 SE -thanks to faust
Seagate 160GB -thanks to armind
-sending for RMA, can't read properly after a badly done overclock on my AM2 system
Samsung DVDRW - bought from Sim technology
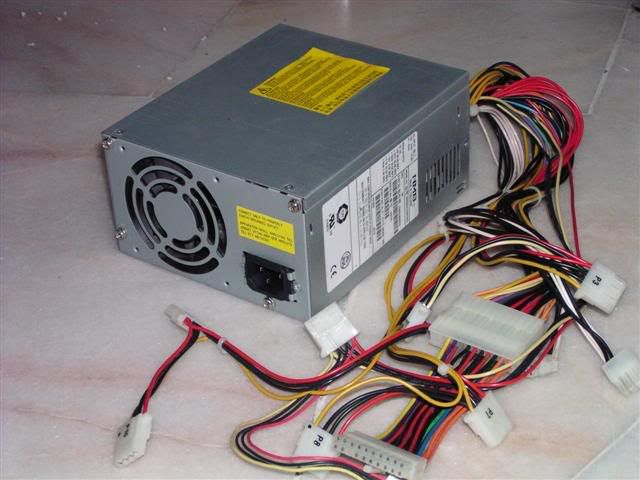
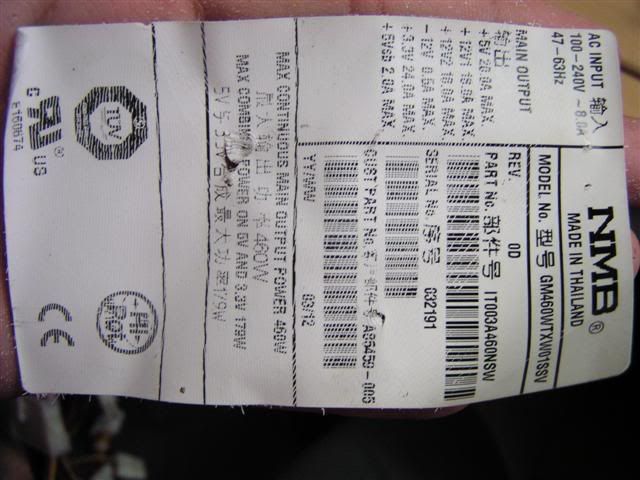
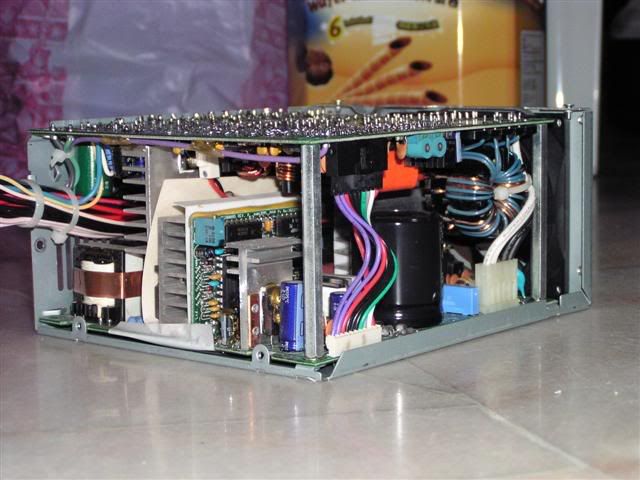
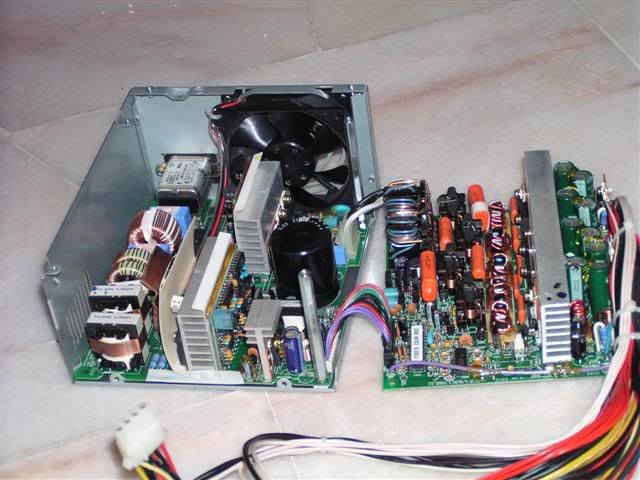
NMB 450W server power supply -thanks to 3431
Logitech keyboard & mouse -keyboard bought from Gadgetzone, mouse from an old friend on lelong.com
Viewsonic VG2021m -thanks to kunyit_kampung
What's still lacking IMHO is a good graphics card (I'm thinking a X1950 when I got the cash), and might get a cheap WD raptor to use as the boot drive. I haven't decided which CPU cooler to use (I have a couple lying around), for the moment I'm using a very generic Thermaltake to boot and set up the system. I will eventually run WC on this baby (once I can setup one which is low mantainence) since the system is actually quite hot and I intend to overclock it kau kau..come on, with all those handpicked parts who wouldn't?

The Victim -thanks to redart
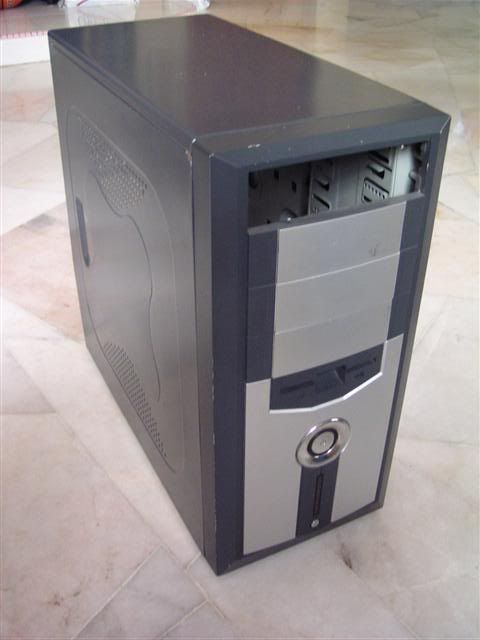
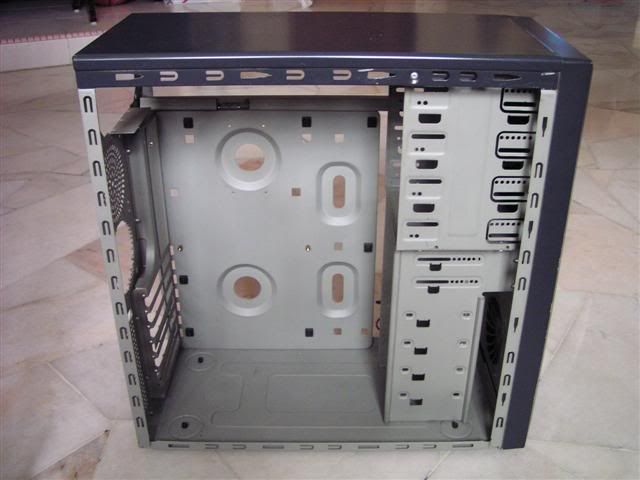
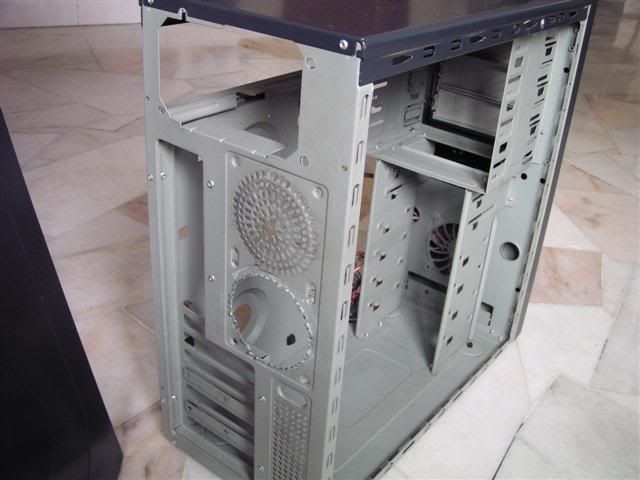
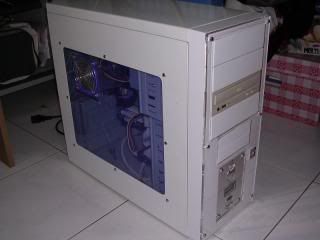
Ever since I came up with my first casemod (a really minor one that doesn't deserve a worklog) I have come to like my casings have a rather simple but elegant design, with clean lines and very few things that portrude from the surface. I also require these of my case design :-
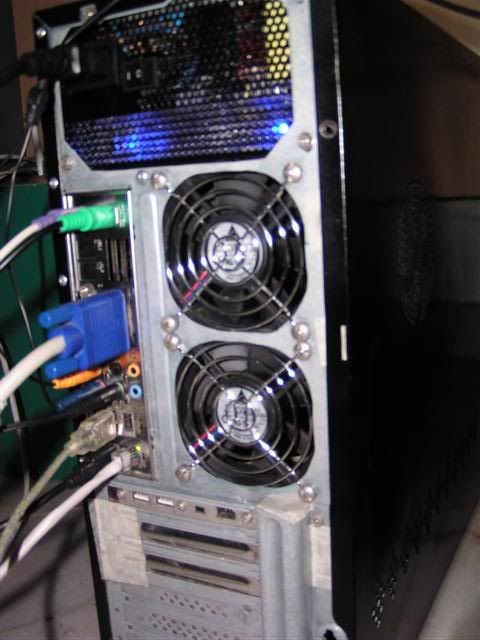
-good ventilation & cooling
-low noise (means you won't see me building a 'fan farm' like allngap, and I'll always favour large fans)
-room for watercooling
-neat layout, with visual emphasis on the hardware rather than the case
I will not be lighting this case, however there are a few things I may still do which I haven't decided with after I'm done with the mains stuff.
These are pics of an iCute casing I bought from darnell and the generic casing which was my first casemod (more like a facelift than mod-just a paint job and cutting out a proper fan mount). The design of these to casings got me to like minimalist designs
This post has been edited by lohwenli: Dec 13 2007, 07:27 PM
 Quote
Quote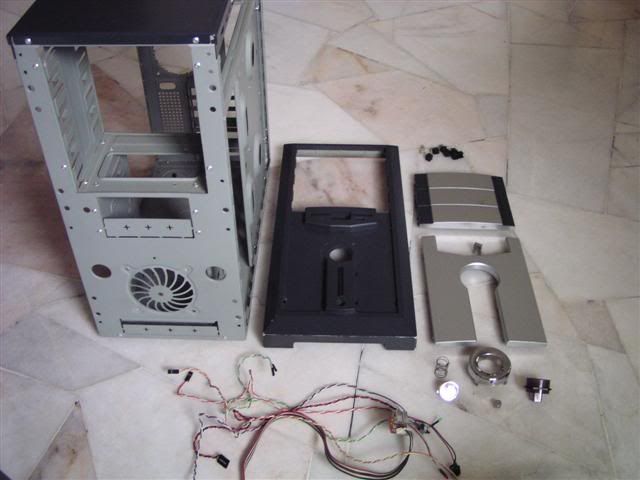

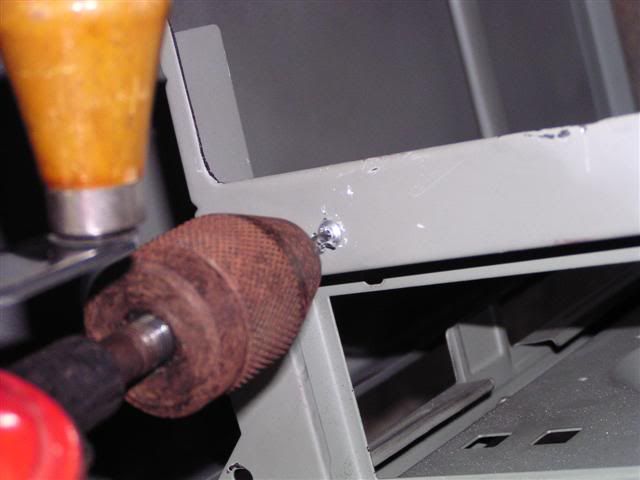


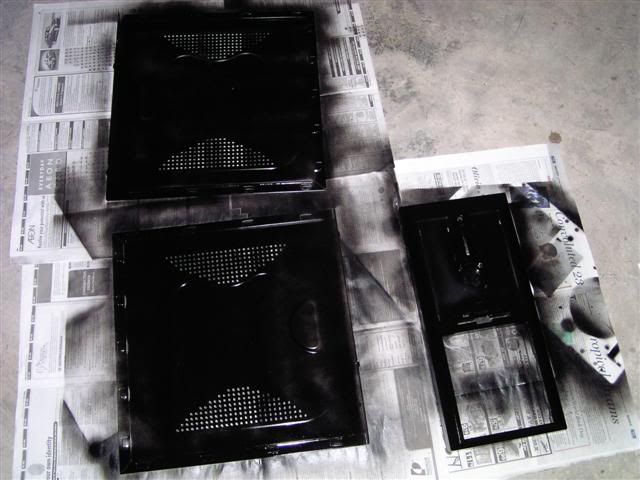
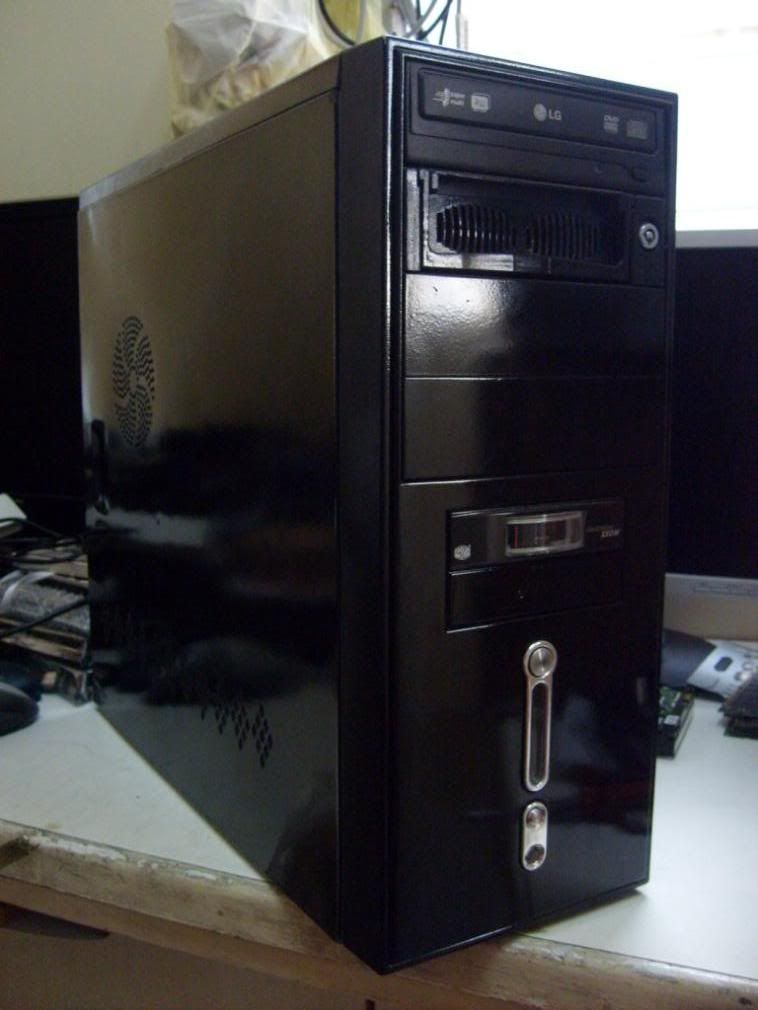
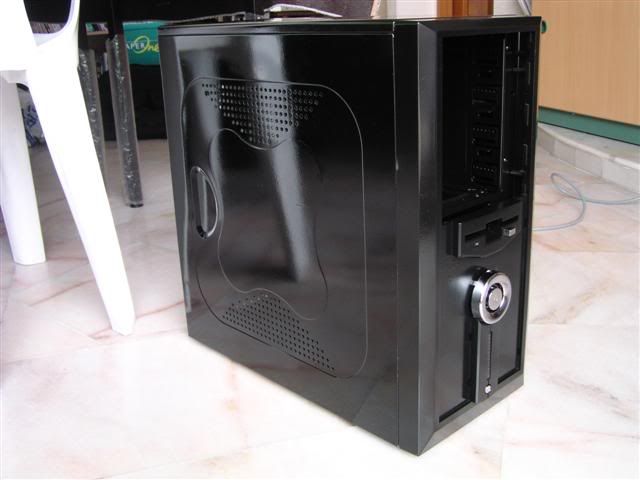
 ) and one of them was flat/matt black. However, I did take a liking for the candy black (you'll see why in a minute) without realising it, and set it aside to use as a final coat for the exteriors. After roughly 3-6 coats of paint total, I let it dry for a week then washed off all the excess paint dust. Here's a shot of the casing drying outside my house.
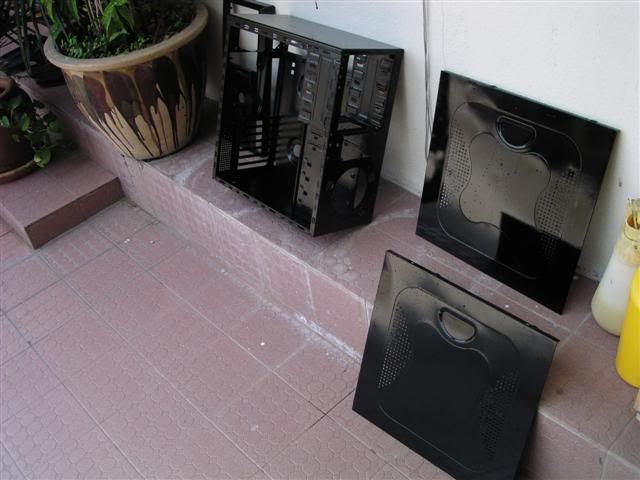


 0.0270sec
 0.47
0.47
 5 queries
 GZIP Disabled