

 Oct 11 2007, 12:11 AM


There is no margin for error. Have to be very careful. If I screw up I got no more spares.

Filing out the button hole.

Done. A shot of the back. I made use of the original drive bay faceplate's shape and had a hook like thing at the two ends.

Filed out two notches on the plastic bezel.

Slide it in. The hooks actually hold it in place but I'll be gluing it later.

Test fit. Perfect match!
The reason why I decided to do it this way is because the original Silverstone brushed aluminium faceplate has a different, more defined texture compared to the side panels. So I can't use the brushed aluminium cut out from the side panel if I want it to match perfectly.
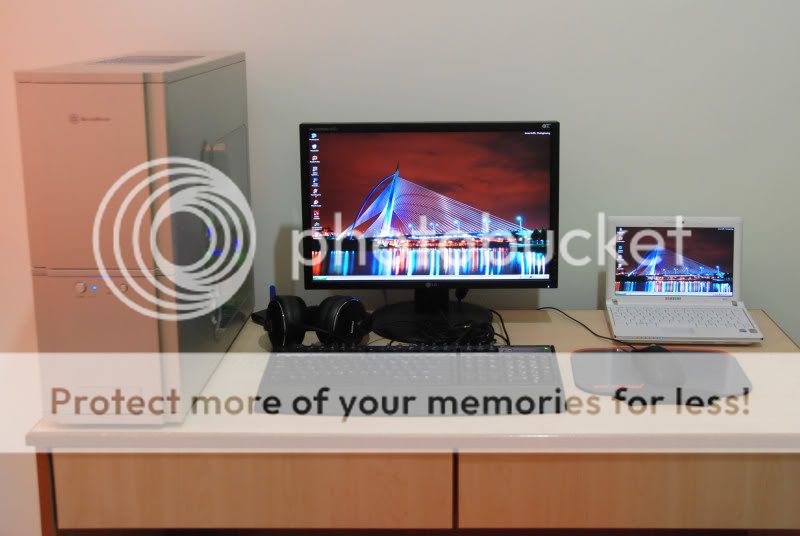
(Click for larger pic)

To be continued tomorrow.
This post has been edited by MetalZone: Oct 11 2007, 12:18 AM
 Quote
Quote


 0.0197sec
 0.54
0.54
 6 queries
 GZIP Disabled