

 Aug 4 2018, 04:10 PM, updated 6y ago

Ever since the weakening of Ringgit (Malaysia), buying a new Apple Computer in Malaysia is a really difficult thing to do when we used to be able to buy a Mac pro for just over RM10,000 but now we have to fork out more than RM 18,000 just to get an similar spec system.
I've tried Hackintosh a few years ago but I knew it's not going to be the same no matter how we do it.
My career kinda rely on Mac exclusively (Xcode, Final Cut Pro X, Motion and etc).
Just a couple of months ago, I have found a post in lowyat.net forum for some Mac Pro 4,1 and 5,1 for sale. The pricing that the seller posted is very reasonable.
Mac Pro 4,1 = RM 1,300 Each (USD 319)
Mac Pro 5,1 = RM 1,600 Each (USD 393)
Saw this video online for an upgraded Mac Pro. Kinda made me decided to buy a couple of these for experiment.
I knew I have to definitely get it and give it a go.

Always thought of getting a used G5 and mod it to a modern hackintosh. But due to the reason that I prefer not to fiddle with too much of hackintosh issues (drivers, hacks and updates issues….) and prefer to stick with genuine Apple Hardware.
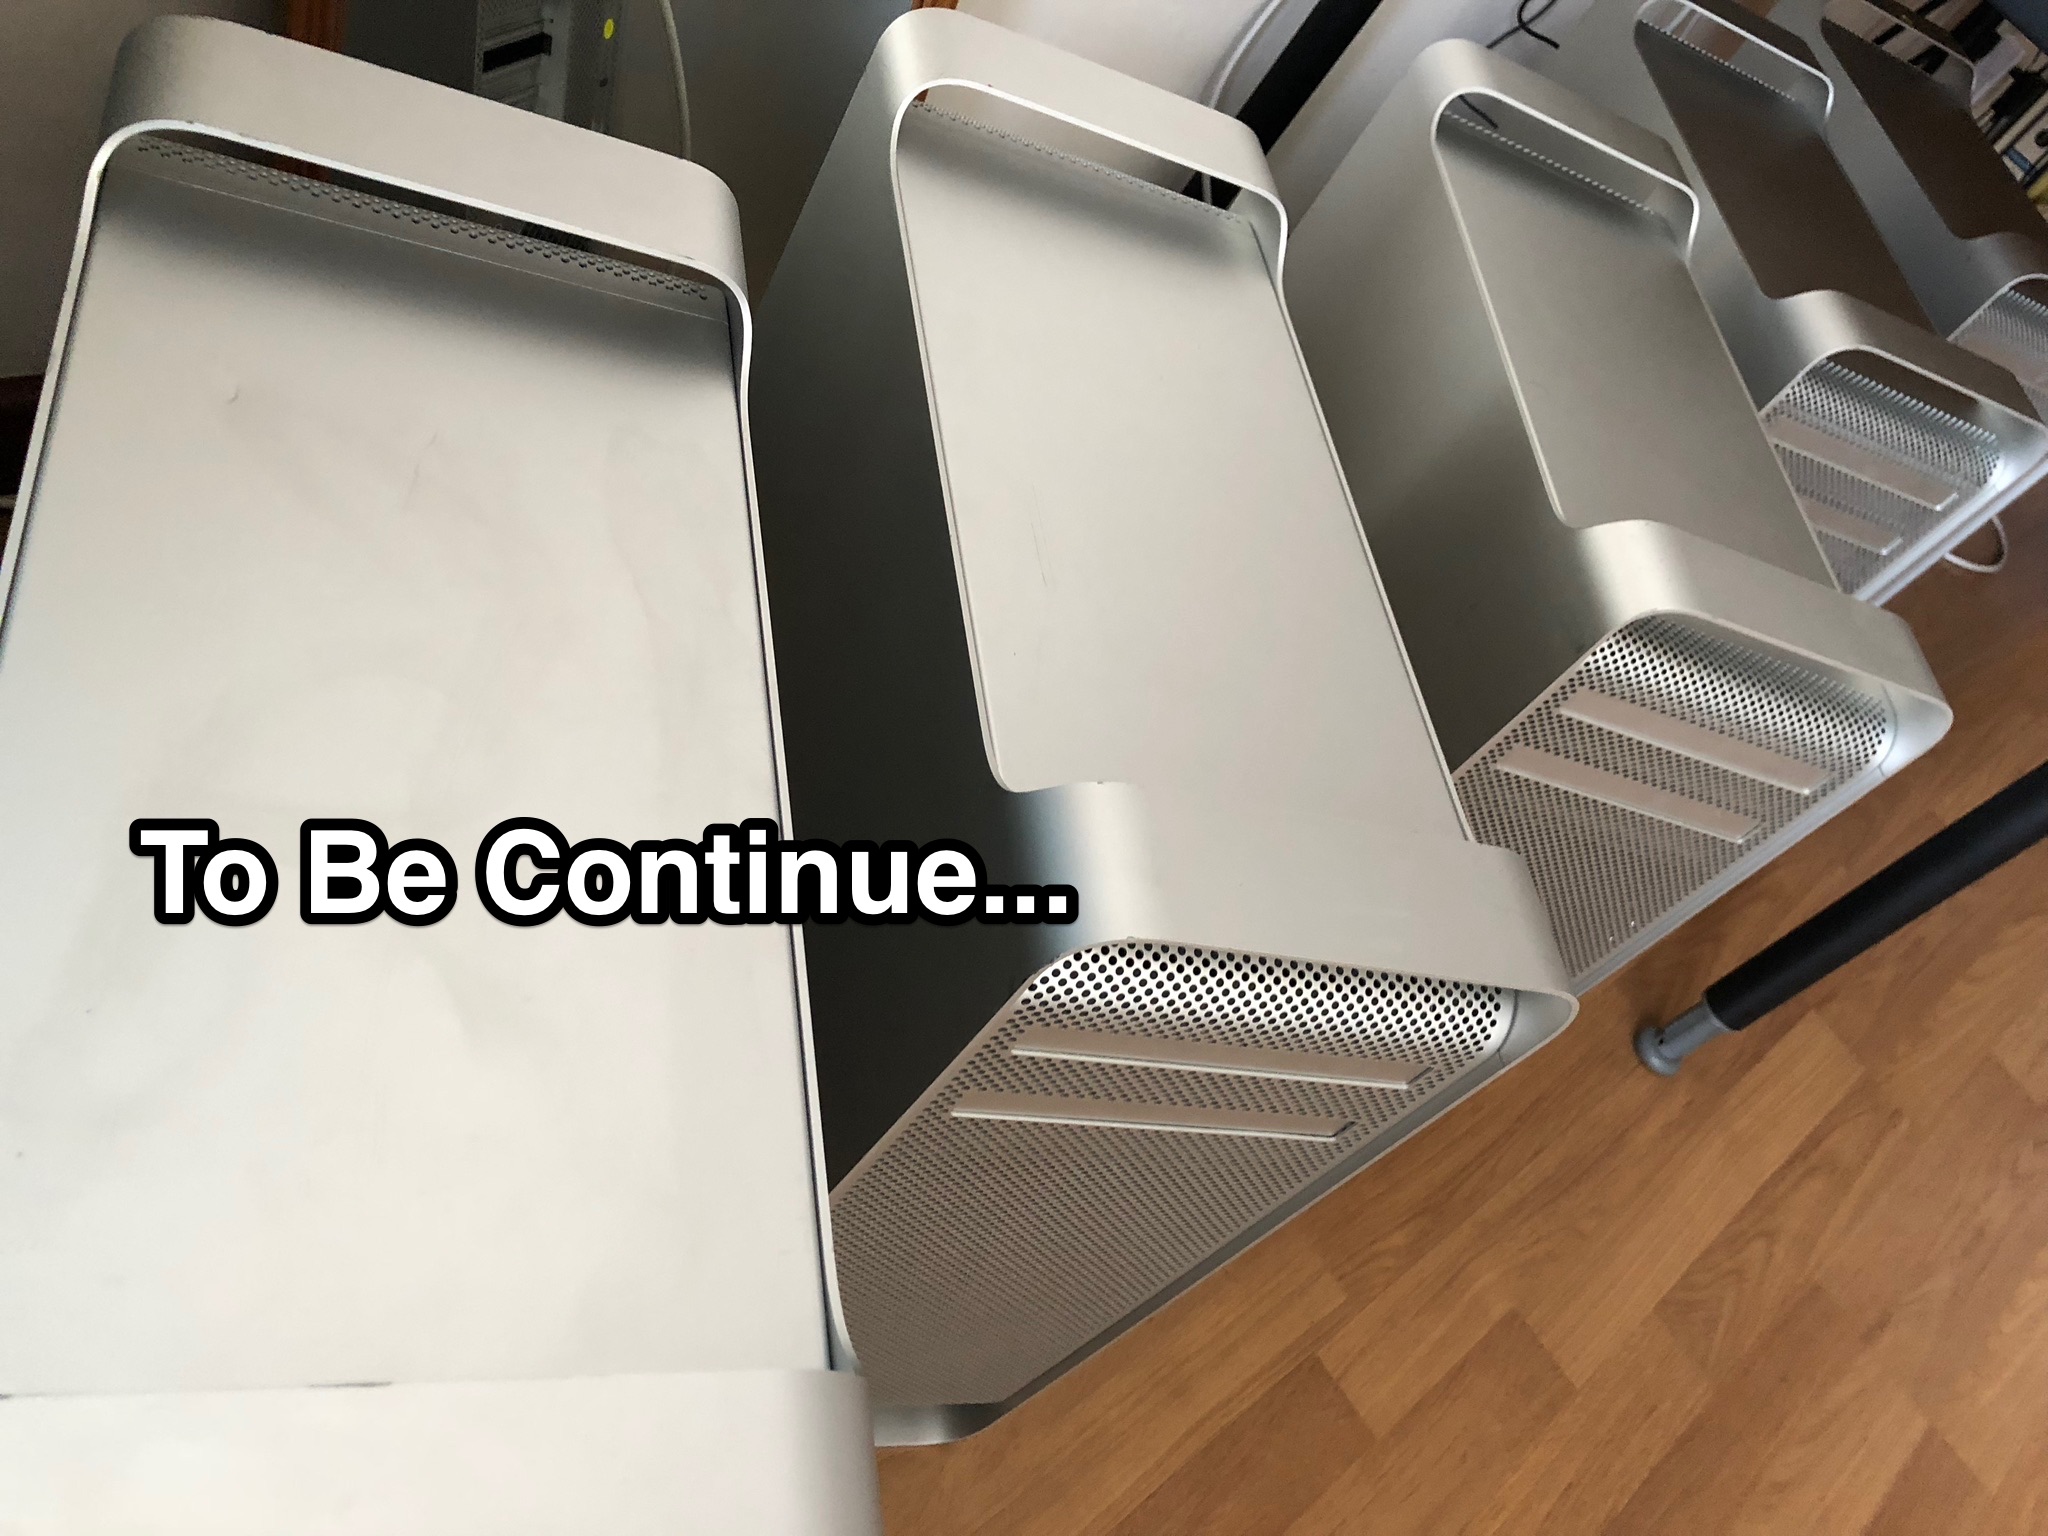
Contacted the seller and bought 2 units for 4,1 and 5,1 each.
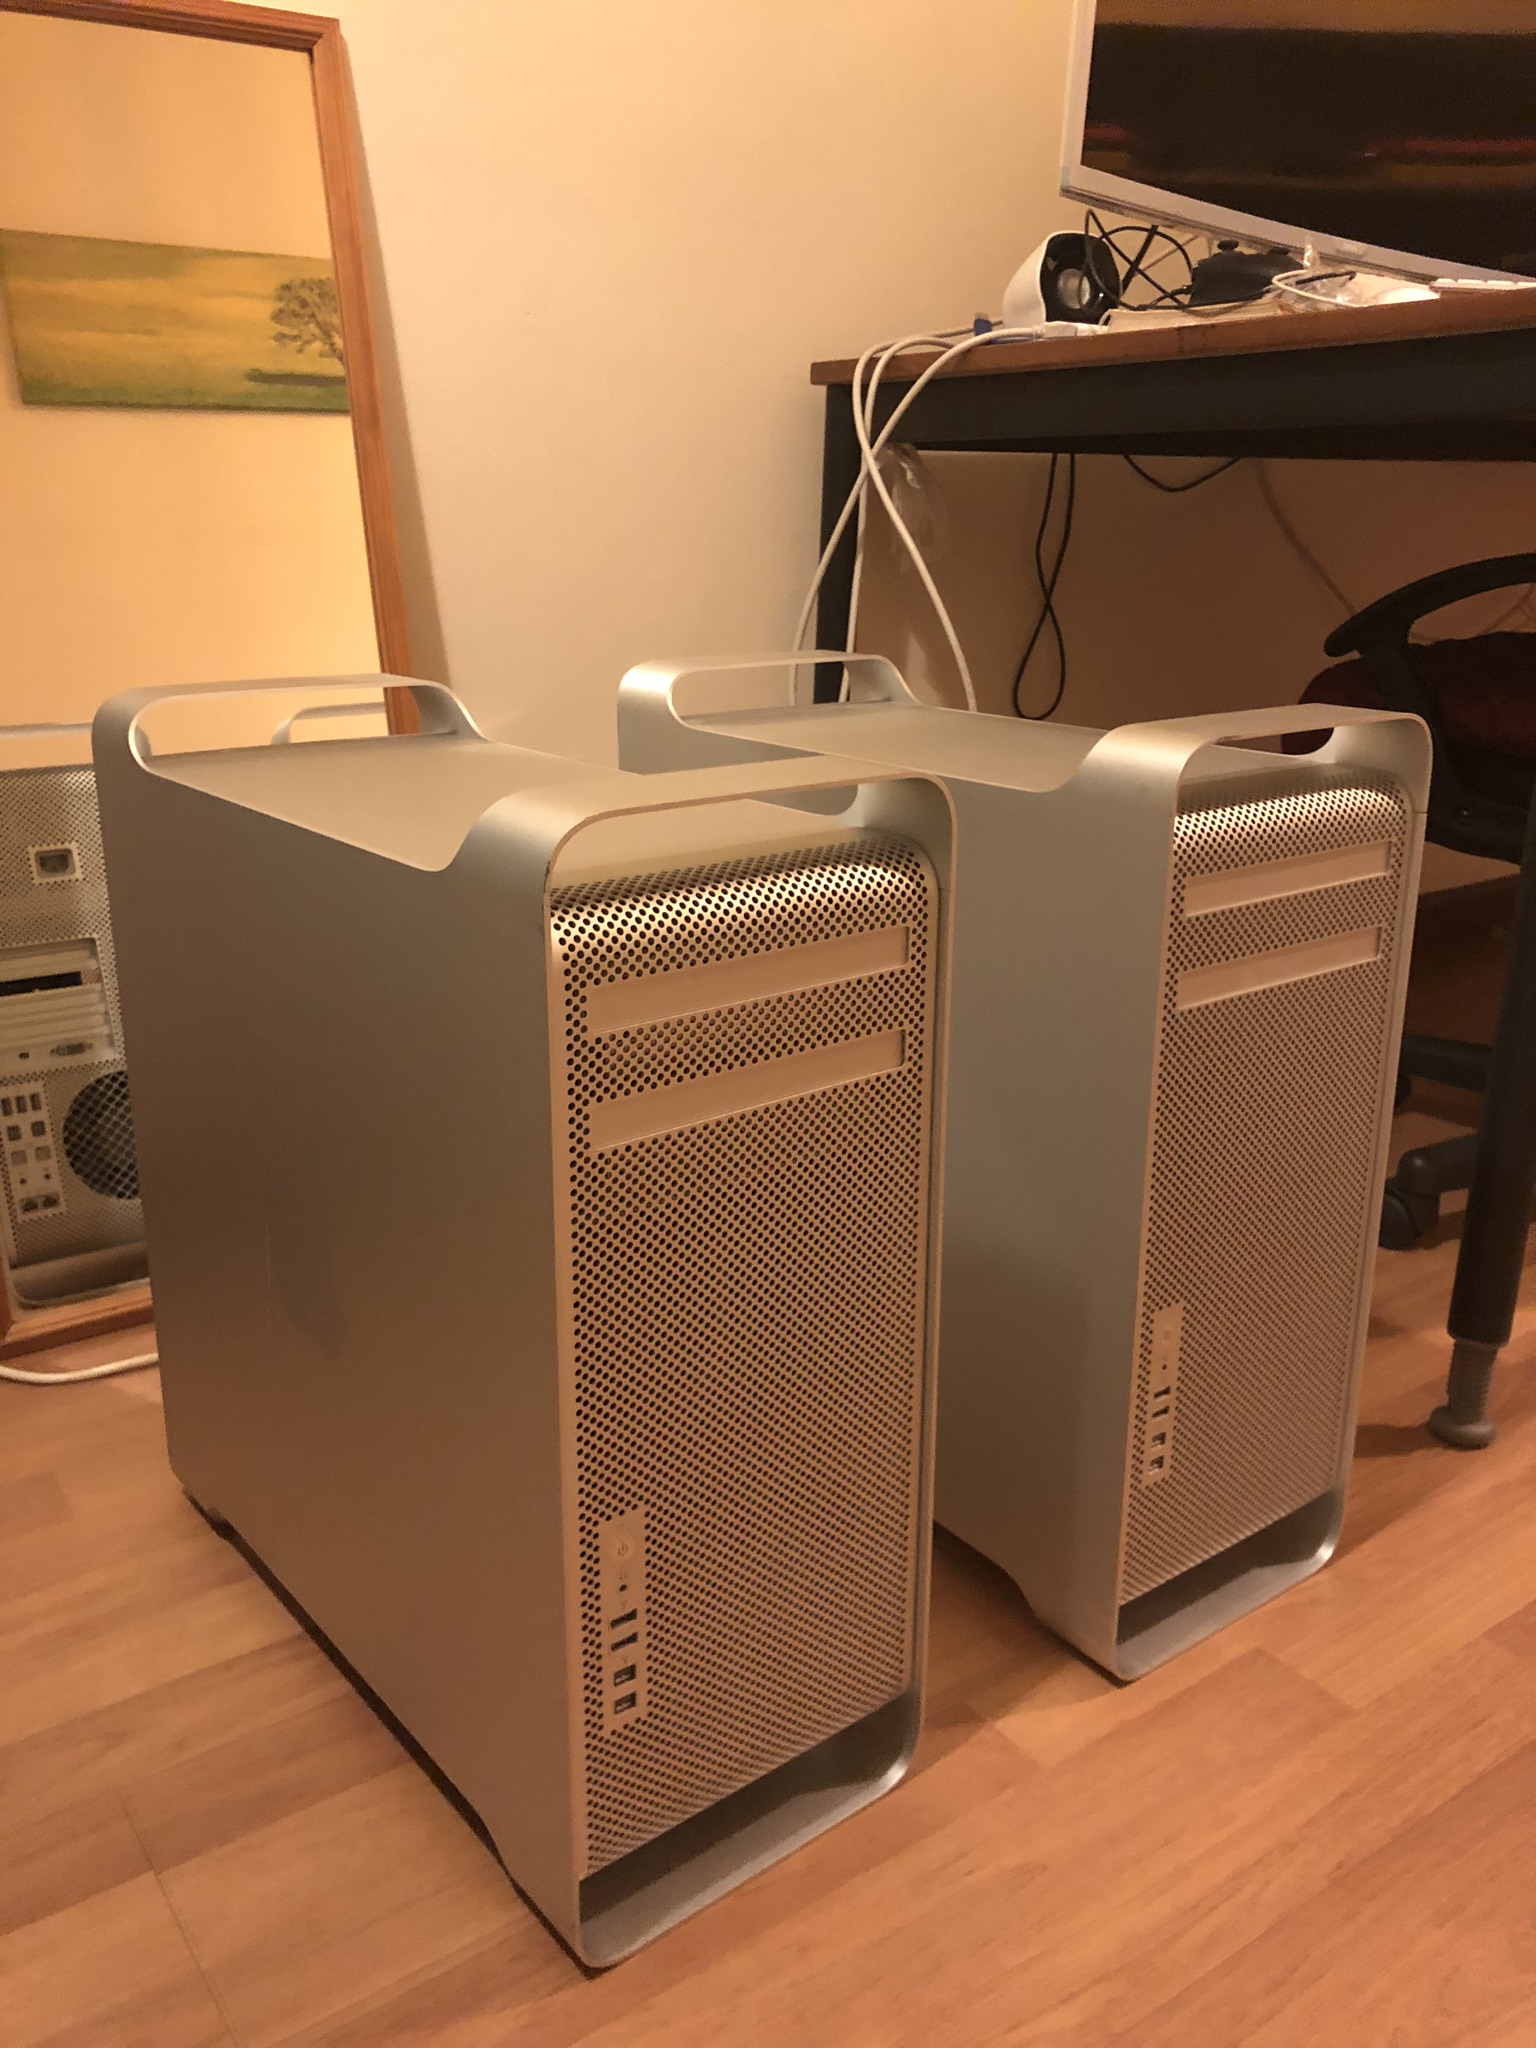
2 of these units came in mint condition. Not much visible cosmetic wear except some small scuff at certain part of the corner. Don’t think it’s a huge problem as my main concern is how it perform. Each set of these came with very hard to find Apple wire keyboard and mouse.
Mac Pro 4,1 Specs
https://everymac.com/systems/apple/mac_pro/...alem-specs.html
Quad Core Xeon W3520 (2.66 GHZ turbo to 2.93 GHZ), 8GB DDR3 Ram (1066mhz), 640 GB HDD 7200 RPM, Nvidia Geforce GT 120 512 MB VRAM.
Mac Pro 5,1 Specs
https://everymac.com/systems/apple/mac_pro/...alem-specs.html
Quad Core Xeon W3530 (2.80 GHZ turbo to 3.06 GHZ), 8GB DDR3 Ram (1066mhz), 1 TB HDD 7200 RPM, ATI Radeon HD 5770 1GB VRAM.
For the upgrades, I’ve decided to start with a Mac Pro 4,1 just because that the casing seems to be in better condition (less scratches) than the 5,1.
Update Mac Pro 4,1 to 5,1
I’ve upgraded my Mac Pro 4,1 to 5,1 by following the guide here
https://www.ifixit.com/Guide/How+to+Upgrade...ac+Pro+41/98985
The process isn’t hard. It not the most pleasant experience due to the reason that the machine I’ve bought came with El Capitan which has got an older Safari. For a while I was stuck there because the Safari can’t allow me to download the needed firmware files. Then I figured out that I just need to install the latest Firefox and then I can download the firmwares. As for the rest of the process it was a breeze.

CPU Upgrade
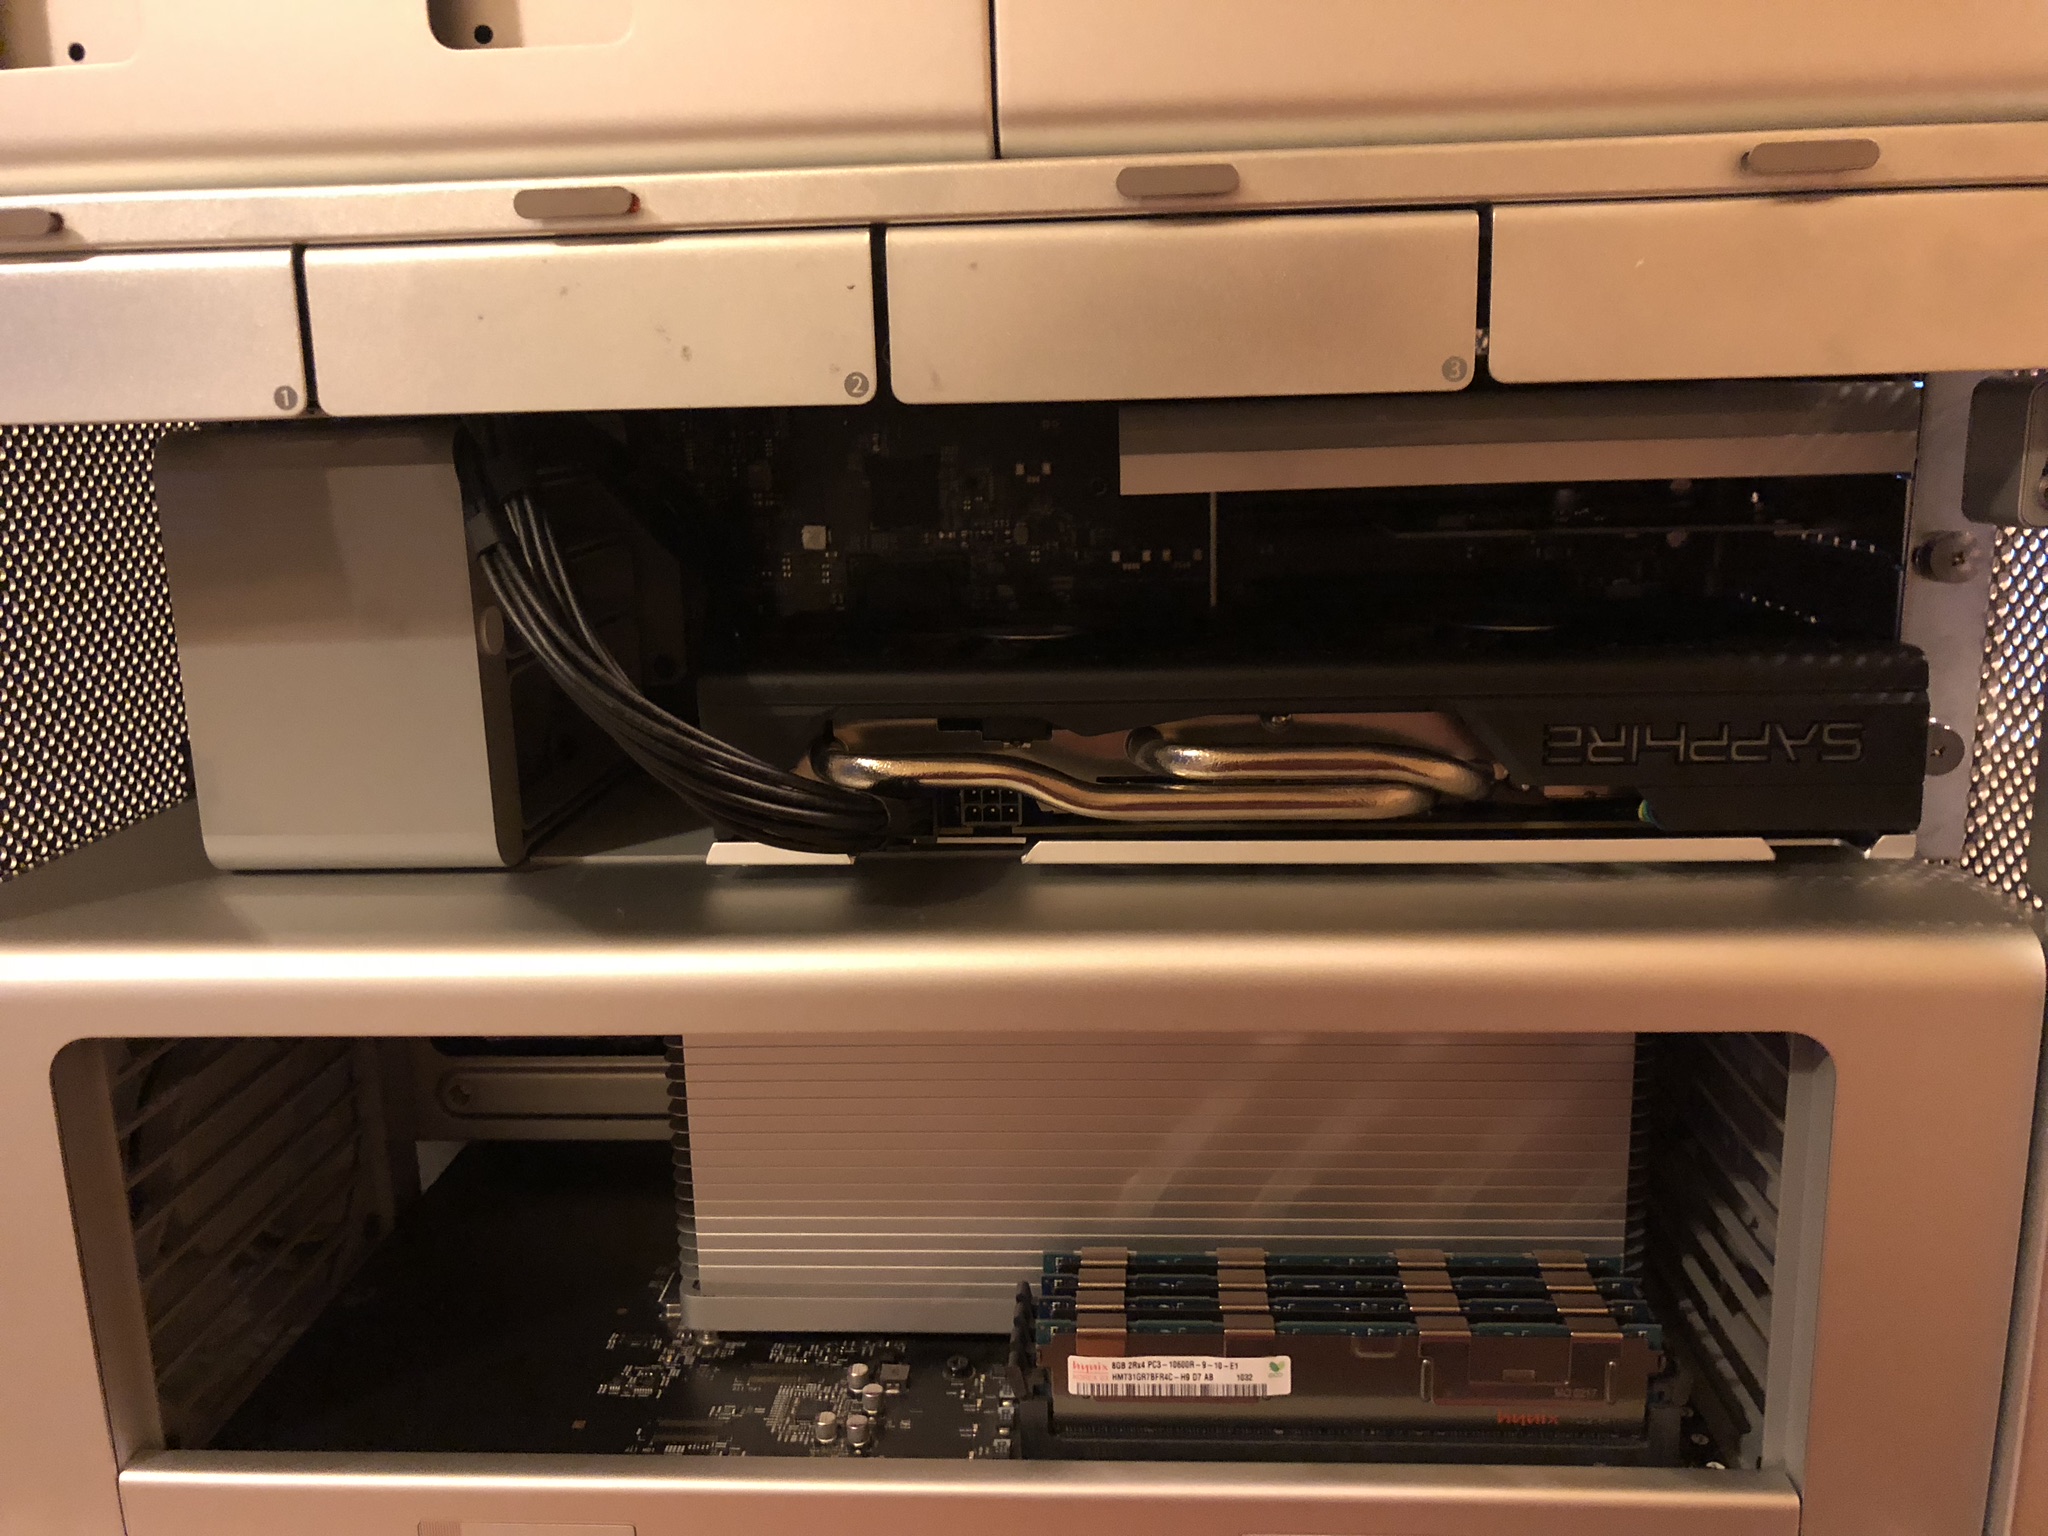
Open up the side panel by just flicking the latch at the back. No screws required, such a well thought and elegant design. The internal seems relatively clean with minor dust in it. I believe the former life of this machine was lightly used and has not need abused before.
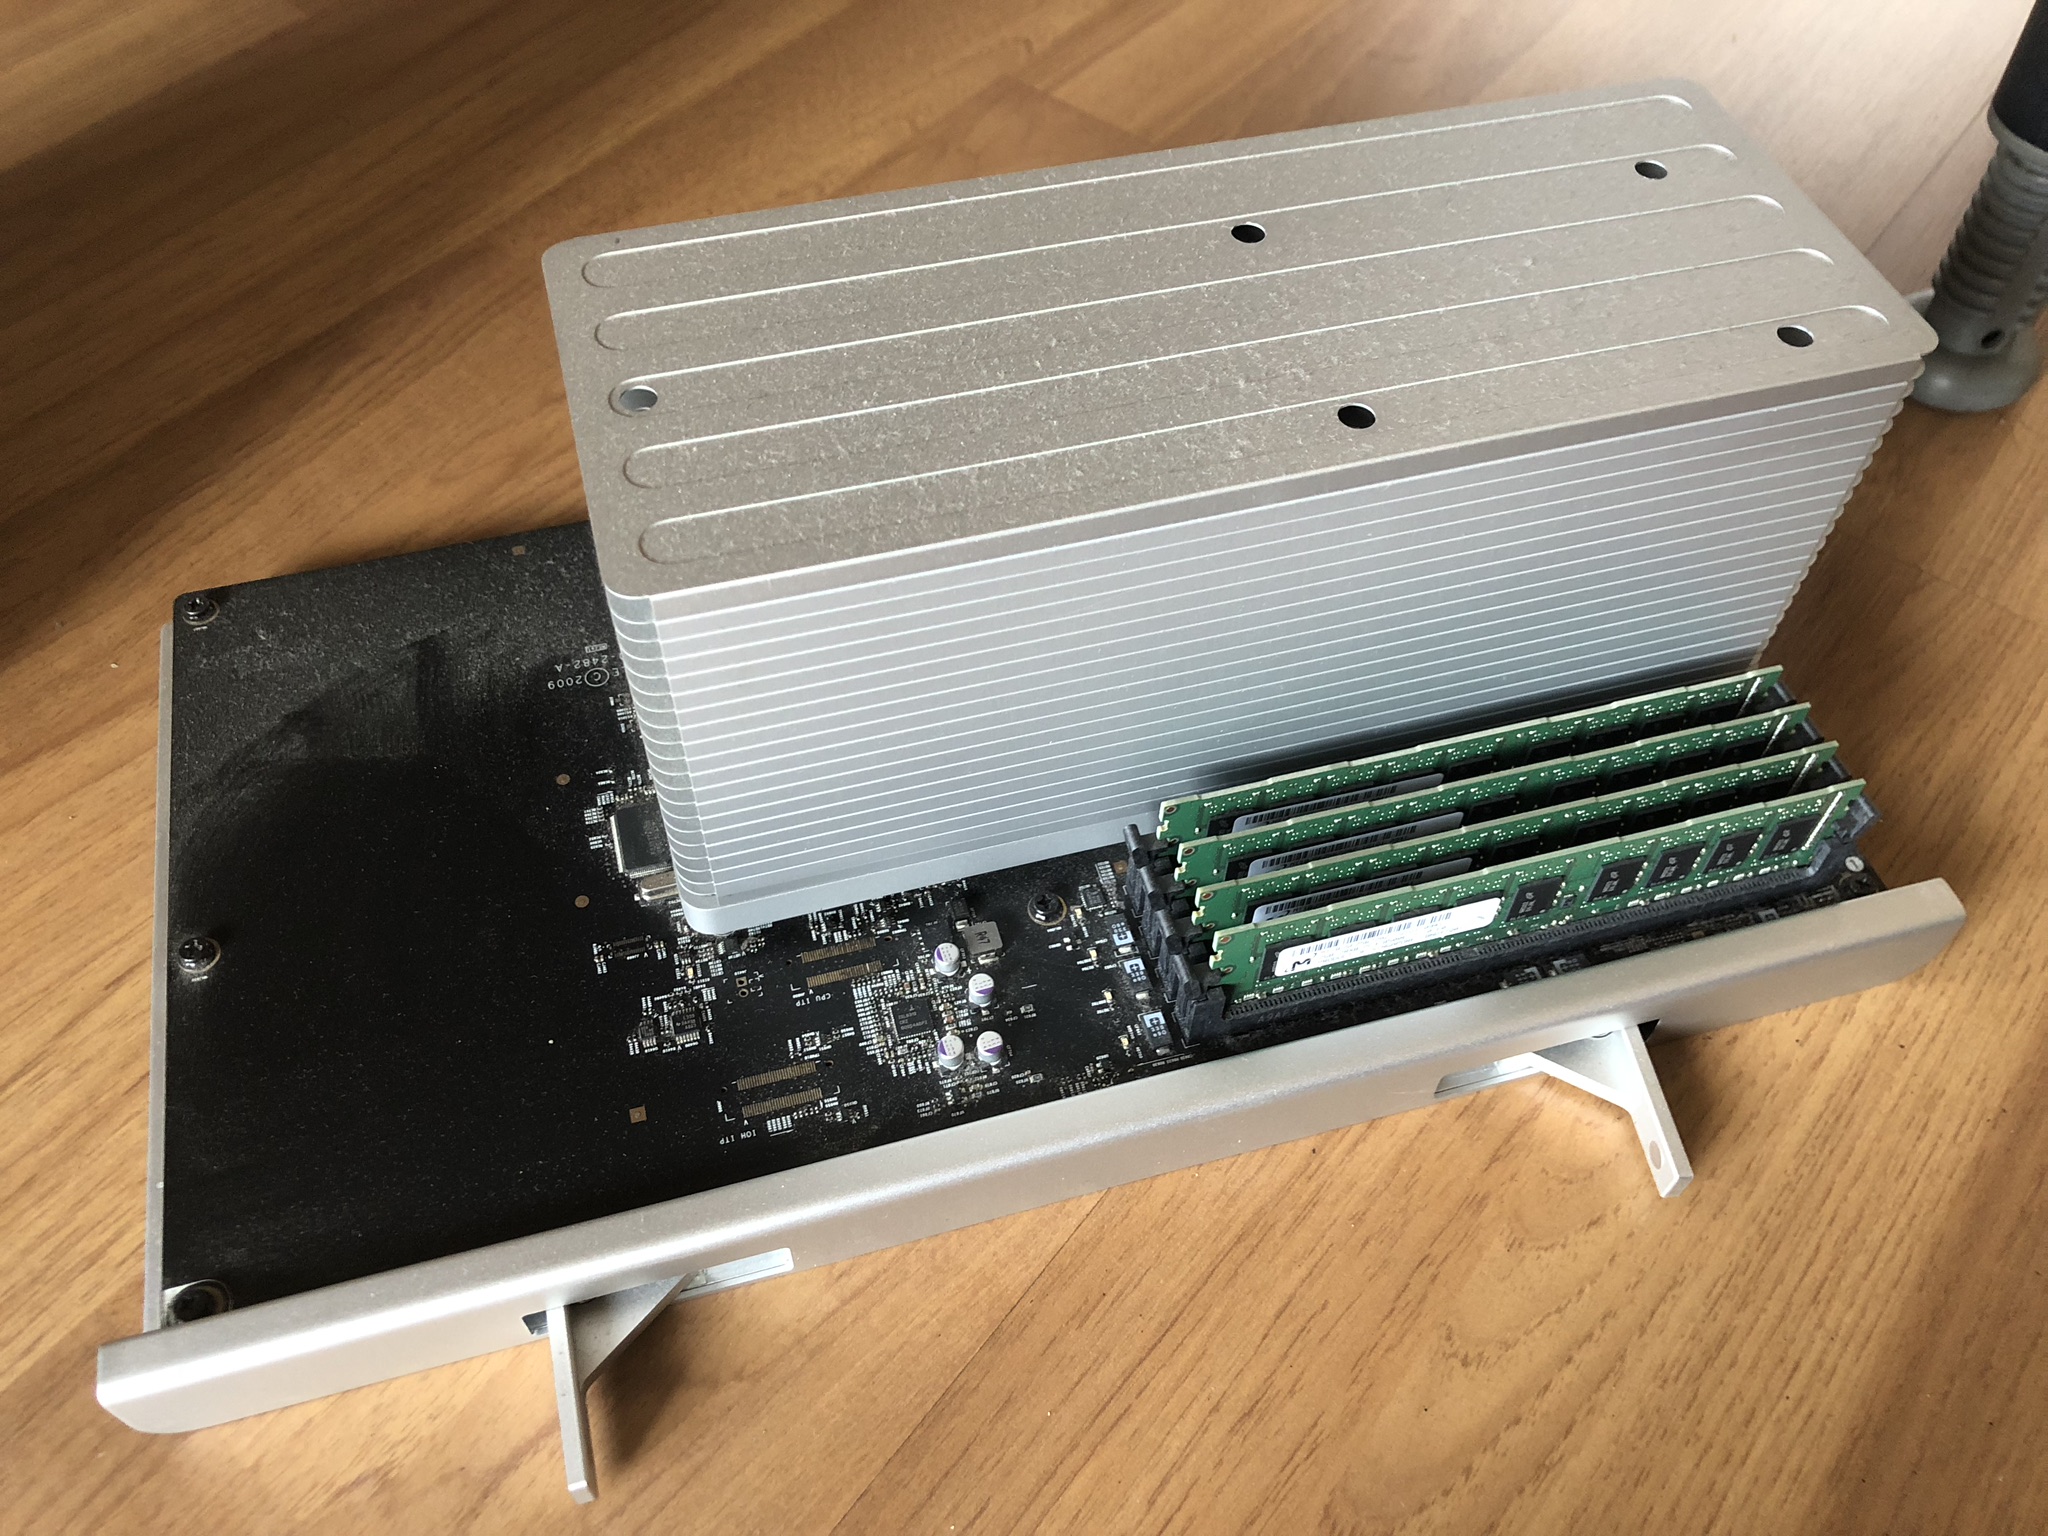
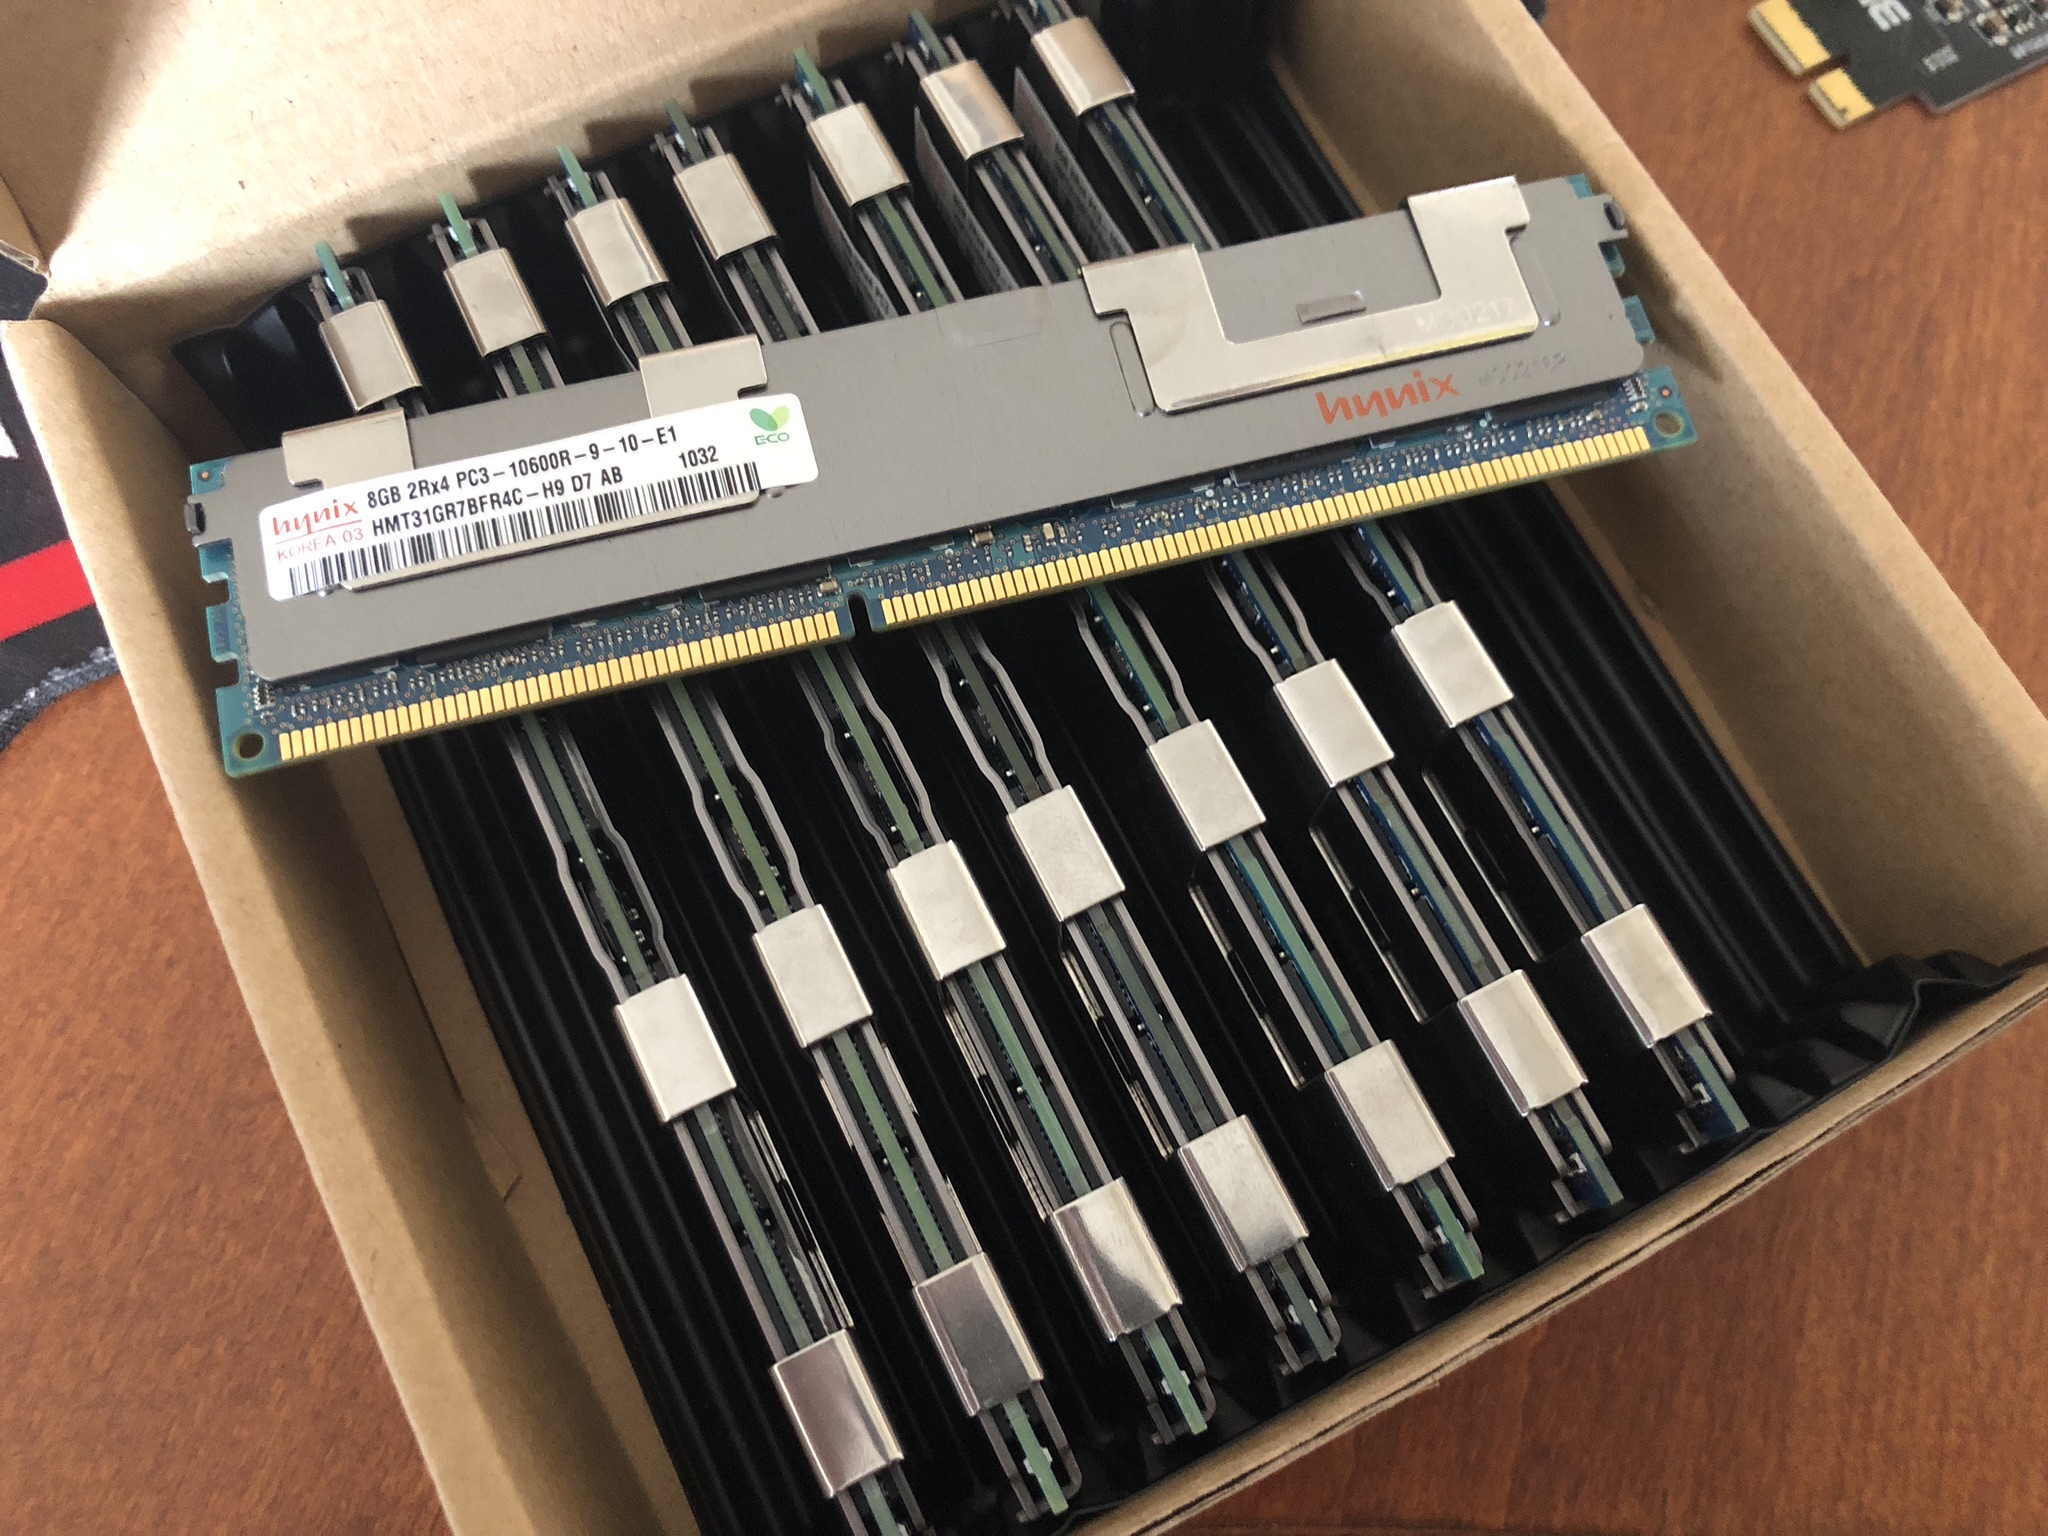
The CPU tray seems to comes with 4 pieces of 2GB ram. A little dusty on top but it’s not serious as seen on photo.
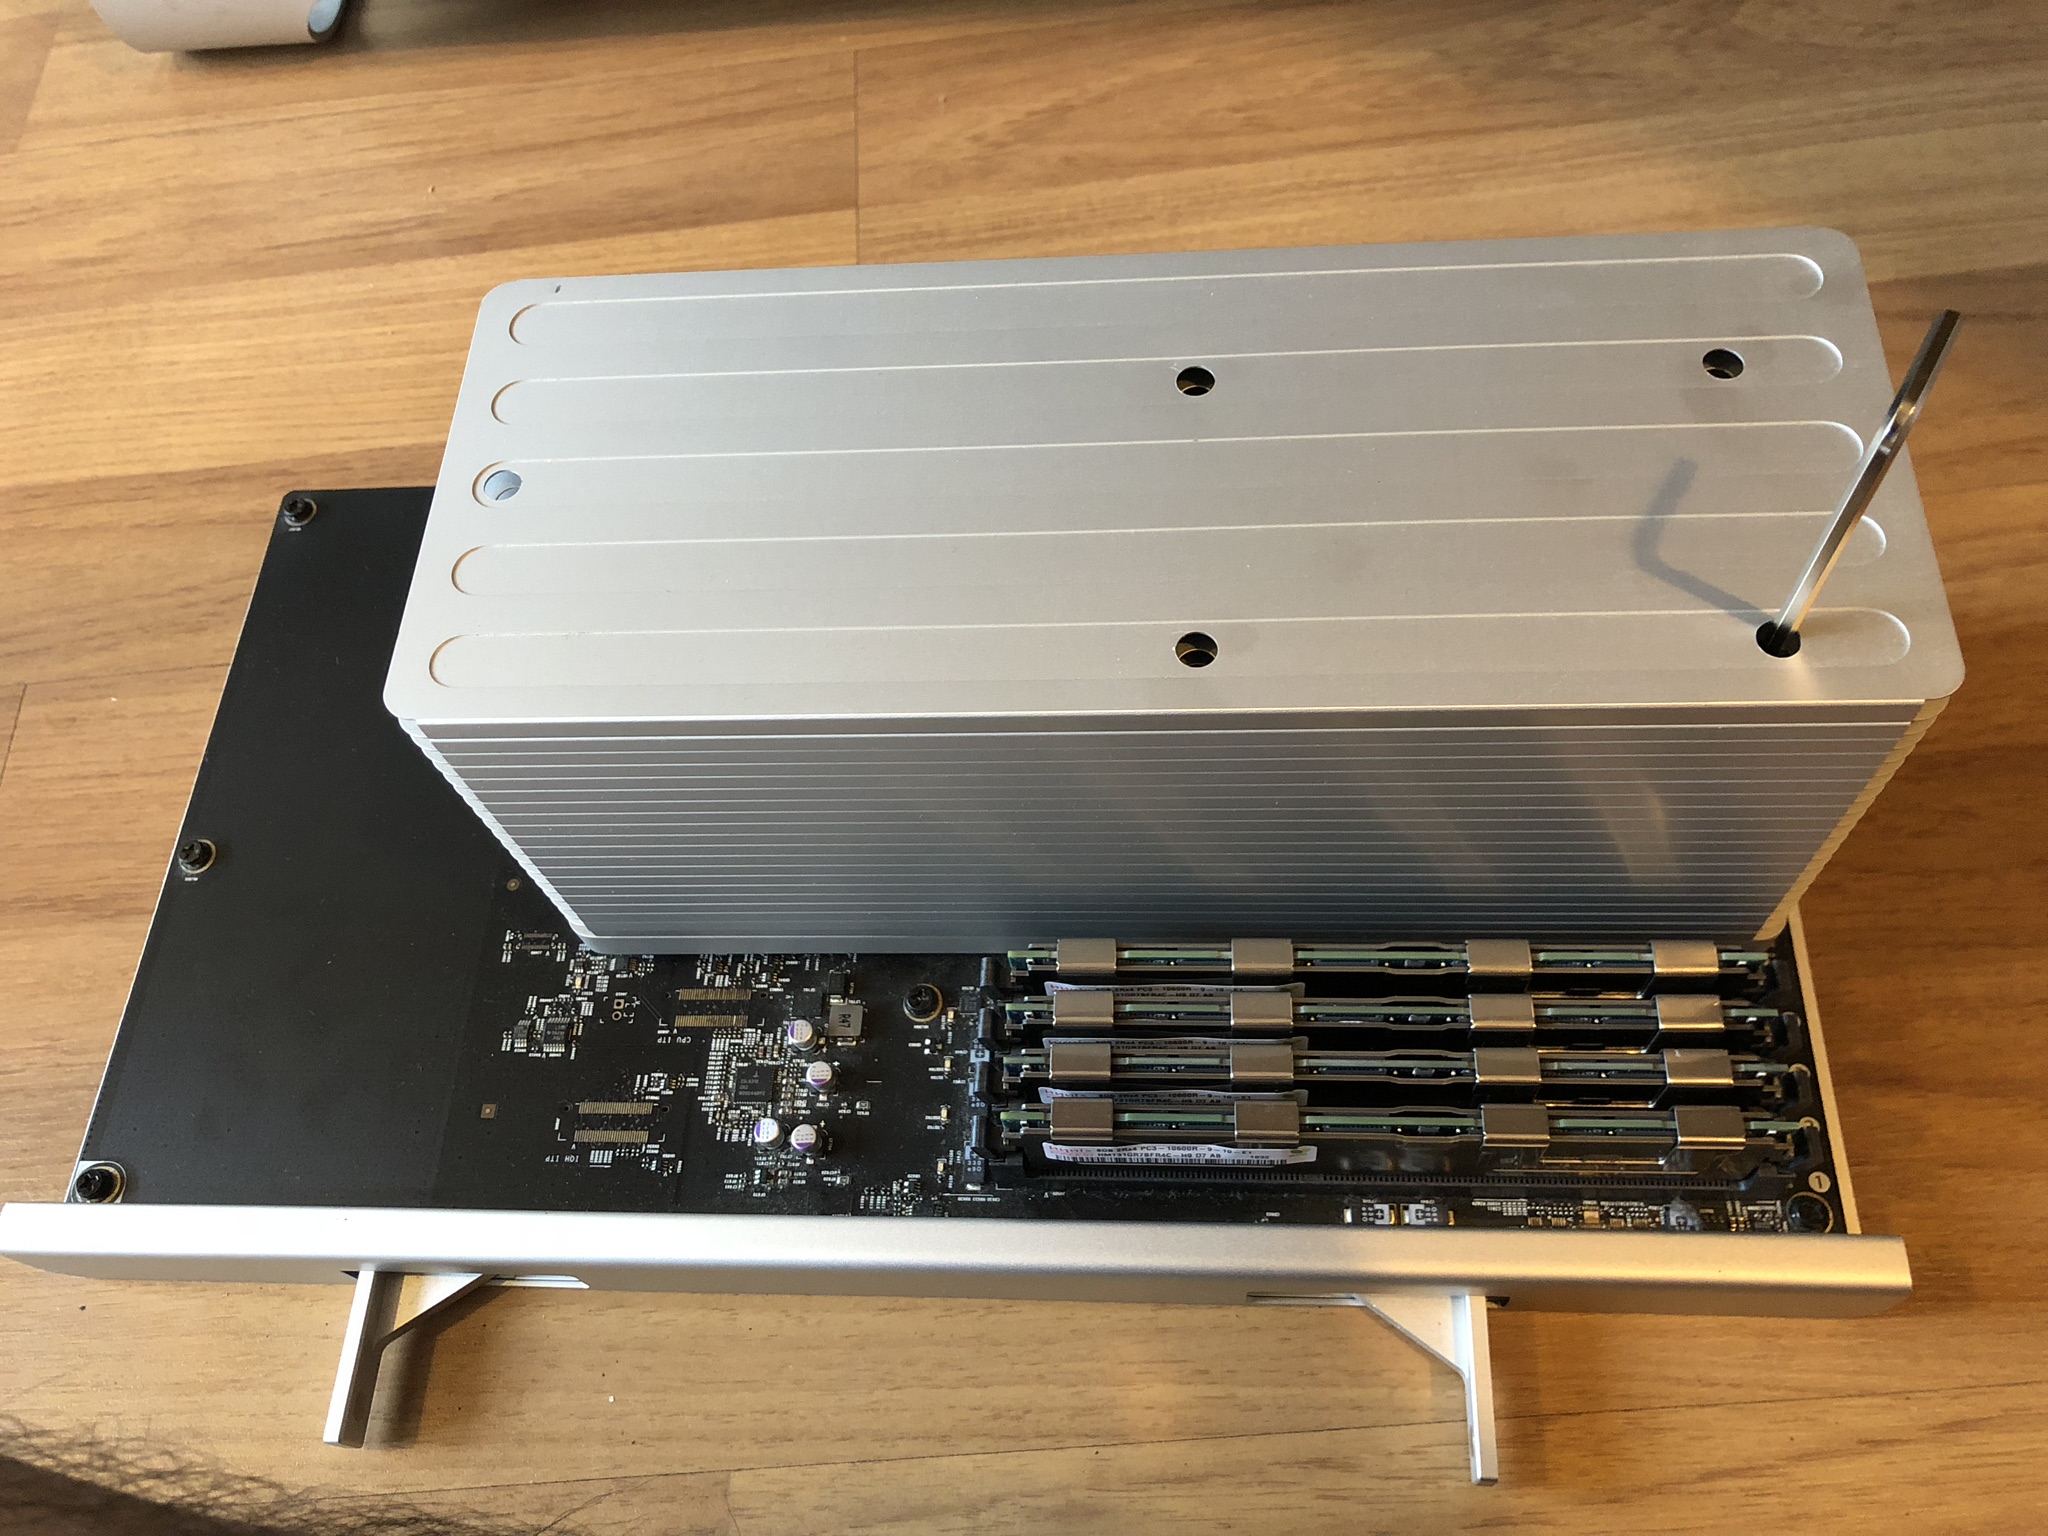
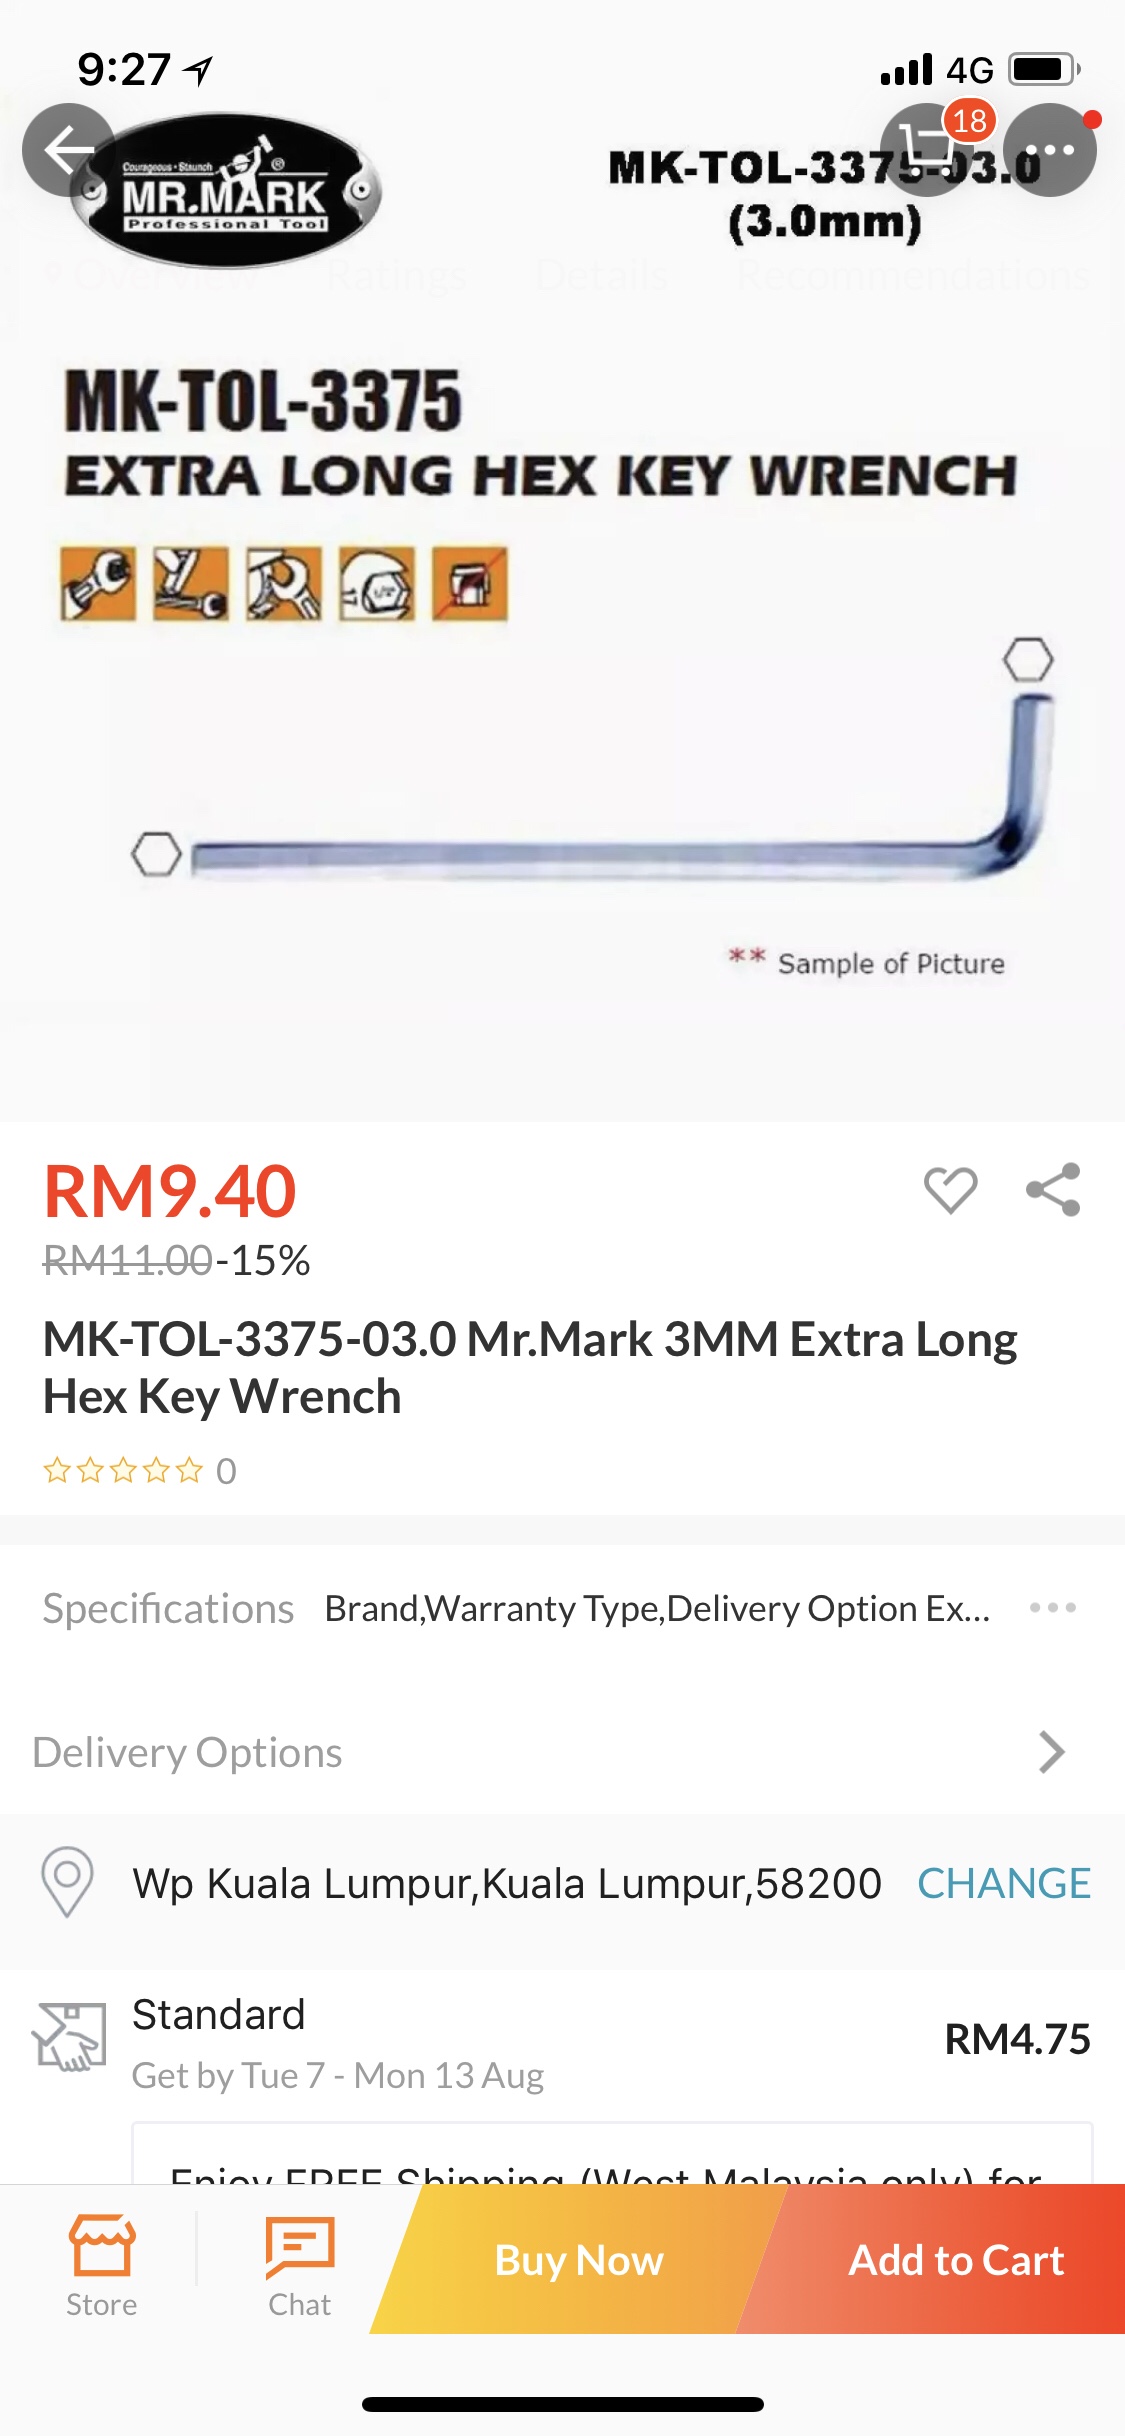
Unscrewing with the hex 3.0mm extra long key wrench. Bought it cheap from Lazada.
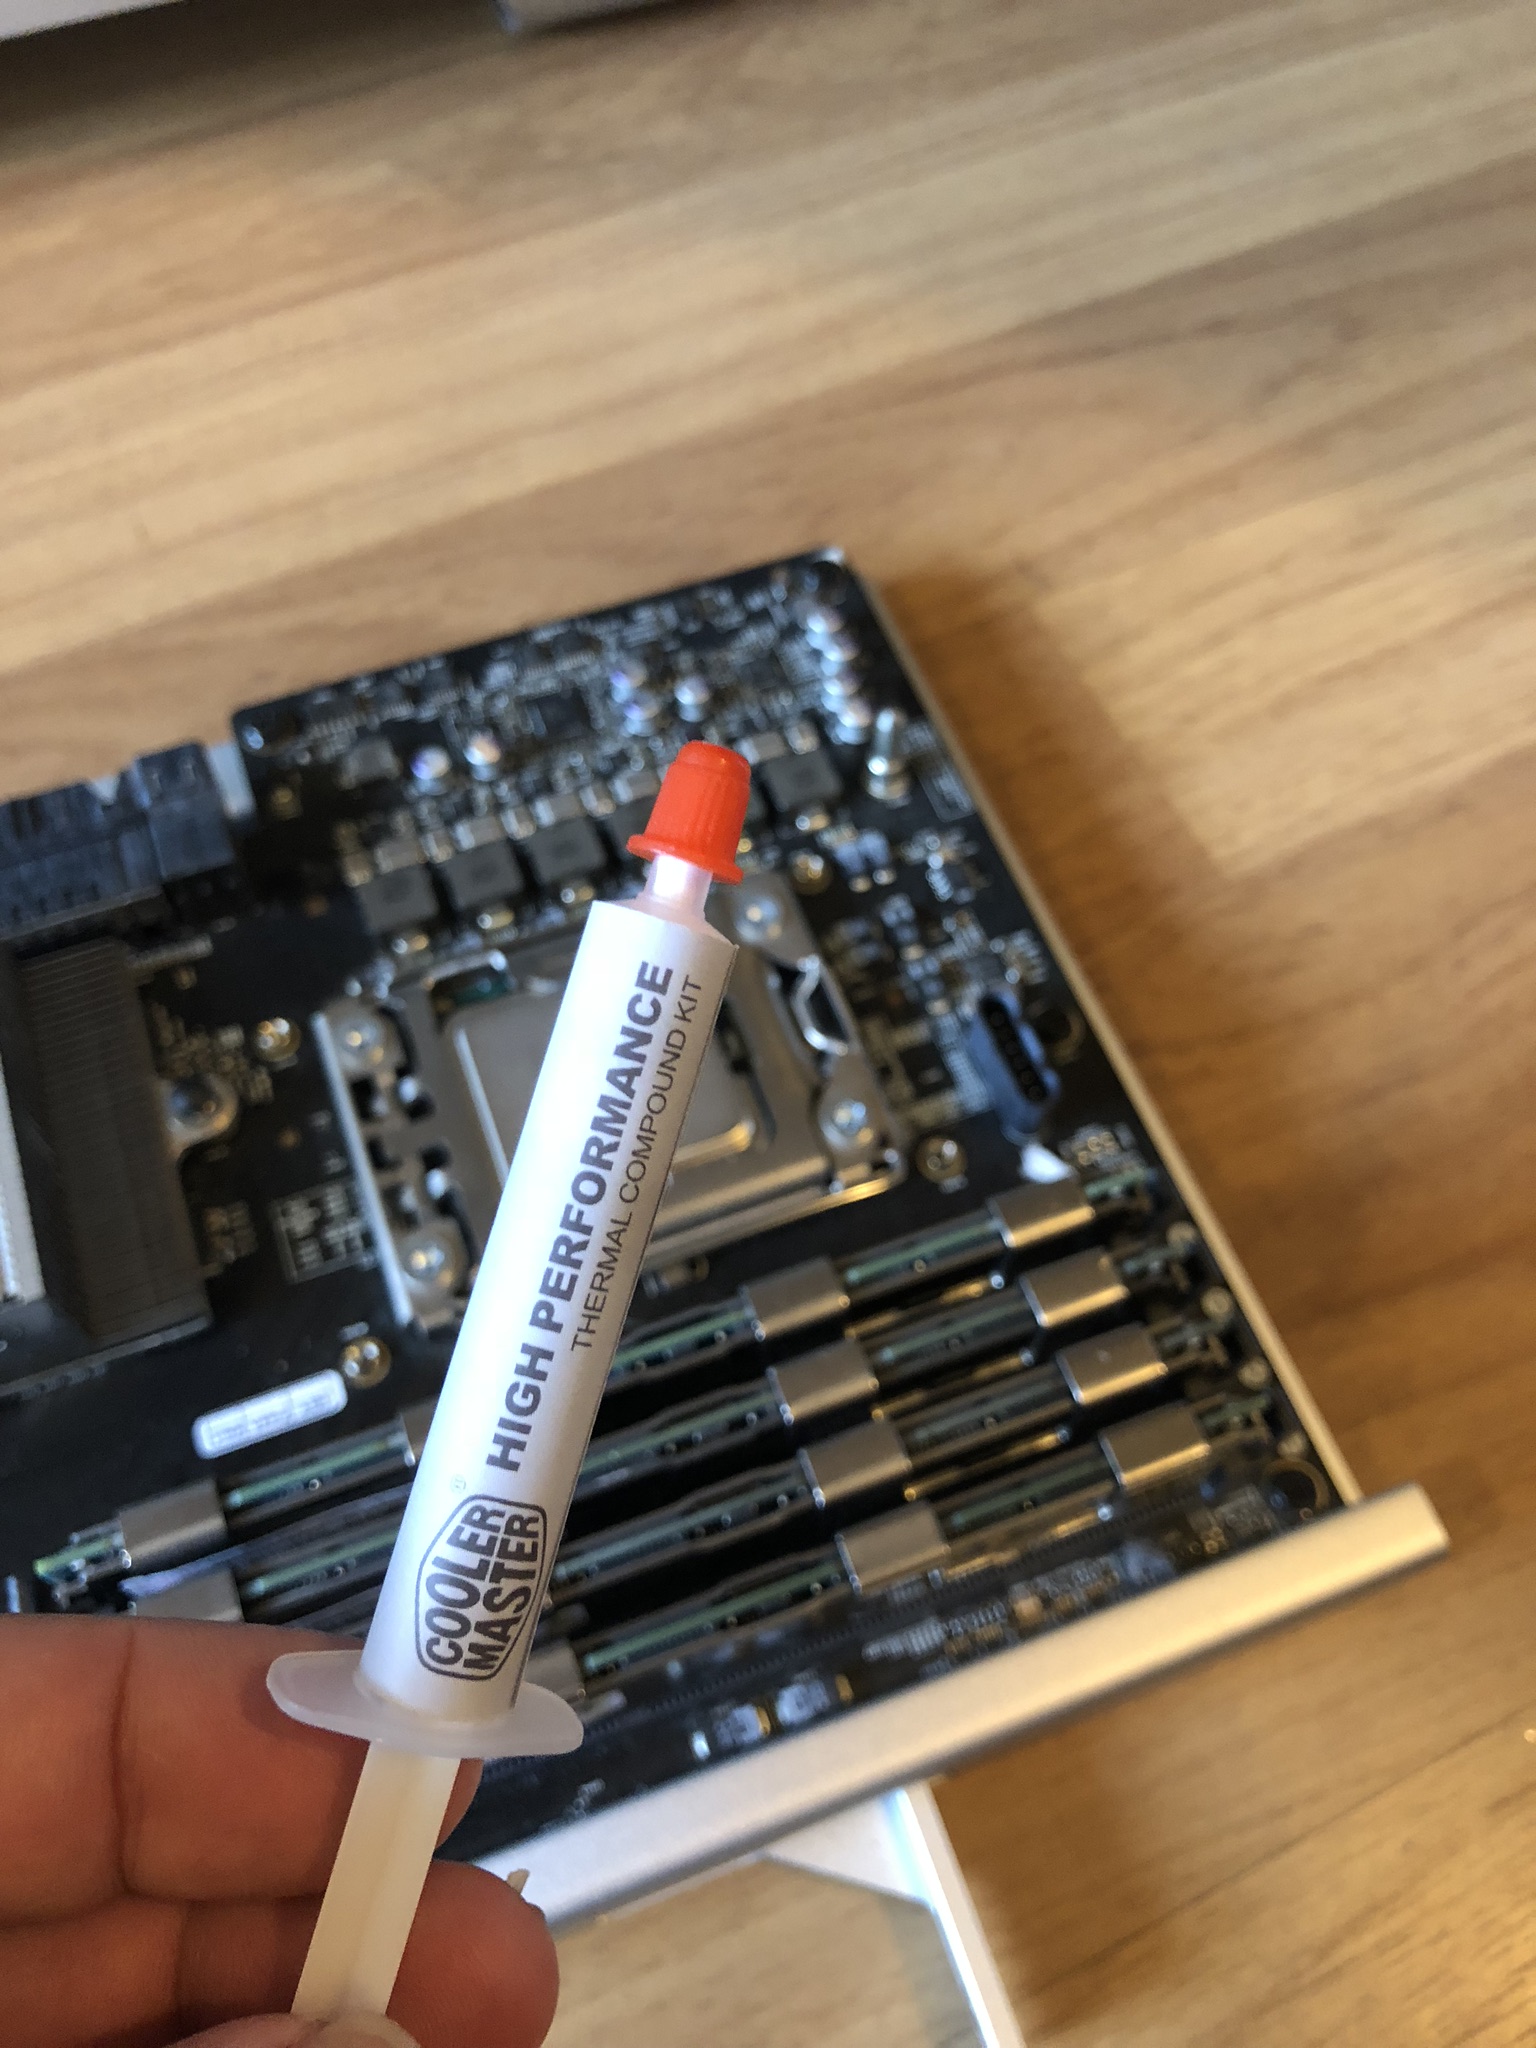
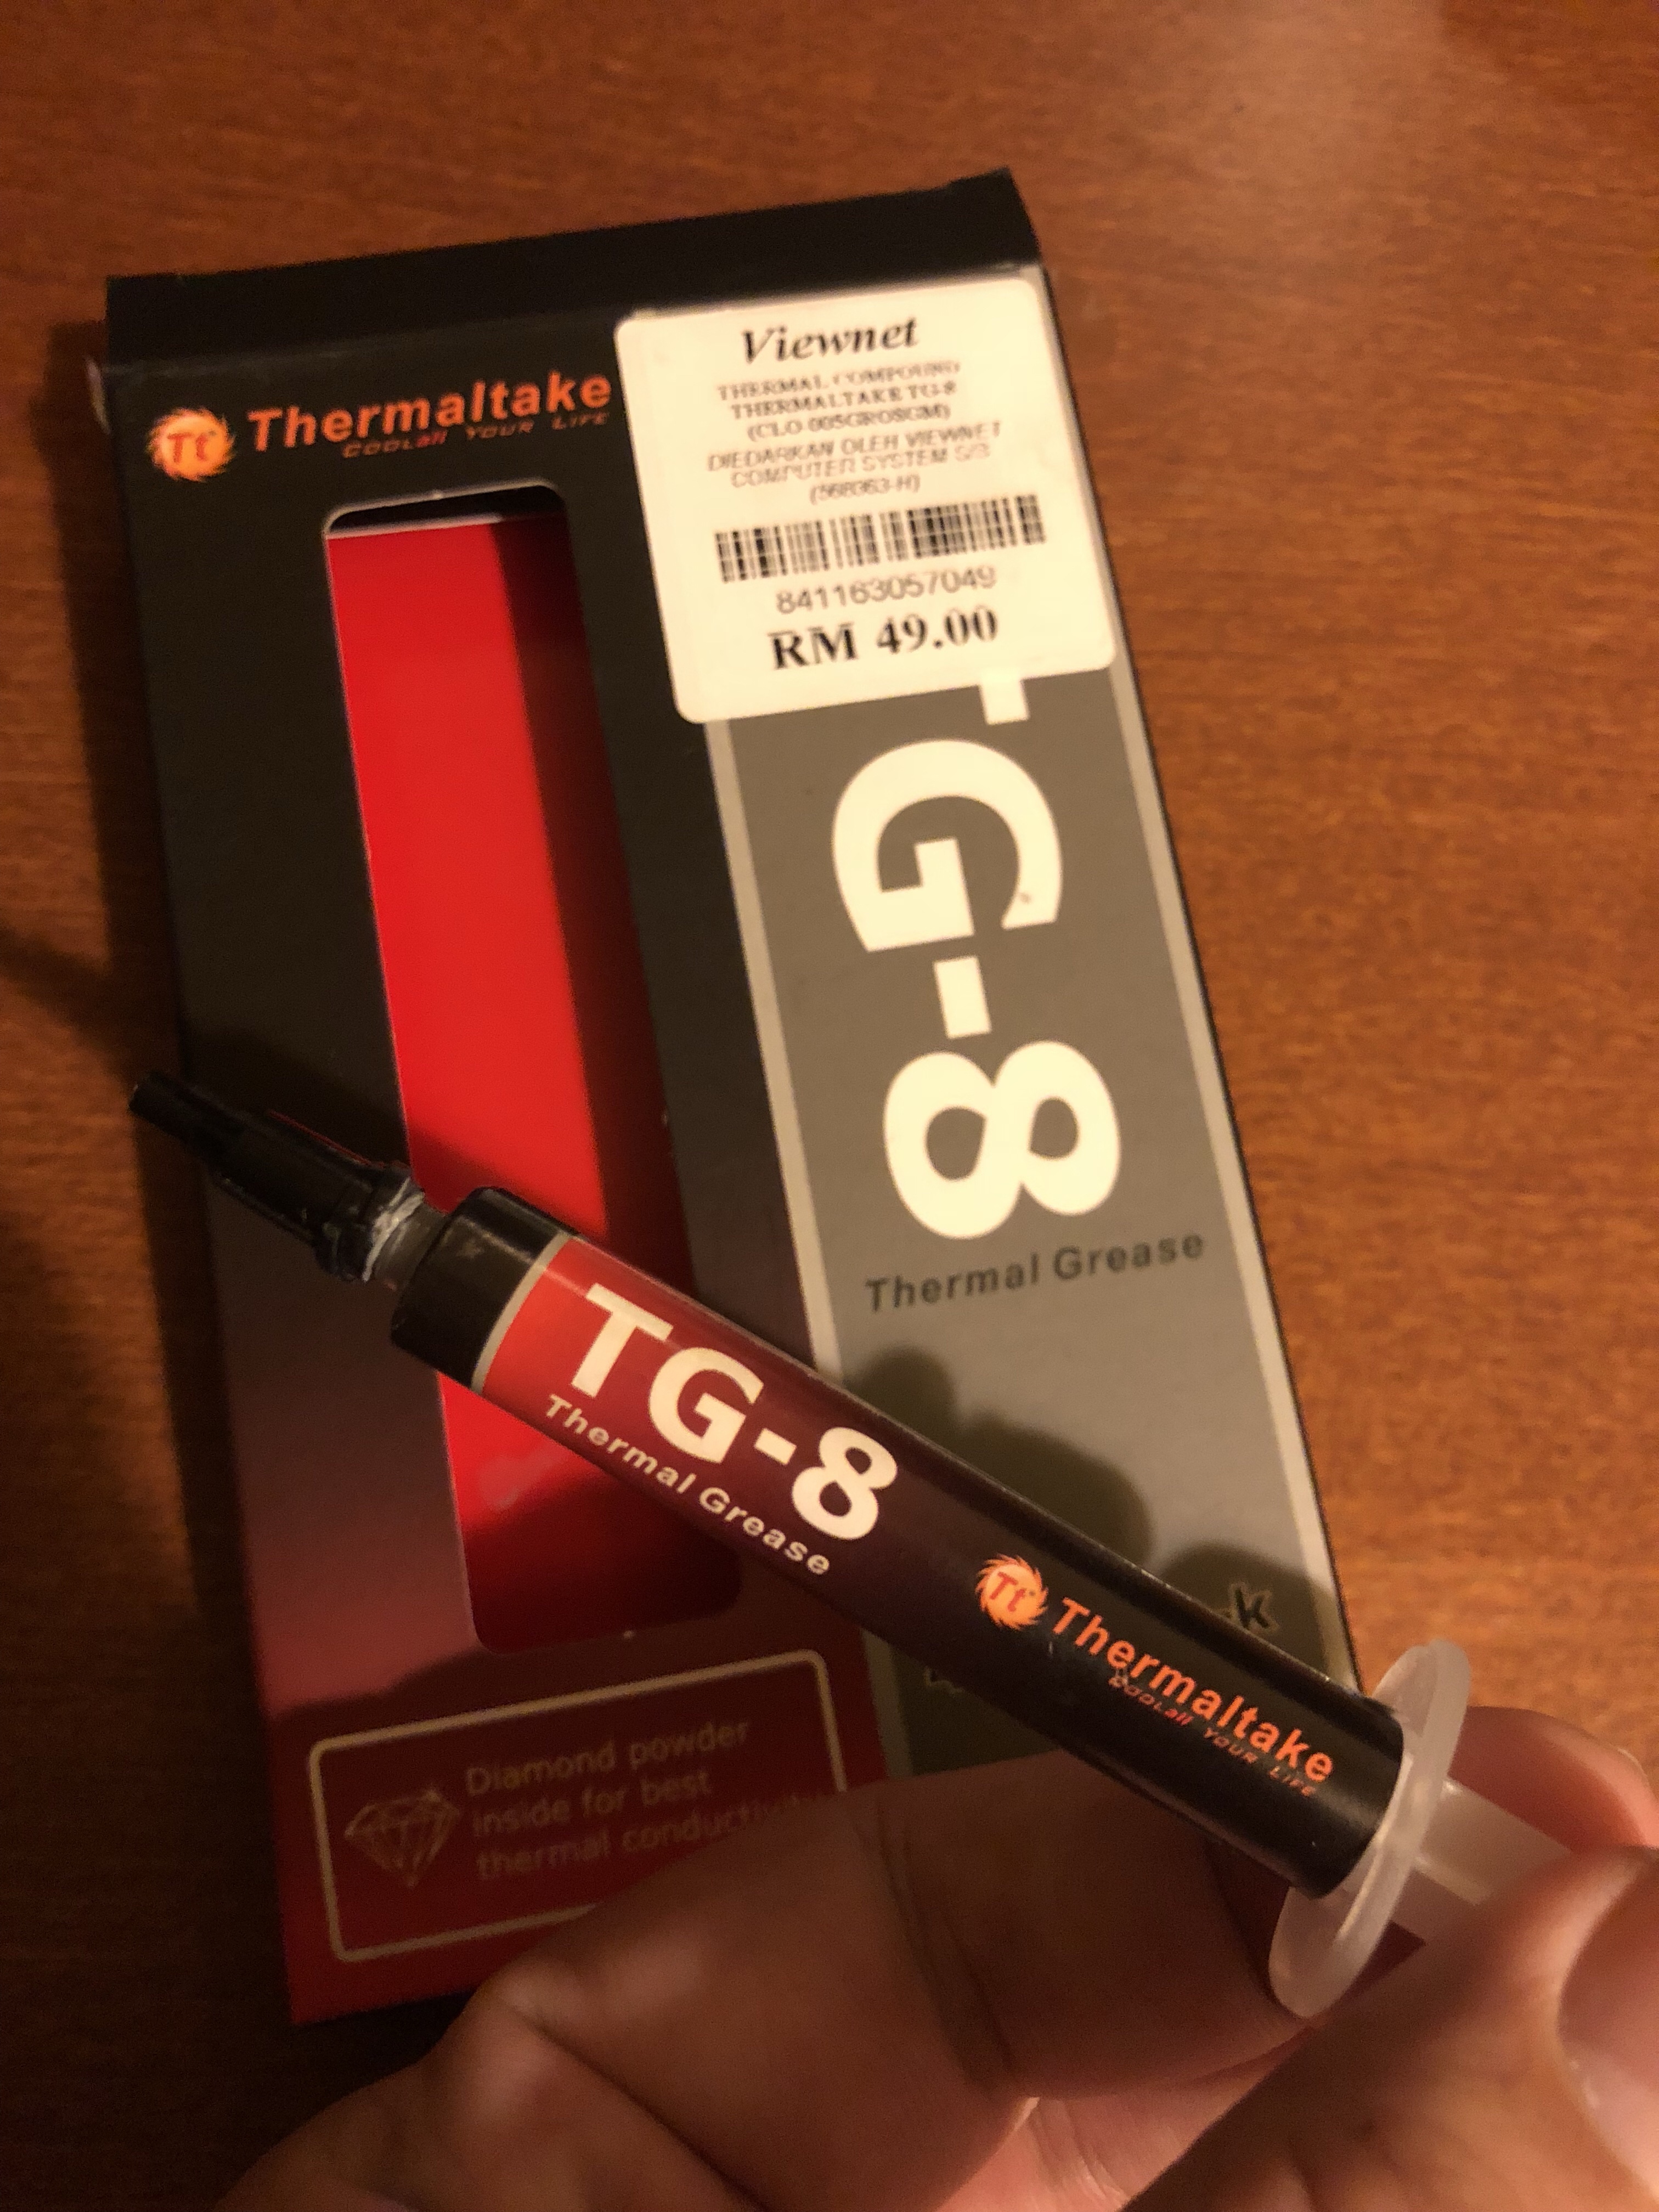
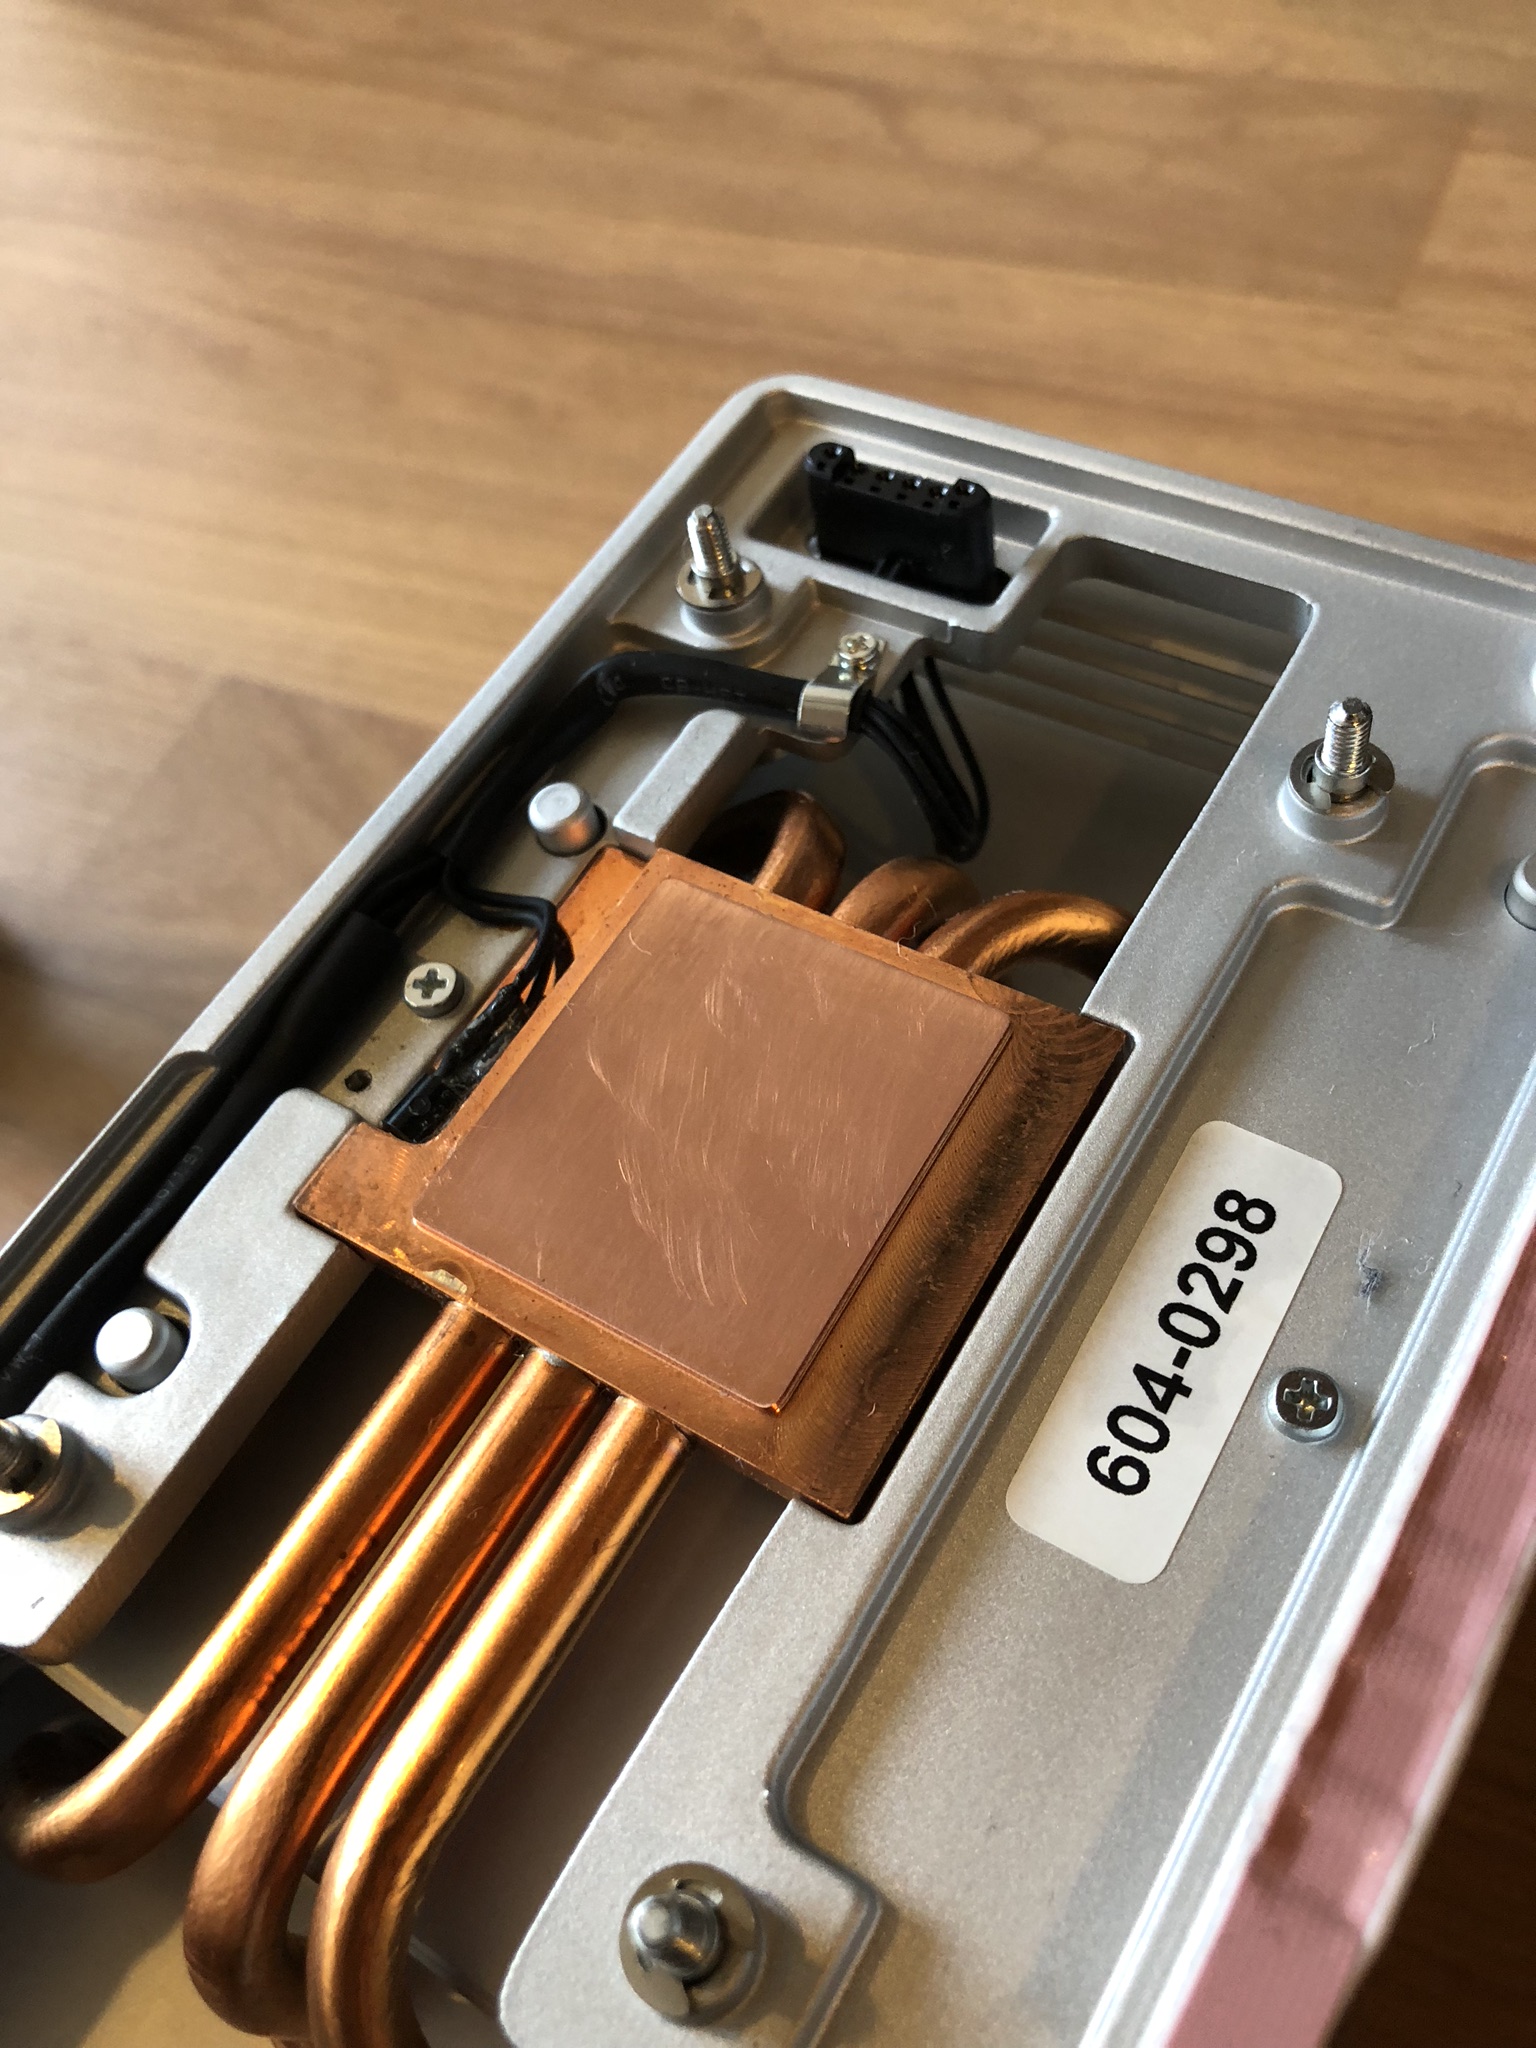
The thermal paste went dry and needed some cleaning with alcohol.
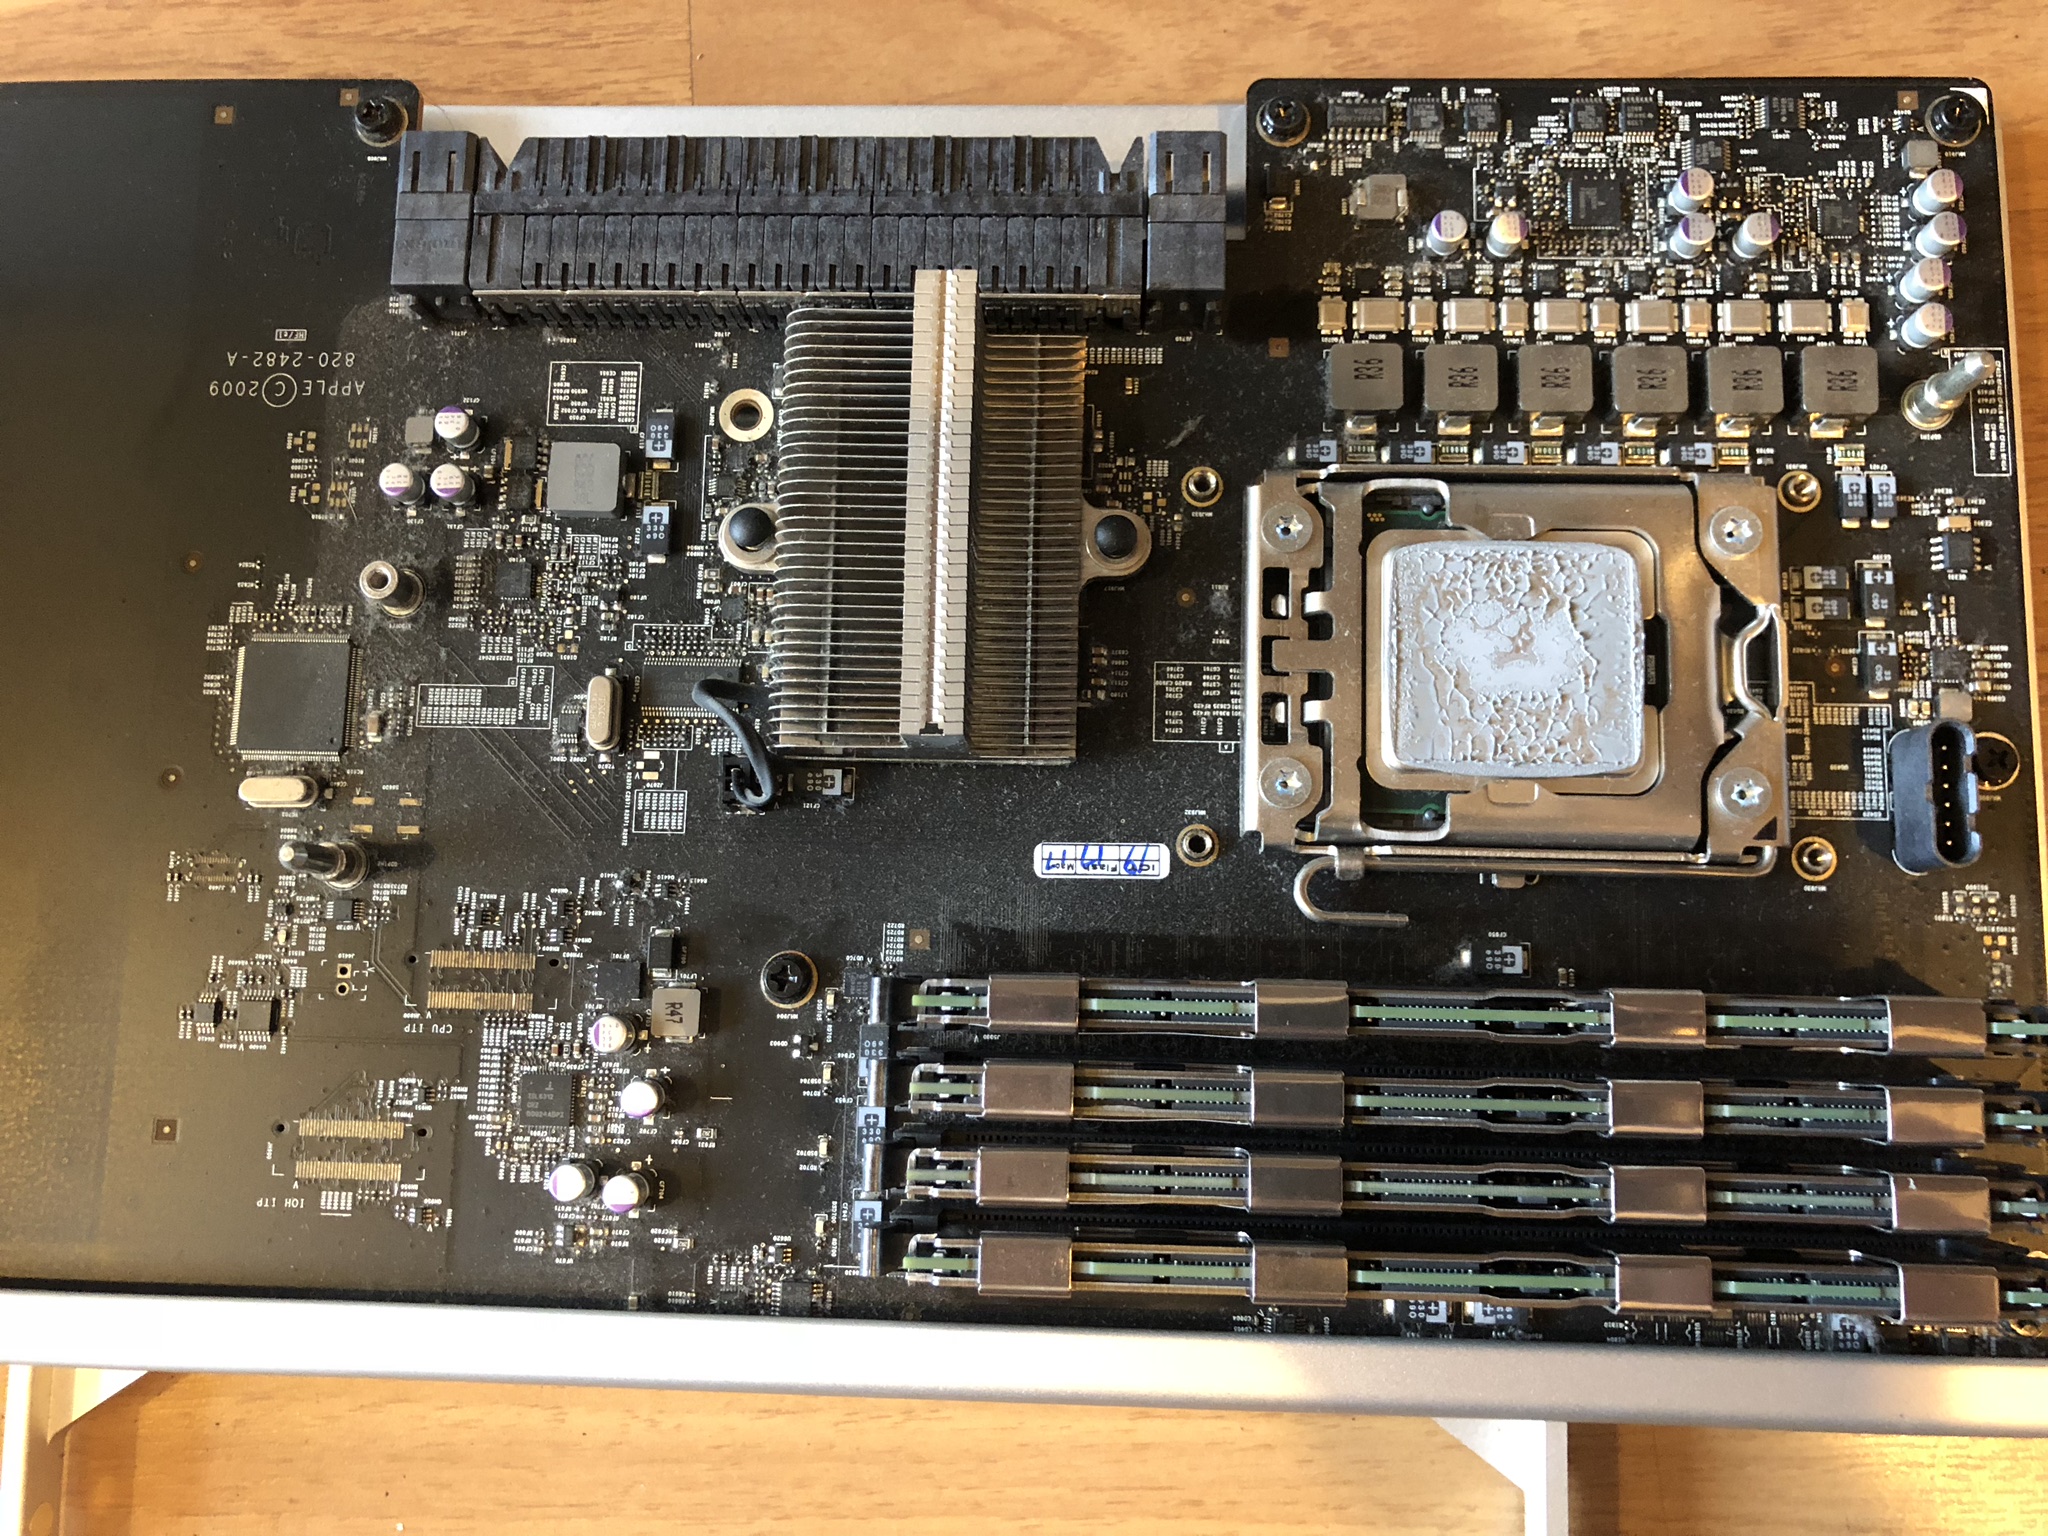
Same goes with the heat sink.

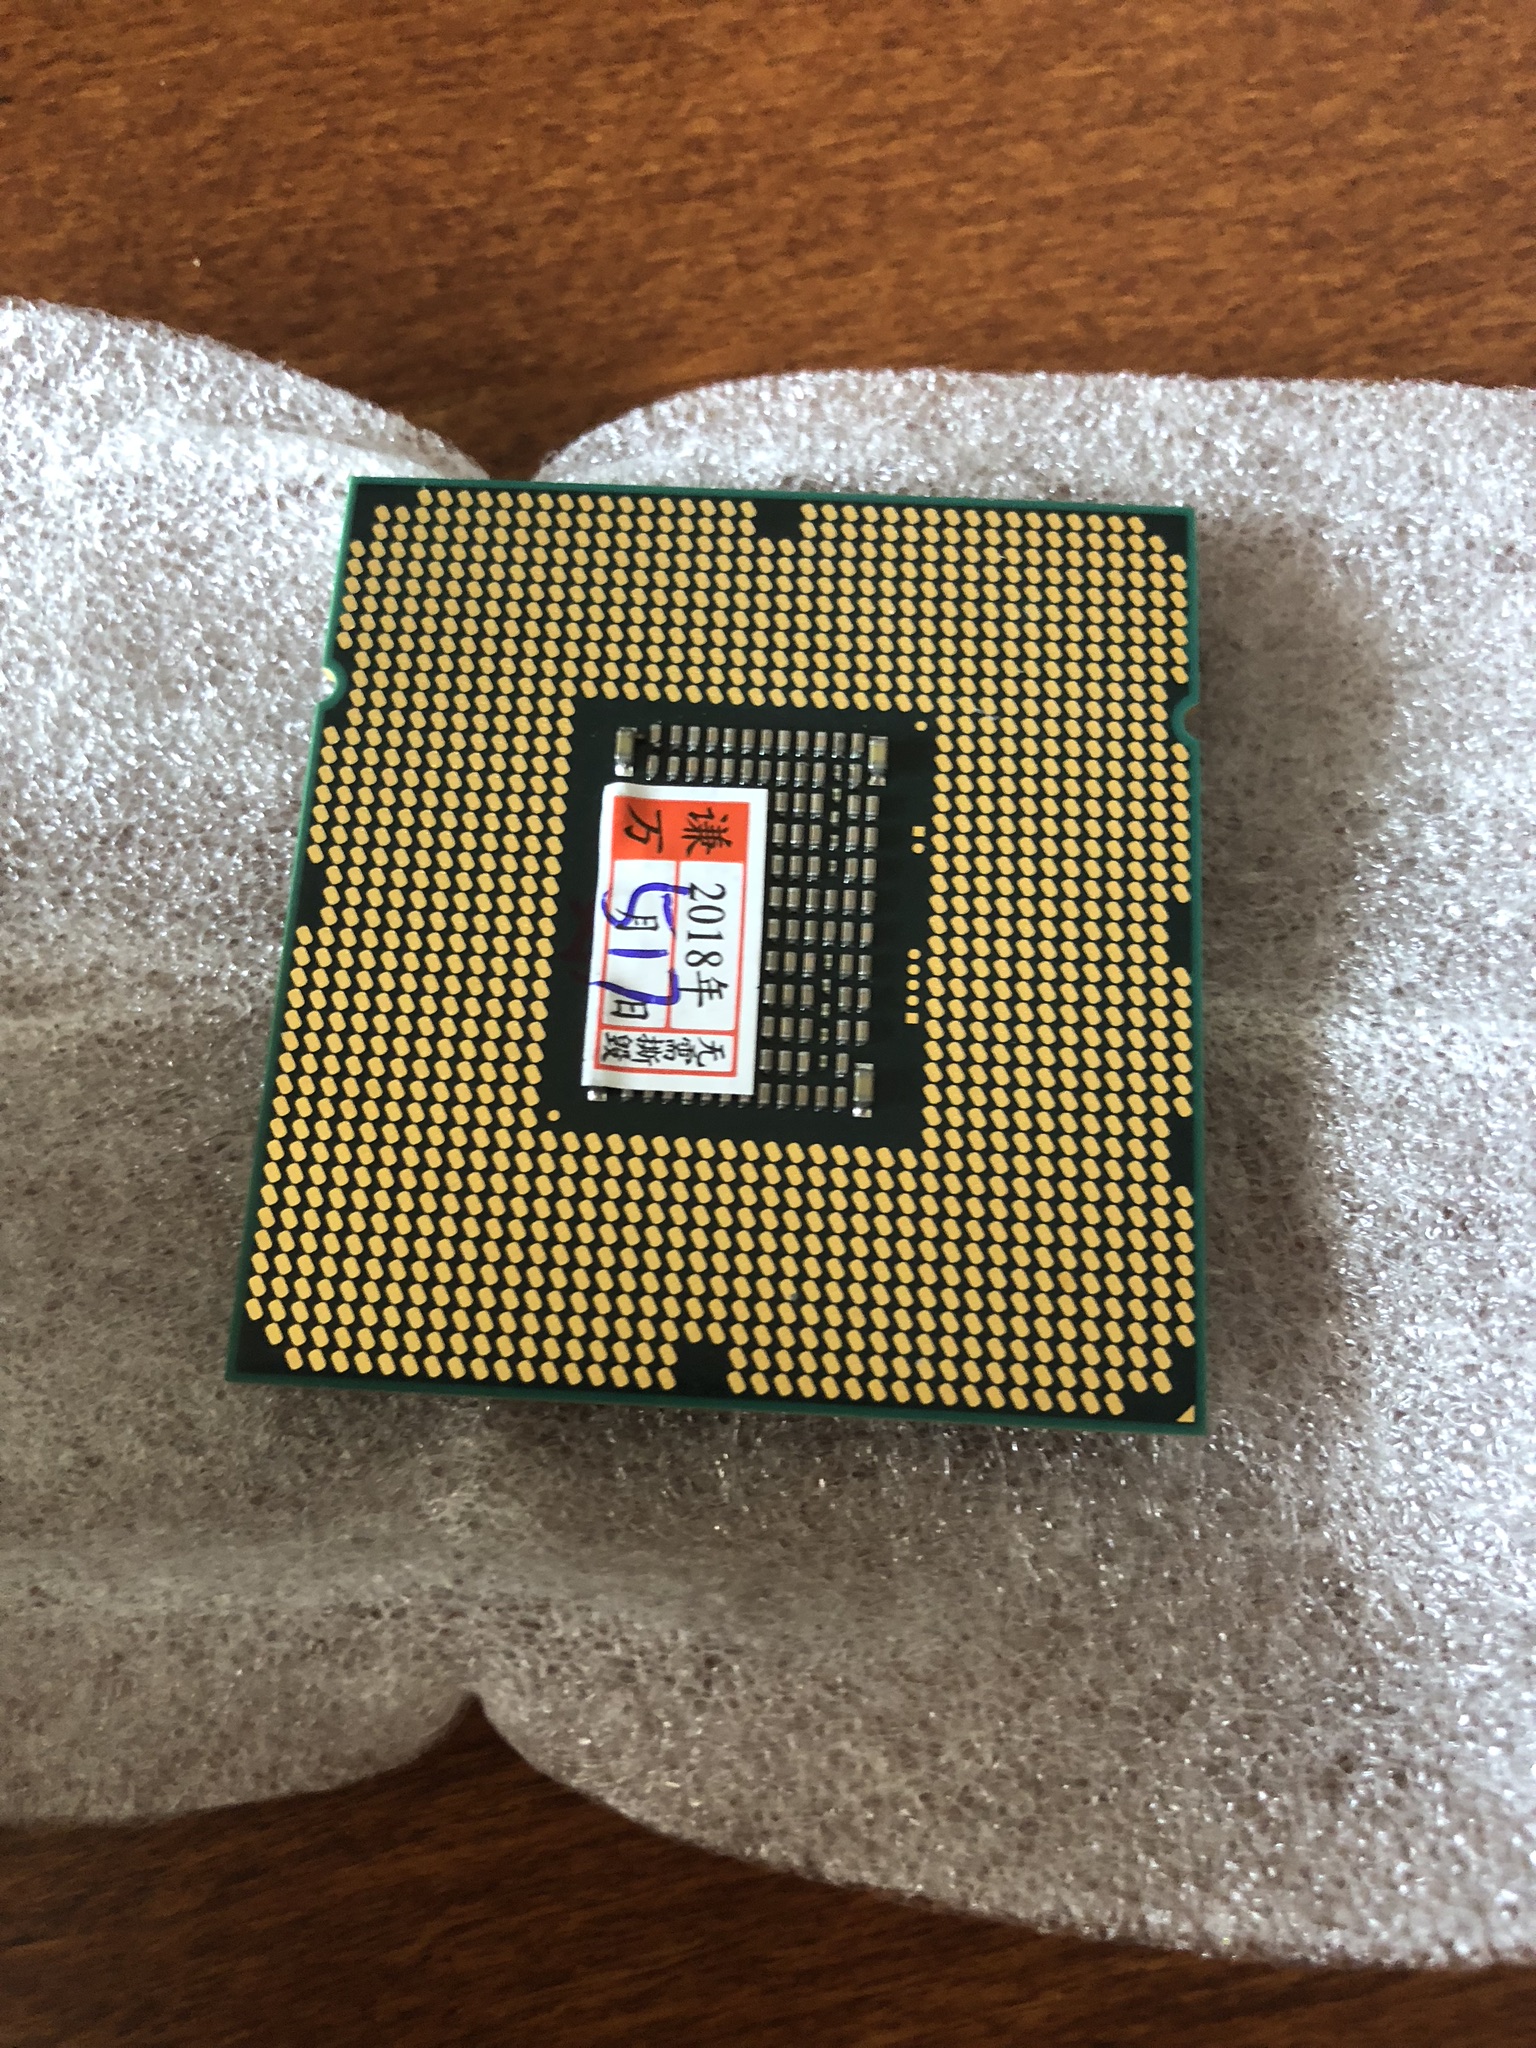
After some cleaning and it’s time to remove and exchange for a better CPU.
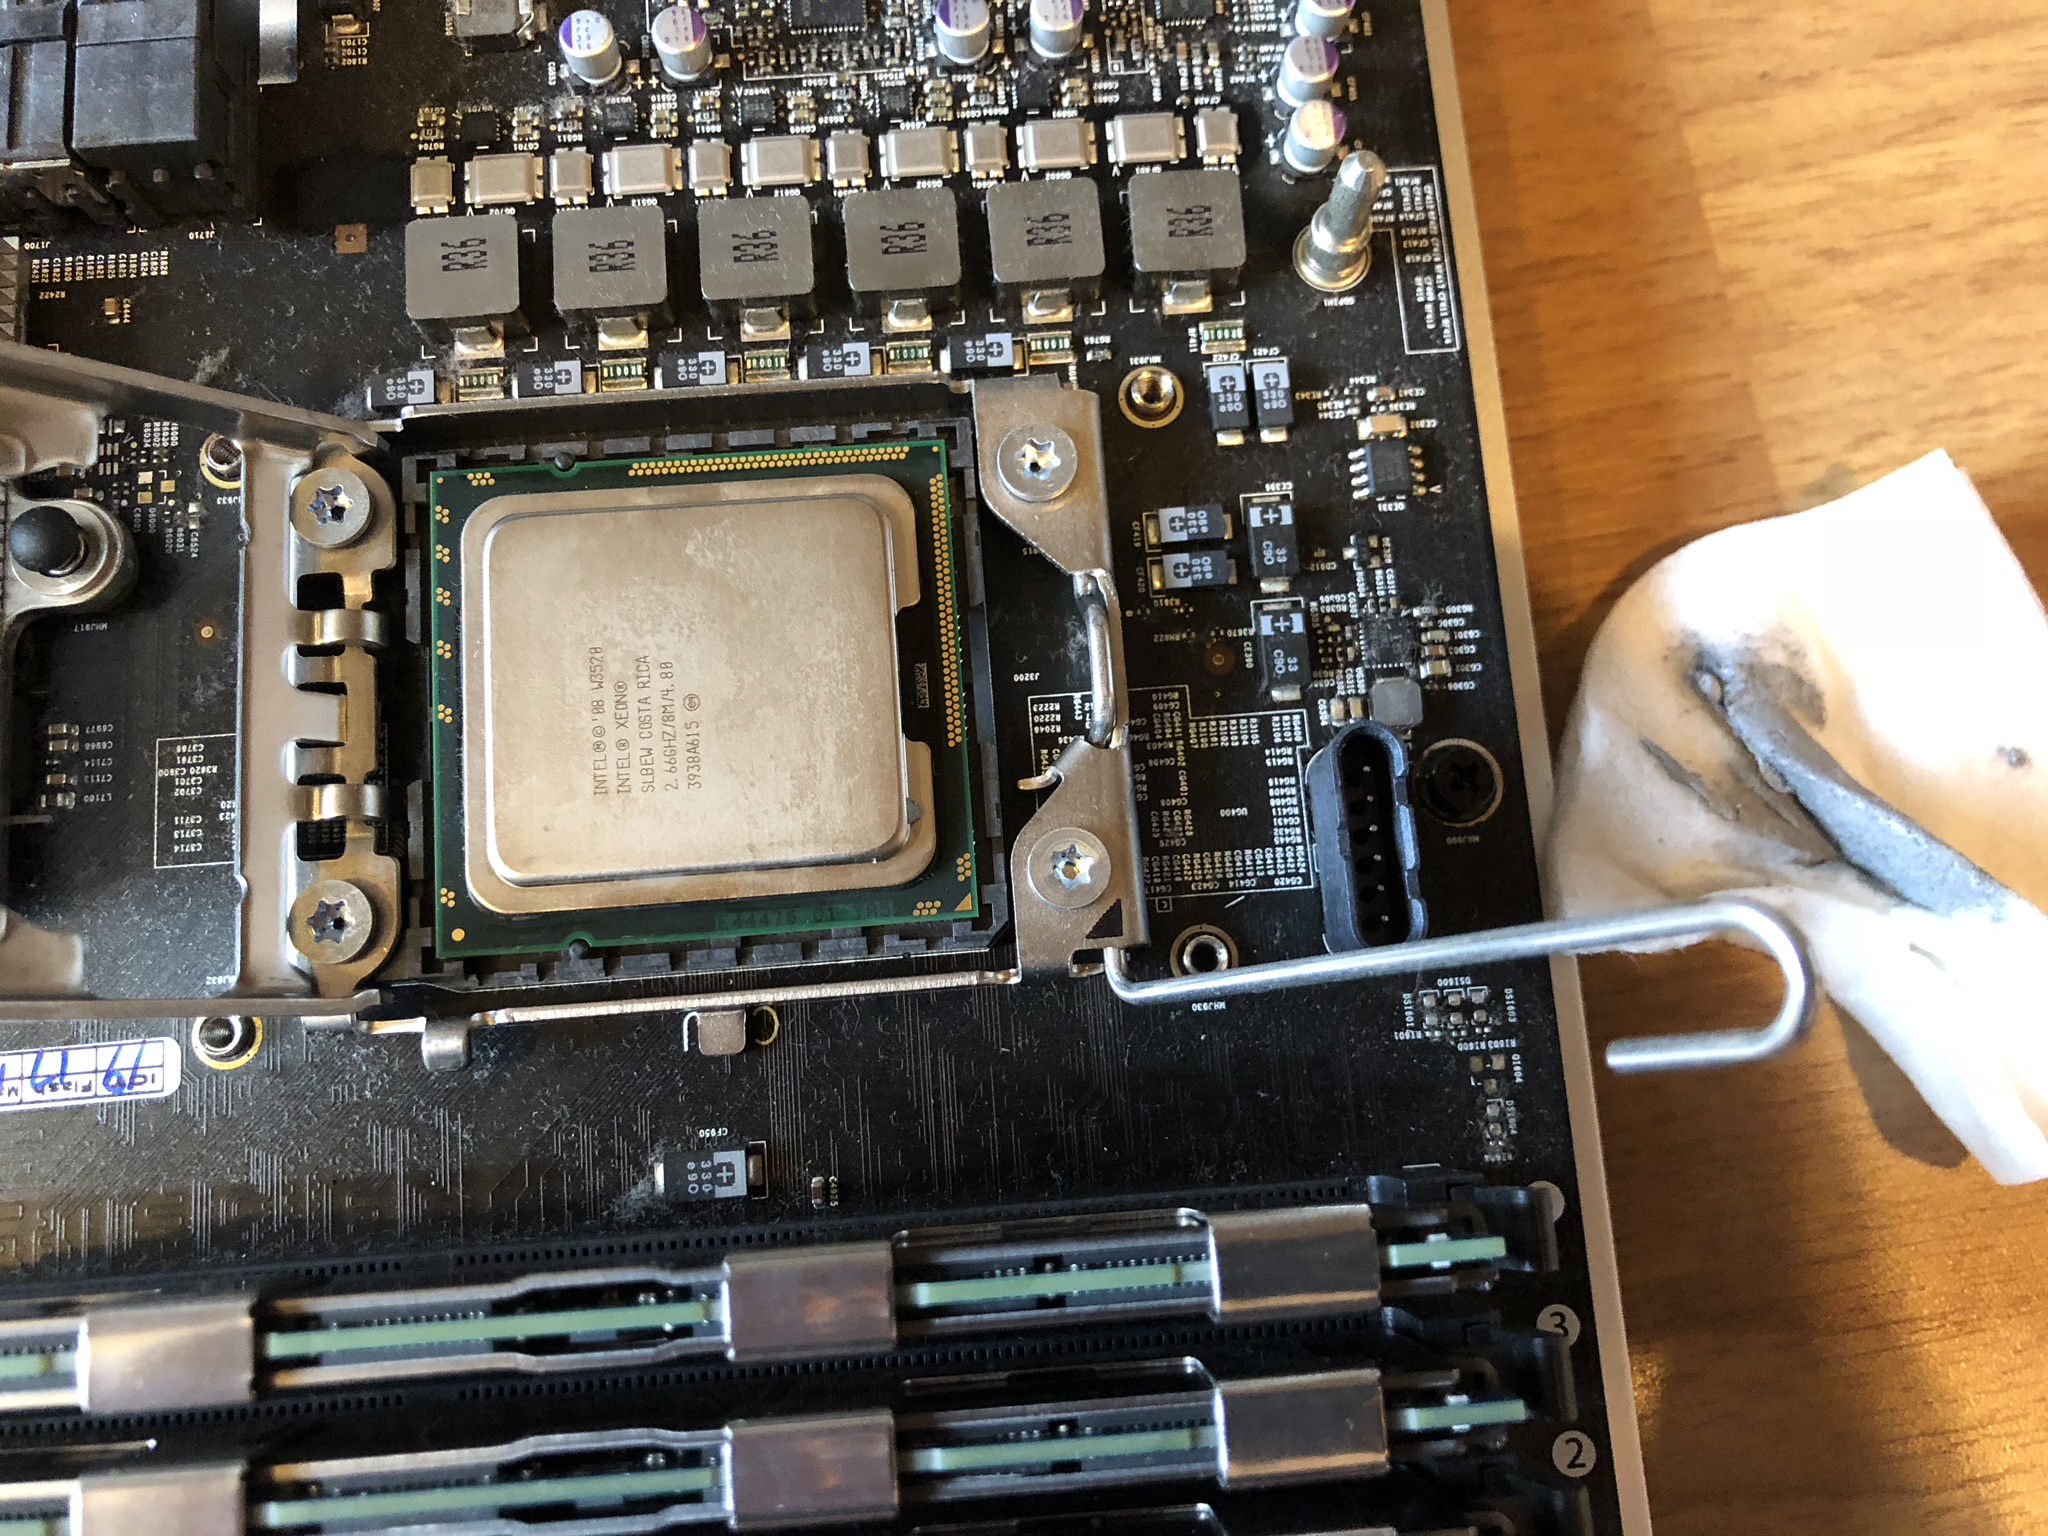
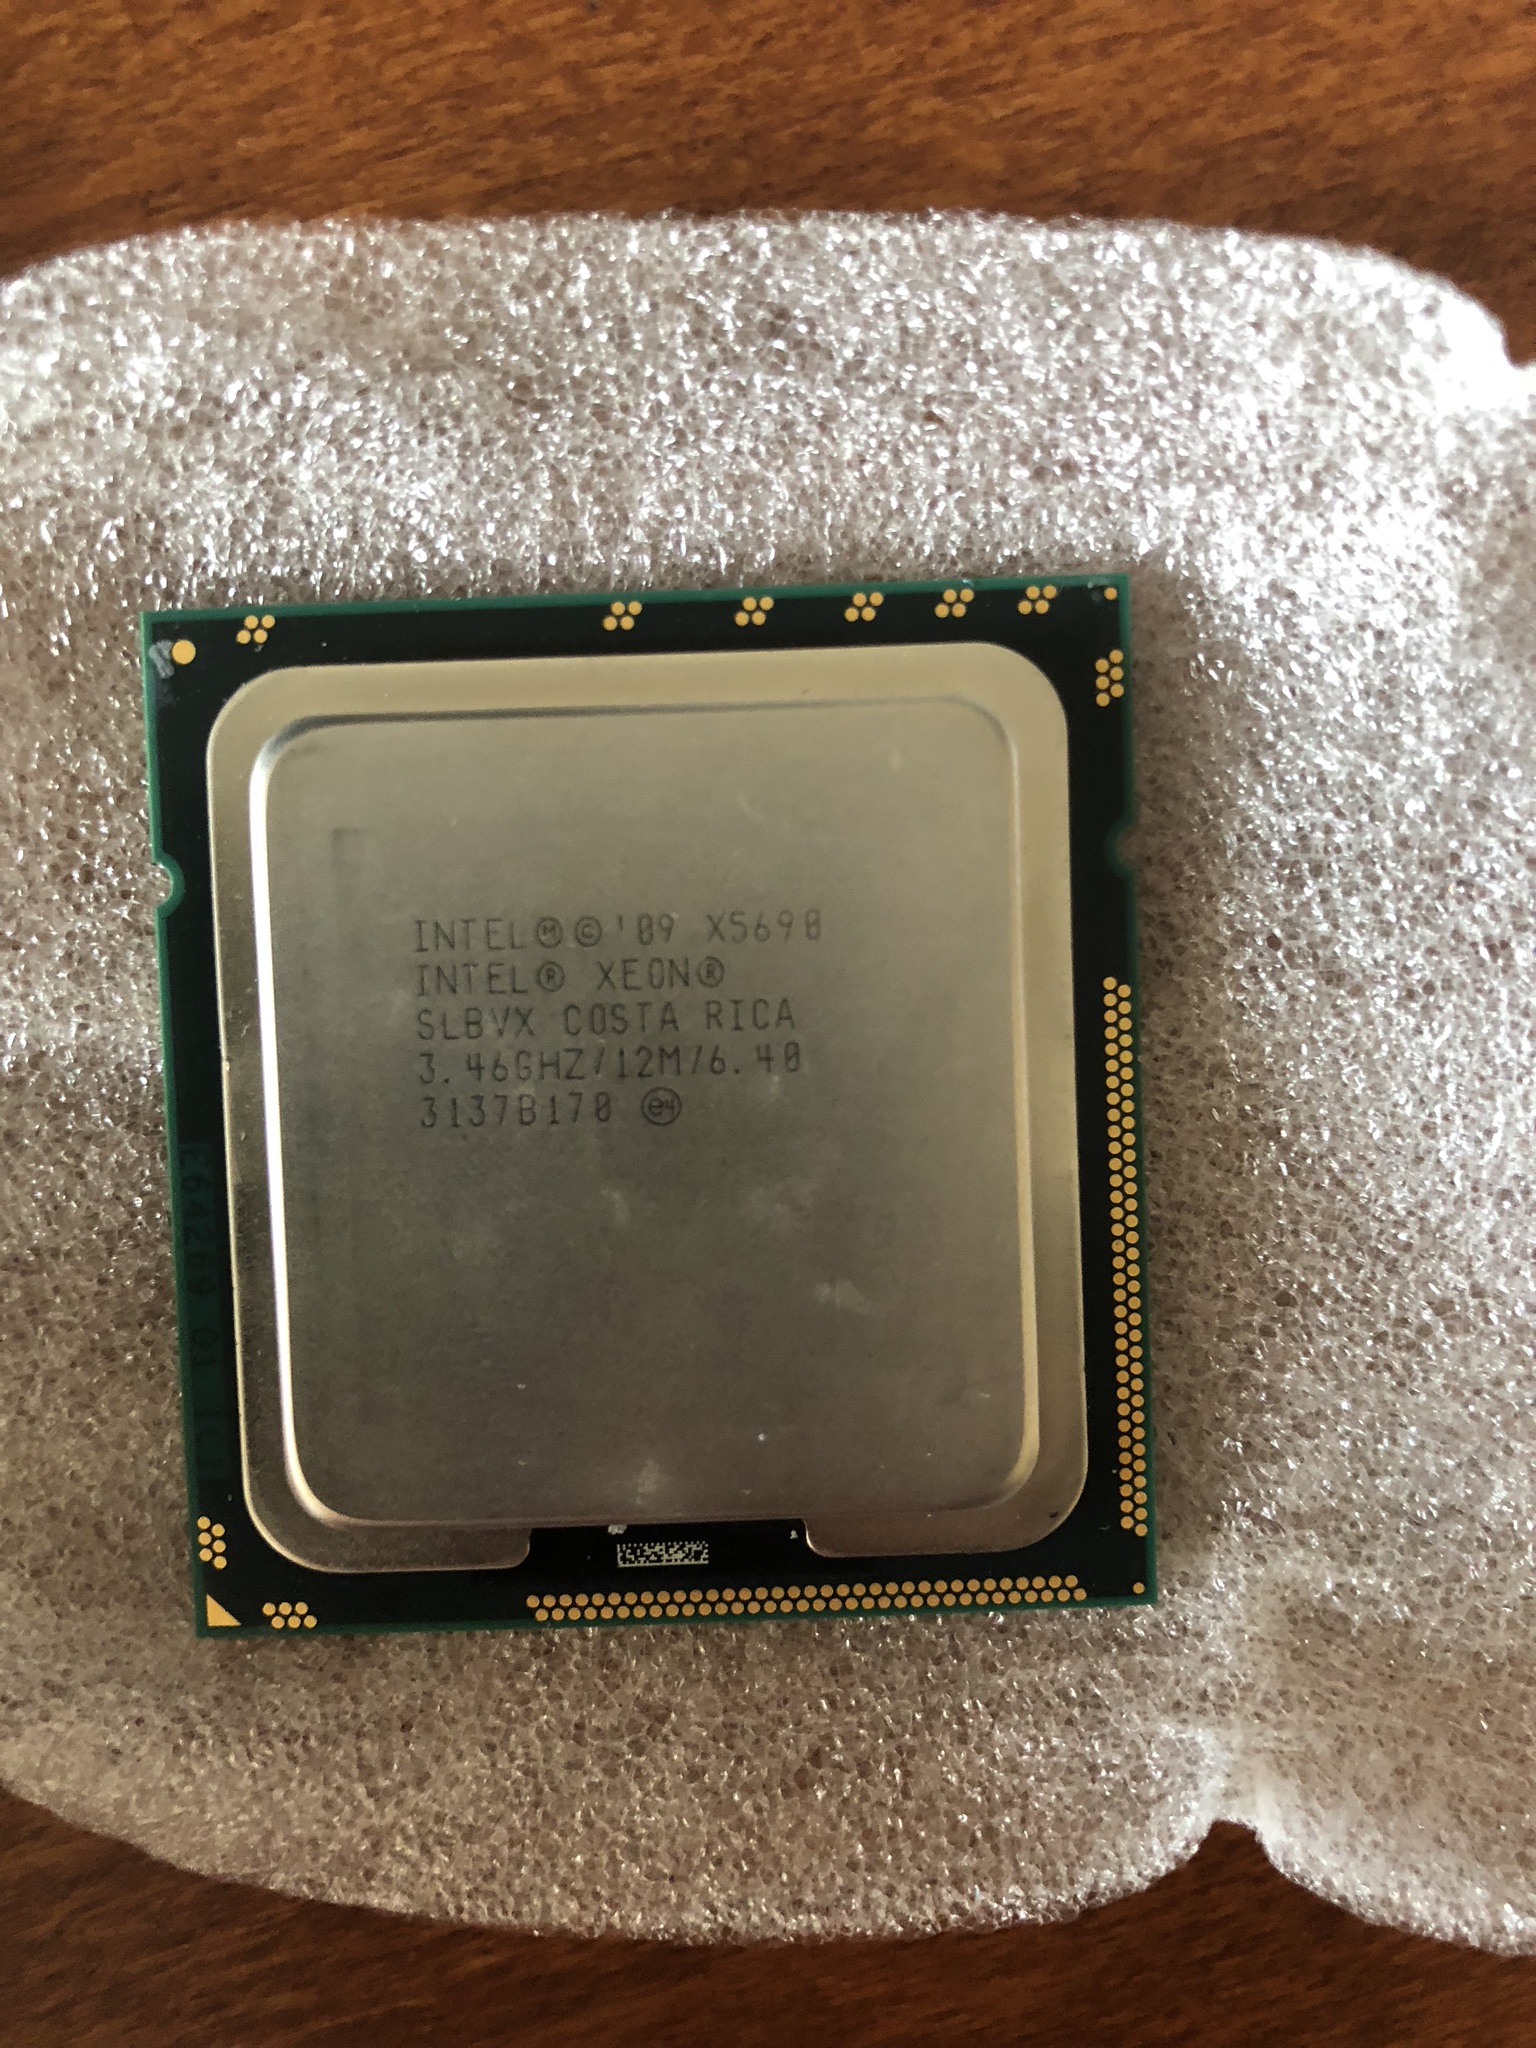
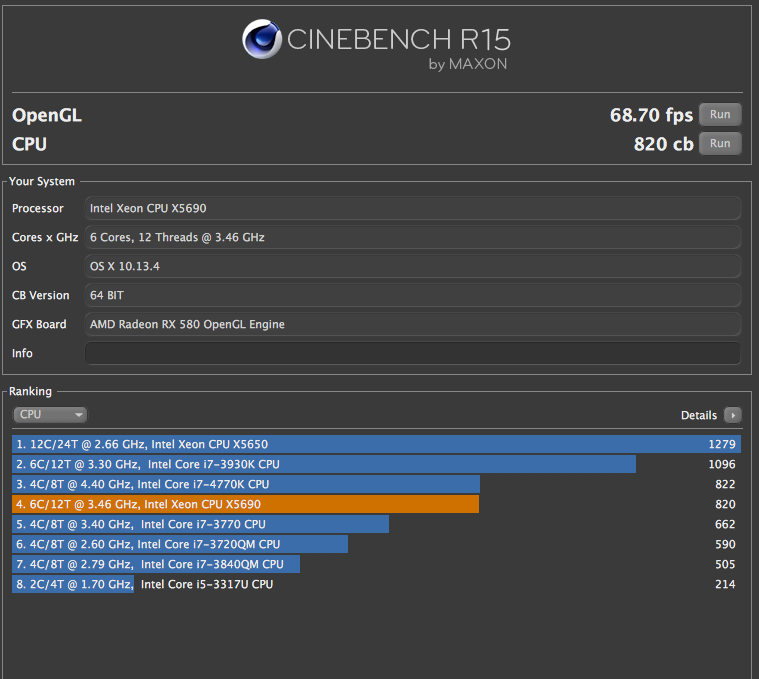
Here’s the comparison of the old included Xeon W3520 and Xeon X5690. Went with this because we can’t easily overclock a Mac Pro and the price for each X5690 went down to about RM320 each.
https://kongtech.wordpress.com/2018/08/04/m...enture-stage-1/
This post has been edited by kfc: Aug 4 2018, 04:14 PM
 Quote
Quote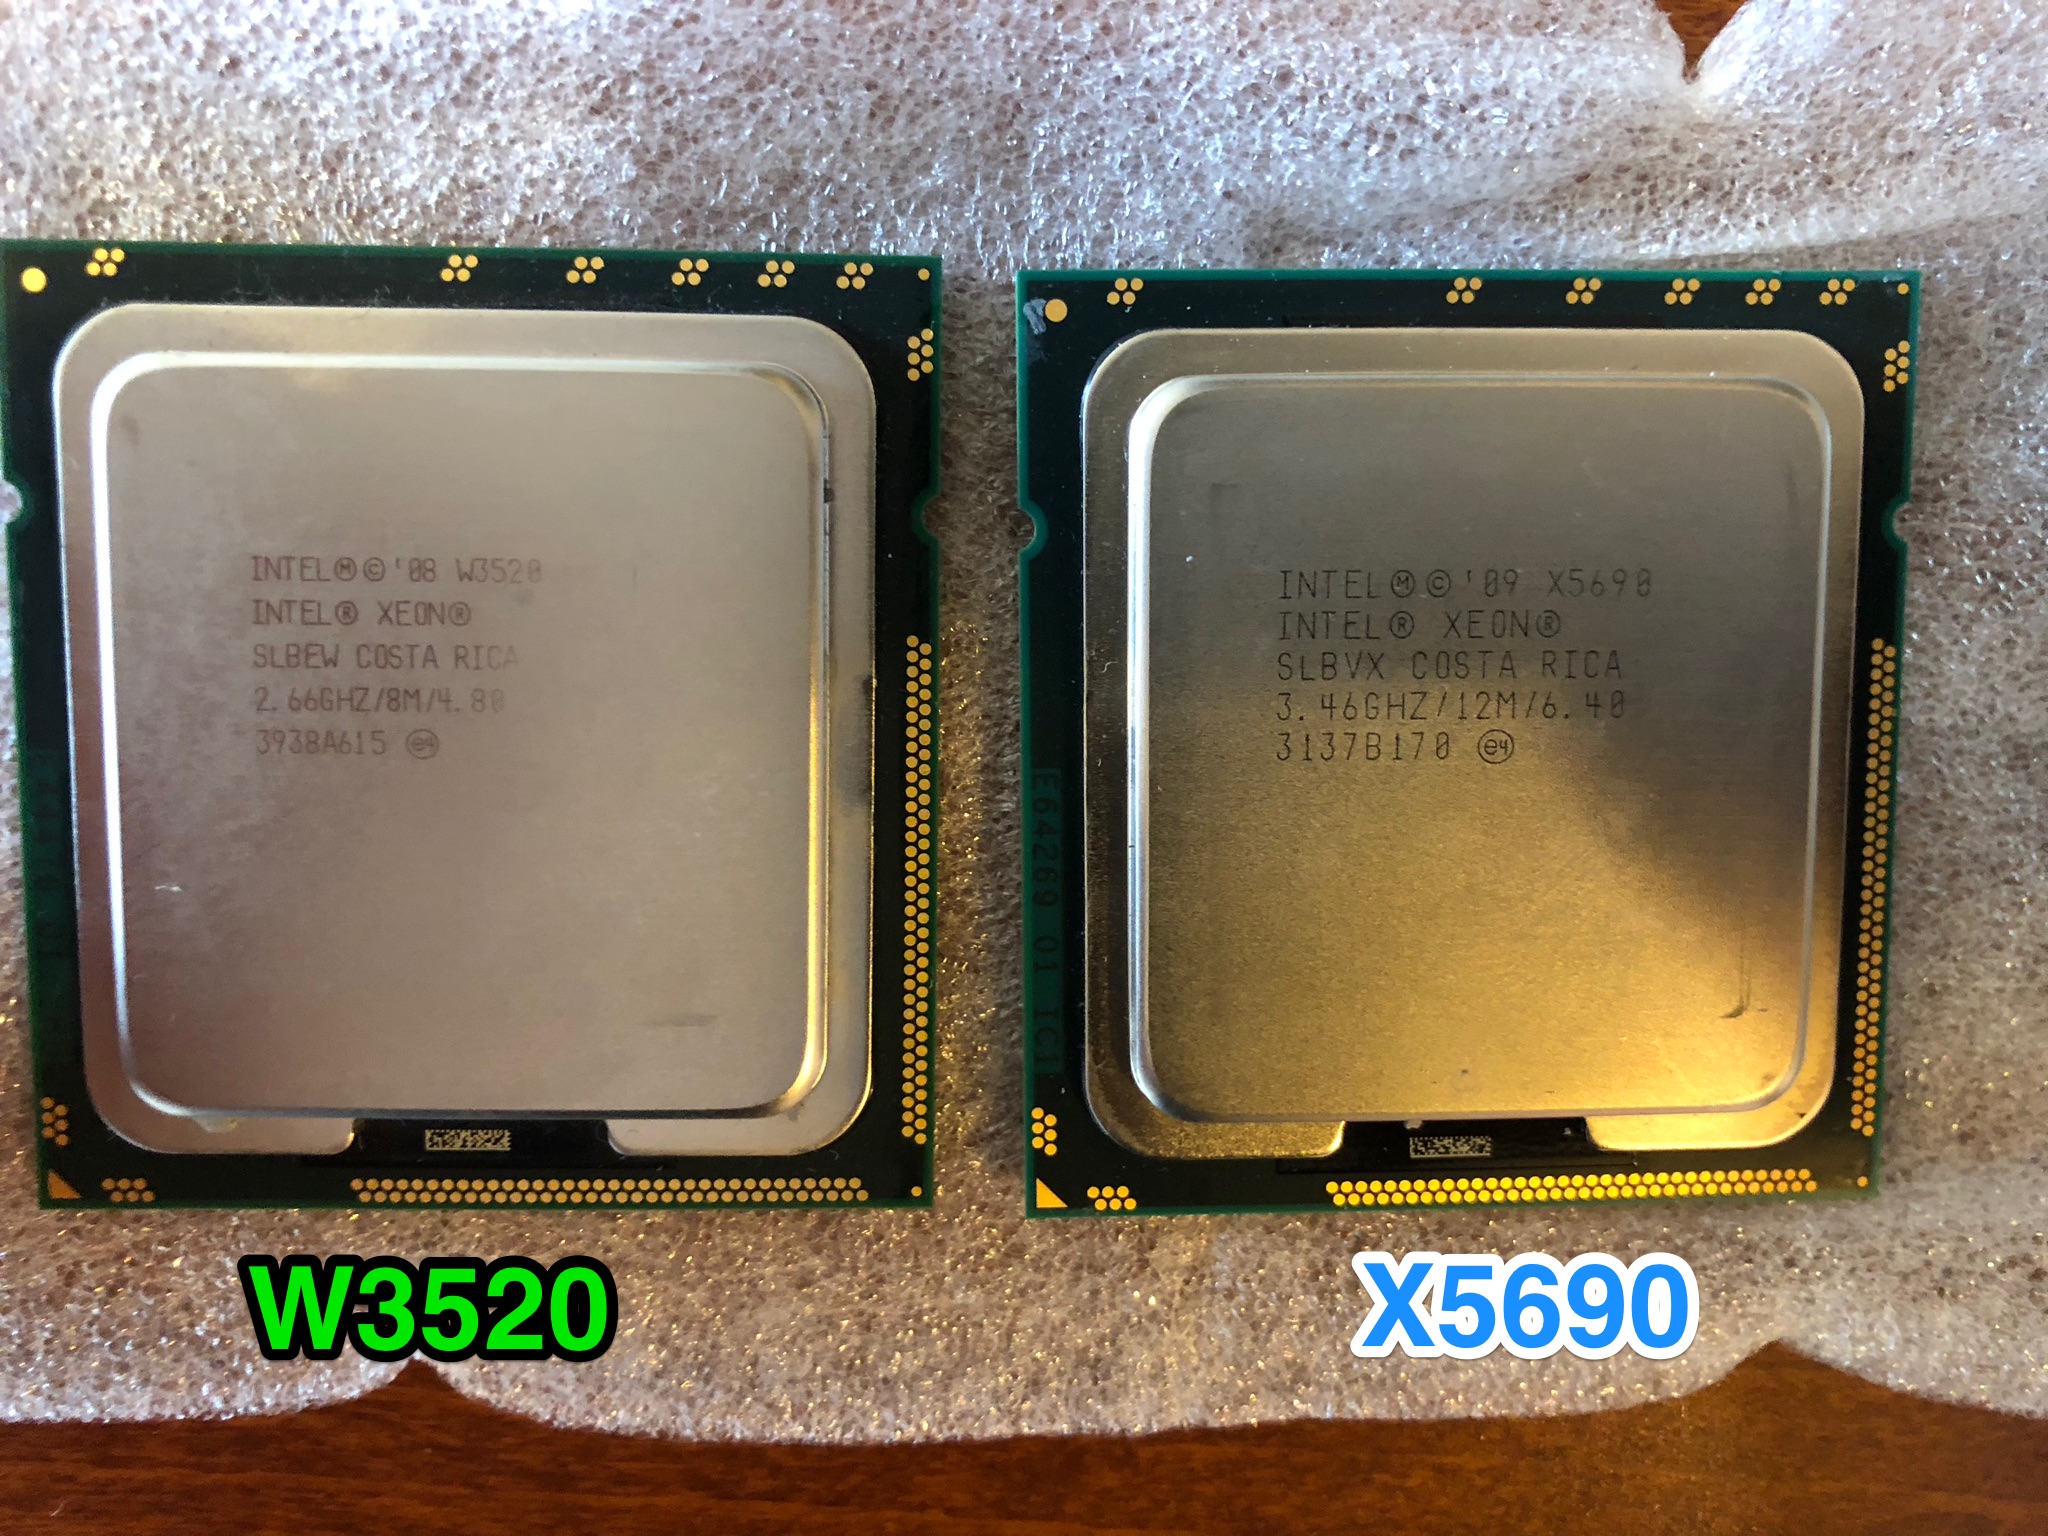


 0.0201sec
 0.90
0.90
 7 queries
 GZIP Disabled