

 Apr 19 2007, 12:15 AM, updated 19y ago

 plus girls as well NOW !!!
  (got UV's gf and pmmonkey)
after coming back to Penang with a few heavy boxes of casing and speakers from the LAN party, new semester (getting more difficult) has started but still i want to mod more !!!!
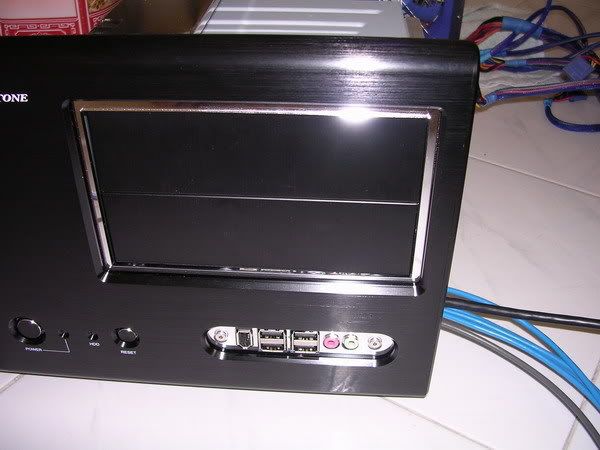
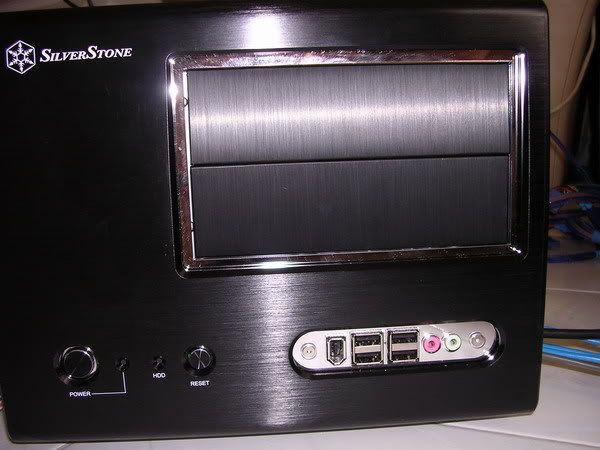
since my current setup cannot fit into the Silverstone SG-01 that i won, i had no other option but to sell it off...........
however my condition of selling the casing would be i will have the chance to mod the casing myself

all the hardware just came in last week and today i will start planning on how to mod this casing.....
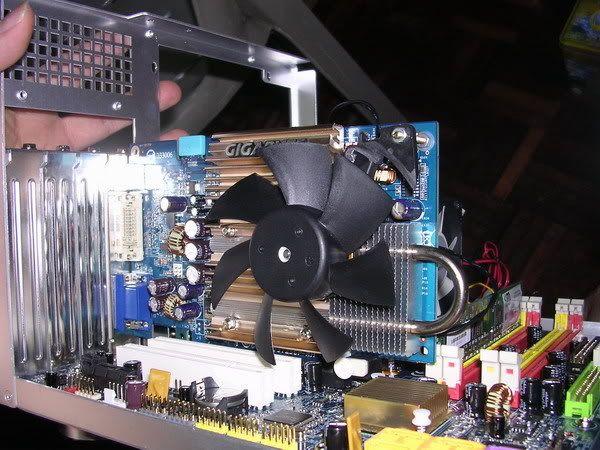
here are the specs of the parts that are going into this casing
Pentium D 3.2Ghz (very very hot proc
 )
)Silverstone ST-05 heatsink
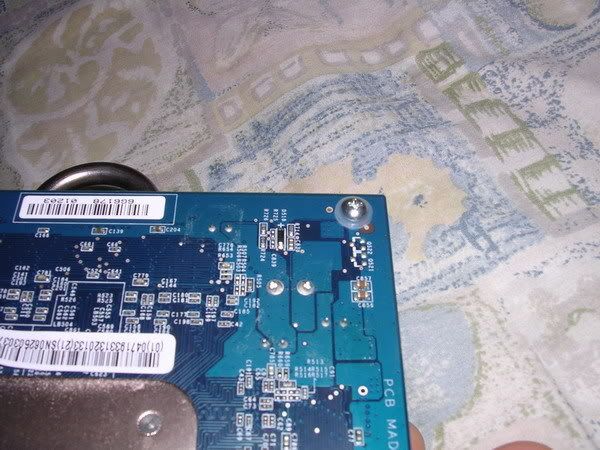
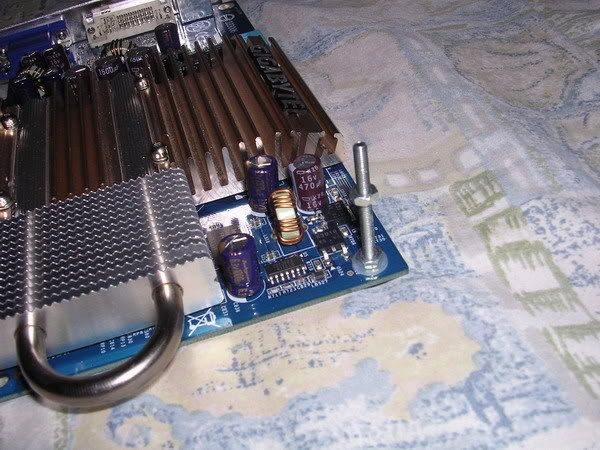
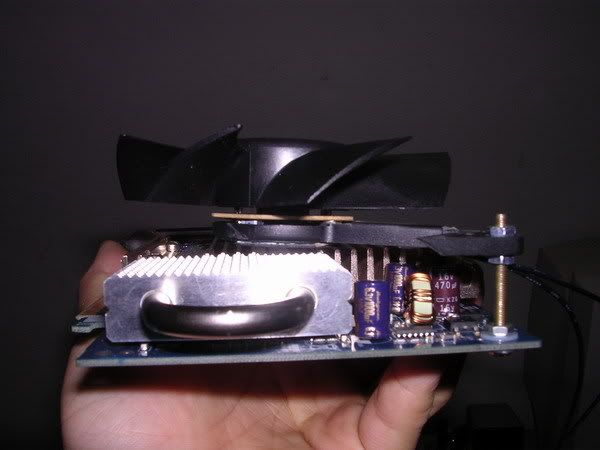
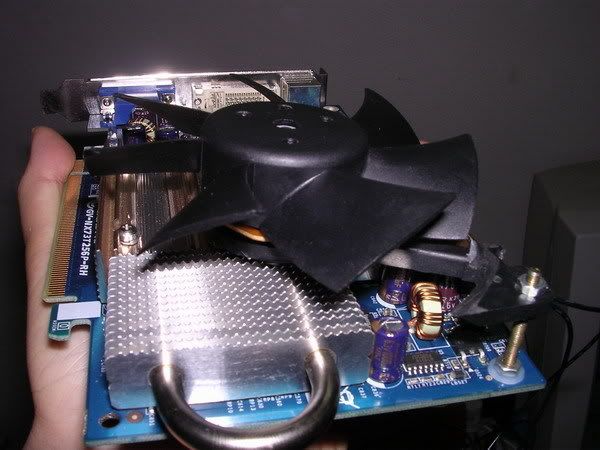
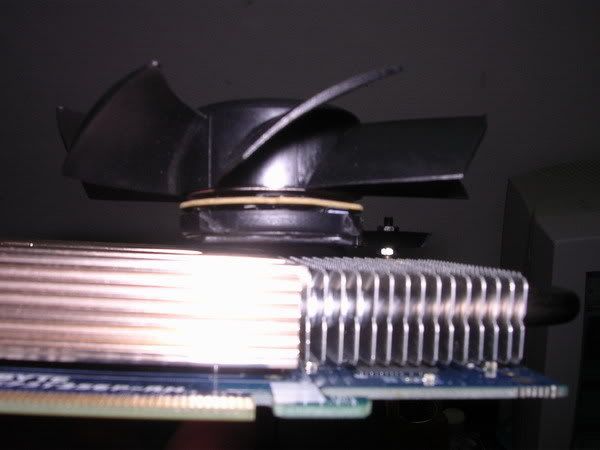
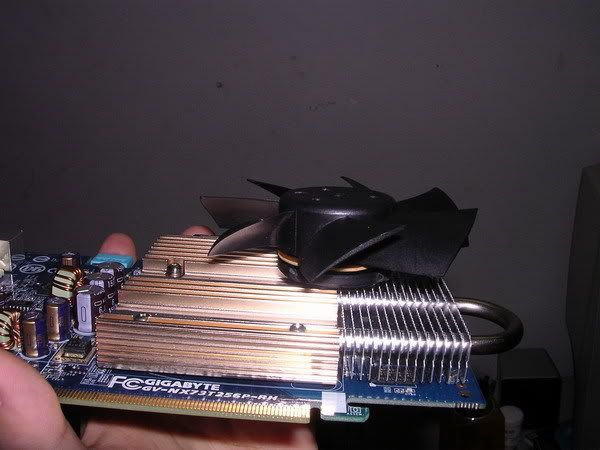
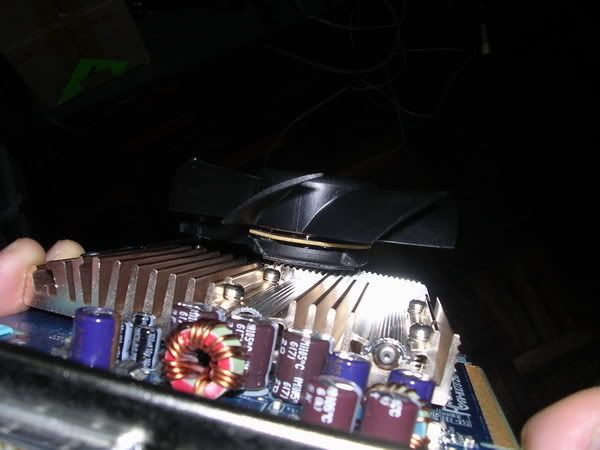
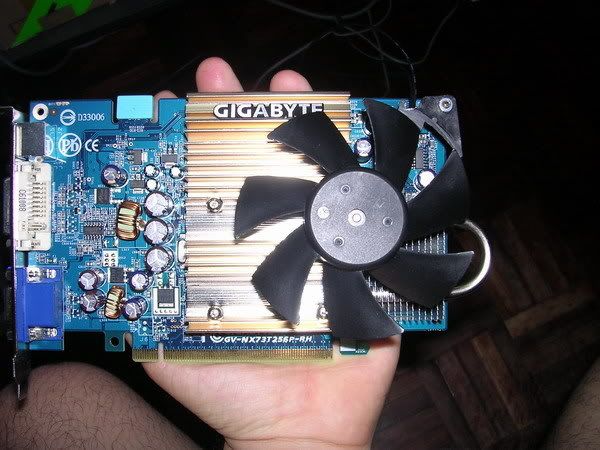
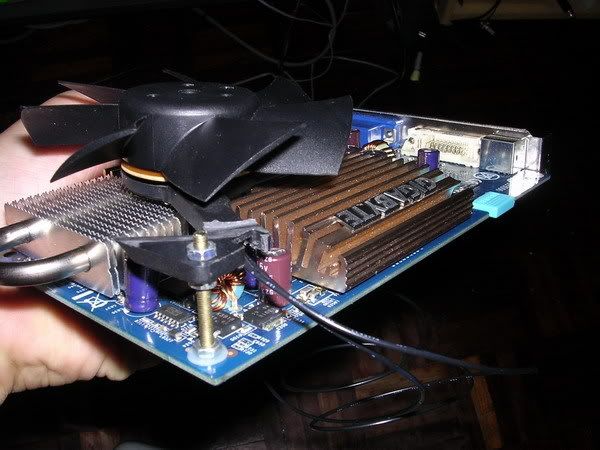
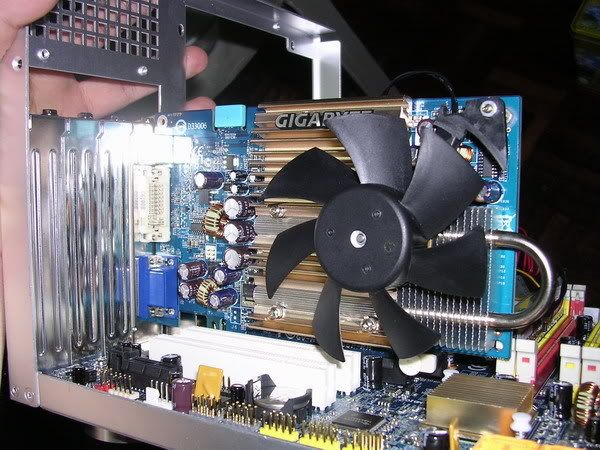
Gigabyte 7300GT 256mb PCIe
Gigabye GA-965GM-S2 mobo
Mushkin 1Gb 800Mhz DDR2 ram (single stick)
FSP Blue Storm 500W
Liteon DVD writer (SATA connector)
Objectives
- maintain stock looks as much possible

- provide sufficient cooling for the Proc as well as the GC
- bling it up but not too much........

MOD(s)
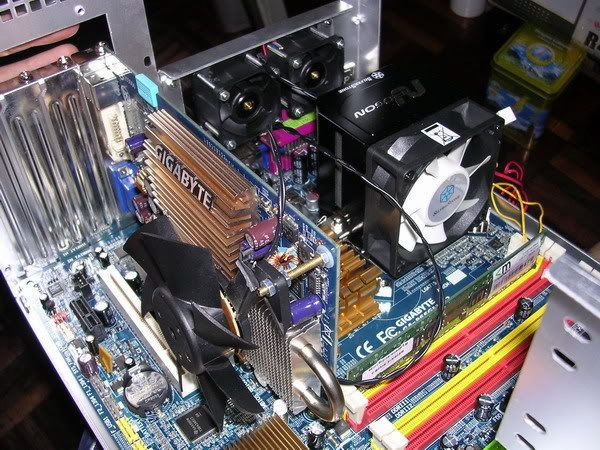
airflow and cooling mod(s)
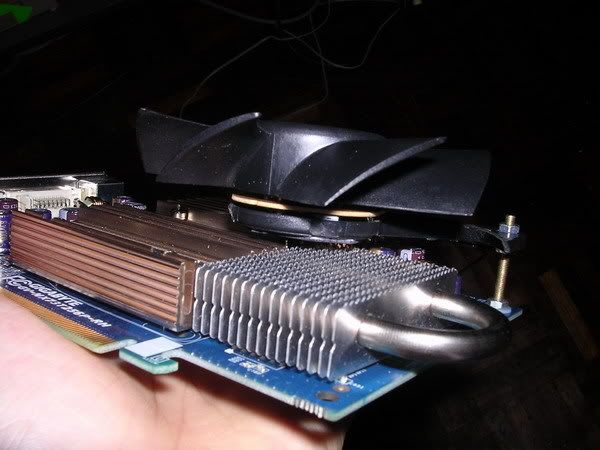
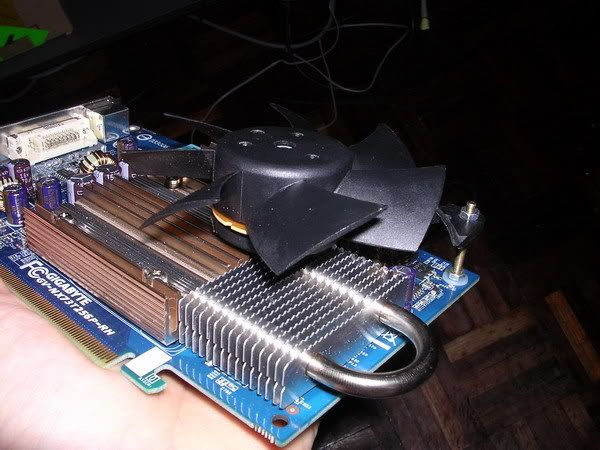
- whack 92mm Panaflo onto the GC which runs on a passive heatsink
- put 2x 80mm Panaflo M series/H series as exhaust fan
- put 3x 60mm fan on each side panel (6x fans in total) to increase the airflow onto the GC and onto the CPU area
- mod the rear plate to fit 2x 40mm Delta Focus Flow (or any 40mm with similar performance) to suck air out of the CPU heatsink
Aesthetic mod(s)
- red HDD activity downlight
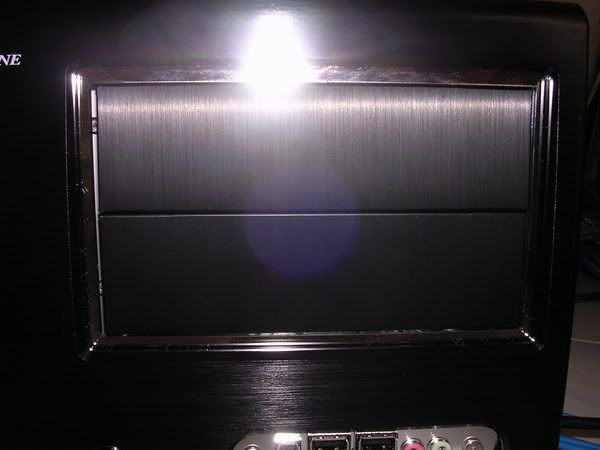
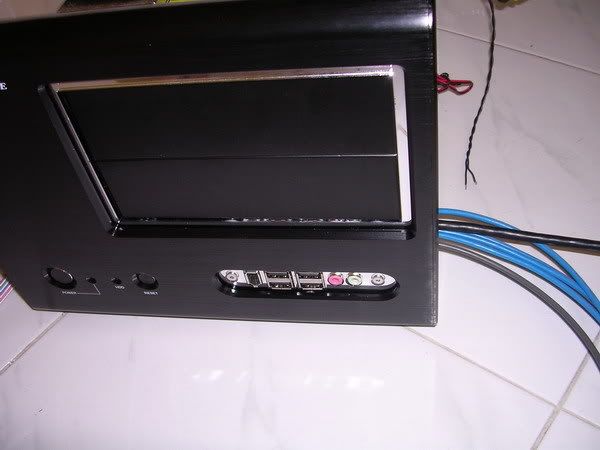
- stealth DVD cover by using the stock CDROM bay Alu plate
- all lighting controllers + fan controllers hidded behind stock CDROM bay Alu plate
- BLUE interior lightings (or any of his liking)
This post has been edited by AllnGap: May 12 2007, 12:21 PM
 Quote
Quote


 Pentium D in a shoe box, really love to see the temp results for this
  only can think of is the 5" bay slot for hiding all those wires


 0.0263sec
 0.89
0.89
 6 queries
 GZIP Disabled