

I did this for my fren, just for fun... did some weathering effects...
here u go, ENJOY!

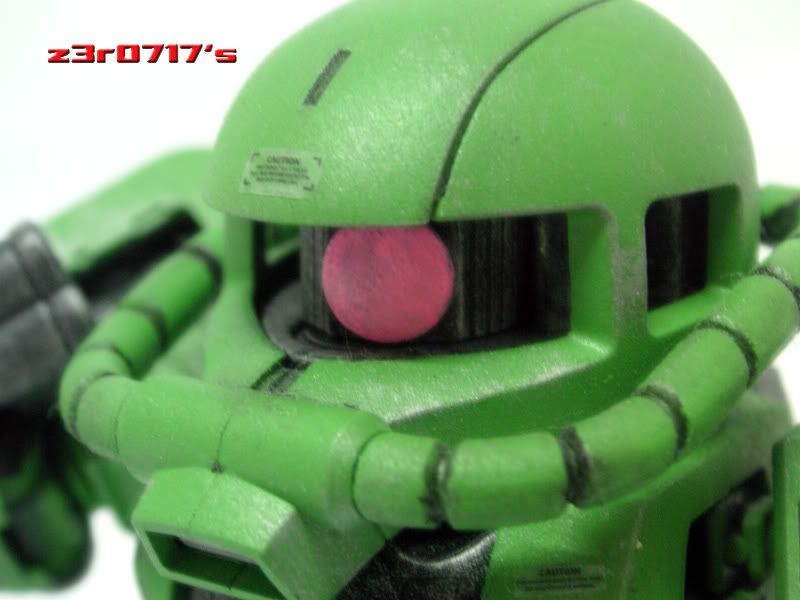
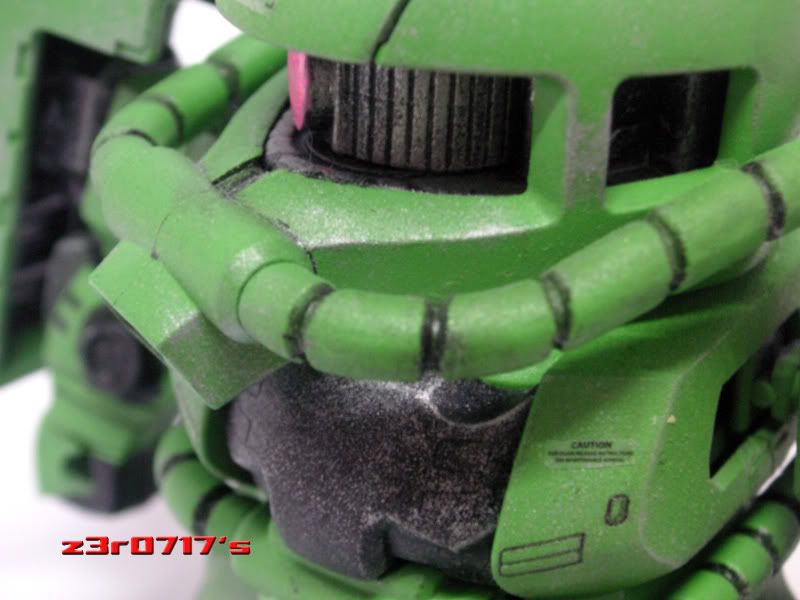
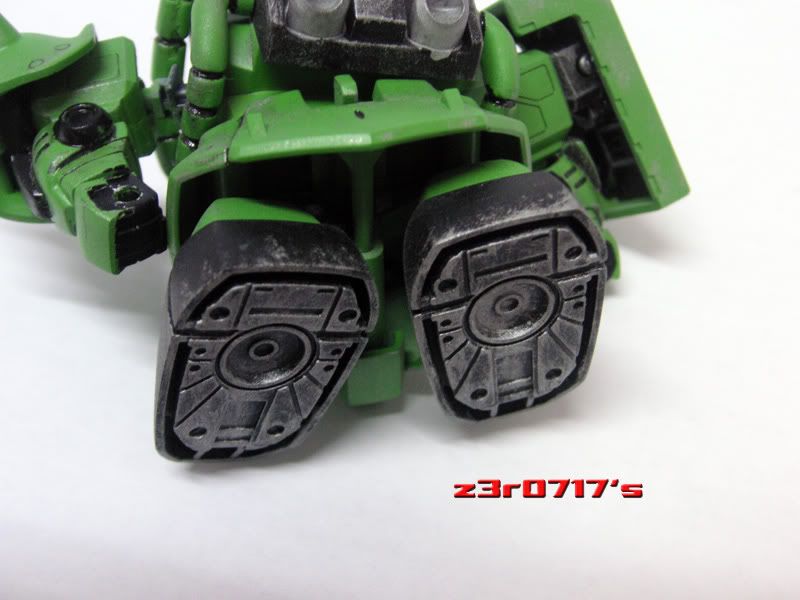
Close up!
Model Kits Work In Progress and Mecha Modelling Gallery, No CHATTING! we just want to see pic
|
|
 Aug 6 2008, 10:11 PM Aug 6 2008, 10:11 PM
Return to original view | Post
#101
|
 
Senior Member
2,239 posts Joined: Jun 2006 From: K.L |
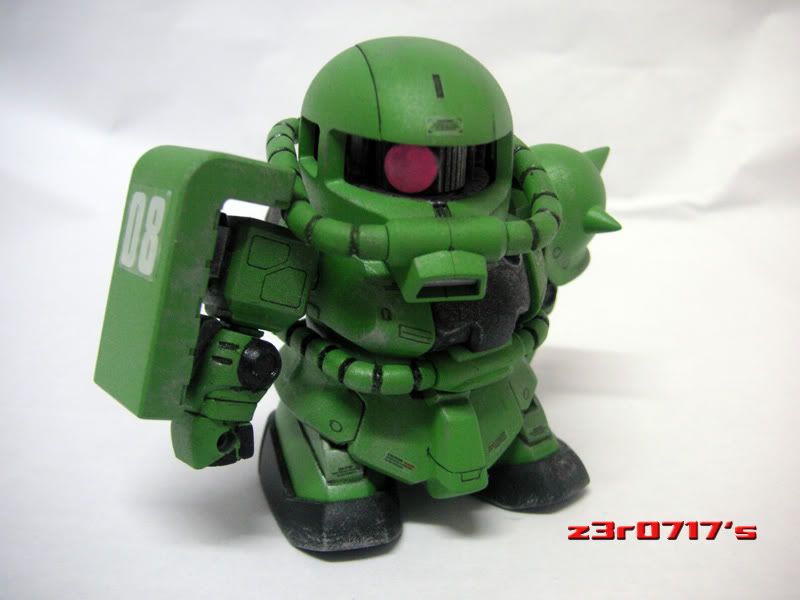
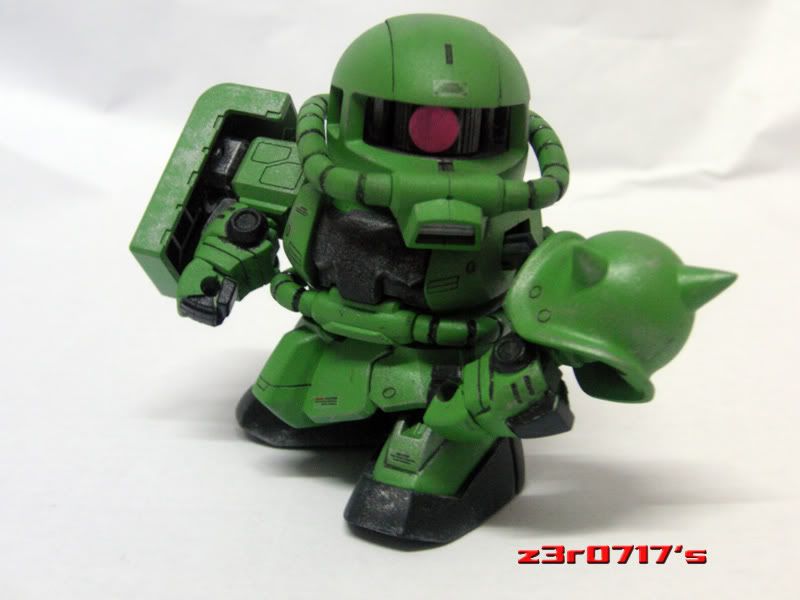
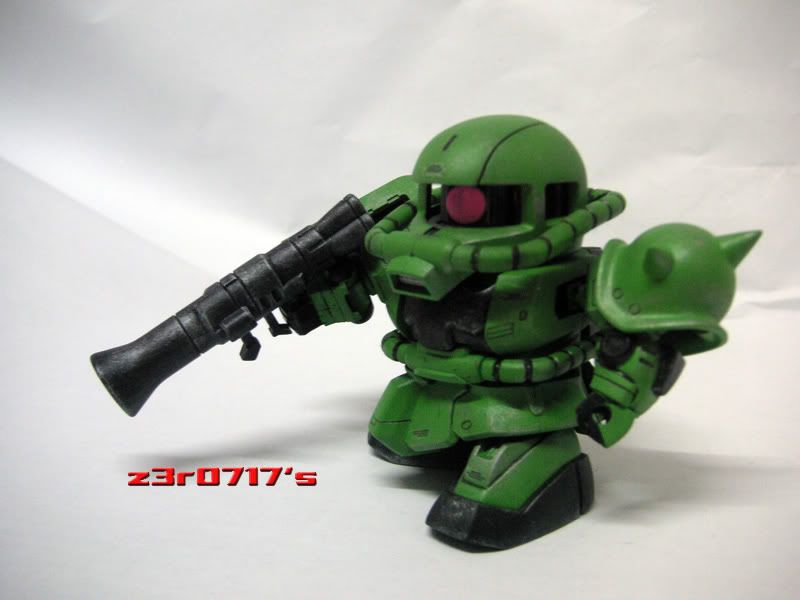
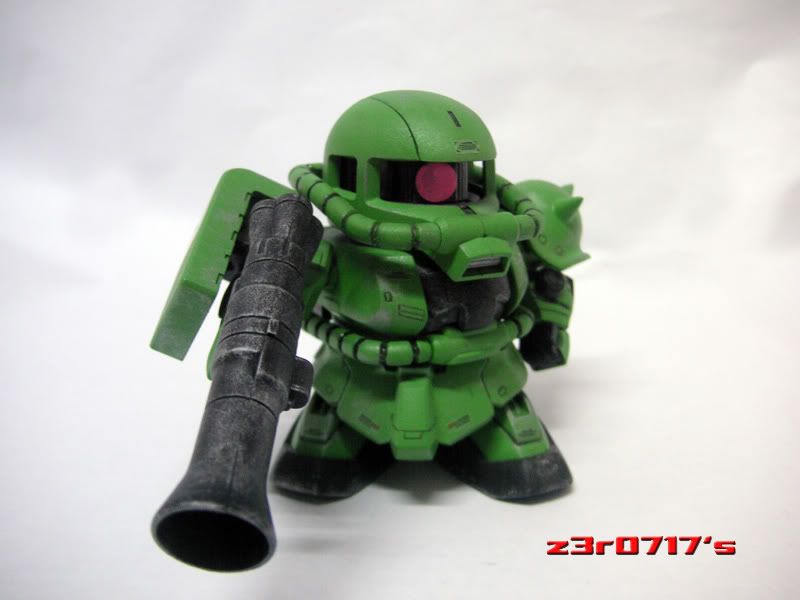
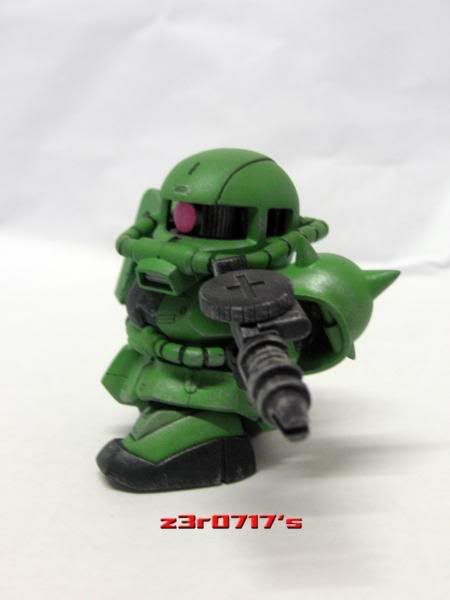
This is a REPOST... previous ones i posted very blur so i manage to take from my fren again this kit to retake photos..
I did this for my fren, just for fun... did some weathering effects... here u go, ENJOY! Close up! |
|
|
|
|
|
Aug 9 2008, 09:14 PM
Return to original view | Post
#102
|
|
Senior Member
2,239 posts Joined: Jun 2006 From: K.L |
Hey guys... another work from me...
This is a MG unicorn done by using spray cans and Airbrush(AB). Did some minor detailing and change the inner frame color  The white is milk white and the silver part is chrome, red is bright red from nippon pylox spray can.. the dark blue i used AB since couldn't find the color in pylox... Well, i kinda regret using spray can for this lovely kit.. i really love this gundam... There's a few problem i encounter doing this kit.. the chrome part doesn't go well wiv superclear flat, the red is too thick coz industrial spray can which makes it not nice, the white is ok.. NOTE: i didn't clean the kit properly after panel lining, that's y u can see it's kinda messy.... and some paints got scratch coz i went and transform it..  oh yea, the stupid superclear suddenly gave me frostings on my kit  Ok here goes! Here are some photos of Unicorn mode before i transform to avoid paint scratch 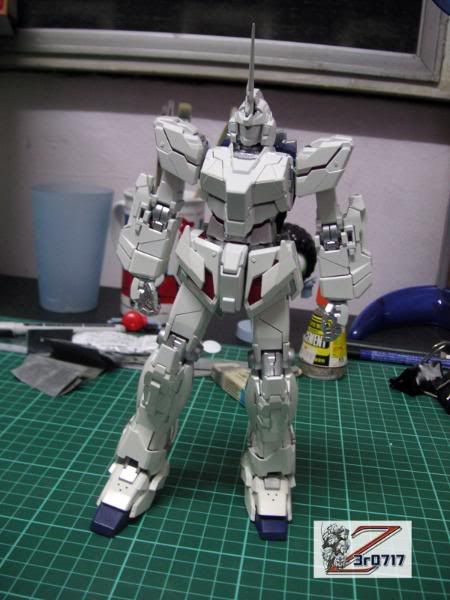 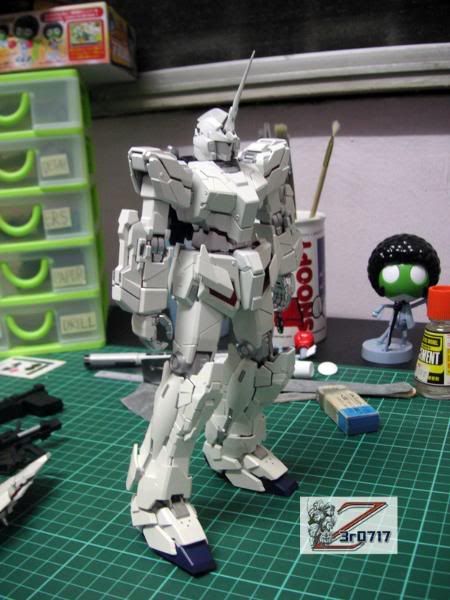 Time for DESTROY MODE! 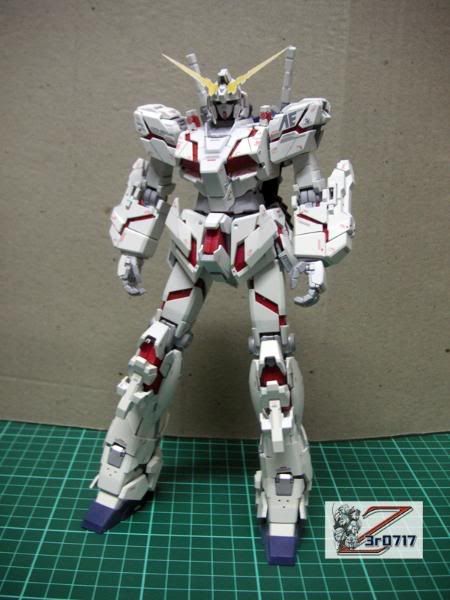 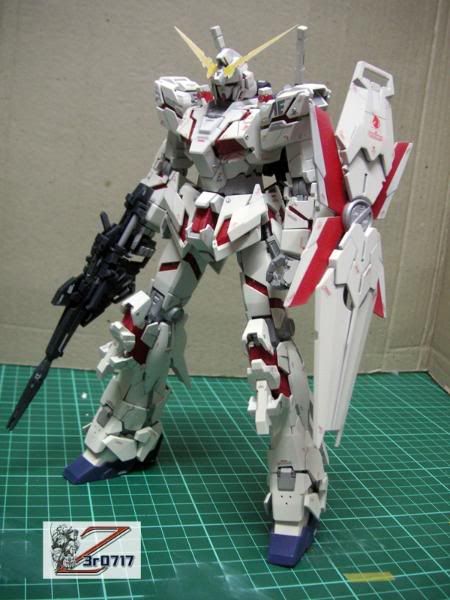 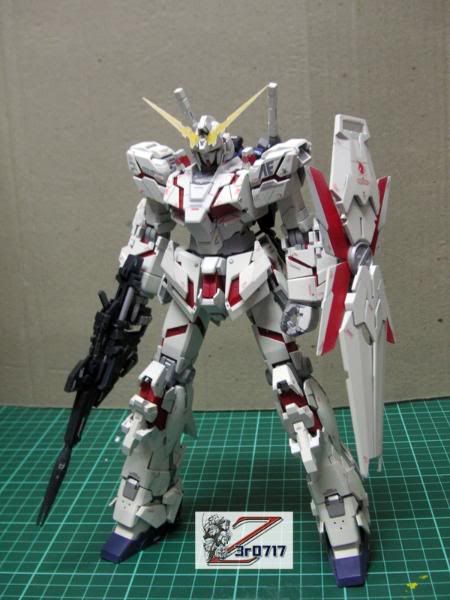 See the right side bullets no decal rite? becoz they did not provide so many  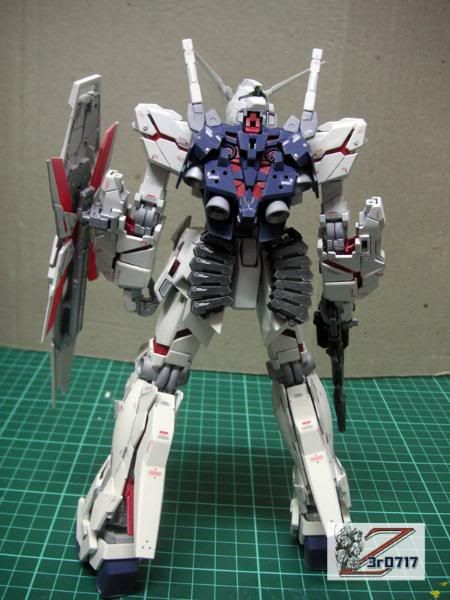 This post has been edited by z3r0717: Aug 9 2008, 09:22 PM |
|
|
Aug 9 2008, 09:17 PM
Return to original view | Post
#103
|
|
Senior Member
2,239 posts Joined: Jun 2006 From: K.L |
Time for some close ups
 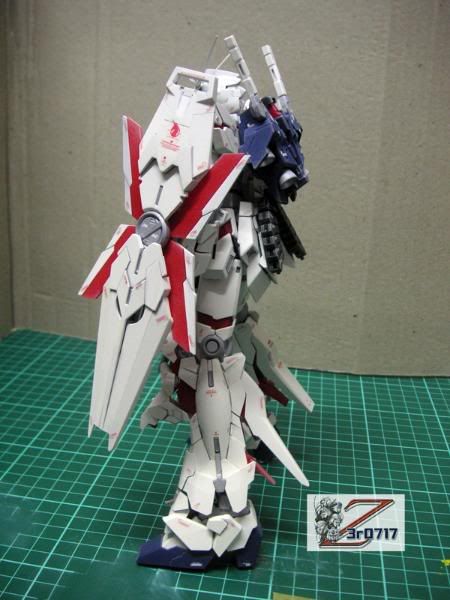 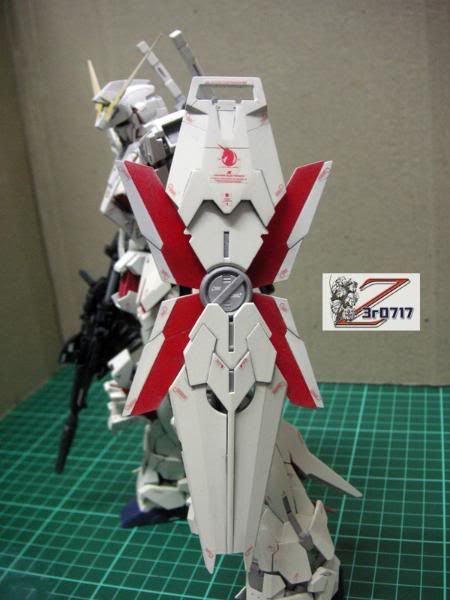 I just love the shield! 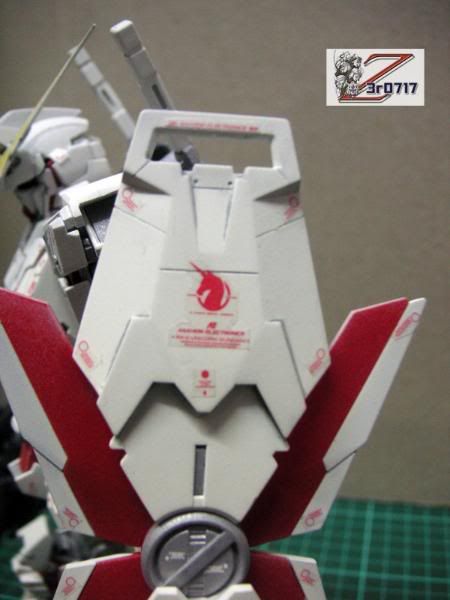 Sexy legs 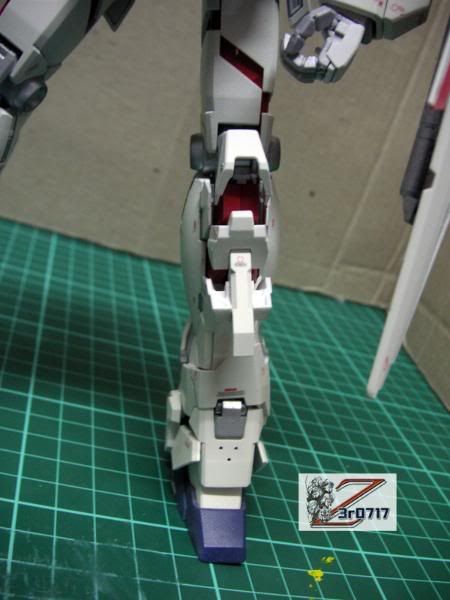 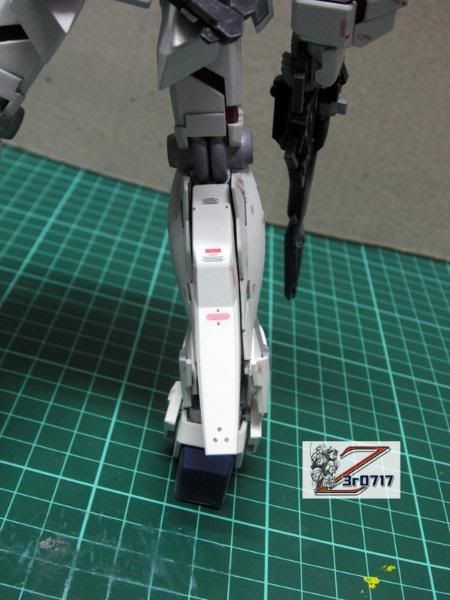 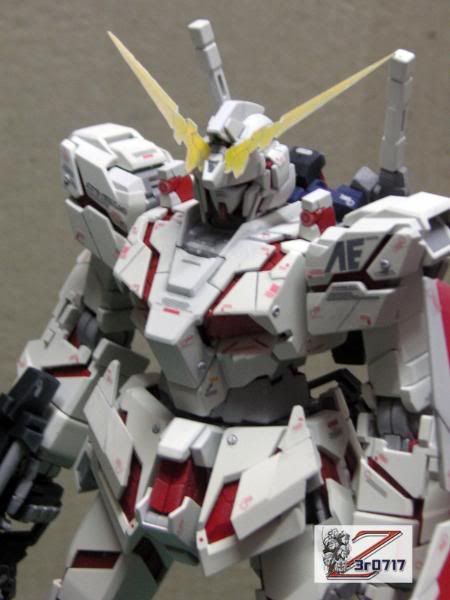 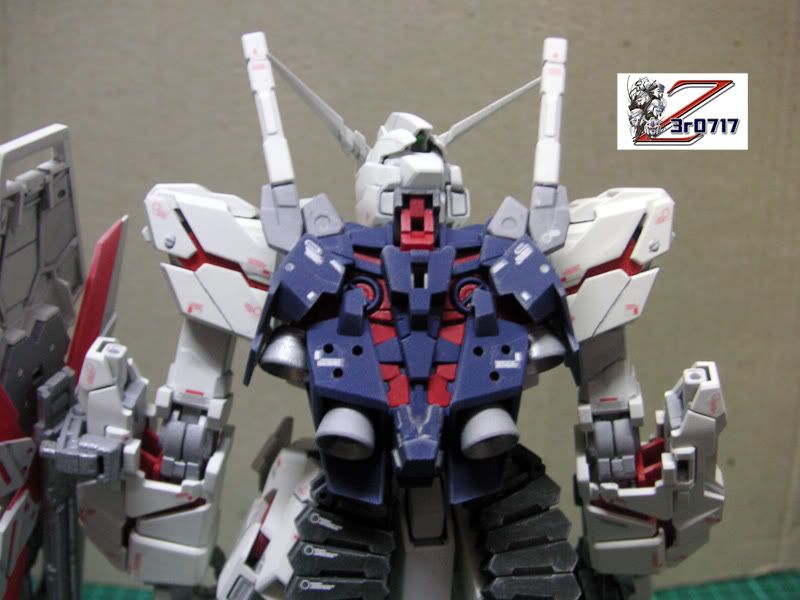 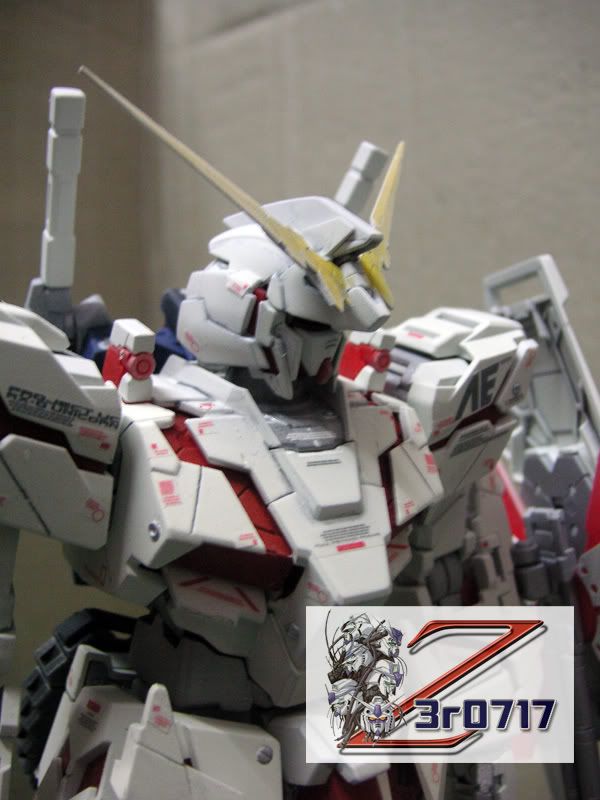 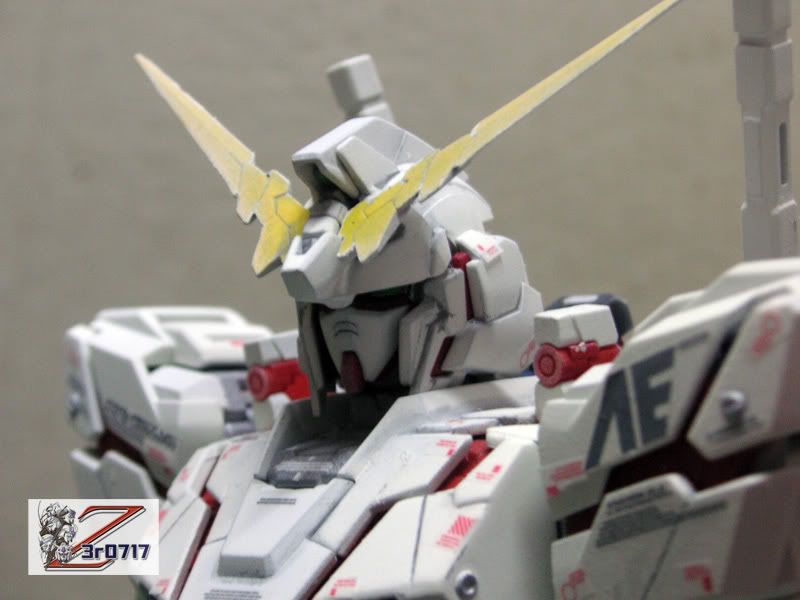 This post has been edited by z3r0717: Aug 9 2008, 09:20 PM |
|
|
Aug 9 2008, 09:30 PM
Return to original view | Post
#104
|
|
Senior Member
2,239 posts Joined: Jun 2006 From: K.L |
yea, frosting very bad.. zzz
i wanted to paint the red but it isn't wat i wan... if u spray metalic red, it'll look gorgeous  @03 i kno where to mod, if u own one, u'll kno where is it... i mod a bit only but still no difference coz shud have cut another part but anyway i prefer posing it standing This post has been edited by z3r0717: Aug 9 2008, 09:31 PM |
|
|
Aug 10 2008, 12:31 PM
Return to original view | Post
#105
|
|
Senior Member
2,239 posts Joined: Jun 2006 From: K.L |
@chriswoo
it's not metalic red  wow.. ur zeta very clean d wor... improve liao!  @katun_lxg nice dynames.. but hmm... seems like ur cupboard getting pack, time to get a new one  |
|
|
Sep 7 2008, 01:26 PM
Return to original view | Post
#106
|
|
Senior Member
2,239 posts Joined: Jun 2006 From: K.L |
hmm... good work chris, getting better and better...
future kits make sure more tidy and neat k! |
|
|
|
|
|
Sep 17 2008, 08:17 AM
Return to original view | Post
#107
|
|
Senior Member
2,239 posts Joined: Jun 2006 From: K.L |
they look like they've been AB-ed.... very nice... the color is very matching
not bad |
|
|
Sep 21 2008, 10:24 PM
Return to original view | Post
#108
|
|
Senior Member
2,239 posts Joined: Jun 2006 From: K.L |
@pcomet
nice job man!!! wow.. seems like getting better in AB.. Good work |
|
|
Sep 29 2008, 11:19 AM
Return to original view | Post
#109
|
|
Senior Member
2,239 posts Joined: Jun 2006 From: K.L |
Hey guys, long time didn't post in W.I.P thread alr...
Just want to share what i'm currently doing with u guys.. hehe... and yea, i'm doin sazabi too like chris...  Here's the snap fitted kit 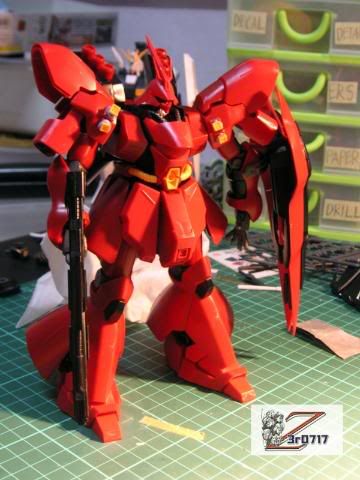 Now i am trying to design it to look better becoz it looks too plain The left one is the new one and the right is the old one which i failed.. dry.gif NOTE: not final design. biggrin.gif 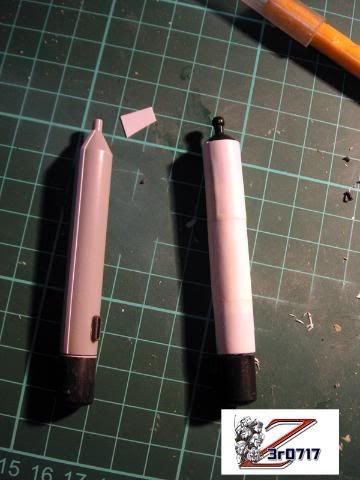 now to the upper body armor... i didn't quite like the side armor as it is too thin so i added another 1mm pla plate to thicken it... this one applied with polyester to cover the holes 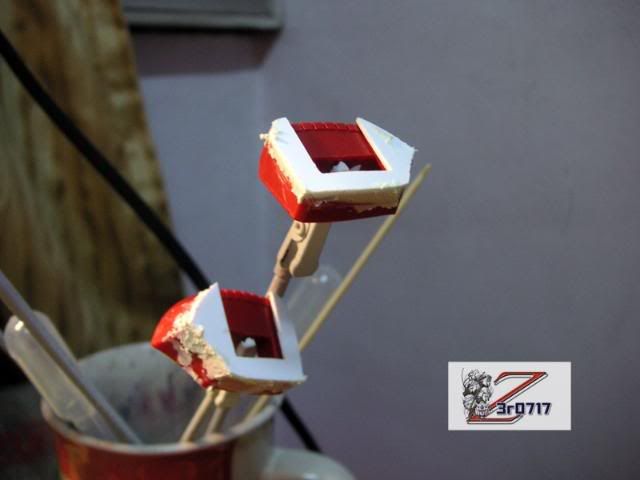 After sanding 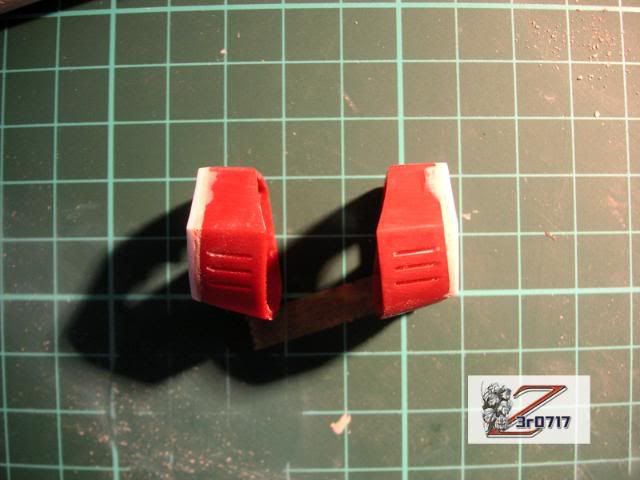 Here a place i modded, i replace the poly cap with kotobukiya kit joint part from oldman(free advertisement) Those these koto parts are cheaper the yellow submarine but it's not as tight as Y.S, anyway it's just nice for HG though.. hehe i used bondite to hold the cap... hope it holds strong enough NOTE: havn't sand one.. hehe 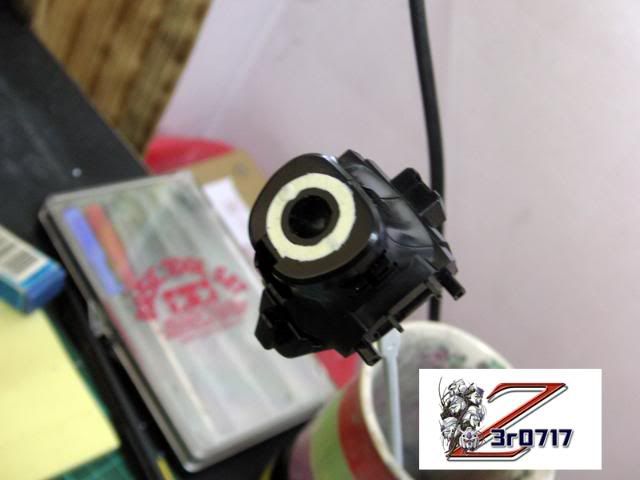 |
|
|
Sep 29 2008, 11:21 AM
Return to original view | Post
#110
|
|
Senior Member
2,239 posts Joined: Jun 2006 From: K.L |
Here's the design i did for the front armor part
I added 0.2mm pla plates for design, at first i tried to do panel lining but i couldn't get the even lines... 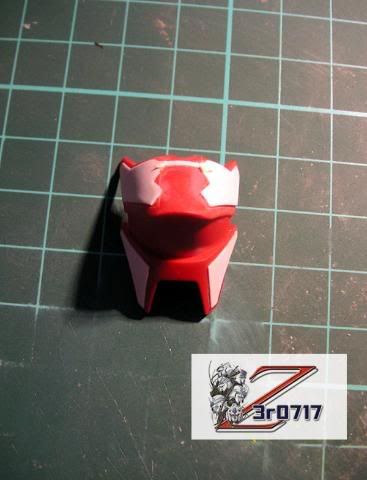 This is the side where i added 1mm pla plates to thicken it... 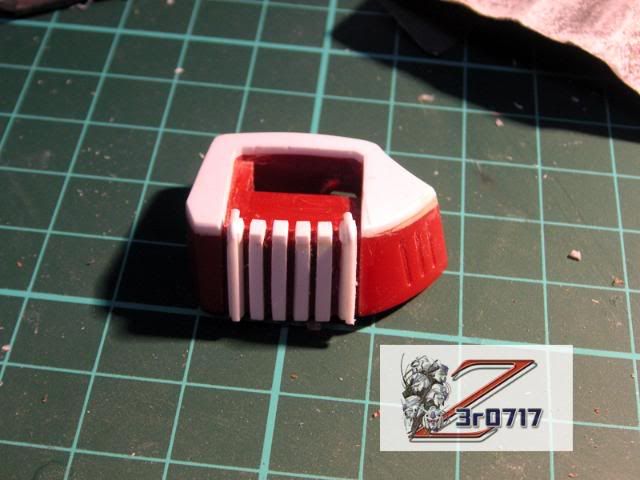 Overall for now, looks like this 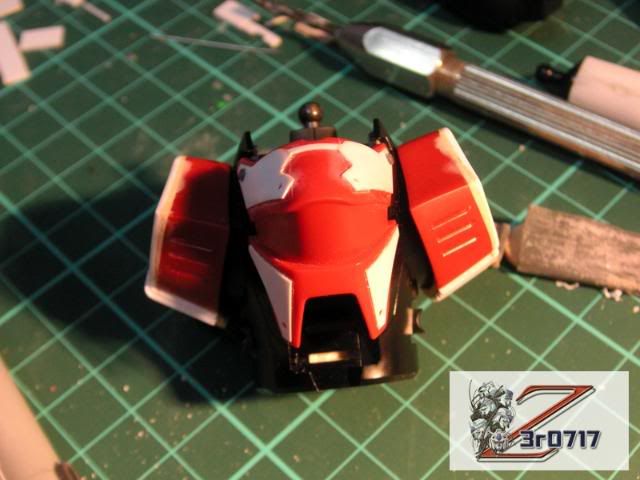 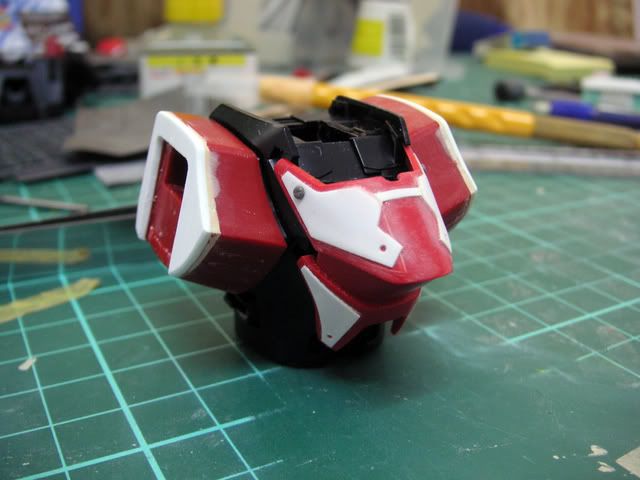 |
|
|
Sep 29 2008, 02:01 PM
Return to original view | Post
#111
|
|
Senior Member
2,239 posts Joined: Jun 2006 From: K.L |
it's a kotobukiya part... this one is a minus mold part... got a lot of size.. i just use this for detailing..
|
|
|
Sep 30 2008, 01:45 AM
Return to original view | Post
#112
|
|
Senior Member
2,239 posts Joined: Jun 2006 From: K.L |
ok ok, small updates!
cut these for detailing 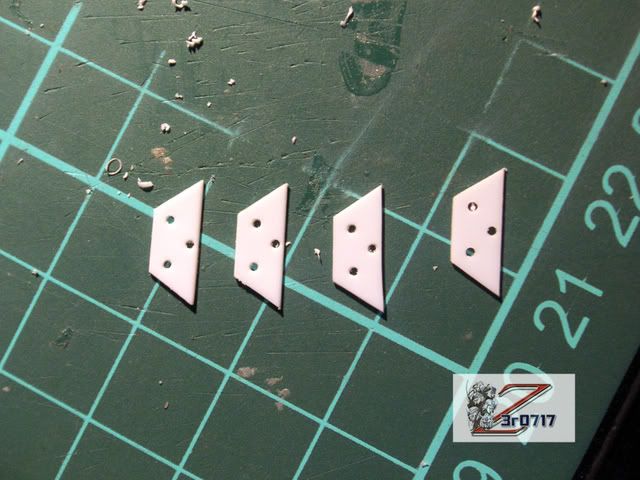 ok, here's the funnel back pack BEFORE & AFTER 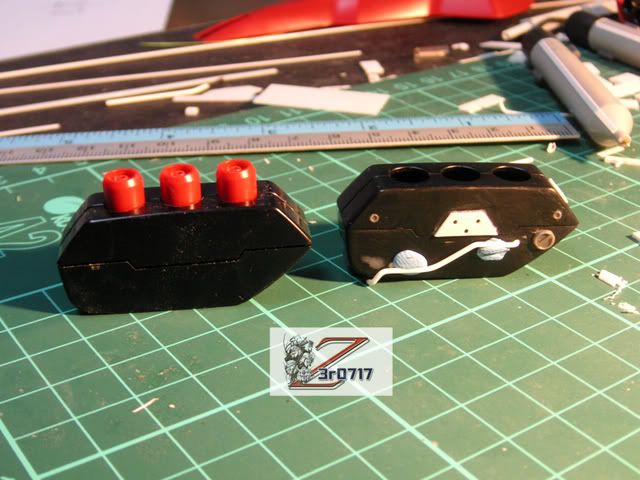 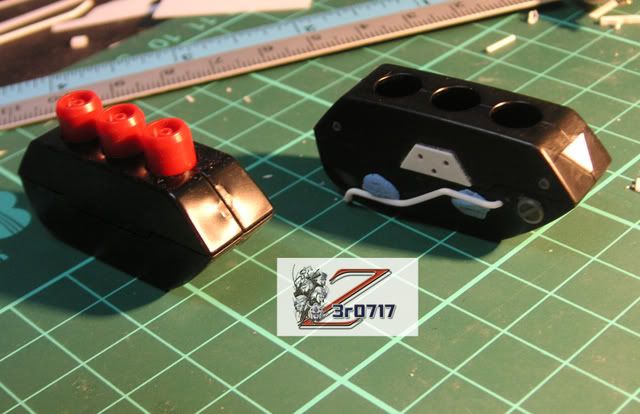 Close up 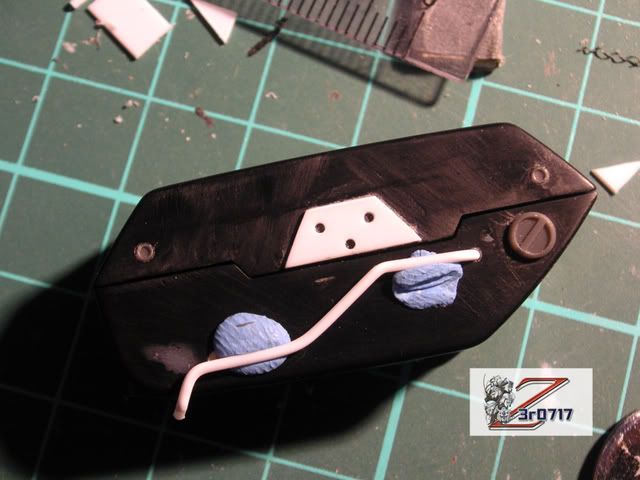 OK, this picture, i plan to do a pipe thingy, i was wondering is this ok? PLZ COMMENT. once it's ok, i will drill holes and the pla beam will go in to act like a pipe.. |
|
|
Sep 30 2008, 03:15 AM
Return to original view | Post
#113
|
|
Senior Member
2,239 posts Joined: Jun 2006 From: K.L |
@chriswoo
i used pla beams, just slowly bend them with my fingers.. very easy... WALAU, ur back pack mod... mine totally kalah d...  This post has been edited by z3r0717: Sep 30 2008, 03:15 AM |
|
|
|
|
|
Oct 12 2008, 11:10 PM
Return to original view | Post
#114
|
|
Senior Member
2,239 posts Joined: Jun 2006 From: K.L |
argh... chriswoo finish painting his sazabi d... i must speed up !!!
Here's my update I added some detail parts to the back pack.. dun mind the cement body, havnt sand it.. hehe 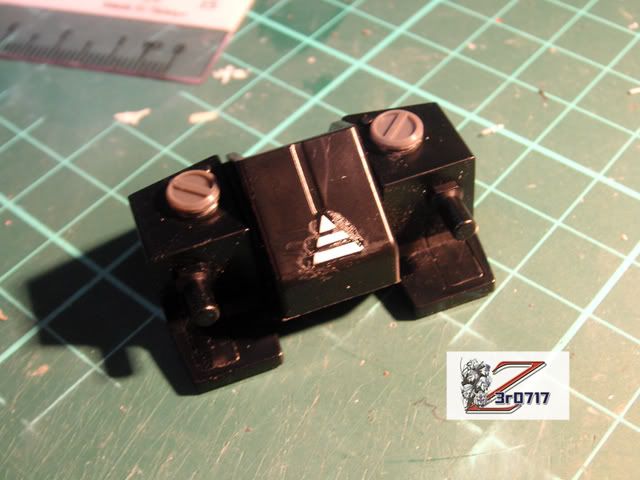 I've changed the thrusters bigger, the 2 small ones i changed also but 4got to take picture doh 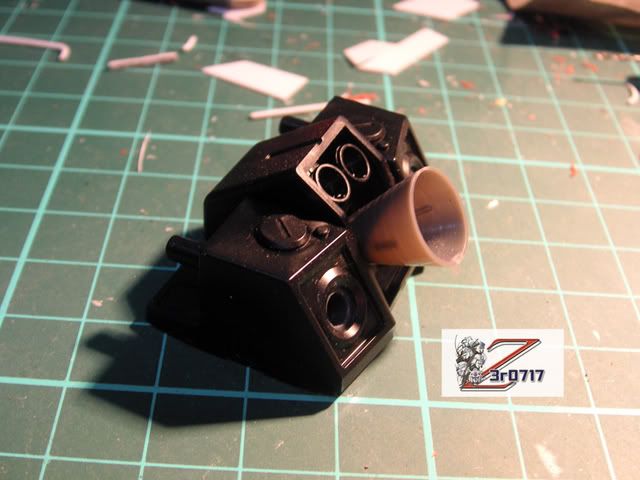 Overall of the backpack should look something like tat 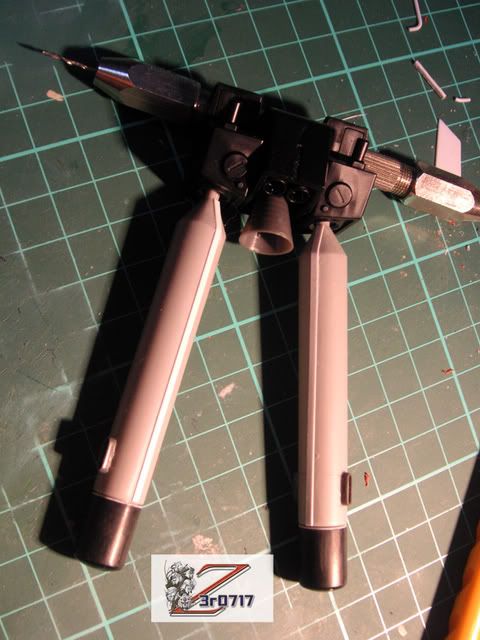 Time for The front skirt, first i cover the hole with bondite.. Bondite is soooo useful, last time i use polyester, wat a dumb ass i am. doh bondite = easier, faster, less smell.... lol 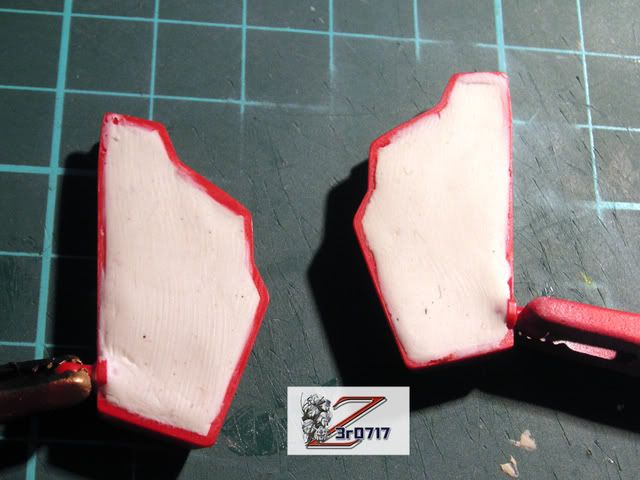 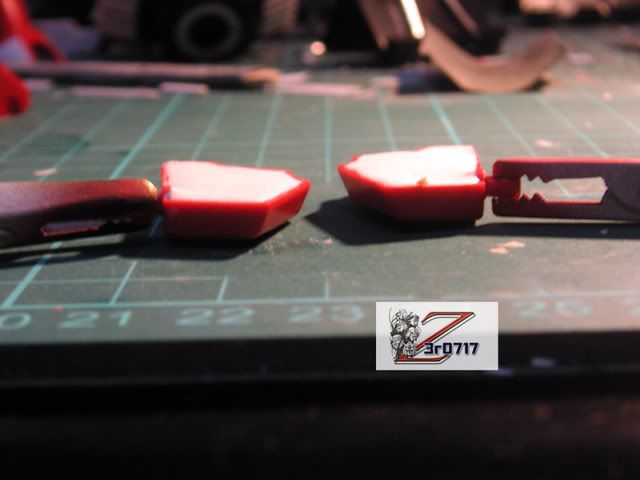 |
|
|
Oct 12 2008, 11:11 PM
Return to original view | Post
#115
|
|
Senior Member
2,239 posts Joined: Jun 2006 From: K.L |
Continue with the detailing of the front skirt
I cut this part smaller for..... 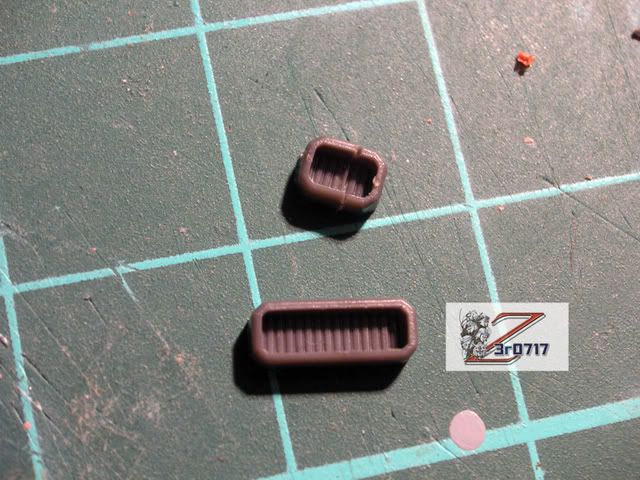 For this..... 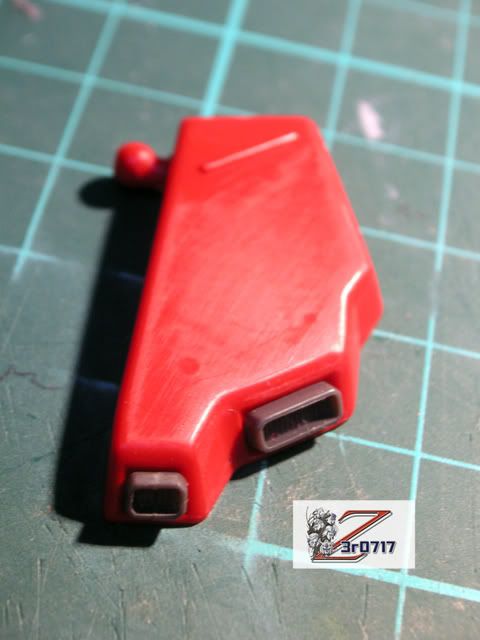 NOTE: my front skirt havnt finish detailing Alright, here's my back skirt which i finish detailing it... 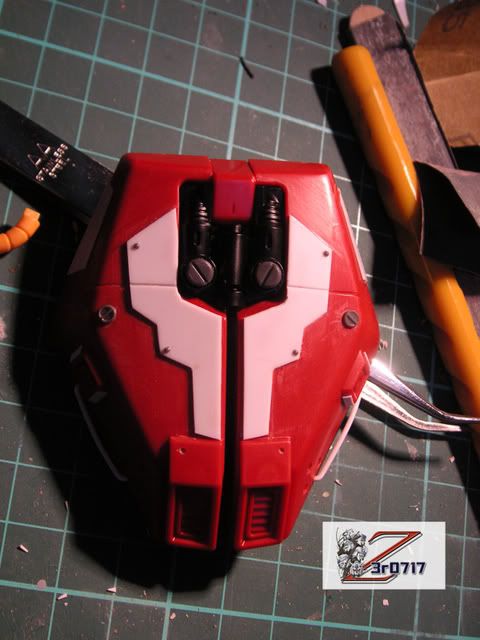 Side view 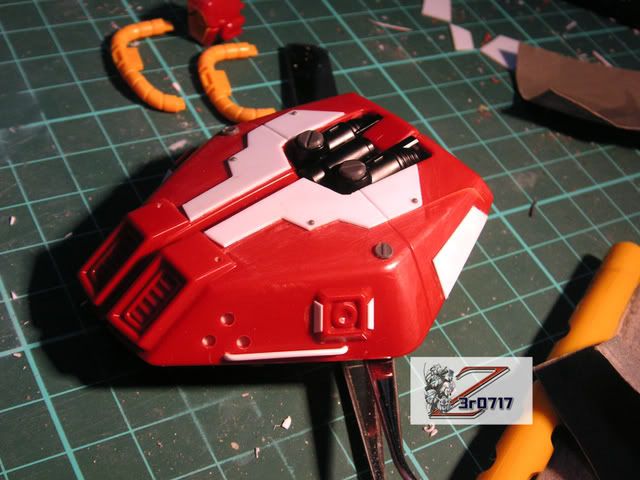 Alright, C & C welcome PLz shoot...  This post has been edited by z3r0717: Oct 13 2008, 12:55 AM |
|
|
Oct 22 2008, 08:03 AM
Return to original view | Post
#116
|
|
Senior Member
2,239 posts Joined: Jun 2006 From: K.L |
@amirisme
hey, the color turn out quite nice and quite matching... i kinda like it man.. good work on ur 1st time spraying... if u're really into gunpla modelling y not invest on a Air Brush.. |
|
|
Nov 2 2008, 12:50 PM
Return to original view | Post
#117
|
|
Senior Member
2,239 posts Joined: Jun 2006 From: K.L |
a nicely taken photo
|
|
|
Nov 8 2008, 10:33 AM
Return to original view | Post
#118
|
|
Senior Member
2,239 posts Joined: Jun 2006 From: K.L |
whoa... nice WIP there...
how much is the tool bro? mind pm me bout it.. thanks |
|
|
Nov 29 2008, 11:32 PM
Return to original view | Post
#119
|
|
Senior Member
2,239 posts Joined: Jun 2006 From: K.L |
wa... bro.. really respect u...
u strip the whole paint and then mod again???? powah.... |
|
|
Dec 26 2008, 09:13 AM
Return to original view | Post
#120
|
|
Senior Member
2,239 posts Joined: Jun 2006 From: K.L |
@chris,
love the red... nice job |
|
Topic ClosedOptions
|
| Change to: |  0.0232sec 0.0232sec
 0.32 0.32
 7 queries 7 queries
 GZIP Disabled GZIP Disabled
Time is now: 28th November 2025 - 07:54 AM |
 Quote
Quote