Edit : Moved here from jy14's NF-M2 nview bulk page
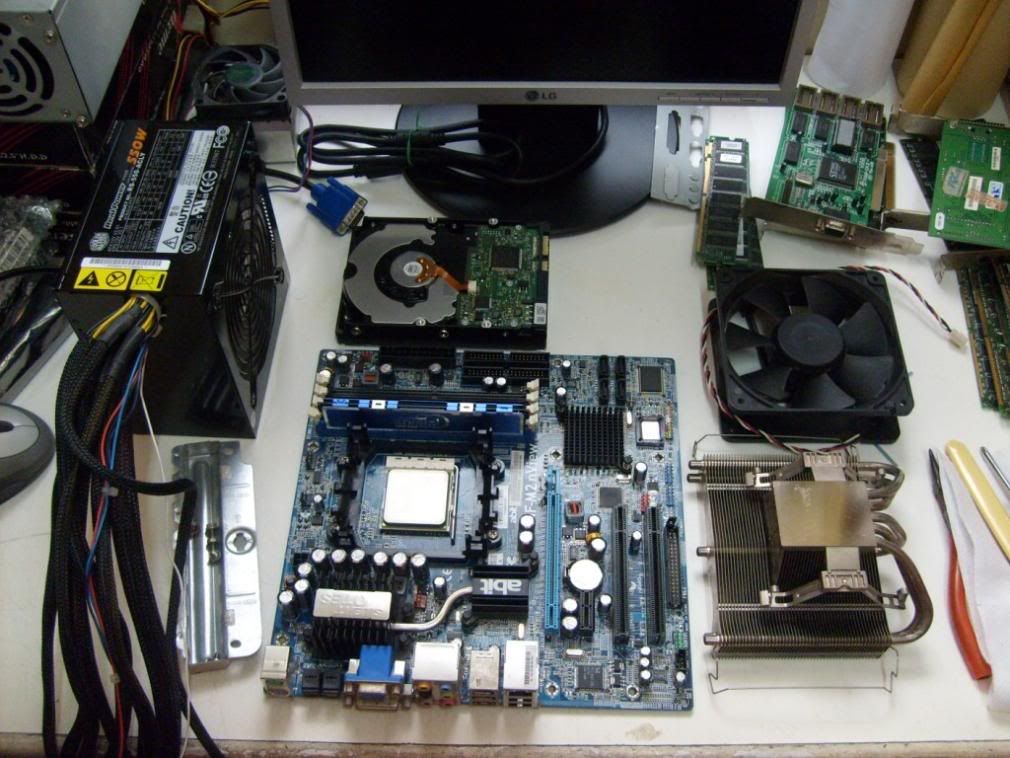
This was the most eagerly anticipated parcel for me in months. And inside was this
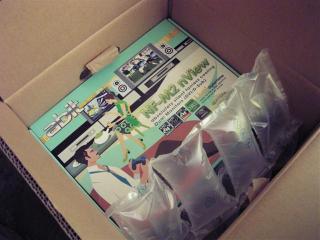
And with anticipation I opened it up..
 Features
The NF-M2 nview is easily the most feature packed matx board I've ever seen, for full specifications visit
http://www.abit-usa.com/products/mb/techsp...ies=1&model=327
Abit has included a fairly standard package of cables and connectors
-1 PCI header with 2 UsB and 2 Firewire (which is odd, as there is only 1 firewire connection on the board)
-4 SATA cables
-1 ATA 133 cable
-1 floppy cable
Board layout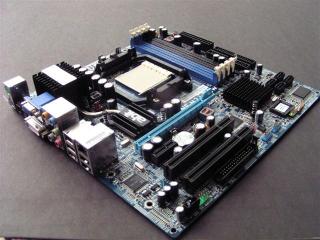
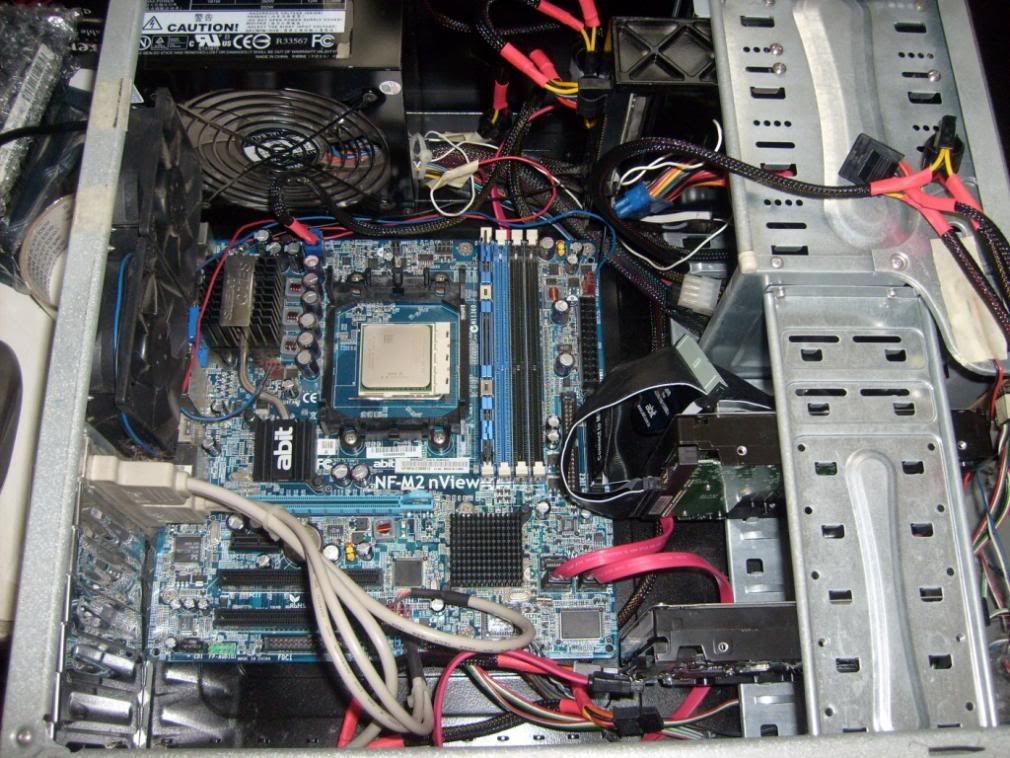
The nview is one slick looking board, even without any UV reactive components. With a theme of black components on a blue PCB, IMHO this board makes quite a statement-"I mean business, no play play"
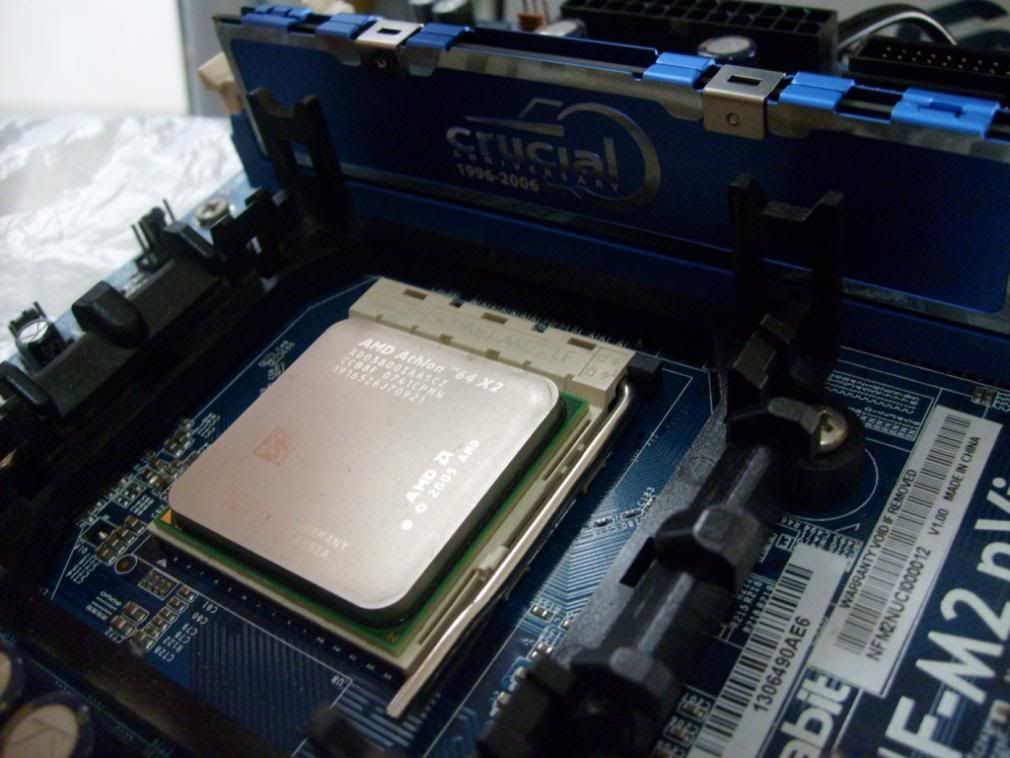
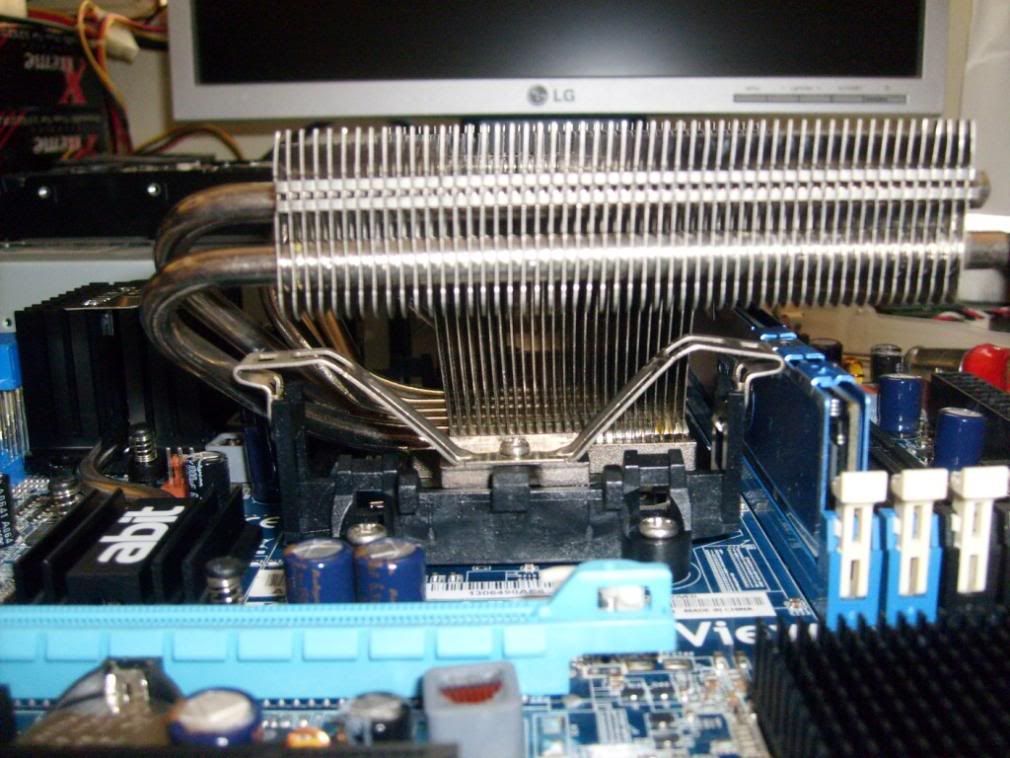
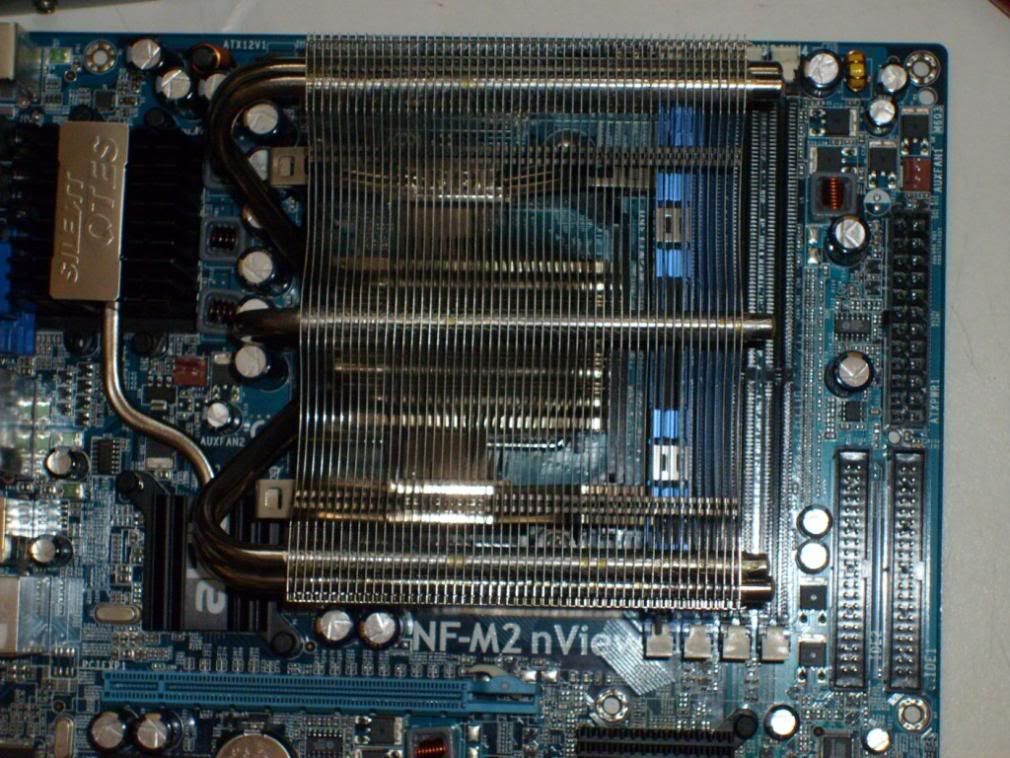
The board layout is decent, with just a few gripes. The ram slots are quite close to the CPU socket, meaning that there may be clearance issues with some CPU coolers. I'm going to use a Thermalright XP-120, it fits on this board in both orientations but not without mild issues. With the curved part of the heatpipe facing the back it presses against the capacitors next to the CPU bracket, and in the opposite direction it makes the first 2 ram slots unusable.


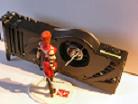
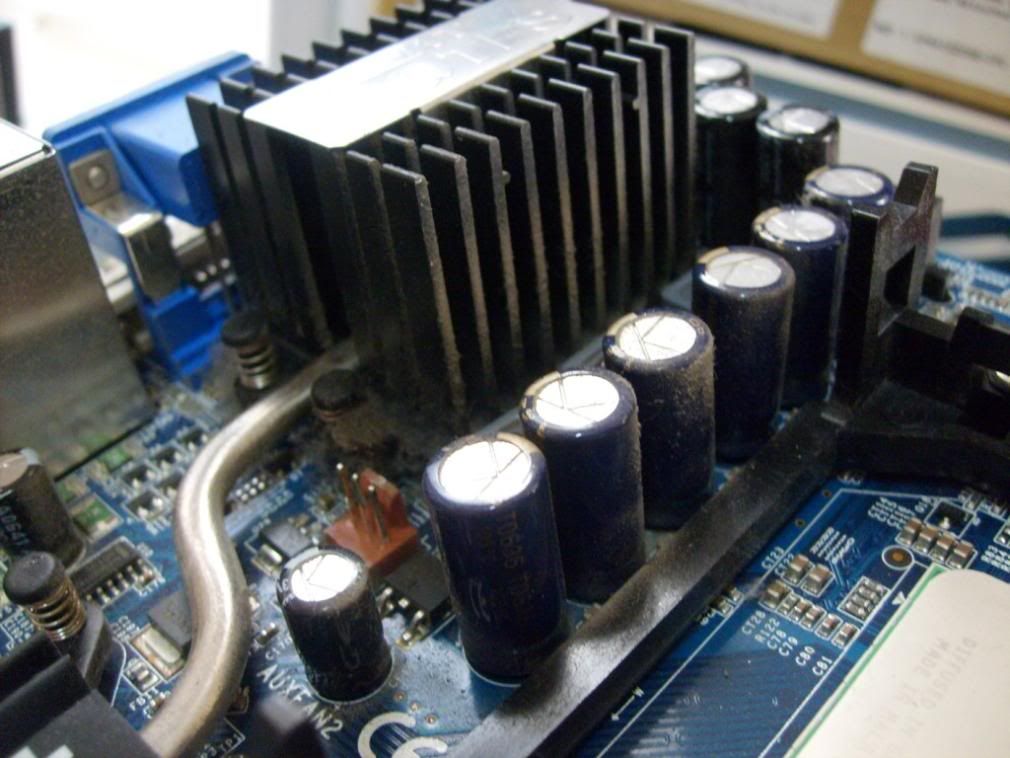
Taking a peek under the Silent OTES reveals a typical 3 phase CPU power regulator and the Geforce 6150 integrated graphics. A minor issue here was the thermal pad under the MOSFET heatsink was not properly applied, and thermal transfer would be poor. Also, the heatpipe conducting heat from the NB only contacts the MOSFET heatsink by a rather small ammount of thermal paste. However, it does an adequete job of cooling the NB and MOSFETS silently, noticably better than the Biostar Tforce 6100 AM2 I was using previously. The board uses Rubycon capacitors typical of Abit after the mess over leaking/exploding capacitors during early socket A days; using electrolytic capacitors in the day of solid state capacitors is a bit strange though not much of an issue.
On the SB is a small but efficient heatsink, but the SB produces fairly little heat on this board. This turned out to be just as well, as when I looked under the heatsink I found (to my horror) that there was hardly any thermal paste under it-a single wipe with cotton and it was all gone. I quickly applied some thermal paste and there were no problems after that.
The board connectors are positioned at places familiar to most motherboards, including the floppy drive connector inconveniently placed at the bottom of the board-guess its because more and more systems are being set up without floppy drives. The power socket is a 24 pin one, and a bit of a gripe because it caters poorly to 20 pin ATX connectors-the hook catch is place only for 24 pin connectors.
On the back panel are the PS/2 keyboard & mouse sockets, the VGA & DVI connector, optical in & out, 7.1 audio, LAN, 1 firewire and 4 usb. A word of caution, the VGA connector is not as solid as one might expect, excessive force may break it off the board. The only thing missing to make it perfect are analog s-video/composite outputs and the legacy serial and parallel ports-but then again, how often do we use those these days?
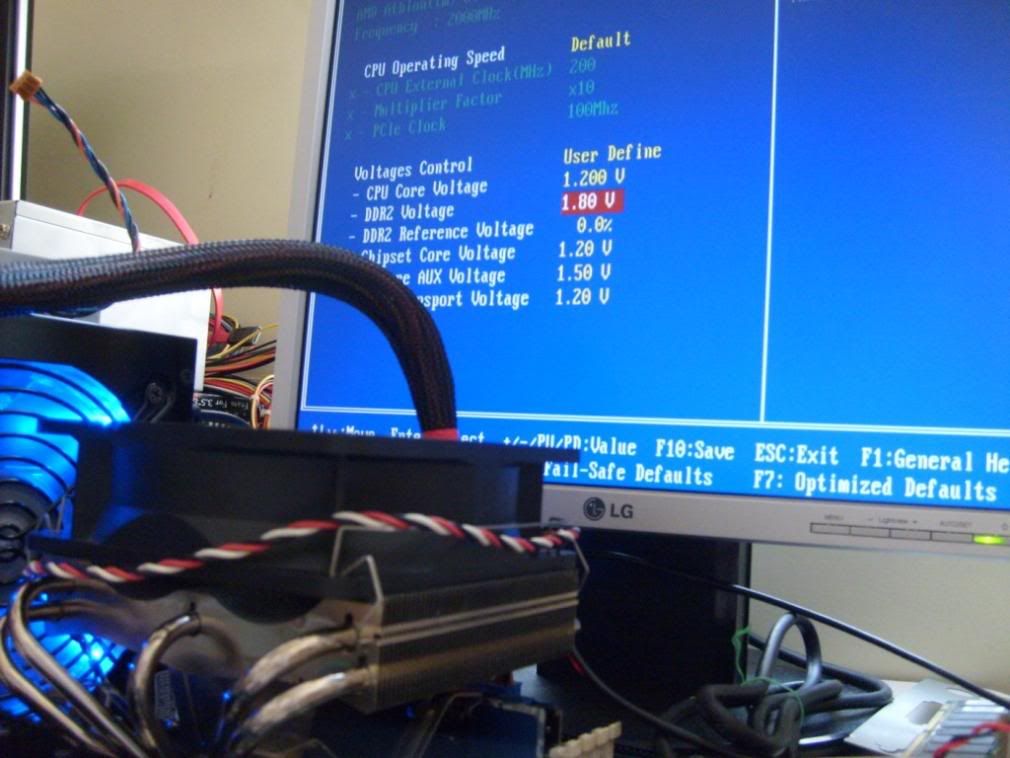
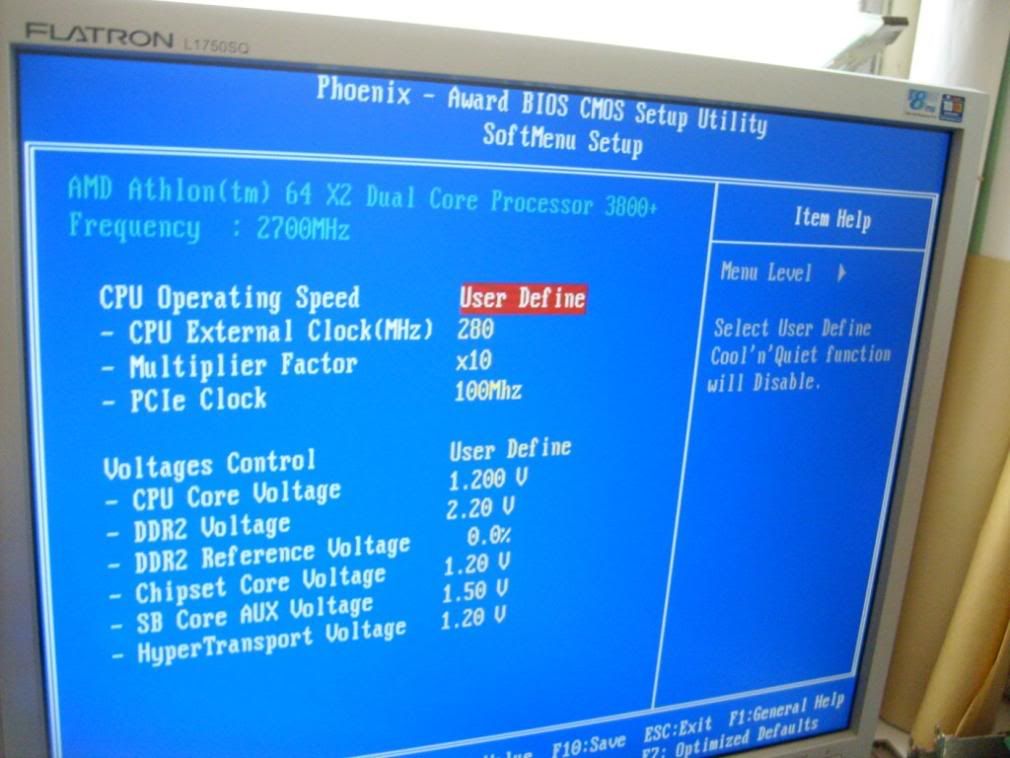
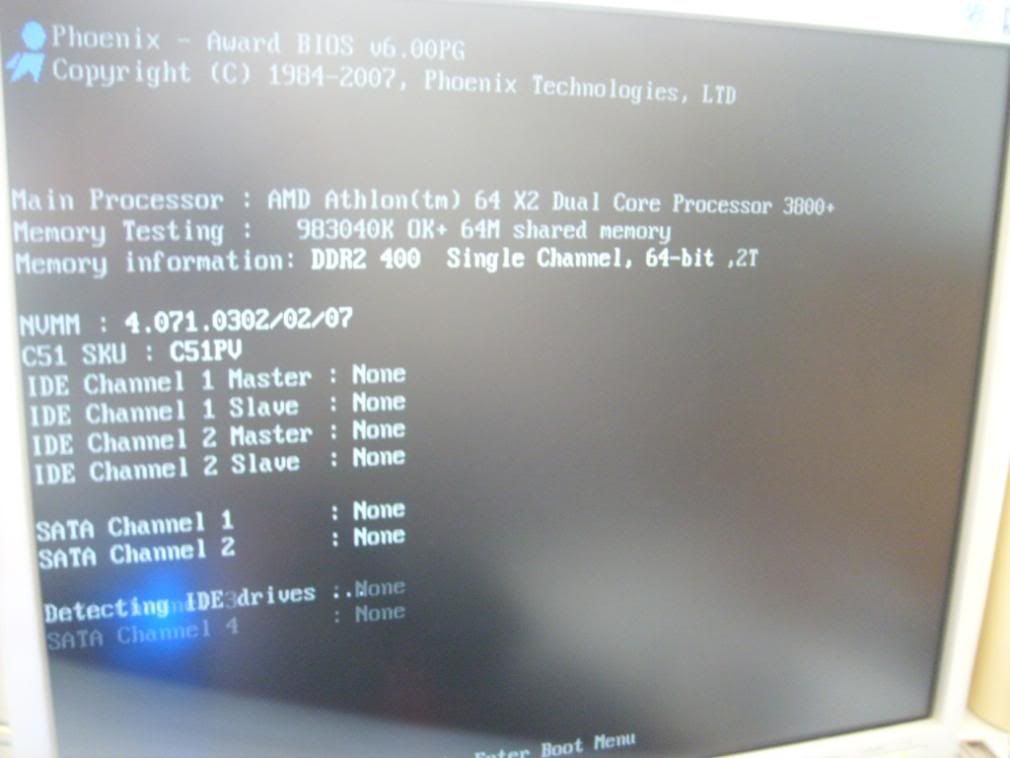
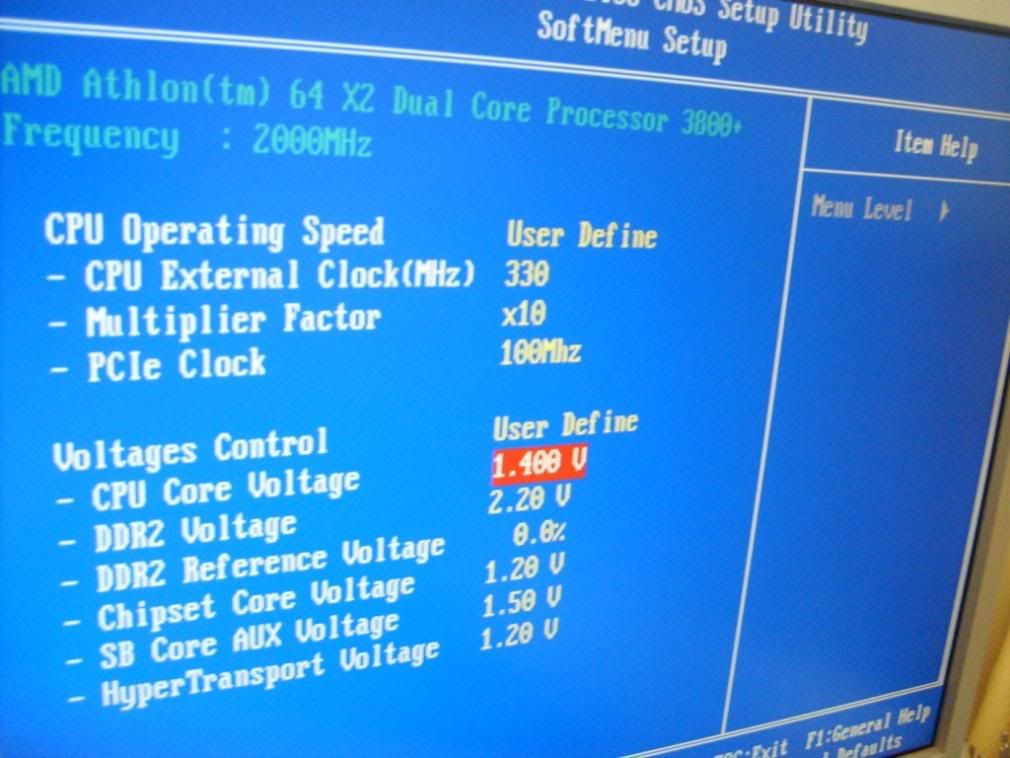
BIOSA quick peek in the BIOS shows a very well laid out and organised menu structure. Overclockers will no doubt be pleased, settings are easy to locate and options are abundant. Under Abit's famous Softmenu, there are
Multiplier options - from 4.0x to CPU maximum in steps of 0.5x (most AM2 motherboards give only 1.0x steps)
Clock frequency - 200 to 400 in single steps
PCIE clock - didn't check since normally just leave it at 100 for max overclock stability
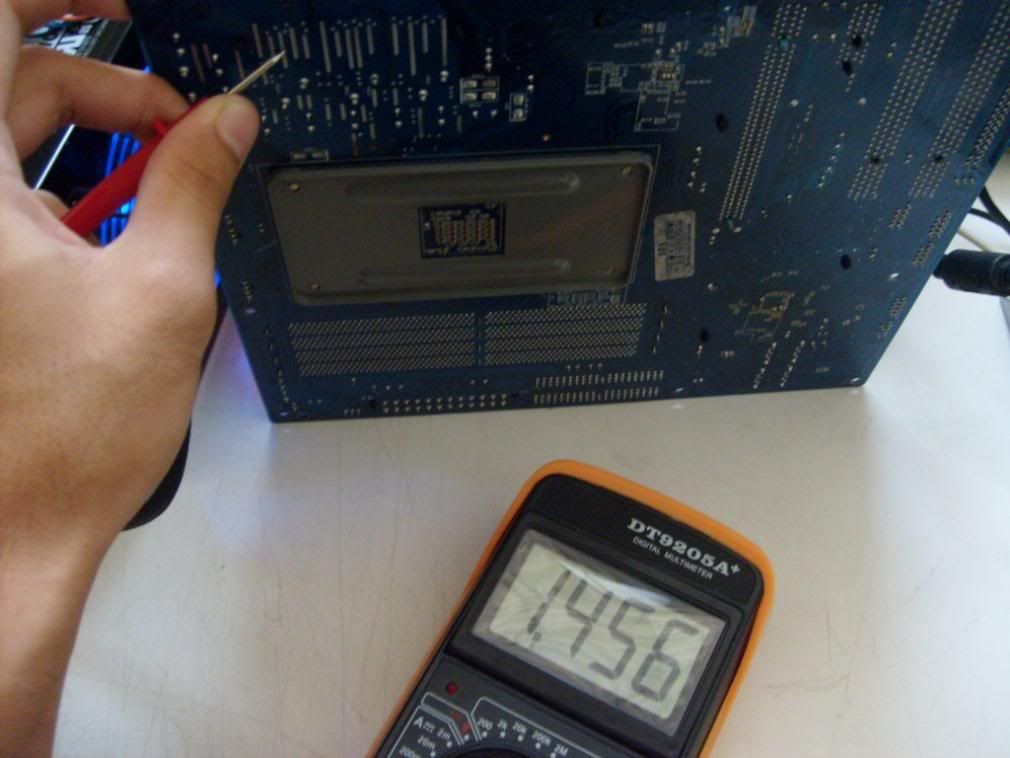
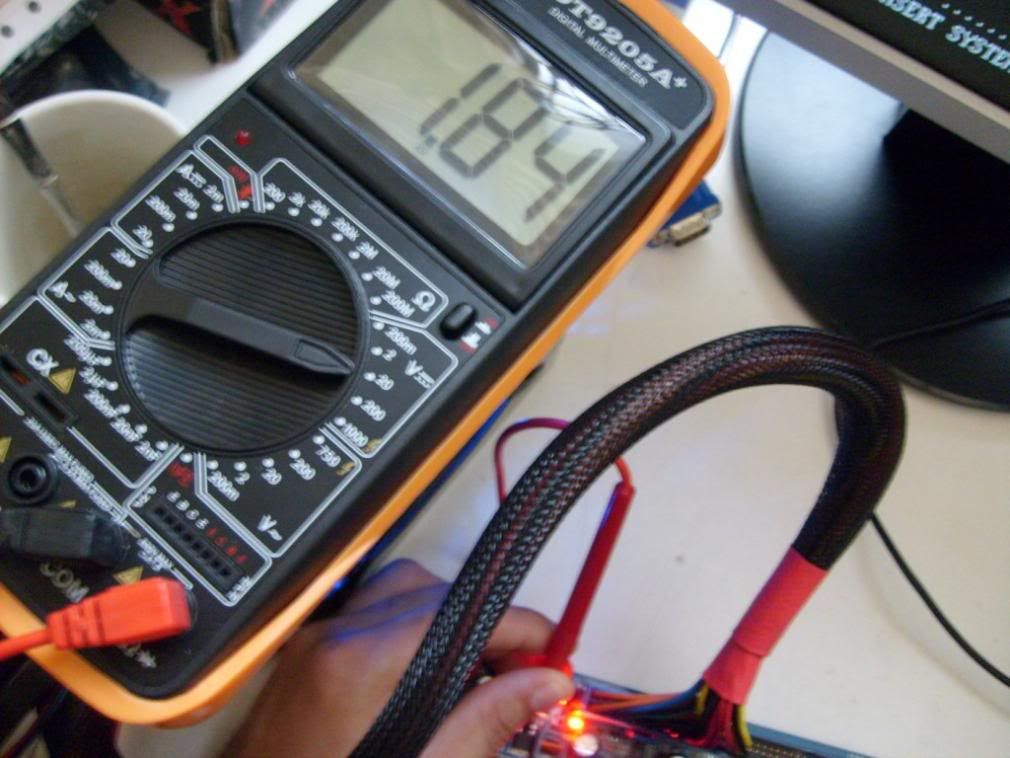
Vcore - default to 2.0v in 0.025V steps

vDDR - 1.75v to 2.5V in 0.05 steps
NB voltage - 1.2 to 1.6v in 0.04 steps (bigger steps at higher voltages)
SB voltage - 1.5 to 1.74v in 0.03 steps (bigger steps at higher voltages)
HT voltage - 1.2 to 1.4v in 0.05 steps (bigger steps at higher voltages)
AM2 overclockers are no doubt drooling by now

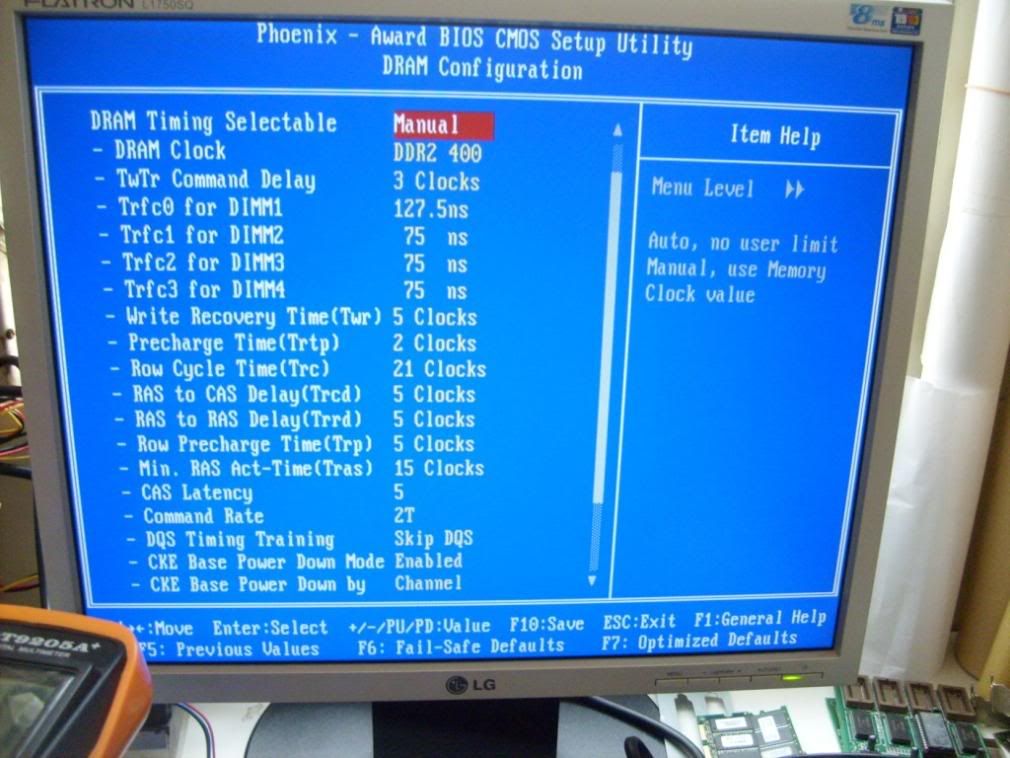
The rest of the familiar BIOS options can be found in their usual menus, in Advanced Chipset settings HT multiplier and HT width settings can be found along with memory settings. Of note is that command rate is selectable and settings automatically reset to defaults if memory setting is set to auto (no fumbling to find a stable setting to start overclocking from-a major confusion on the Biostar Tforce 6100 AM2). Downside is that manual means you have to adjust everything yourself, no such thing as adjust some and leave the rest to auto. The only thing missing form here is a built in memtest found in DFI and Biostar boards.
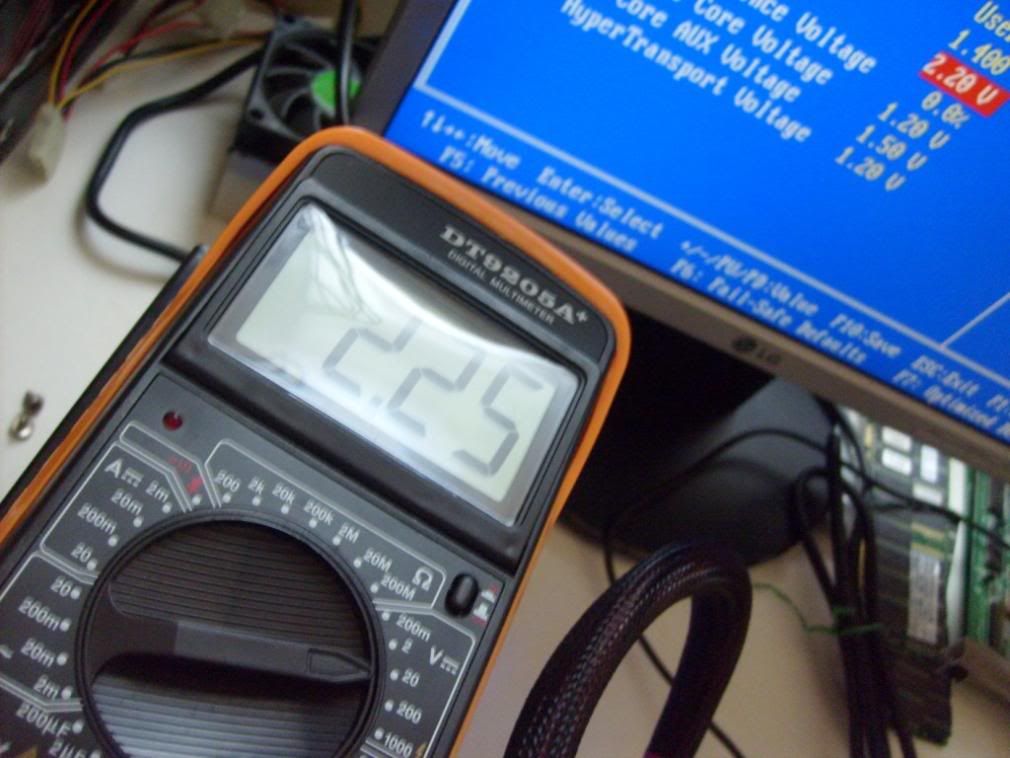
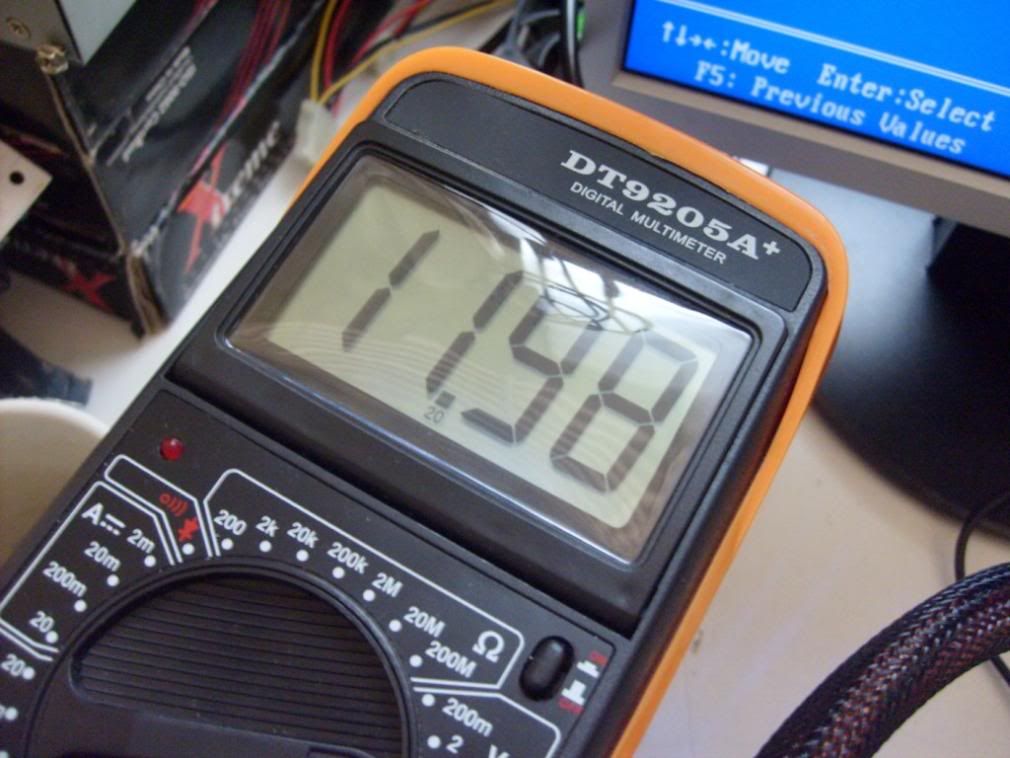
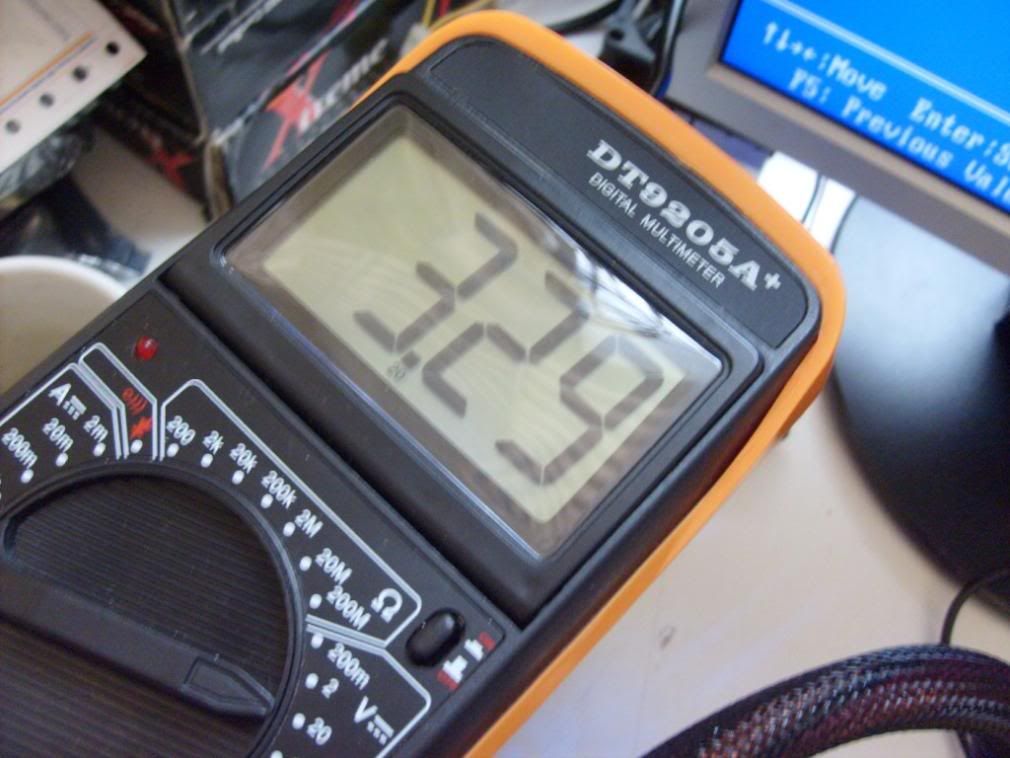
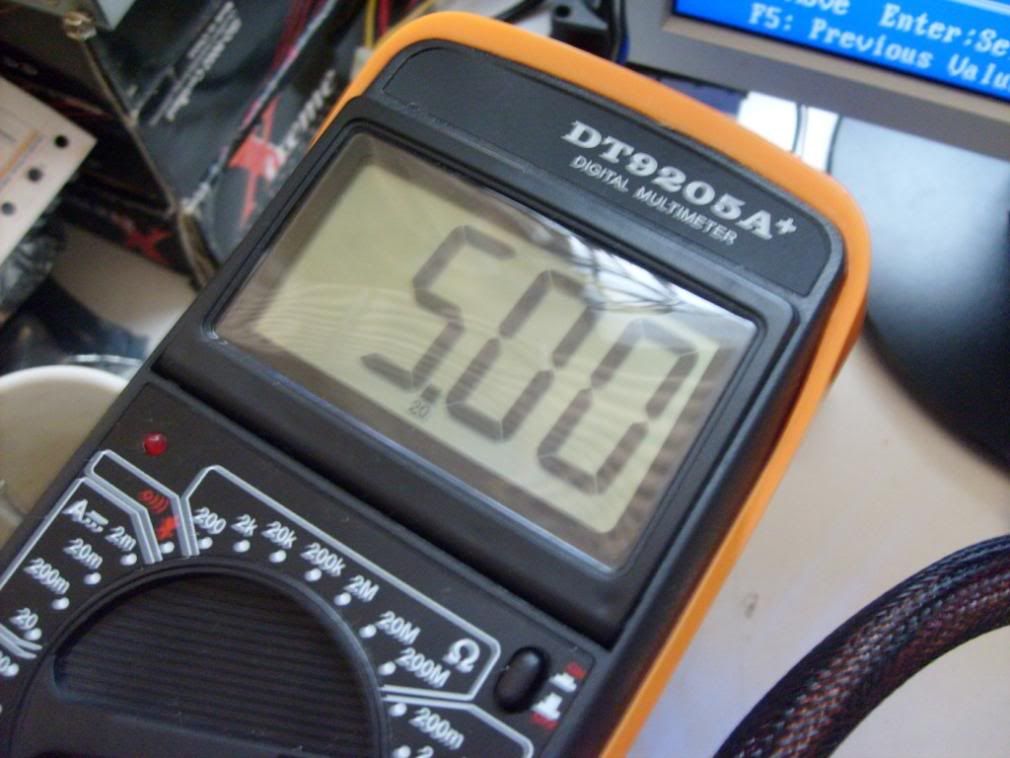
The PC health is of worth noting, with speed sensing for ALL four of the onboard fan headers and temp sensors for the CPU, chassis and power regulator and all the typical voltage sensors. The BIOS also has speed control for the system fan and the CPU fan headers, though the CPU fan header speed control only works with 4 pin fans.
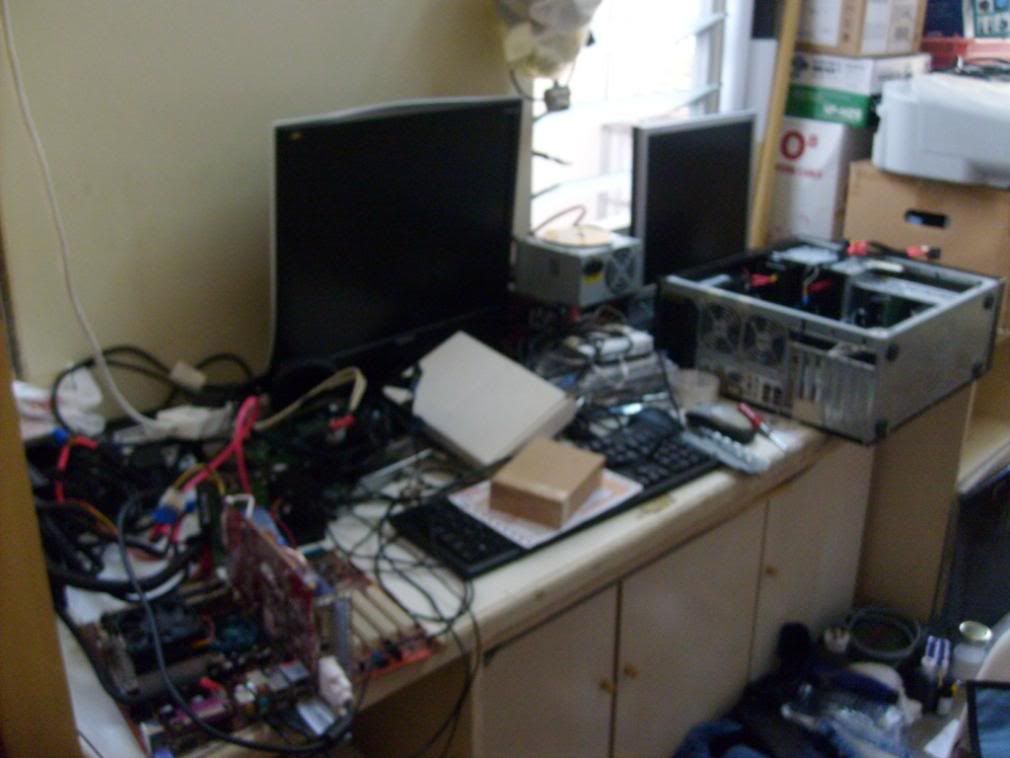
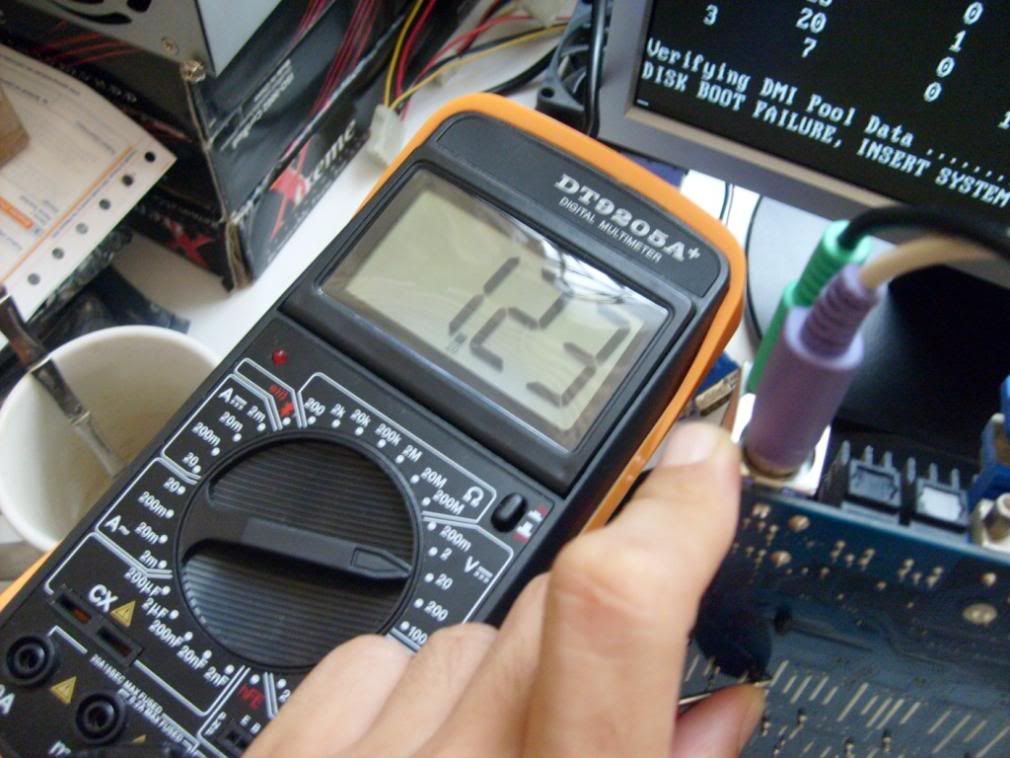
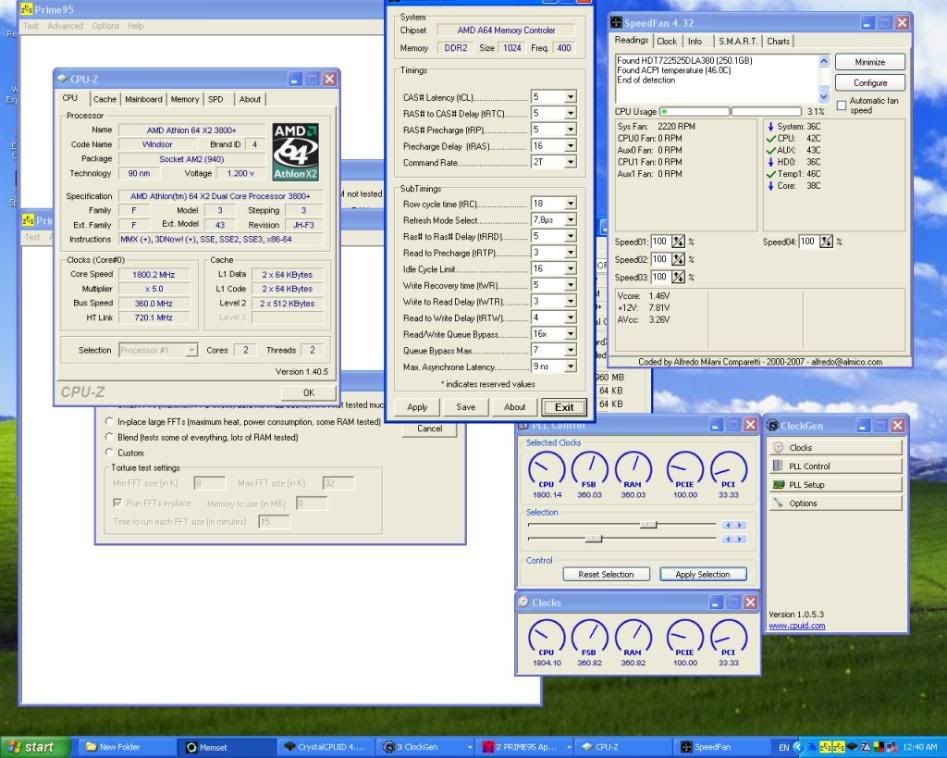
OverclockingAt the moment I am still in the midst of overclocking this board, currently I can boot up to 253HTT. Strange thing is that voltage adjustments would not allow me to even go 1HTT higher, however if I overclock from windows I can reach 300++HTT without any voltage adjustments. The board's overclockability is undoubtable as when I stress tested it with AtiTool, dual Prime95 and a video playback all simultaneously (man it was godamn slow with so many things running) there was no trouble until it crashed around 330HTT. HTT overclocking is particularly hard to check for stability as there are no proper programs to do it-Prime is not suitable because the chipset is not involved for A64s. I suspect the HTT limit at startup may be due to certain settings or restriction by the BIOS.
Overclockers (and underclockers) will be most pleased to note that the following software can be used to adjust overclock settings from windows
Clockgen (allows base and PCIE clock adjustment)
CrystalCPUID (allows multiplier and voltage adjustment, also allows lower voltages down to 0.8v)
nTune (allows base clock adjustments and some very limited memory timing adjustment)
AtiTool (allows overclocking & stress testing of the onboard Geforce 6150)
Speedfan (allows fan speed control of system and CPU fan; bios speed control should be turned off first)
(more coming after I've done more detailed testing)
Underclocking & undervoltingThis is an unique section not found in many reviews, but as much as I'm a fan of overclocking, I can't stand my system being noisy and hot. The nview does not give any underclocking/undervolting in the BIOS, so all underclocking and undervolting has to be done by software. Sadly, the board does not seem to like being underclocked, though the system is stable lock ups were frequent during changes of frequency to below 200HTT. However, it undervolts well enough, and on 200x5@0.825vCore I was able to turn off the CPU fan while keeping the CPU below 45C.
(more coming after I've done more detailed testing)
Benchmarks(after I've done some REAL overclocking I'll post)
ConclusionOverall I must say this is one of the best boards for the money, a complete all-integrated matx board with the performance and tweakability of high end boards twice its price. Unless you're a sucker for SLI or large boards I'll say this board can meet anyone's requirements at a very reasonable price. As a last word I'll suggest that noobs stay out of meddling in the bios, this board is not meant for those who have no idea what they're doing

.
This post has been edited by lohwenli: Apr 10 2007, 10:28 AM 

 Jan 18 2007, 01:53 PM, updated 19y ago

 Quote
Quote


 ...it is the only matx6150 mobo available on market...dats why i'm waiting for nview's user to give their review here


 0.0415sec
 0.53
0.53
 6 queries
 GZIP Disabled