Outline ·
[ Standard ] ·
Linear+
Project Troll, CM Mastercase 5
|
TSunequalteck
|
 Mar 2 2016, 12:25 AM, updated 10y ago Mar 2 2016, 12:25 AM, updated 10y ago
|

|
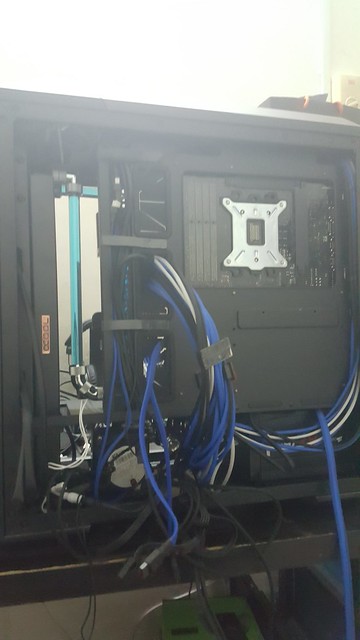
2016 Project! New casing, new WC parts Old hardwares. SPECSCPU : Intel Core i7-4770k Mobo : ASUS Maximus VI Extreme LGA1150 RAM : Corsair Dominator Platinum 8GB DDR3 1866Mhz x2 SSD : Samsung Evo 840 250GB / Mushkin Chrono 256GB HDD : WD Scorpio 1TB GPU : Palit GTX980Ti Reference 6GB GDDR5 PSU : Corsair AX760 80+ Platinum Chassis : Cooler Master Mastercase 5 Previous casing Corsair Obsidian 450D got a big scratch on side window  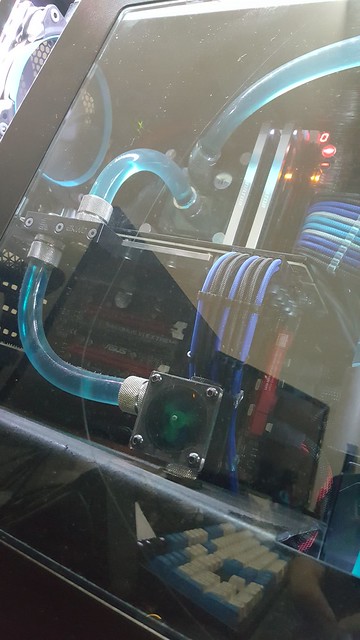 Special thanks to a taikor (i guess he likes being low profile) getting me this chassis 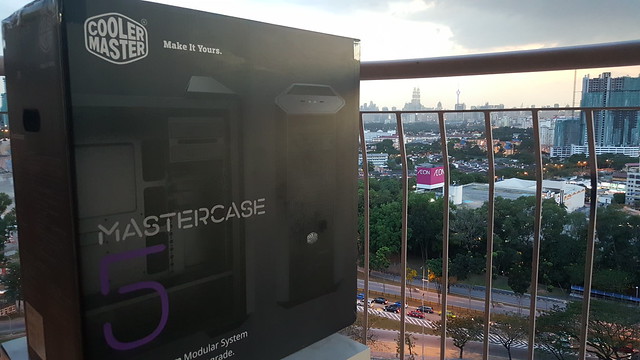 Classic front panel 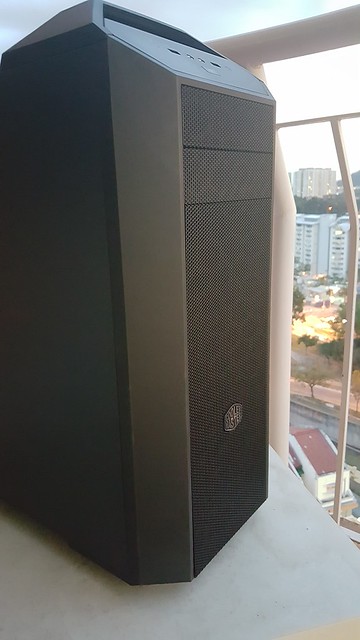 Accessories box by CM  WC parts. Mostly using Barrow, a very good quality China manufacturer (suspect is OEM of bitspower) 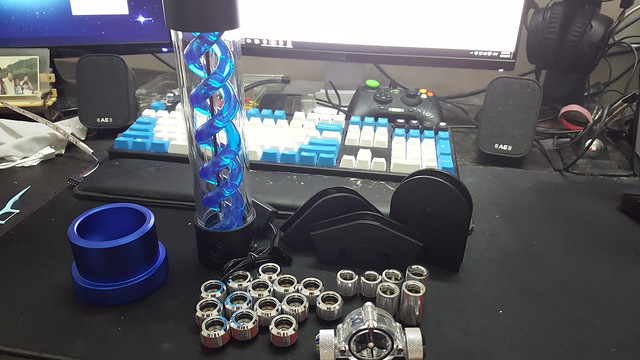 Motherboard taken out from old rig 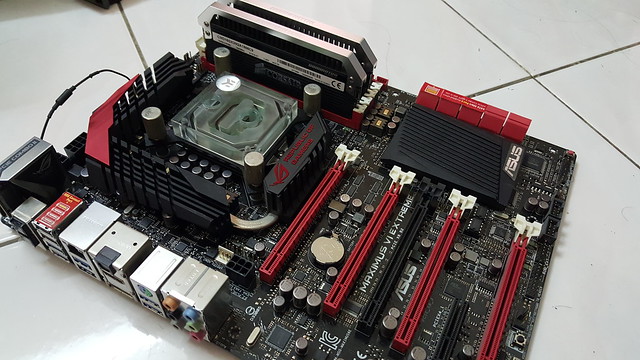 Dusty PSU 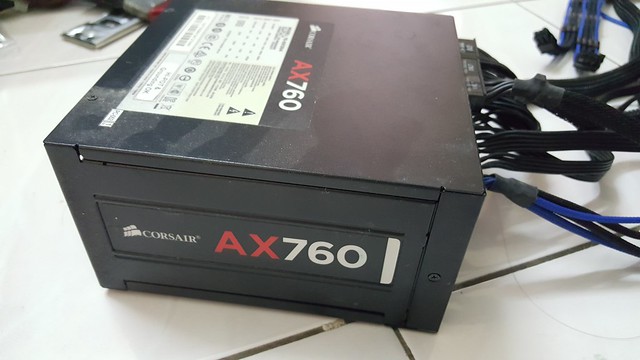 My beloved gtx980ti  |
|
|
|
|
|
TSunequalteck
|
Mar 2 2016, 08:54 AM
|
|
|
Cleaning rads and fans 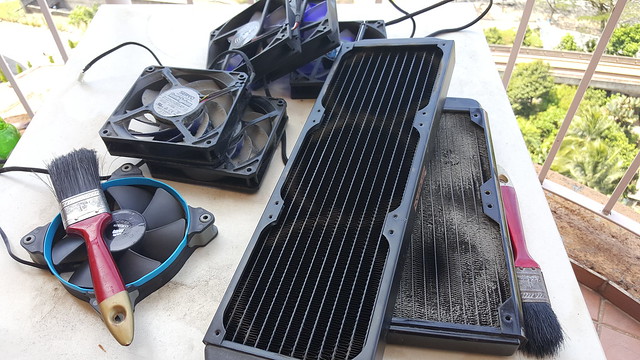 Plasticizer inside waterblock 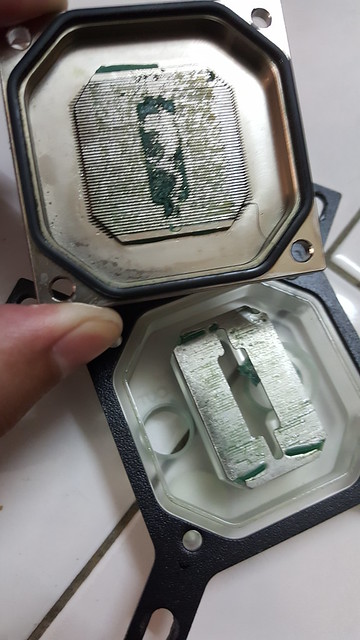 Planning loop 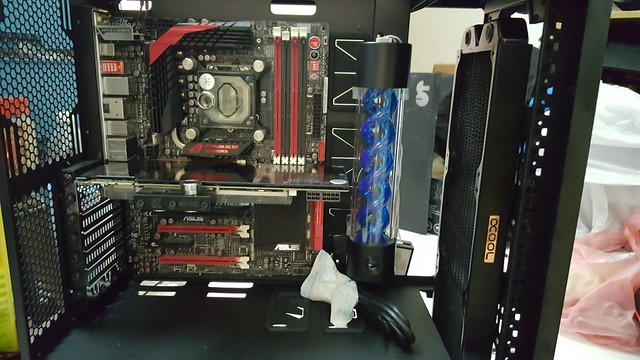 Bending PETG tubing using heatgun 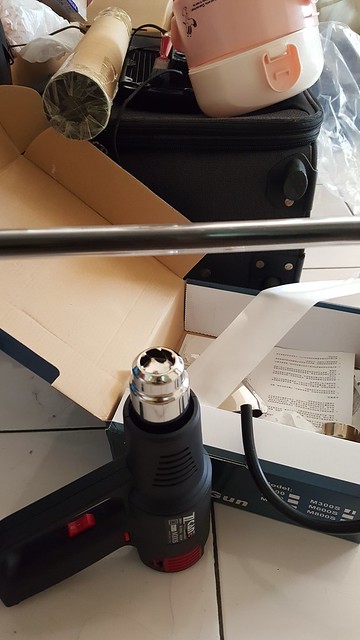 Finally got a good bend after a few tries Have to evenly distribute the heat throughout the bend area 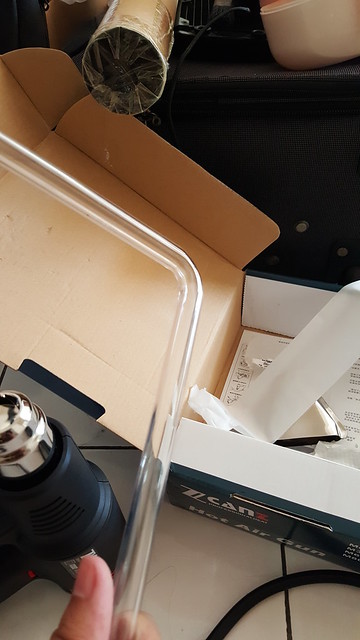 From GPU to CPU  This bend is taking my life 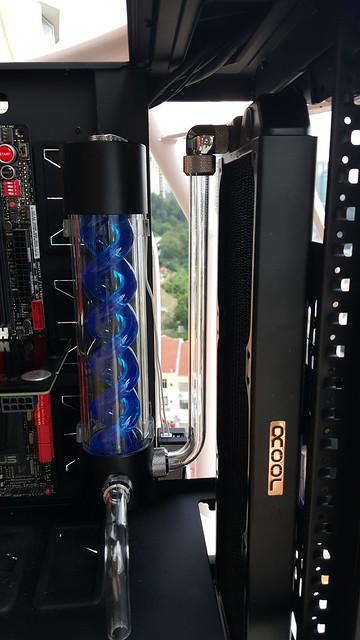 Pump going to put under the midplate 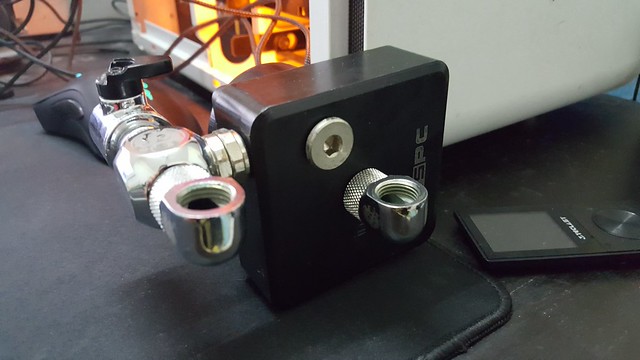 |
|
|
|
|
|
TSunequalteck
|
Mar 2 2016, 04:27 PM
|
|
|
2 holes to connecting the pump 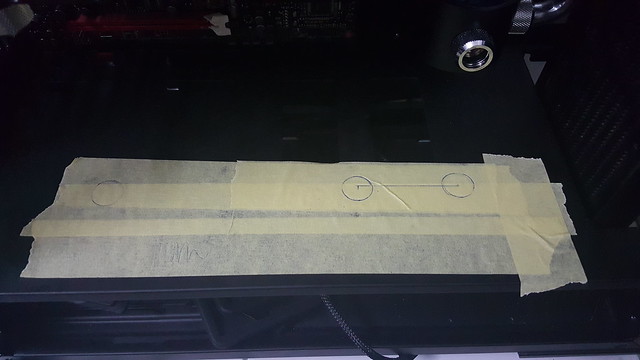 Only managed to find 10mm drill bit at nearby hardware shop 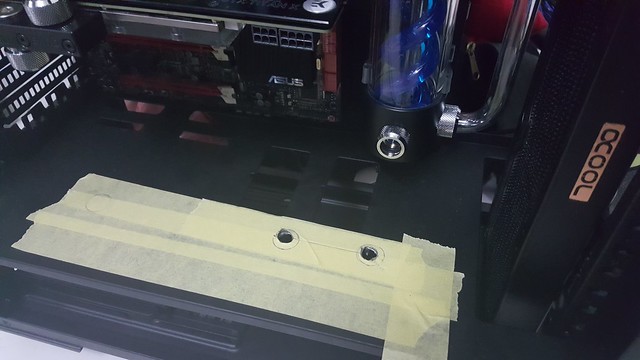 And the hole diameter is about 21-22mm Have to use file to file until the diameter which can fit in the fillport, when filing it looks like i'm masxxrbatxxg and the process took about 90mins 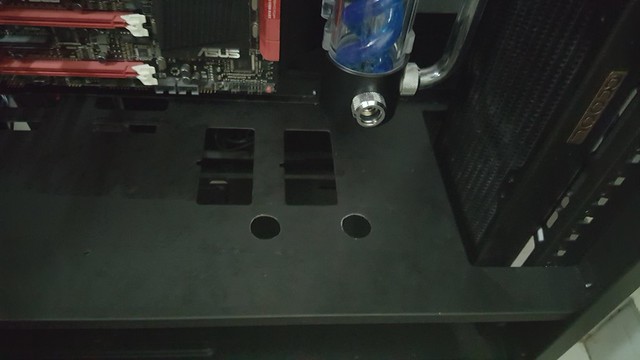 Initial planned loop 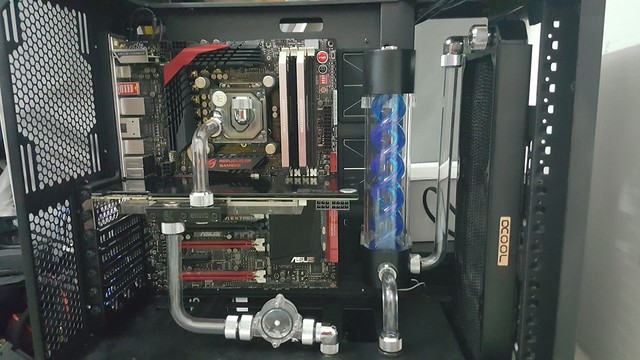 Now have to wait for fillport arrival and get the top bracket kit from CM. Pending front panel and PSU cover design. Need some input! |
|
|
|
|
|
cloudwan
|
Mar 2 2016, 04:38 PM
|
|
|
I can see u have a lot of practice in masxxrbatxxg, i mean filing.. keep up the good work, can't wait to see the finished project..  |
|
|
|
|
|
irienaoki
|
Mar 2 2016, 06:05 PM
|
|
|
i sense nice psu cover from MnG design.
|
|
|
|
|
|
KuroCrow
|
Mar 2 2016, 08:07 PM
|
New Member

|
May I ask what keycaps are those? :B
|
|
|
|
|
|
lucidlts
|
Mar 2 2016, 08:39 PM
|
|
|
QUOTE(KuroCrow @ Mar 2 2016, 08:07 PM) May I ask what keycaps are those? :B Taihao mate, Taihao ABS doubleshot blue-white kit. |
|
|
|
|
|
owikh84
|
Mar 3 2016, 07:06 AM
|
i7 Clan

|
QUOTE(unequalteck @ Mar 2 2016, 04:27 PM) 2 holes to connecting the pump Only managed to find 10mm drill bit at nearby hardware shop And the hole diameter is about 21-22mm Have to use file to file until the diameter which can fit in the fillport, when filing it looks like i'm masxxrbatxxg and the process took about 90mins Initial planned loop Now have to wait for fillport arrival and get the top bracket kit from CM. Pending front panel and PSU cover design. Need some input! You can get the High-speed Steel (HSS) hole saw in various diameters from ehardwarestore |
|
|
|
|
|
TSunequalteck
|
Mar 3 2016, 04:17 PM
|
|
|
QUOTE(KuroCrow @ Mar 2 2016, 08:07 PM) May I ask what keycaps are those? :B taihao as lucid mentioned QUOTE(owikh84 @ Mar 3 2016, 07:06 AM) You can get the High-speed Steel (HSS) hole saw in various diameters from ehardwarestorewa nice o this one. quite cheap also. but nvm i can practice fapping |
|
|
|
|
|
TSunequalteck
|
Mar 6 2016, 10:34 AM
|
|
|
some small updates while waiting for parts. good thing about PETG tubes. u can use this cutter to cut, finishes much more better than using jigsaw 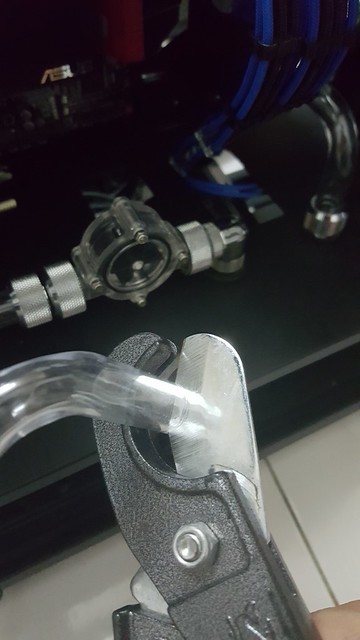 rough measurement from fill port to pump. 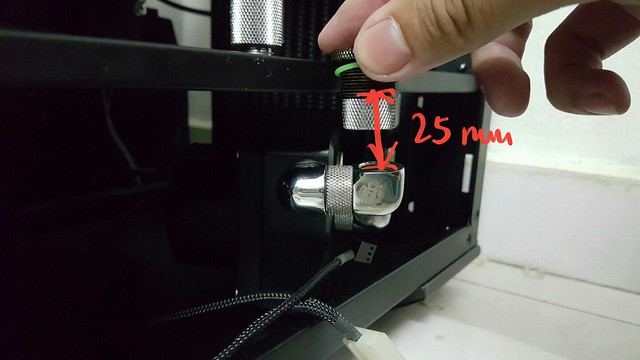 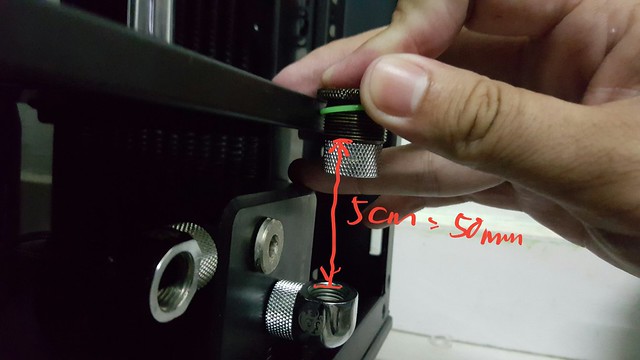 Blue screws to replace the original screws  |
|
|
|
|
|
TSunequalteck
|
Mar 26 2016, 04:31 PM
|
|
|
new arrival for some fittings 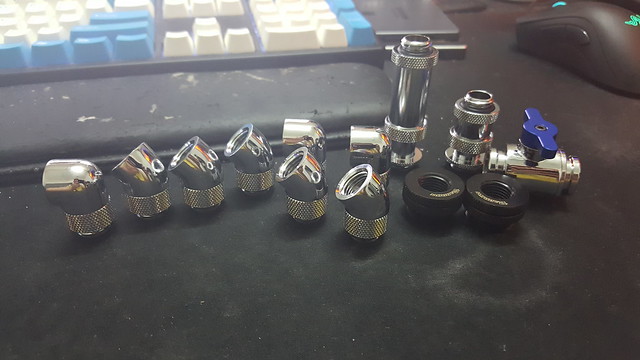 thermaltake riing RGB for 360mm radiator 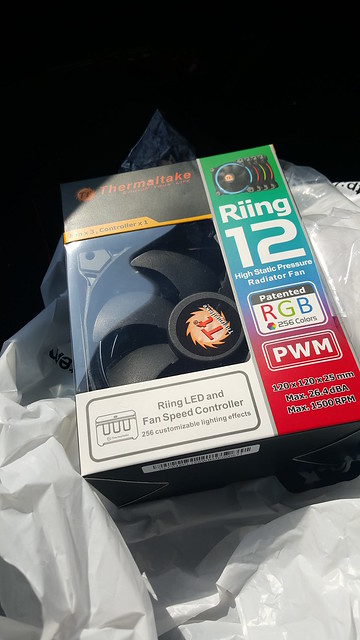 bought all these to do full modular sleeved cable 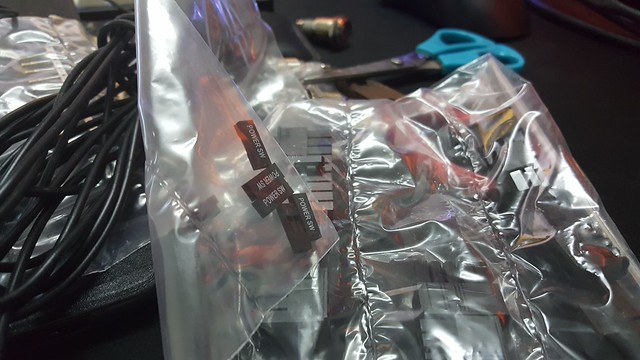 gonna be a long progress 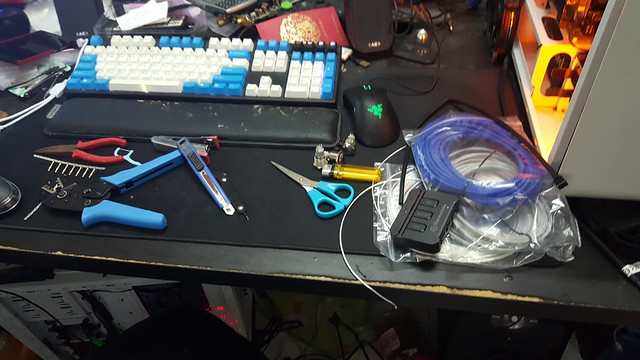 Cooler Master top kit and window side panel 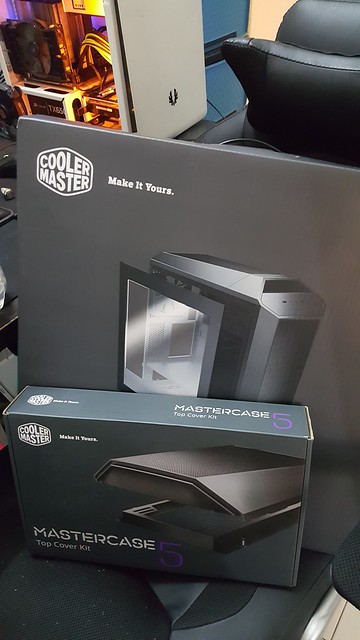 finally can install top kit and complete the remaining tubing. but still.....problematic 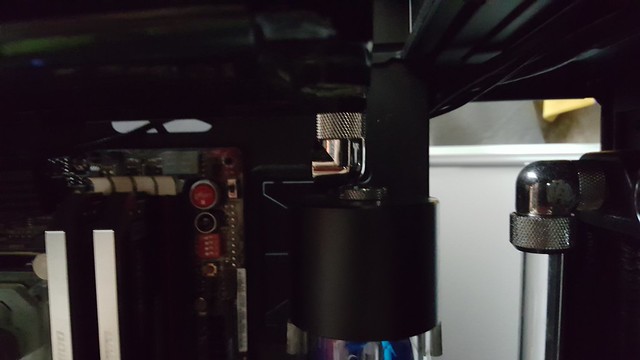 position just nice but unable to fill in coolant. position of reservoir have to shift downward and redo the bottom connection  connected both fillport to pump top 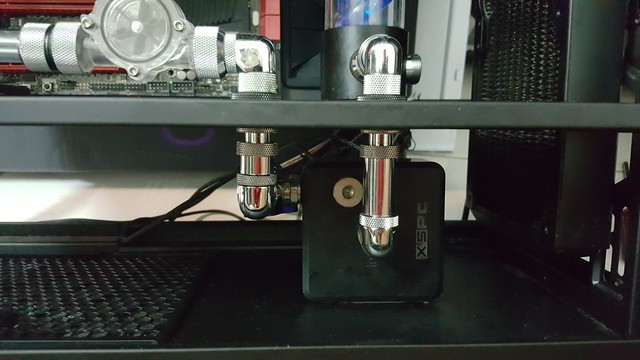 |
|
|
|
|
|
TSunequalteck
|
Apr 5 2016, 12:01 AM
|
|
|
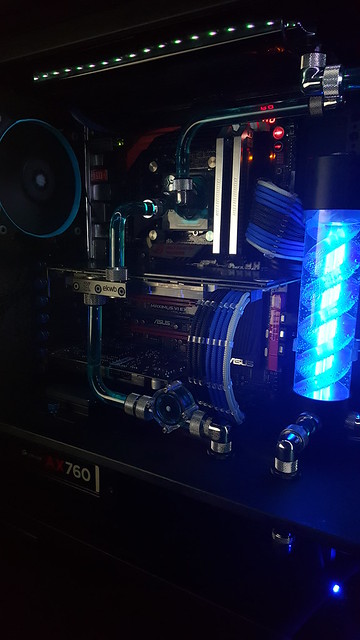
heatshrinkless sleeving method 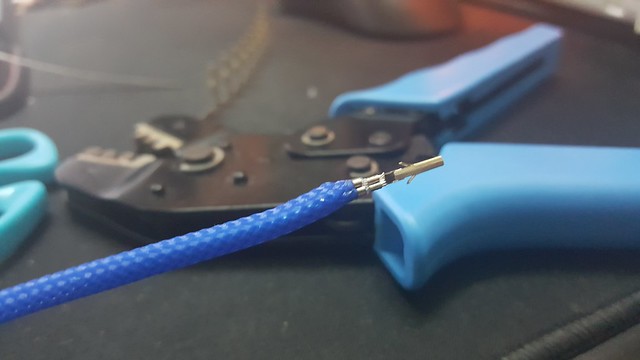 EPS 8pin  completed the remaining tubing 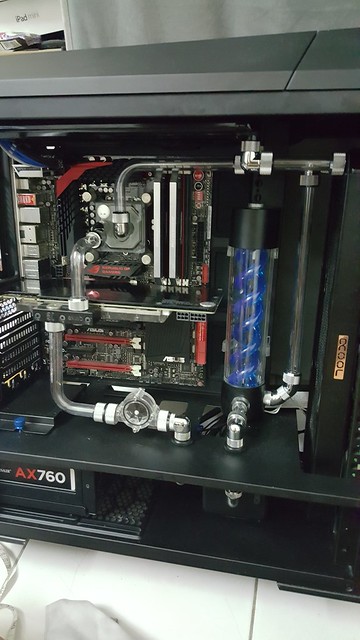 close up shot 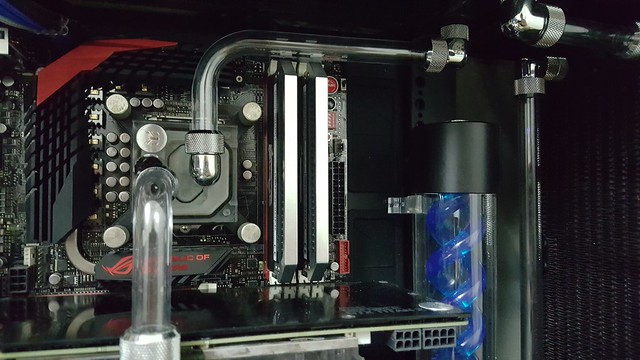 bleeding process 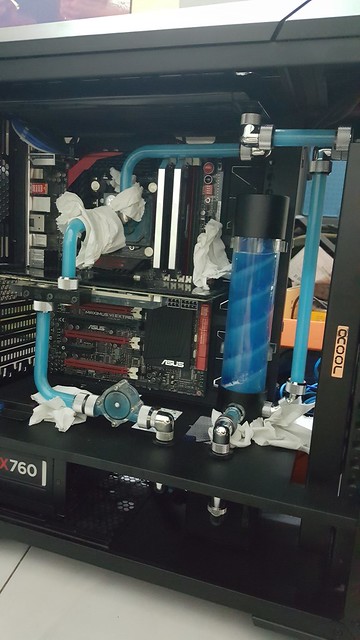 reservoir with UV light on 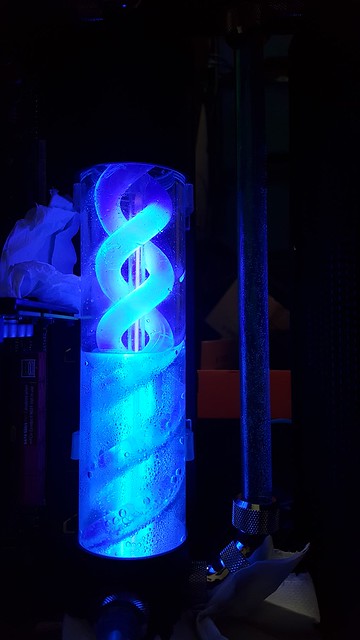 bubbles gone! 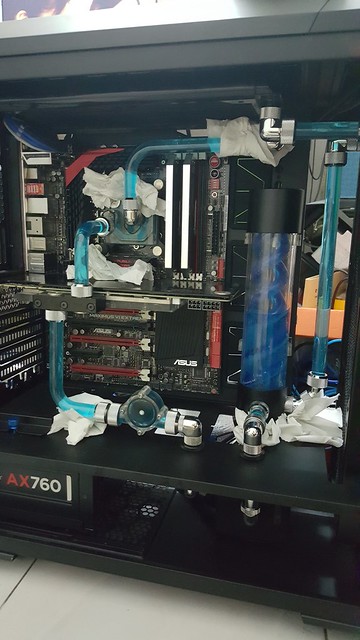 |
|
|
|
|
|
TSunequalteck
|
Apr 11 2016, 01:38 PM
|
|
|
front panel done cutting 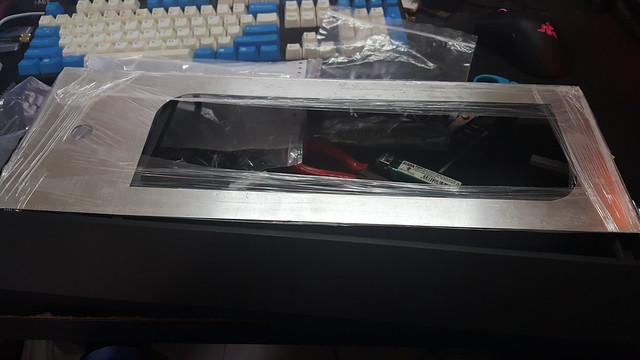 sprayed matte black to match the frame 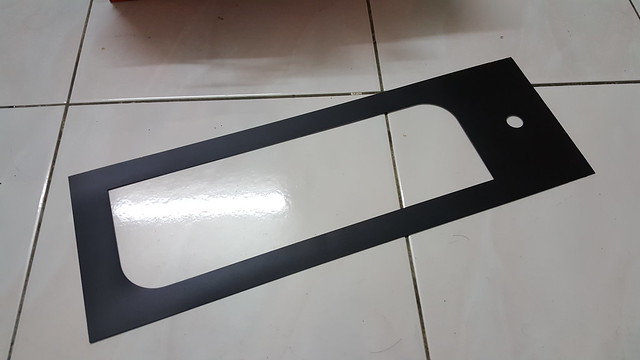 acrylic block to hold the aluminum front panel  black transparent acrylic and vandal switch 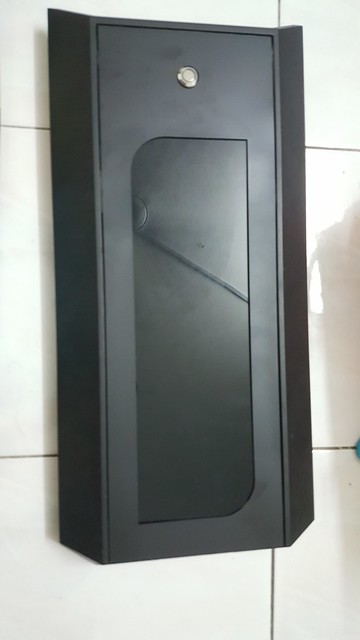 TT riing underneath. will install on 360mm radiator 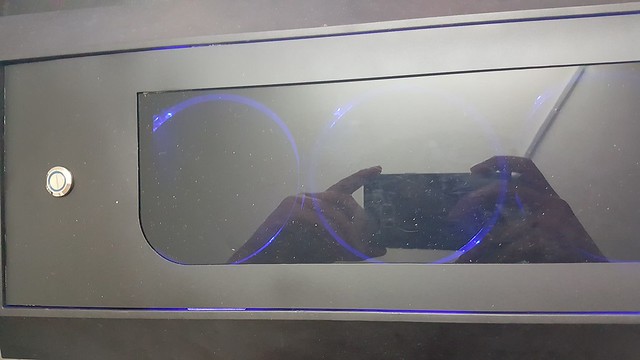 24pin sleeving done 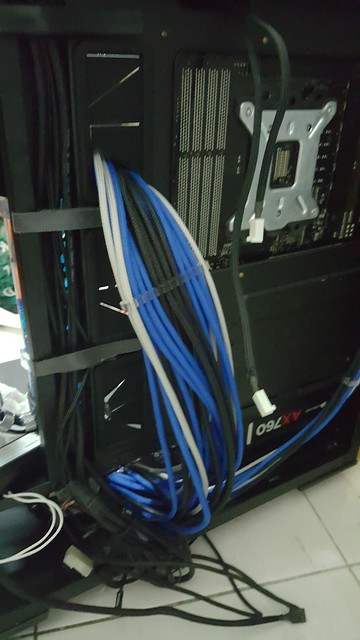 connected to mobo 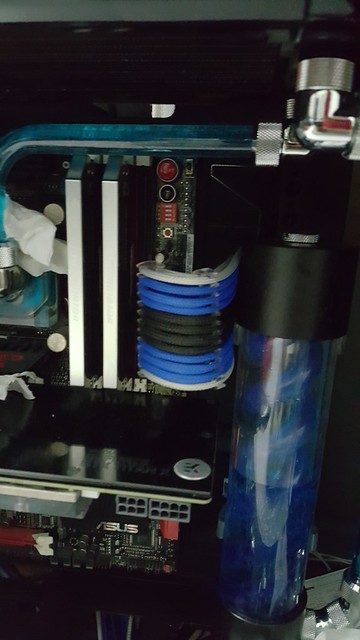 |
|
|
|
|
|
TSunequalteck
|
Apr 14 2016, 02:58 PM
|
|
|
Done wiring for vandal switch. Have to use 24awg wires as the housing is too small for 18awg wire. 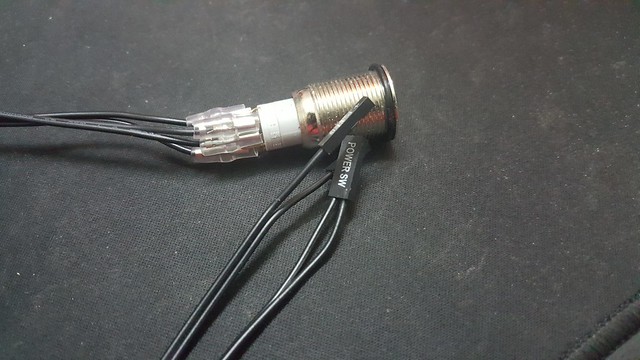 Tested and confirm it's working!  Fixed the aluminum on front panel 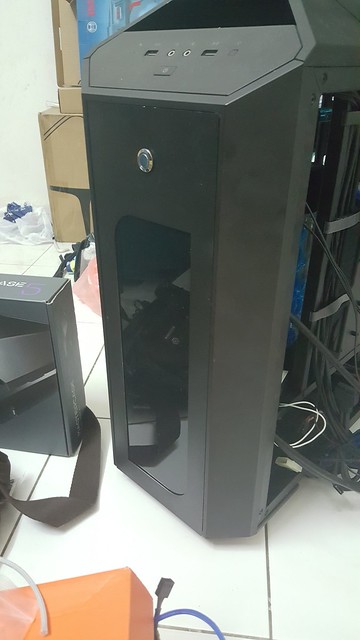 |
|
|
|
|
|
irsyadfy
|
Apr 14 2016, 09:03 PM
|
Getting Started
|
noob question here.
u mod ur power button to that vandal switch, so ur ori power button become display ony la? no function?
|
|
|
|
|
|
TSunequalteck
|
Apr 15 2016, 02:02 PM
|
|
|
QUOTE(irsyadfy @ Apr 14 2016, 09:03 PM) noob question here. u mod ur power button to that vandal switch, so ur ori power button become display ony la? no function? Yes the ori power button no longer functioning |
|
|
|
|
|
TSunequalteck
|
Apr 18 2016, 03:19 PM
|
|
|
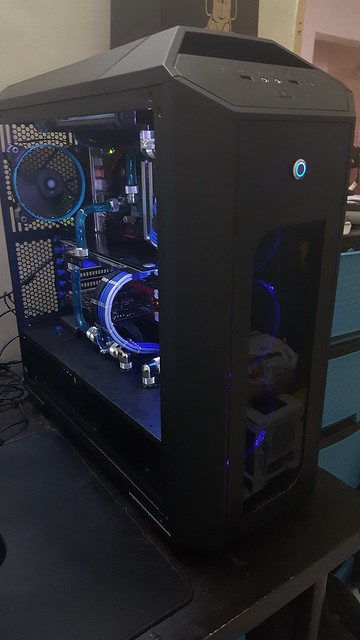
Test run system 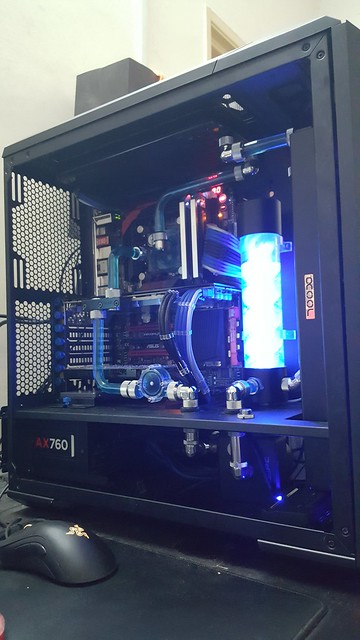 Front panel 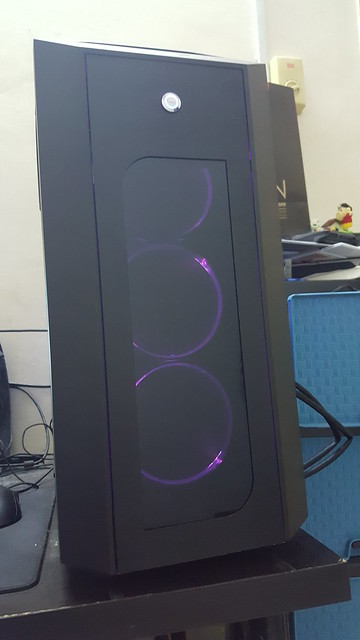 T-virus alike reservoir <3  |
|
|
|
|
|
TSunequalteck
|
Apr 22 2016, 11:13 AM
|
|
|
|
|
|
|
|


 Quote
Quote


 0.0207sec
 0.42
0.42
 5 queries
 GZIP Disabled