Welcome Guest ( Log In | Register )

Outline · [ Standard ] · Linear+

 Project: InDesk (Done), DIY Table Desk PC

views
     
TSLoverboz
post Jun 17 2015, 02:16 AM, updated 8y ago

New Member
*
Junior Member
16 posts

Joined: Nov 2007


Hi, Just thinking to share what i been doing.

Actually this idea was from last year and just recently continue to work on it.
Things get start when I have a broken glass and I was thinking how about make a nice table with PC inside with it, then slowly i begin to research water cooling and the rest.


Ingredient :

RADIATOR
XSPC RX360 V3
EK-CoolStream PE 360

PUMP
XSPC D5 X 2

WATER BLOCK
EK-Supremacy Clean CSQ - Gold
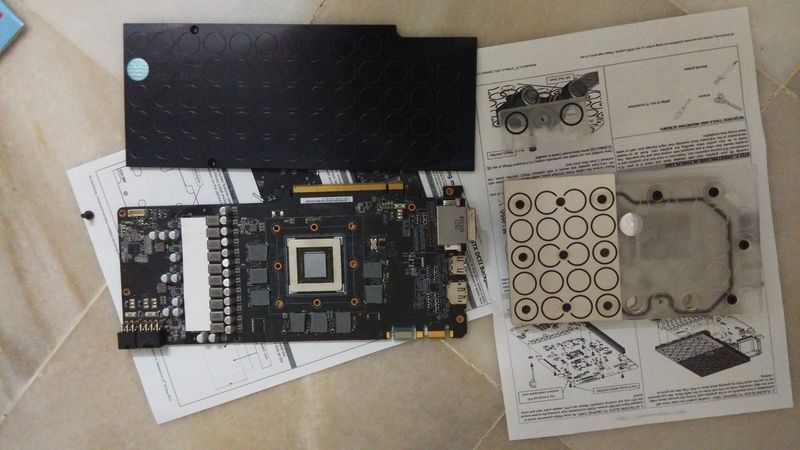
EK-FC680 GTX DCII - Acetal + Nickel
EK-FC680 GTX DCII Backplate - Black


RESERVOIR
XSPC Photon 270
Koolance RP-452X2


FITTING
Bitspower BP-MBEML - G1/4" Matt Black Enhanced Multi-Link for OD 12MM
Bitspower BP-MB90R - Matte Black 90 Degree Rotary Adapter
Bitspower MALE TO MALE NON ROTARY MATTE BLACK
Bitspower Acrylic Adapter - Silver
Bitspower 7/16 5/8 Compressing Adapter
Koolance QD3 Quick Disconnect No-Spill Coupling Male, Threaded G 1/4 BSPP - Silver (QD3-MSG4)
Koolance QD3 Quick Disconnect No-Spill Coupling Female, Threaded G 1/4 BSPP (QD3-FSG4)
Koolance Ball Valve
Barrow Dual Inner G 1/4
Barrow G1/4 Bulkhead Fill port/Drain port
XSPC Reservoir Fillcap to G1/4" Adapter - Black Chrome (M20 x 1.5mm to G1/4")


LIQUID COOLING ACCESSORIES
Mayhems 99.999% Pure Fine Silver Coil
Mayhems 15ml UV Clear Blue Dye


MONITOR/CONTROL DEVICE
NZXT Sentry Mix2
Koolance Flow sensor with display
USB 3.0 & 2.0 Adapter 3.5
Temperature sensor with display
Light Switch
Power Switch


TUBE
Primochill Tube 7/16 5/8
Custom Acrylic Tubing 12mm OD 8mm ID


FAN
Cooler Master Jetflow (Blue)
Silverstone Fan filter


LIGHTING
UV T5 TUBE (S)
UV T5 TUBE (M)
T5 Light tube Casing (S)
T5 Light tube Casing (M)


TABLE CUSTOM
Acrylic 4'x 2'
Table
Aluminium
Labor
Sata Cable 100cm
3 in 3 SATA HDD Hot-Swap Cage


(May 2014 something)
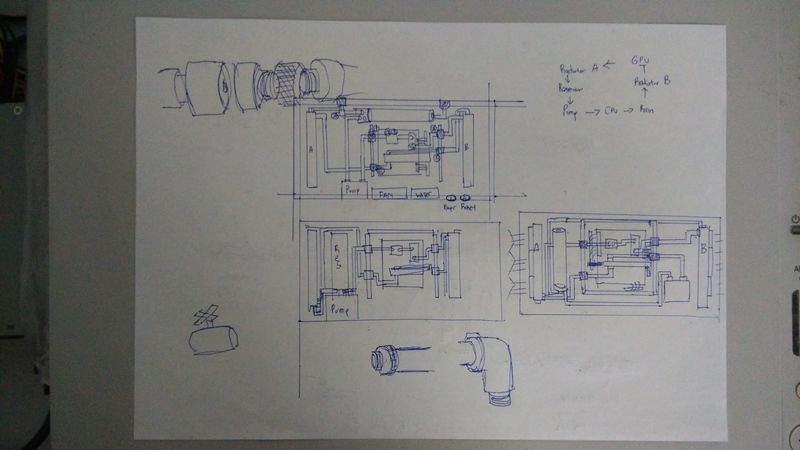
First I going to stretch how the things going to work, so i come up with different floor plan at the beginning.
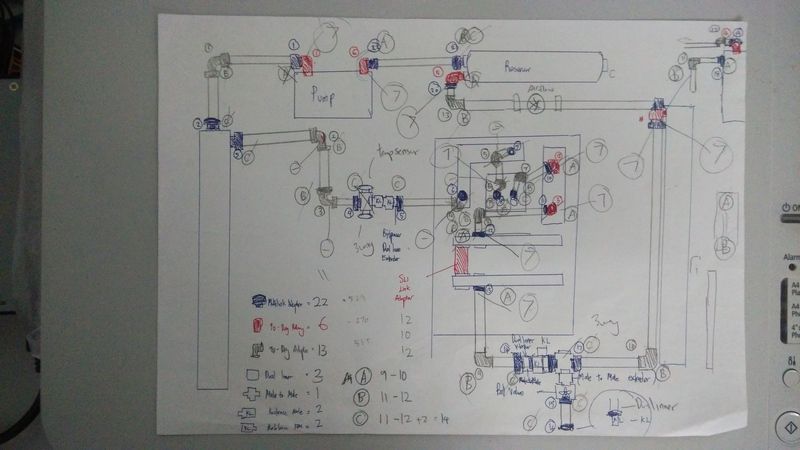
user posted image
user posted image

(June 2014 something)
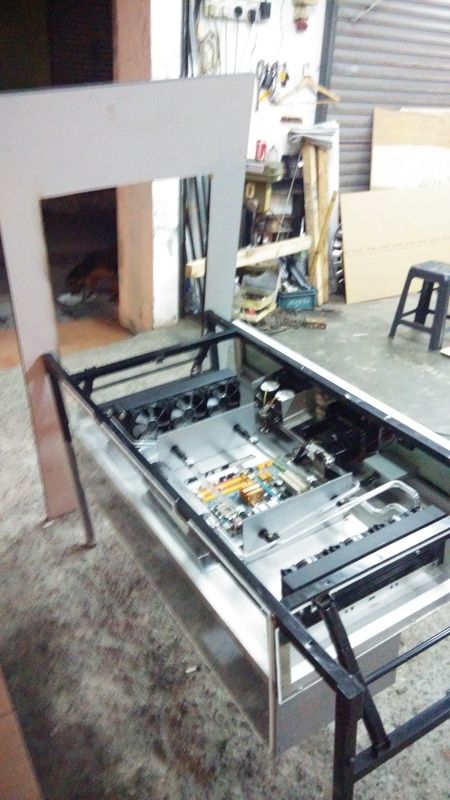
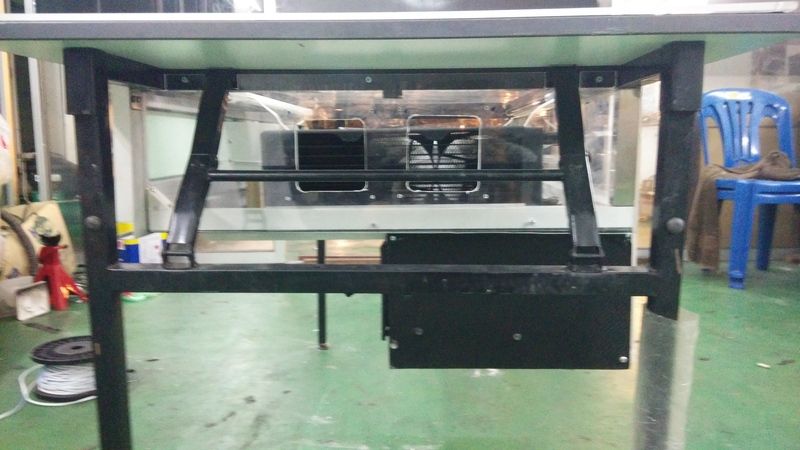
Then I went to nearby aluminium shop to custom made my "tray" for the components.
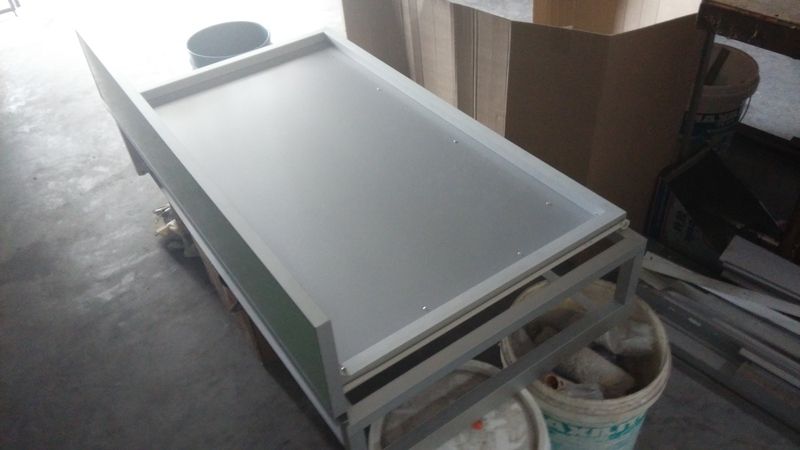
user posted image

(Things get delayed and its around April 2015 something)
Attached to my table after that.
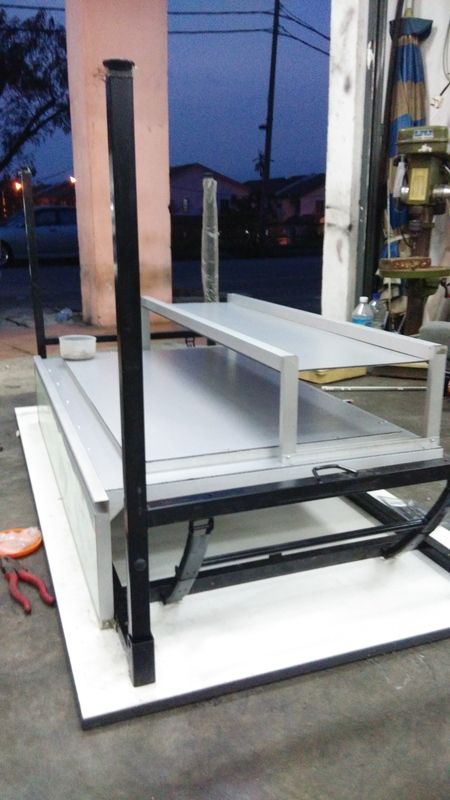
user posted image

(April 2015 something)
Coordinate the items...The best part of the table is i get it removed for the top and make it can be open anytime just like a car hood, easy for me to do maintenance.
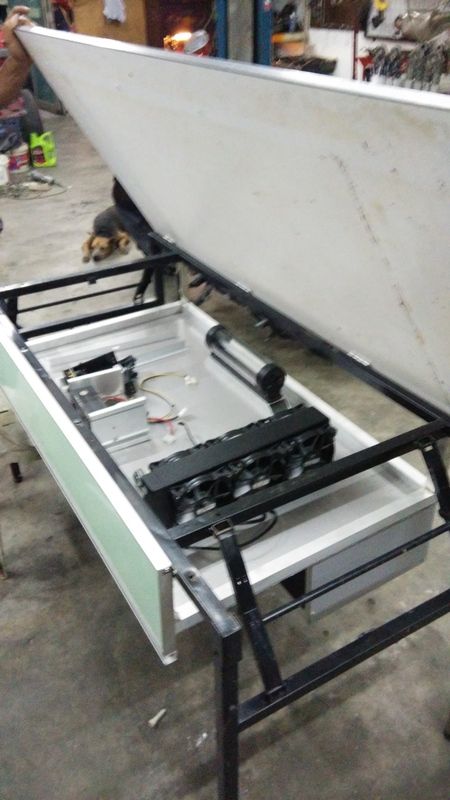
user posted image

(June 2015)
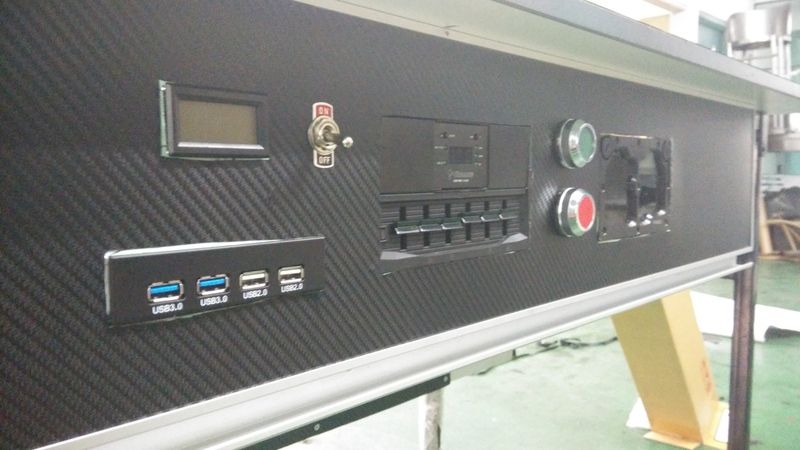
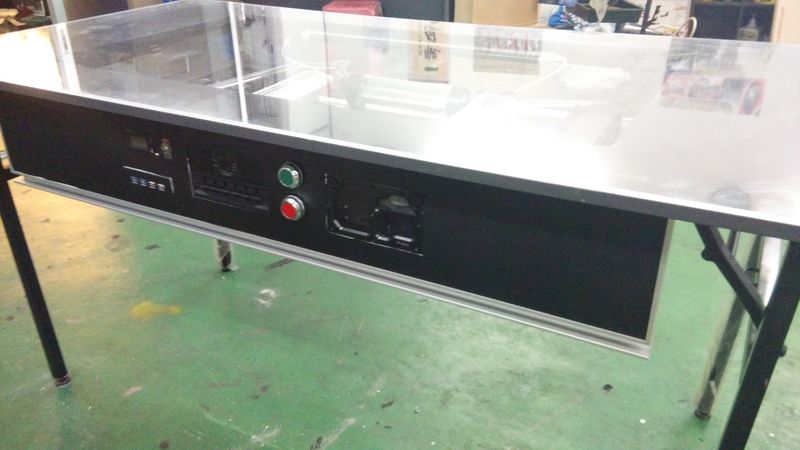
My front panel...required to drill and drills...ignore the button, that is the most "fashionable" i get get with cheap price.
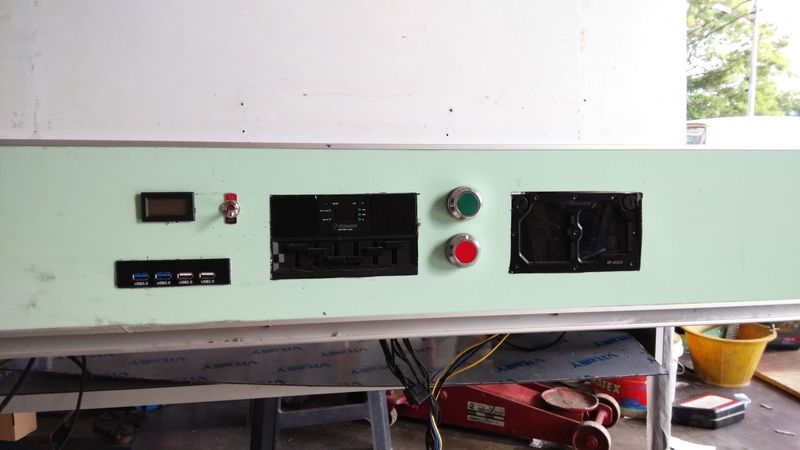
user posted image

(June 2015)
Roughly around like that...
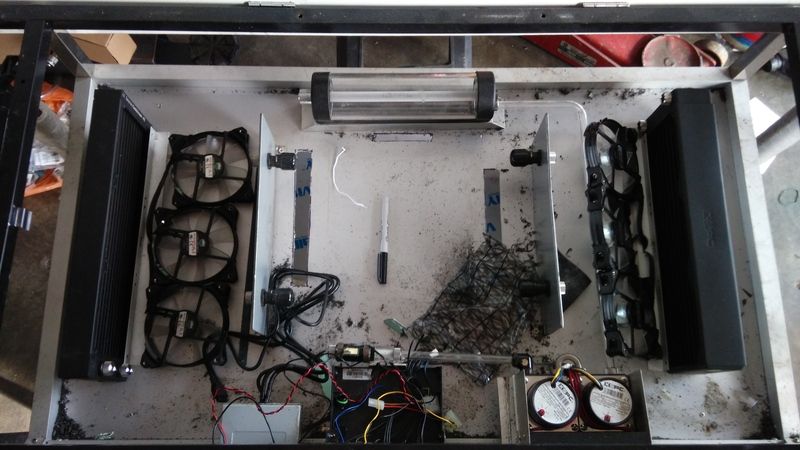
user posted image

(June 2015)
Took me a day to fit those acrylic bending and screwing.
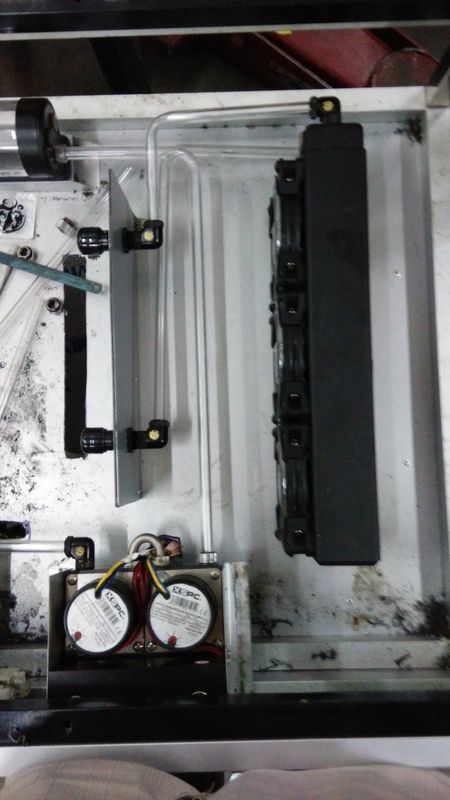
user posted image


Hope I can complete it asap~ Thanks for view

This post has been edited by Loverboz: Jun 4 2016, 01:22 PM
NewbieTech
post Jun 17 2015, 07:52 AM

Getting Started
**
Junior Member
83 posts

Joined: Dec 2014
From: Kuala Lumpur


Hi and good day

rclxm9.gif Looks like u do and plan a hard work there..i will waiting that masterpiece to be done.. thumbup.gif
BOBmad
post Jun 17 2015, 09:50 AM

Getting Started
**
Junior Member
51 posts

Joined: Dec 2011
From: Tomorrow = 20:11 PM


smile.gif nod.gif nod.gif
TSLoverboz
post Jun 18 2015, 02:06 AM

New Member
*
Junior Member
16 posts

Joined: Nov 2007


(18 June 2015)
Continue with my left side of the system.
user posted image

Side view of it...
user posted image

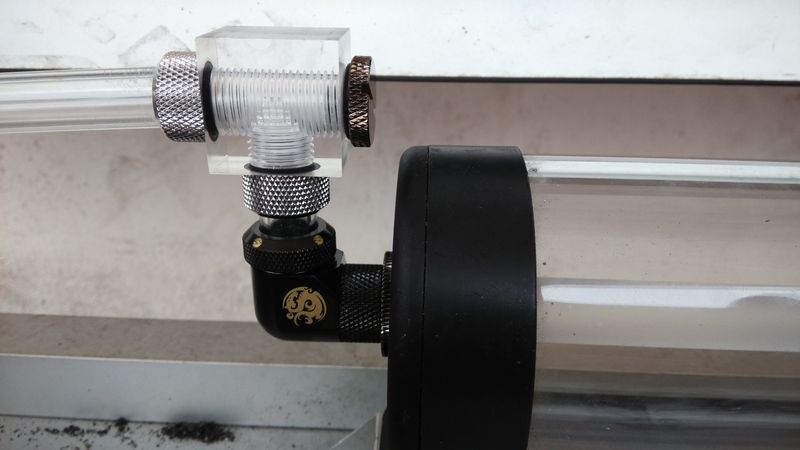
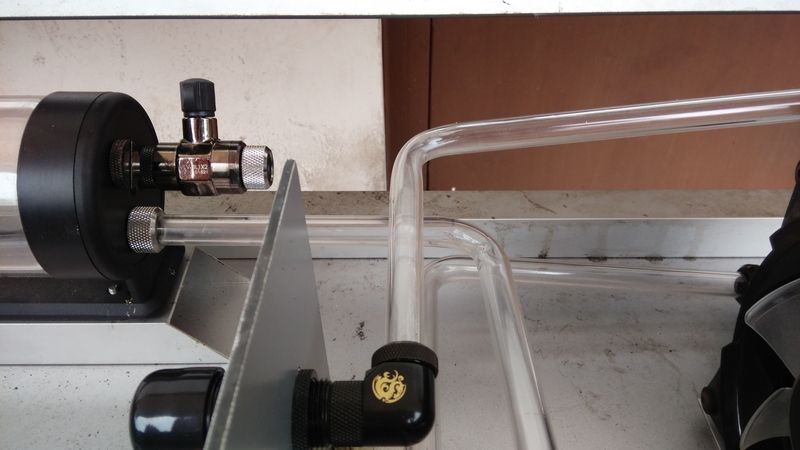
I attached with 3 way so I can fill my reservoir on the top side
user posted image

Of course we have drain port as well attached with valve
user posted image


TSLoverboz
post Jun 18 2015, 02:07 AM

New Member
*
Junior Member
16 posts

Joined: Nov 2007


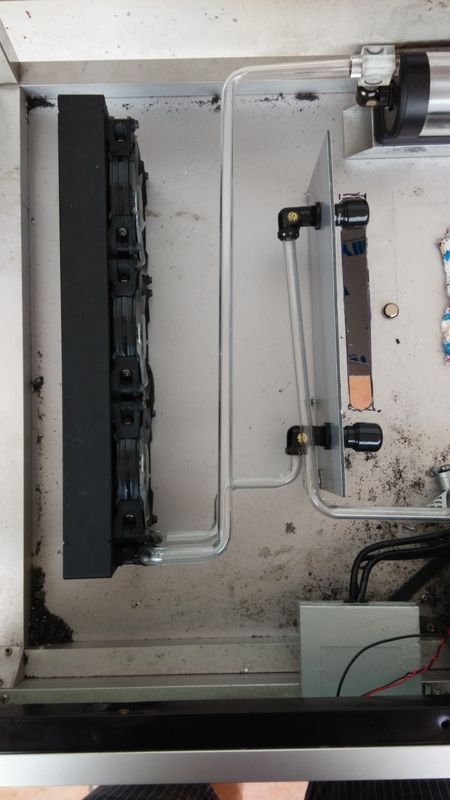
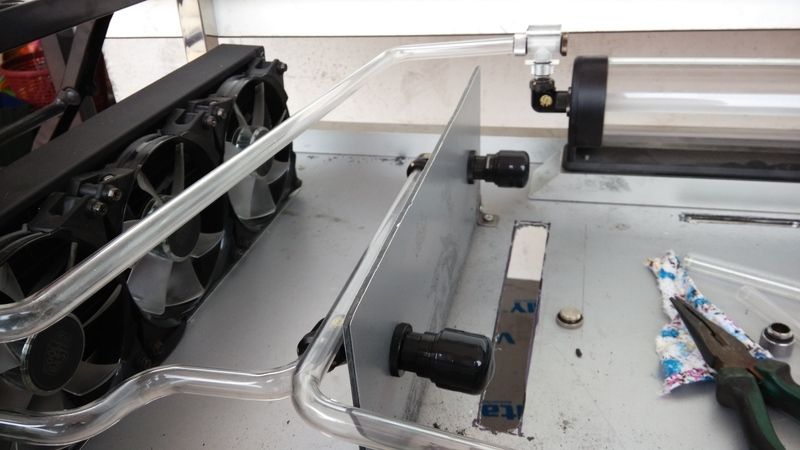
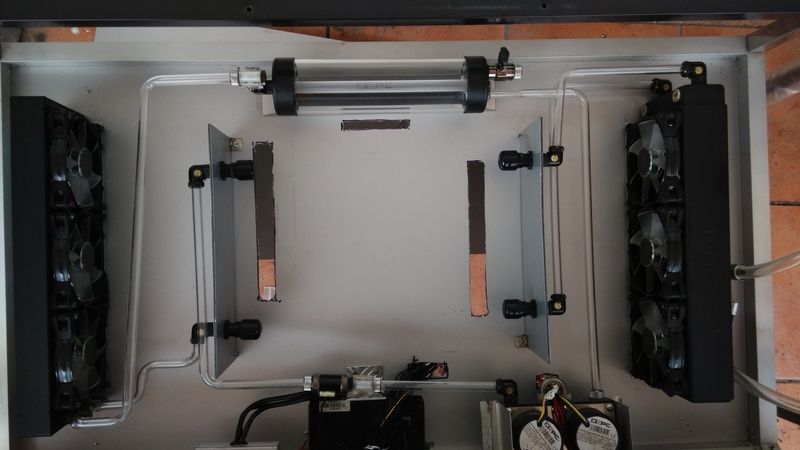
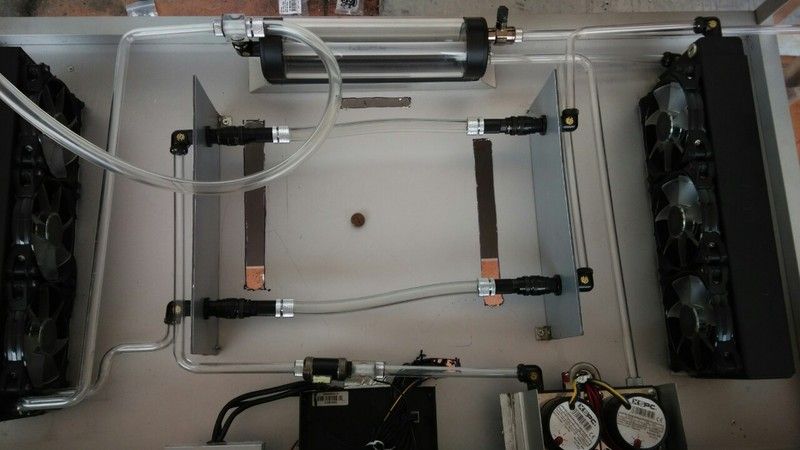
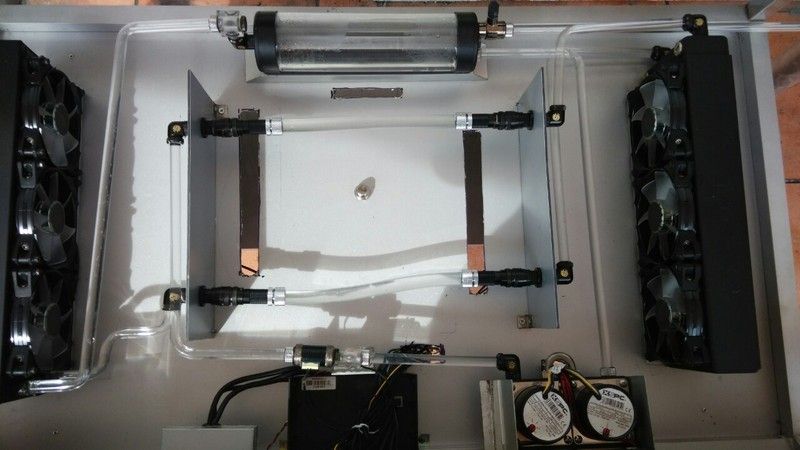
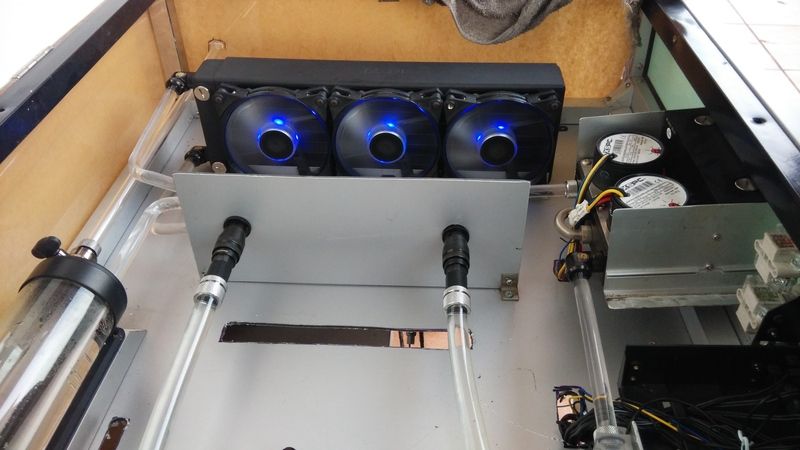
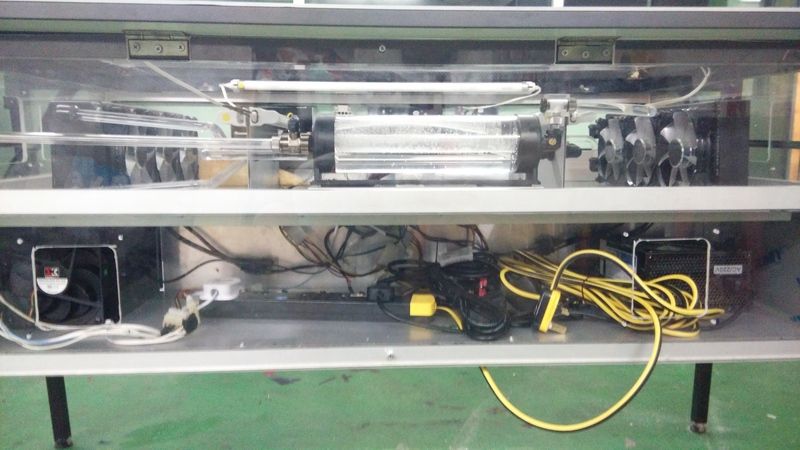
Complete for the acrylic part ( I use acrylic tube for the water cooling around the reservoir, pump & radiator, for water block I use normal tubing)
user posted image

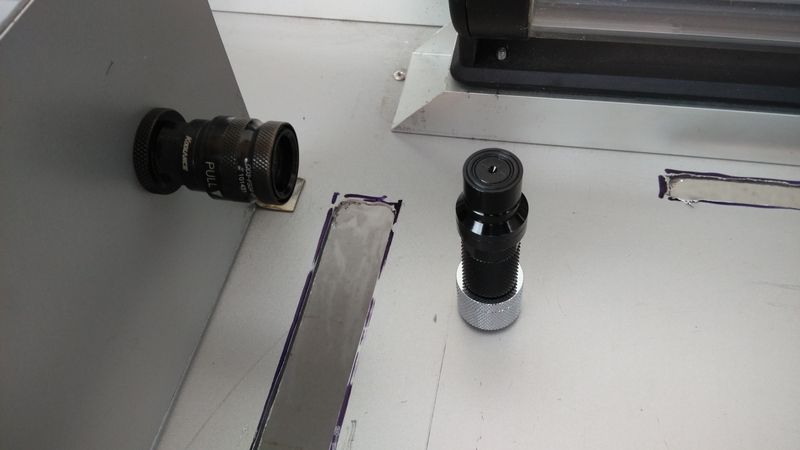
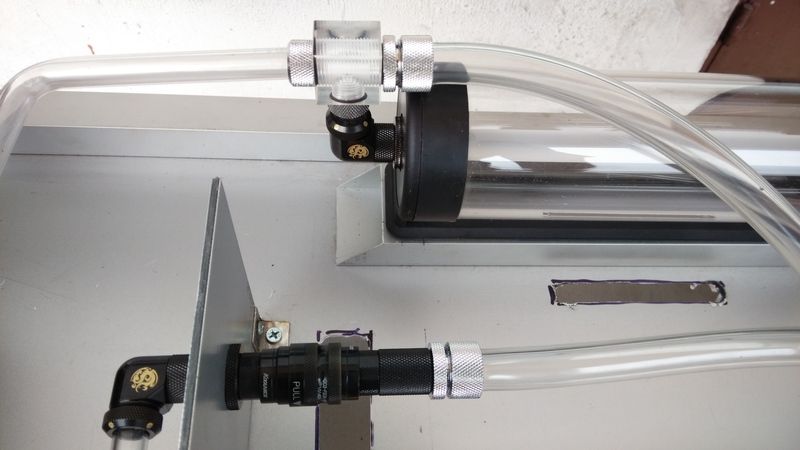
I use Koolance QD3 Quick Disconnect attached with a Bitspower 7/16 5/8 adapter so that I can move around with my water-block without have to detach all the the water-cooling parts (easy for me to maintain and upgrade in future as well biggrin.gif )
user posted image

This is how its look when I fill the tanks
user posted image

Well, for leak test on acrylic tube setting, I connect temporary tube ( without going through water-block yet ) in order to do my 1st leak test
user posted image

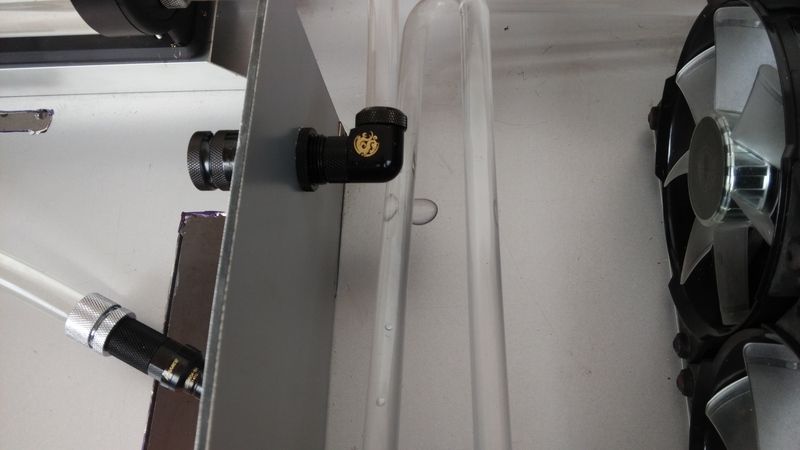
Sad there is a drops on the right side.... have to take out and push the tube into the adapter harder.....luckily its just near with the quick disconnect adapter...
user posted image

1 hour leak test...no prob biggrin.gif
user posted image

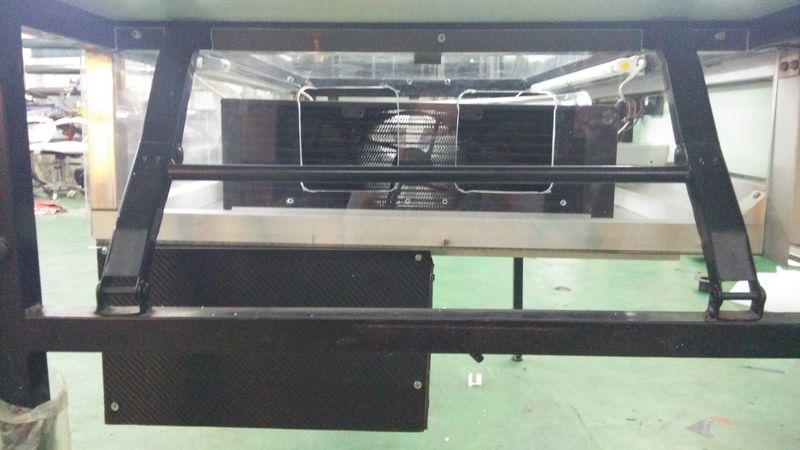
Now we do sealing on the side of the tray using acrylic board
user posted image

Fans are running well...
user posted image

This post has been edited by Loverboz: Jun 18 2015, 02:14 AM
TSLoverboz
post Jun 18 2015, 02:08 AM

New Member
*
Junior Member
16 posts

Joined: Nov 2007


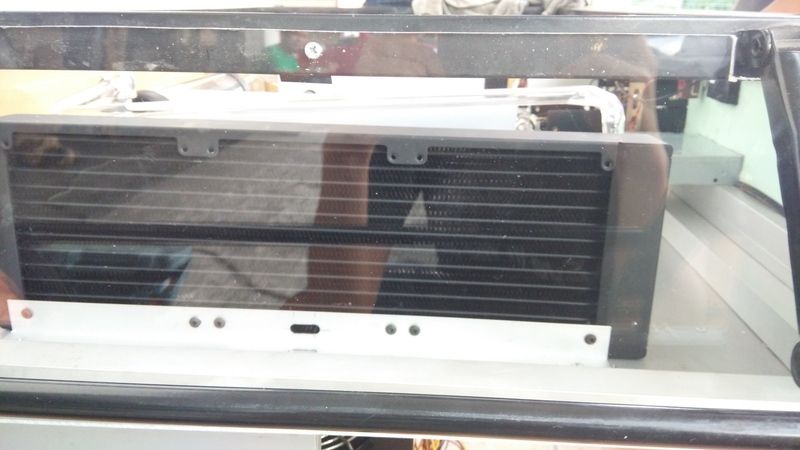
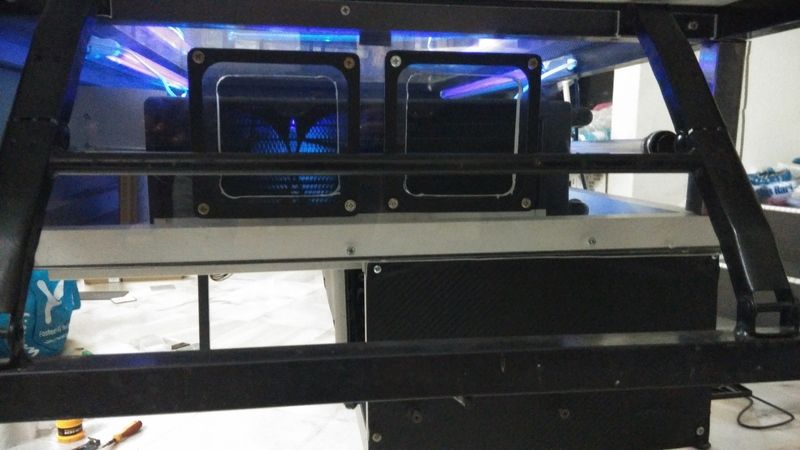
See through~~
user posted image

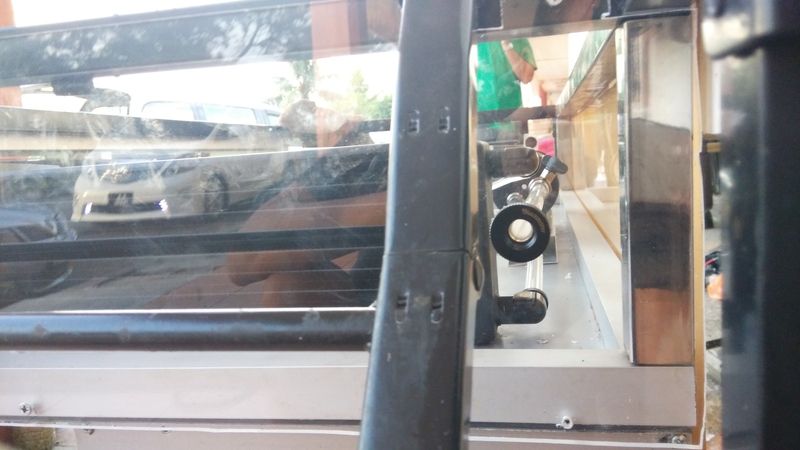
The right side attached with the drain port..
user posted image

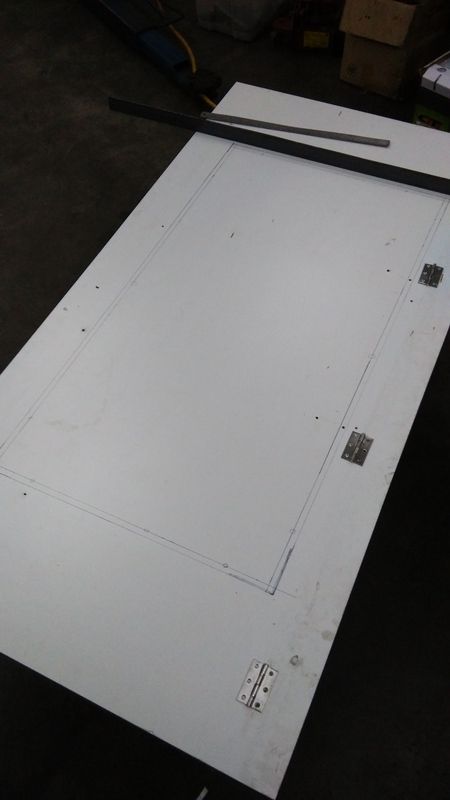
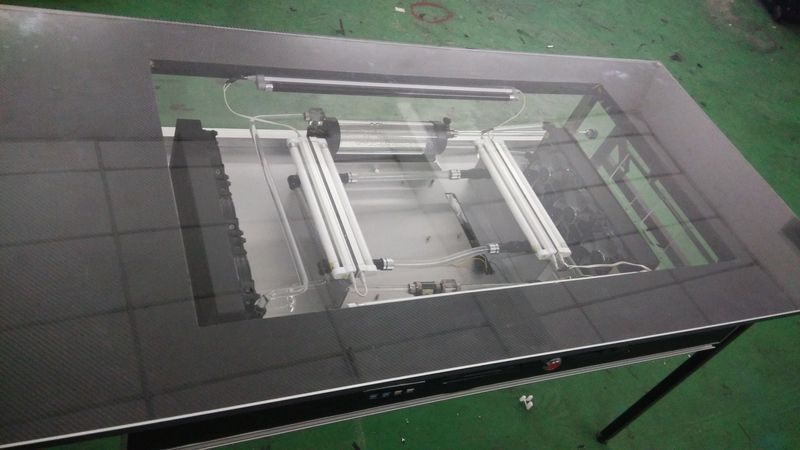
Now for the table top, so my plan is cut a square hole and put an acrylic board on top of it
user posted image

It's done and it's late...so continue later on..
user posted image
TSLoverboz
post Jun 18 2015, 02:15 AM

New Member
*
Junior Member
16 posts

Joined: Nov 2007


June 2015
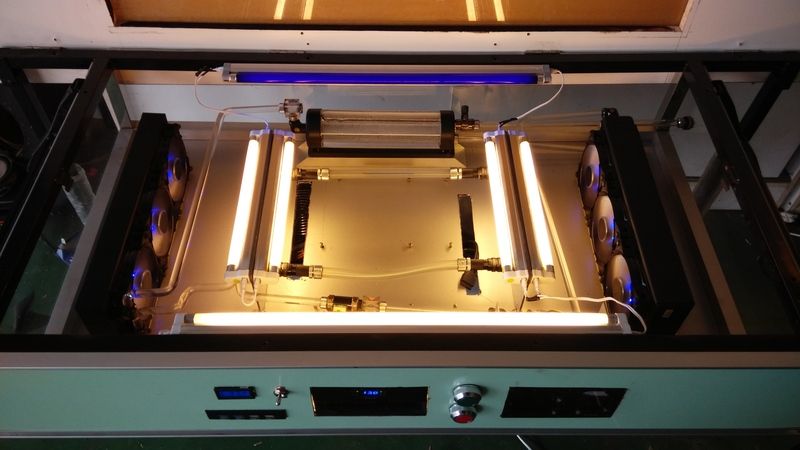
Next is attach the T5 light tube around the system and some wiring for the light. (light tube easy for me to replace in future)
user posted image

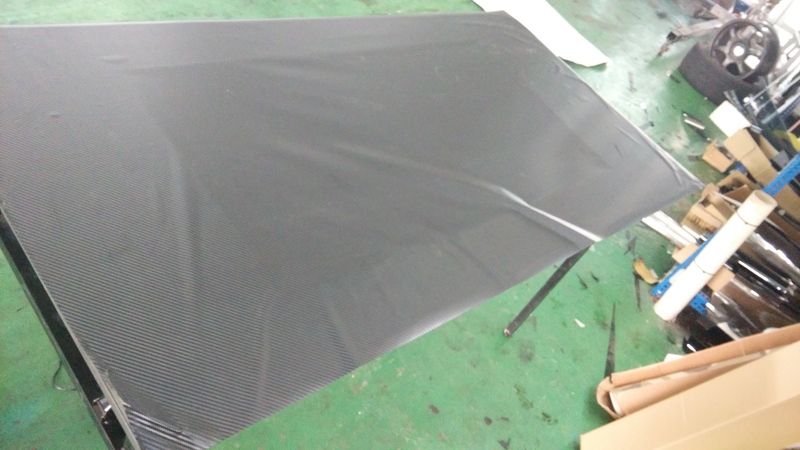
Time for some sticker~
user posted image

Front panel after sticker.
user posted image

Top for the desk after sticker + acrylic board.
user posted image

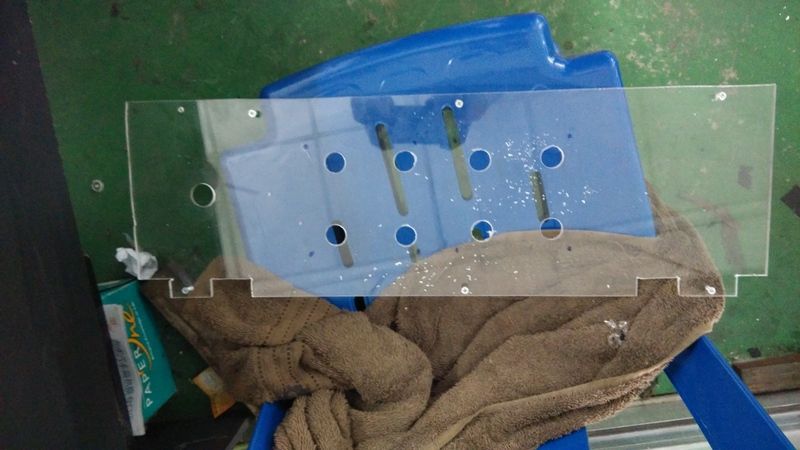
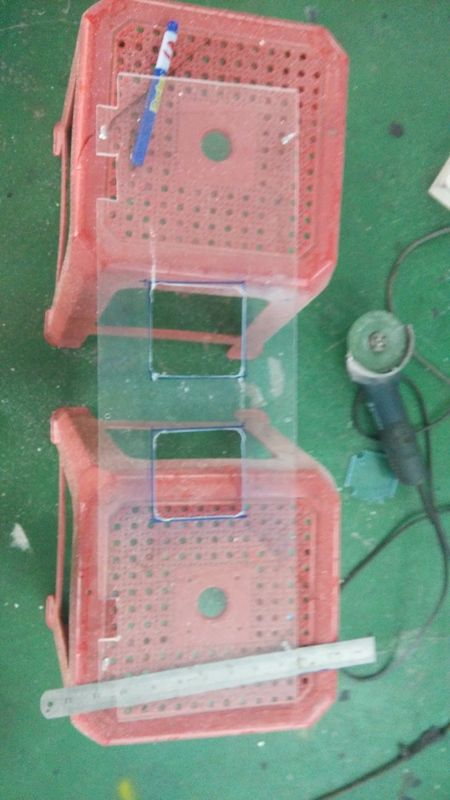
Next, I need to cut off some hole for the air flow ( It's ain't easy to put a hole in these 6 mm acrylic board =.= )
user posted image
user posted image

Screw and attached for both side.
user posted image
user posted image

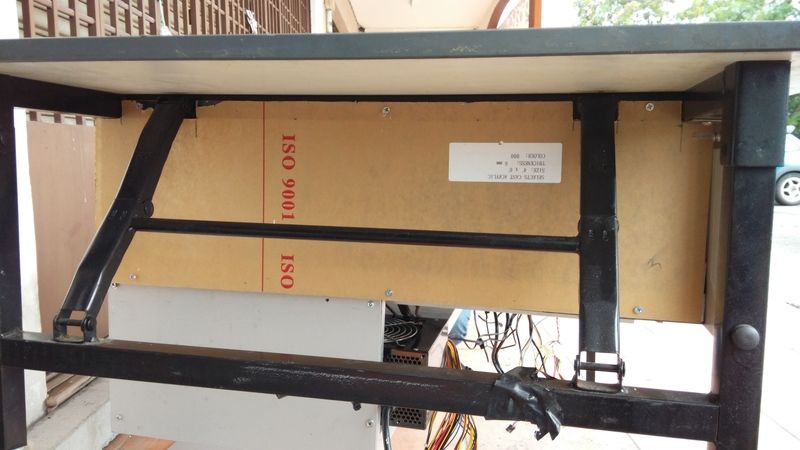
Do some wiring at the behind.
user posted image

Ok, for now the table part is complete. ( Lighting check, Water cooling check, cable and wiring check biggrin.gif )
user posted image

This post has been edited by Loverboz: Jun 26 2015, 07:24 PM
TSLoverboz
post Jun 18 2015, 02:17 AM

New Member
*
Junior Member
16 posts

Joined: Nov 2007


25 June 2015
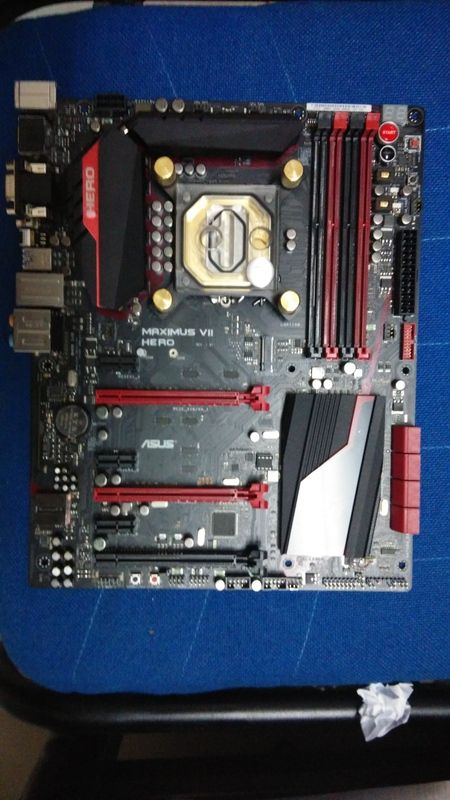
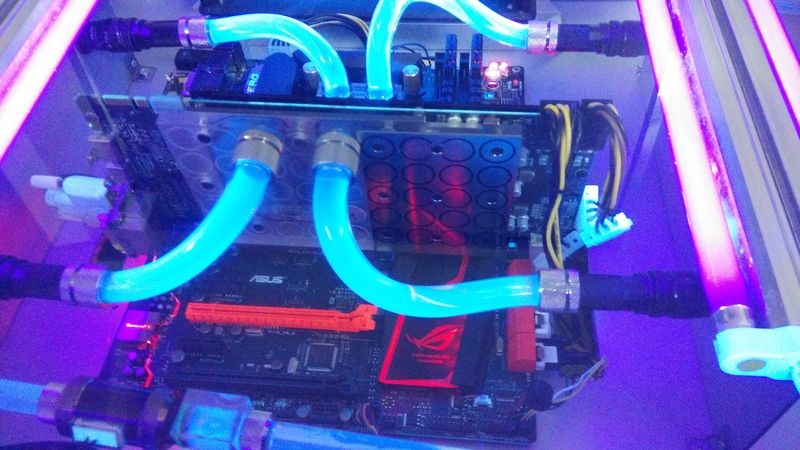
Attach water block to MOBO..
user posted image

And Graphic card.. ( Actually I have water block for RAM but I don't want to screw the life time warranty so...)
user posted image

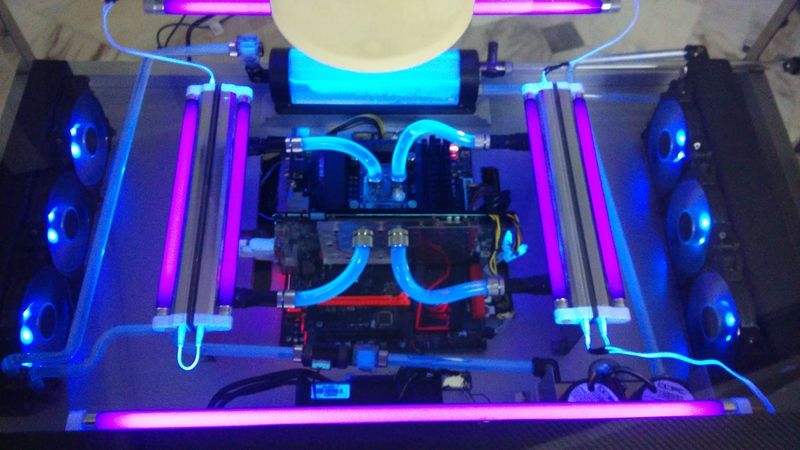
Attached and testing..( Replace the light tube with UV light tube cause I put some UV fluid inside biggrin.gif )
user posted image
user posted image

So far....no problem....biggrin.gif
user posted image

OK, after everything done, time to put the filter to cover up the hole
user posted image

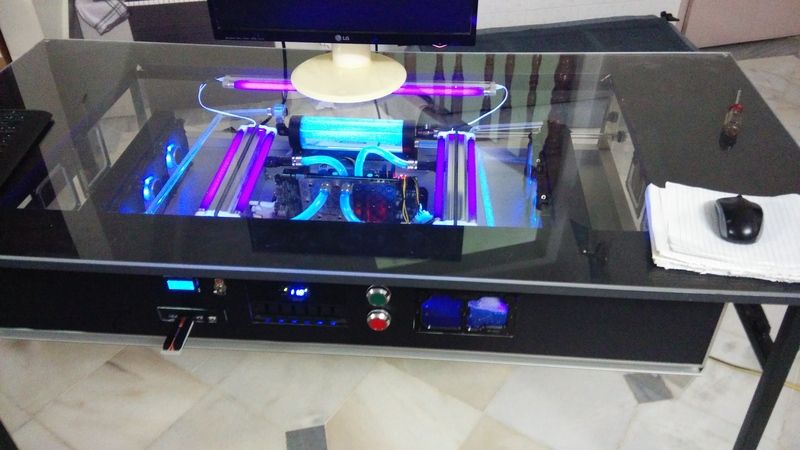
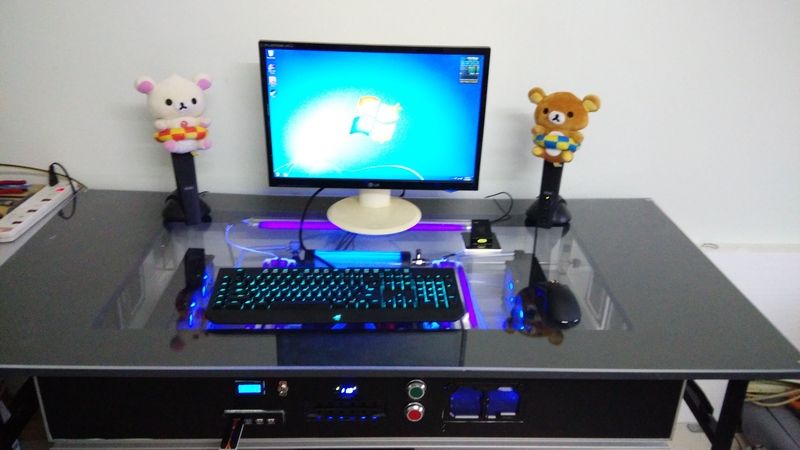
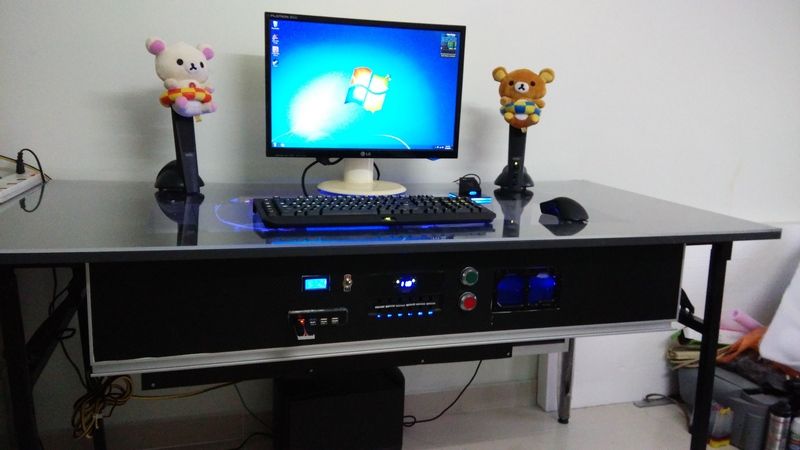
Finally It's done T.T
user posted image
user posted image

Feel accomplished and happy with ma new table...Thanks a lot for those who helping me with the process and Thanks for view smile.gif

This post has been edited by Loverboz: Jun 26 2015, 07:39 PM
TSLoverboz
post Jun 18 2015, 02:18 AM

New Member
*
Junior Member
16 posts

Joined: Nov 2007


Reserved
TSLoverboz
post Jun 18 2015, 02:19 AM

New Member
*
Junior Member
16 posts

Joined: Nov 2007


Reserved
TSLoverboz
post Jun 18 2015, 02:20 AM

New Member
*
Junior Member
16 posts

Joined: Nov 2007


Reserved
BuckRoger
post Jun 18 2015, 06:59 PM

Sakit Perut
*****
Senior Member
903 posts

Joined: Dec 2008
nice one smile.gif. eager to see the outcome

overclockalbert
post Jun 19 2015, 03:36 PM

Regular
******
Senior Member
1,058 posts

Joined: Apr 2006
From: Penang , Malaysia


recently alot doing diy PC desk. it's becoming a trend for LYN modder already.
anyway, TS good job for the arcylic bending.

azilazwa
post Jun 28 2015, 09:31 PM

Enthusiast
*****
Senior Member
835 posts

Joined: May 2008
From: Setiu, Terengganu
Great job bro! U made it look easy! Cool effect of the uv coolant. Congrate~
efariz
post Sep 10 2015, 12:02 PM

Network Engineer To Be
******
Senior Member
1,030 posts

Joined: Apr 2010
From: Kuala Lumpur-Cyberjaya-Subang Jaya


table top u use acrylic right? any safety precaution u take to avoid scratch on the surface?
jagged
post Sep 10 2015, 02:35 PM

Enthusiast
*****
Senior Member
757 posts

Joined: May 2005


The location you placed the USB port is not that logical, any sudden move while your thumb drive is plugin mean only one thing, kaput... I recommend that you shift it to the left or below the panel.
TSLoverboz
post Jun 2 2016, 01:08 AM

New Member
*
Junior Member
16 posts

Joined: Nov 2007


QUOTE(efariz @ Sep 10 2015, 12:02 PM)
table top u use acrylic right? any safety precaution u take to avoid scratch on the surface?
*
Hi, I don't put any scratch-protection as if there really crack, or heavily scratch, I can replace the whole thing
TSLoverboz
post Jun 2 2016, 01:10 AM

New Member
*
Junior Member
16 posts

Joined: Nov 2007


QUOTE(jagged @ Sep 10 2015, 02:35 PM)
The location you placed the USB port is not that logical, any sudden move while your thumb drive is plugin mean only one thing, kaput... I recommend that you shift it to the left or below the panel.
*
I think so far it's ok cause when we sit infront of PC, there are certain distance.
The reason I put it there cause I can plug and play easily w/o bending or moving around
Consider it as a one panel solution XD
slyztercore90
post Jun 4 2016, 12:09 PM

New Member
*
Junior Member
14 posts

Joined: May 2014
i quite agree with the location for usb...but well everyone have their own taste right..hehe...but nice work dude..can see you put so much love inside this rig..good job smile.gif


Change to:
| Lo-Fi Version
0.0141sec    0.50    5 queries    GZIP Disabled
Time is now: 29th March 2024 - 12:41 PM