

 Sep 7 2006, 10:47 AM, updated 20y ago

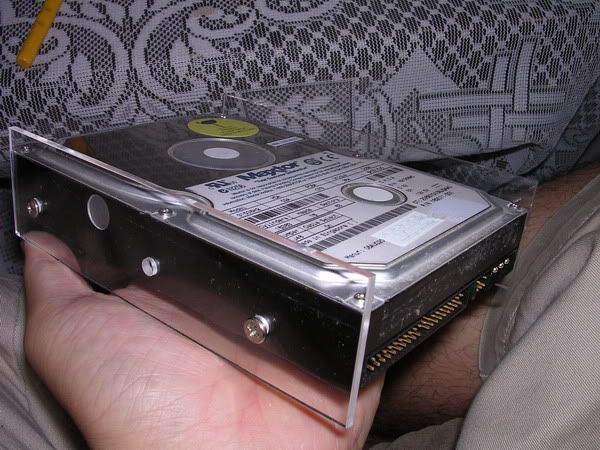
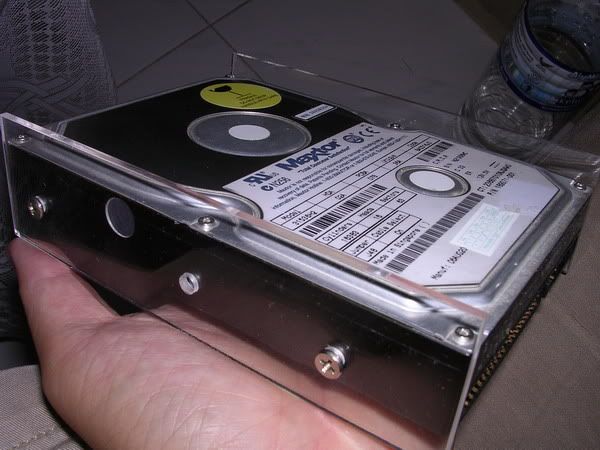
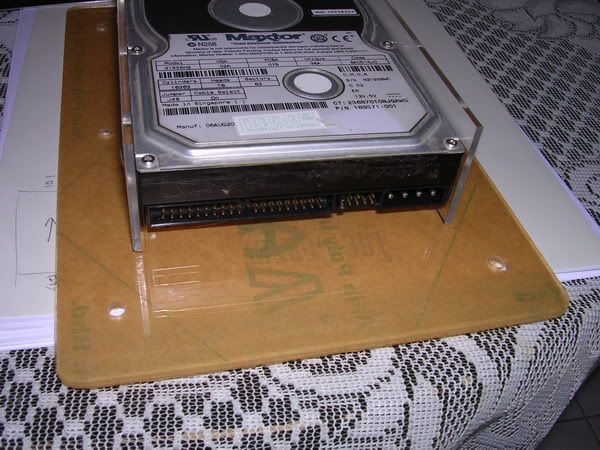
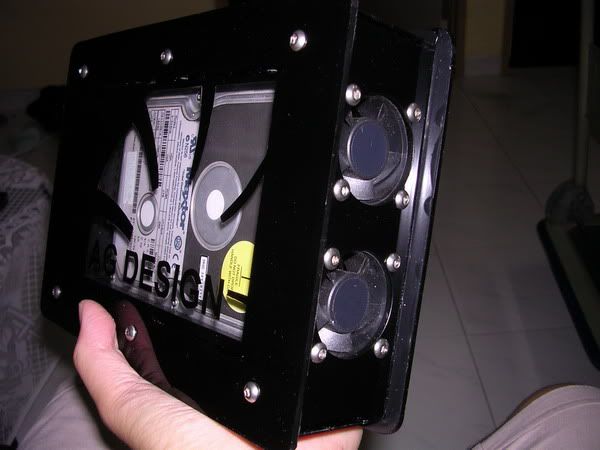
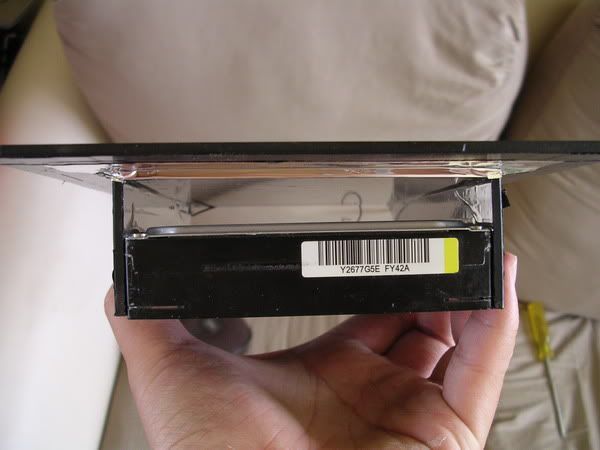
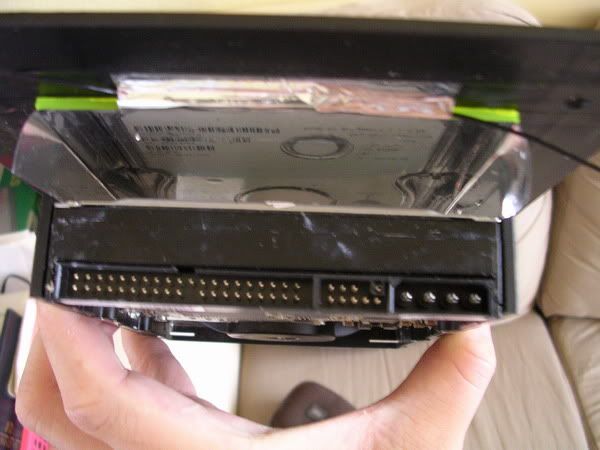
currently i'm putting an 80Gb Maxtor inside as external HDD....the whole thing is built by using 3mm acrylic and will be black when it's done.....
so, the case will have these feature :
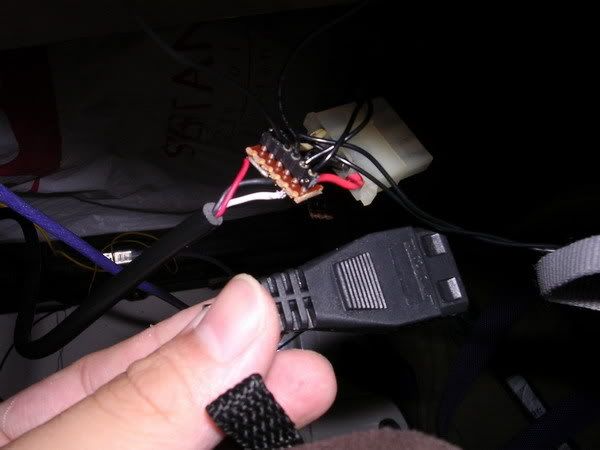
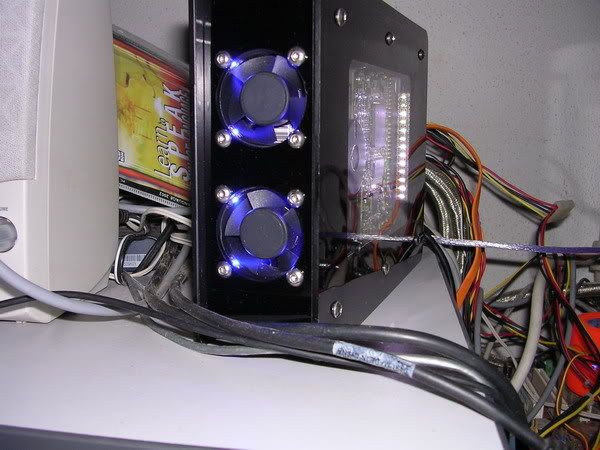
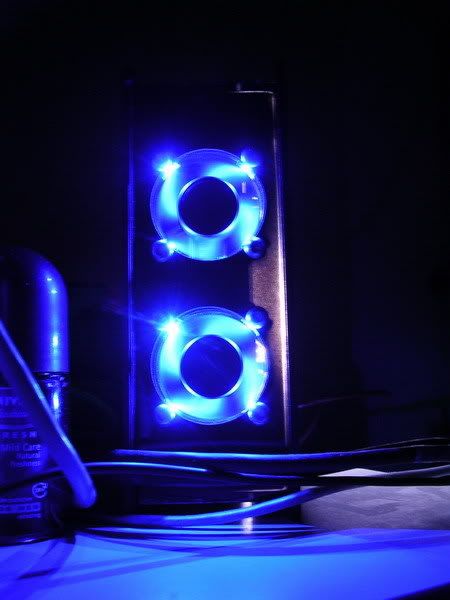
- 2x 40mm SUNON with blue LED running at 6V each ( like the ones in my signature )
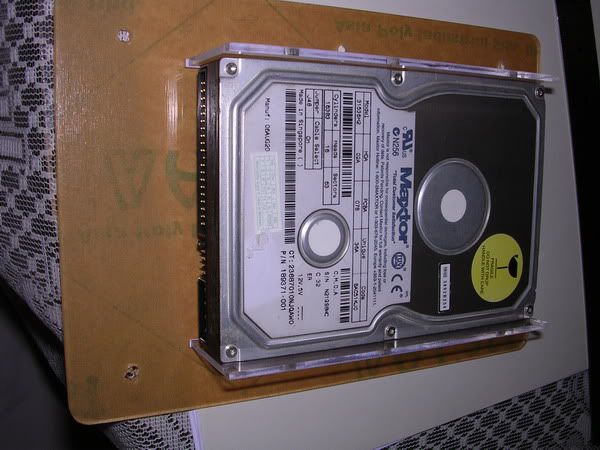
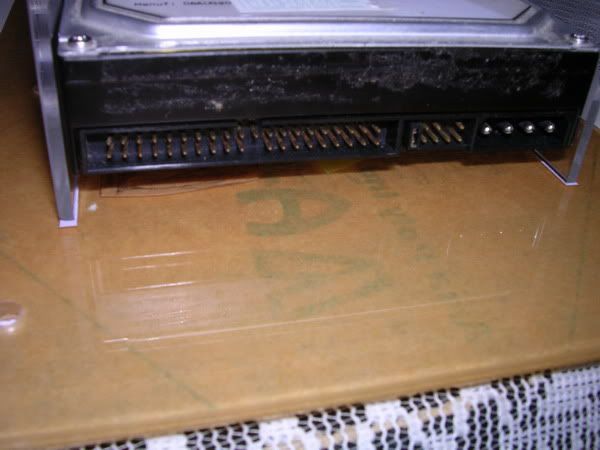
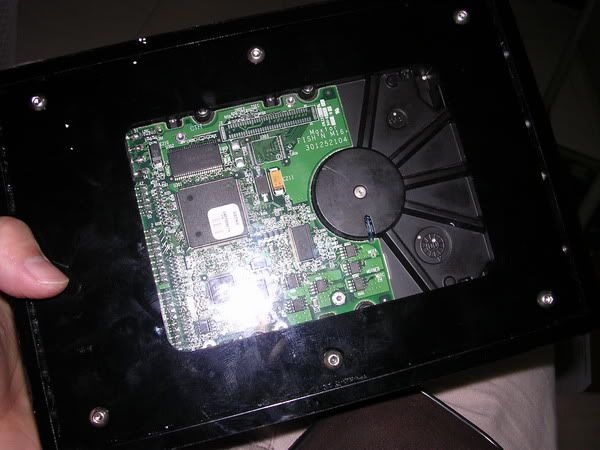
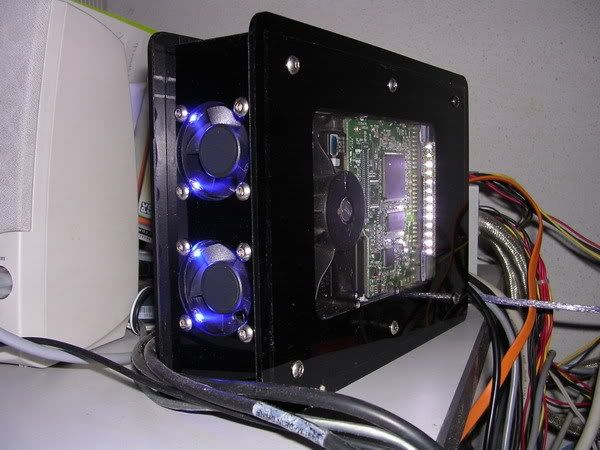
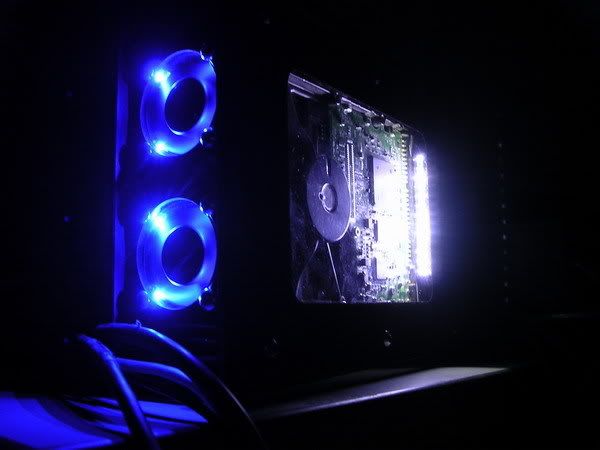
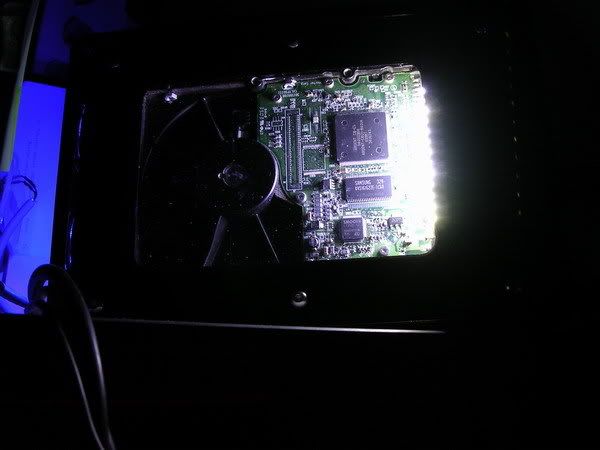
- window mod to view the bottom part of the HDD ( so that you can look at the PCB and such )
- 13x white SMD LED shining onto the window part
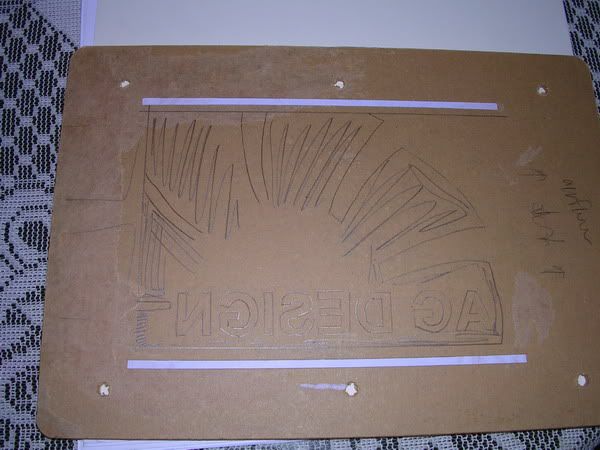
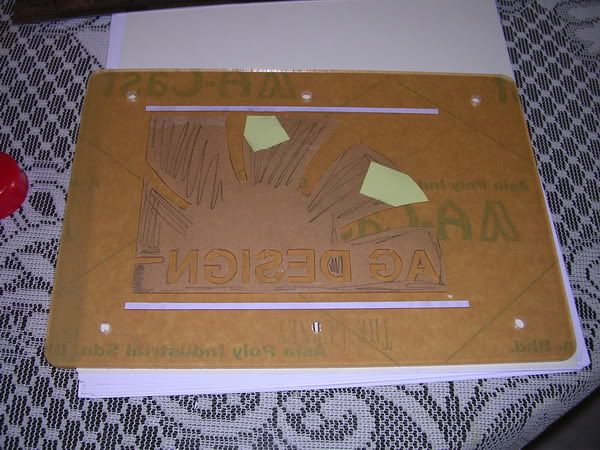
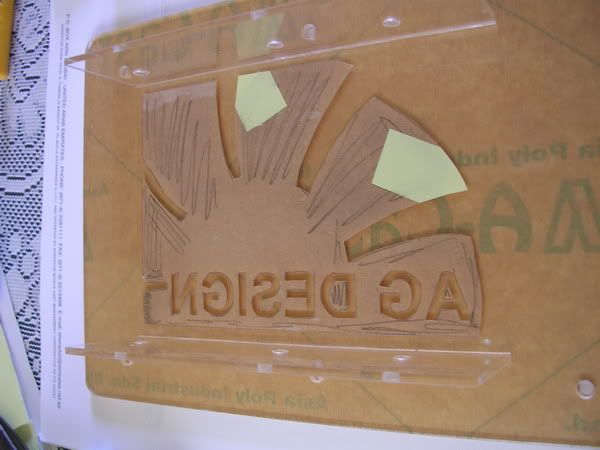
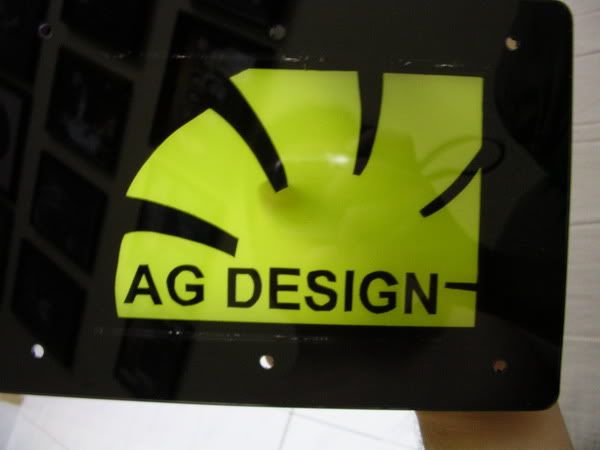
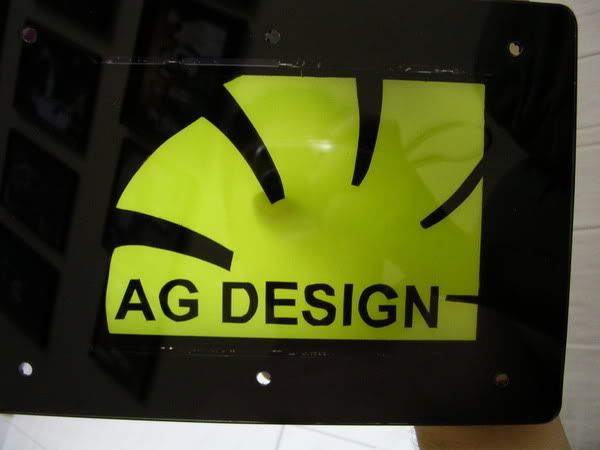
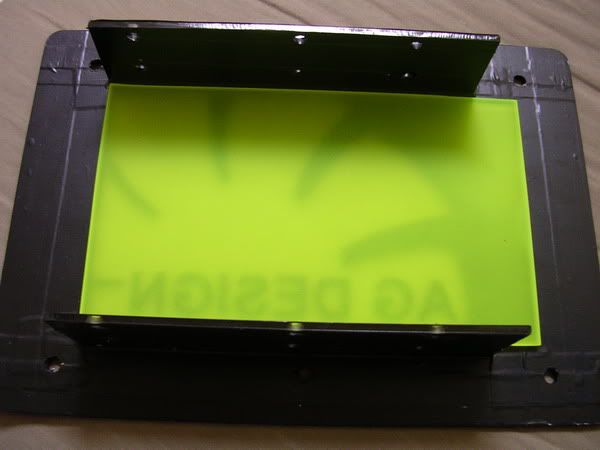
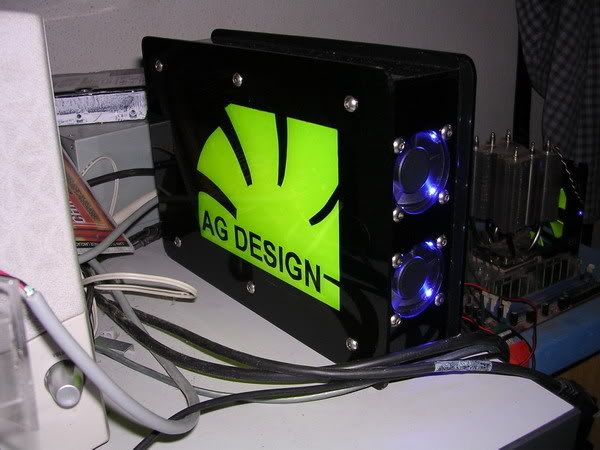
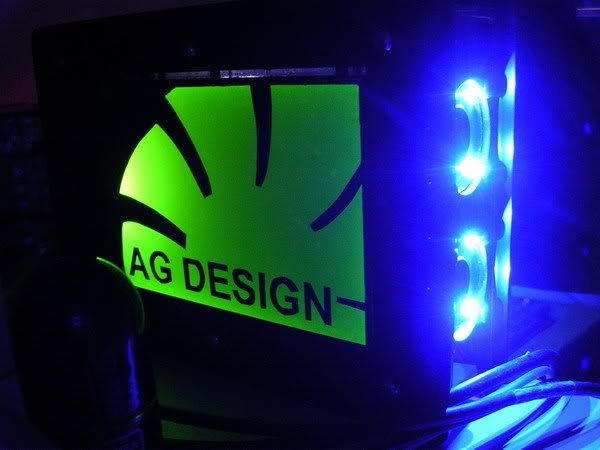
- the other side which is the top of the HDD will have some UV yellow design lighted by blue SMD LED
overall, i want to have a bling bling external HDD casing

okay, lets start off with the layout.....
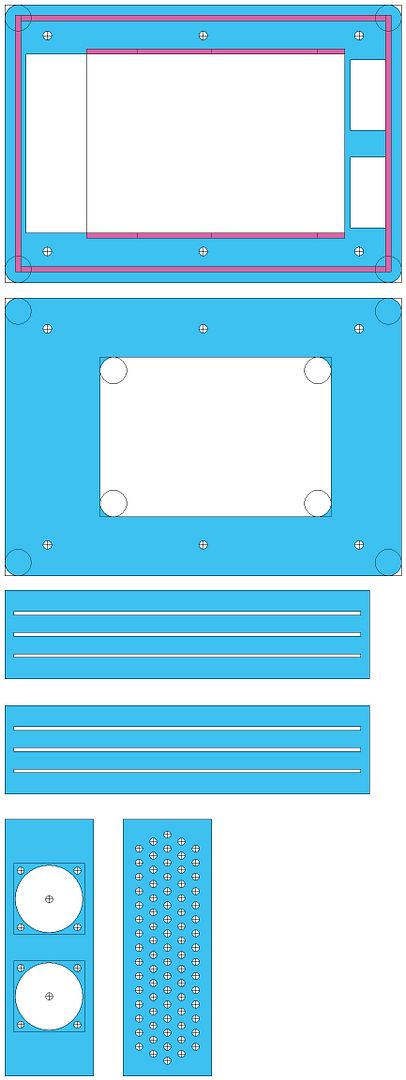
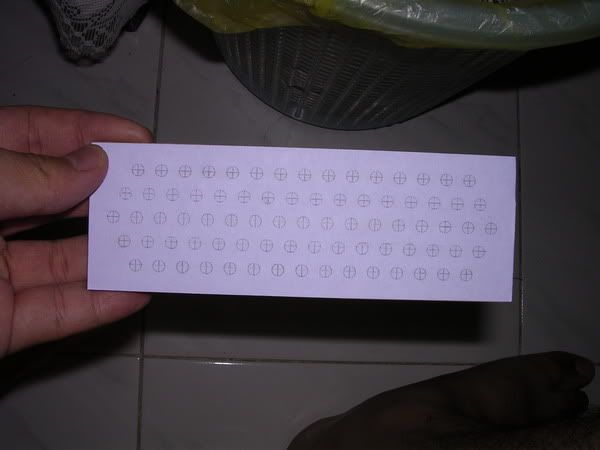
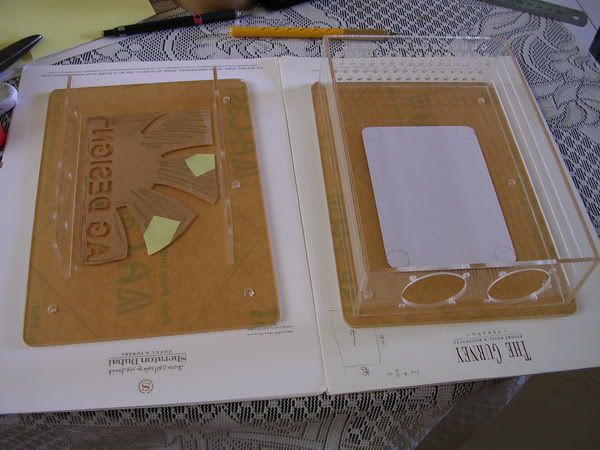
basically, this is the design that i've drawn using to precise dimension and i will print this layout onto a sticker and stick it onto the 3mm acrylic sheets.
the first two pieces are the top and bottom plate while the middle 2 pieces are the sides while the last 2 pieces are the front and rear plate of the external HDD...
if you can notice there, i've everything that is needed to be done on the layout itself, this will greatly improve the speed coz you dont need to spend time to measure and draw.....
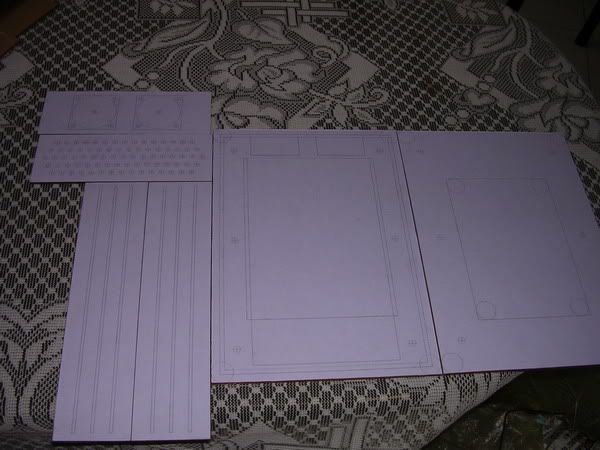
here's the layout design on the A4 sticker which i'm gonna stick it on the acrylic sheet

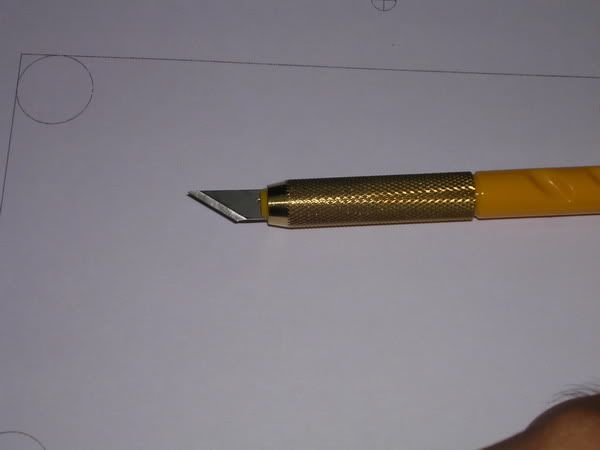
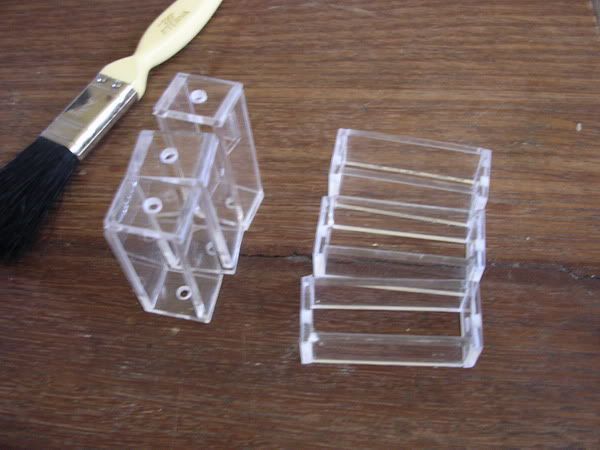
because i'm gonna do some etching, i had to get a blade specifically for this purpose.
it's very useful coz it's really small and easier to handle as compared to a normal blade.
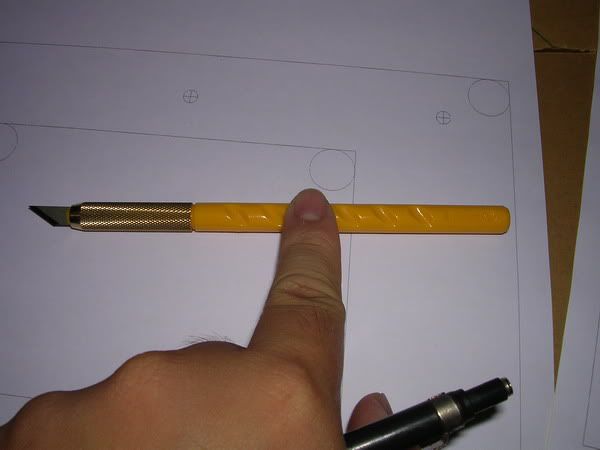
see that the blade is narrow and really ' thin ', thus you can cut curves on the sticker easily..
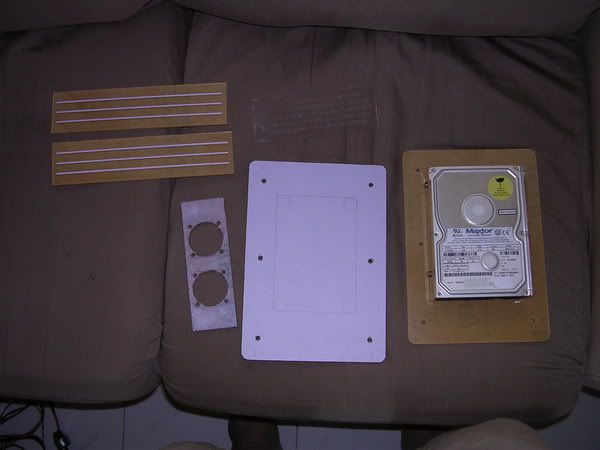
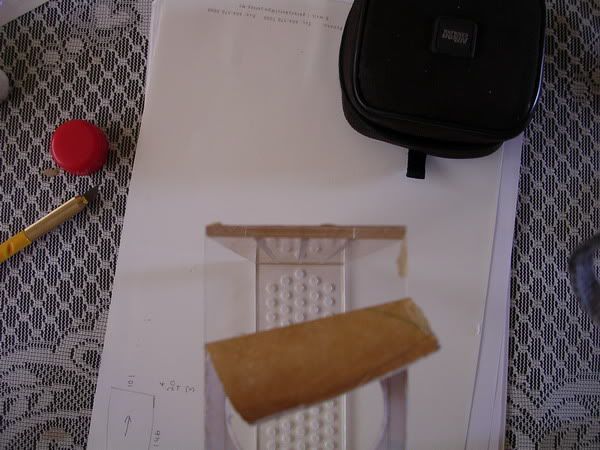
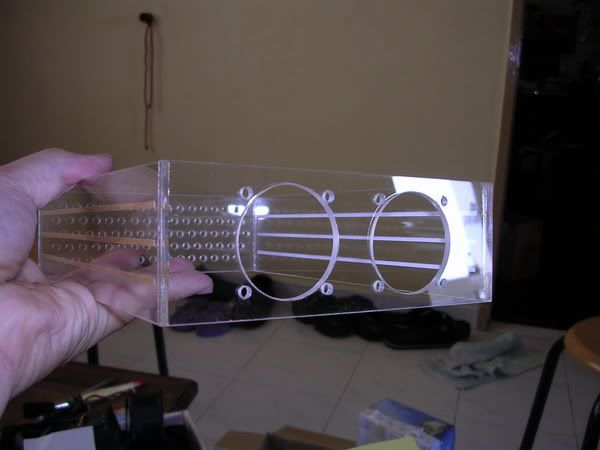
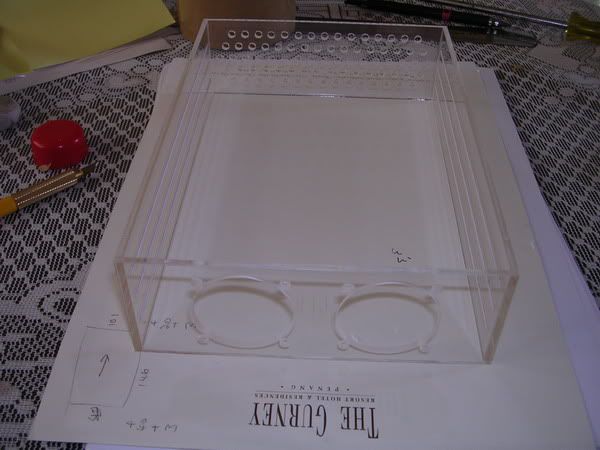
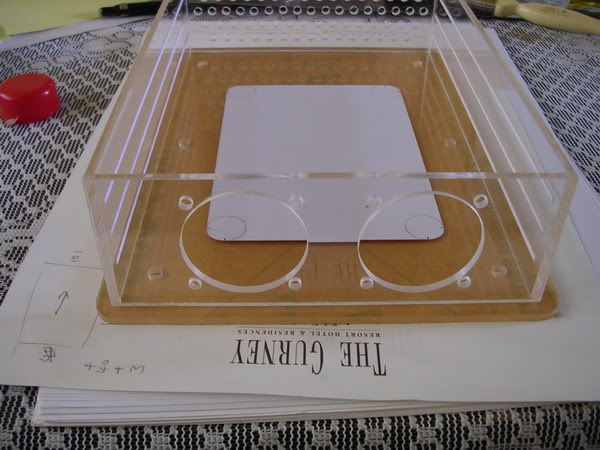
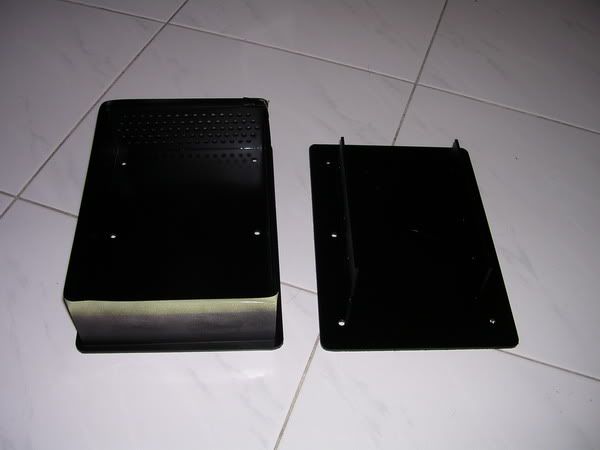
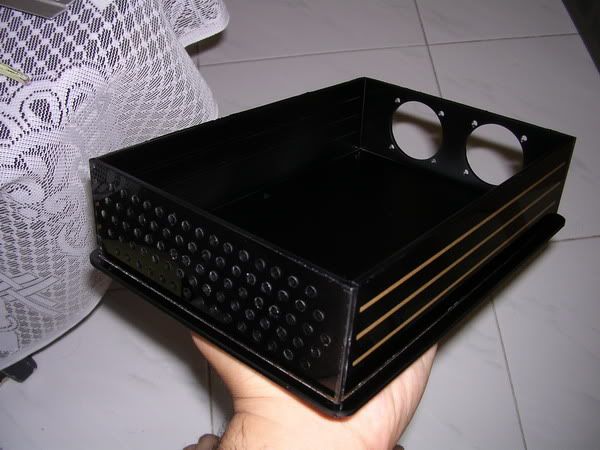
these are the acrylic plates which i've cut according to the layout.
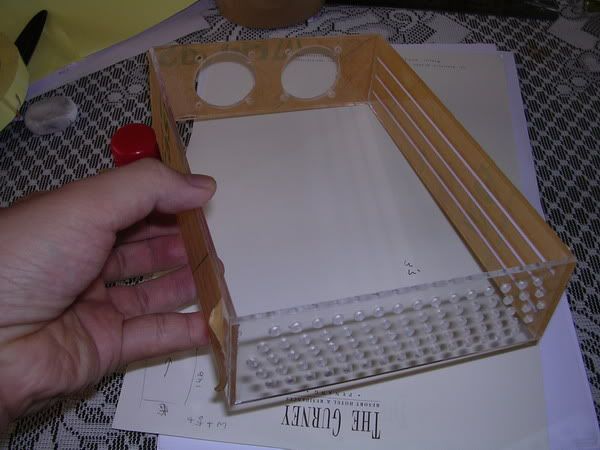
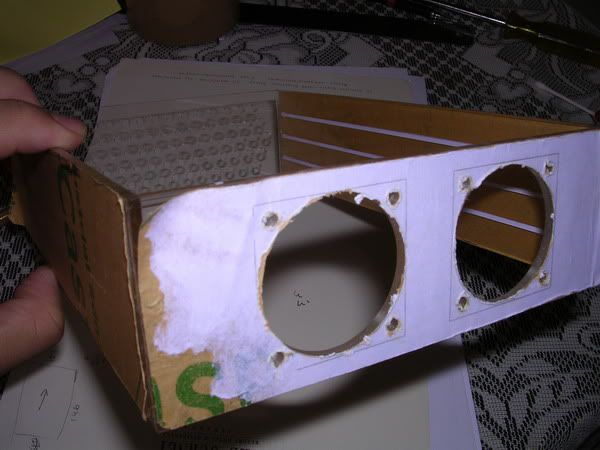
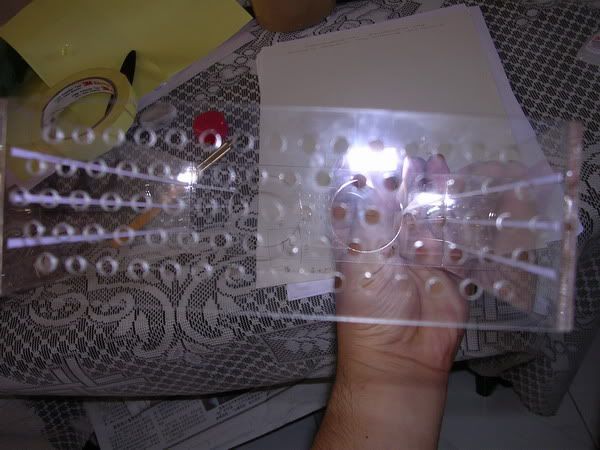
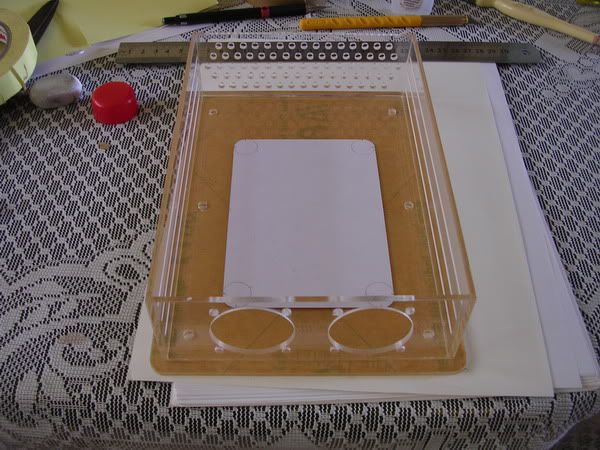
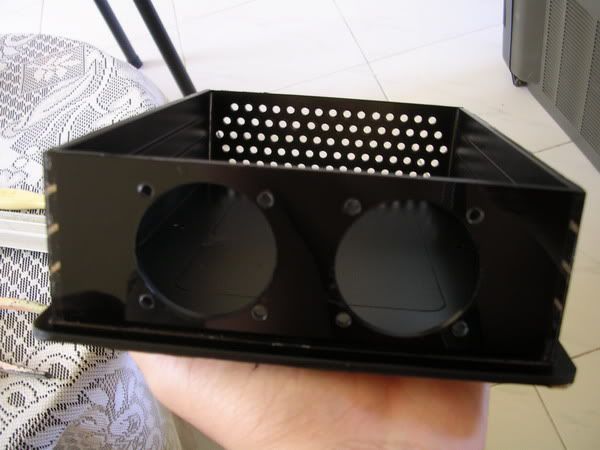
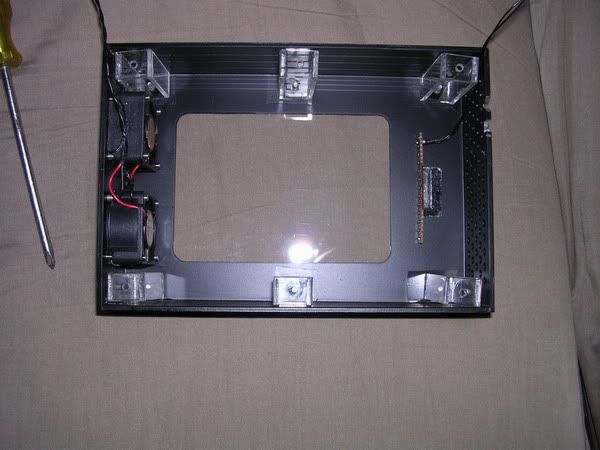
this plate is the front plate and will fit 40mm SUNON fans.

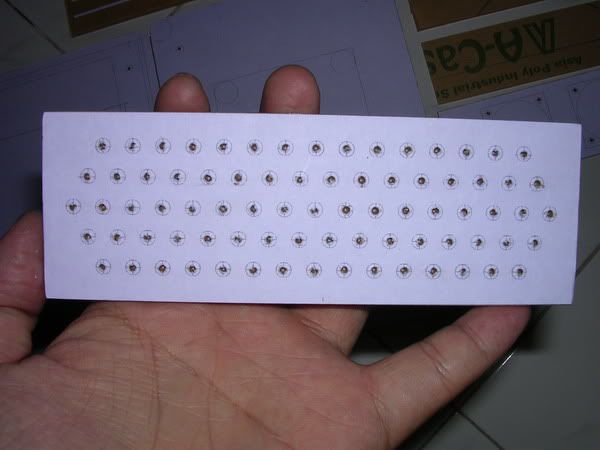
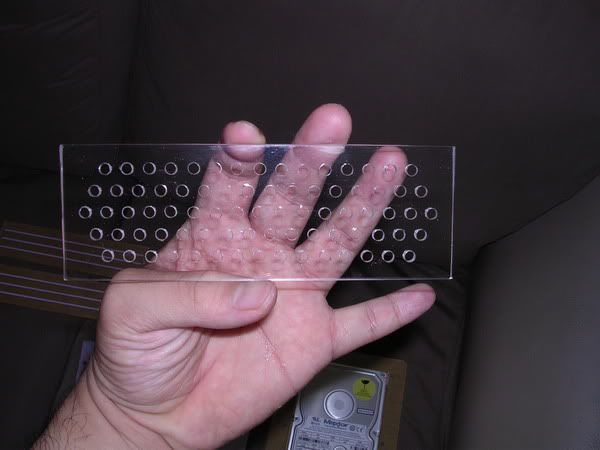
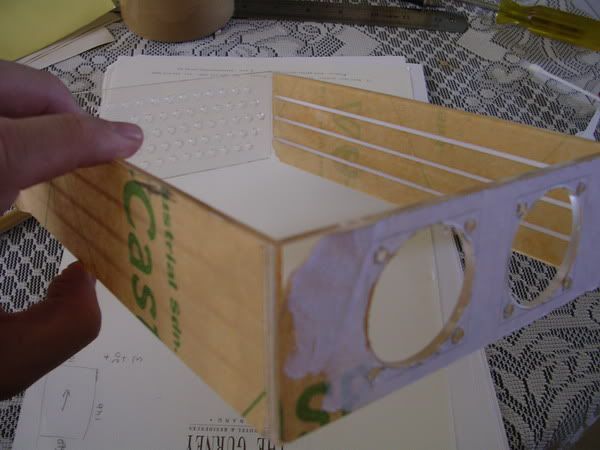
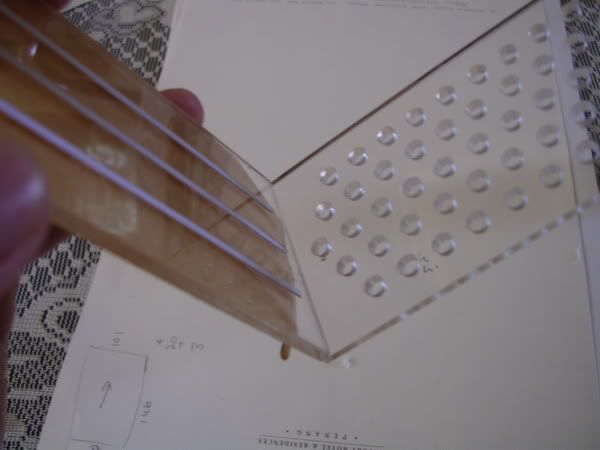
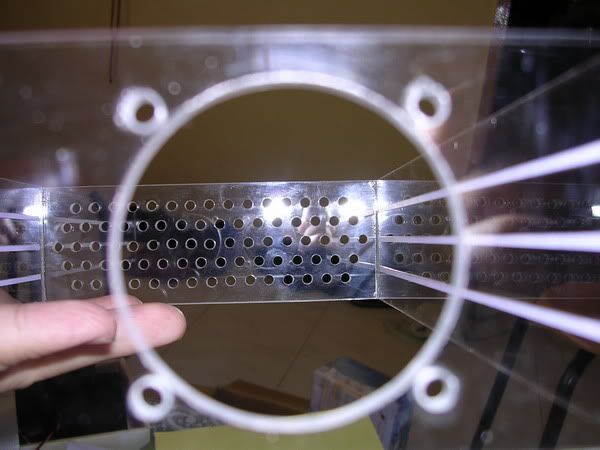
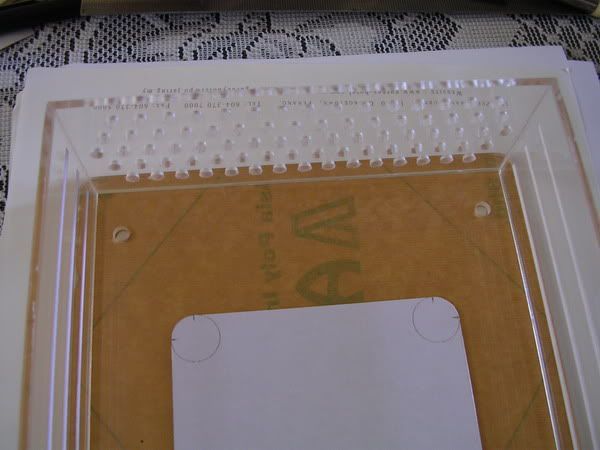
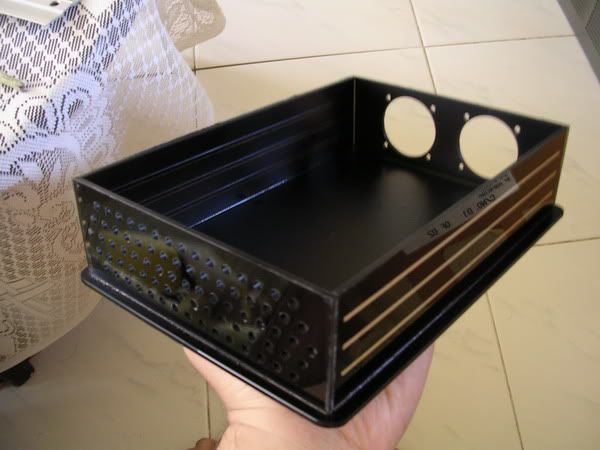
while this is the rear plate, i've added a lot of holes which i will drill to 4mm each to allow air to pass thru.....i want to get something like the honeycomb design....
it's really challenging to drill all these holes coz i need to drill them accurately or else it will look fugly man
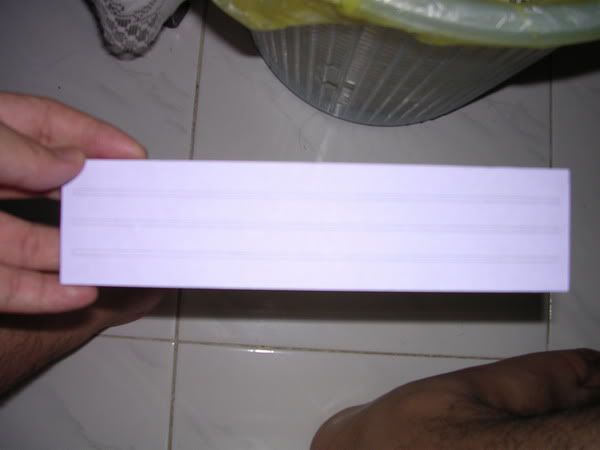
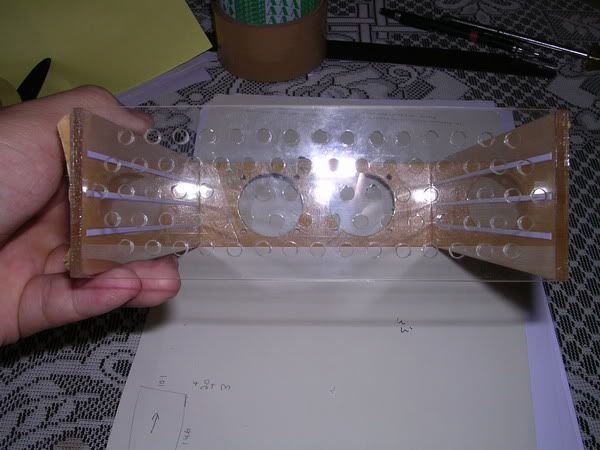
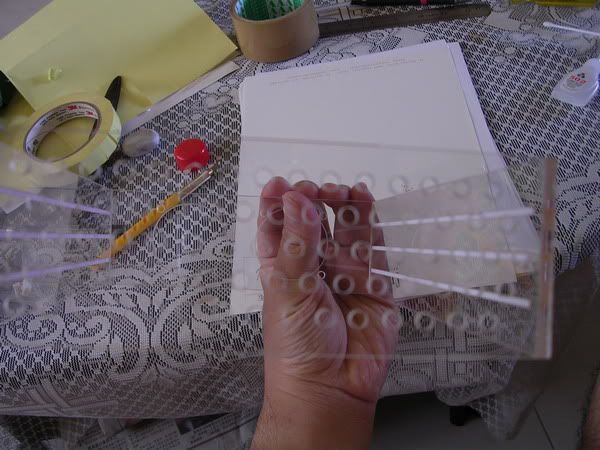
this is the side plate, it will have three 2mm stripes which will not be sprayed afterwards.
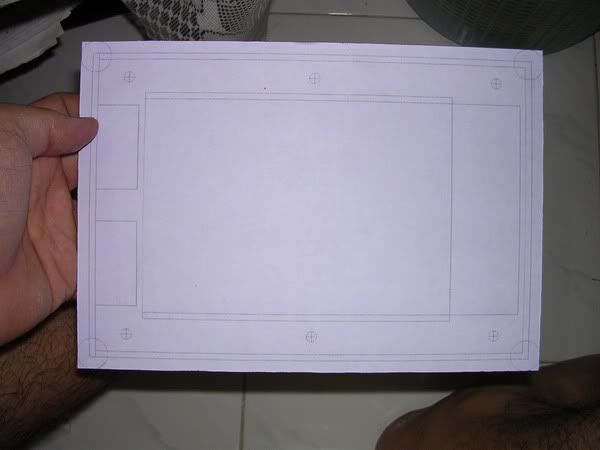
this is the top plate, notice that the sides will not be sticked onto this plate, but it will be sticked onto the bottom plate.
i'll add some etching to the the blank area in the middle later
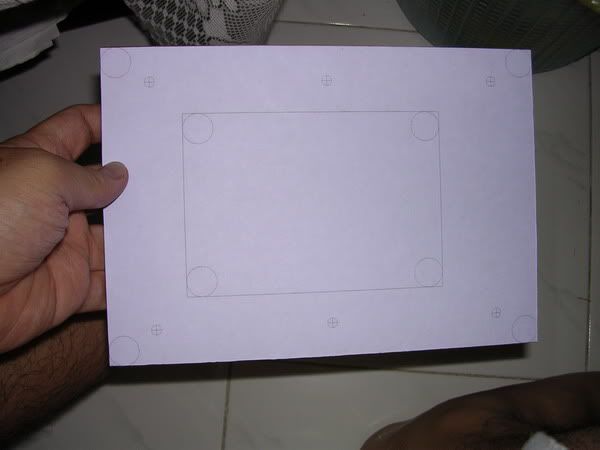
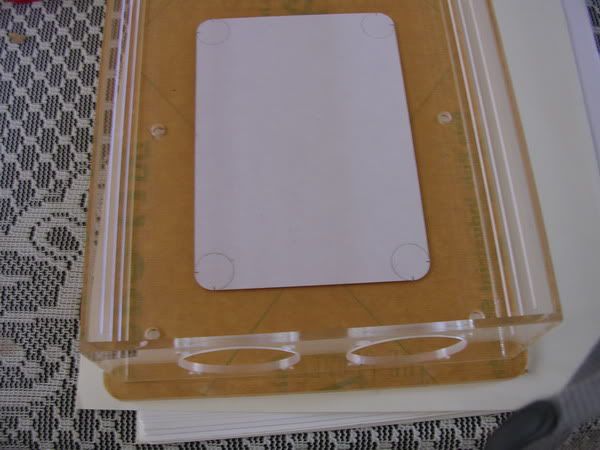
this is the bottom plate which will have a window.
This post has been edited by AllnGap: Sep 15 2006, 01:29 AM
 Quote
Quote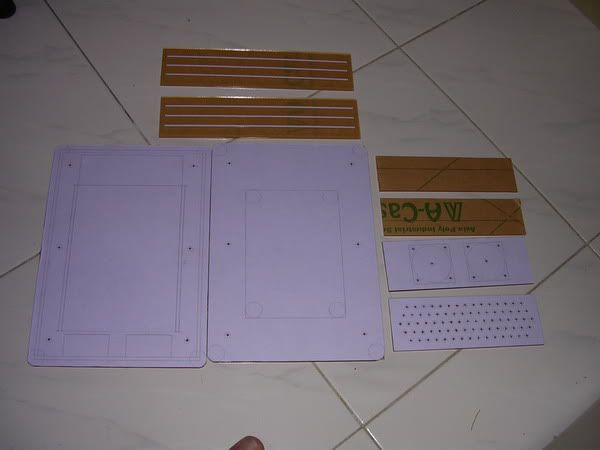


 0.0244sec
 0.64
0.64
 5 queries
 GZIP Disabled