

 Aug 21 2014, 09:21 AM, updated 11y ago

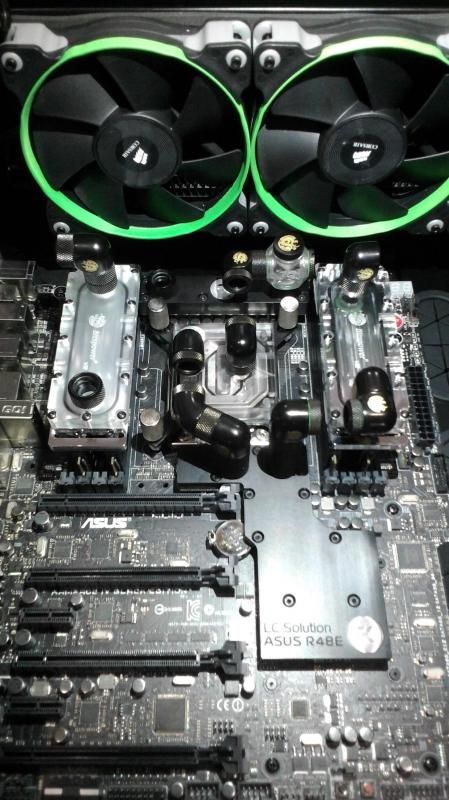
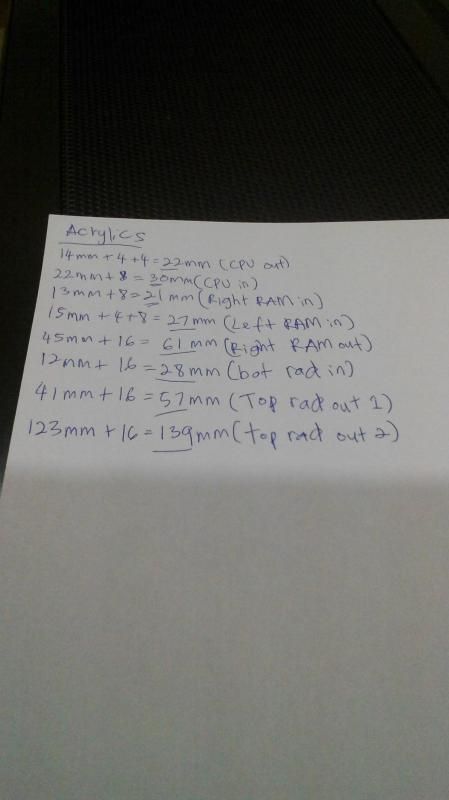
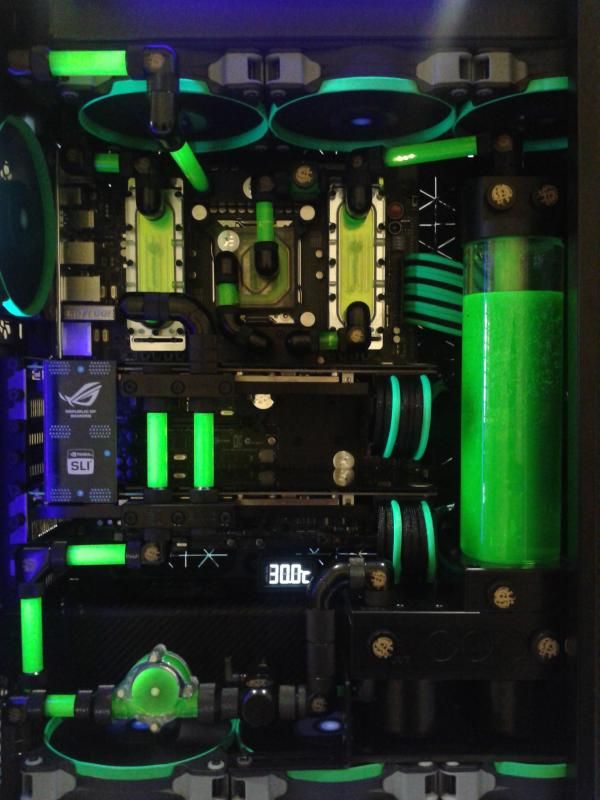
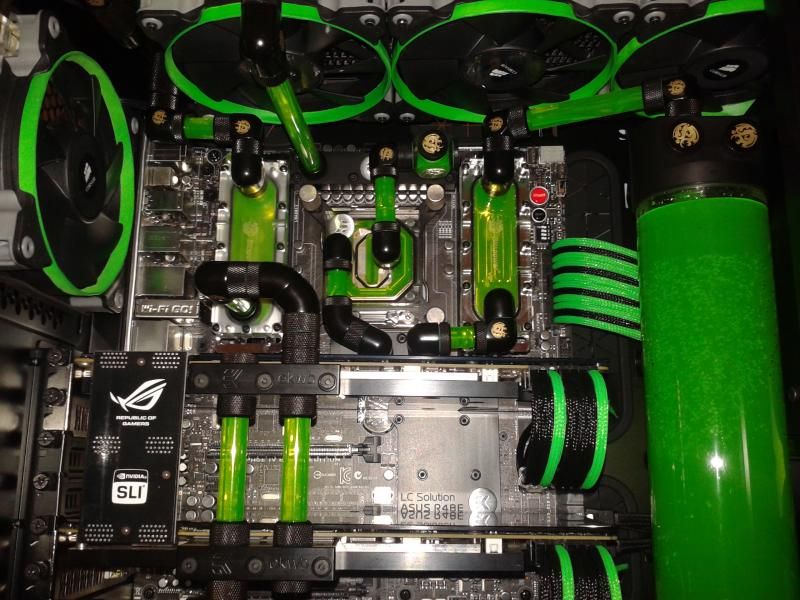
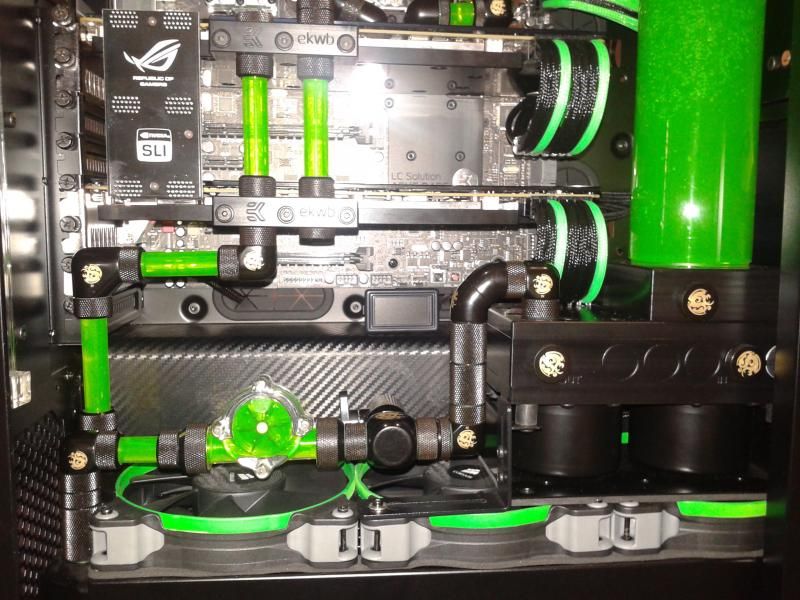
I'm doing a watercooling pc with all acrylic tubes. Its a bit harder than the normal tube, where you need to plan the the route and all that. But its even harder to build the loop exactly like the way we planned.
I've been planning to make this project since last year. Because of my low budget and some unavailable item in Malaysia, it took a while to complete all the items that I wanted. But still, there's a few items I have no choice to buy because the color I wanted has no stock. Such as the clear memory block and so on. Pretty sad

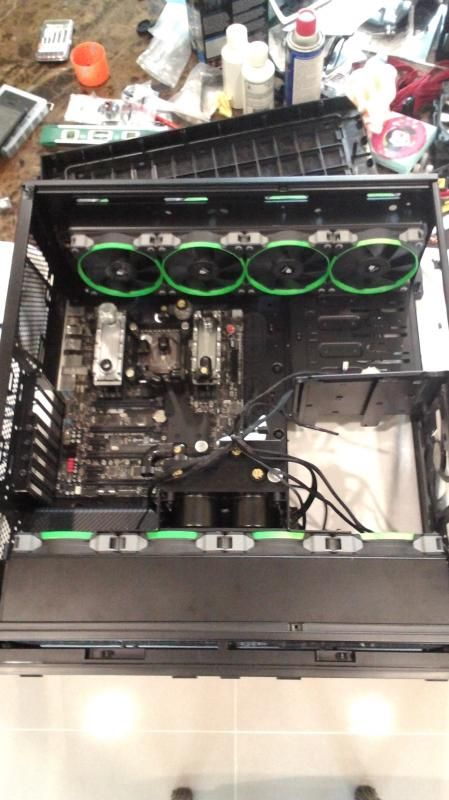
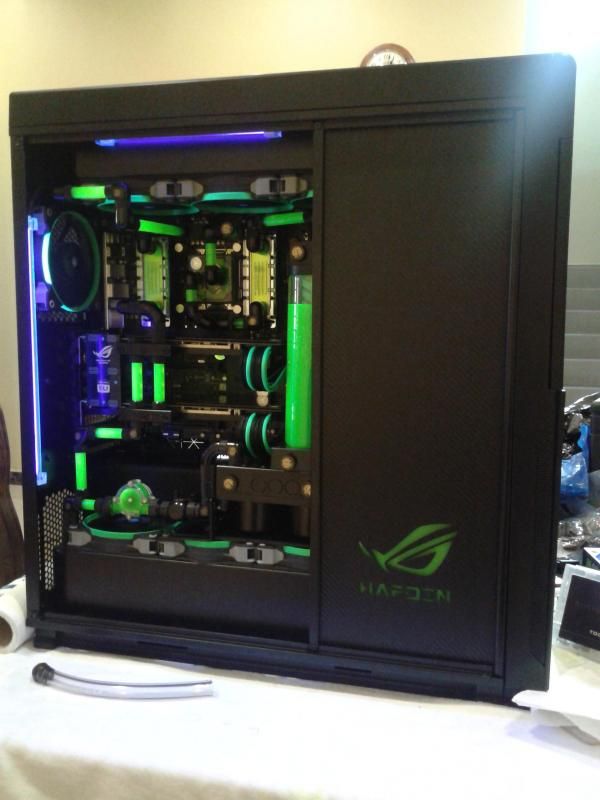
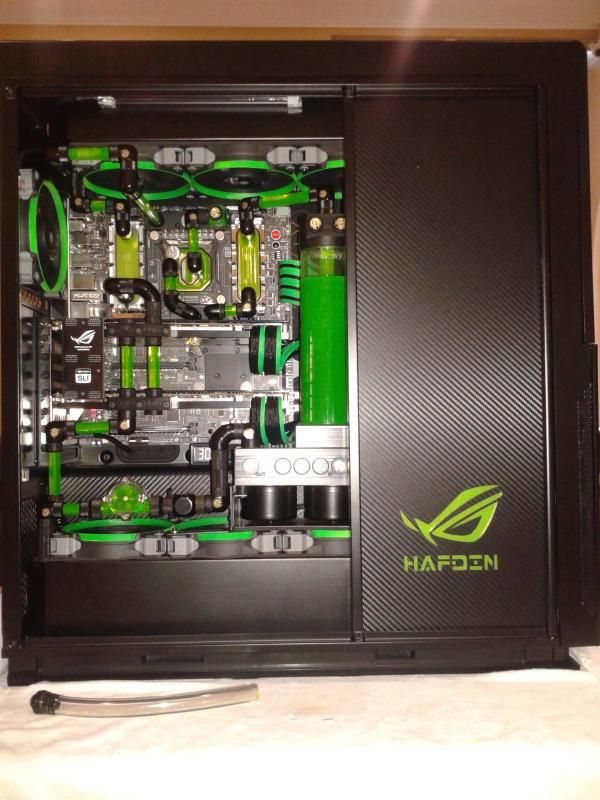
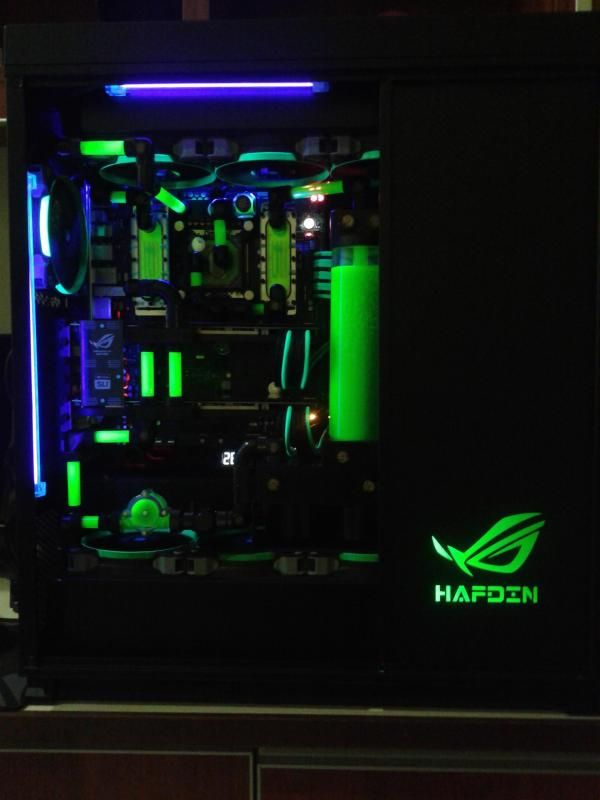
I will build my watercooling on Phanteks Enthoo Primo. I name this project Primo Green because my theme is green and I'm doing it on Enthoo Primo case
 . This case is very good for watercooling.
So here's my idea on how my loop will look like. Well, i'm not very good at picture editing or graphic design. I just copy a picture from the internet, and use paint to draw my loop

If you guys have a better idea, please do let me know.
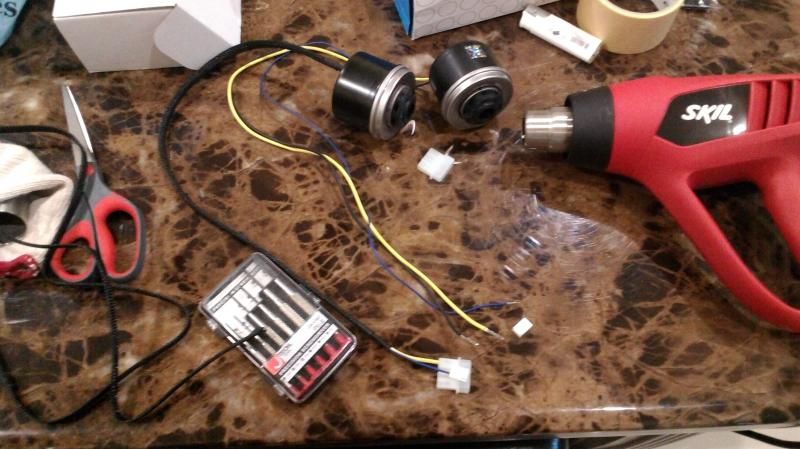
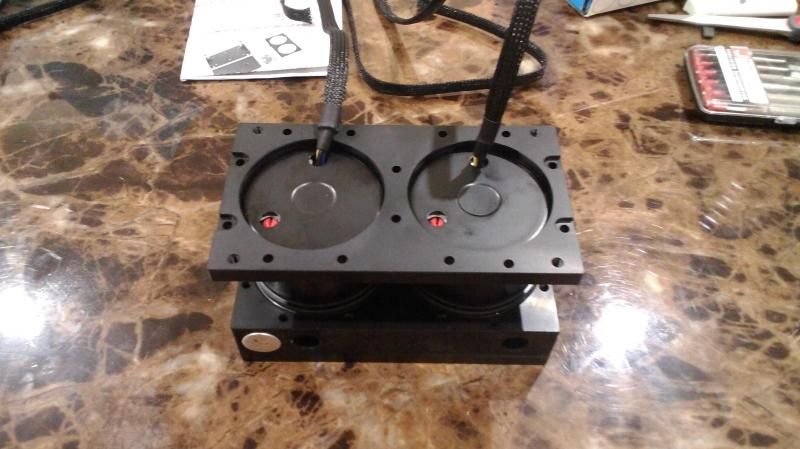
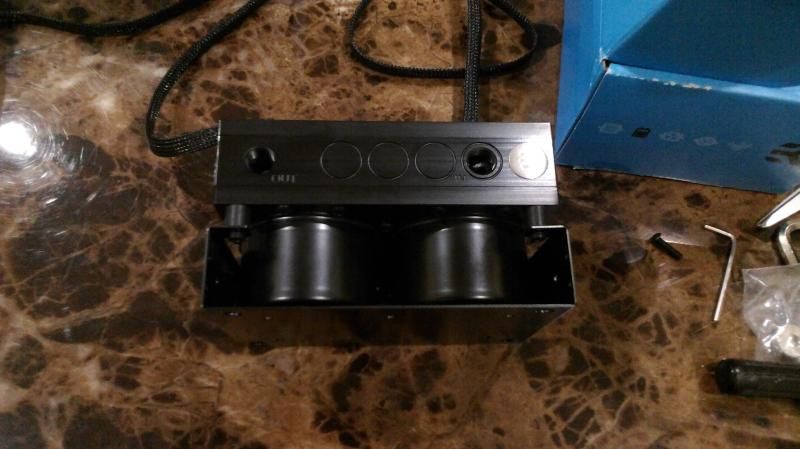
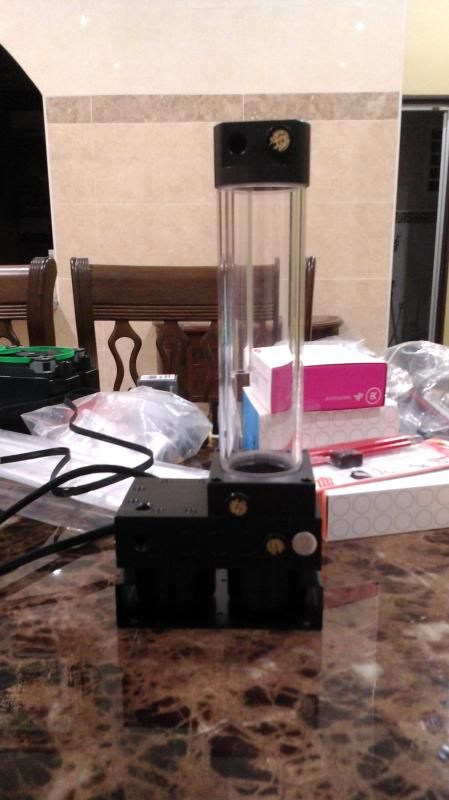
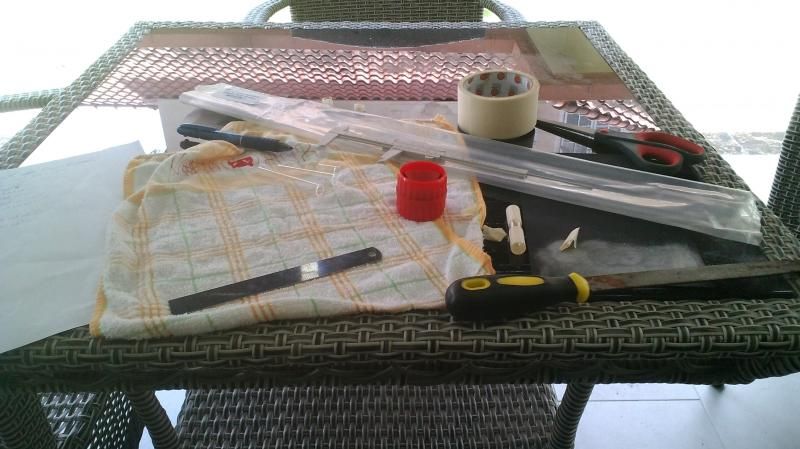
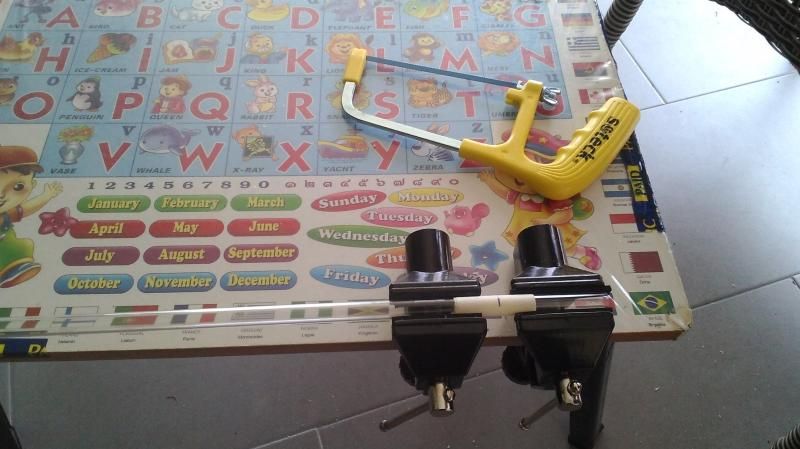
All the items are ready... yummy


This post has been edited by hafdin: Nov 28 2014, 04:37 AM
 Quote
Quote


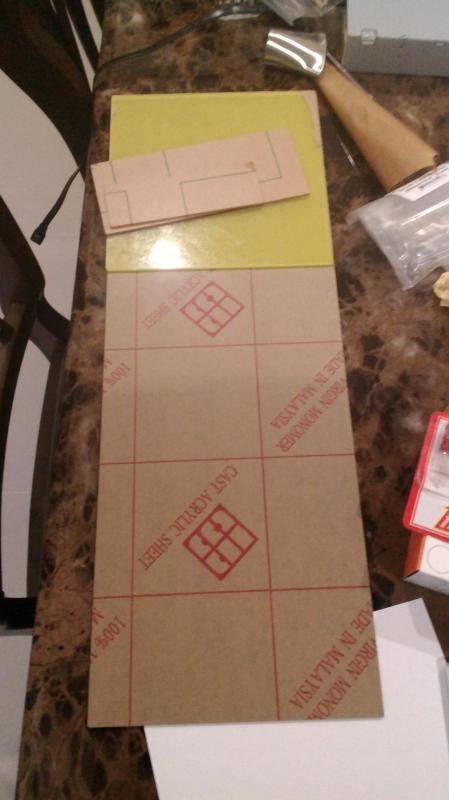

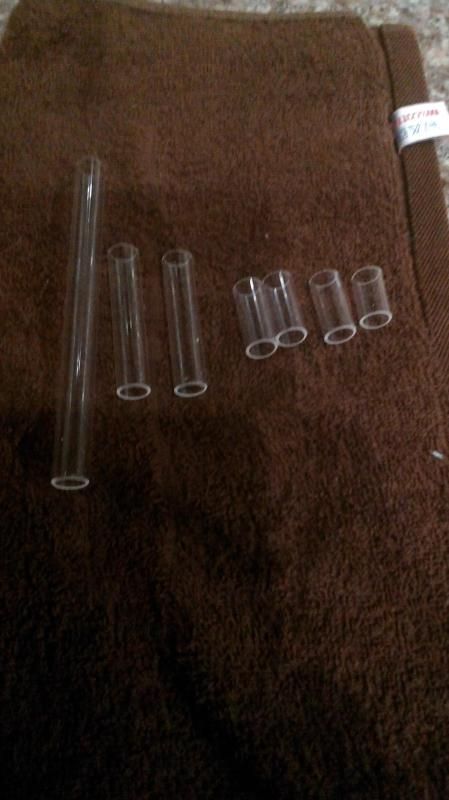


 Actually the clear acrylic thickness doesn't really matter, I use 5mm because I wanted to keep the acrylic panel as thin as possible for the fillport. You can use 3mm + Xmm.


 0.0279sec
 0.92
0.92
 5 queries
 GZIP Disabled