Outline ·
[ Standard ] ·
Linear+
Worklog: Project Triton, Nice simple project with a bit of bling.
|
TSianho
|
 Aug 13 2006, 06:37 PM Aug 13 2006, 06:37 PM
|
Cucimangkoklife


|
1st thing I did was strip down the whole rig.  Time to mask up n draw the lines for the top window. U can c the terrible dogbite cut blowhole done by sum1 else. I dunno who but it sure was uglyyyyyyyyyy. Totally jagged n waaaaaaaaaaaay out of shape. It wasn't even round. Thank god we'll be cutting that off starting fresh with a new acrylic window n new blowhole.  Making sure the holes r punched nicely b4 drilling so the holes r exactly where I want them to be after drilling. 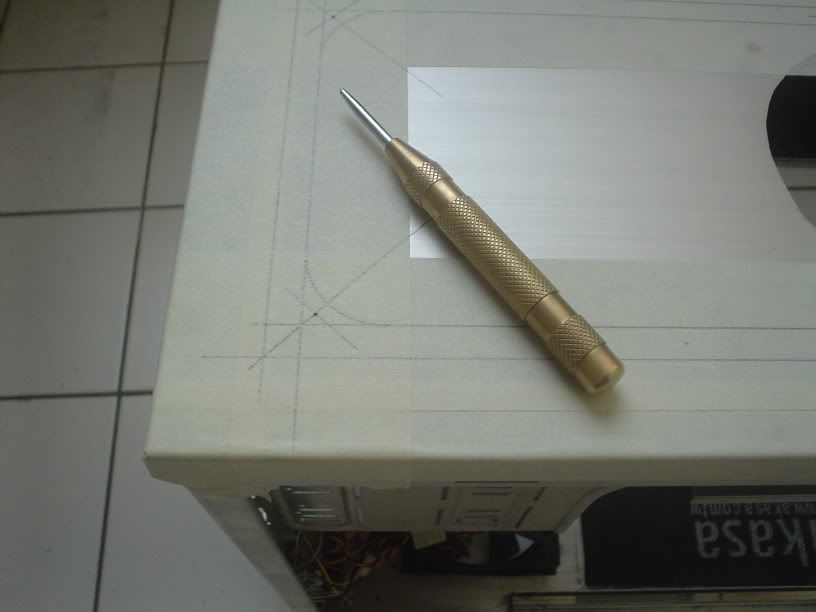 |
|
|
|
|
|
TSianho
|
Aug 13 2006, 06:45 PM
|
Cucimangkoklife
|
Top panel drilled n cut.  Time to move on to the side panel window. Masking n drawing. Decided to do a small window to hide the top part of the chassis where the Akasa Paxmate was previously applied. It's also for hiding the HDD cage area as 1 more HDD will b added n there's a whole lot of wires there so we'll just hide them with a nice lil small window just to show off the nice bits. 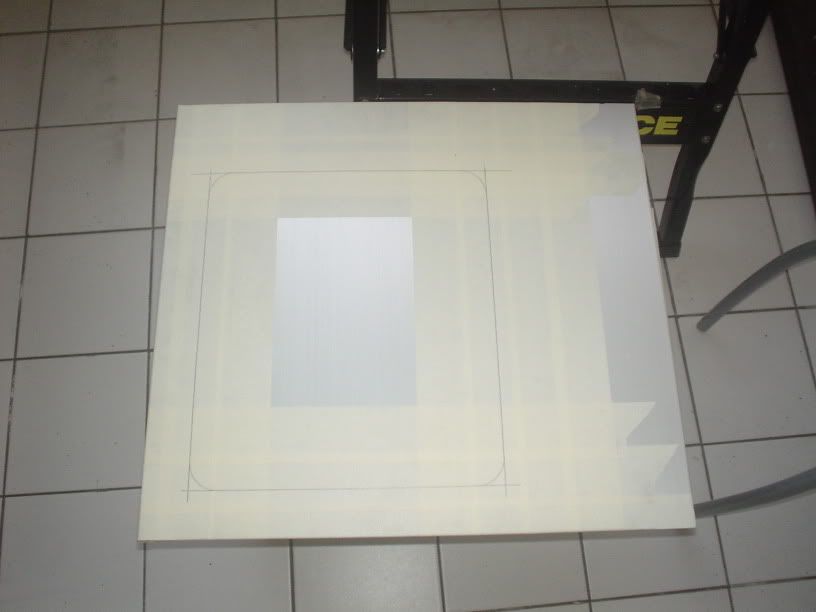 Side panel cutting is done. 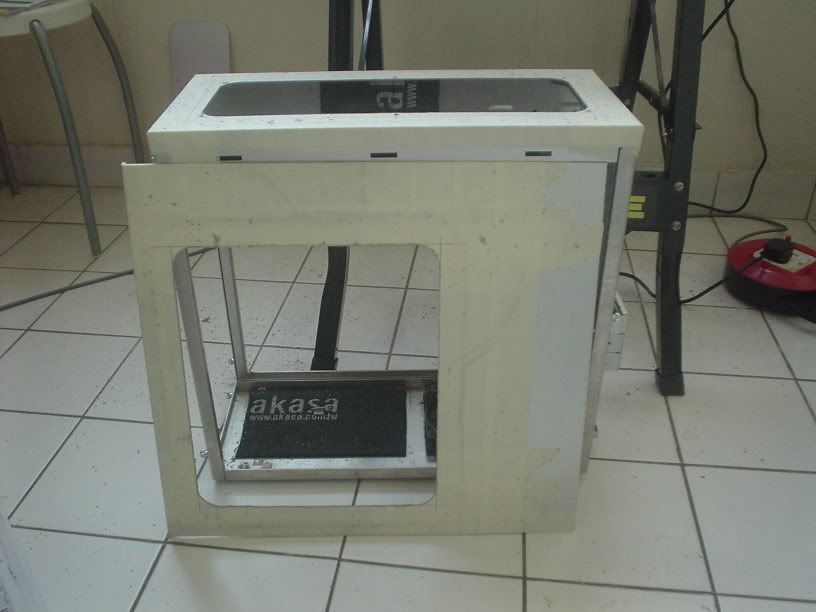 Now it's time to cut out sum acrylic for the top n side windows. Here r the rough cuts just for fitting purposes. Straight edges, rounded corners n blowholes not done yet. 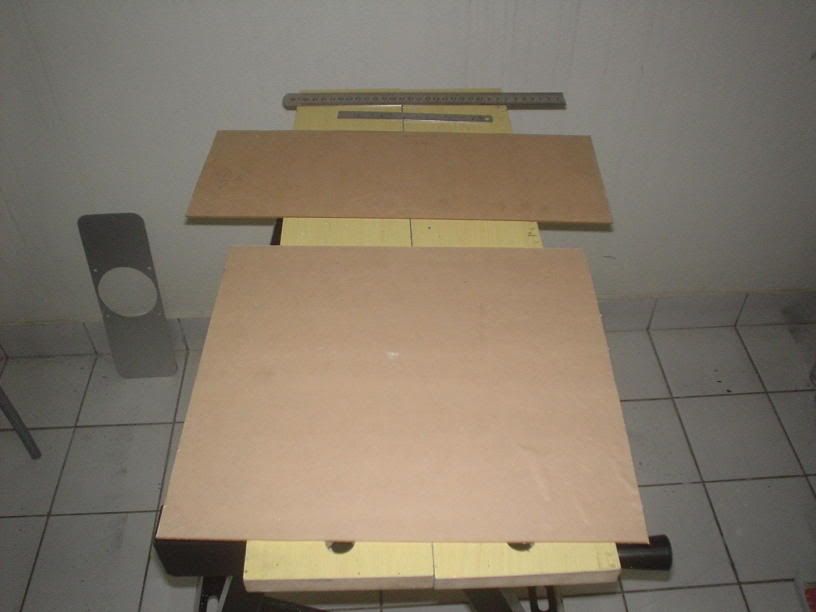 This post has been edited by ianho: Aug 14 2006, 07:31 PM This post has been edited by ianho: Aug 14 2006, 07:31 PM |
|
|
|
|
|
TSianho
|
Aug 14 2006, 09:48 PM
|
Cucimangkoklife
|
Sliding in the arylic to the top panel for a test fit. 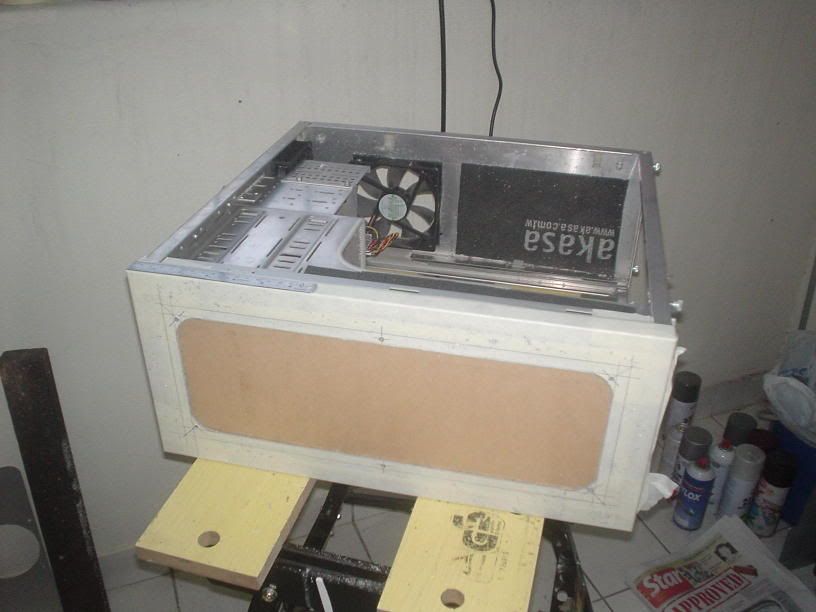 Removed the acrylic so I can mark it out for the mounting screws n blowhole.  Cut cut cut  Top acrylic is cut n drilled. Ready for final mounting. 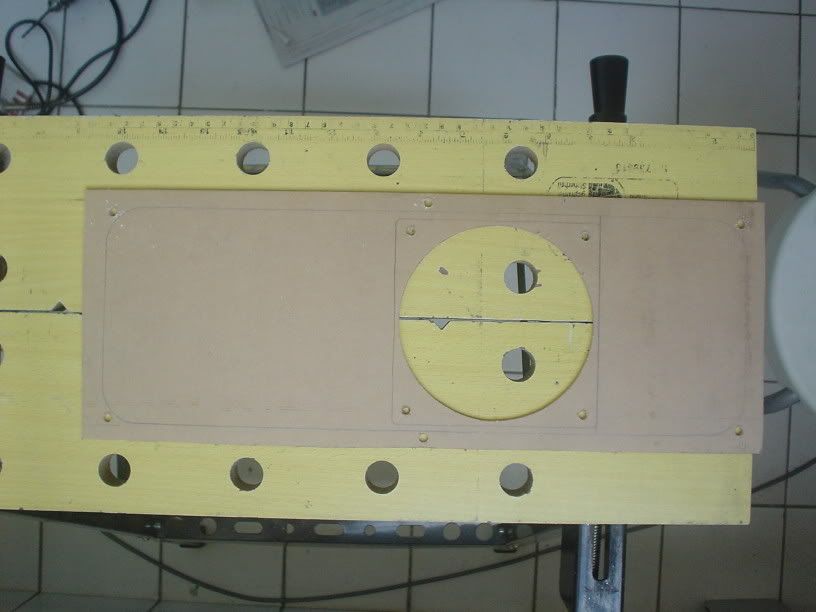 This post has been edited by ianho: Aug 14 2006, 10:04 PM This post has been edited by ianho: Aug 14 2006, 10:04 PM |
|
|
|
|
|
sidewinderz
|
Aug 14 2006, 09:56 PM
|
|
|
finish already??
|
|
|
|
|
|
r4ydc24
|
Aug 14 2006, 11:50 PM
|
|
|
ahahaha, yalor~ where's the conclusion  |
|
|
|
|
|
sniper69
|
Aug 15 2006, 12:35 AM
|
|
|
this guy aaa...energetic...from other casing to another casing, n another... load of idea too i must say...maybe i shud send my case to be mod n learn from him |
|
|
|
|
|
Mavik
|
Aug 15 2006, 08:12 AM
|
Patience is a virtue

|
QUOTE(sidewinderz @ Aug 14 2006, 09:56 PM) The case has been completed already, pictures only not yet hehe  |
|
|
|
|
|
Gamer
|
Aug 15 2006, 12:39 PM
|
|
|
me wanna see more pic la, hey man post some more, story not yet finish.  |
|
|
|
|
|
SUSAcey
|
Aug 16 2006, 09:08 PM
|
|
|
|
|
|
|
|
|
TSianho
|
Aug 17 2006, 02:58 AM
|
Cucimangkoklife
|
Updatesssssssssssssss. Side n top panels done. Detailed work on edging completed. All that's left to do for the panels now is to fit the acrylic.  Prepping the top panel for acrylic fitting. Test fitting to make sure everything fits nicely n that the mounting holes line up nicely. Don't forget that handy power screwdriver. With the amount of projects I'm doing, every little bit of automation I can use makes my work go much faster n my life easier. 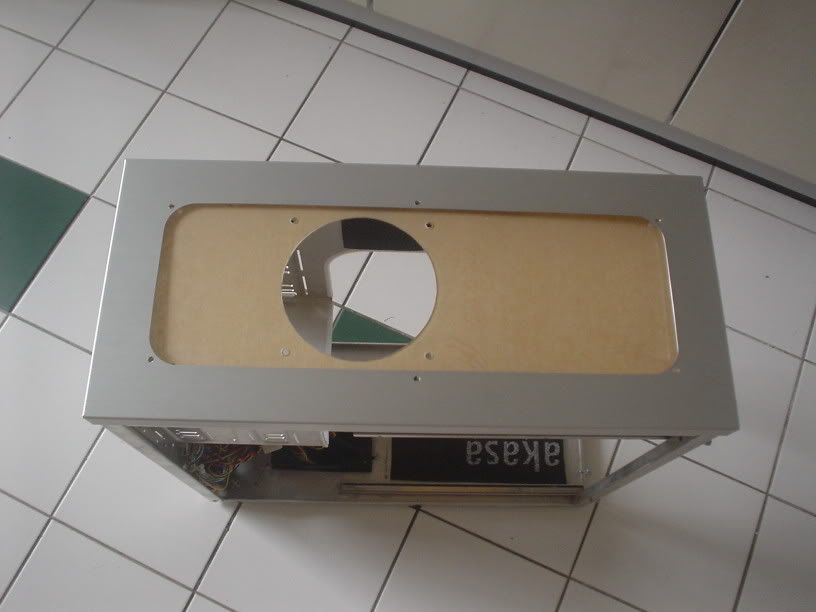 Top window is done. 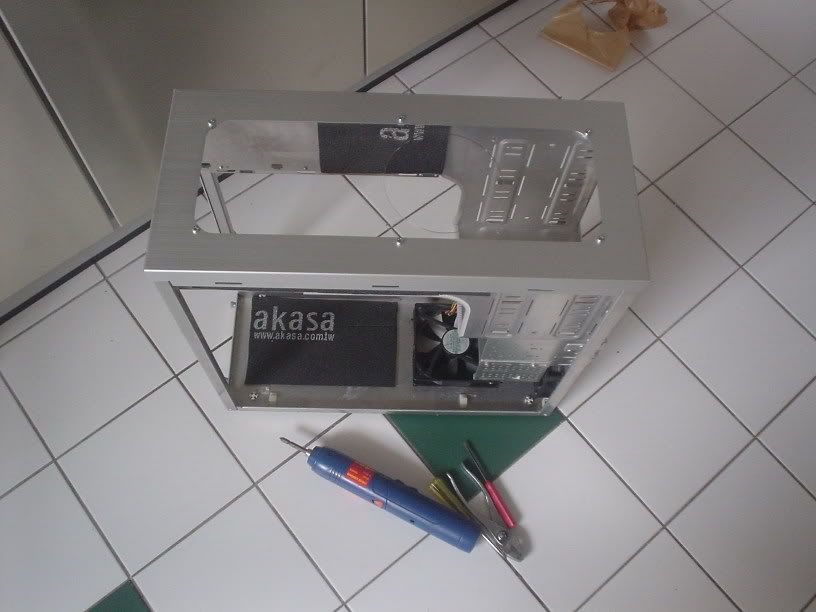 That's it for 2day folks. I need to go get sum sleep. More updates soonzzzzz. This post has been edited by ianho: Aug 17 2006, 03:11 AM |
|
|
|
|
|
SUSAcey
|
Aug 18 2006, 03:51 PM
|
|
|
Questions: how much is the work bench? whats the gold thing u use to punch the drill hole called?
|
|
|
|
|
|
TSianho
|
Aug 18 2006, 05:37 PM
|
Cucimangkoklife
|
QUOTE(Acey @ Aug 18 2006, 03:51 PM) Questions: how much is the work bench? whats the gold thing u use to punch the drill hole called? The bench is only rm80. The Black n Decker version is rm300.  I forgot what that gold thingy is called. I don't think it's available locally. |
|
|
|
|
|
z3r0717
|
Aug 18 2006, 05:47 PM
|
|
|
hey ianho, may i ask. What r u working as? Modding for ppl only? do u accept students? lol.. haha
|
|
|
|
|
|
sherren
|
Aug 18 2006, 11:14 PM
|
|
|
Wah soo many projects now ,anyway Nice JOb!!  |
|
|
|
|
|
TSianho
|
Aug 28 2006, 12:54 AM
|
Cucimangkoklife
|
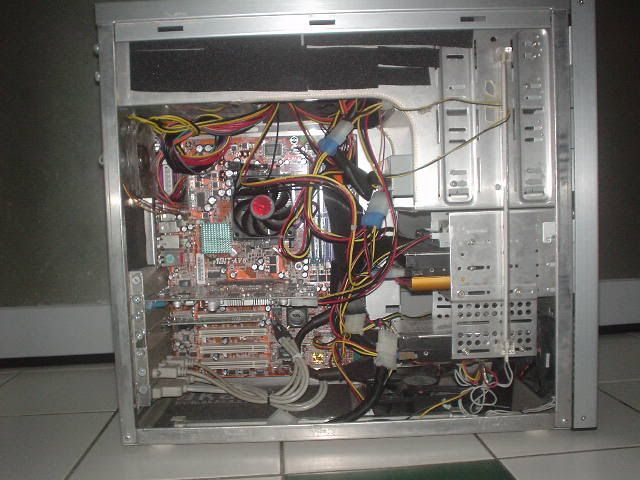
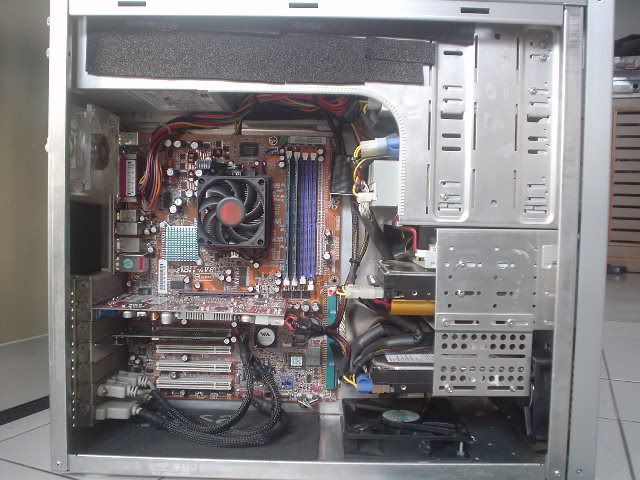
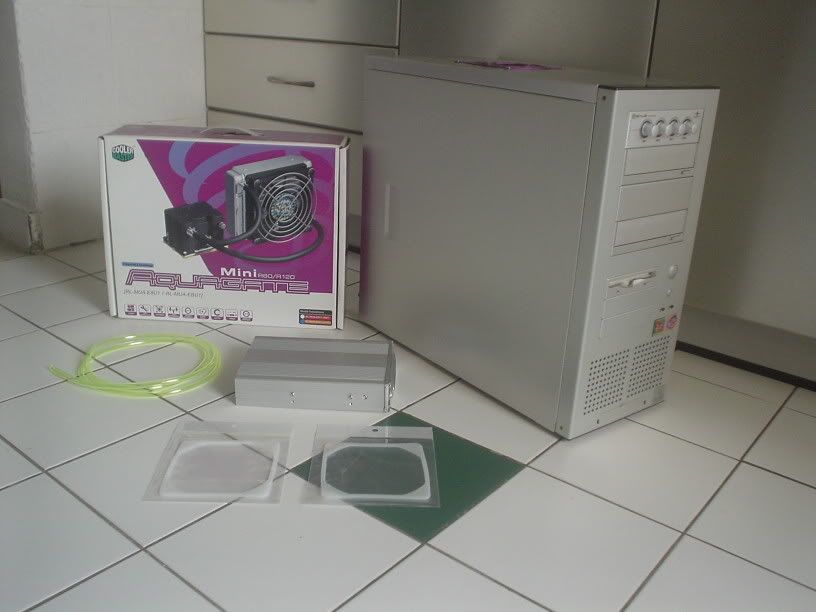
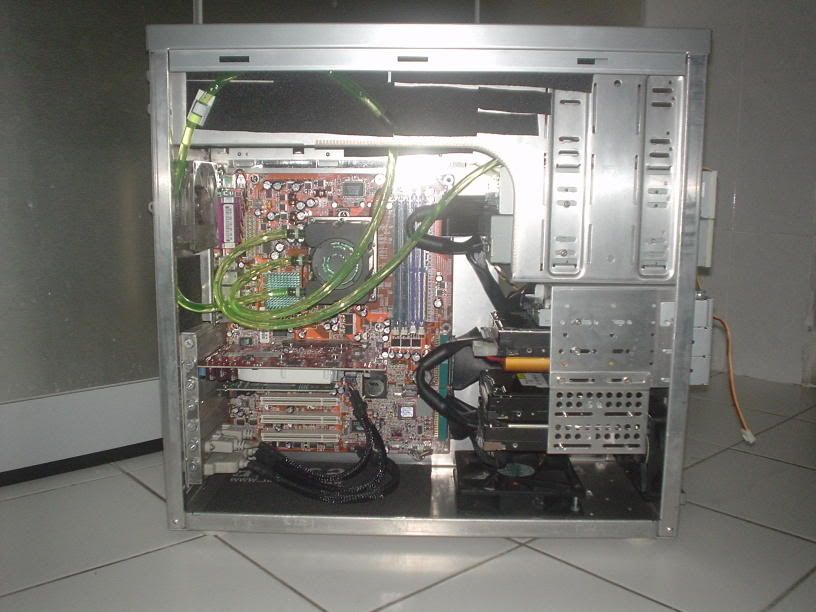
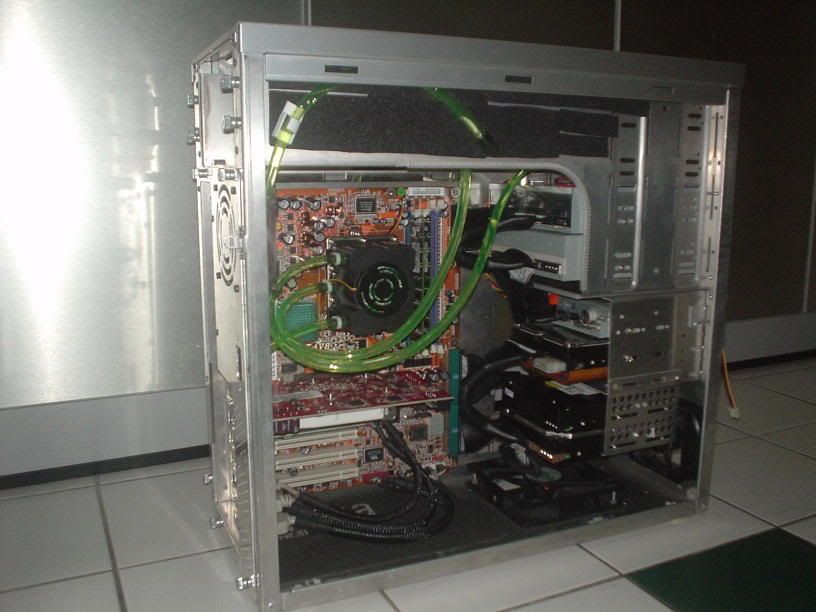
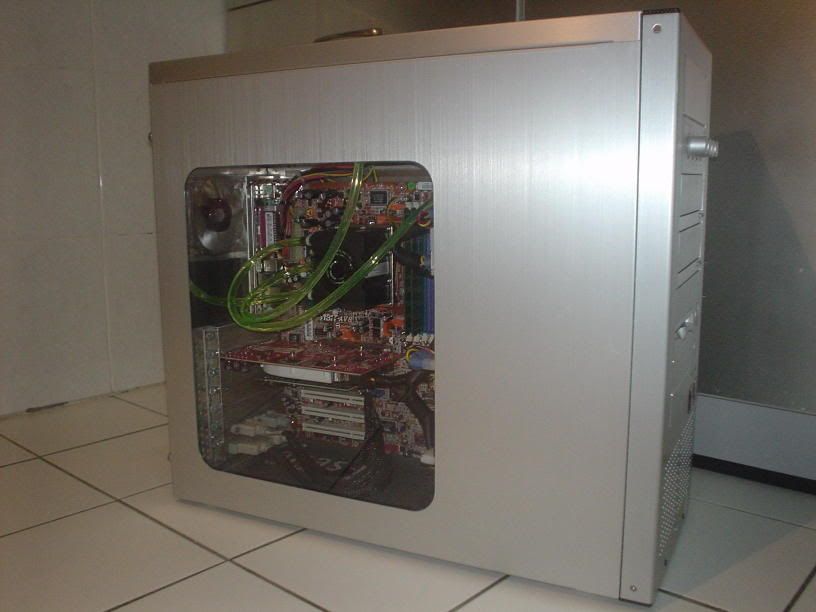
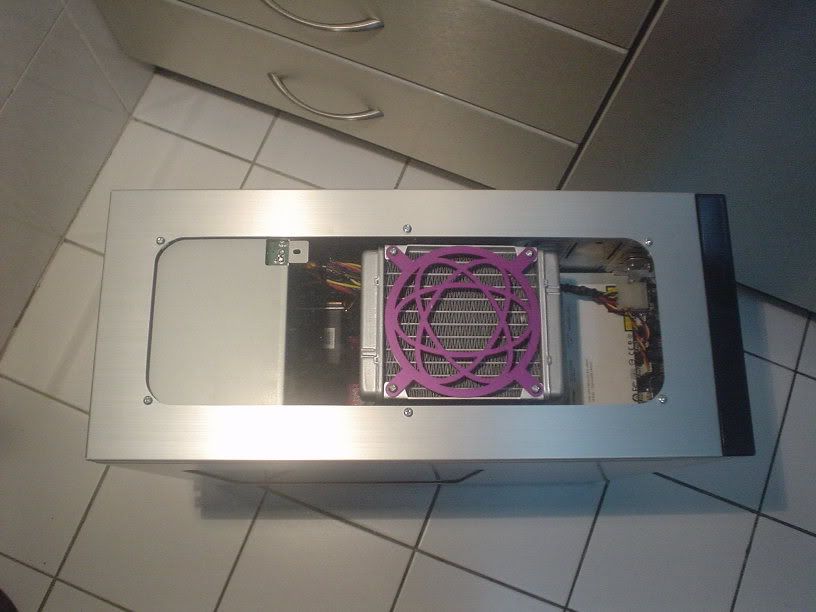
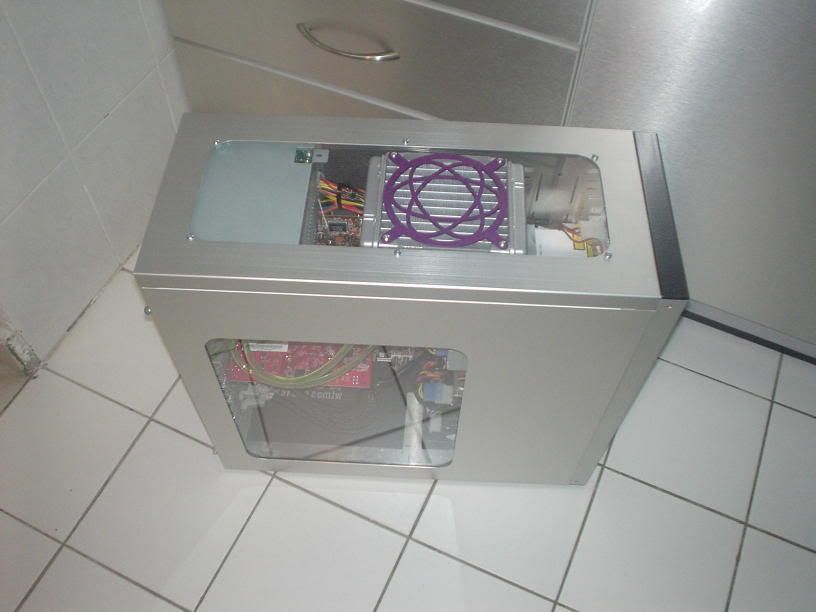
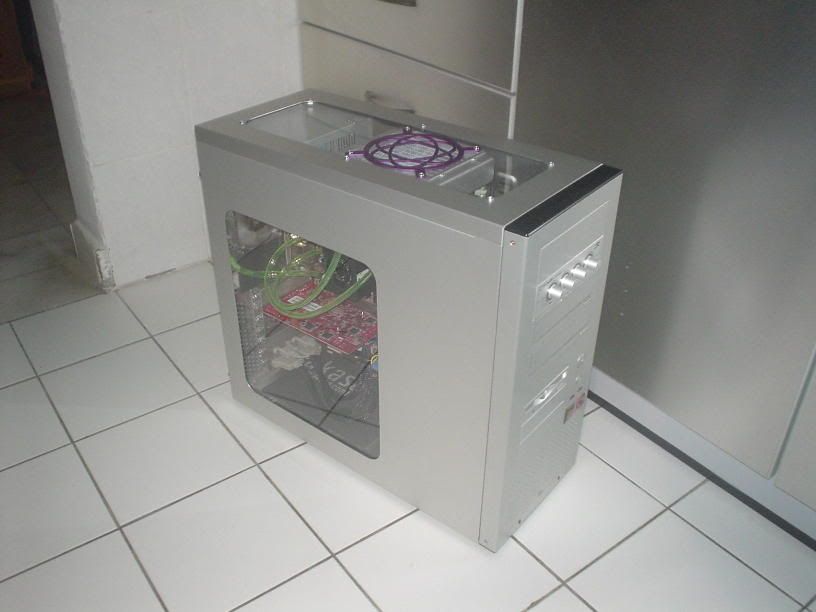
Uppity datessssssssssssssss. Wokeh. Top window is done. We now move on to the top mount radiator install. As u all know, the Coolermaster Aquagate is meant to b mounted to the rear exhaust fan. There's 2 sizes of Aquagate. Aquagate 80mm n 120mm. For best cooling performance, we went with a Aquagate 120mm. Here's a pic of the water cooling set. 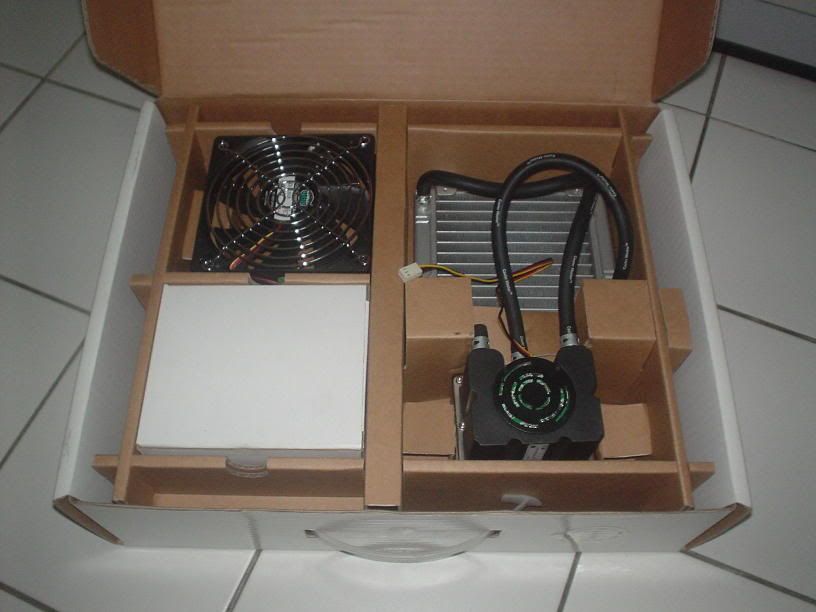 The Lian Li only has a 80mm exhaust fan so it wont fit back there. Anyway, I always mount radiators at the top for best cooling as it exhausts the hot air straight out of the case instead of recirculating the hot air inside the case. In this pic, basic install of hardware is done too. U can now c the top mount radiator. 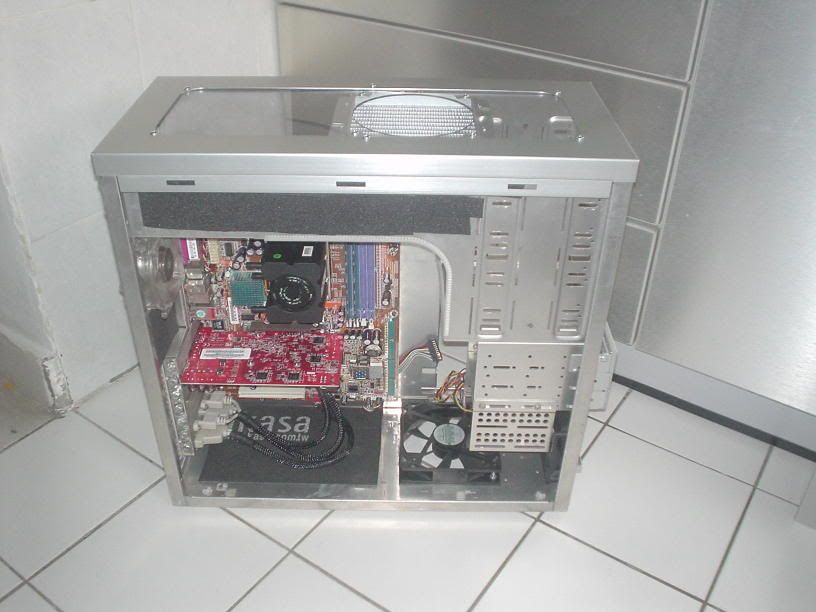 The rig is now ready for the bling bling mods to the Coolermaster Aquagate 120. As u can c in the above pix. The Aquagate looks really boring. Black CPU block/pump unit, black rubber hoses n all. I took off the broing black hoses n installed sum nice UV reactive green hoses. Filled in sum UV reactive coolant too. Aquagate mods done n leak testing in this pix. 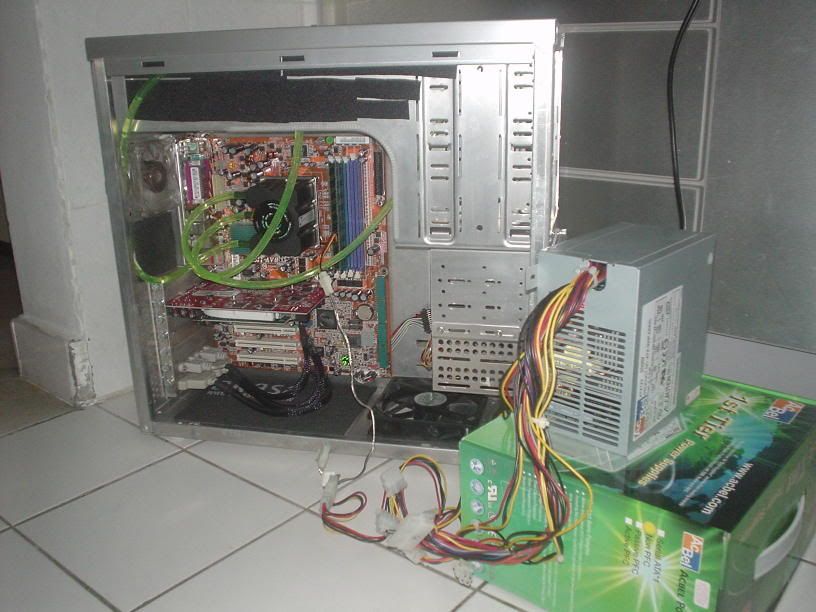 |
|
|
|
|
|
ikan_semilang
|
Aug 28 2006, 10:37 AM
|
|
|
QUOTE(sherren @ Aug 18 2006, 11:14 PM) Wah soo many projects now ,anyway Nice JOb!! Any news on your DRAGON CASE? For uncle ianho, u're really kudos... |
|
|
|
|
|
gmail
|
Aug 28 2006, 08:10 PM
|
|
|
really like ur aquagate mod
|
|
|
|
|
|
sab.rockinfreakapotamus
|
Aug 28 2006, 08:47 PM
|
New Member

|
rawkin...as usual  |
|
|
|
|


 Quote
Quote


 0.0217sec
 0.53
0.53
 6 queries
 GZIP Disabled