

 Apr 7 2014, 11:59 AM, updated 11y ago
Hi guys, this is my very first time creating a thread here so any suggestions or criticism are very much appreciated.
I'm not aiming for building a beautiful & expensive rig here since I'm not a pro modder as many sifus here & I'm building on budget.
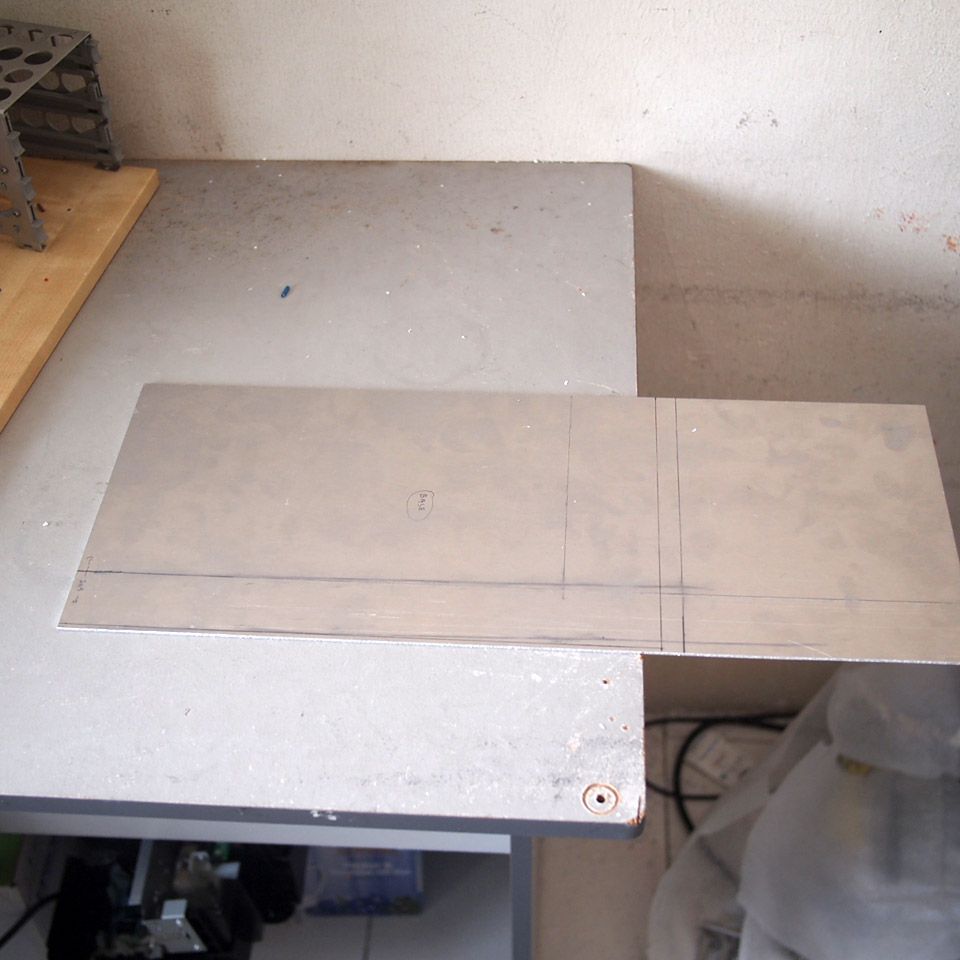
This build is gonna take quite some time to finish due to time constrains in which I will mod only on selected weekend.
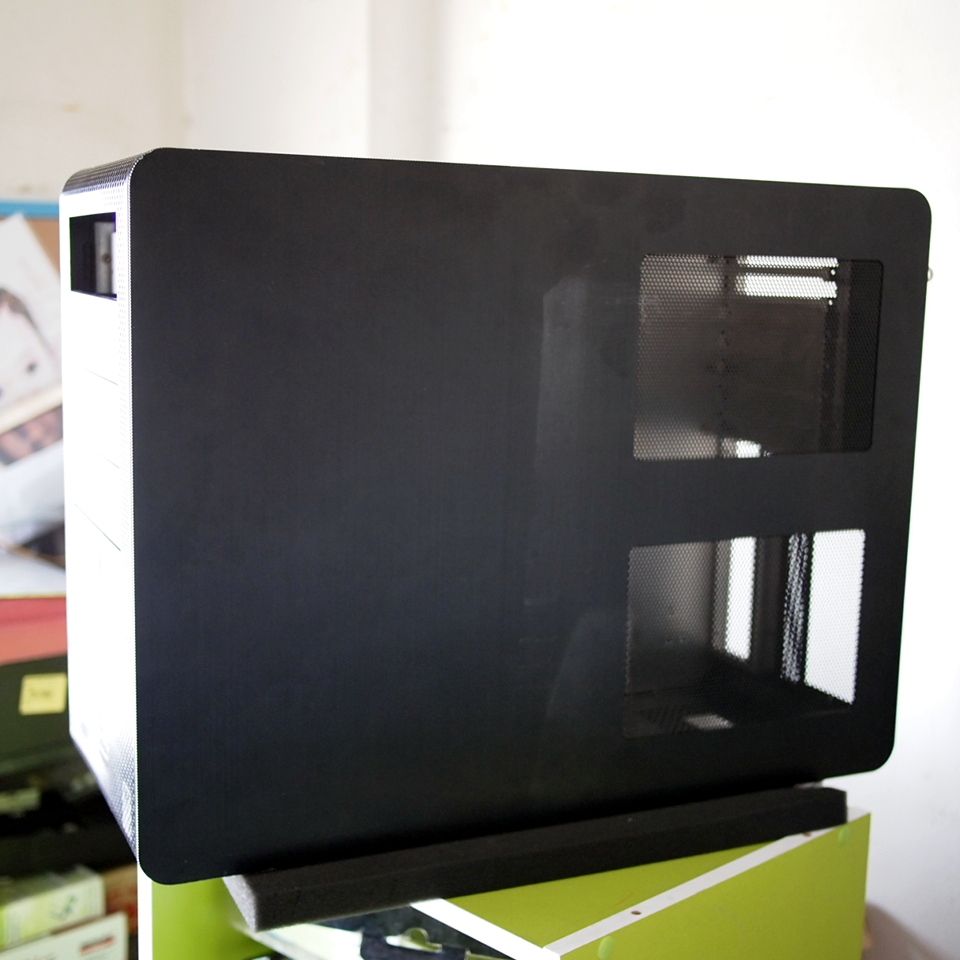
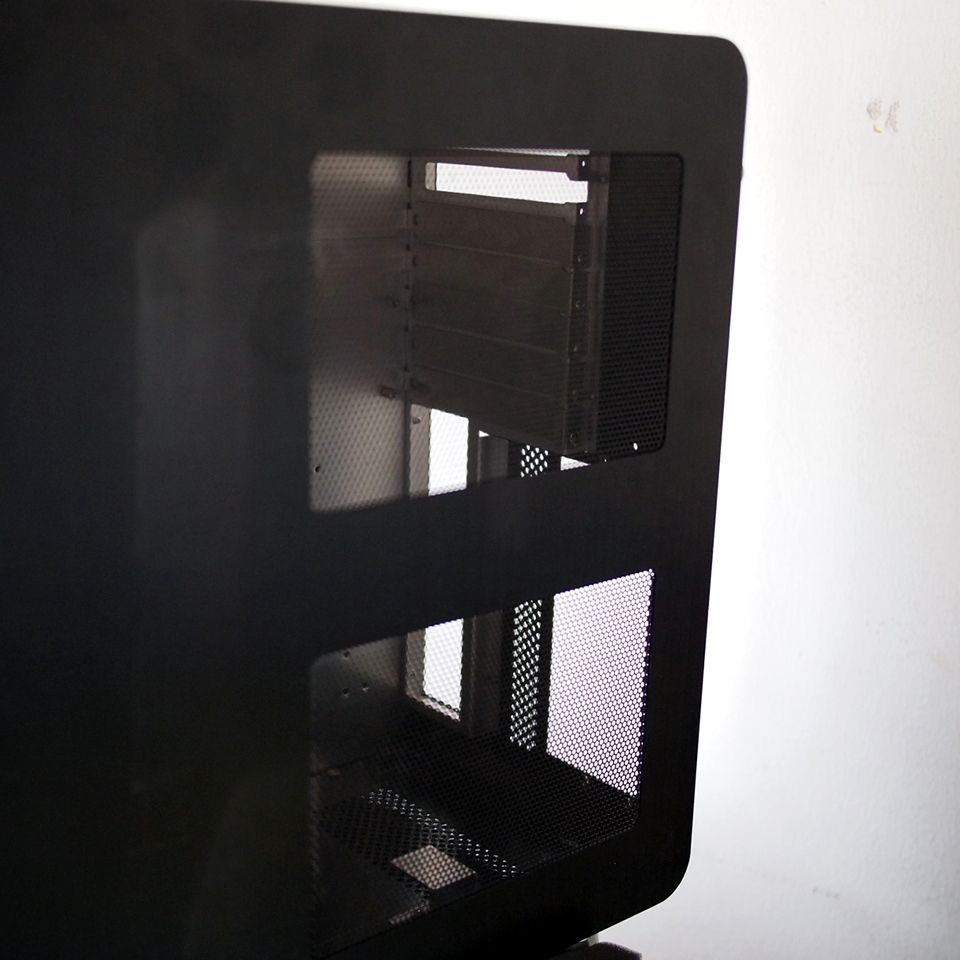
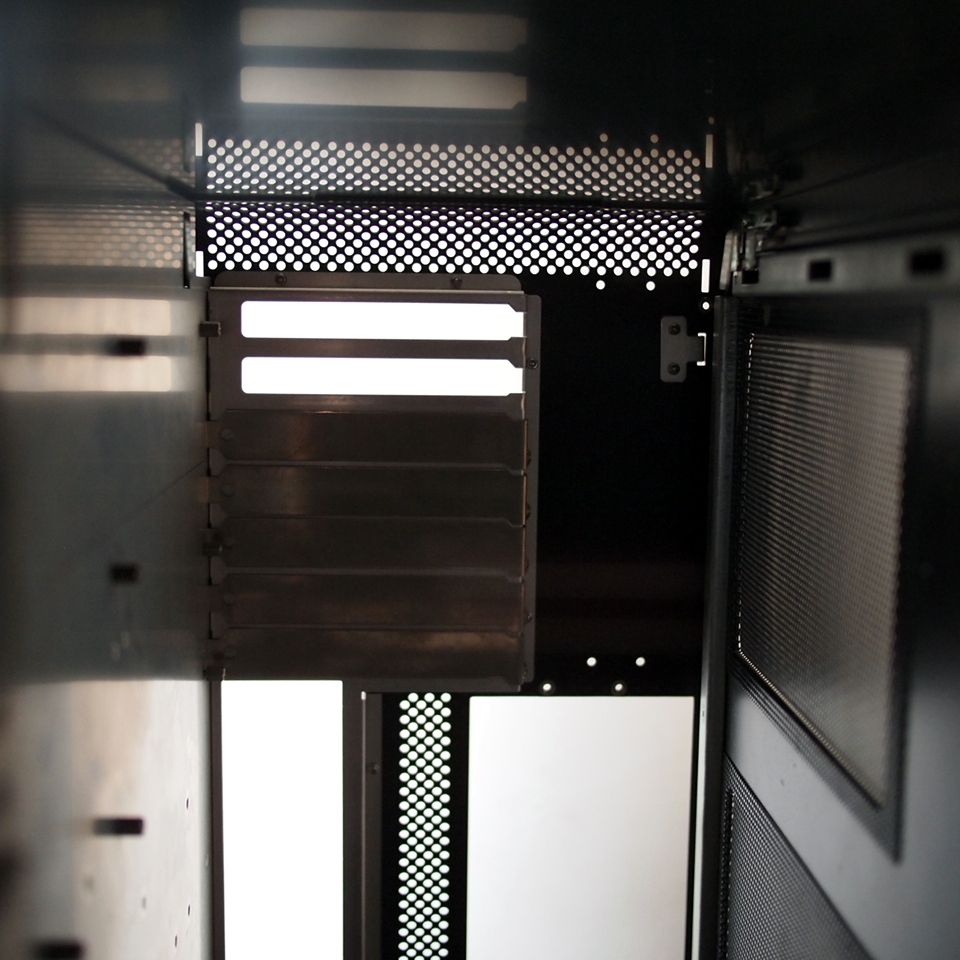
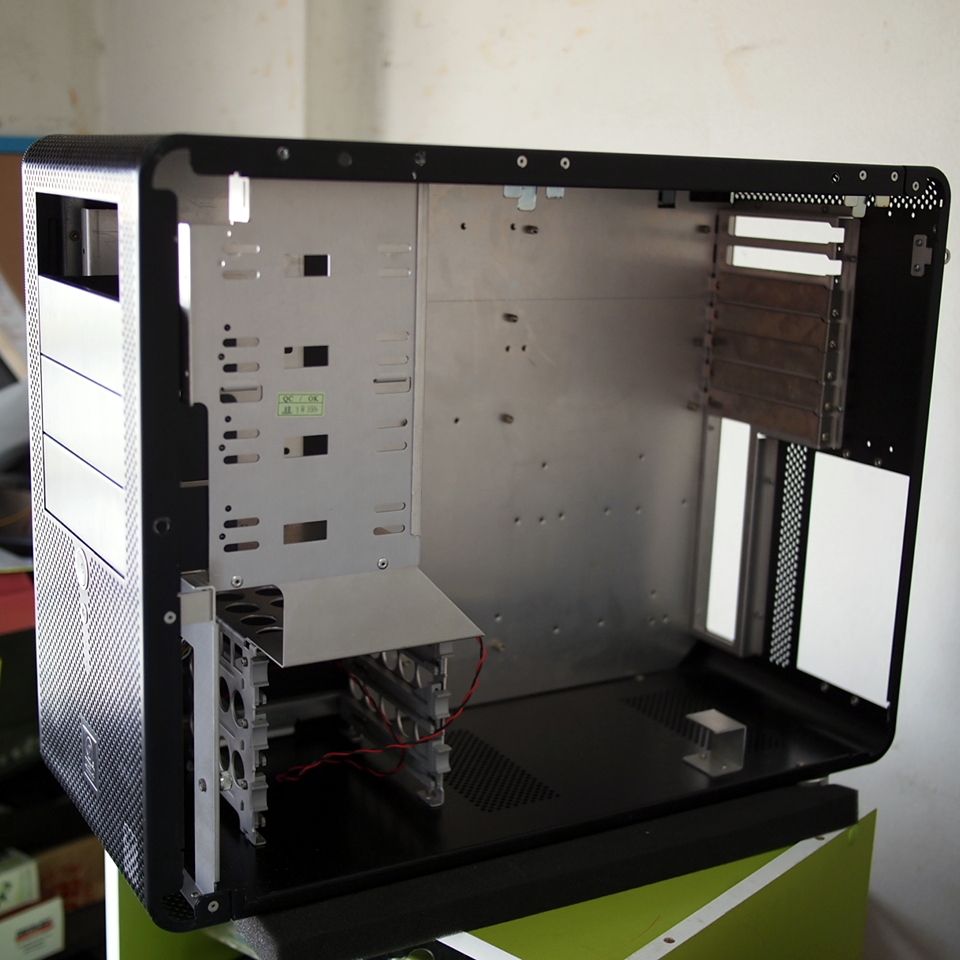
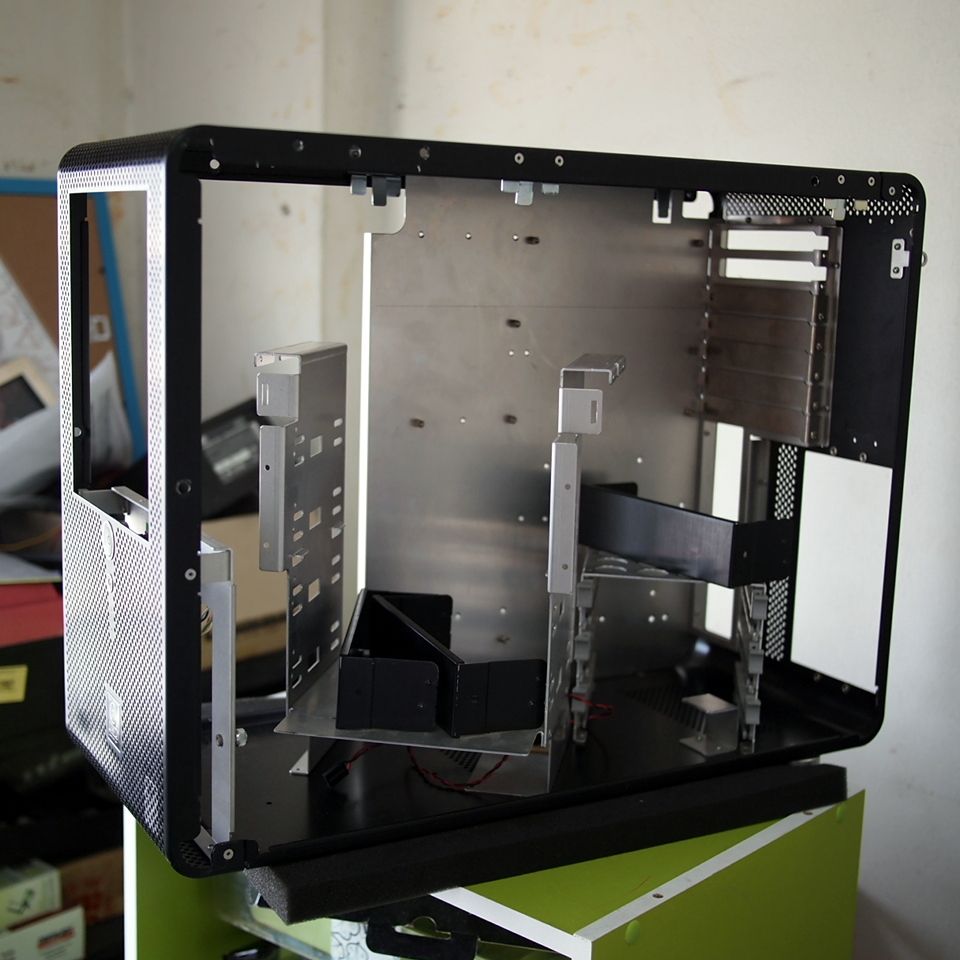
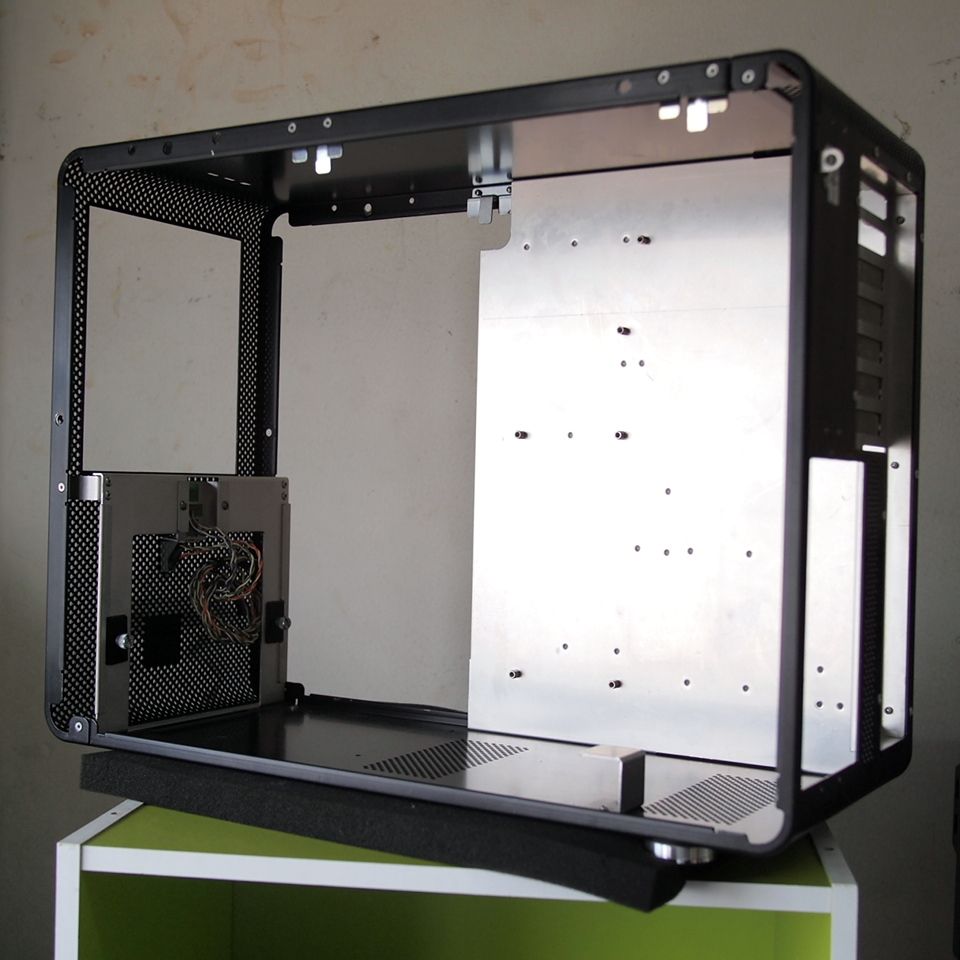
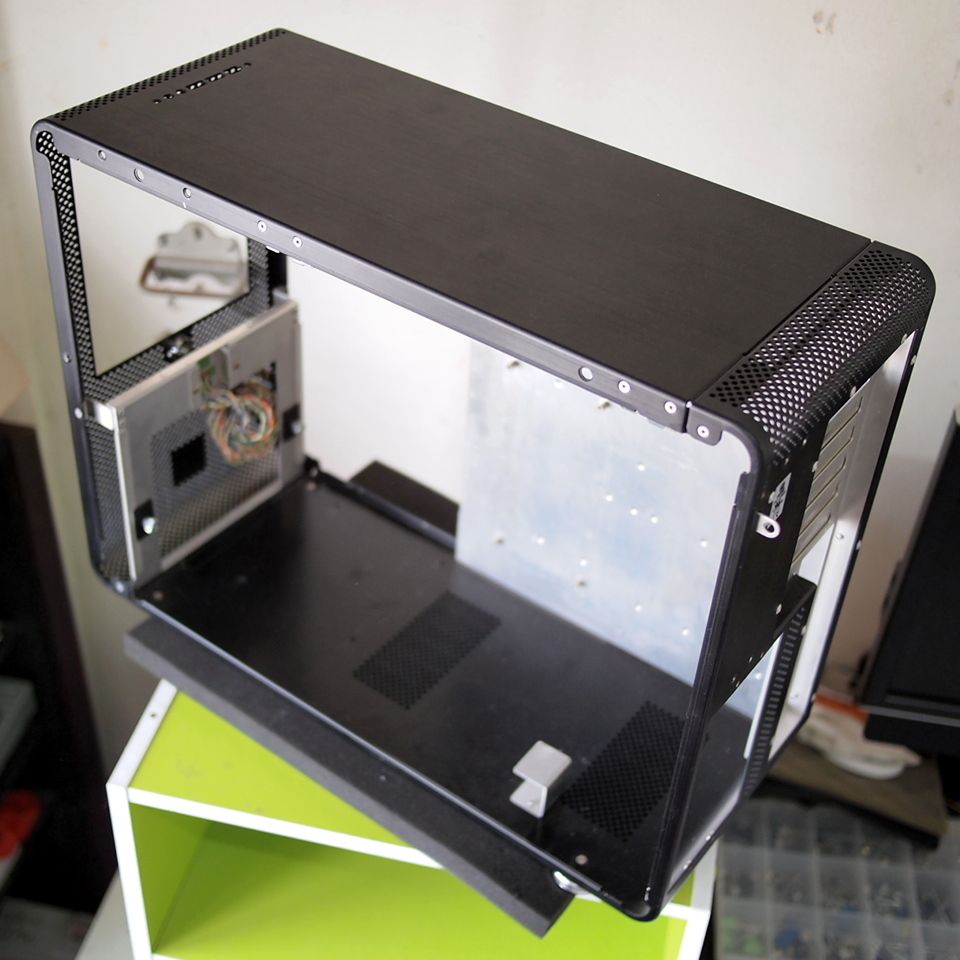
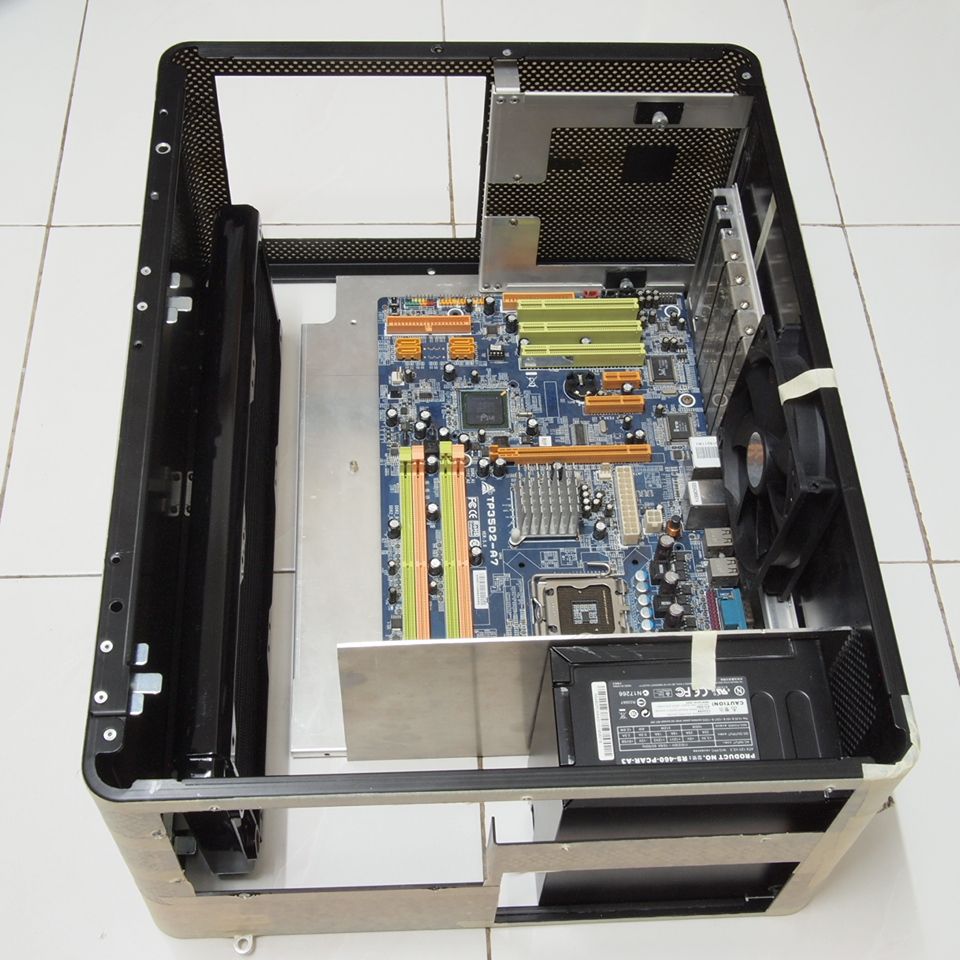
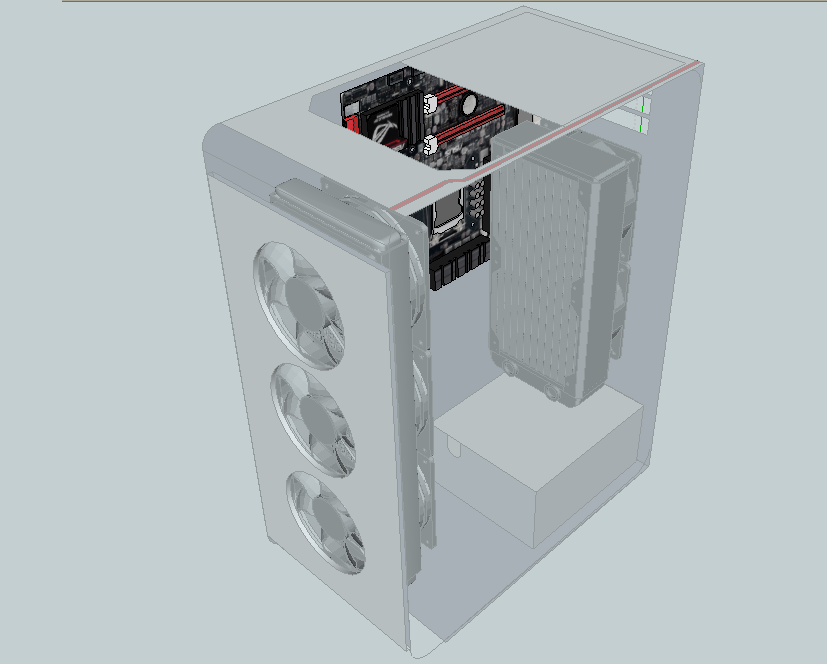
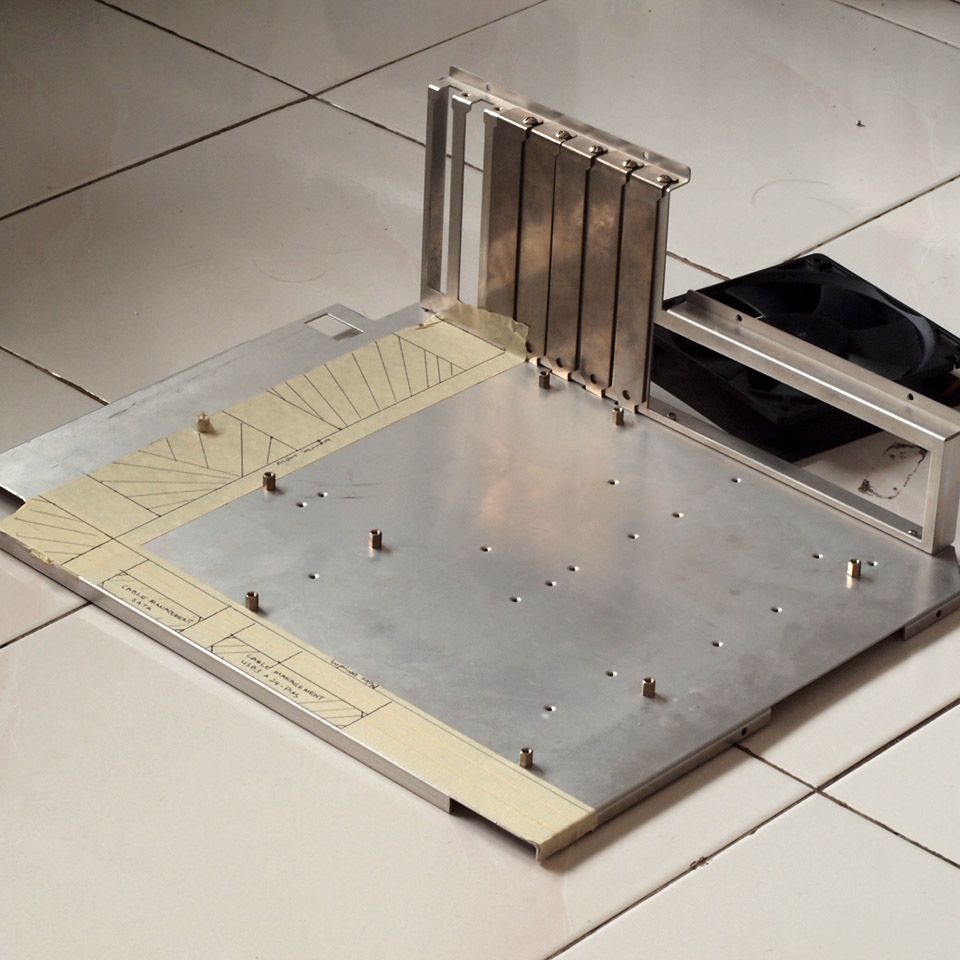
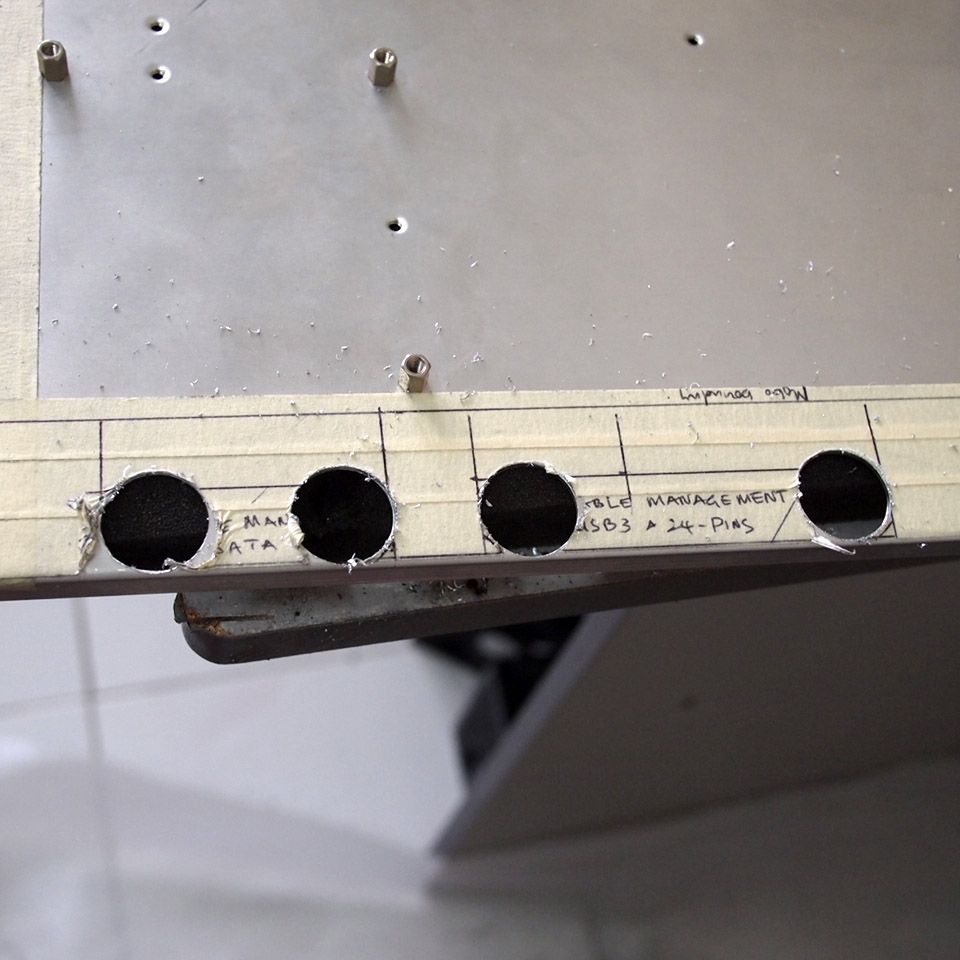
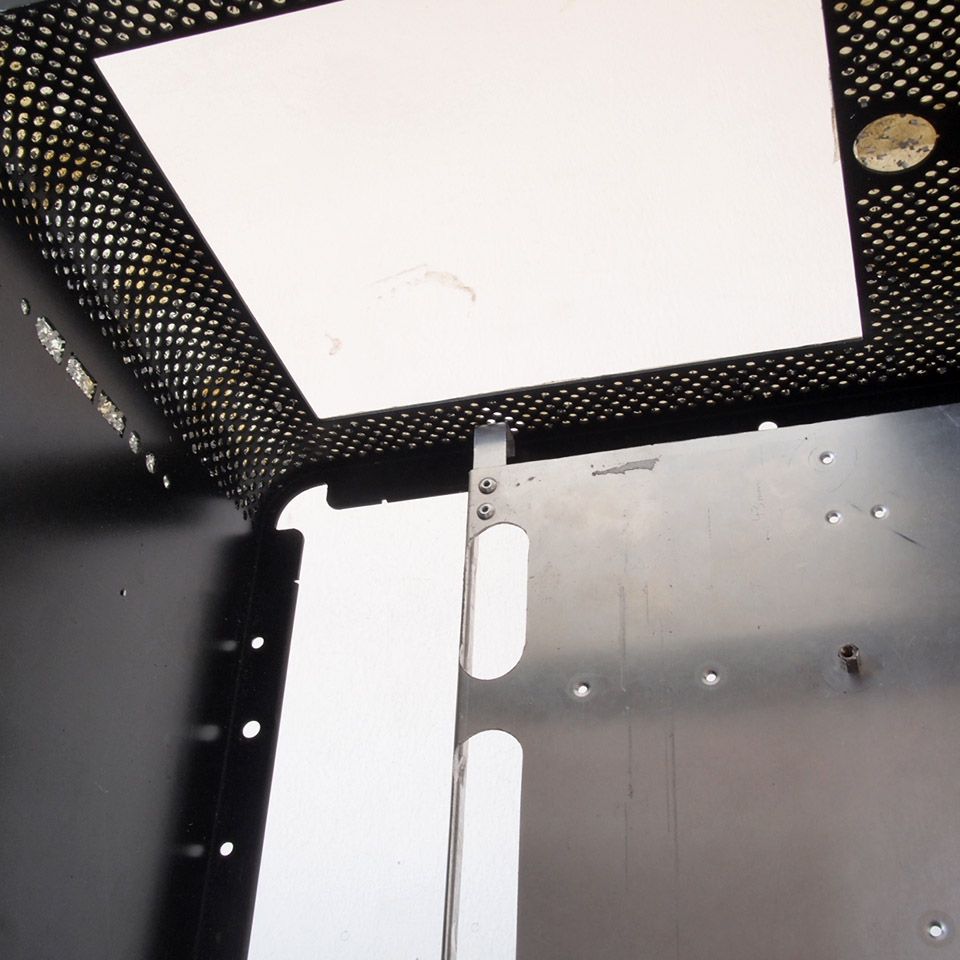
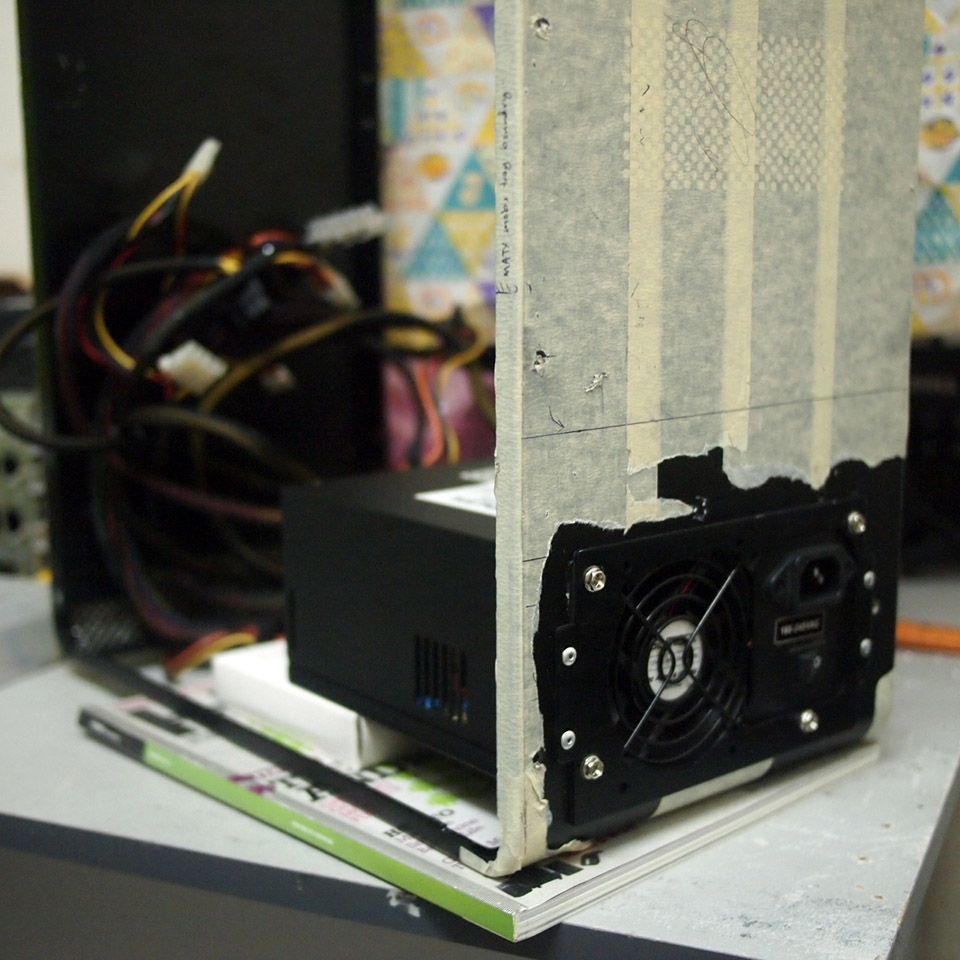
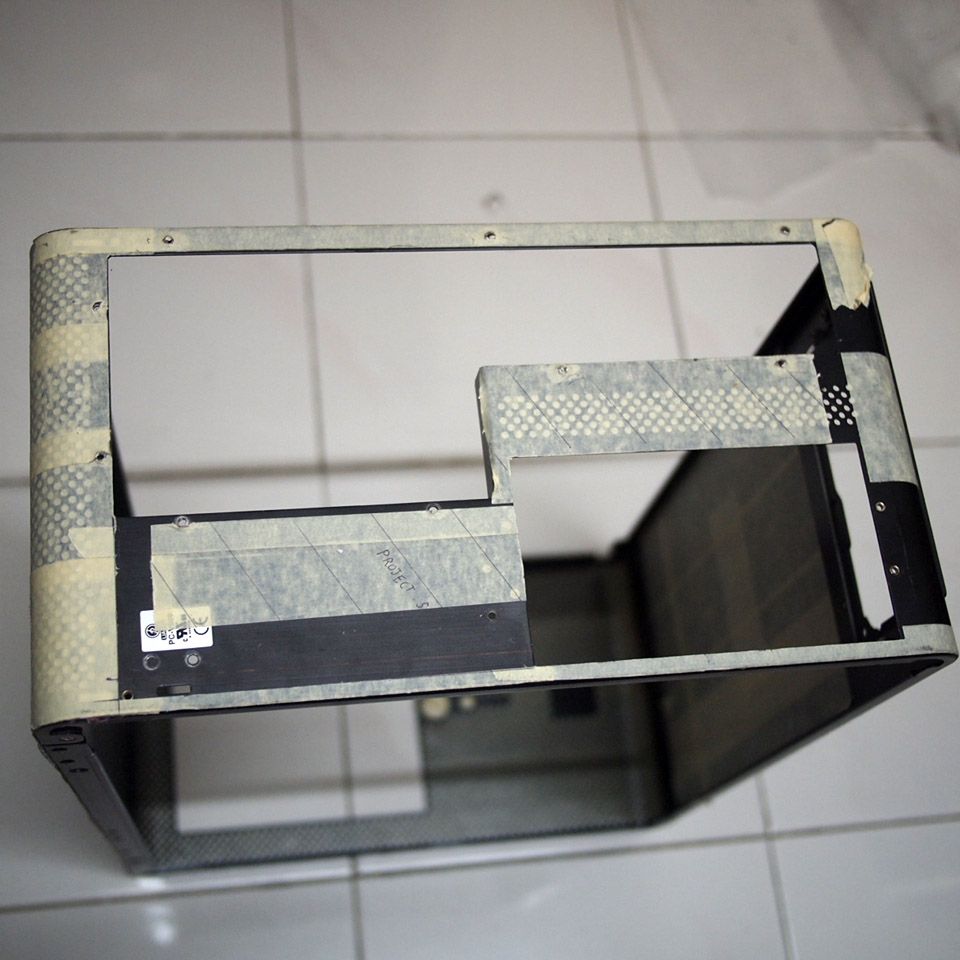
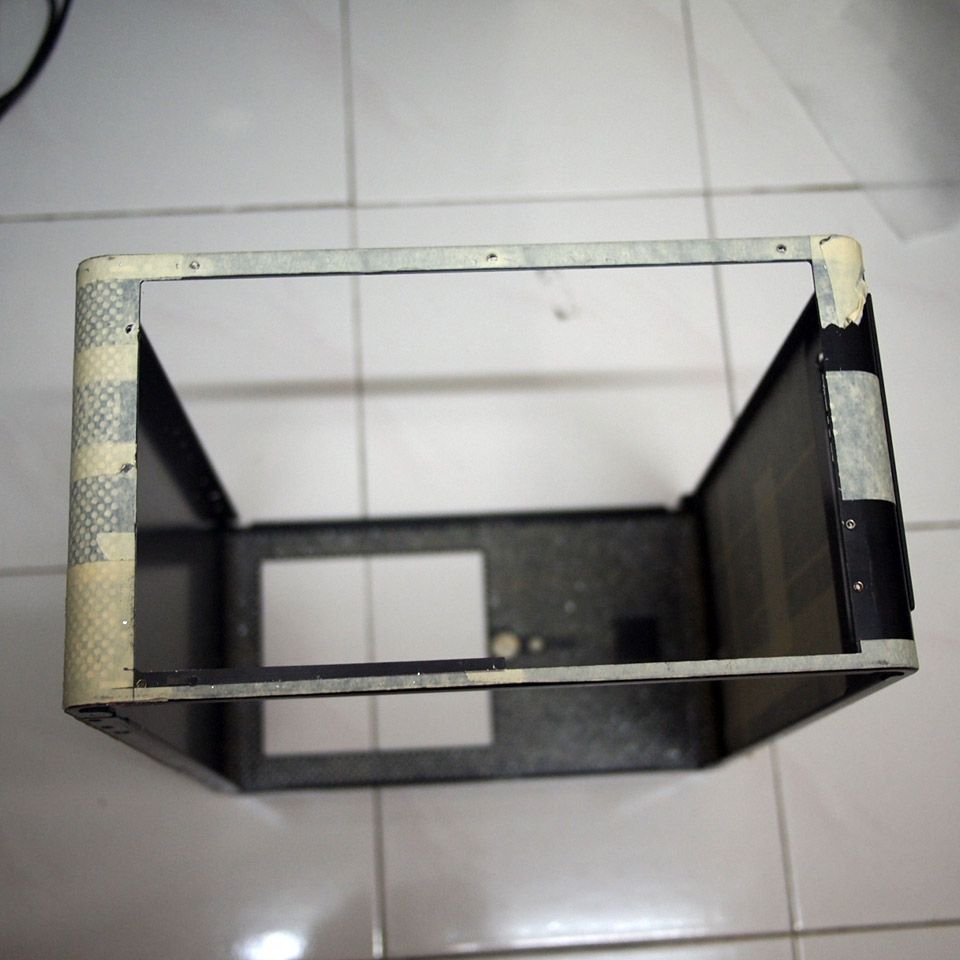
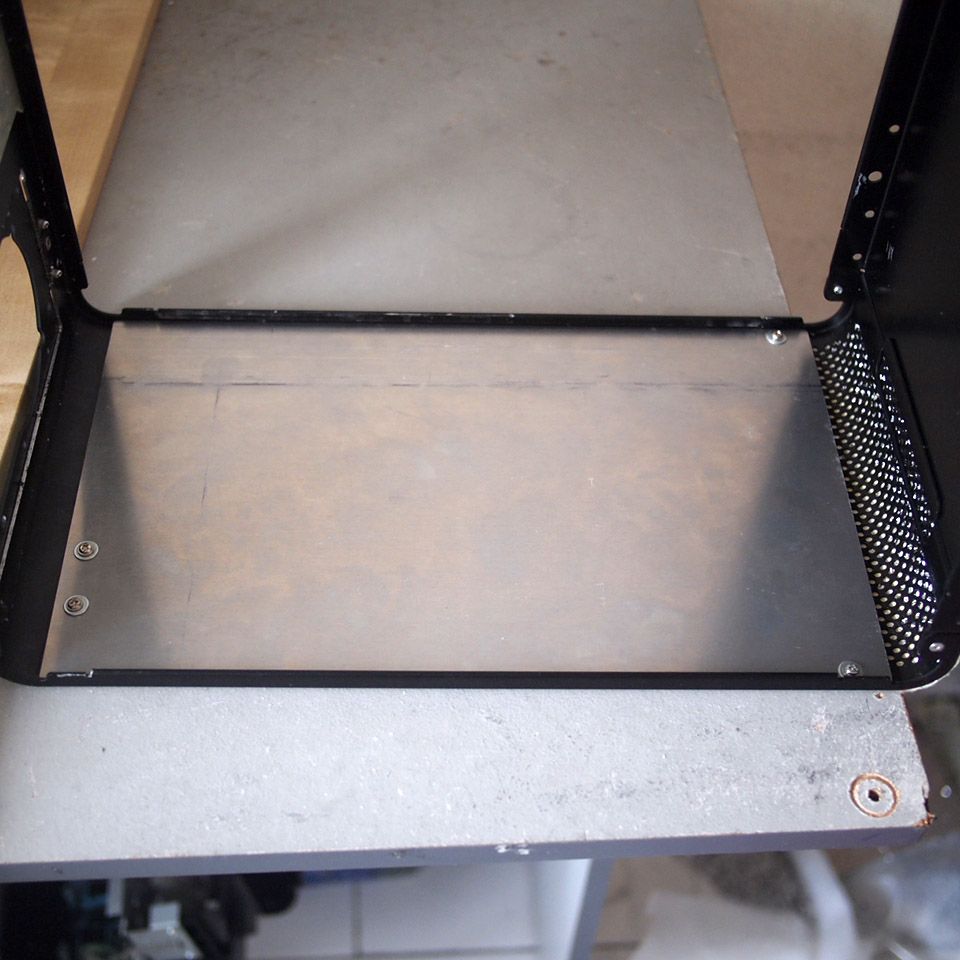
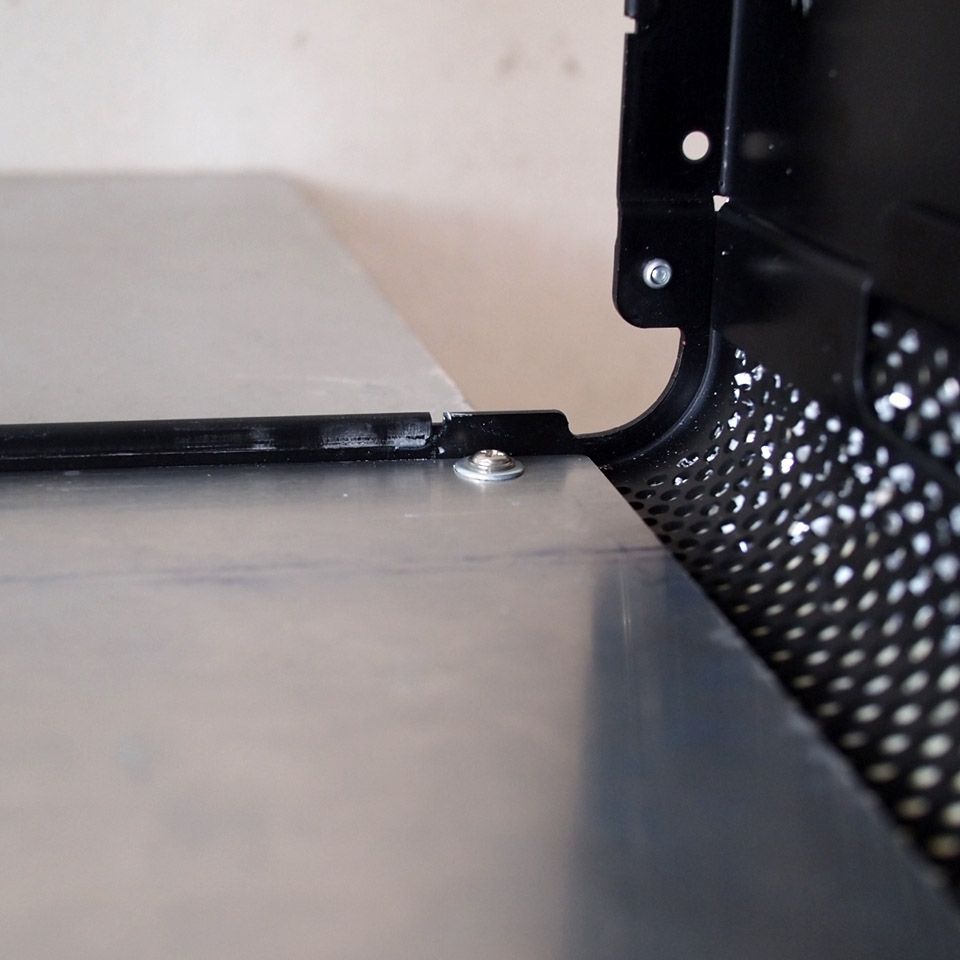
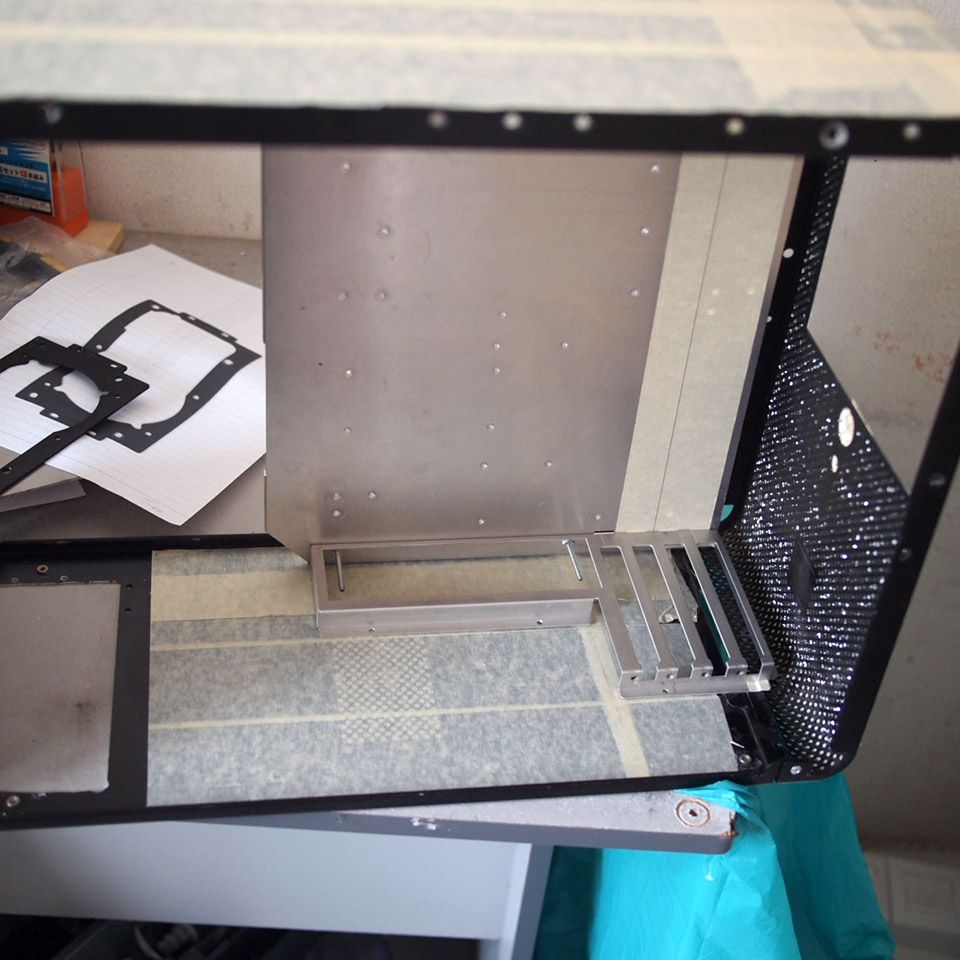
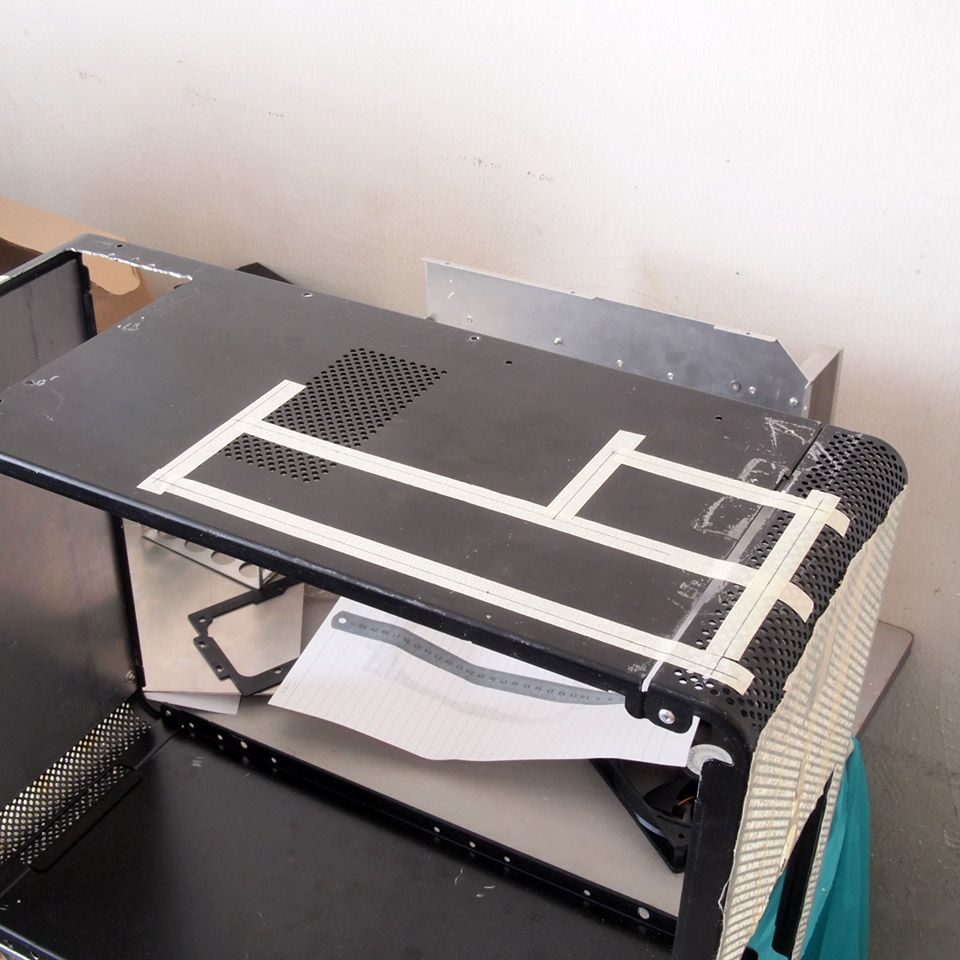
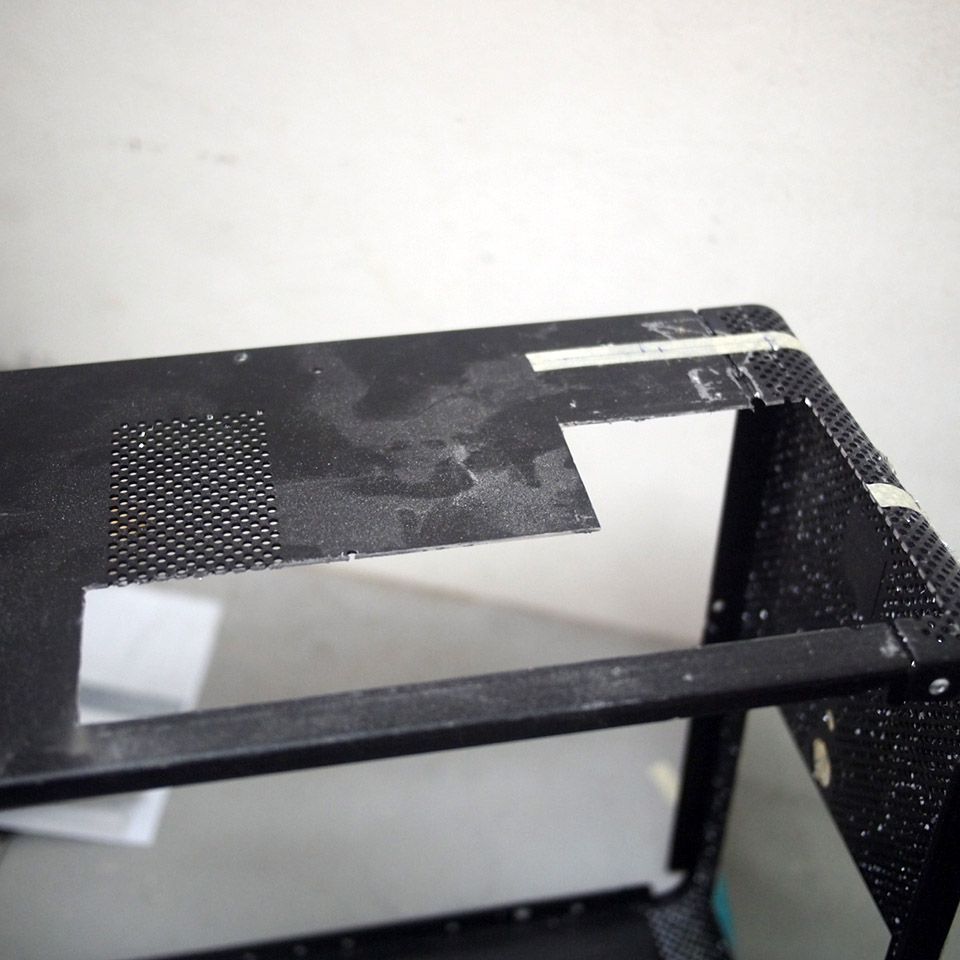
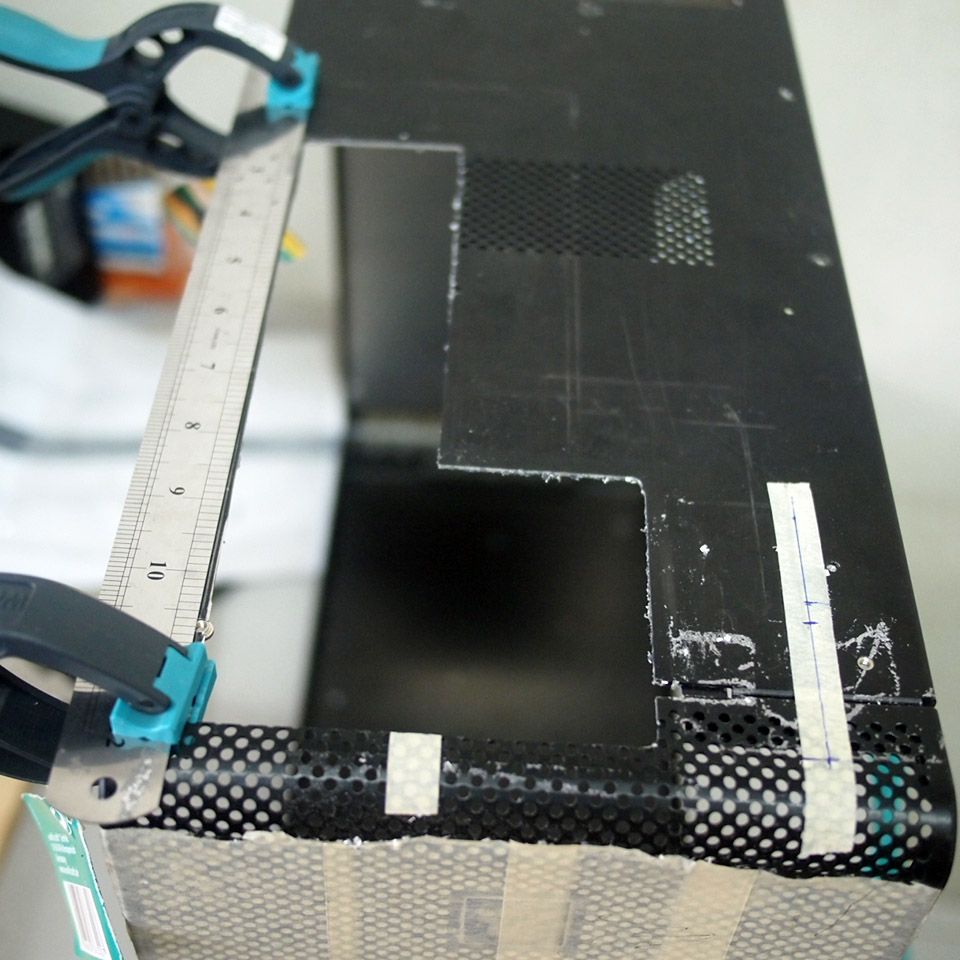
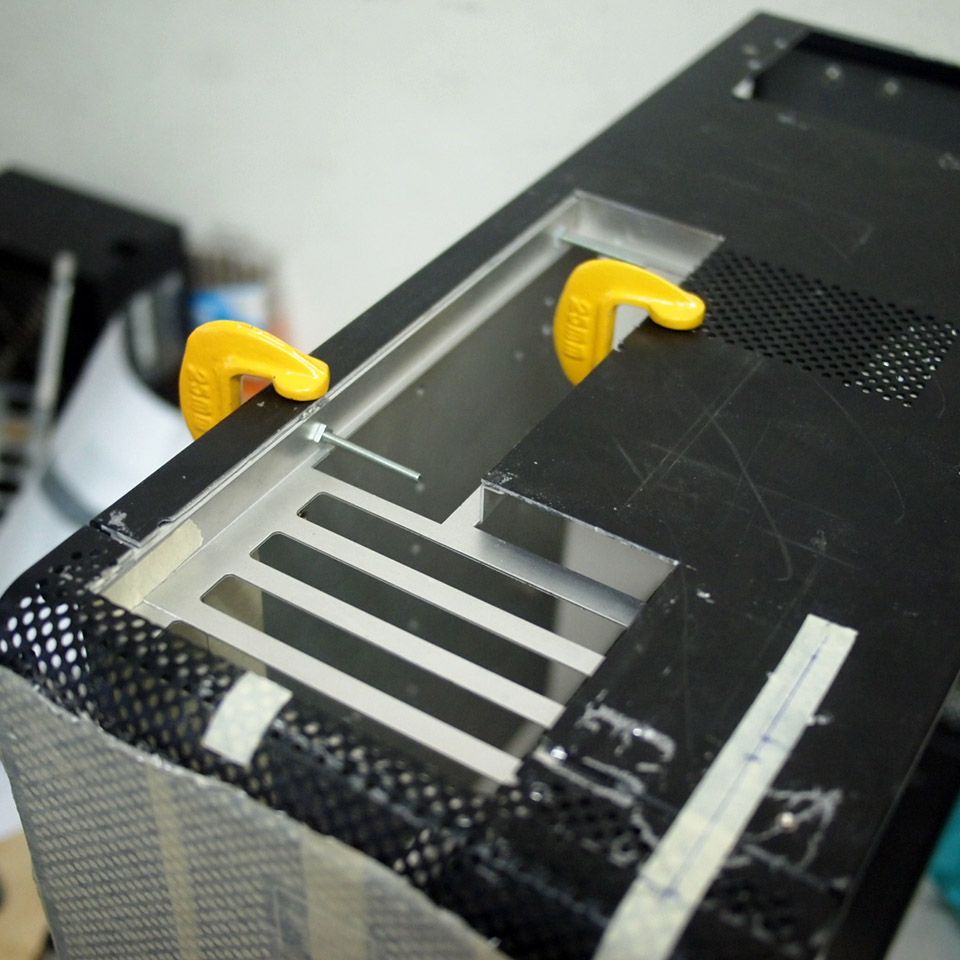
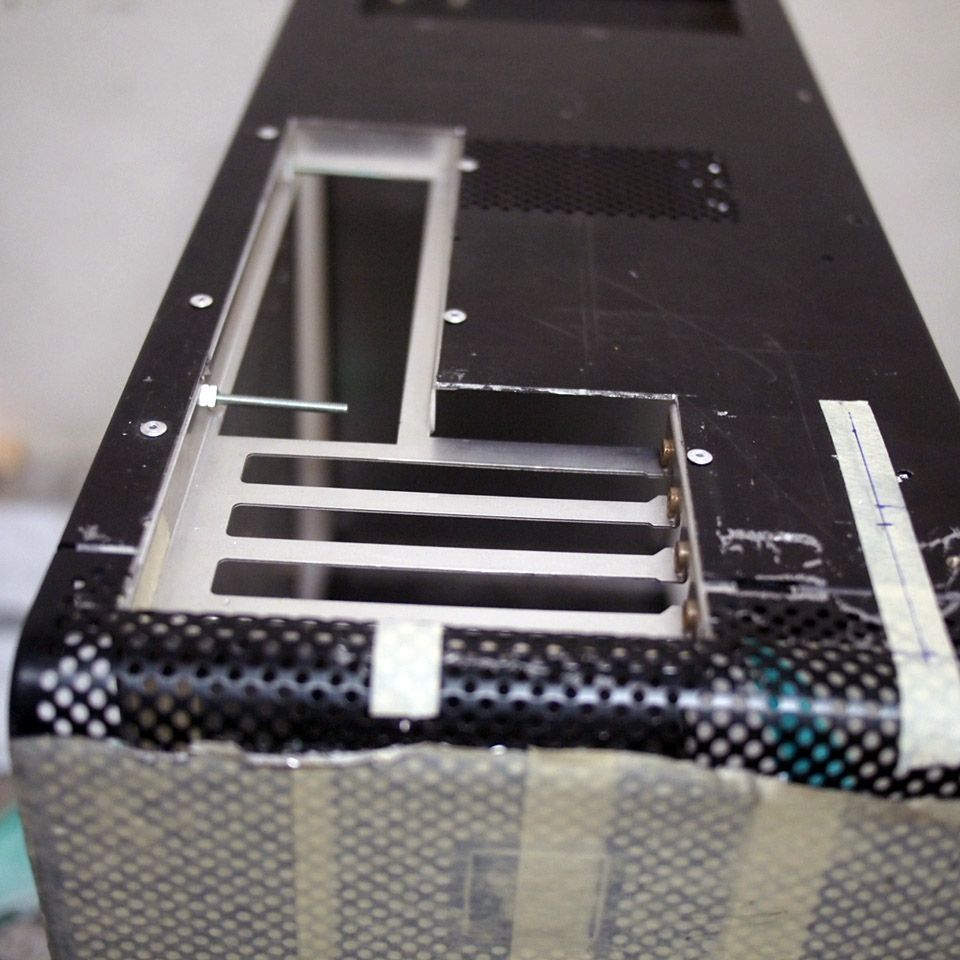
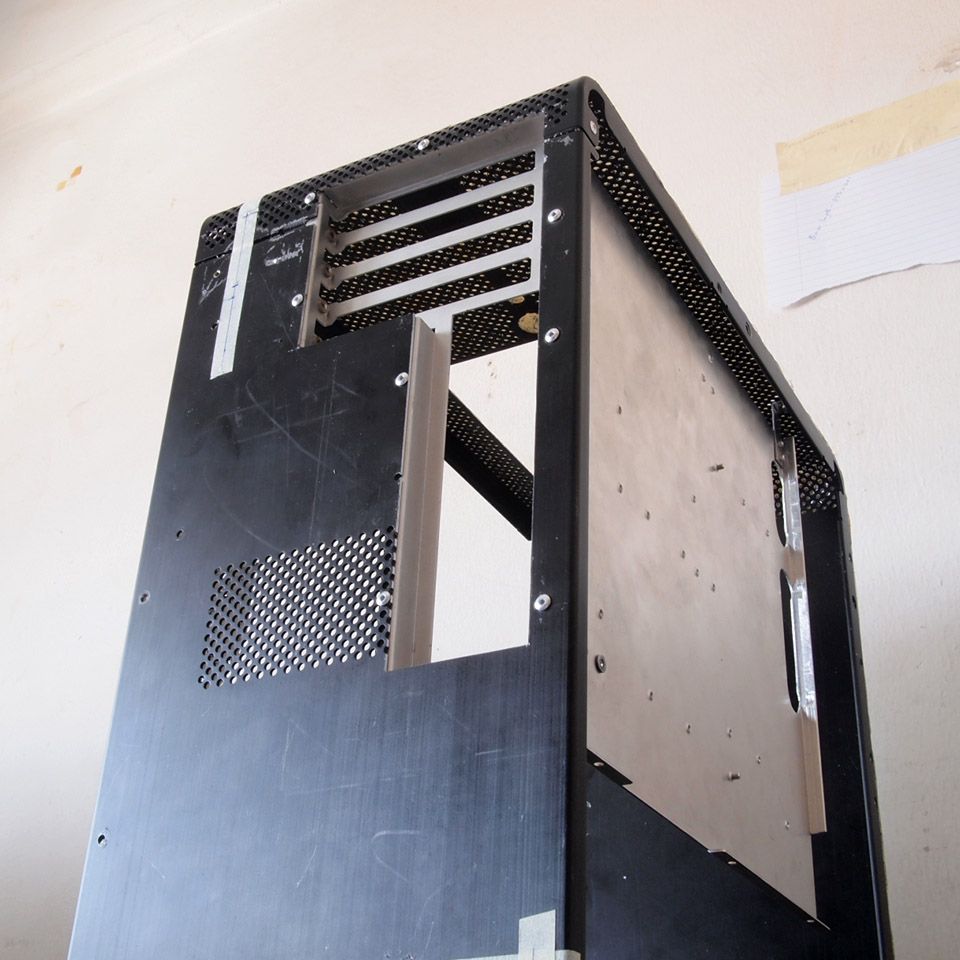
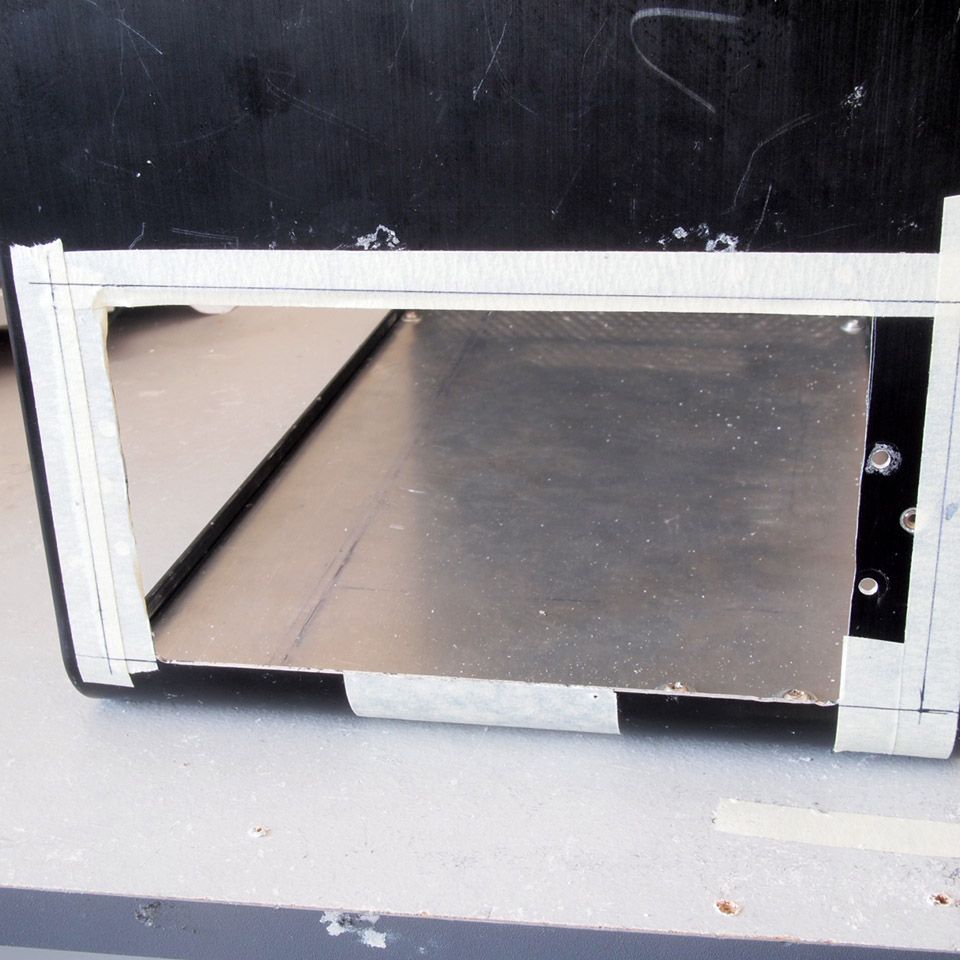
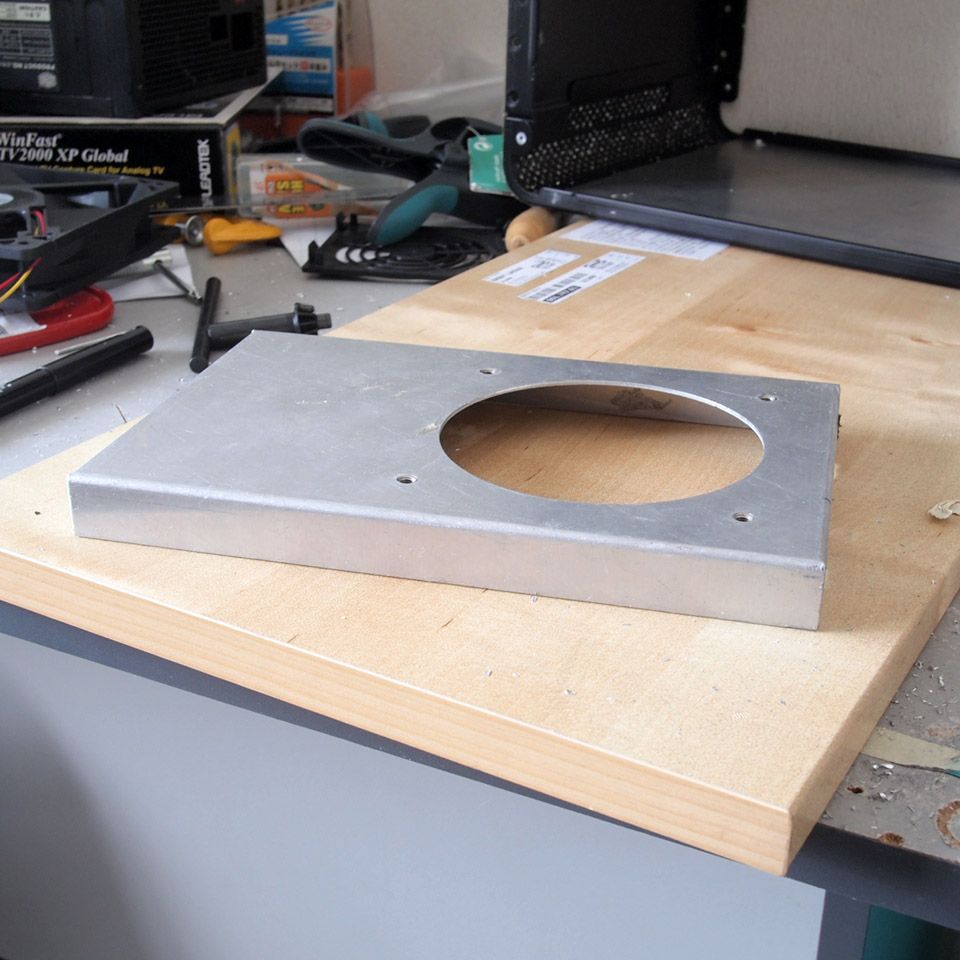
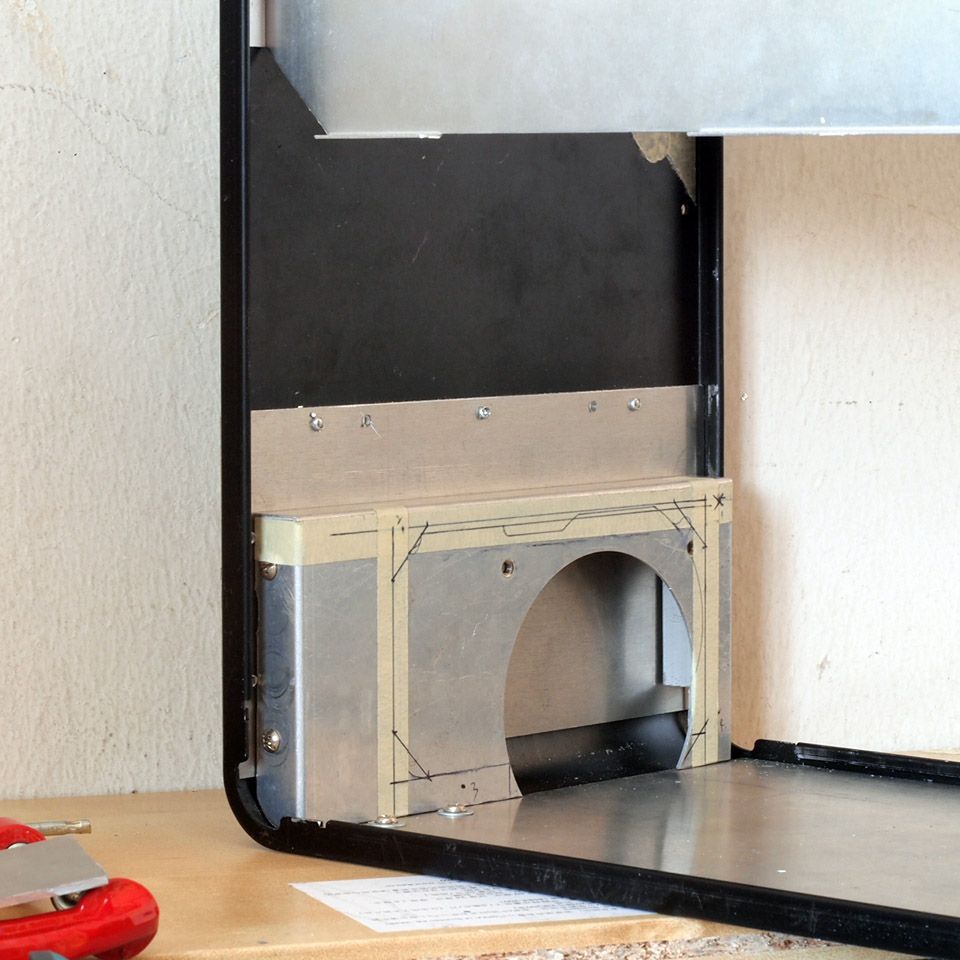
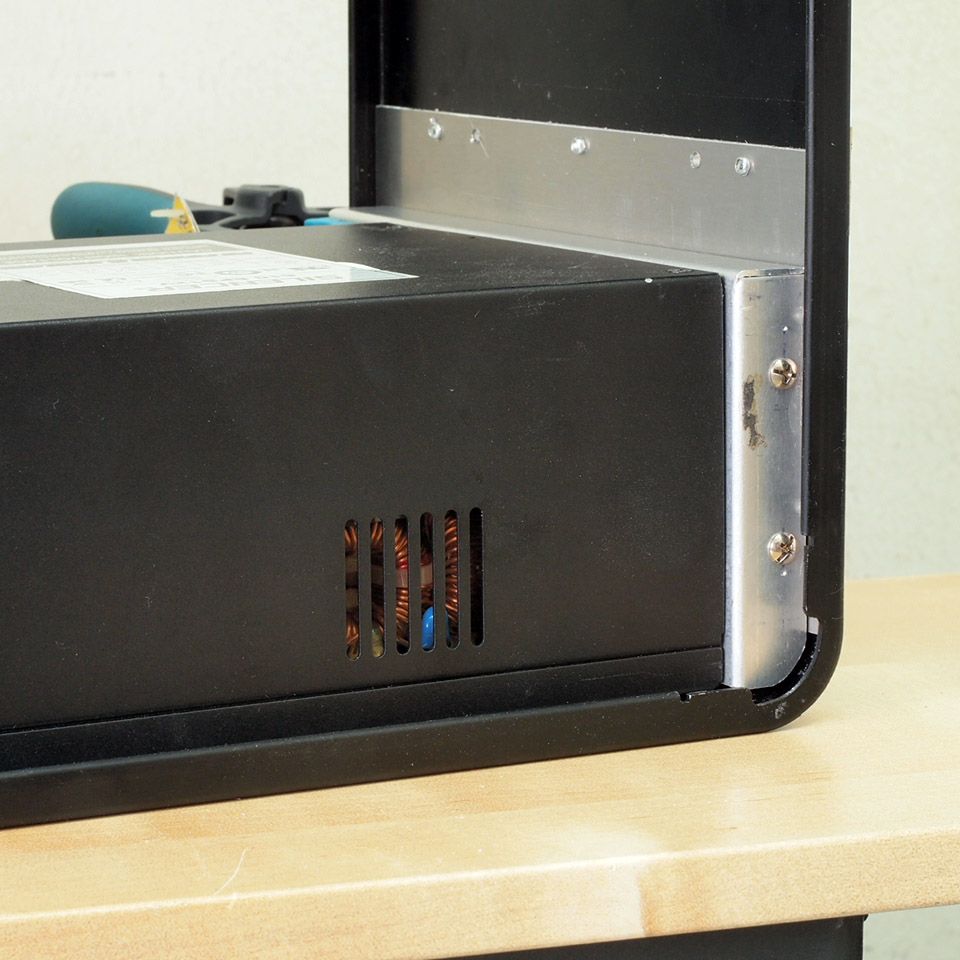
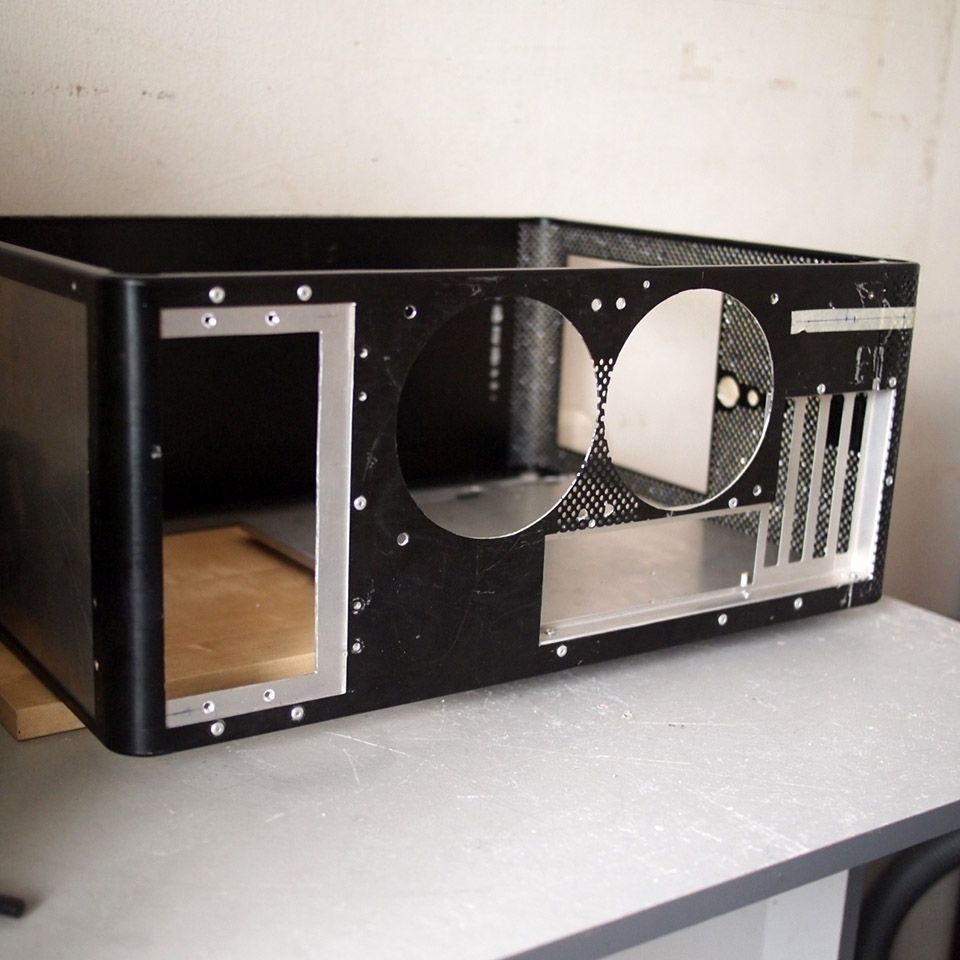
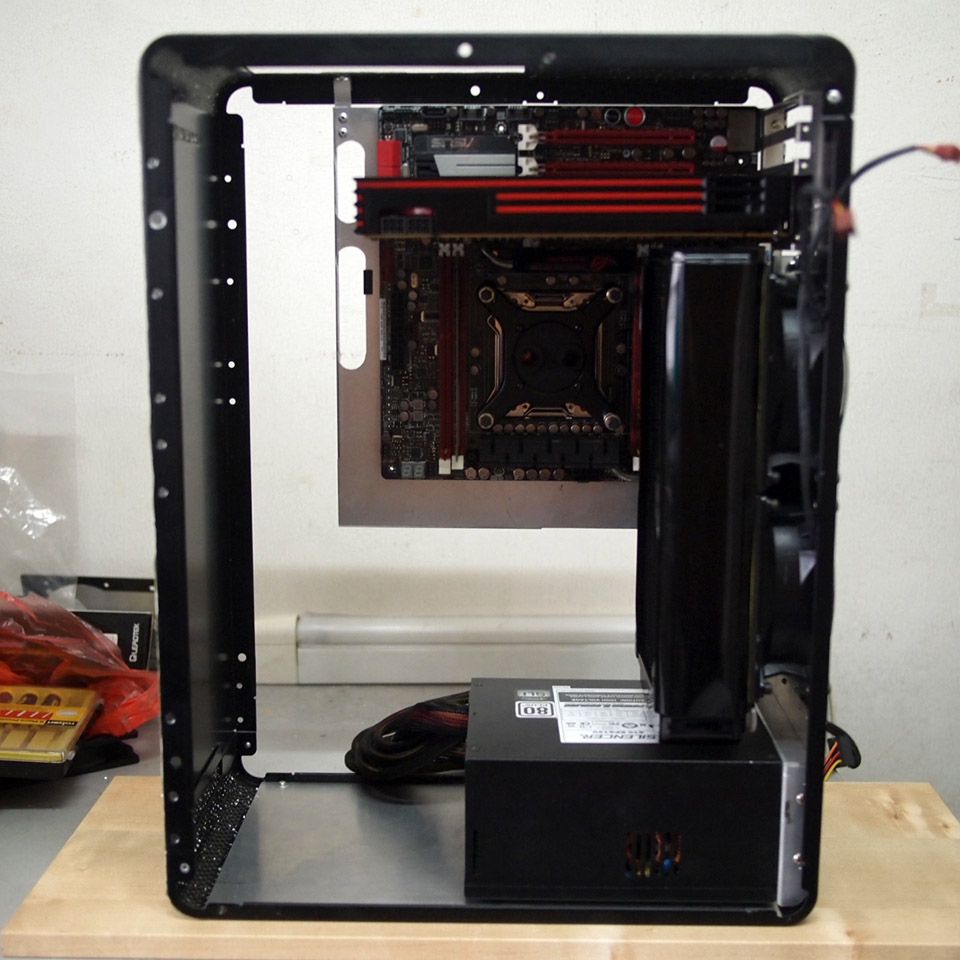
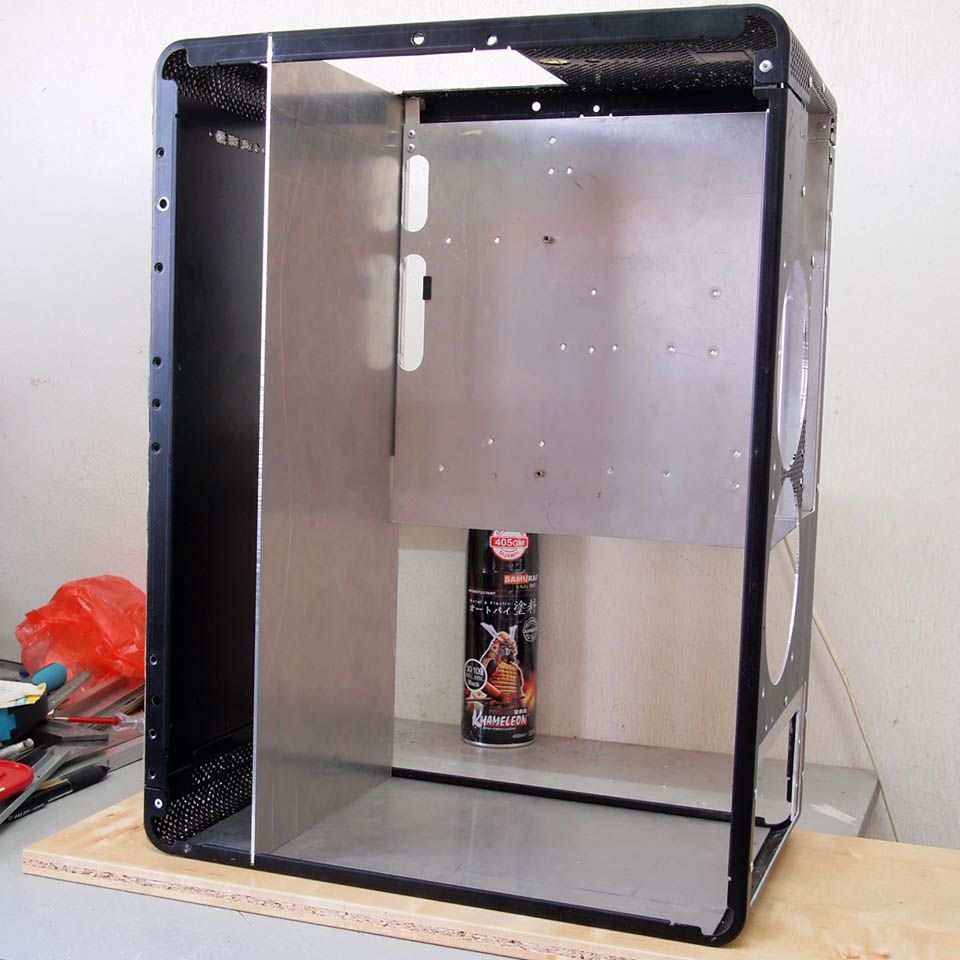
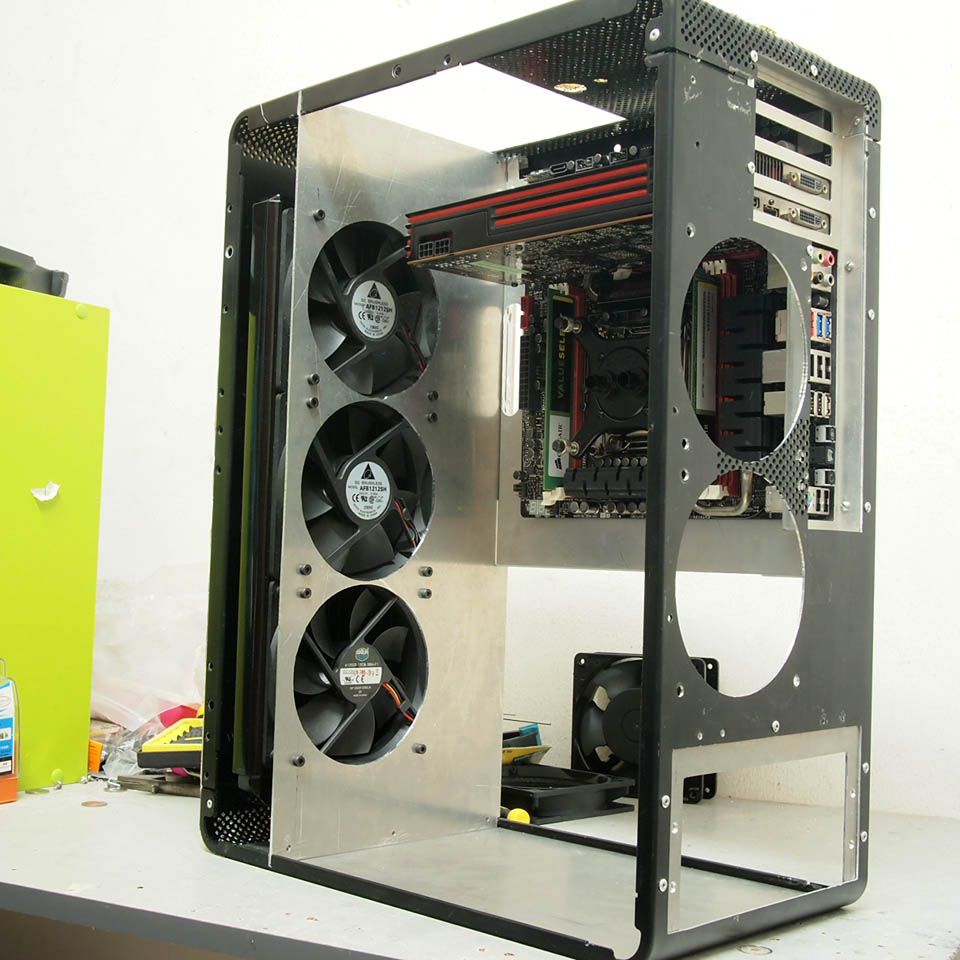
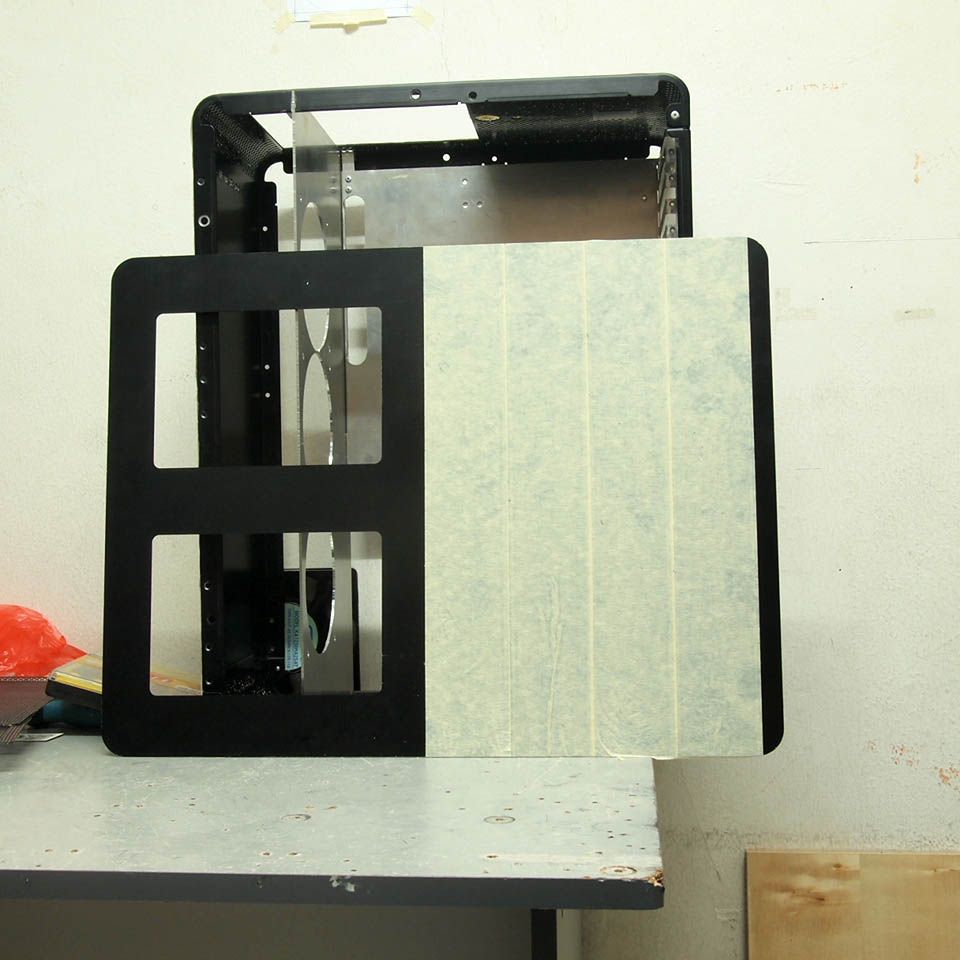
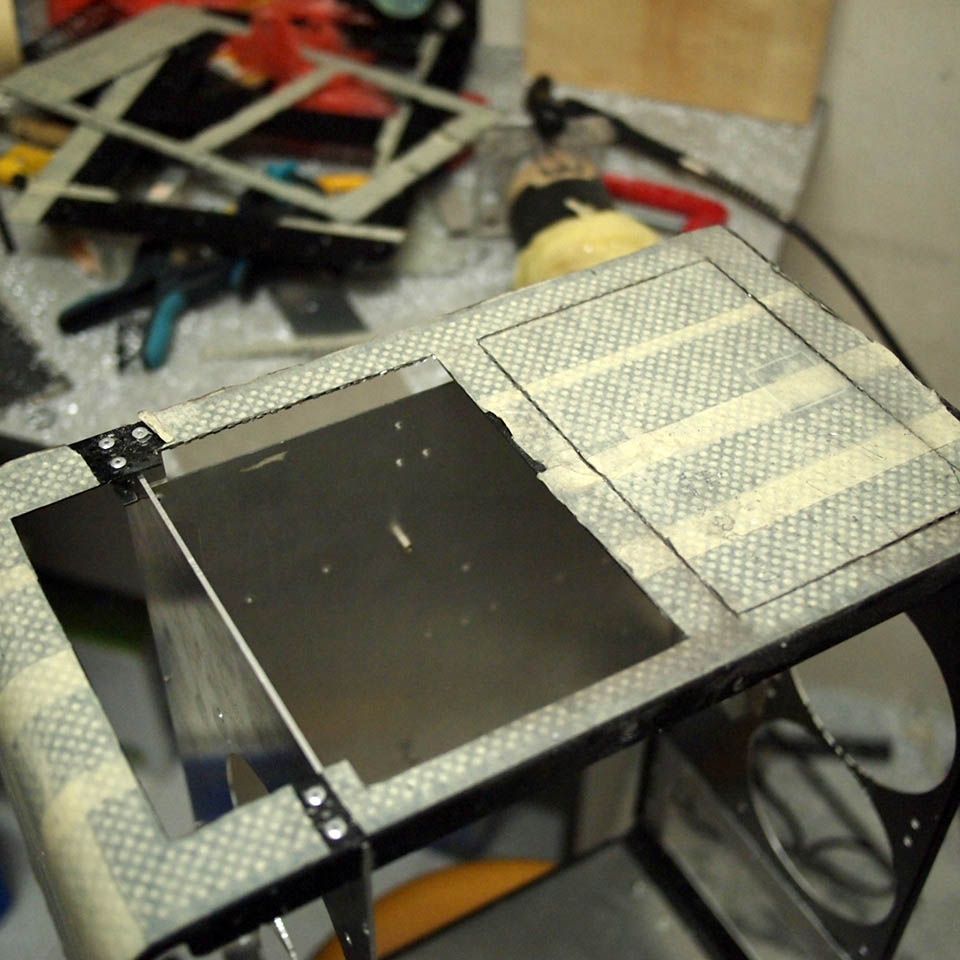
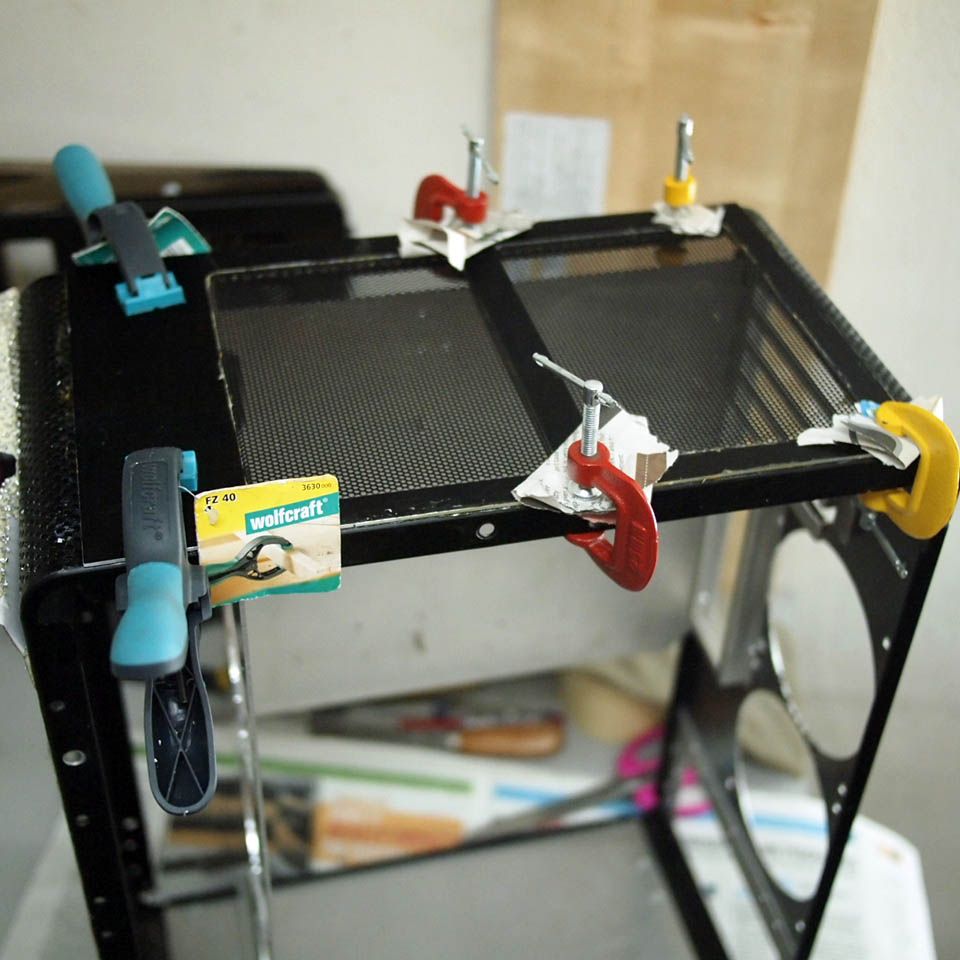
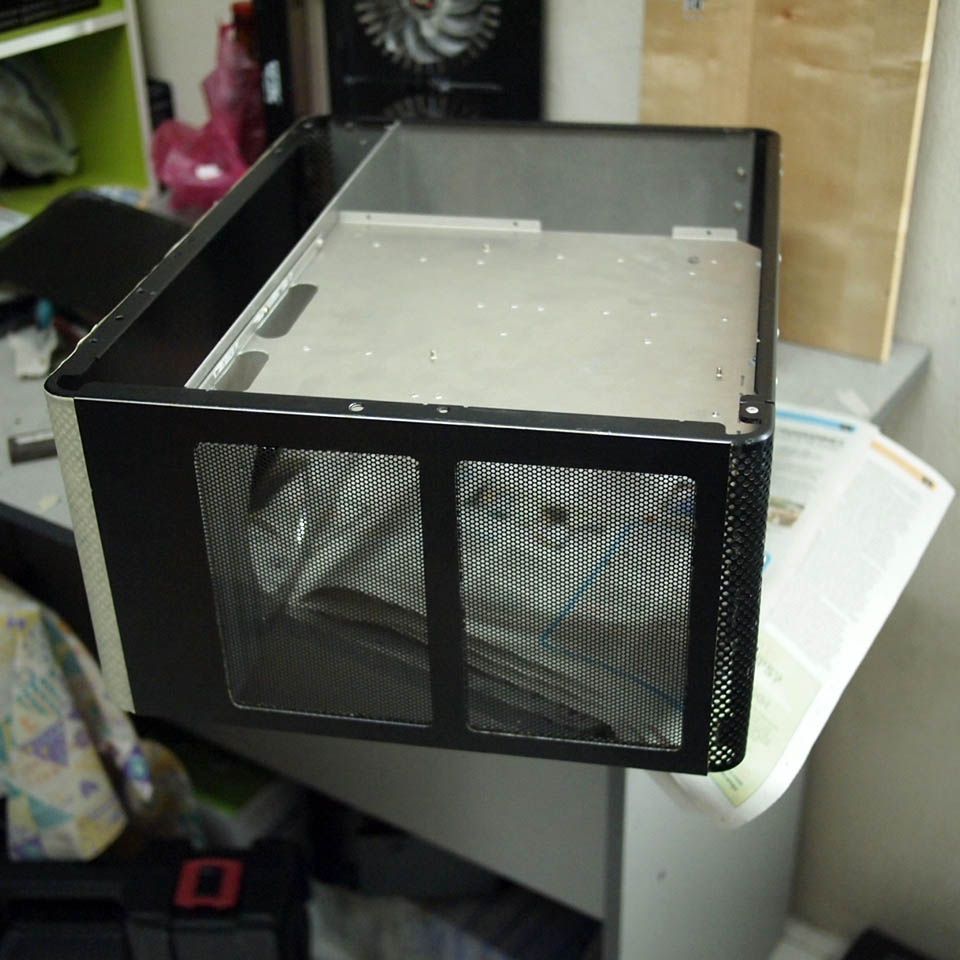
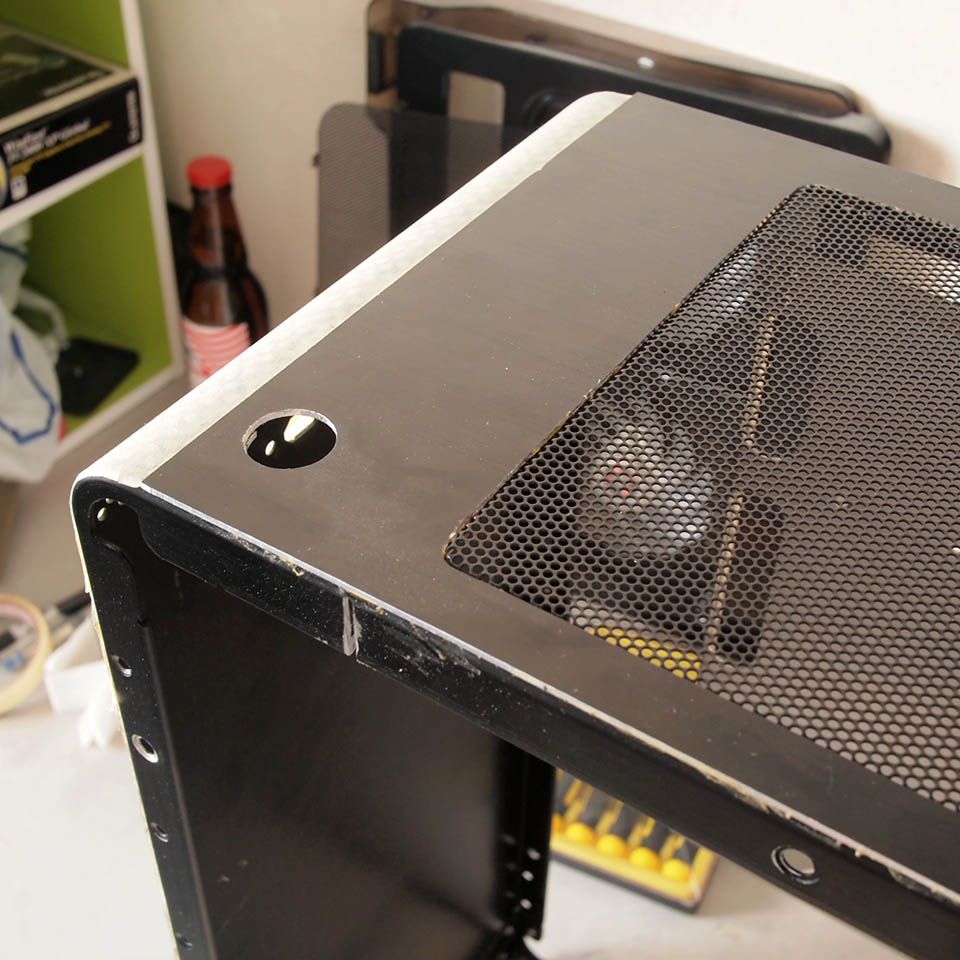
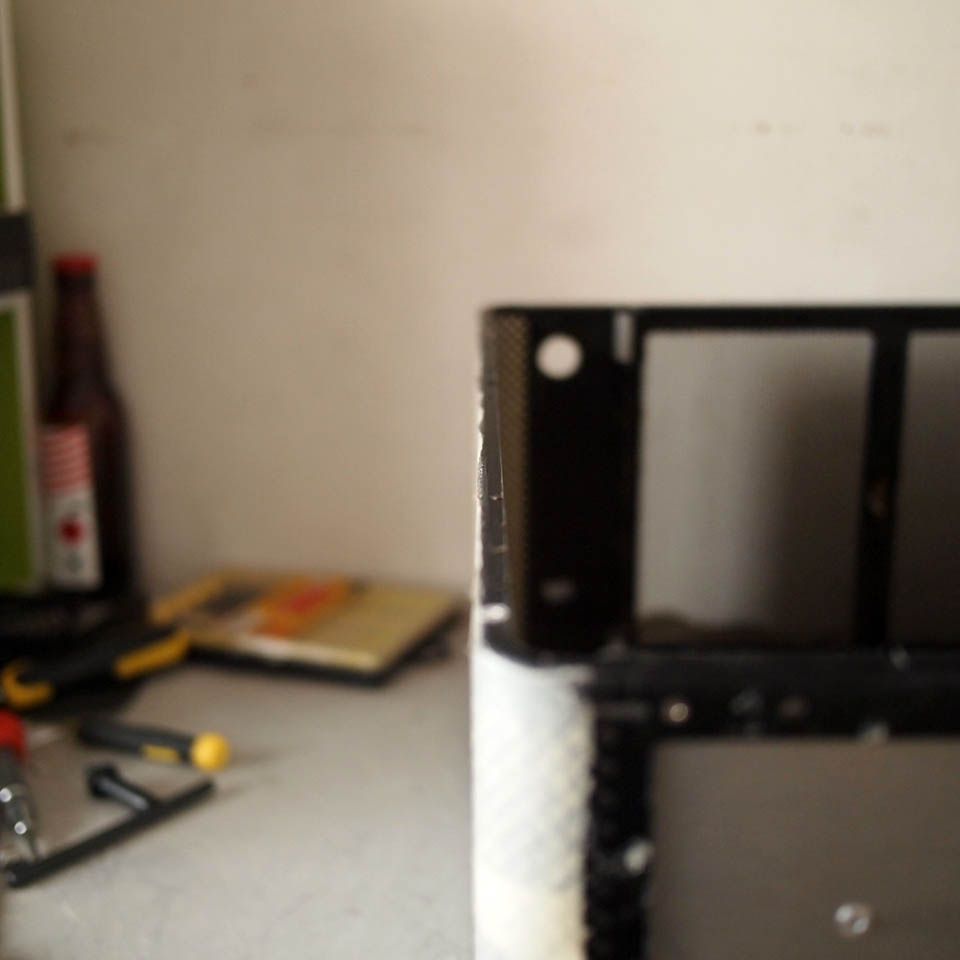
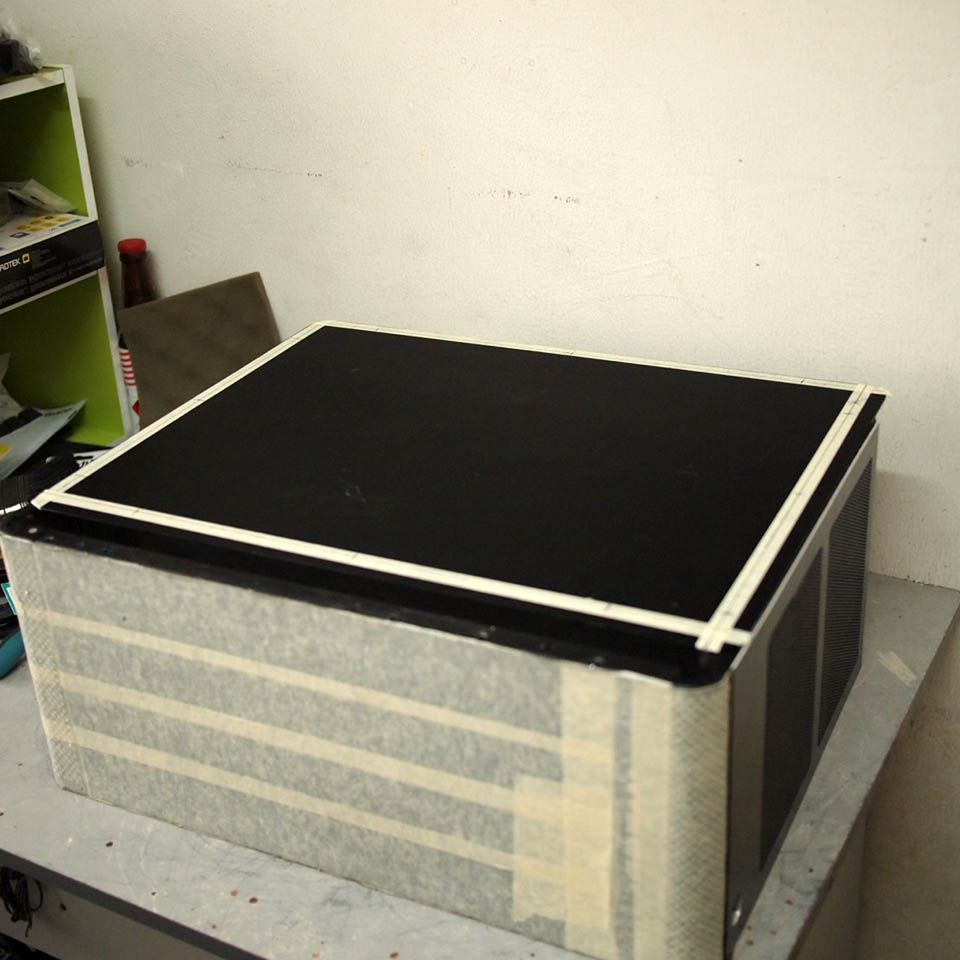
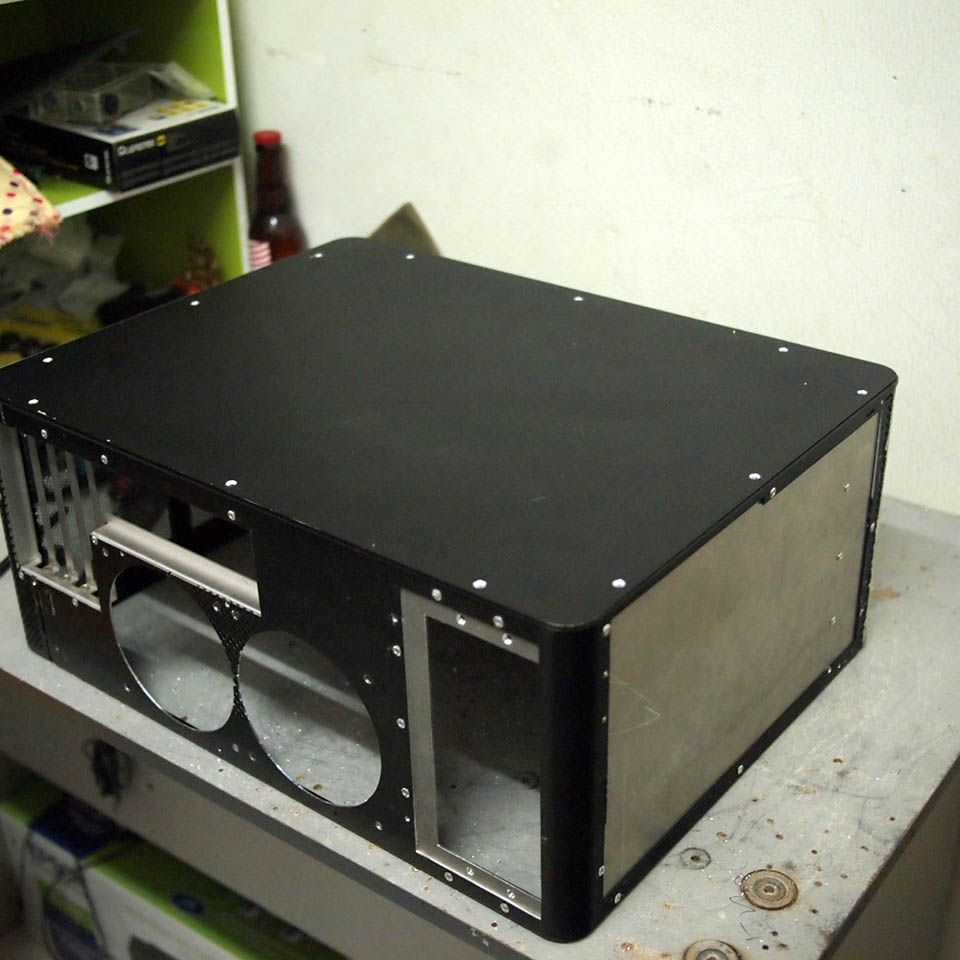
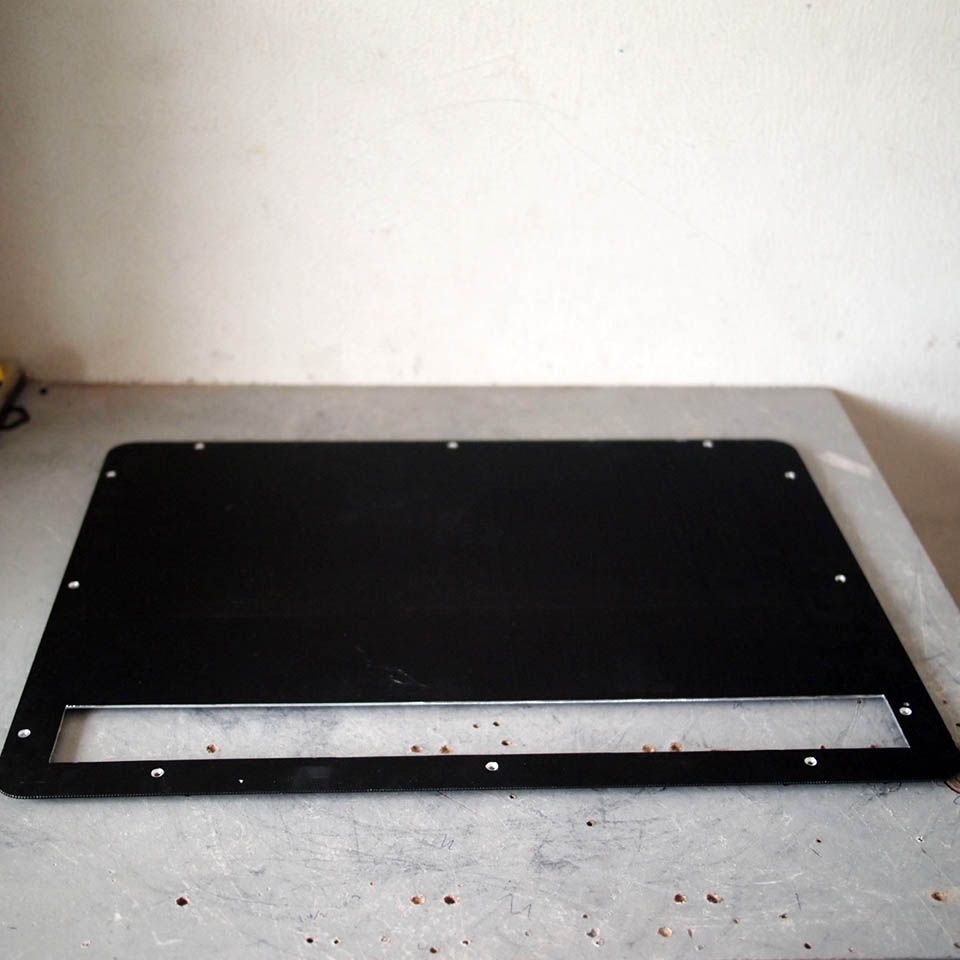
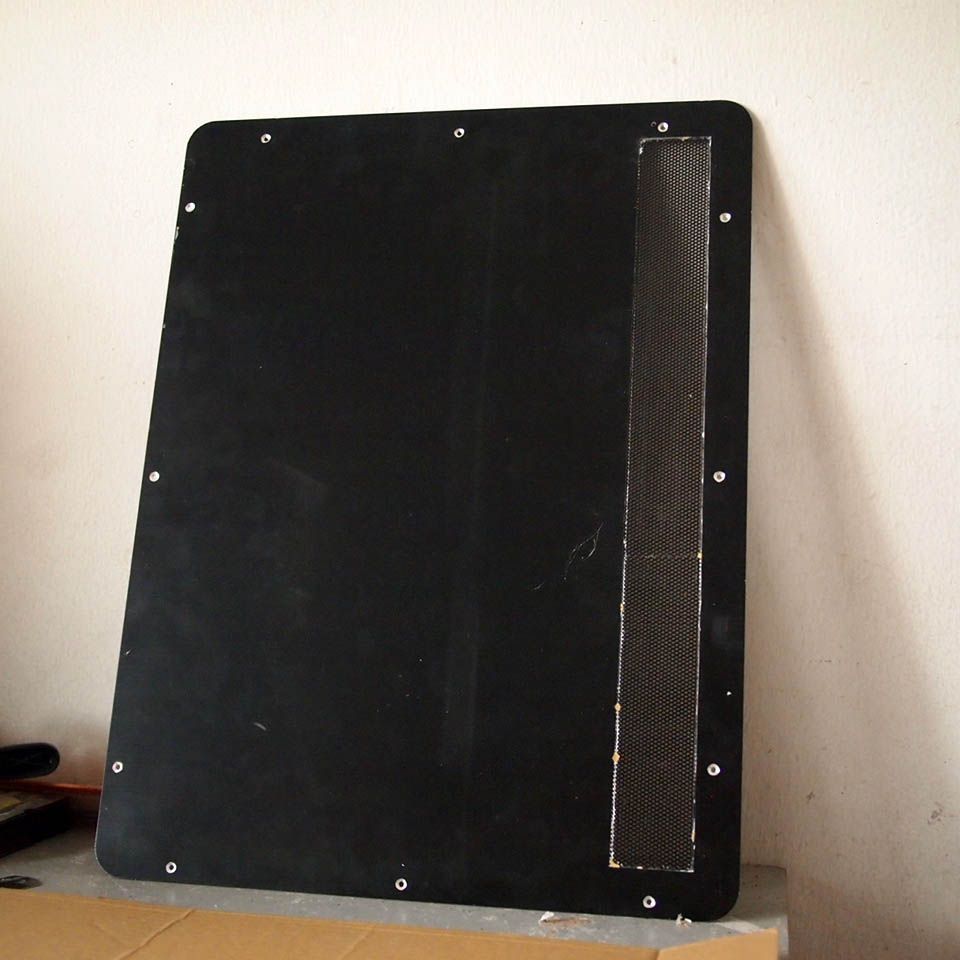
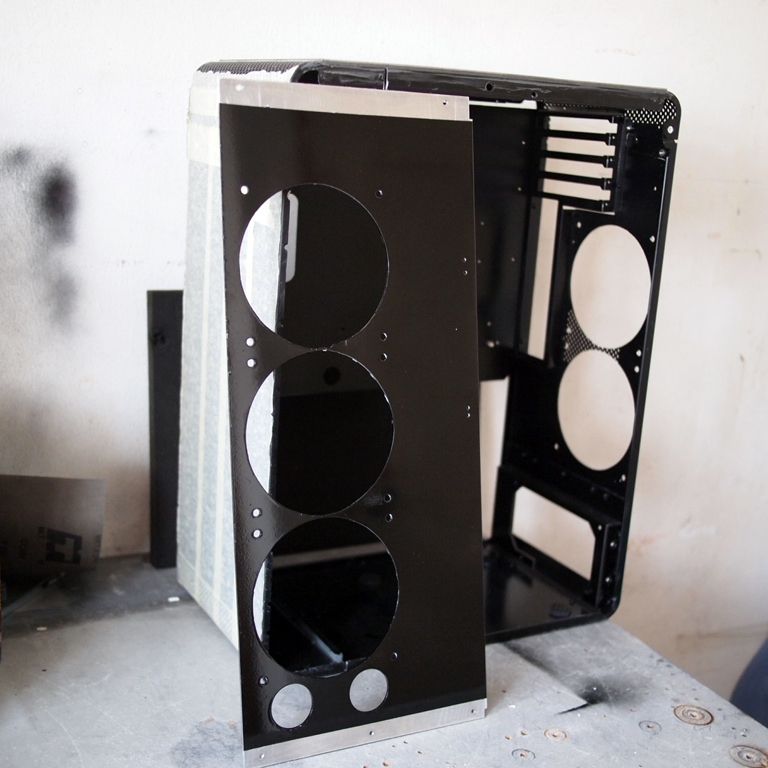
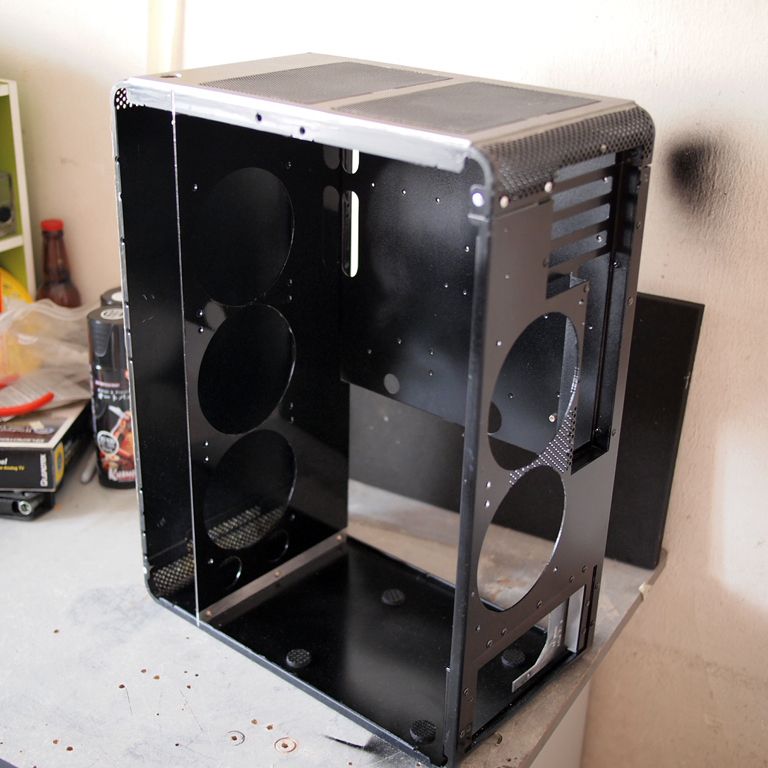
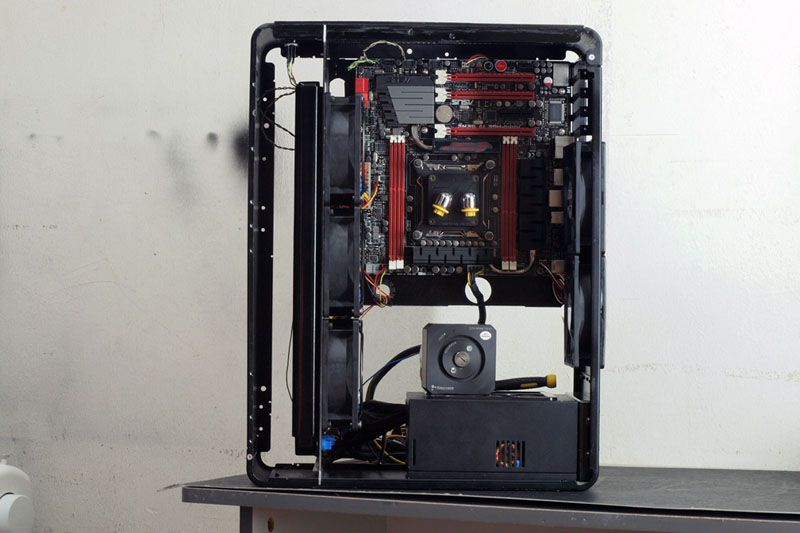
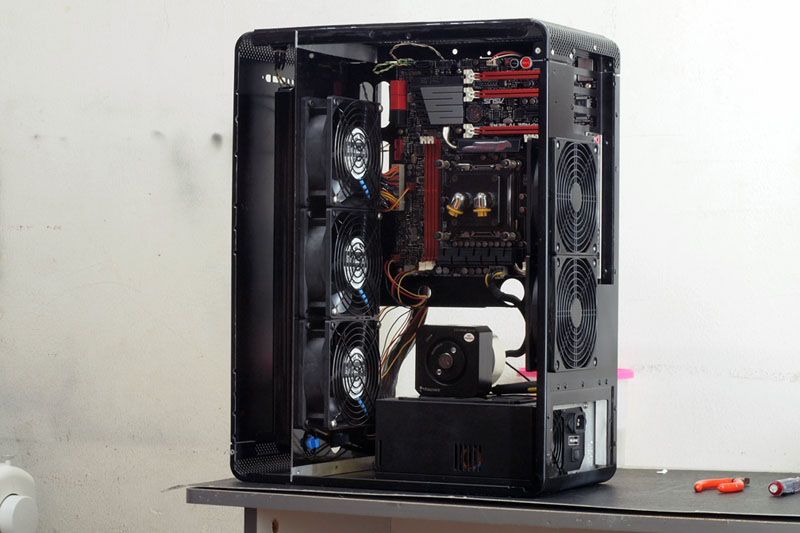
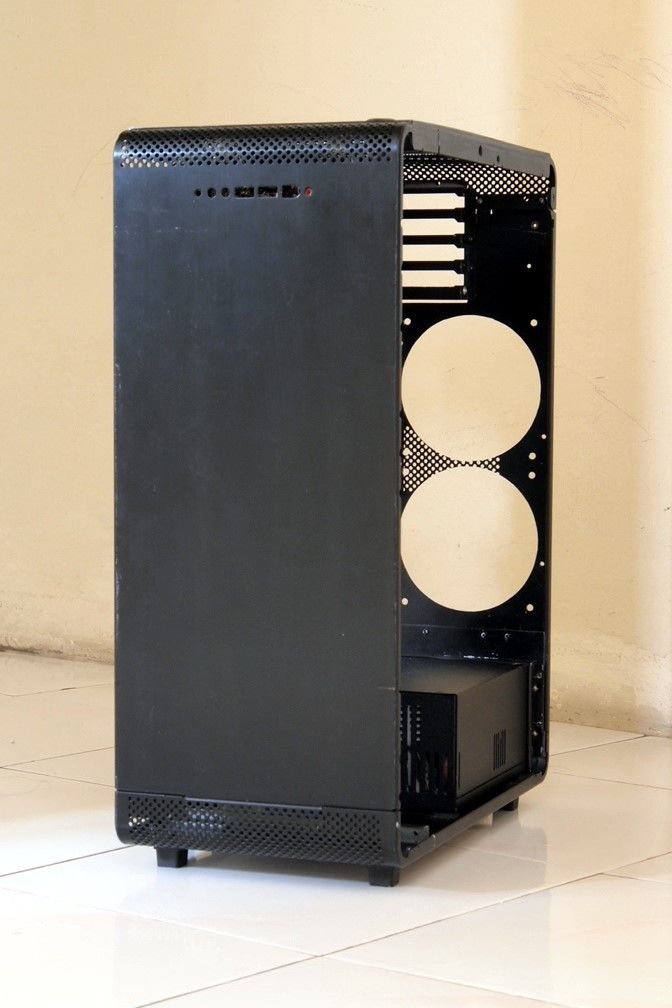
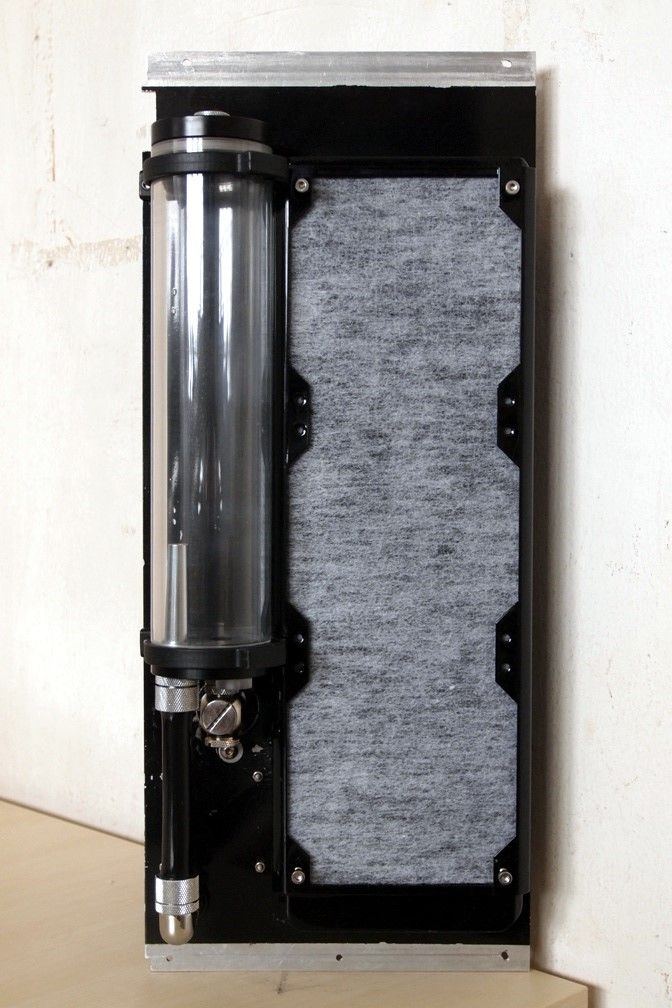
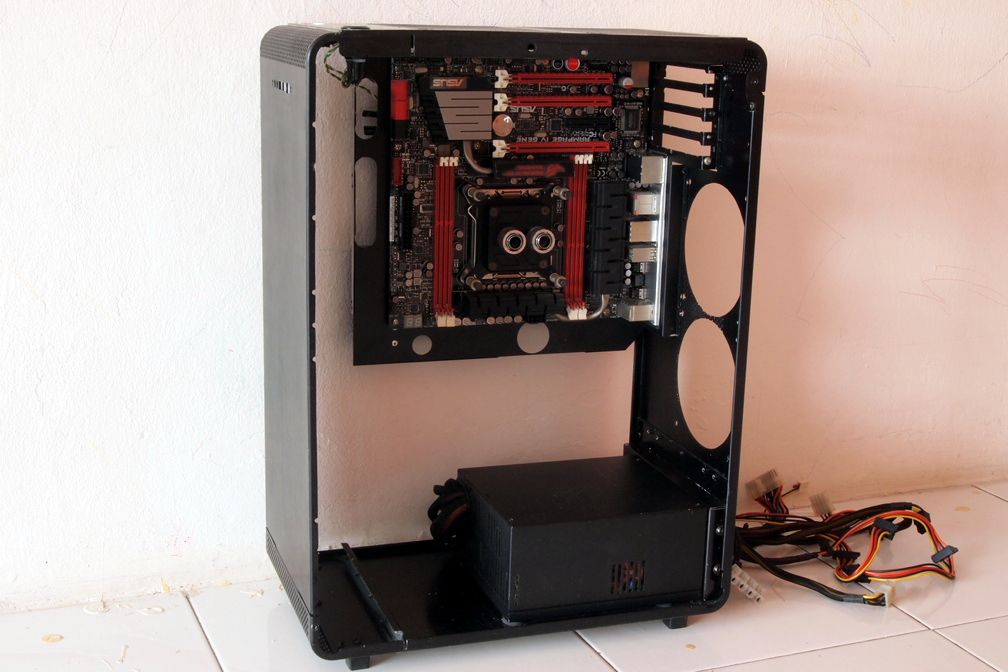
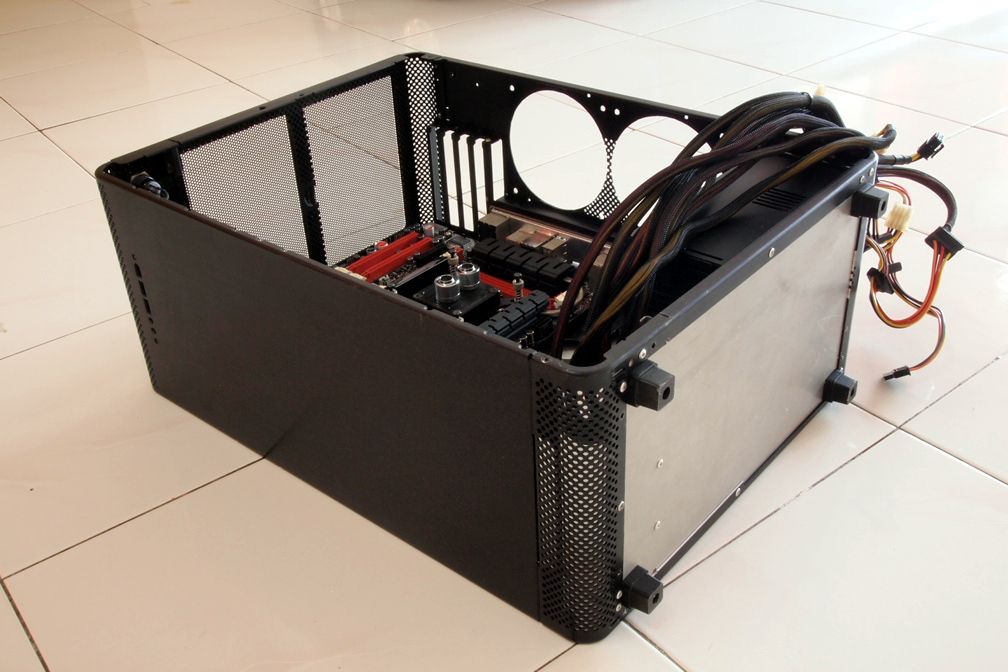
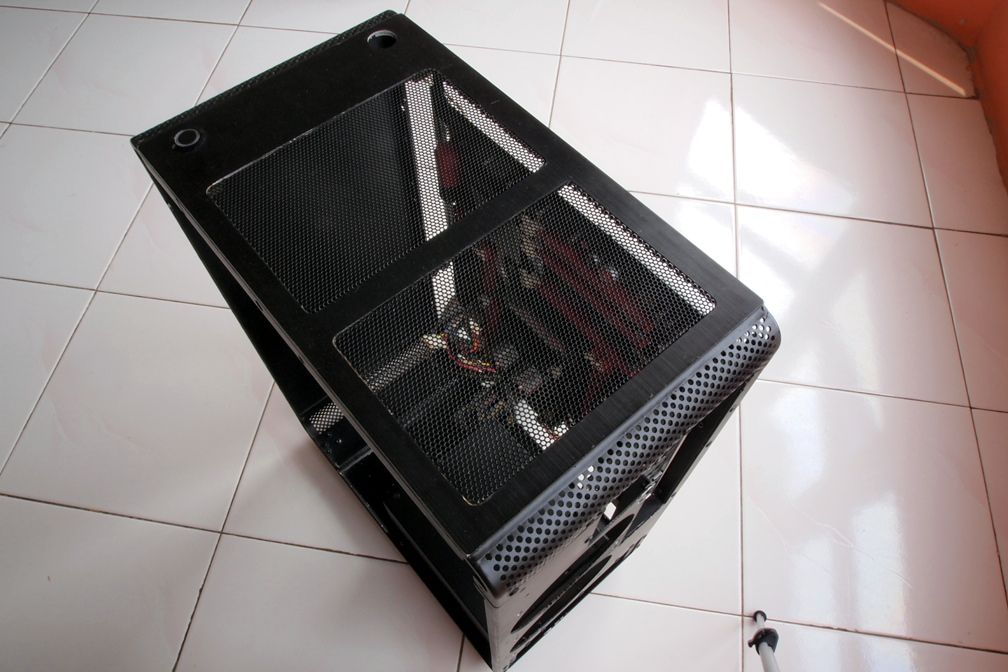
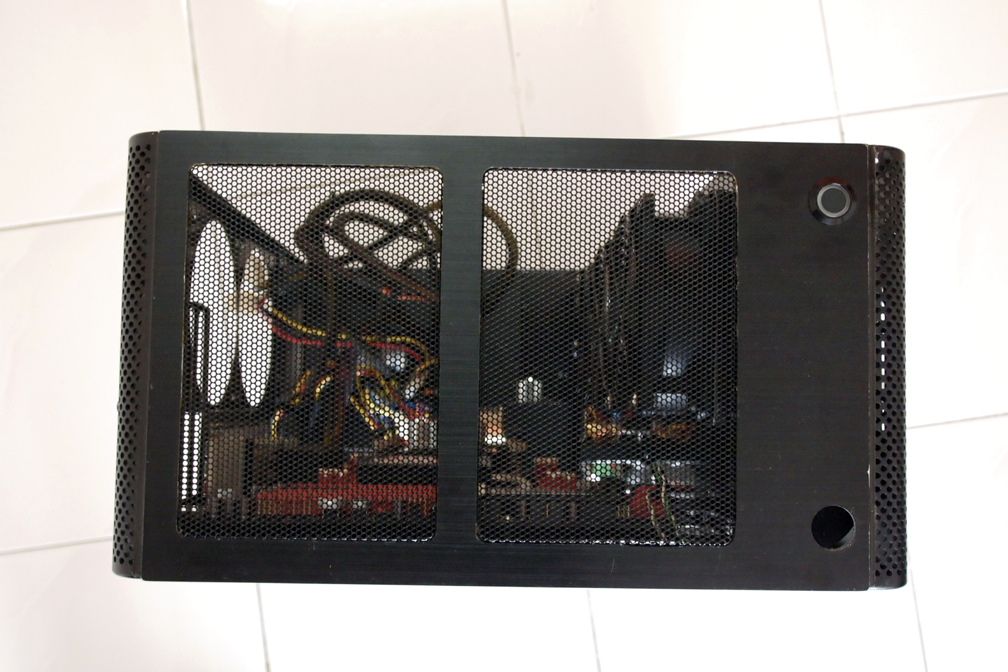
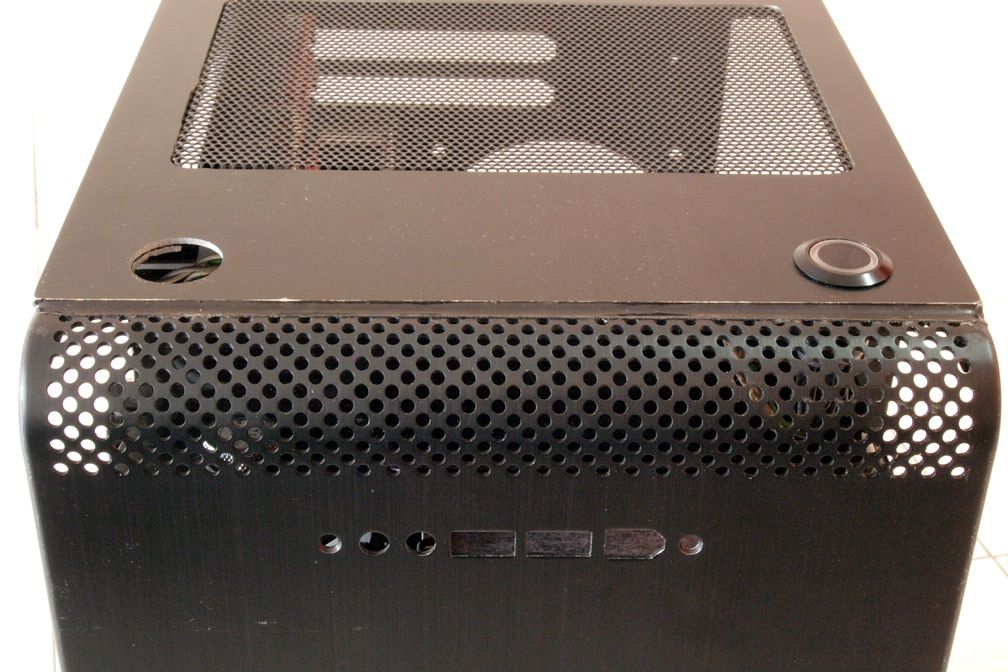
My plan is to modify an old & obsolete Lian Li PC-V600 mainly for water-cooling.
Water-cooling itself is considered overkill to me for my current PC specs plus I only use my PC to surf this forum & facebook

Just wanna have fun building a PC on my own way of customization.
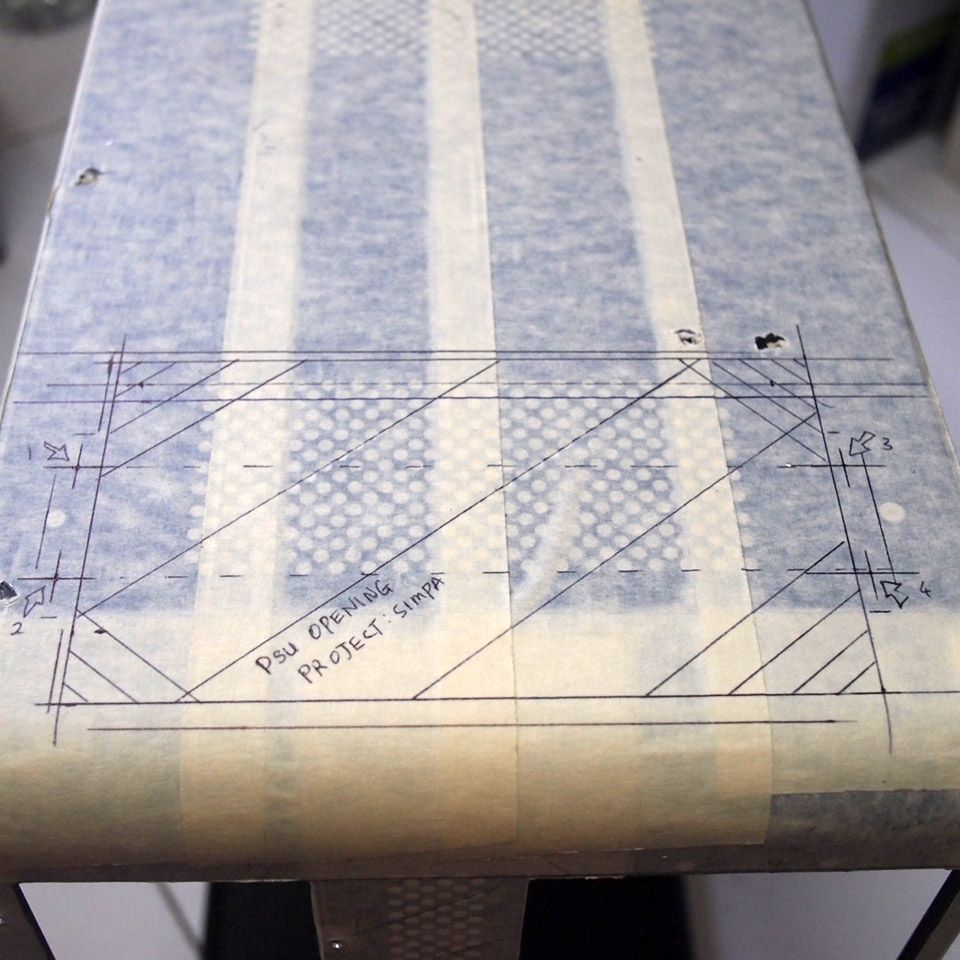
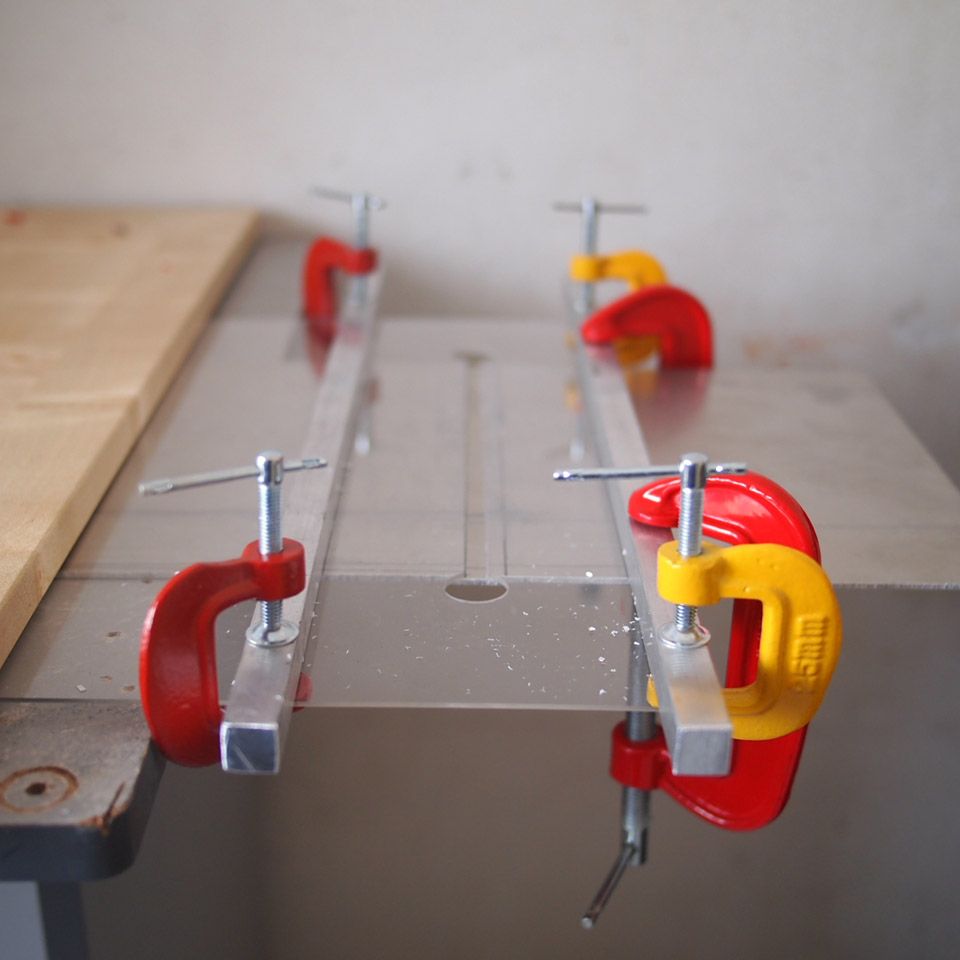
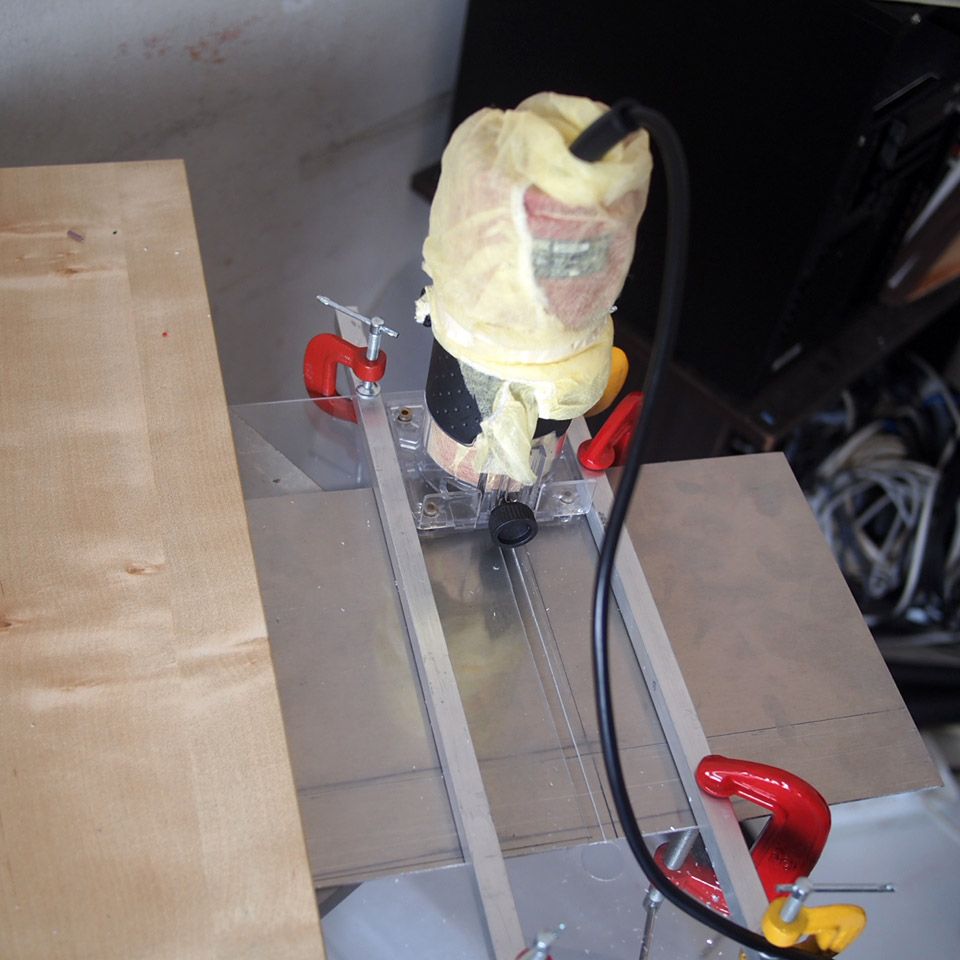
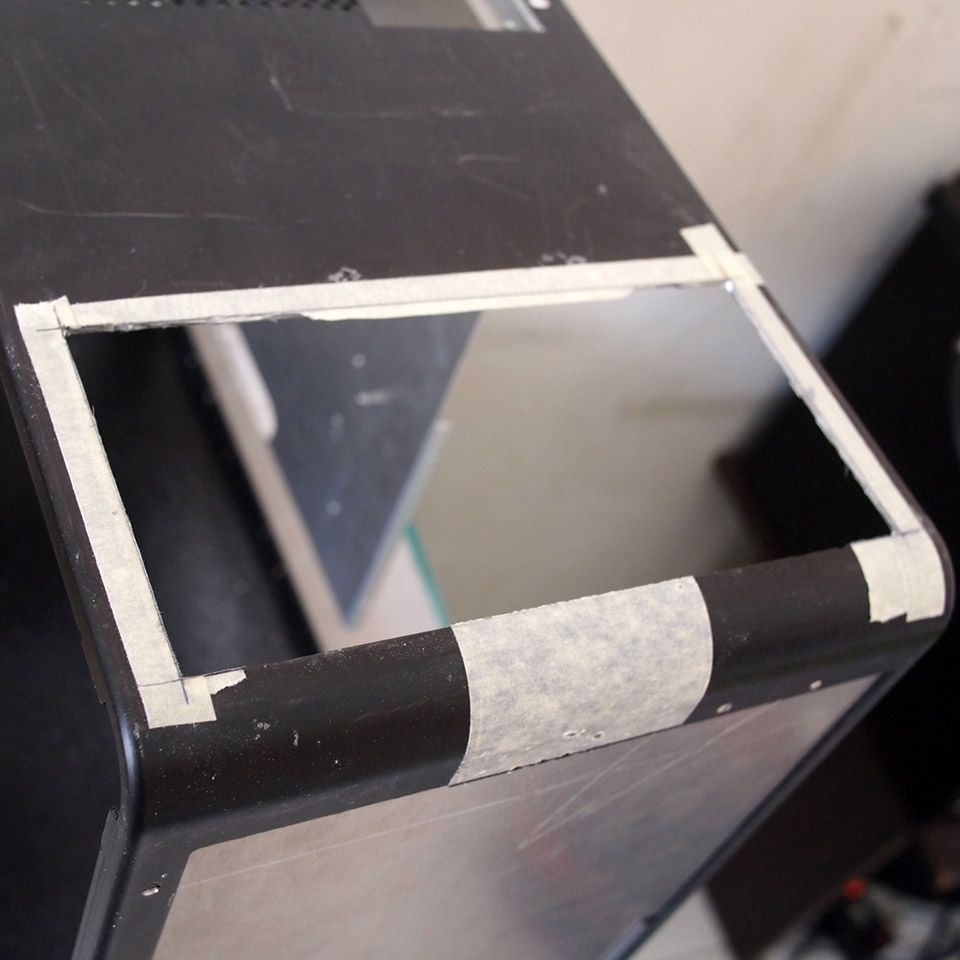
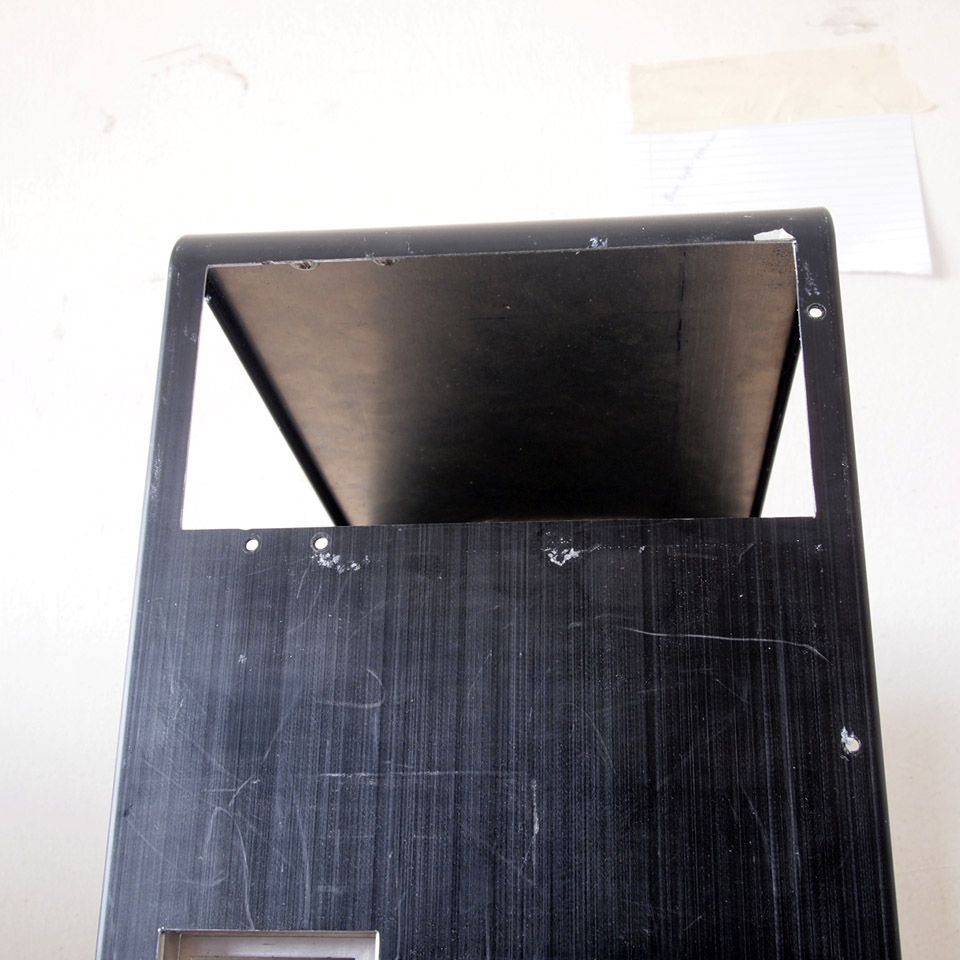
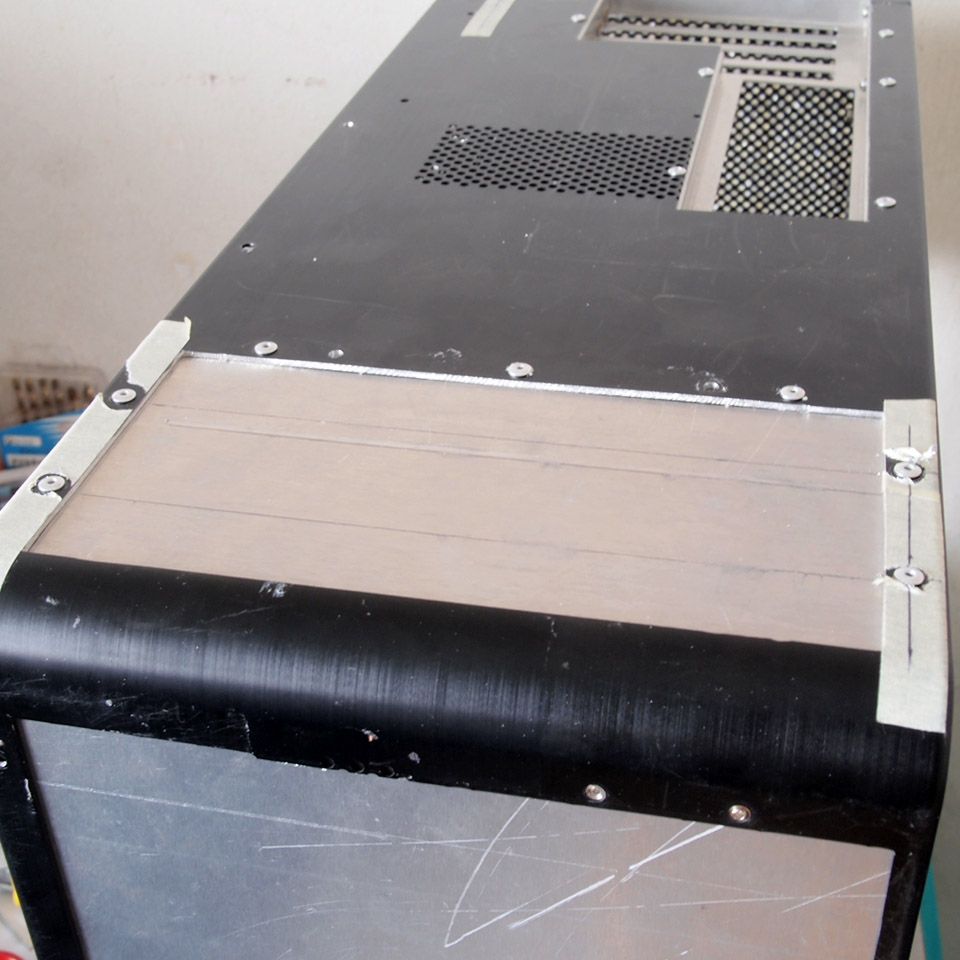
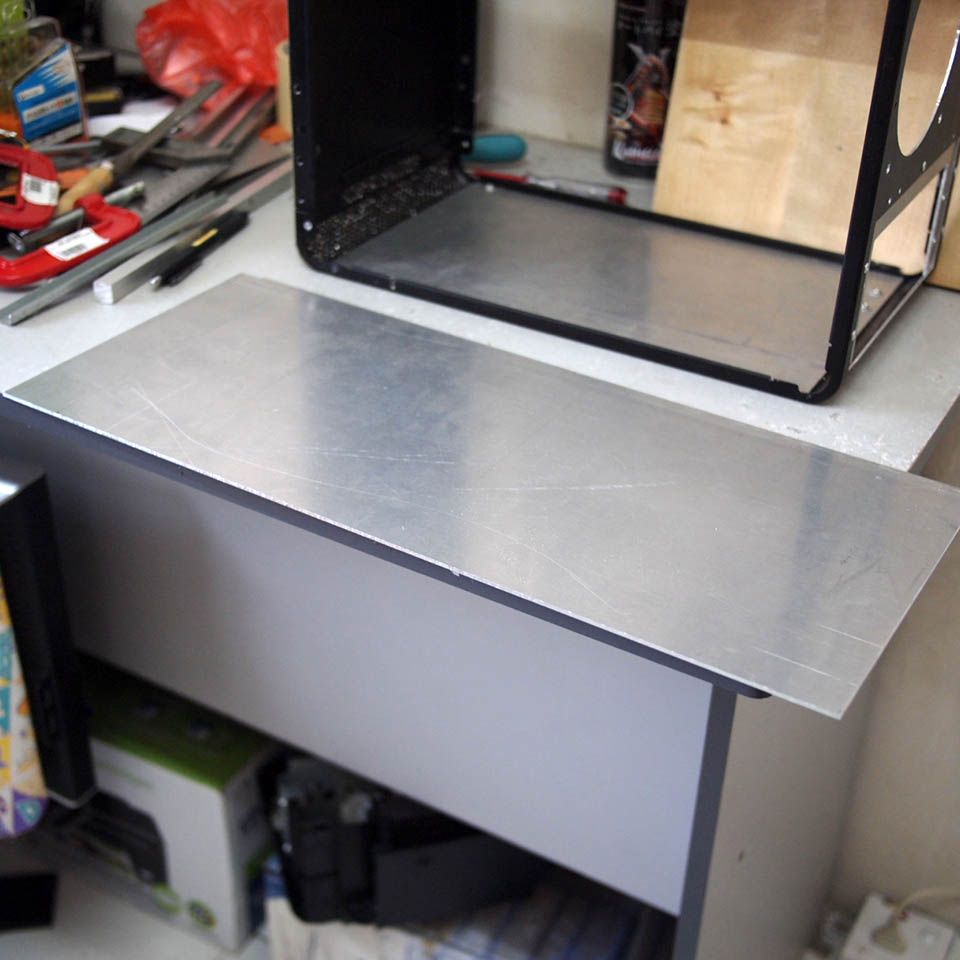
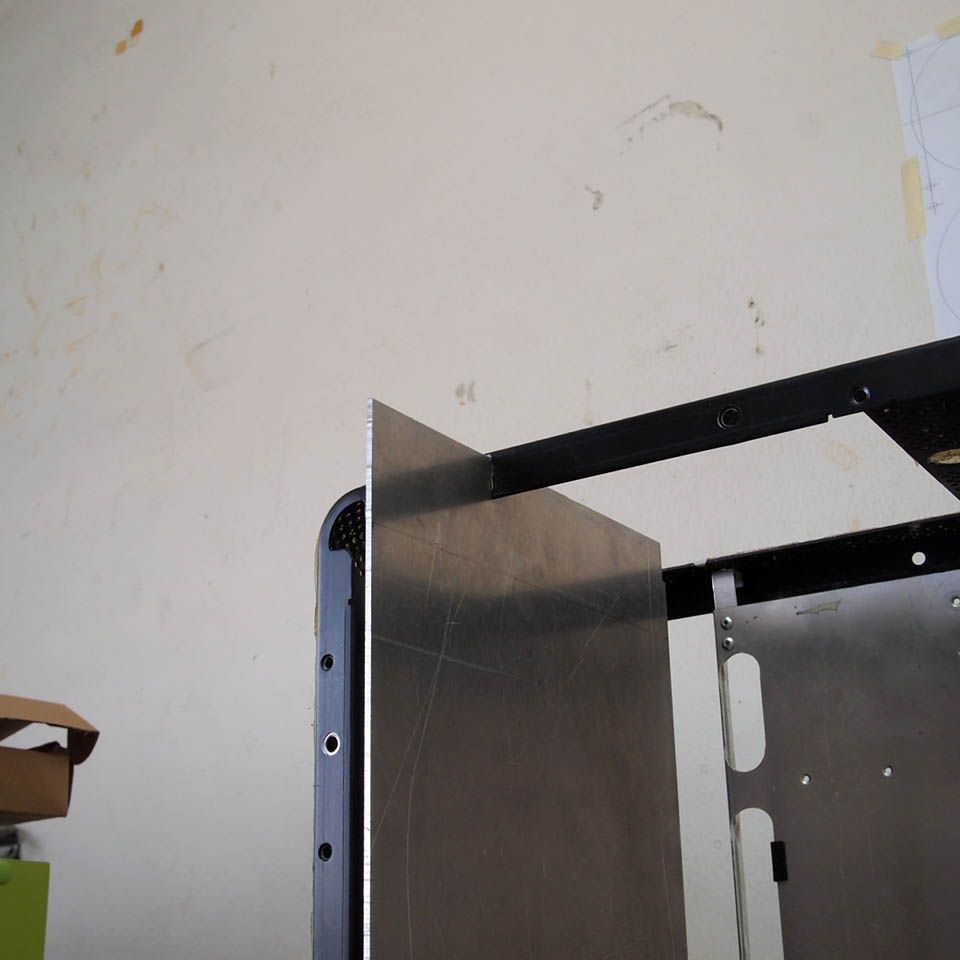
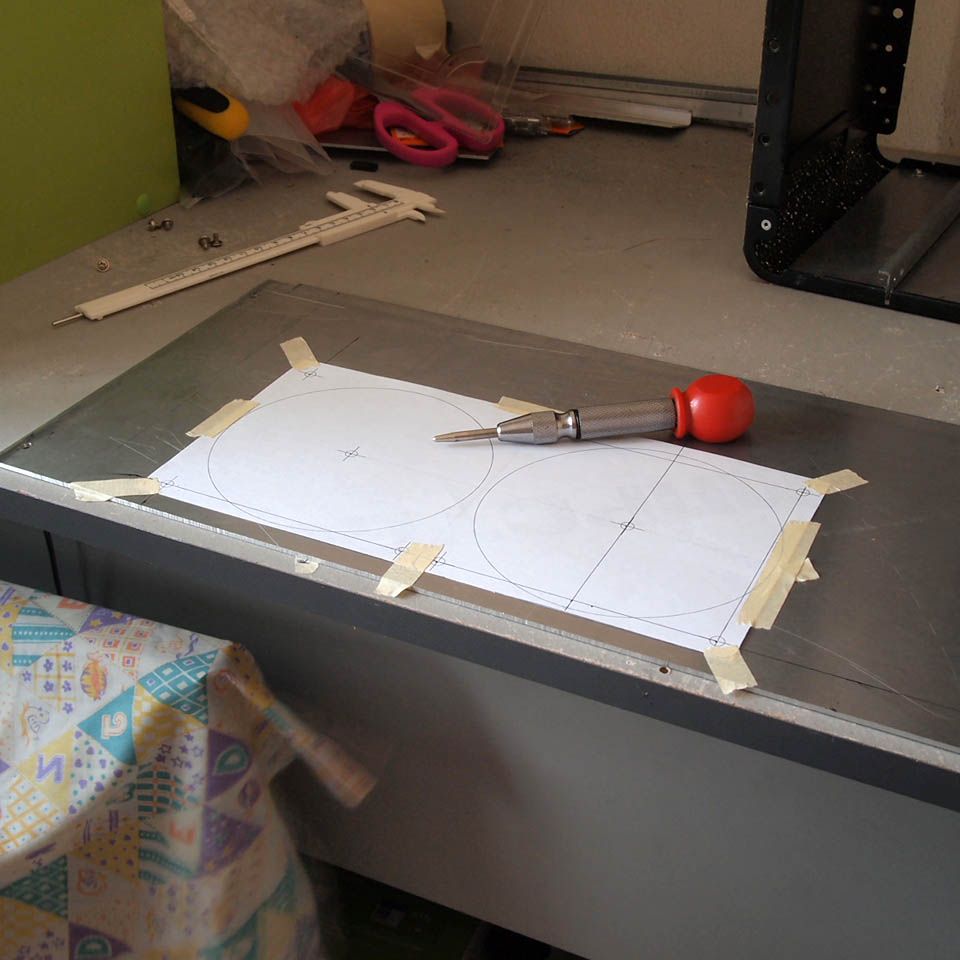
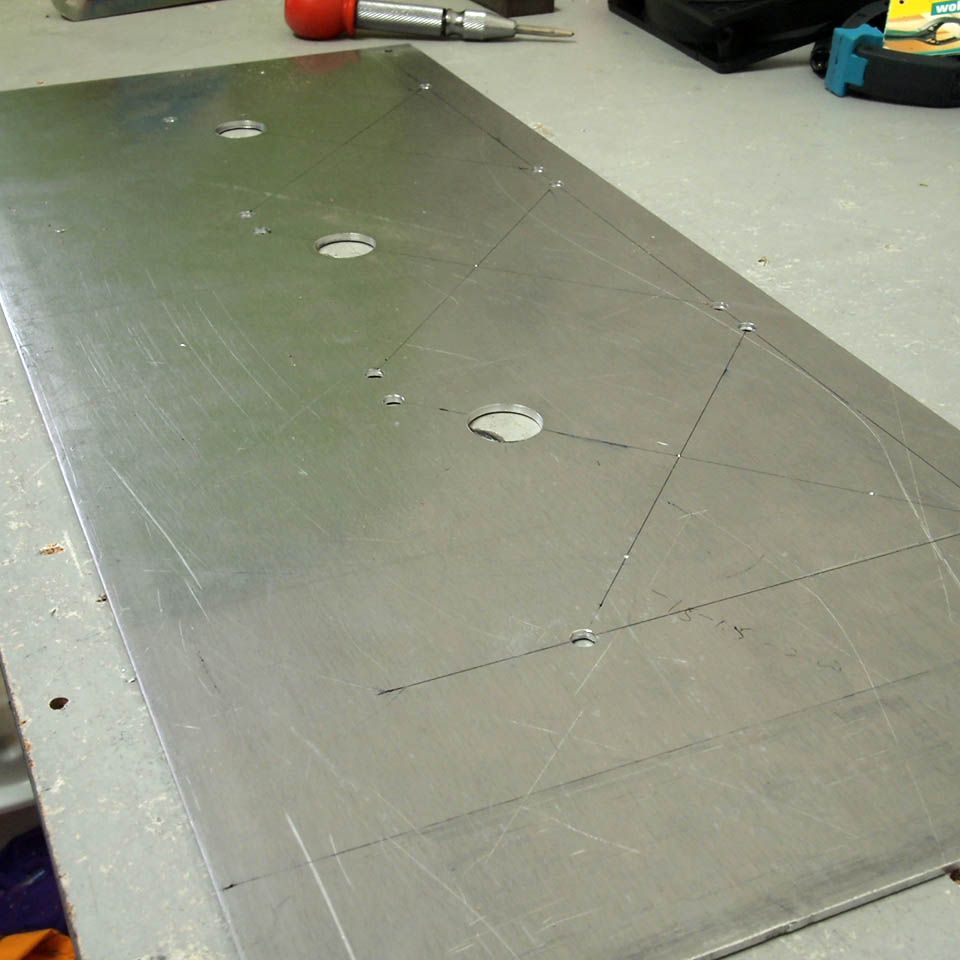
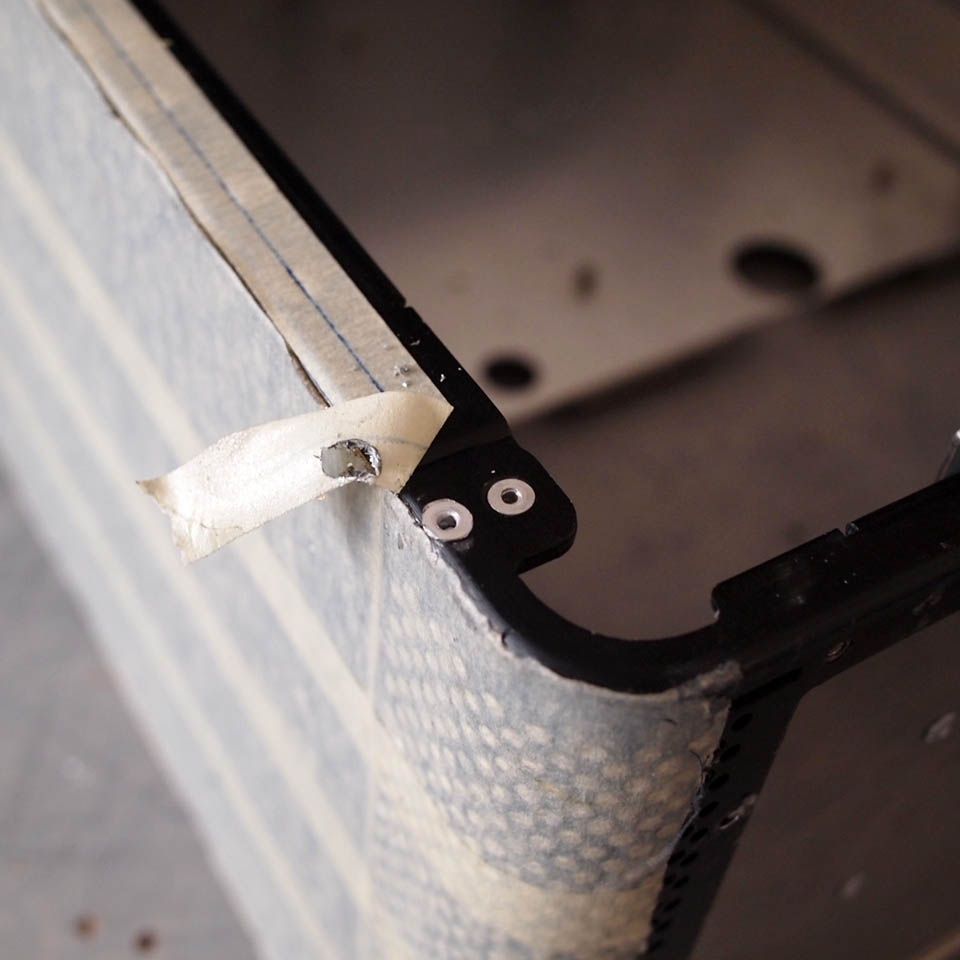
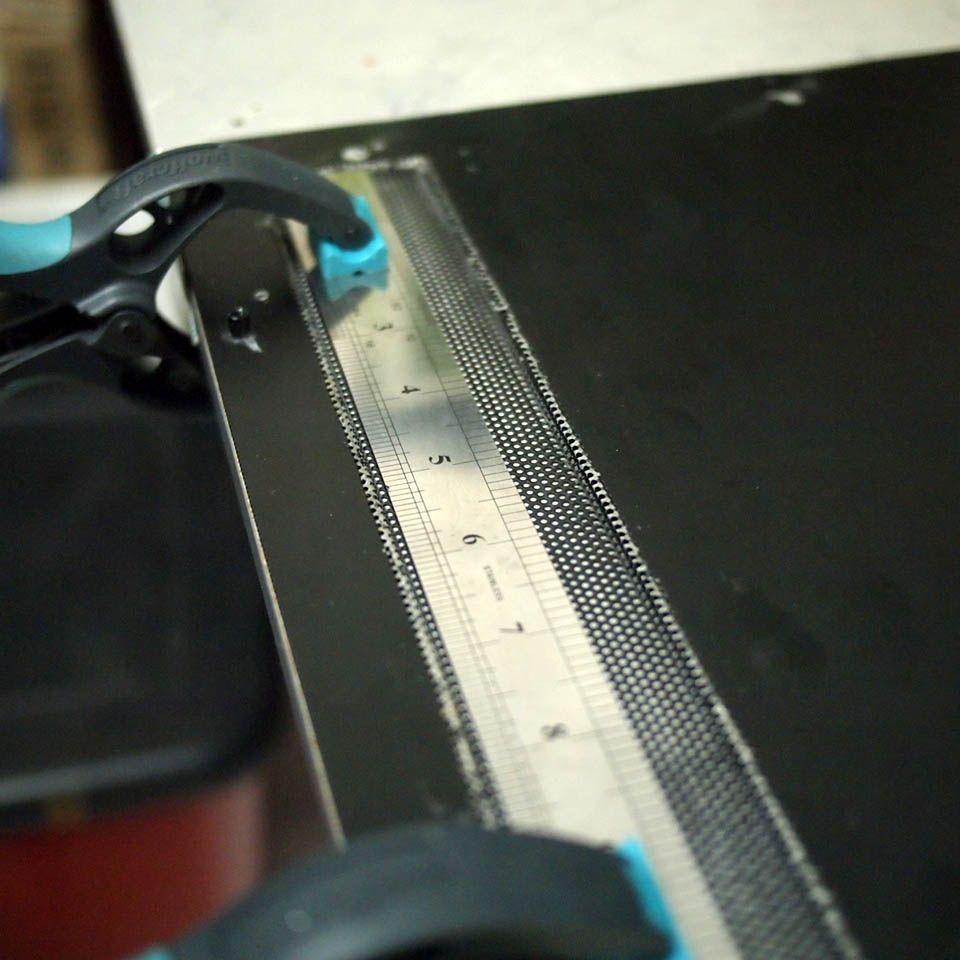
As the title suggests, 'Simpa' (simple), I'll keep this project as simple as possible, minimizing damage & error and finish-able.
Okay, let's start.
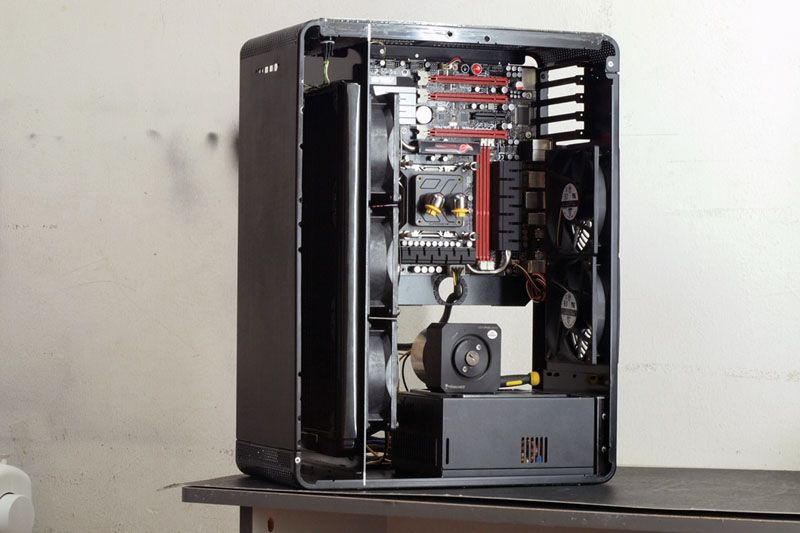
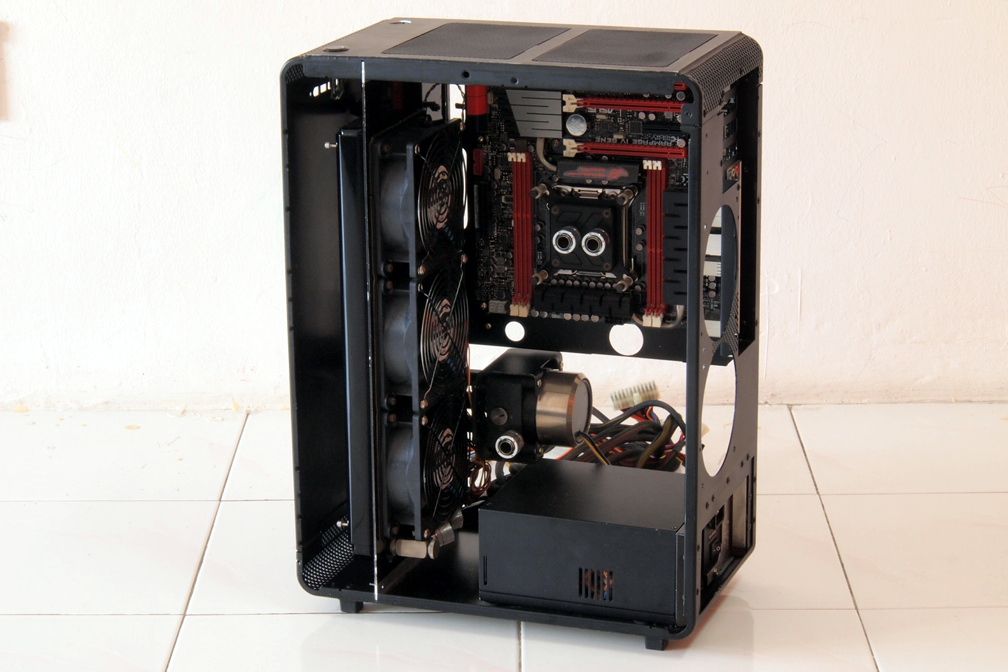
Hardware specifications:
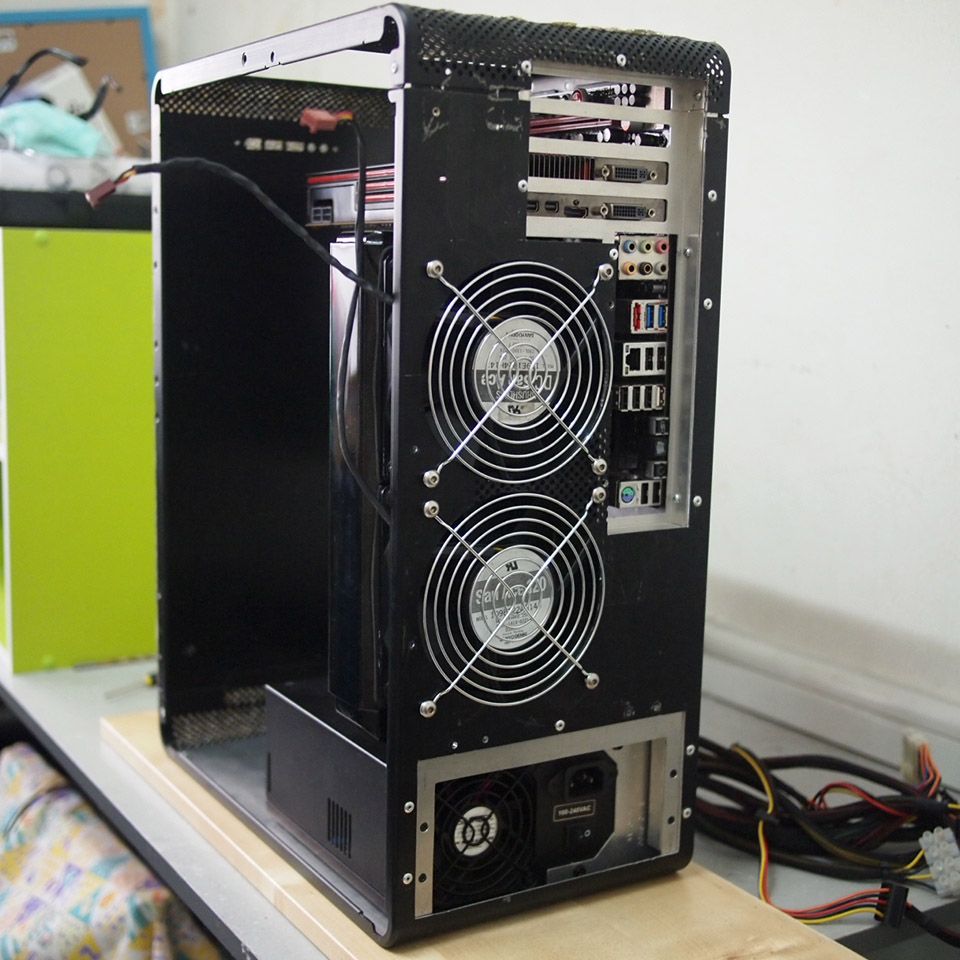
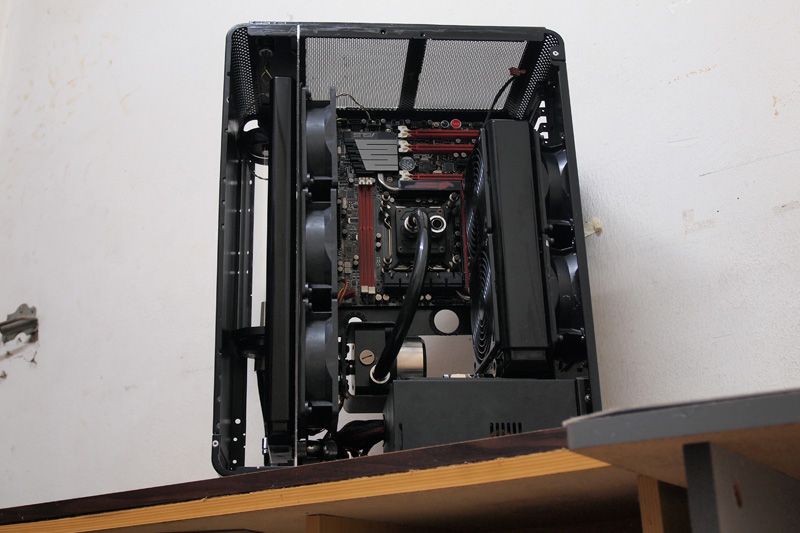
Processor: Intel Xeon E5 2660
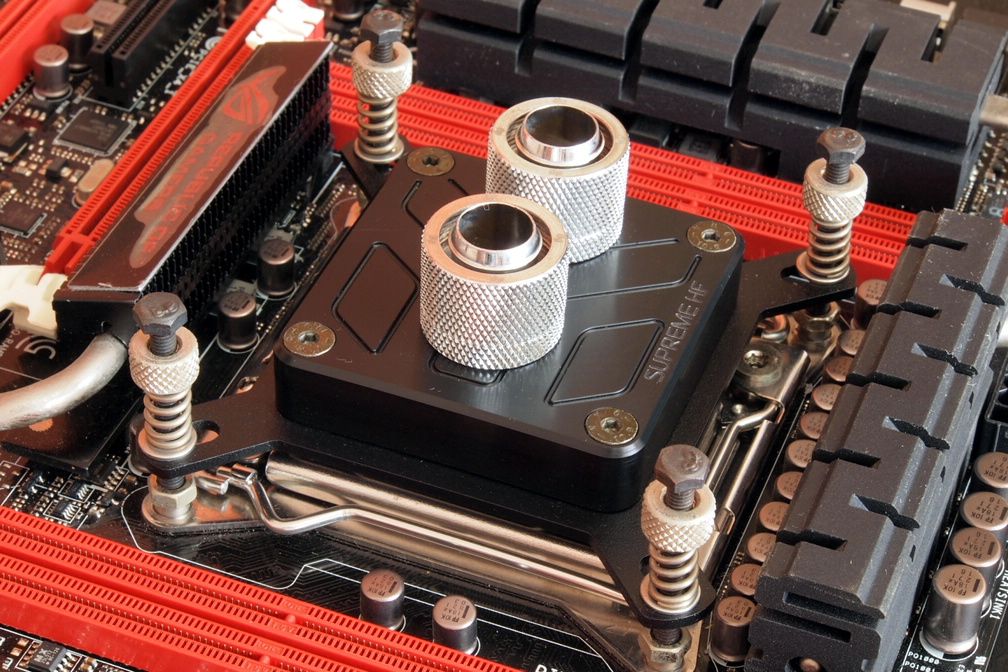
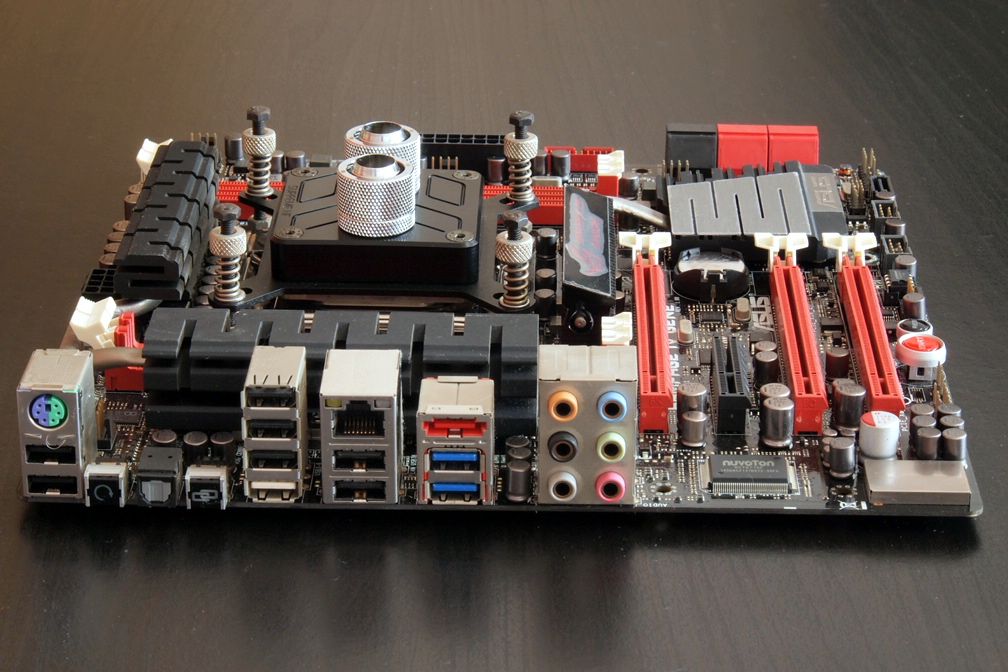
Motherboard: Asus Rampage IV Gene
RAM: Corsair Value Select 4 GB (temporarily doing dual channel on the Asus board)
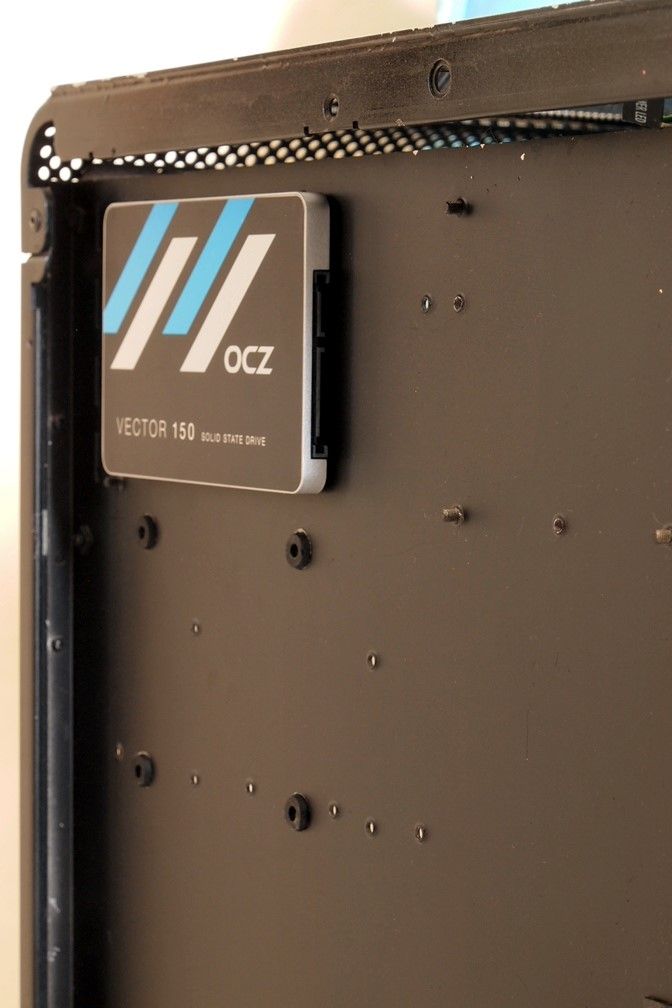
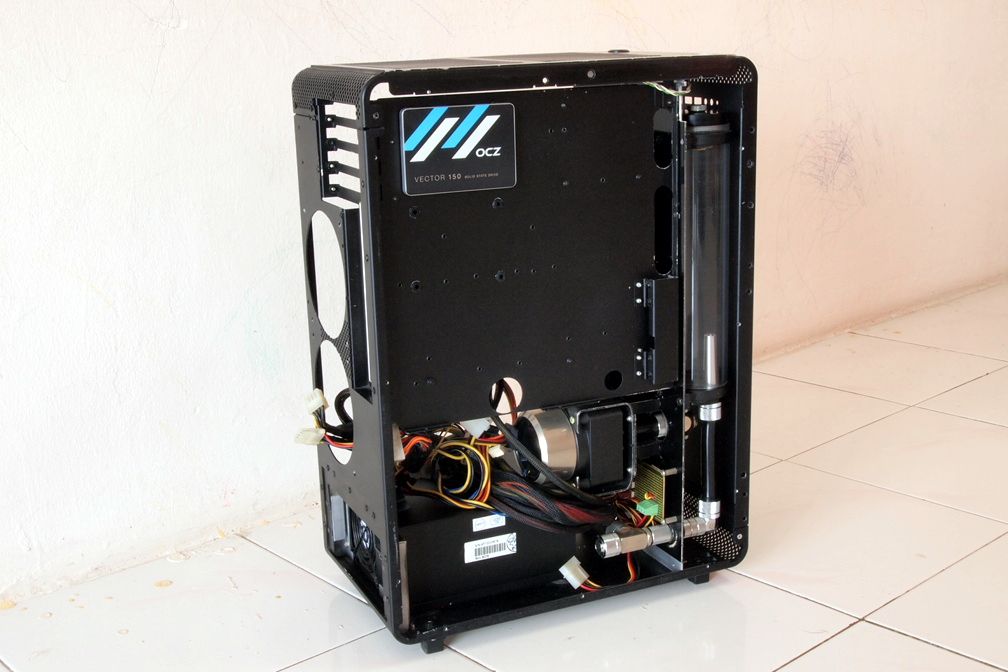
SSD: Intel X25-M 160GB G2
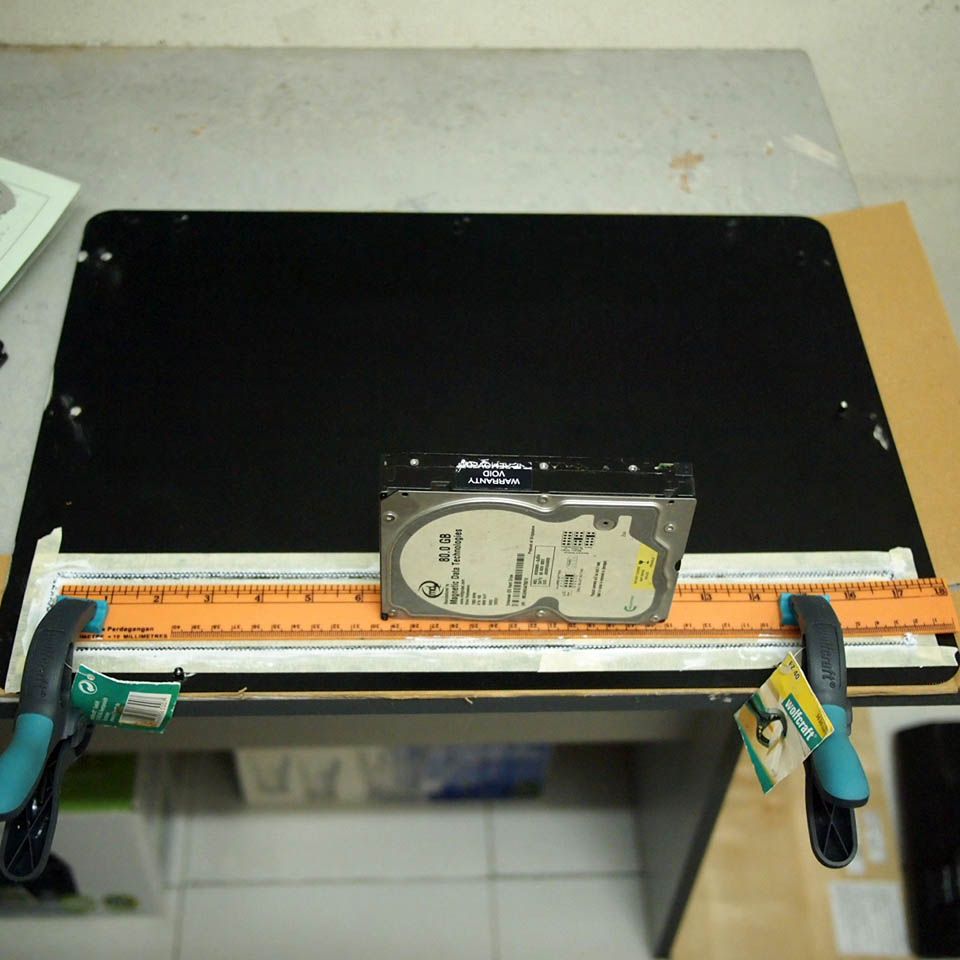
Hard drive: Hitachi Ultrastar 1 TB
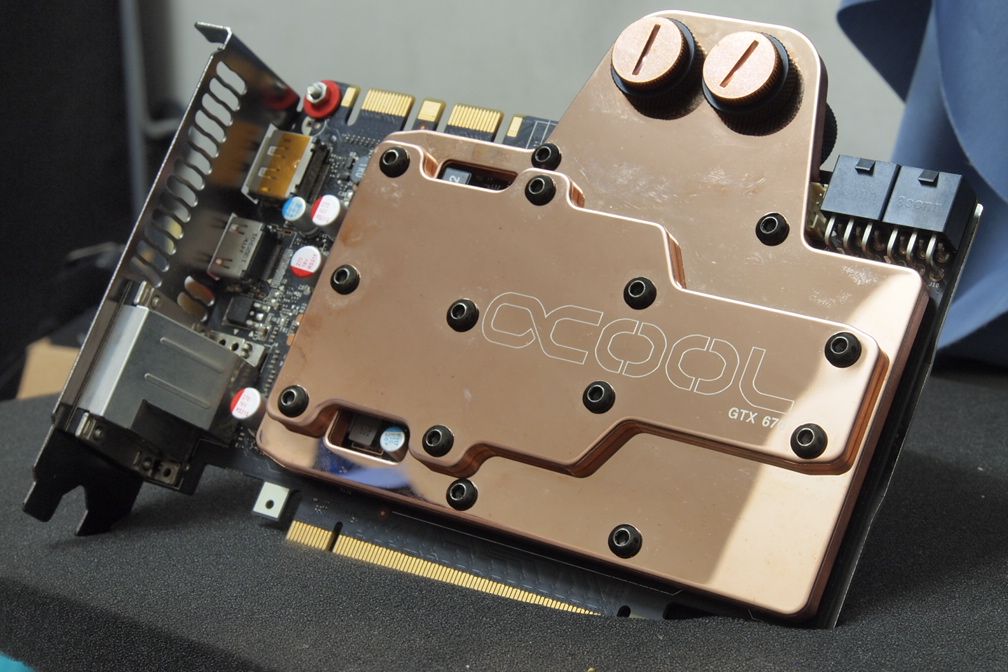
Video card: Sapphire HD6870 > changing to other card, still deciding
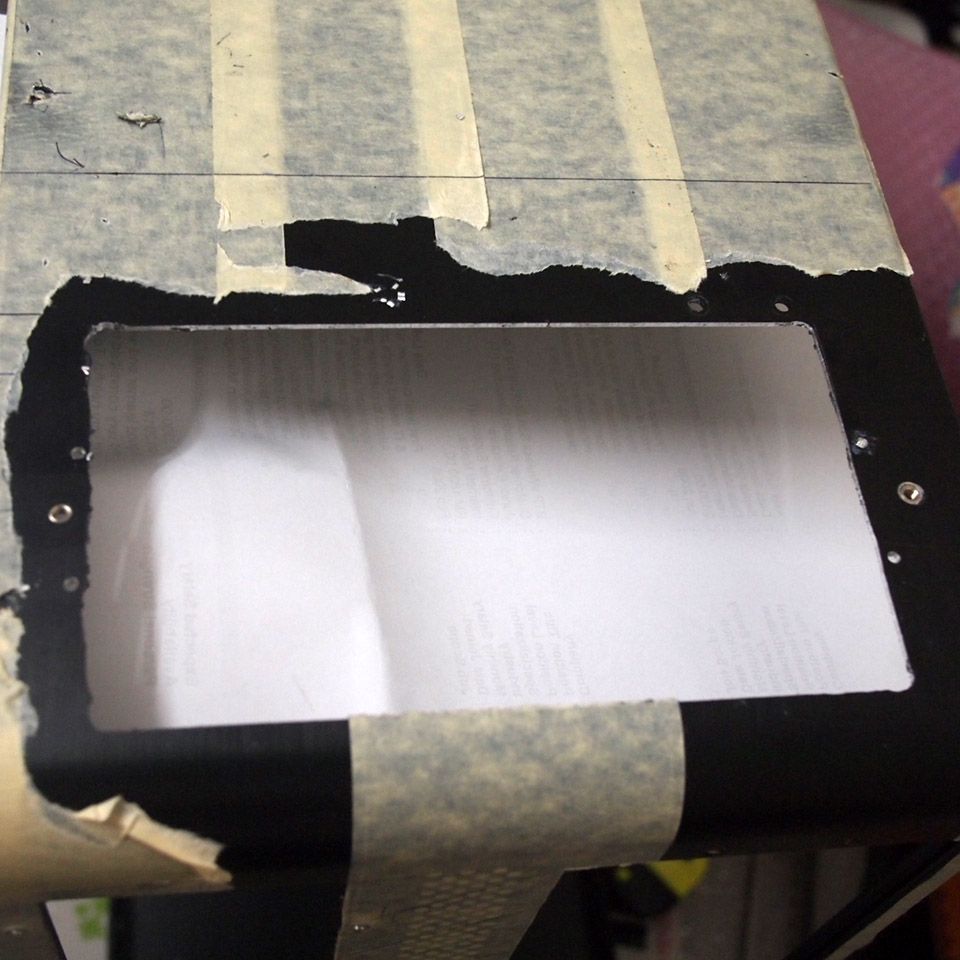
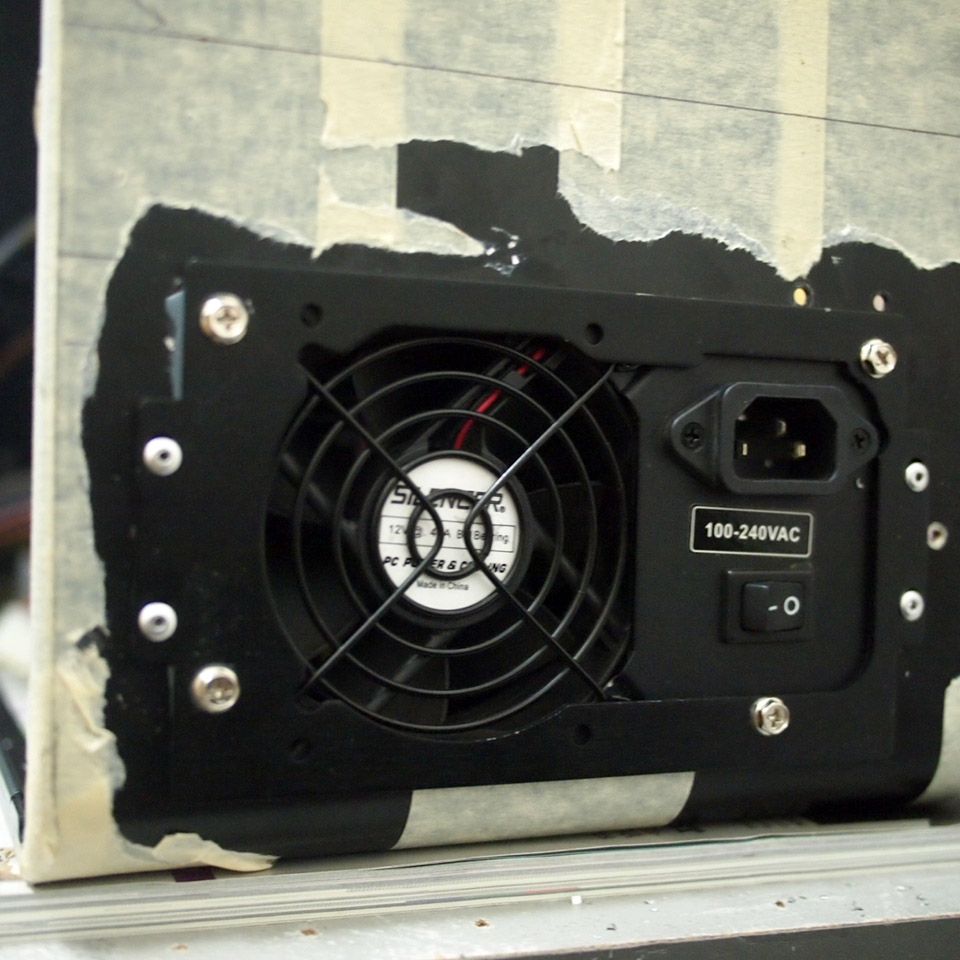
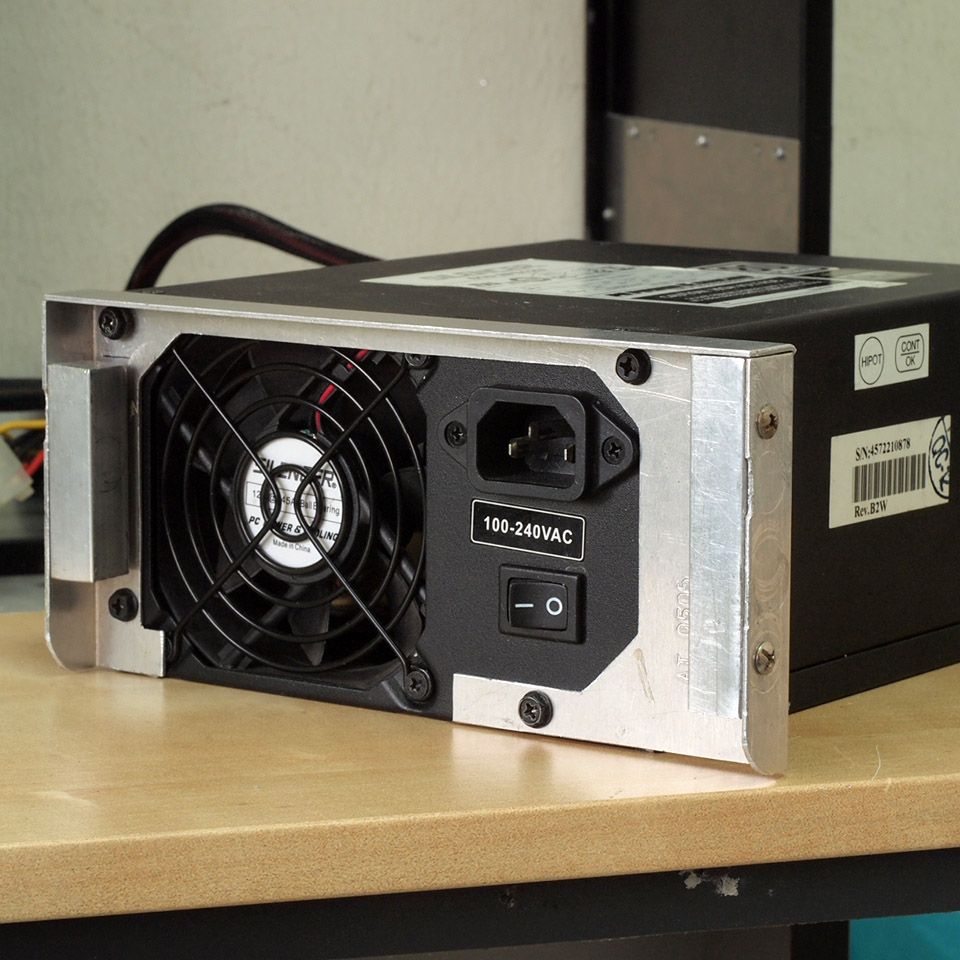
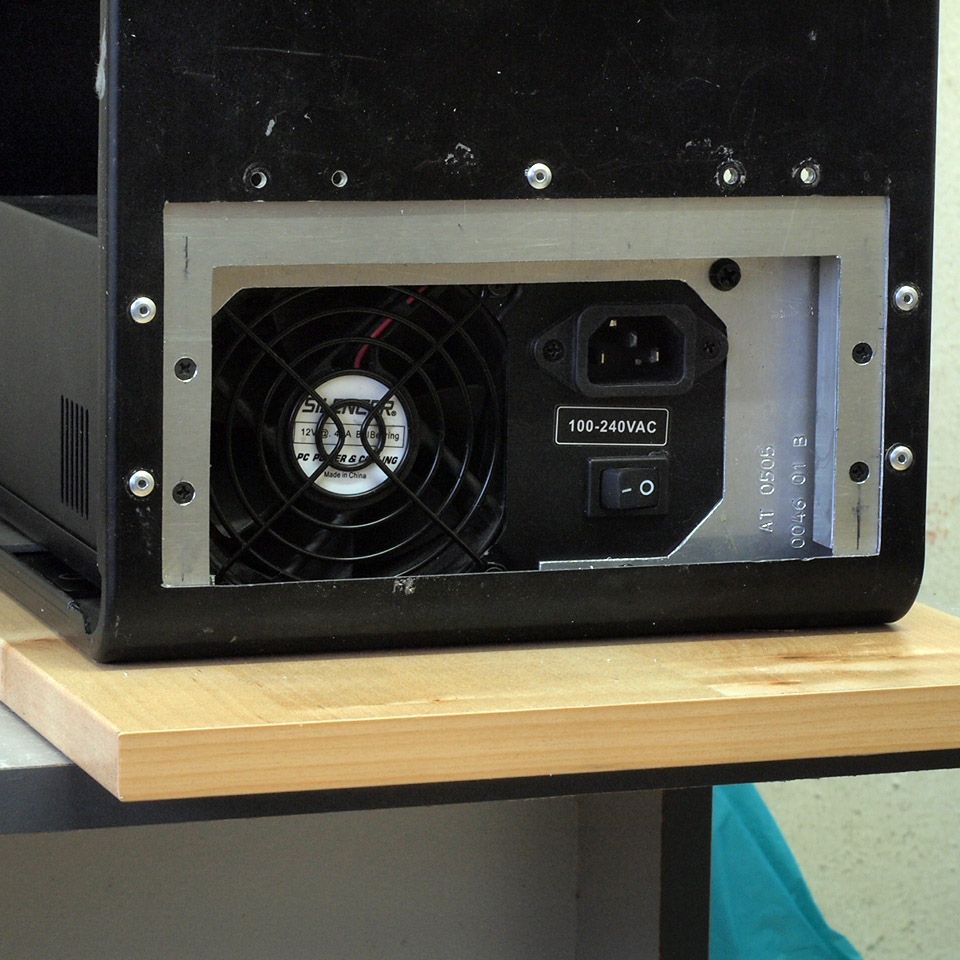
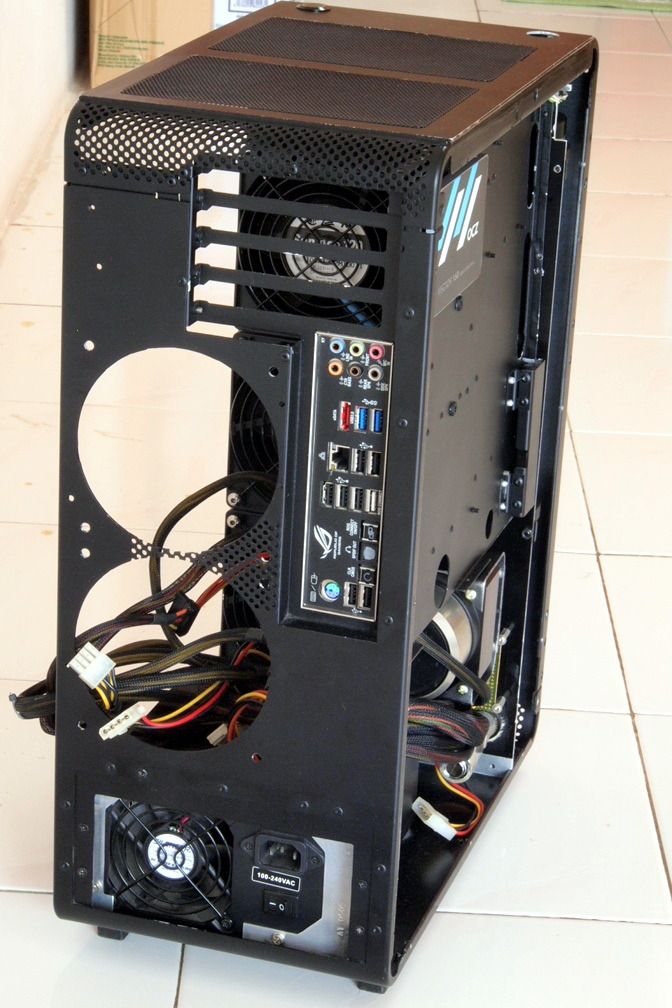
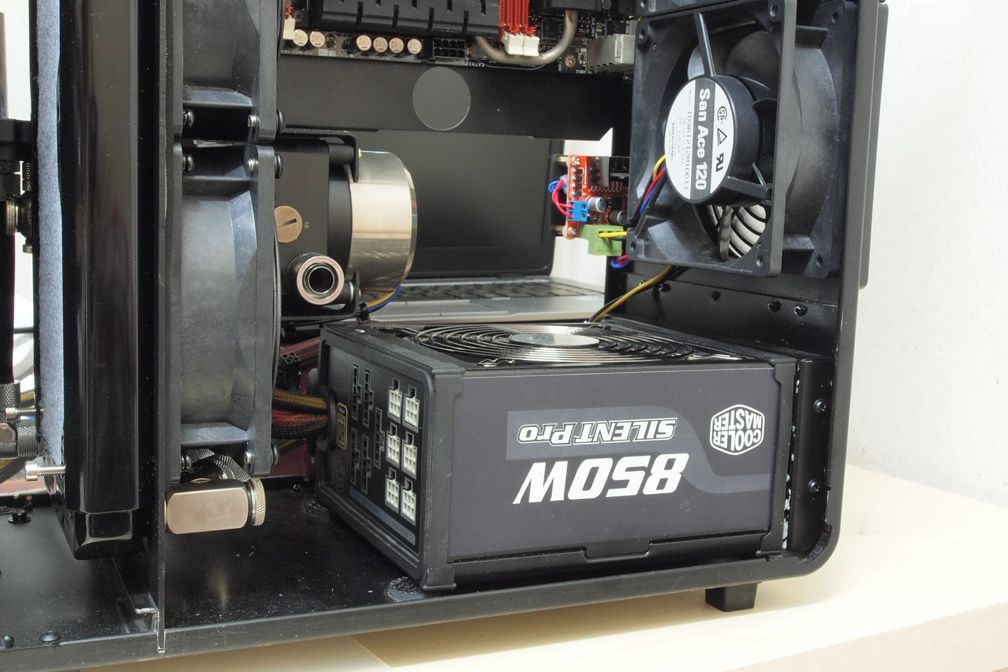
PSU: PC Power & Cooling Silencer 610W
ODD: No plan so far
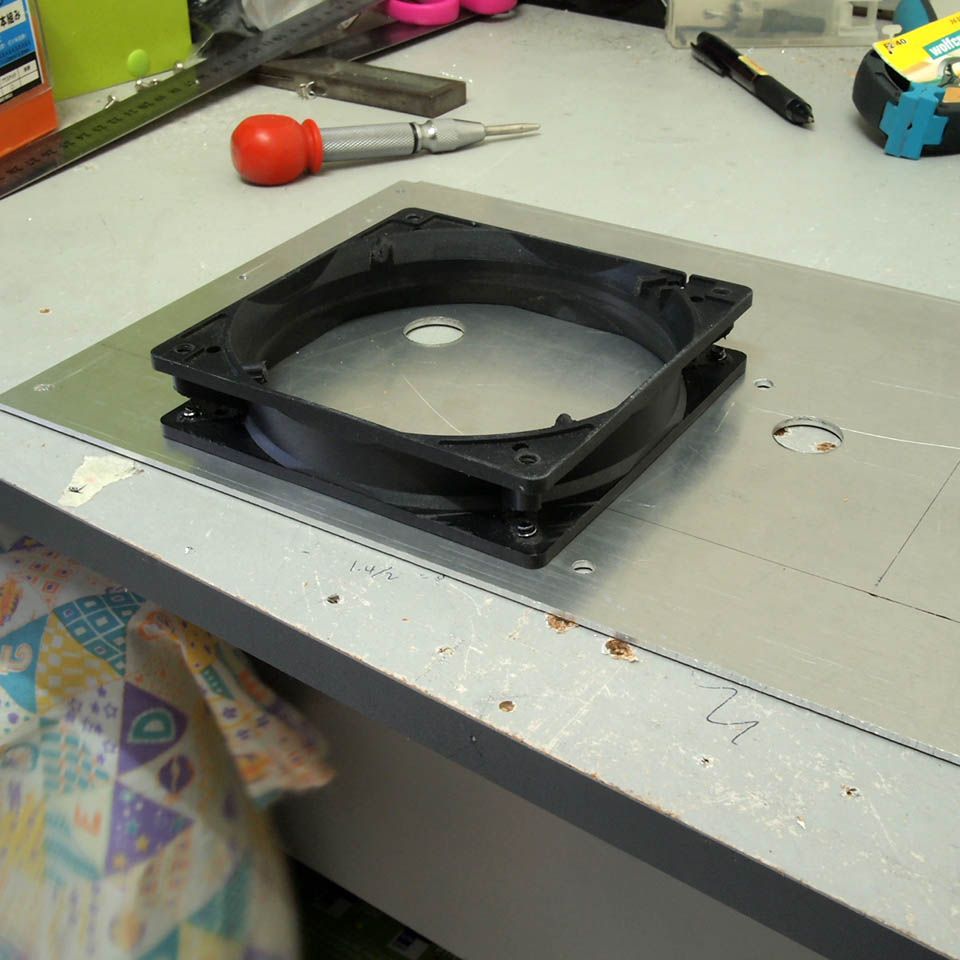
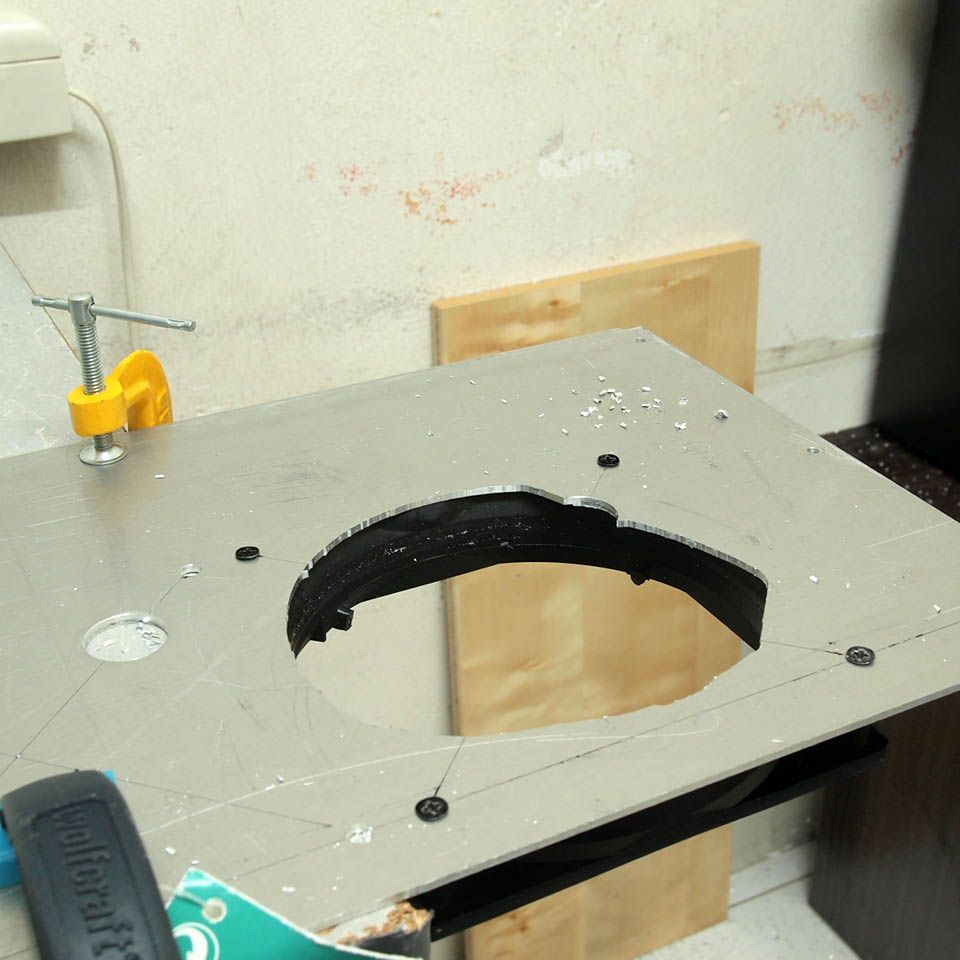
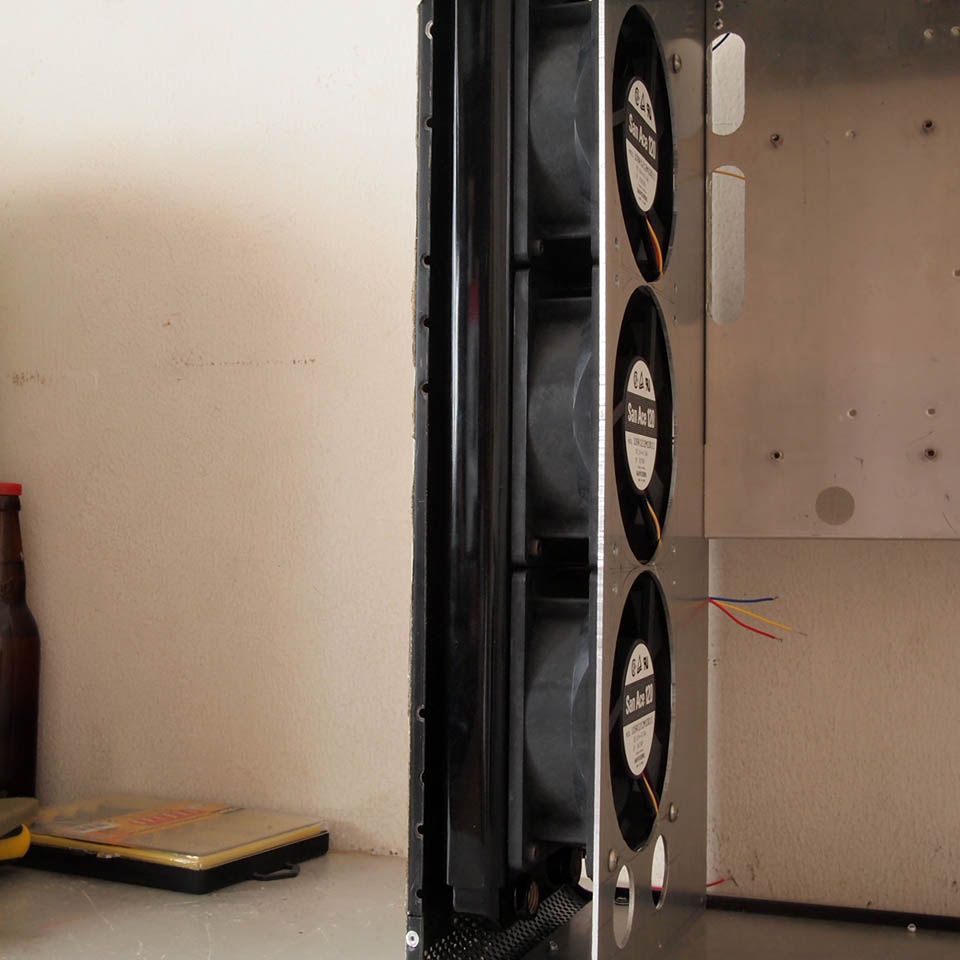
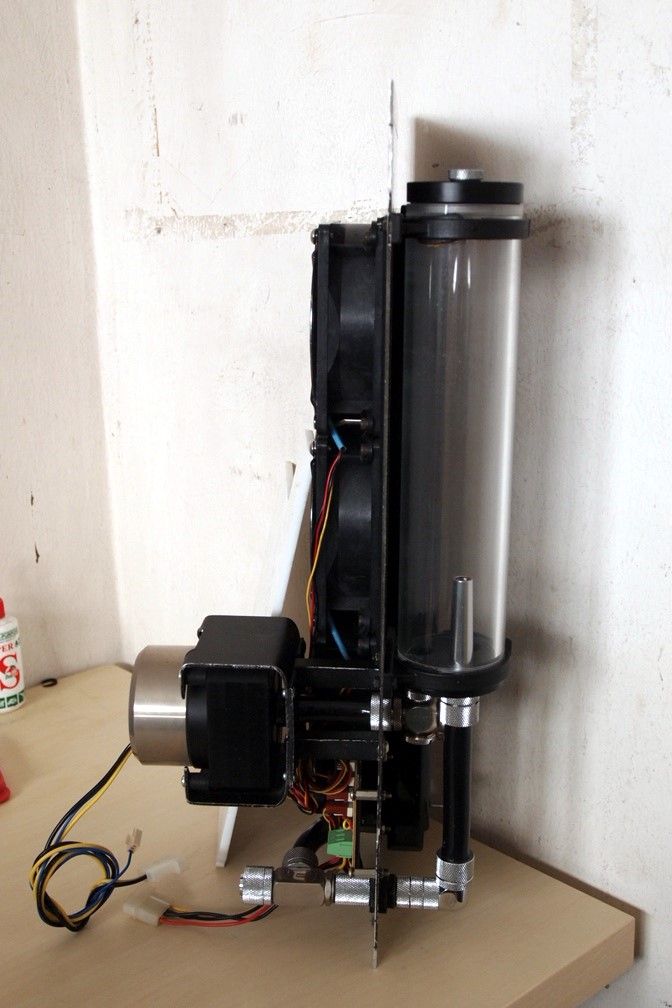
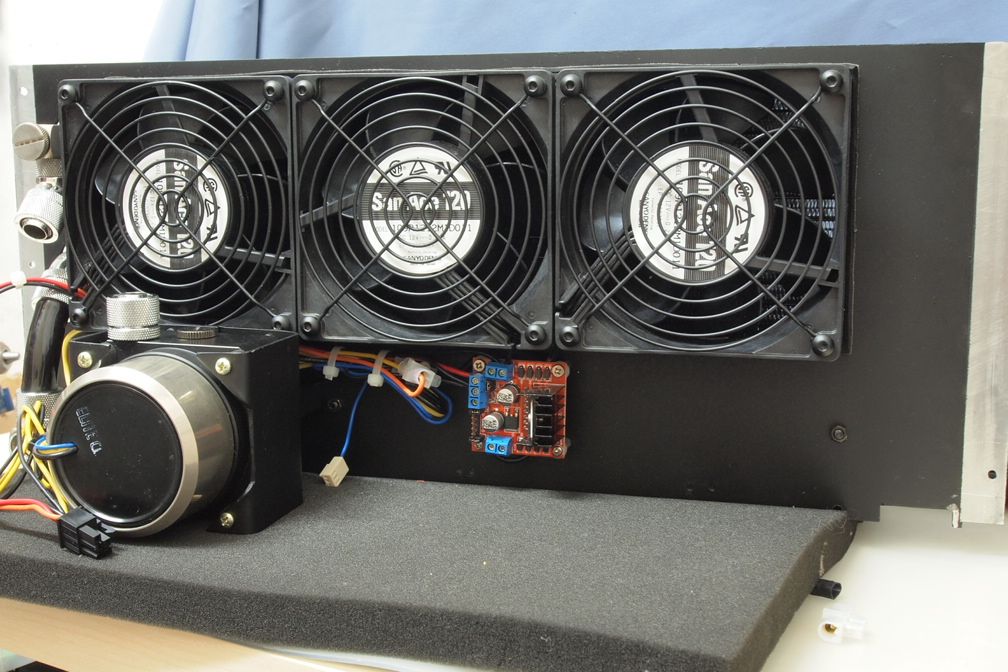
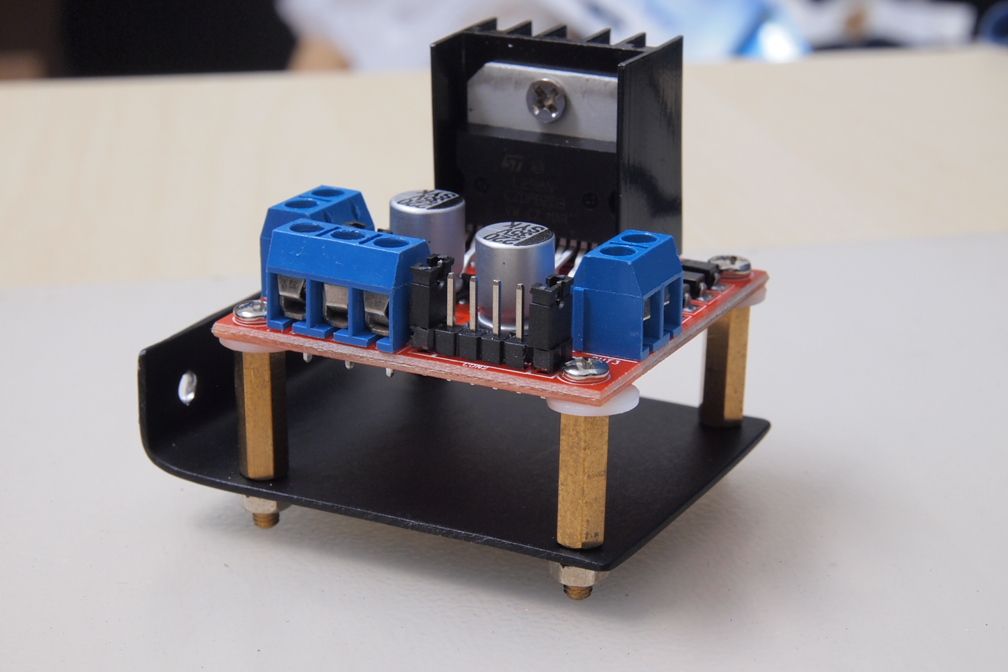
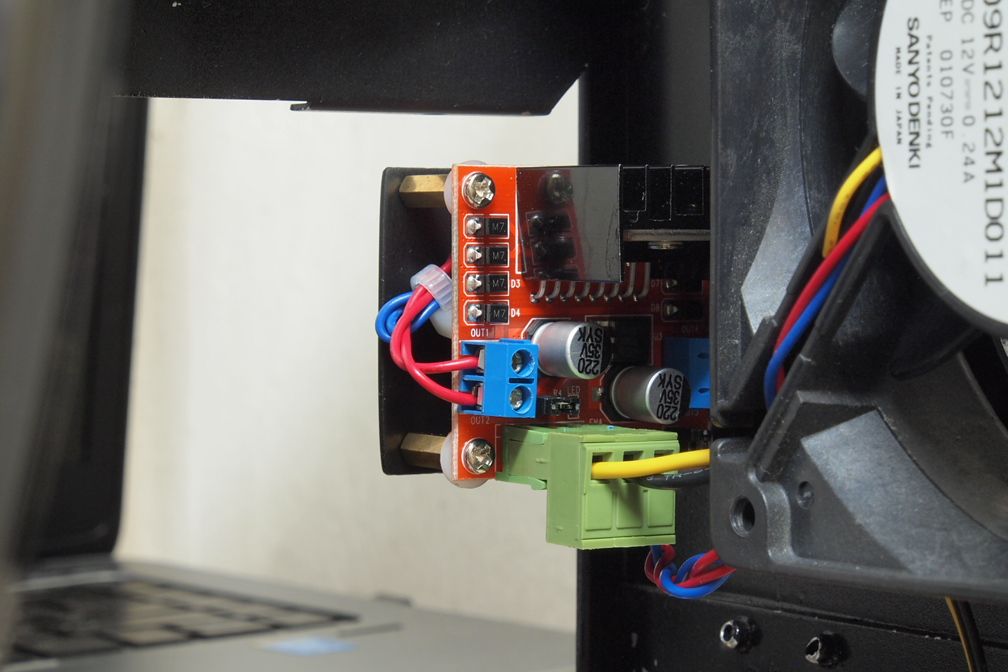
Cooling Components:
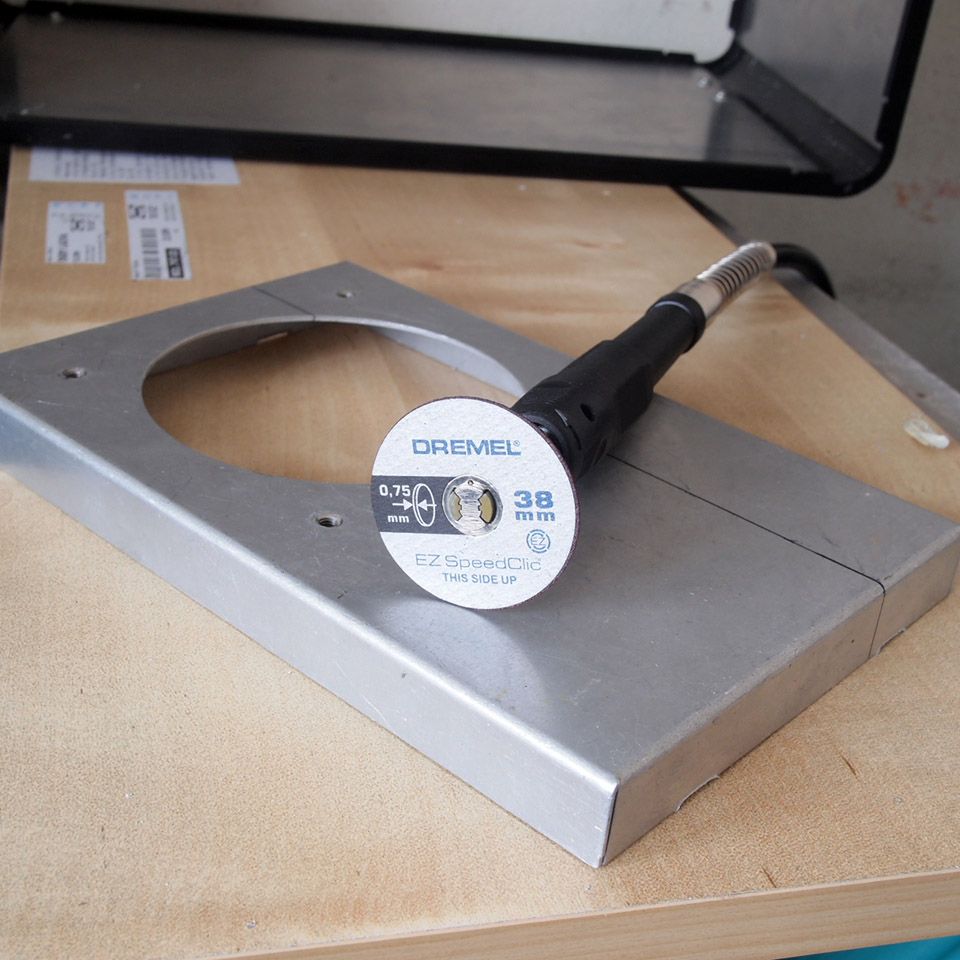
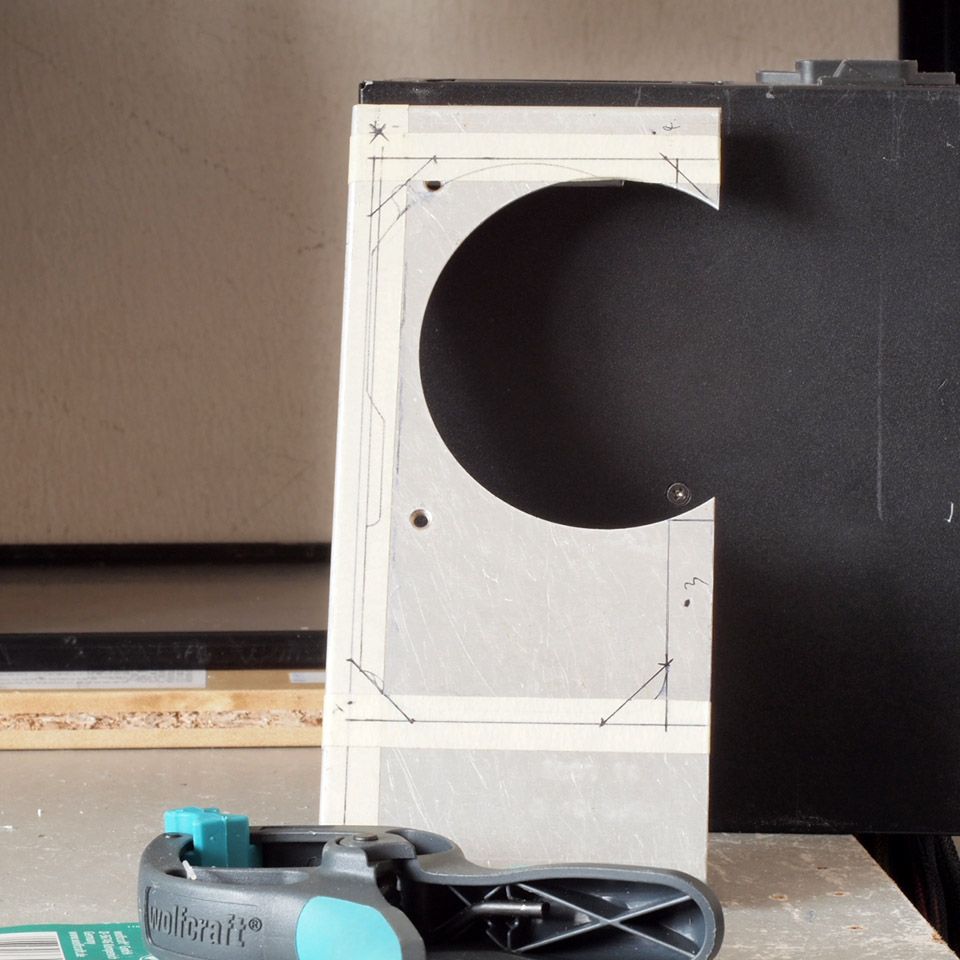
CPU waterblock: XSPC Rasa waterblock > changed to EK Supreme HF Nickel-Acetal
GPU waterblock: None so far
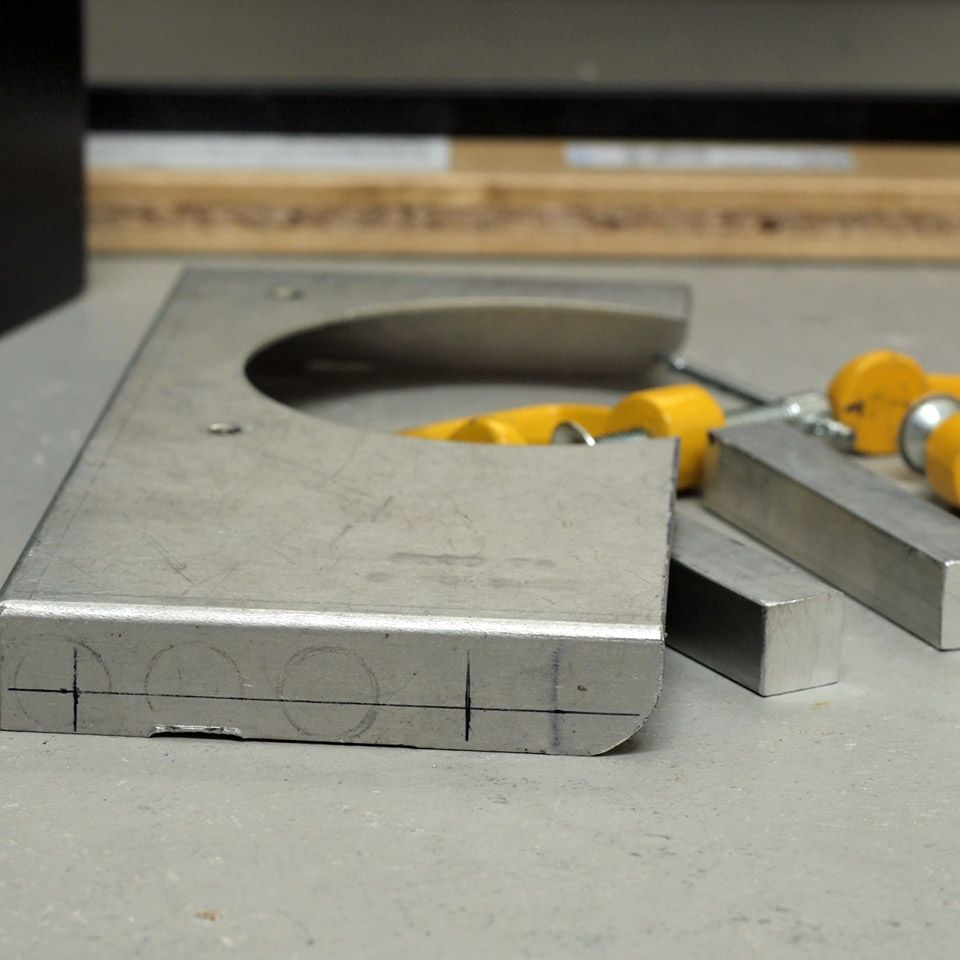
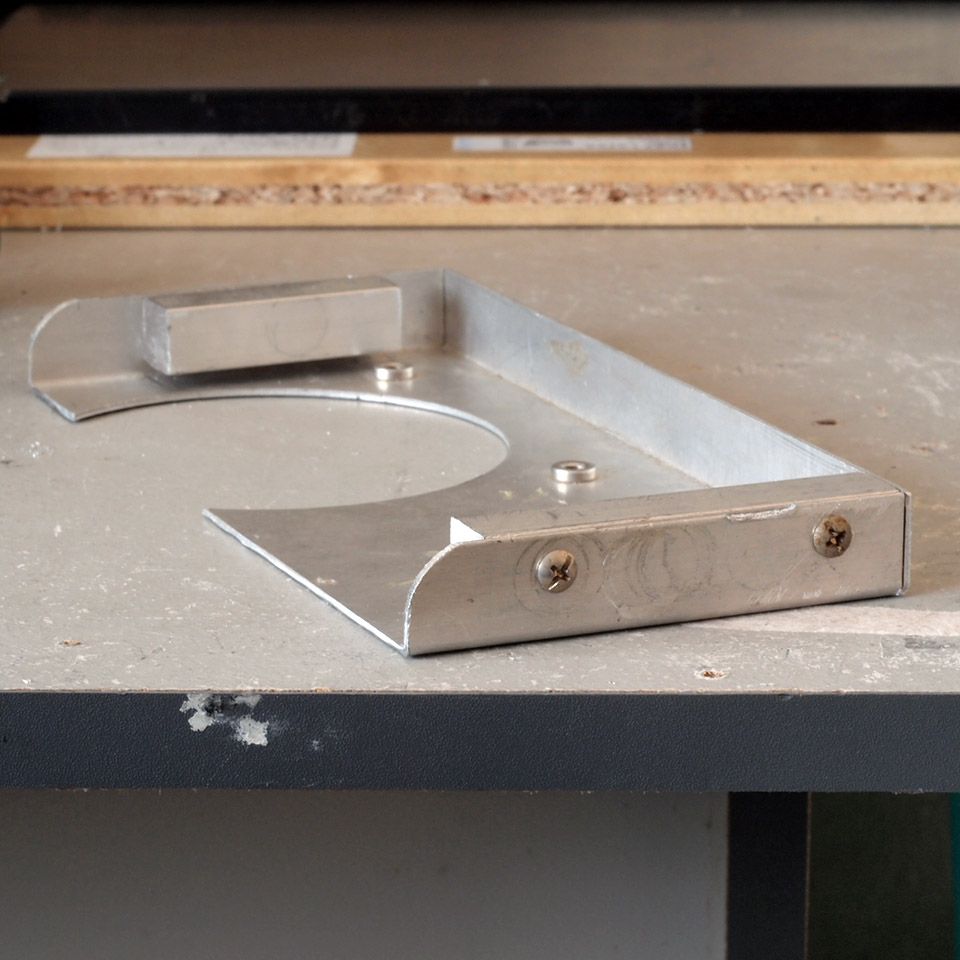
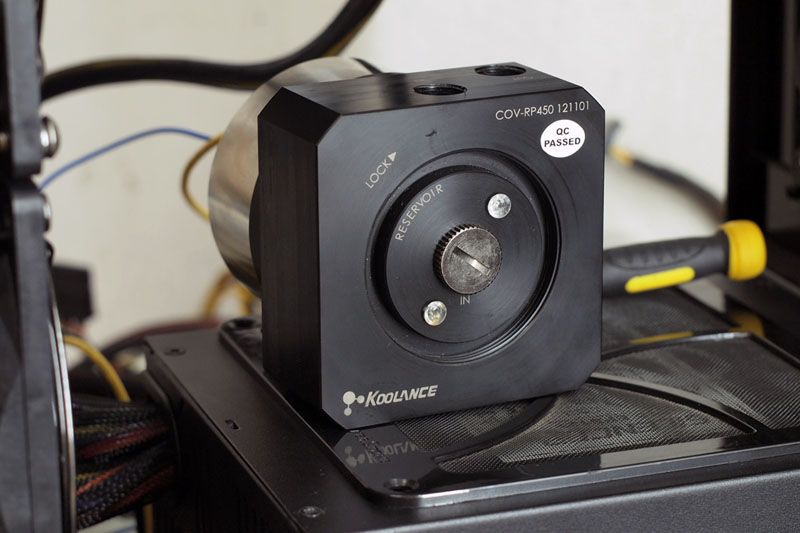
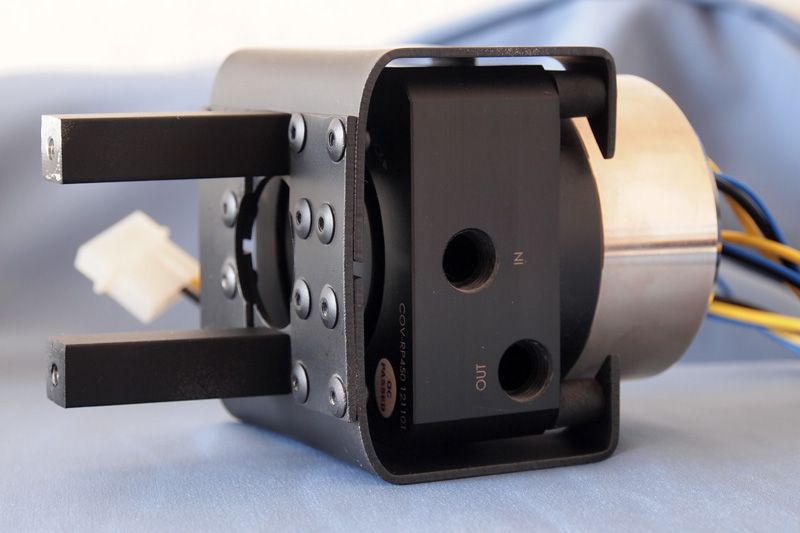
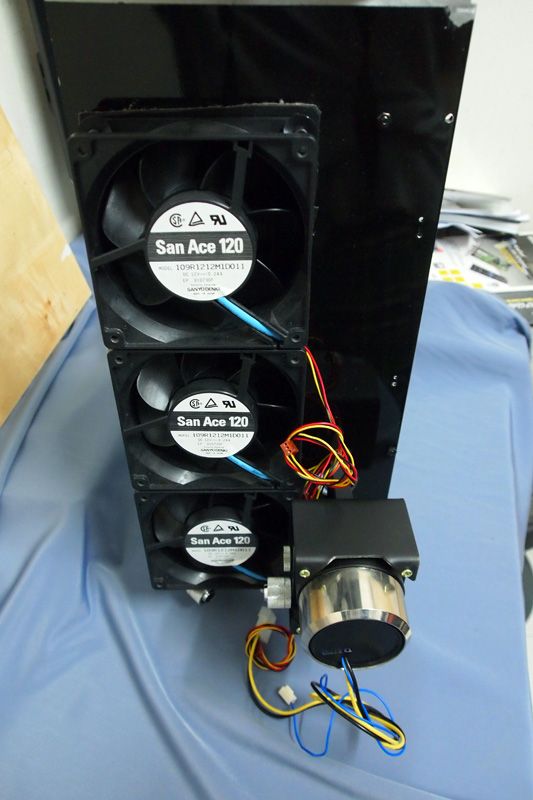
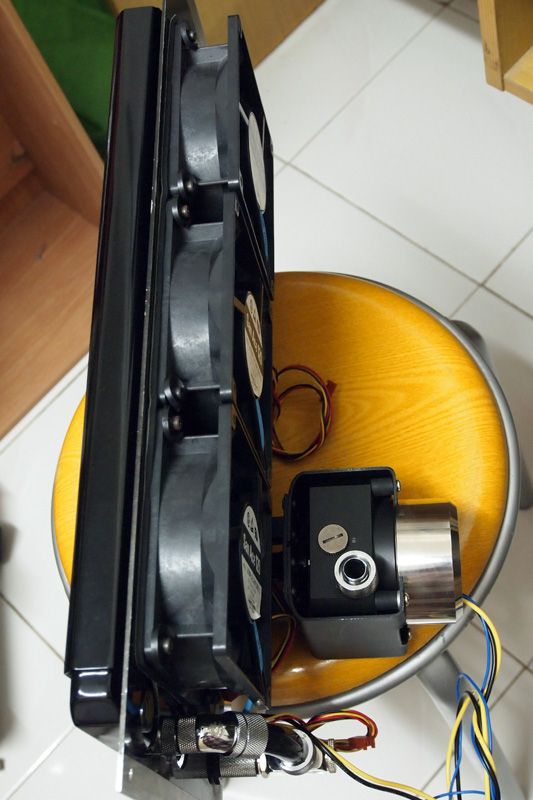
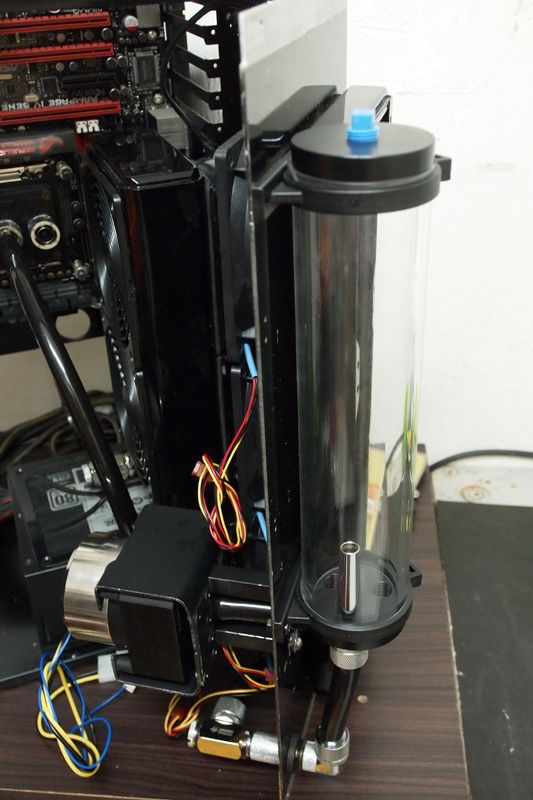
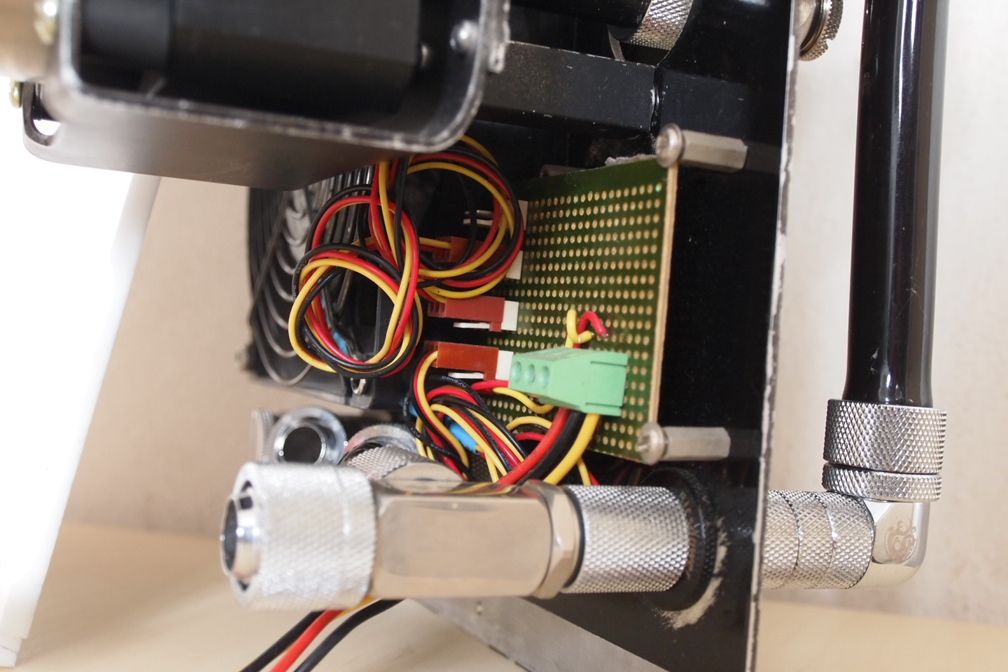
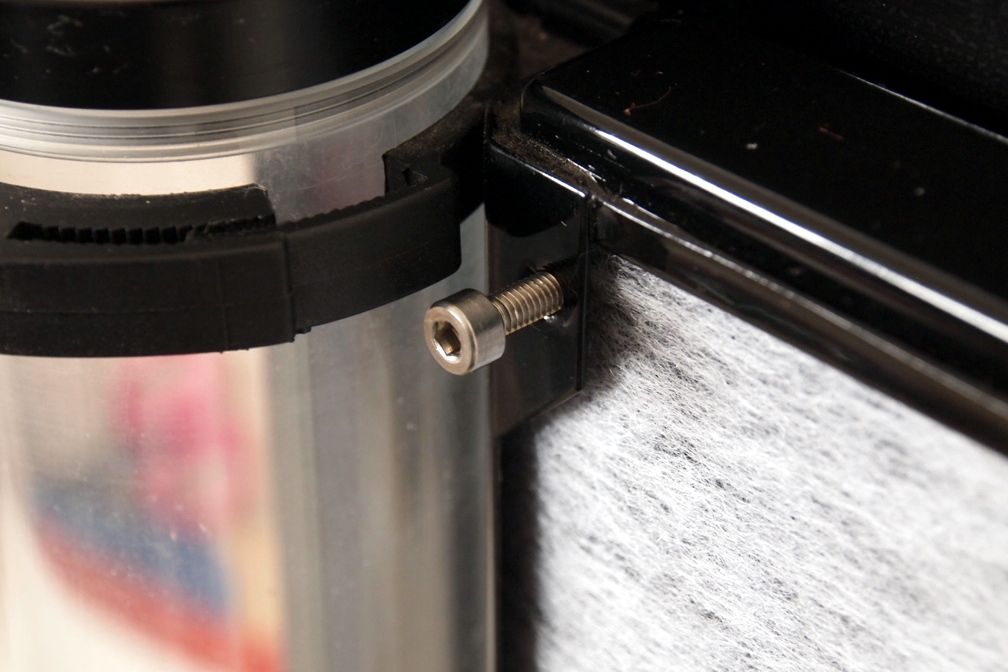
Pump, top: Koolance PMP-450S, COV-RP450 with reservoir > reservoir changed to Bitspower Water Tank Z-Multi 250 POM version
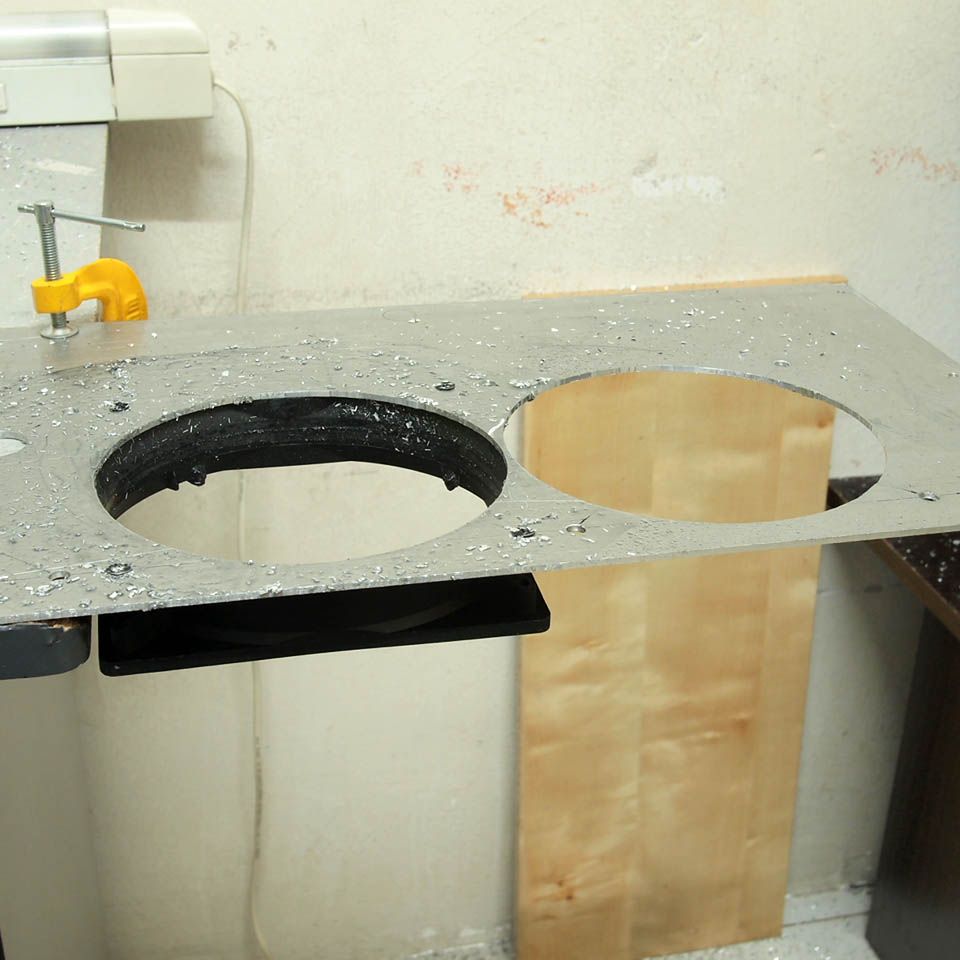
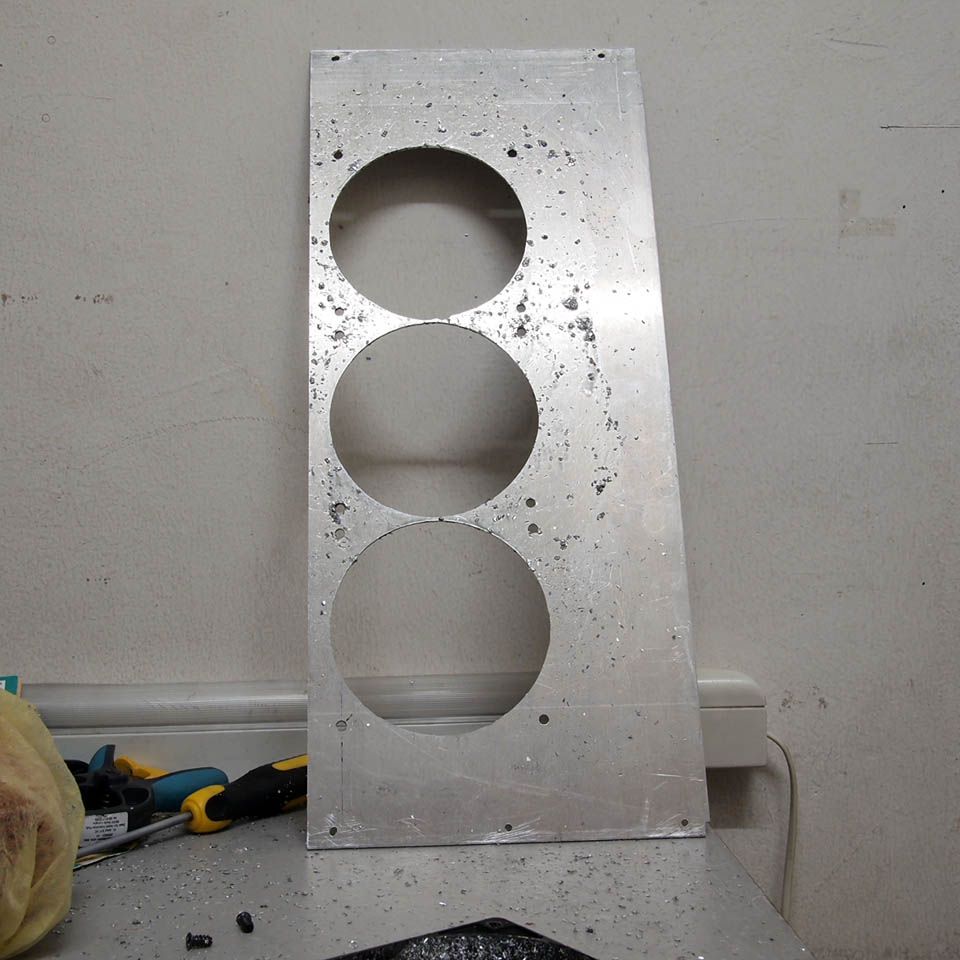
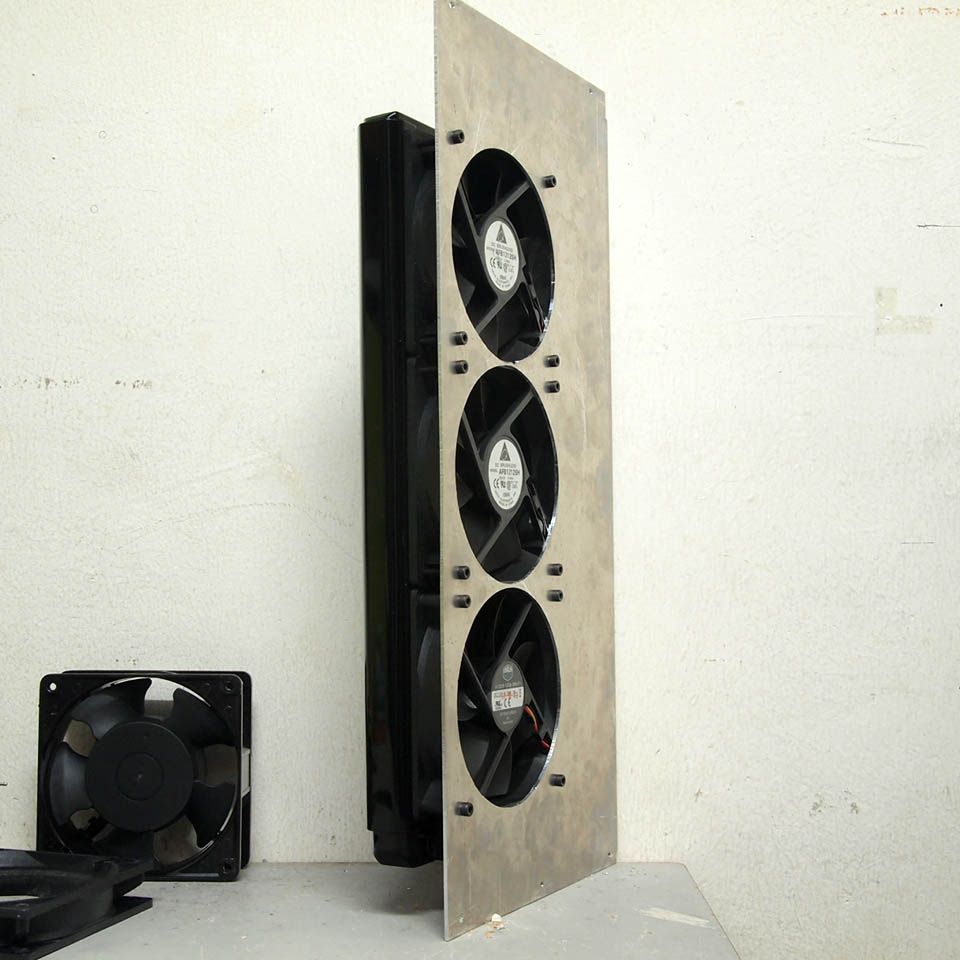
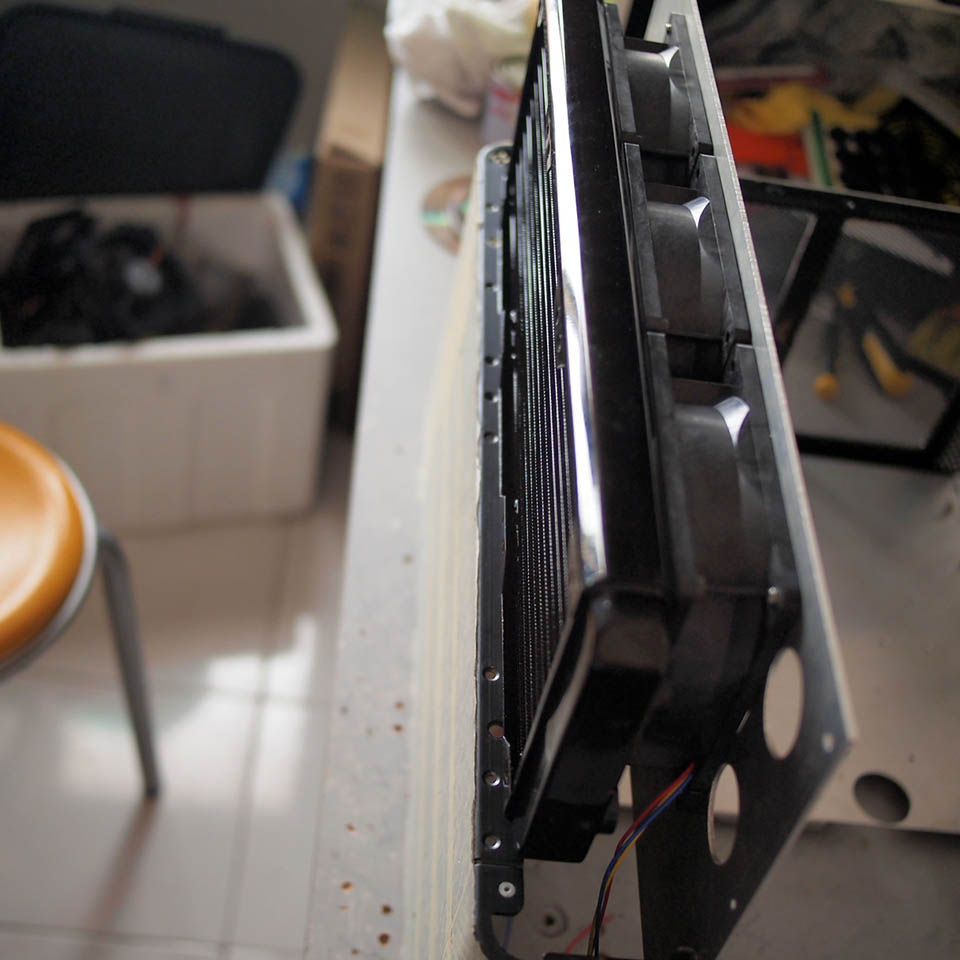
Radiator: HW Labs Black Ice GTX 240 & GTS 360
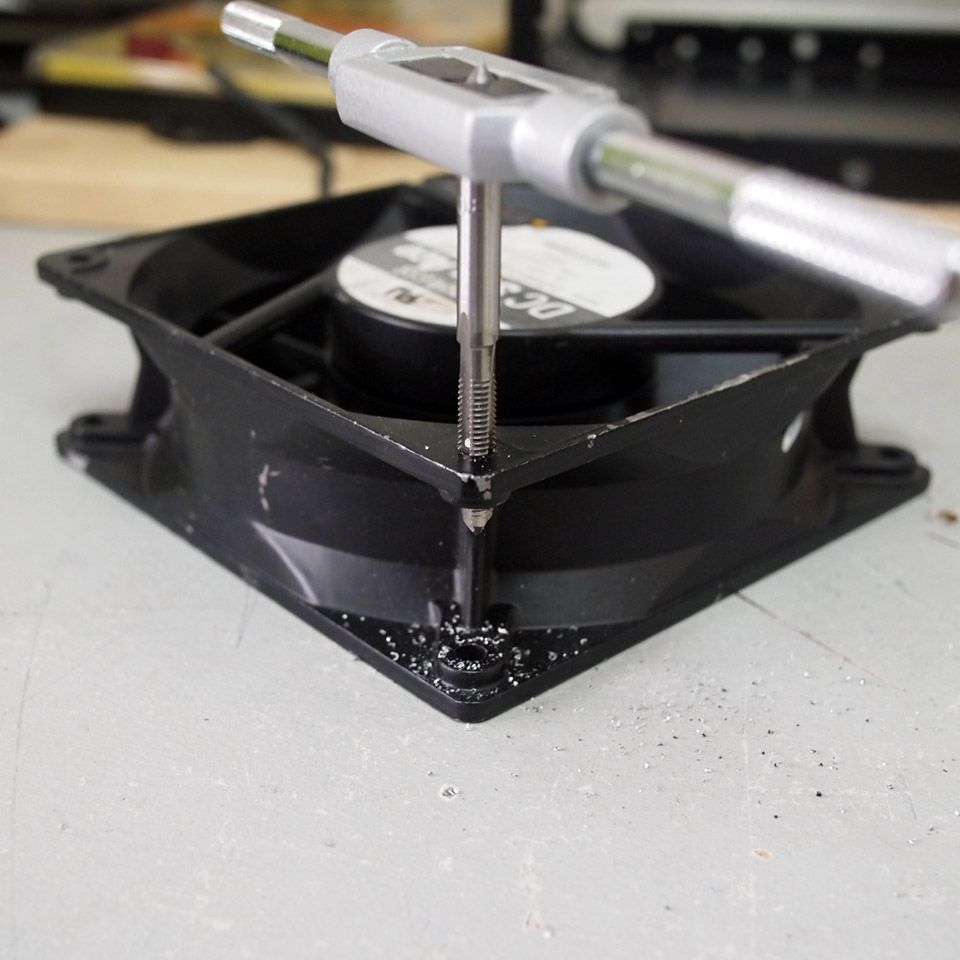
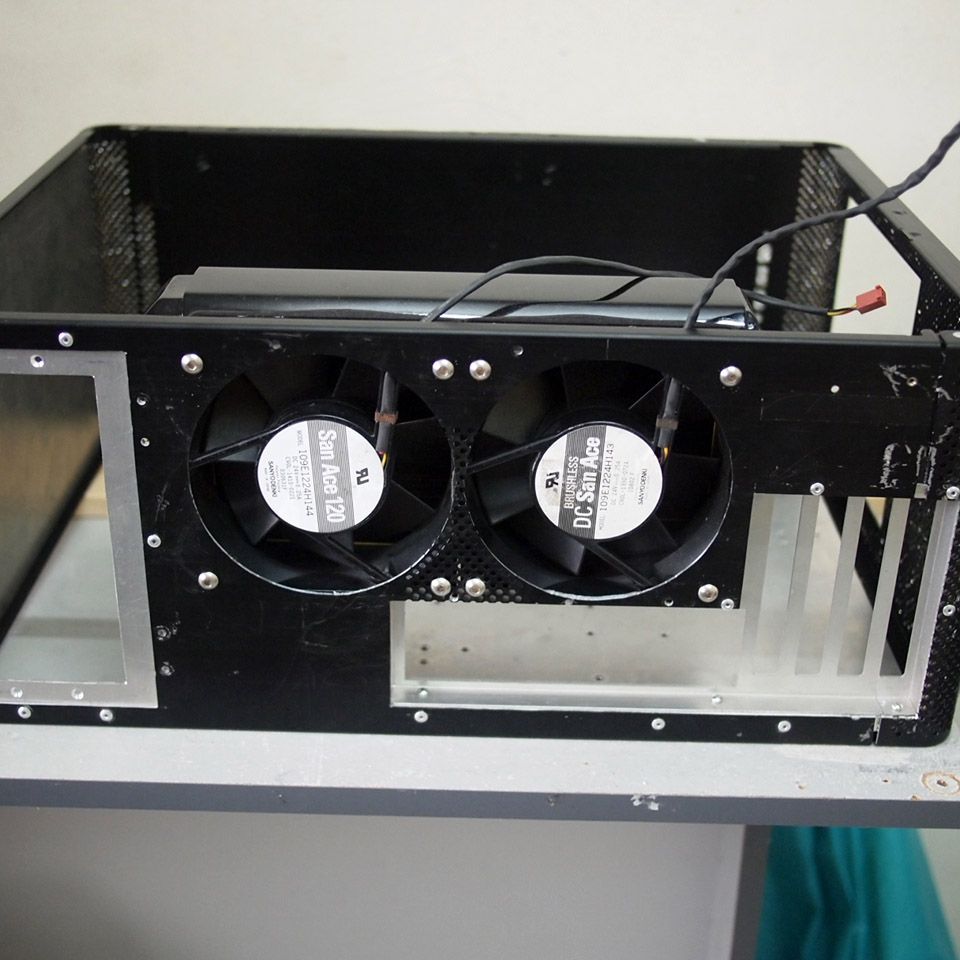
Fans: Some of generic 120mm fans, Sanyo Denki 120mm x 38mm (might change later)
Fitting: Bitspower compression 7/16" 5/8" silver shining
Tubing: Primochill Primoflex Advanced LRT Onyx Black
This post has been edited by imnovice: Dec 17 2014, 10:53 AM
 Quote
Quote


 when TS sell your GC just for this mod.


 0.0309sec
 1.03
1.03
 5 queries
 GZIP Disabled