

This is a lousy project actually. I did it in a rush so dun blame me lol. SPM coming so i did not wanna spend too much time on it. Here goes....
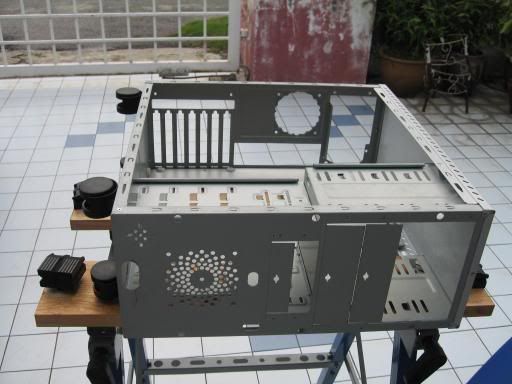
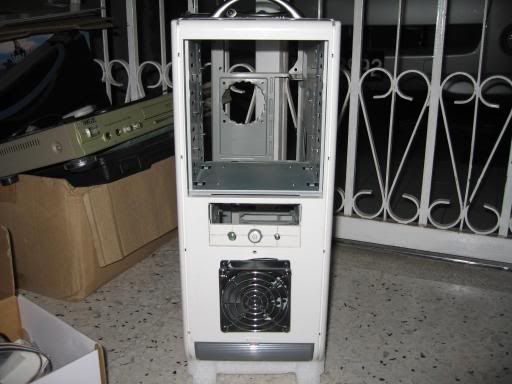
Original casing
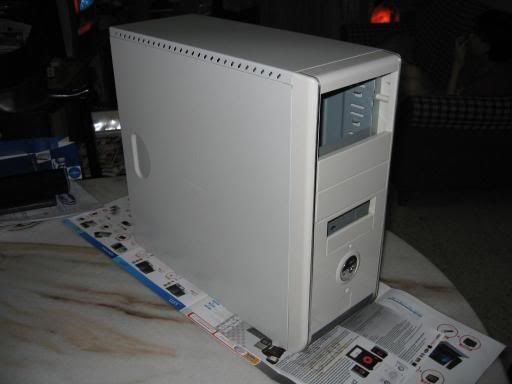
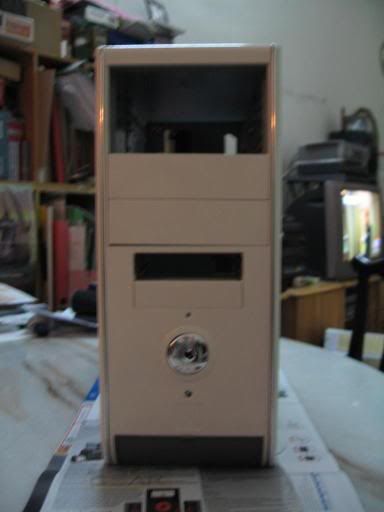
Front view
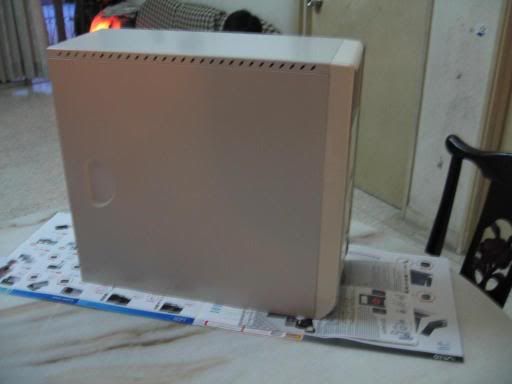
Side view
This post has been edited by LanEVOchris: Jul 19 2006, 04:32 PM
Worklog: Project Black Metal *pic bomb*, lousy project lar compared to ianho
|
|
 Jul 19 2006, 04:10 PM, updated 20y ago Jul 19 2006, 04:10 PM, updated 20y ago
Show posts by this member only | Post
#1
|
 
Senior Member
861 posts Joined: Oct 2005 |
I have put this worklog on pcmoddingmy already so i'm just copy and pasting everything over here.
This is a lousy project actually. I did it in a rush so dun blame me lol. SPM coming so i did not wanna spend too much time on it. Here goes.... Original casing Front view Side view This post has been edited by LanEVOchris: Jul 19 2006, 04:32 PM |
|
|
|
|
|
Jul 19 2006, 04:12 PM
Show posts by this member only | Post
#2
|
|
Senior Member
861 posts Joined: Oct 2005 |
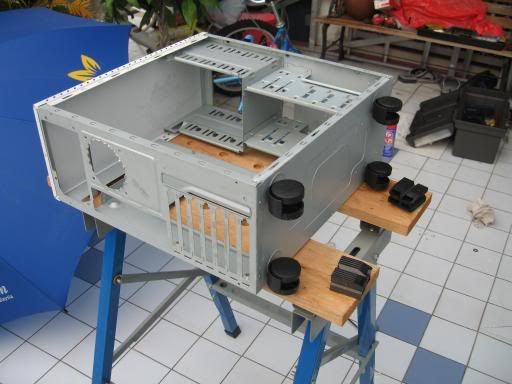
Added wheels to the dissembled casing
   |
|
|
Jul 19 2006, 04:12 PM
Show posts by this member only | Post
#3
|
|
Senior Member
861 posts Joined: Oct 2005 |
Made a 80mm blowhole in front of the casing for better airflow instead of covered up panel. Had to cut of the switches of the original casing and will customize sum later.
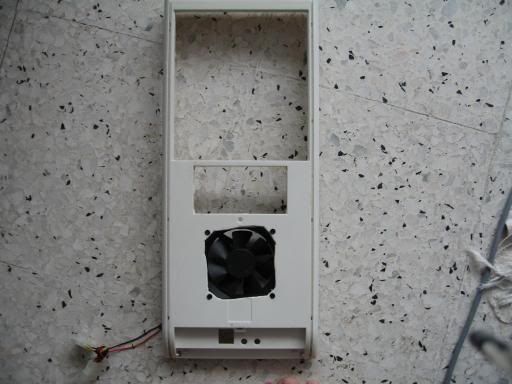 Sorry about the jagged edges will sand later on... Bought acrylic and black spray paint also. 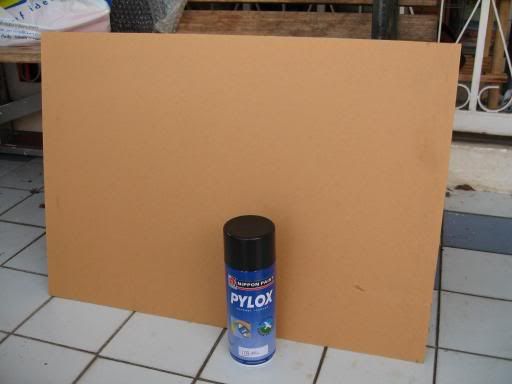 |
|
|
Jul 19 2006, 04:13 PM
Show posts by this member only | Post
#4
|
|
Senior Member
861 posts Joined: Oct 2005 |
Did a blowhole the lazy way. Will sand it down too later on. Malu bcoz dun have rotary tool yet and lazy to open up jigsaw.
After drilling 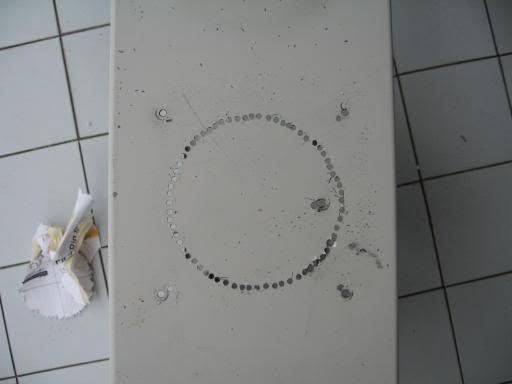 Cut up the metal piece 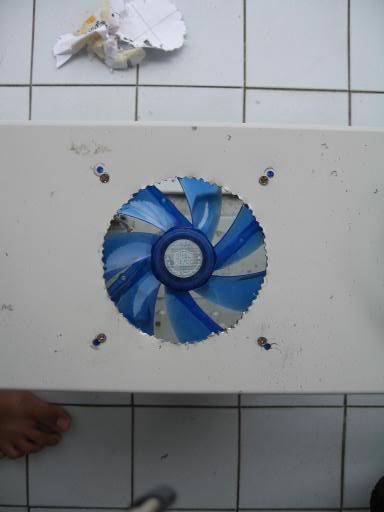 As u all can see i accidently cut xtra screw holes. Filling it up later with epoxy. |
|
|
Jul 19 2006, 04:13 PM
Show posts by this member only | Post
#5
|
|
Senior Member
861 posts Joined: Oct 2005 |
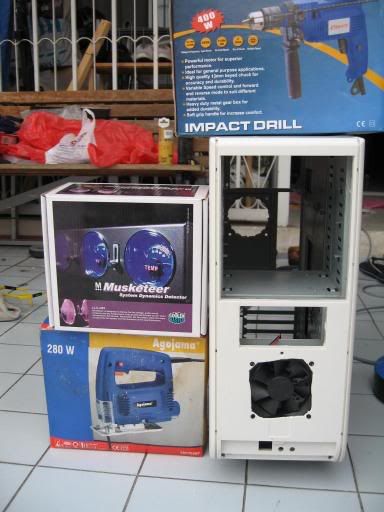
Some pics wif the tools i work wif. Planning to put the CM musketeer i got from PC fair in too!!
 |
|
|
Jul 19 2006, 04:14 PM
Show posts by this member only | Post
#6
|
|
Senior Member
861 posts Joined: Oct 2005 |
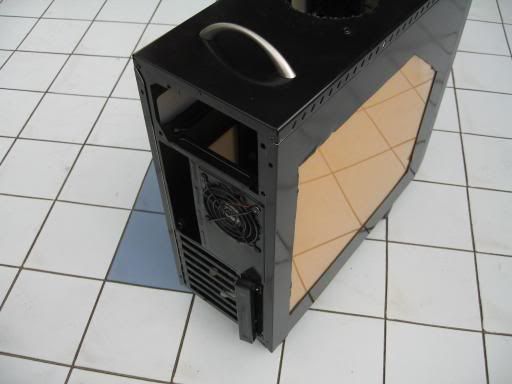
Got some handles from Ikea too. Beautiful....
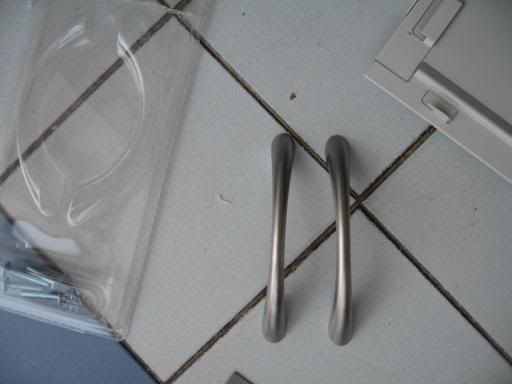  Had to get shorter screws as the ones that came together were very very long Cut a side panel too. Abit shaky la my hand while cutting 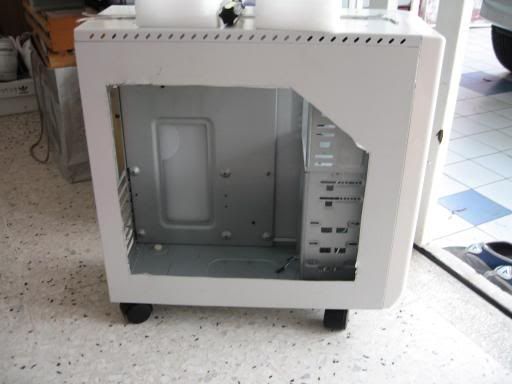 This post has been edited by LanEVOchris: Jul 19 2006, 04:26 PM |
|
|
|
|
|
Jul 19 2006, 04:14 PM
Show posts by this member only | Post
#7
|
|
Senior Member
861 posts Joined: Oct 2005 |
Did another mod. Because of the front blowhole, i decided to reposition the switches. So i made my own switches and put it on a floppy bay.
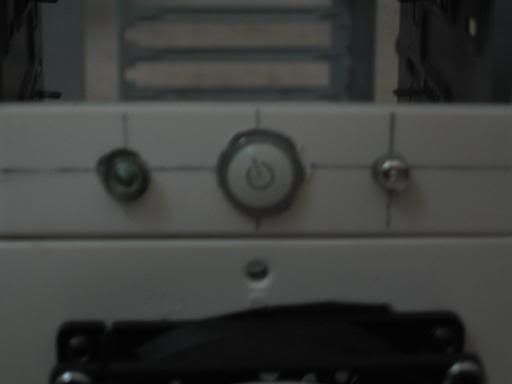   Found the switches from my old speaker and one from the casing itself. Then there's the power LED on it also. The HDD LED will be at it's own place because i did not cut it. |
|
|
Jul 19 2006, 04:16 PM
Show posts by this member only | Post
#8
|
|
Senior Member
861 posts Joined: Oct 2005 |
Paint work done. Panels after painting
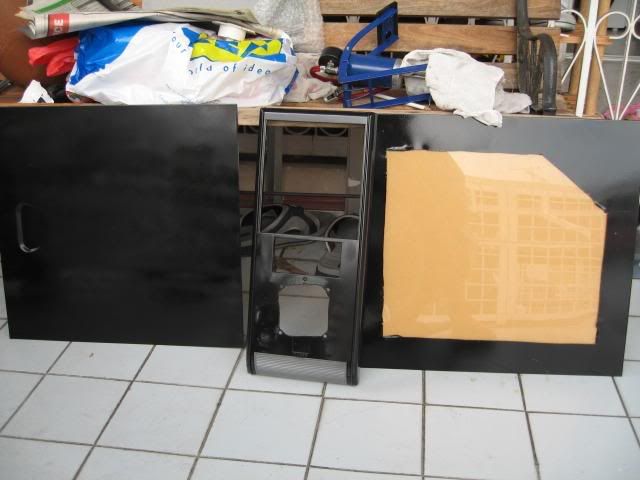 Mirror finish!  This post has been edited by LanEVOchris: Jul 19 2006, 04:23 PM |
|
|
Jul 19 2006, 04:17 PM
Show posts by this member only | Post
#9
|
|
Senior Member
861 posts Joined: Oct 2005 |
 The rear of the casing after being painted 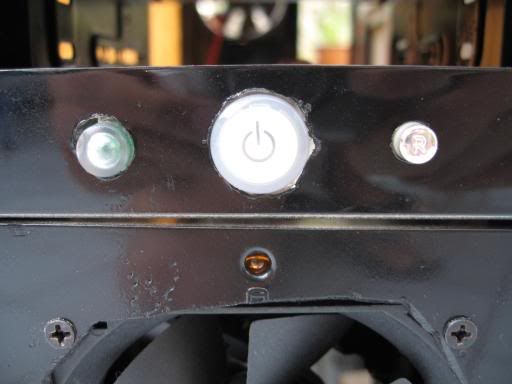 The custom switches panel 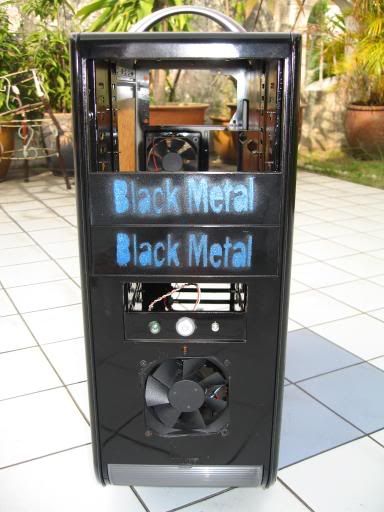 The front panel  The full computer |
|
|
Jul 19 2006, 04:17 PM
|
|
Senior Member
861 posts Joined: Oct 2005 |
Will be adding hardware later on probably after SPM
|
|
|
Jul 19 2006, 04:36 PM
|

Junior Member
434 posts Joined: Jan 2003 |
walau, really ghetto mod. But I like the idea of putting the button on an otherwise useless floppy drive bay. It will be nice if you put in some finishing touches.
Oh, and I hope the 'black metal' wordings on the bezels are just temporary... |
|
|
Jul 19 2006, 04:38 PM
|
|
Senior Member
861 posts Joined: Oct 2005 |
Yeah the bezels will be replaced with transparent acrylic later on
|
|
|
Jul 19 2006, 04:53 PM
|

Senior Member
1,526 posts Joined: Jan 2006 From: Between Those Legs Position : Missionary |
sweet.... BLACK METAL !! ehh...
ehehe..... Nice Mod there, the power on off swith u used were taken from the front panel or a new one ? |
|
|
|
|
|
Jul 19 2006, 04:56 PM
|

Senior Member
1,067 posts Joined: Nov 2004 From: Puncak Jalil |
dude!!! i give credits to those wheels and lift-handles...
 |
|
|
Jul 19 2006, 05:05 PM
|
|
Senior Member
861 posts Joined: Oct 2005 |
QUOTE(zahri @ Jul 19 2006, 04:53 PM) sweet.... BLACK METAL !! ehh... I took it from an old set of speakersehehe..... Nice Mod there, the power on off swith u used were taken from the front panel or a new one ?  QUOTE(r4ydc24 @ Jul 19 2006, 04:56 PM) dude!!! i give credits to those wheels and lift-handles... Thx |
|
|
Jul 19 2006, 05:13 PM
|
|
Senior Member
1,654 posts Joined: Jan 2003 From: Miri City, Sarawak. Mood: Missing someone~ |
one expression...
 |
|
|
Jul 19 2006, 06:28 PM
|

Senior Member
4,133 posts Joined: Jan 2003 From: Cameron Highlands Rank: Amateur |
how u put the handle ?
|
|
|
Jul 19 2006, 06:53 PM
|
|
Senior Member
861 posts Joined: Oct 2005 |
measure, drill holes, put on, screw in
|
|
|
Jul 19 2006, 08:13 PM
|

Senior Member
6,035 posts Joined: Jan 2003 From: Penang |
dats very good
how do u paint till mirror finish?  |
|
|
Jul 19 2006, 08:13 PM
|
|
Senior Member
4,133 posts Joined: Jan 2003 From: Cameron Highlands Rank: Amateur |
ah..icic
 nice work |
| Change to: |  0.0179sec 0.0179sec
 0.61 0.61
 5 queries 5 queries
 GZIP Disabled GZIP Disabled
Time is now: 23rd December 2025 - 07:14 AM |
 Quote
Quote