

 Feb 24 2014, 11:04 AM, updated 12y ago

Hi all, this will be my 2nd worklog and this time i'll be working on the prodigy.
my first mod can be found here
This case has caught my eyes ever since it was announced and finally i'm gonna
be doing a mod with it. its not gonna be any extensive mod. just some simple
aesthetic mods.
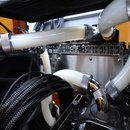
This is the inspiration for the colour scheme.

Which obviously will be included into the system specs.
so basically the breakdown for the mod plans include:-
- sidepanel windows for both sides
- moving the power/reset/usb panel to the front in the 5.25" bay
- cable management
- orange themed paint job and matching leds
So here is the case, stripped down.


I was ready to cut a hole at the back of the psu cage for better cable management and so i can use a bigger psu,
but look at the next pic. seems like the newer shipments of the prodigy has already the hole there. i was quite
surprised cuz all the mods i've seen online has some amount of the psu cage being taken off. anyway 1 less
work to do then


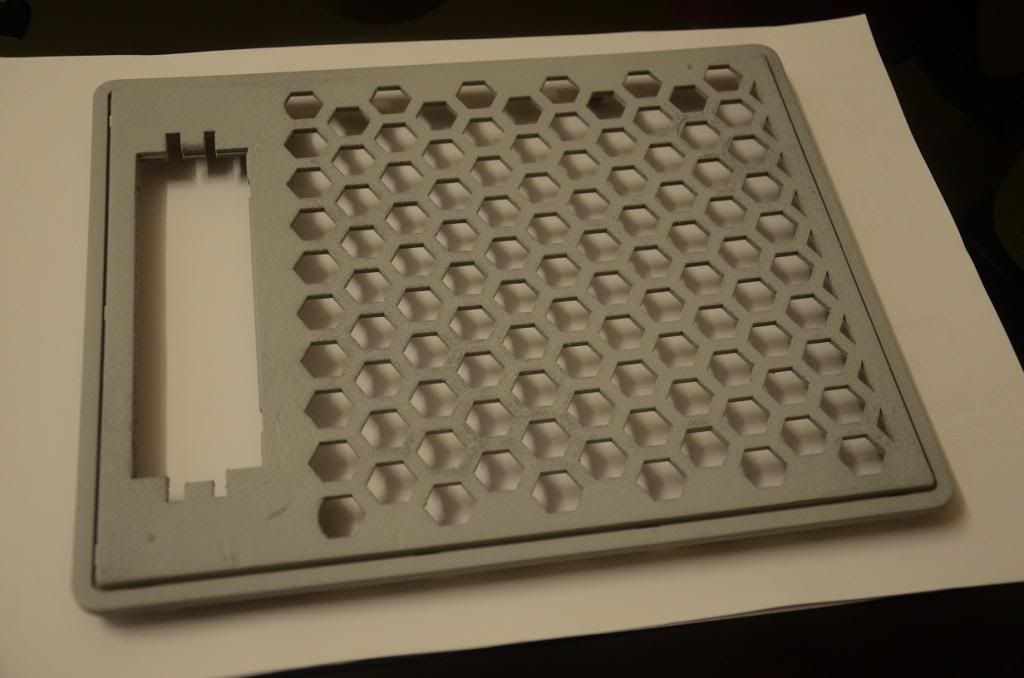
i will be fitting a Corsair H80 aio water cooler on top so i'll be removing the 5.25" bay. that space
will be used for the front panel later on, and all the bay removed,

and the meshes removed for further paint work.

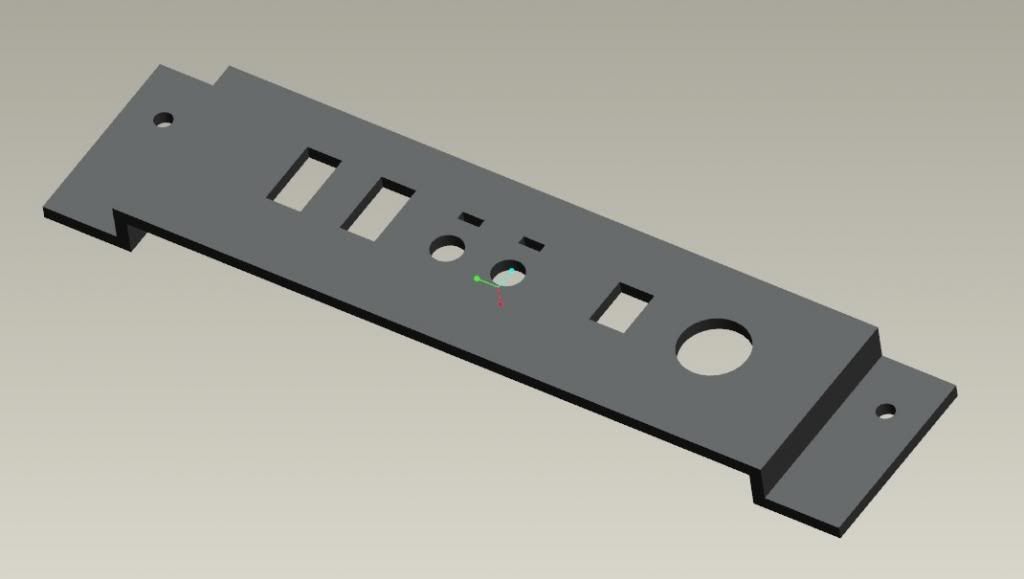
so as we all know, the prodigy has been lacking on the window department. considering that it is a very small
case, thats totally understandable but i'm gonna give it a treat and after much consideration to maximize space.
and trust me, its not really a lot. here it is being prepared for the cutting works along with the designs drawn in.


So its off to the engineering workshop to cut them out.
This post has been edited by valor89: Oct 1 2014, 01:49 AM
 Quote
Quote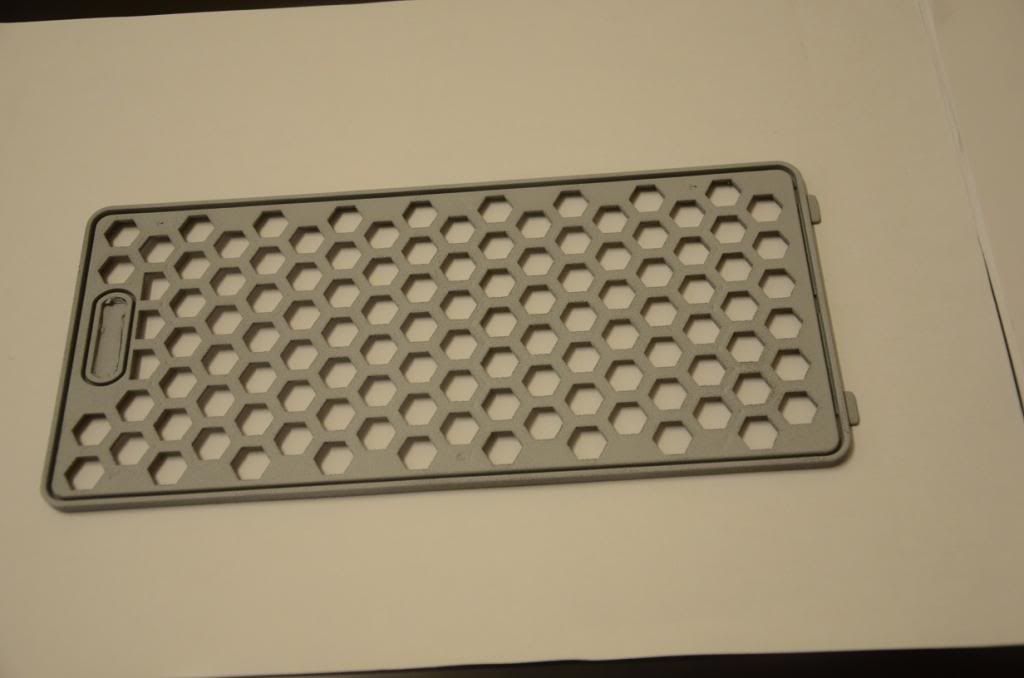


 i dont dare to mod my case, my hands are cursed lol. keep up the good work bro


 Reserved


 0.0238sec
 0.40
0.40
 5 queries
 GZIP Disabled