

 Jan 11 2014, 04:34 AM, updated 12y ago

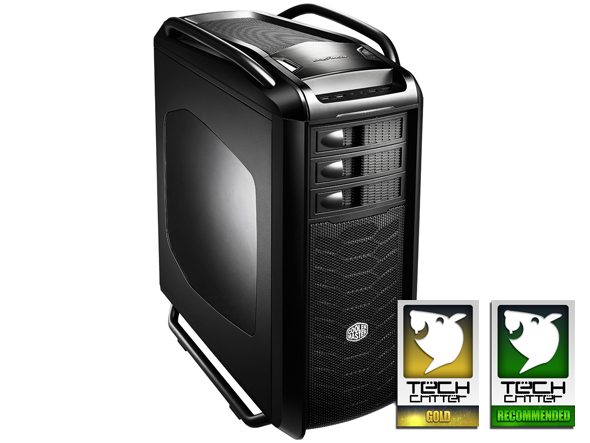
Unboxed & Reviewed: Cooler Master Cosmos SE
Cooler Master's Cosmos series chassis is no stranger to PC enthusiast & case modders, easily identified with its unique appearance - a colossal full tower chassis with curved metal bar serves as its handle and case feet. Over the years Cosmos series chassis has served much purposes to PC enthusiast & case modders, be it water cooling or air cooling, the colossal Cosmos series chassis has all you need.
Our review this time will be the latest member in the Cosmos series - Cosmos SE. Being smaller in size while retaining the appearance of its predecessor and possibly its expandability, the Cooler Master Cosmos SE will soon be available at the attractive price of 499 Malaysian Ringgit. Million thanks to Cooler Master for bringing us the Cosmose SE review unit, making this review possible.
Features
| Warranty | 2 Years from Cooler Master |
| Dimension | 263.8mm x 569.4mm 524.4mm |
| Motherboard Support | extended ATX, ATX, mATX, ITX |
| Expansion Slots | 7 |
| VGA card support: | 276mm without removing HDD bracket |
| 395mm with HDD bracket removed | |
| Type | Full Tower |
| Material | Steel, Plastic, Aluminum |
| Drive Bays | 5.25" : 3 |
| 3.5" : 8 | |
| 2.5": 18 (where 16 is converted from 3.5" bay) | |
| Cooling Option | Top: 120mm/140mm x 2 (a 140mm fan is included) |
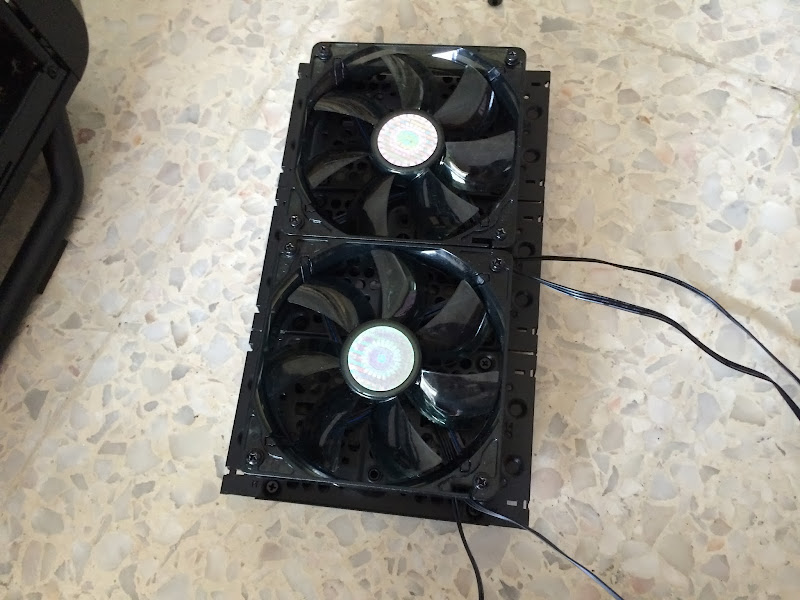
| Front: 120mm x 2 ( a pair of blue LED fan is included) | |
| Rear: 120mm x 1 (included) | |
| Side: 120mm / 140mm (optional for mesh side panel version, not included) | |
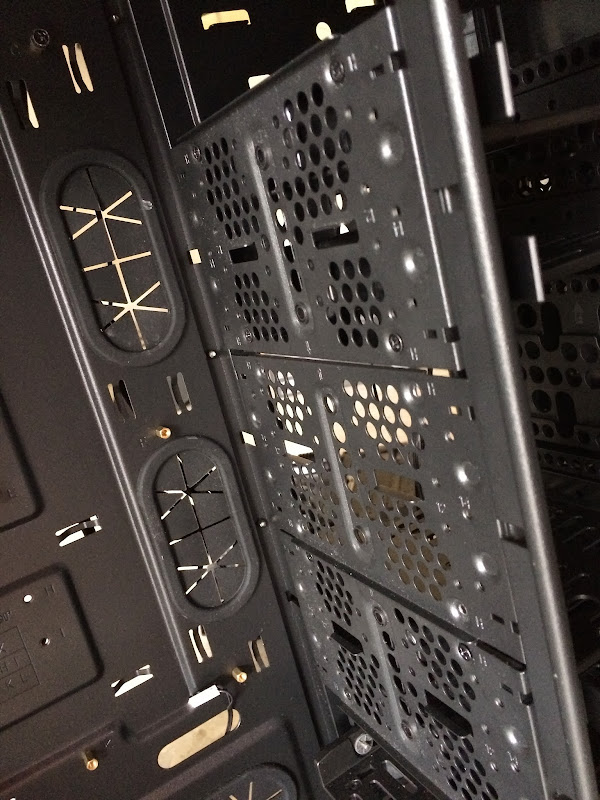
| Radiators: 120mm (rear), 240mm/280mm (top), possible 360mm (front, with drive bays removed) | |
| Tower CPU Cooler: supports up to 175mm in height | |
| Front I/O | 2 x USB 3.0 Ports |
| 2 x USB 2.0 Ports | |
| 1 x Speaker/ headphone | |
| 1 x Microphone | |
| Power Supply | Not included |
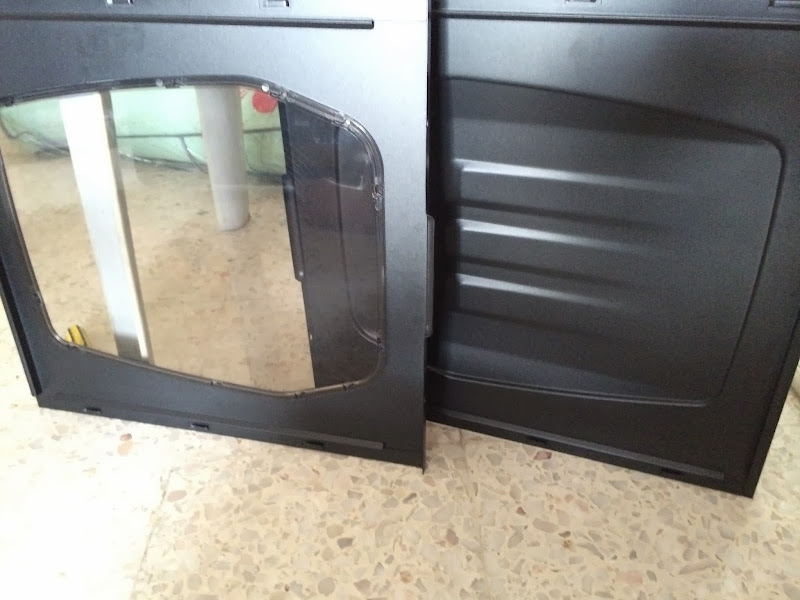
*The Cosmos SE can be found in 2 different version - Windowed Side Panel and Mesh Side Panel
Overview
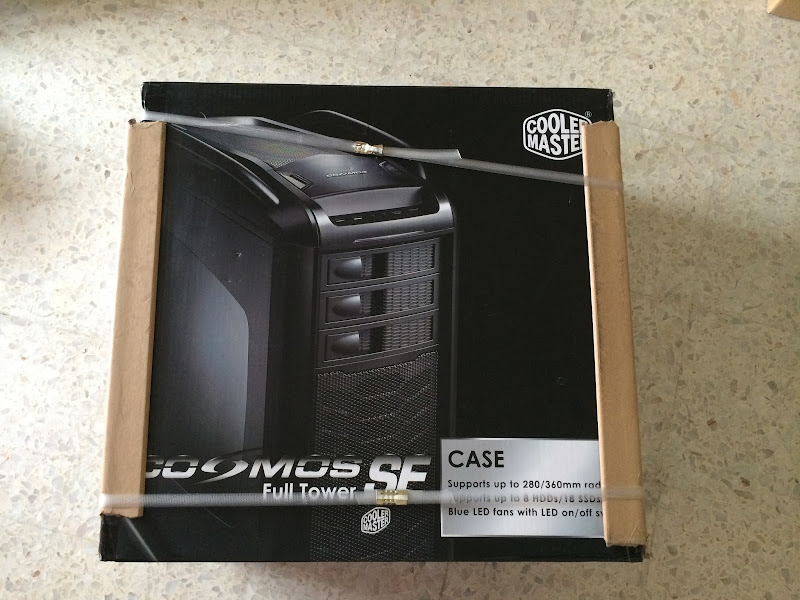
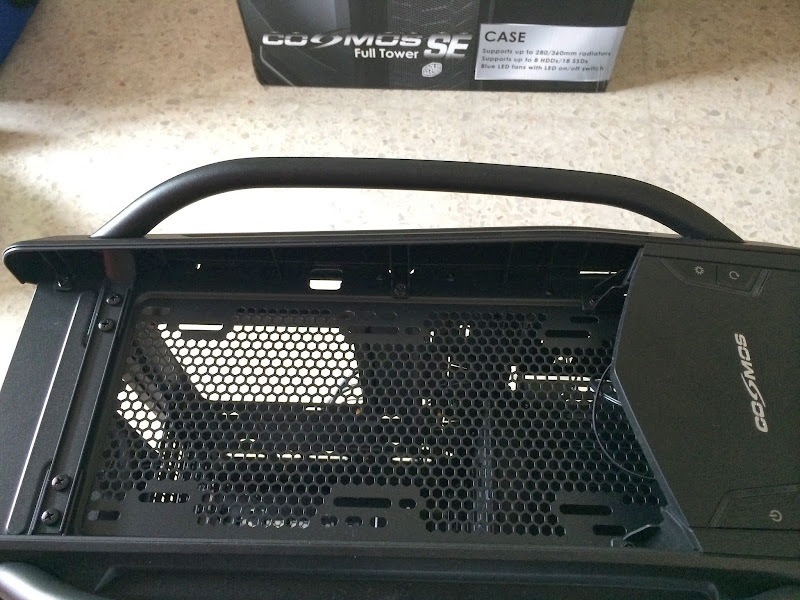
Starting off with the packaging, the picture displayed at the front pretty much shows what you're getting which in our case is the Cosmos SE Windowed Panel Edition. Part of the description that stated 'Support up to 280/360mm radiator' is quite did caught our interest at first glance.
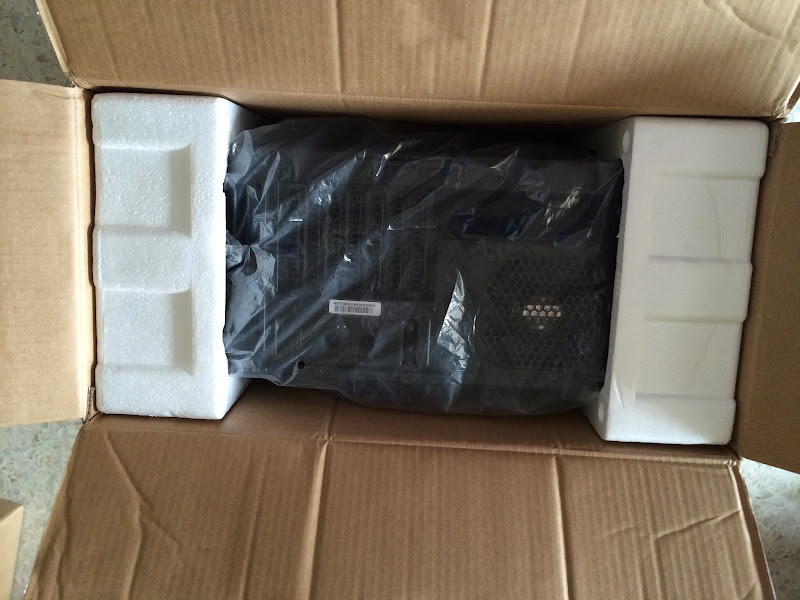
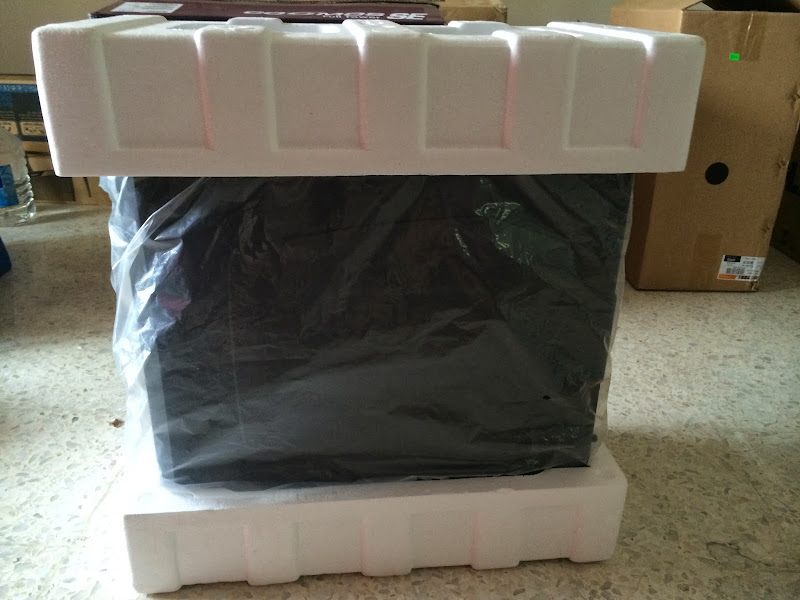
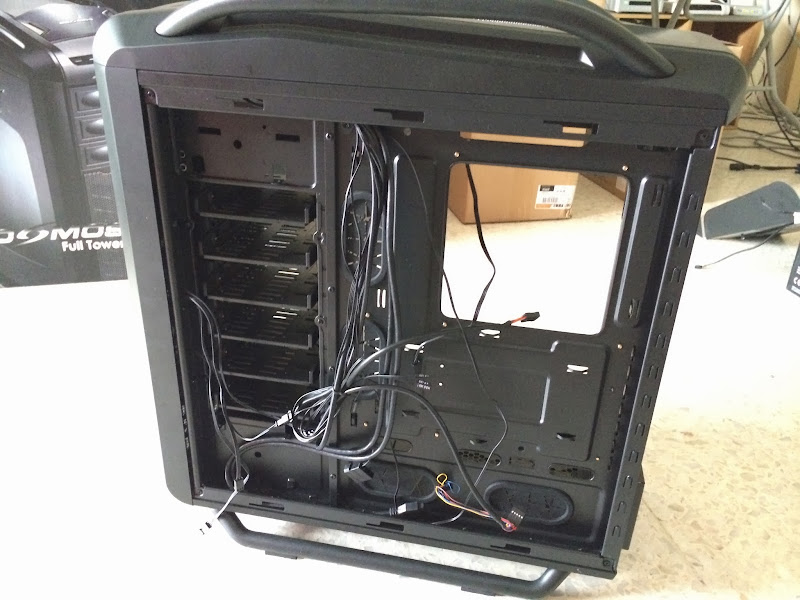
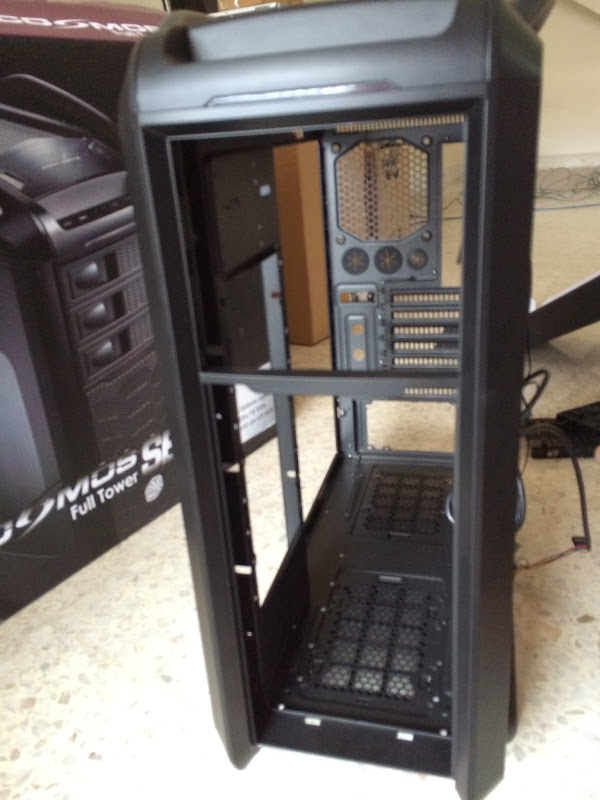
The Cosmos SE is seen flanked by 2 pieces of thick polystyrene that act as a protection layer to absorbs shock and prevent the chassis from getting damaged if there's any improper handling during transport. It allows you to have things arrived in the best condition possible
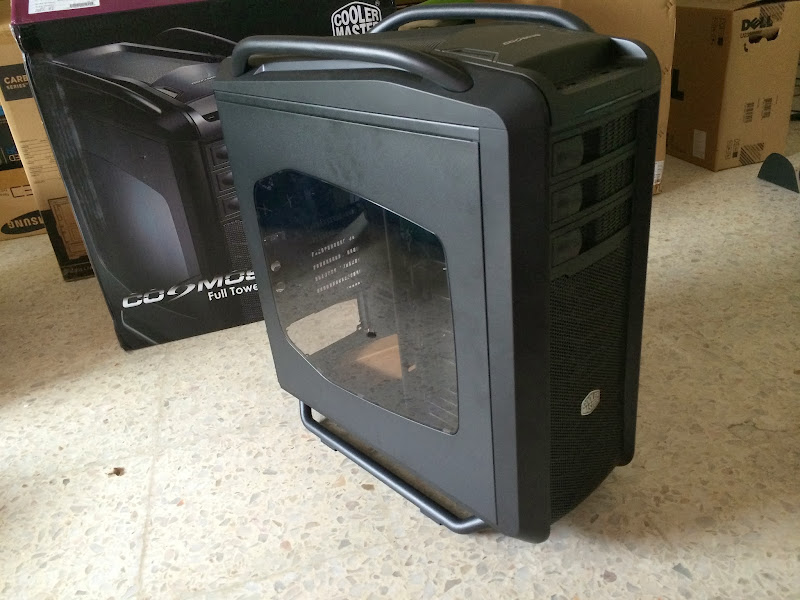
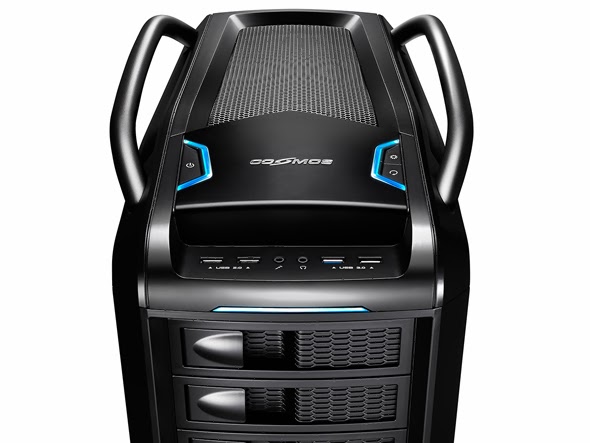
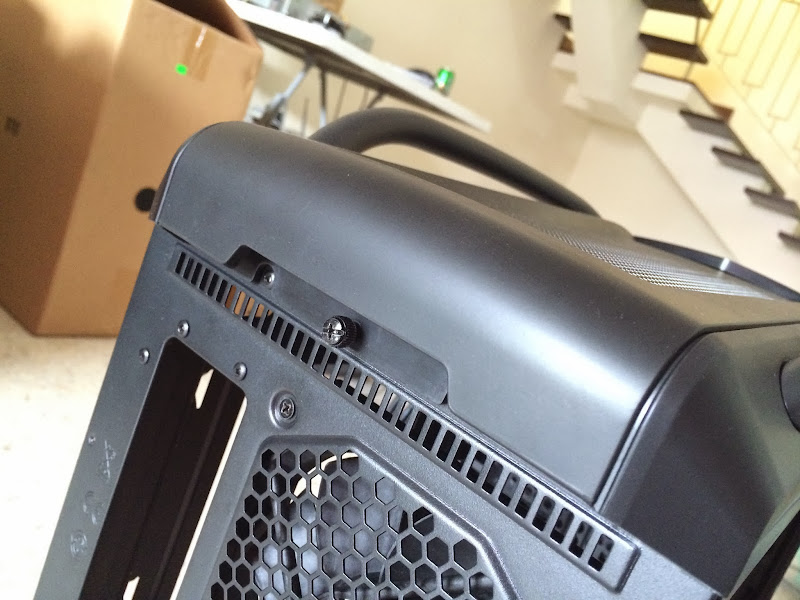
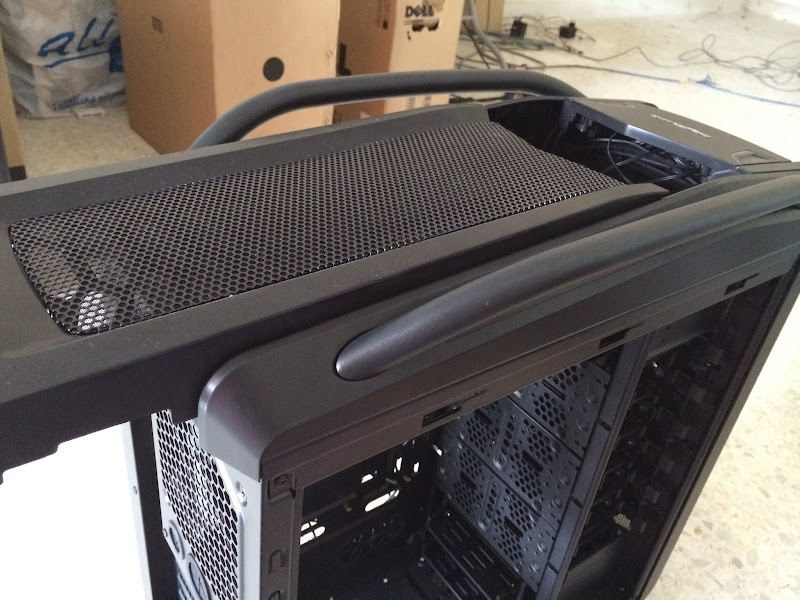
What makes it a Cosmos - the iconic curved metal bar as handle and case feet used on every Cosmos ever produced.
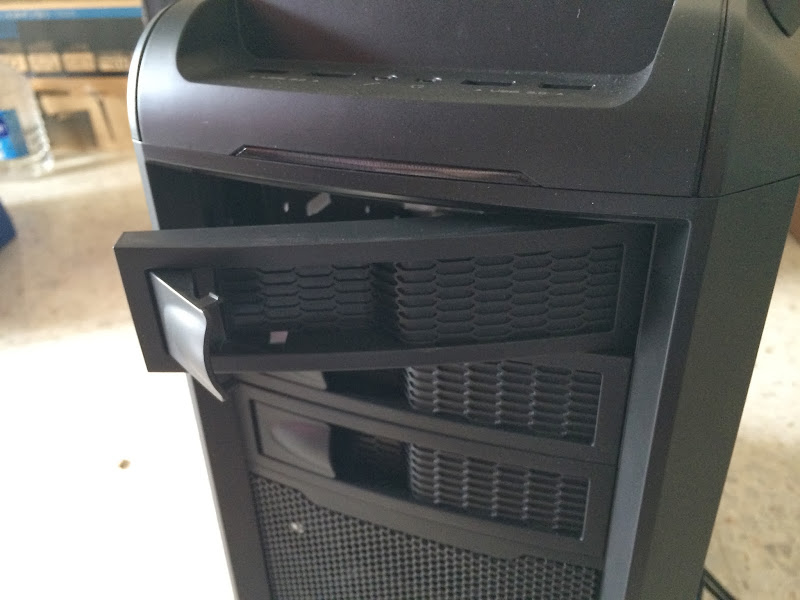
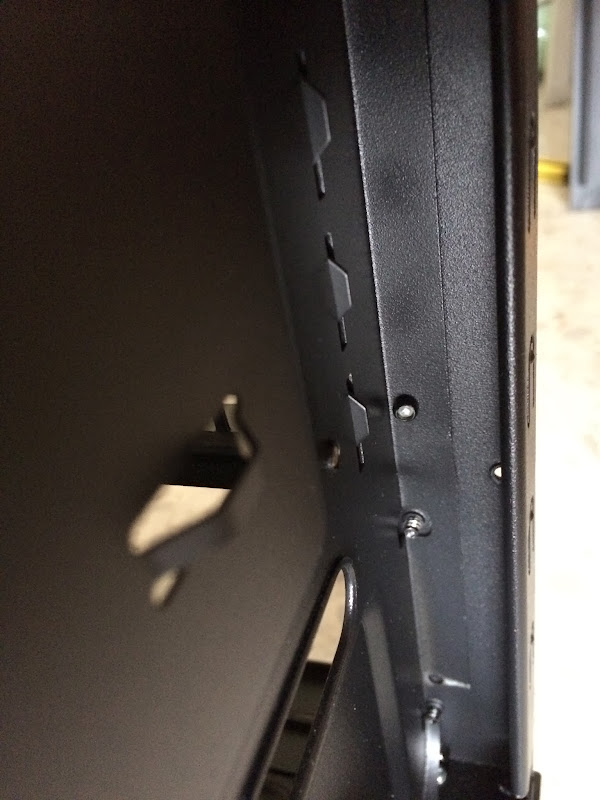
The Optical Drive bay cover can be removed from the front by giving the lever as shown in the picture above a gentle pull, much handy compared to the others that requires removal from the inside. This ingenious design from Cooler Master is pretty much one of a kind because this is the first time we've came encounter with such feature from a PC chassis. What's more, the Optical Drive bay cover will not be pushed out of place by accident thanks to this design.
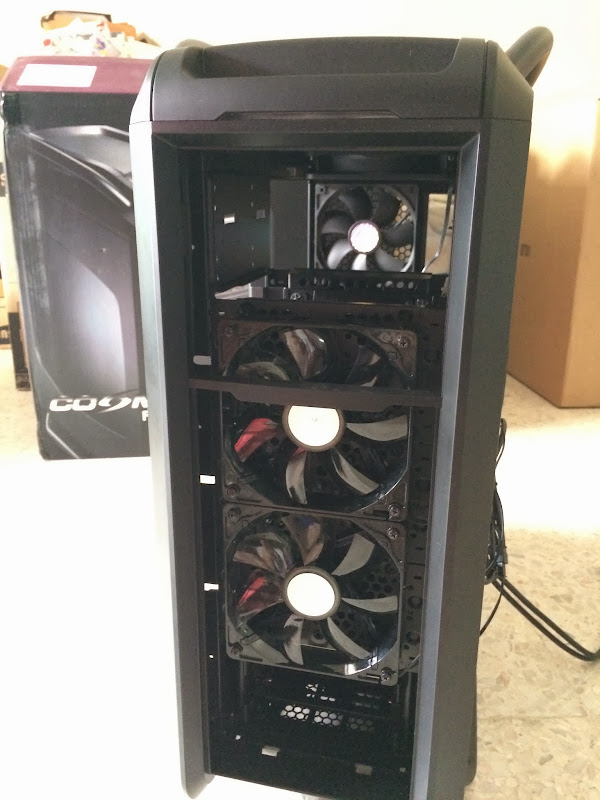
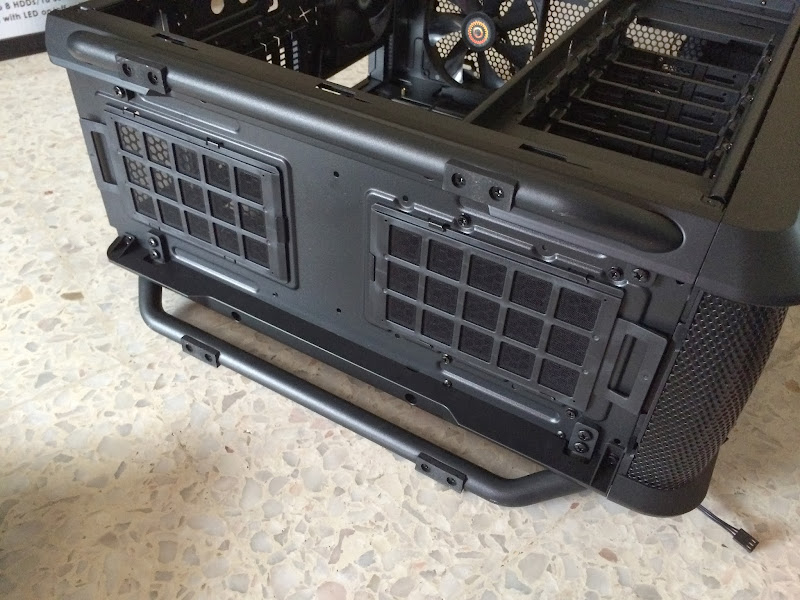
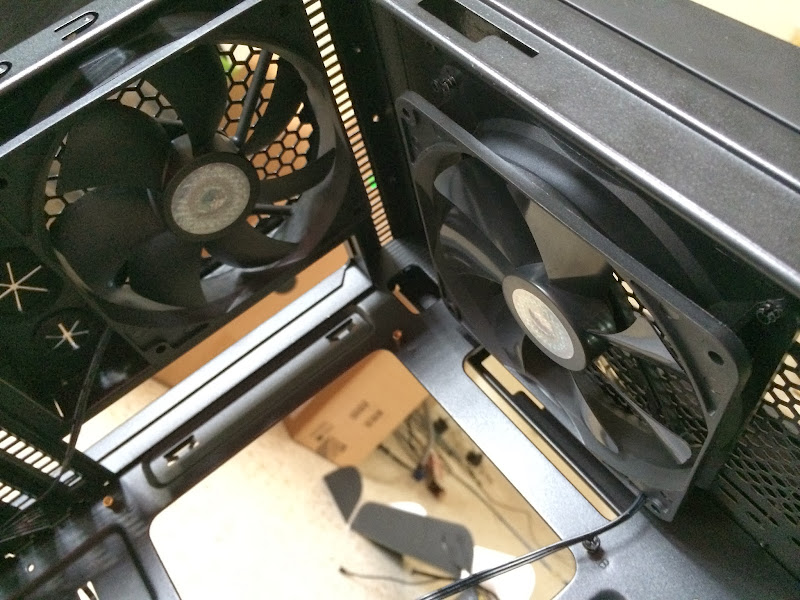
The front mesh can be easily removed as well for cleaning without having to remove the entire front panel. Cooler Master also included two 120mm LED fan as front intake. The LED on these fans can be switched on & off with the switch located at the top panel.
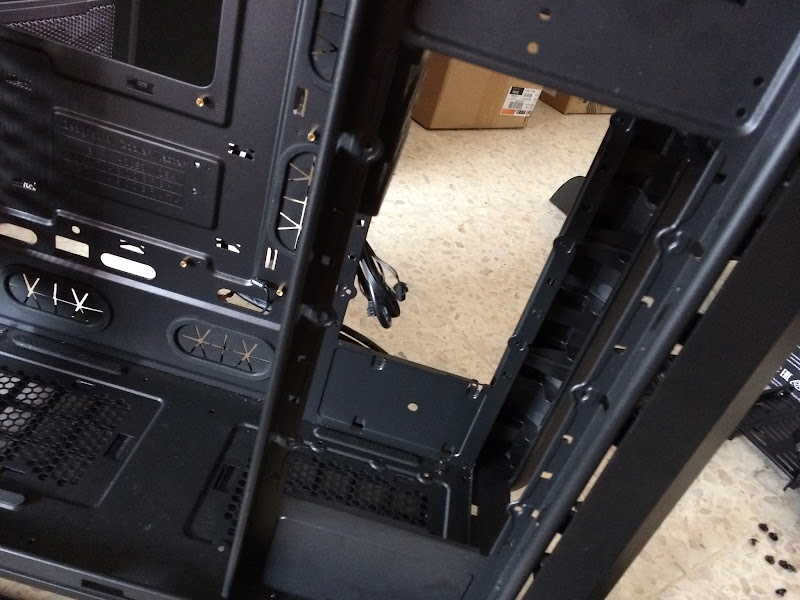
So basically this is all you need to remove if there's any necessity for cleaning, mounting new fans, installing optical drive- anything you need to do at the front.
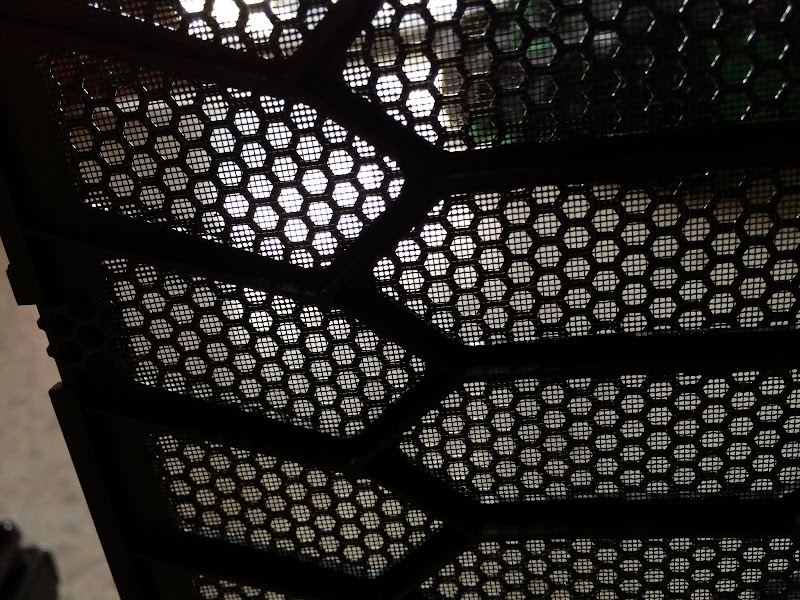
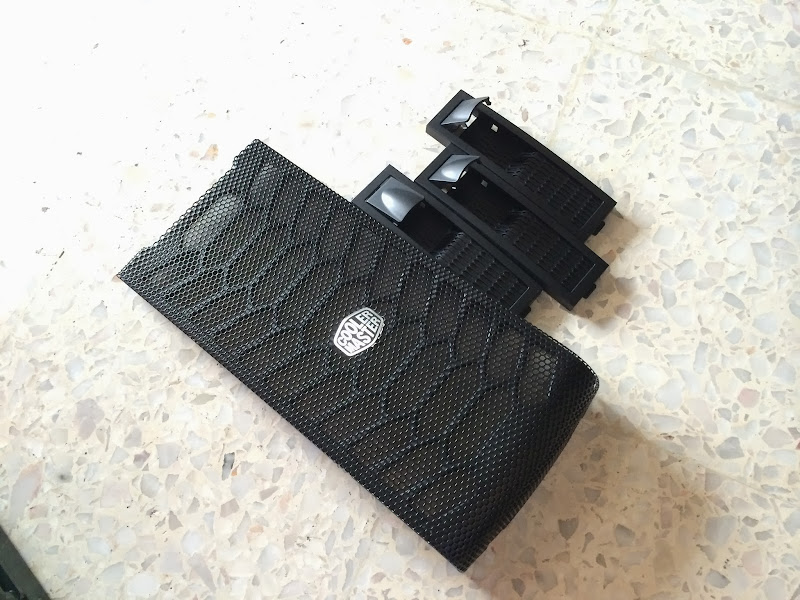
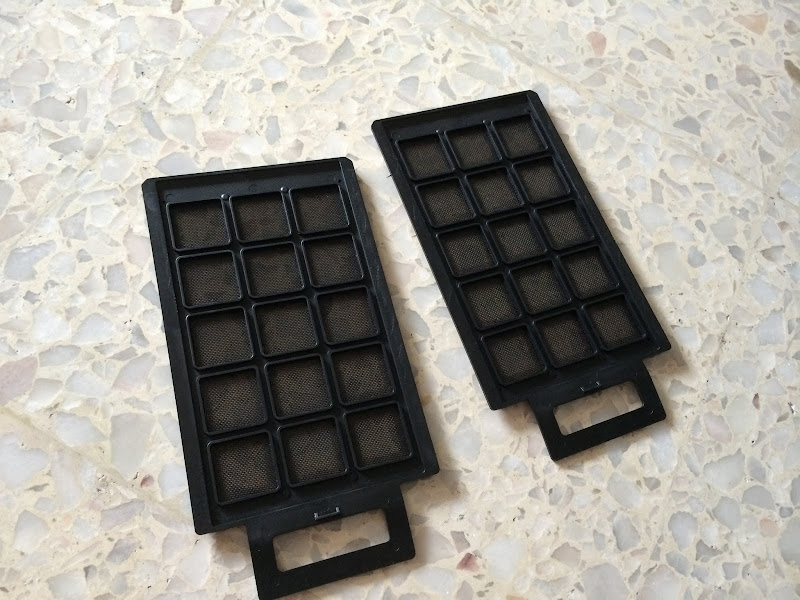
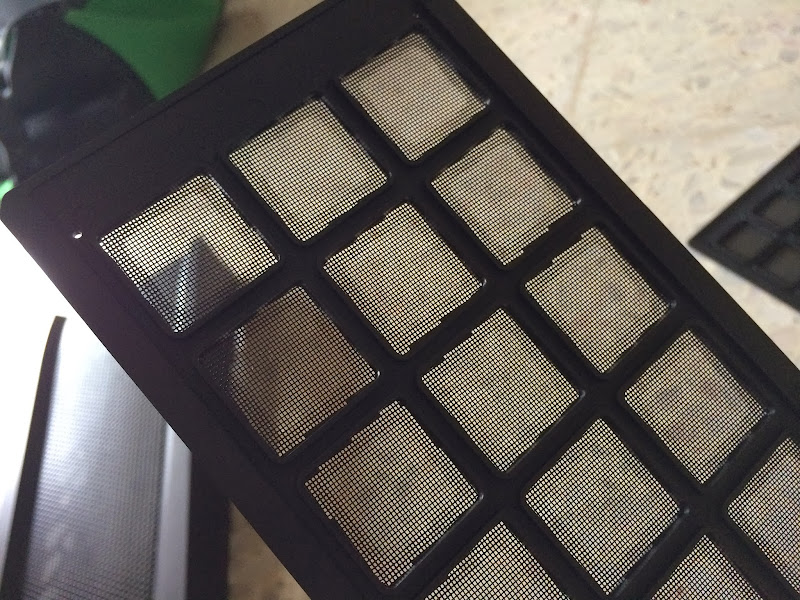
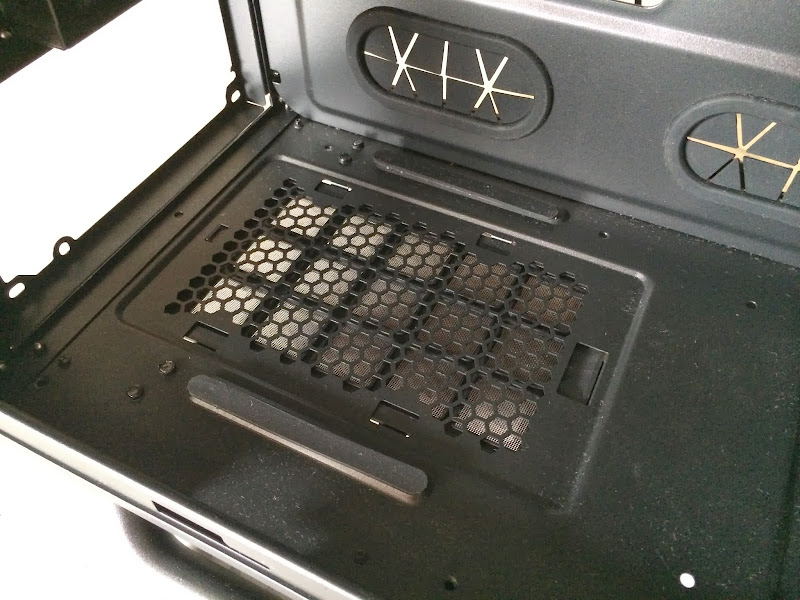
The front mesh comes with a fine layer of mesh filter that helps to keep the dust out of your system. Compared to using a layer of sponge as filter, the mesh filter is easier to clean, less prone to tear damage and dry faster if the cleaning is done using water (not recommended).
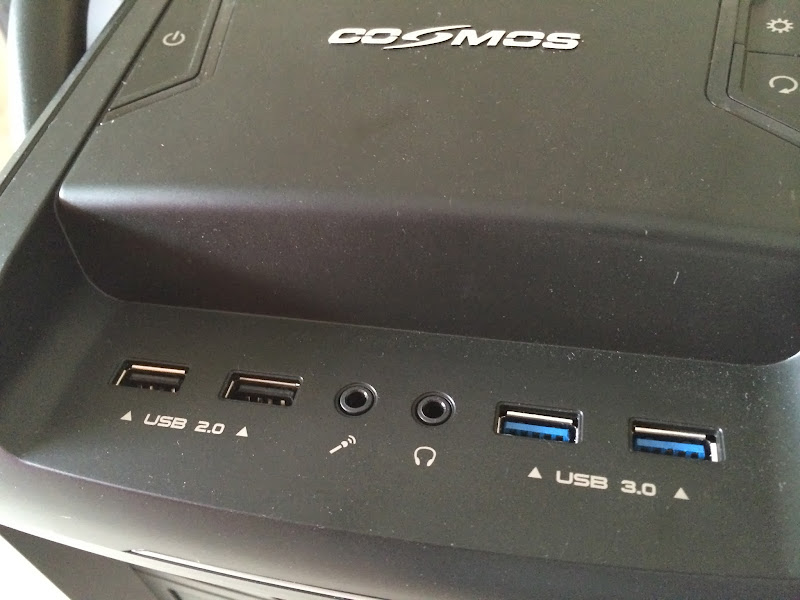
The Cosmos SE front IO is located at the top of the front bezel, where it comes with 2 x USB 2.0, 2 x USB 3.0 and audio jacks.
This post has been edited by lucidlts: Jan 25 2014, 02:39 AM
 Quote
Quote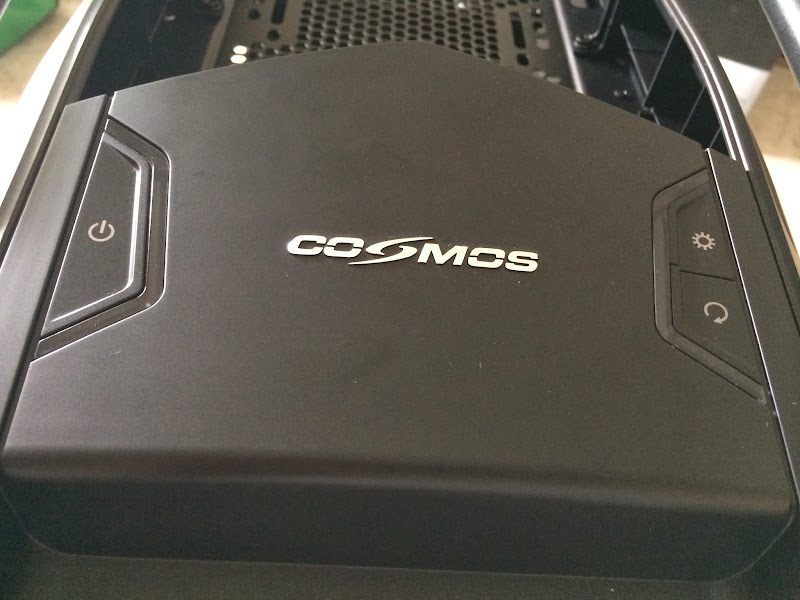


 0.0169sec
 0.48
0.48
 5 queries
 GZIP Disabled